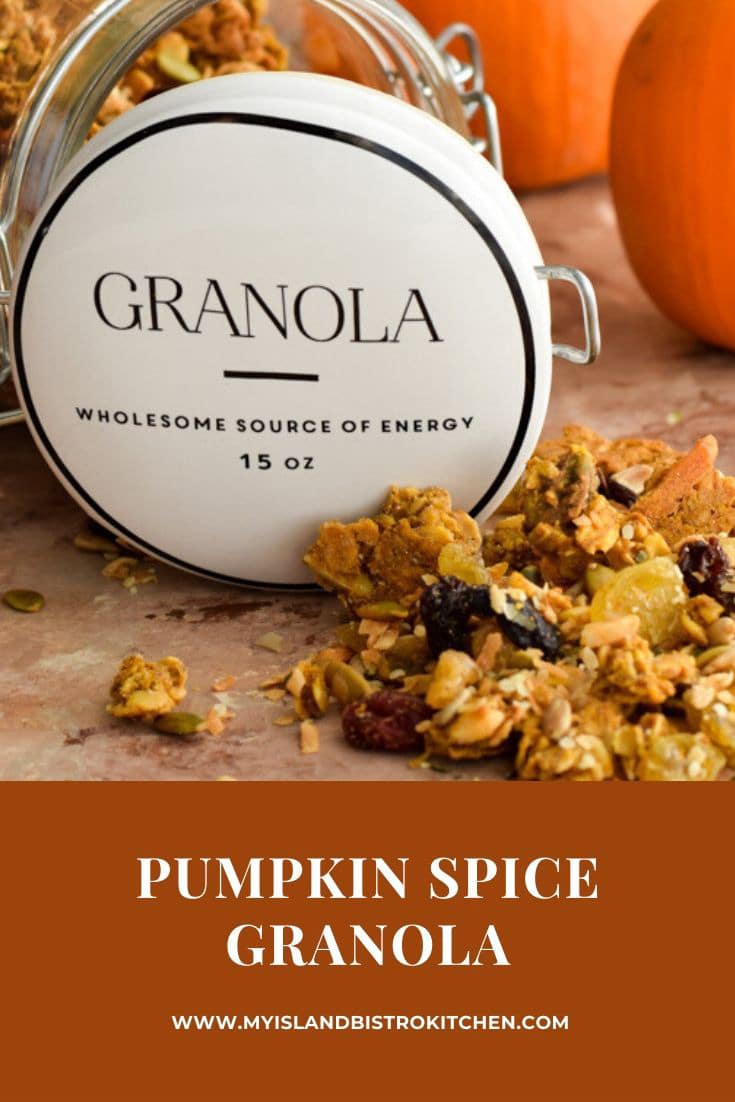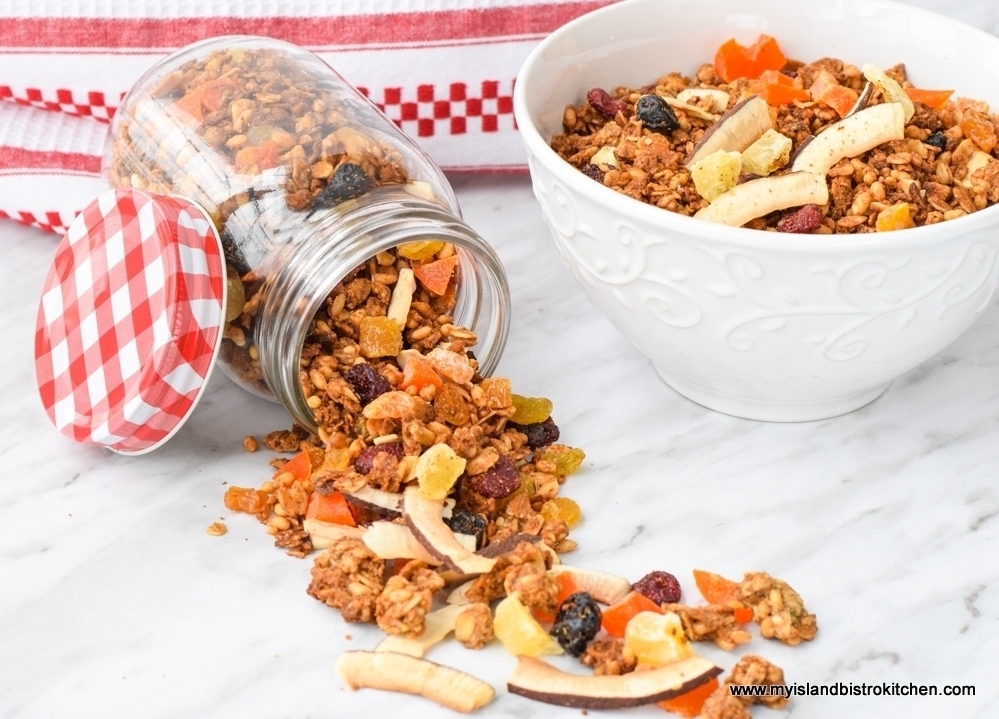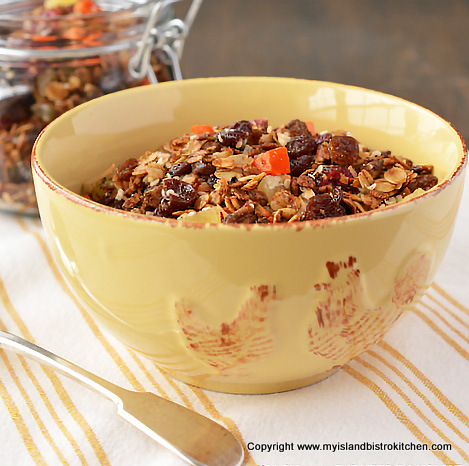
Oh, the divine tantalizing scent in the house when this homemade Pumpkin Spice Granola is baking in the oven! The combination of pumpkin purée and warm spices like cinnamon, nutmeg, allspice, cloves, and ginger make this a winner! If you want a clean, healthy breakfast cereal, or snack food, free of preservatives and additives, this granola is for you.
This is chunky style granola which means binding agents are needed to clump and hold the ingredients together. In this granola, that includes pumpkin purée, applesauce, maple syrup, and the mother of all food glue, an egg white beaten till frothy. I do add a couple of tablespoons of oat flour to this recipe and I have labeled it as an optional ingredient. This means the granola is fine without it but the oat flour does, along with the ground flax and chia seeds, give something extra for the syrup to cling to and it does help bind the ingredients together. If you don’t have oat flour and wish to add it, you can simply toss some rolled oats into a small food processor, or even a coffee grinder, and grind them into fine flour.
In addition to the binding ingredients, the other thing that is necessary to keep the granola clumpy and chunky is not to stir it while it bakes and to leave it in the pan, undisturbed, for approximately 30 minutes after it comes out of the oven. This helps the granola crisp up and then it can be broken into desired size chunks.
Typically, I don’t add nuts or whole seeds to my granola but a pumpkin-flavored granola just seemed to call for them. Any favorite nuts or seeds can be used. Slivered almonds and pistachios pair well with the pumpkin so those are my choices for this granola. I do include these nuts in with the rolled oat mixture that gets baked in the oven. The pumpkin and sunflower seeds, on the other hand, are very small and delicate. As such, they are very susceptible to easily burning. My preference is to buy these seeds already roasted and add them along with the raisins and dried fruit after the rolled oats mixture has been baked. I recommend the same thing with coconut, preferring to buy it already toasted as it can burn very quickly, ruining the flavor of the granola.
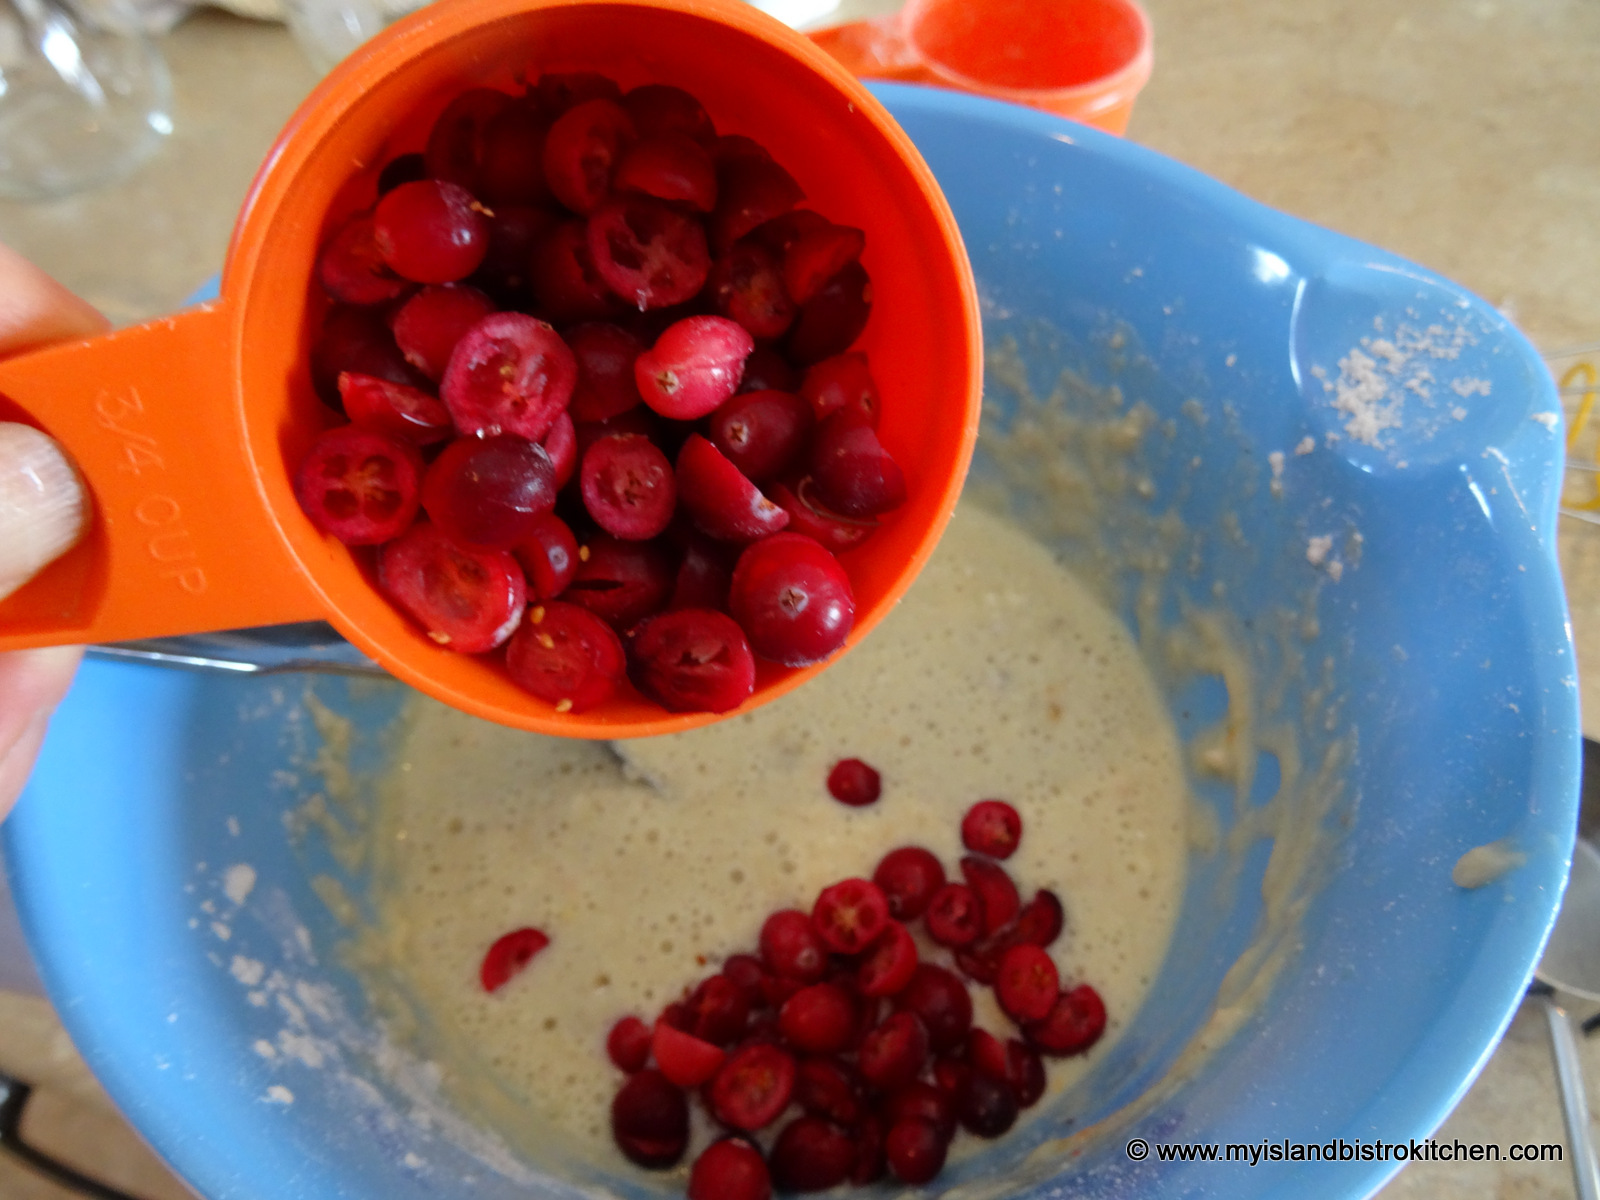
Bulk food stores are great places to buy ingredients for granola as one can buy just the amounts needed instead of buying a big bag of one ingredient and only using 1/3 cup of it with no plans for the rest of the bag’s contents. The great thing about granola is, once you have a good recipe for the syrup and spices, you can swap out any of the dried fruits, seeds, and nuts so long as you replace them and keep the new substitute(s) in the same quantity/weight. So, if you don’t like raisins, for example, simply swap them out for the same quantity of another dried fruit like cherries, cranberries, apricots, etc.
Add the dried fruits and raisins after the rolled oat mixture has baked and cooled. Adding these before the baking process will turn the fruits into hard, tough little nuggets which are not pleasant to eat.
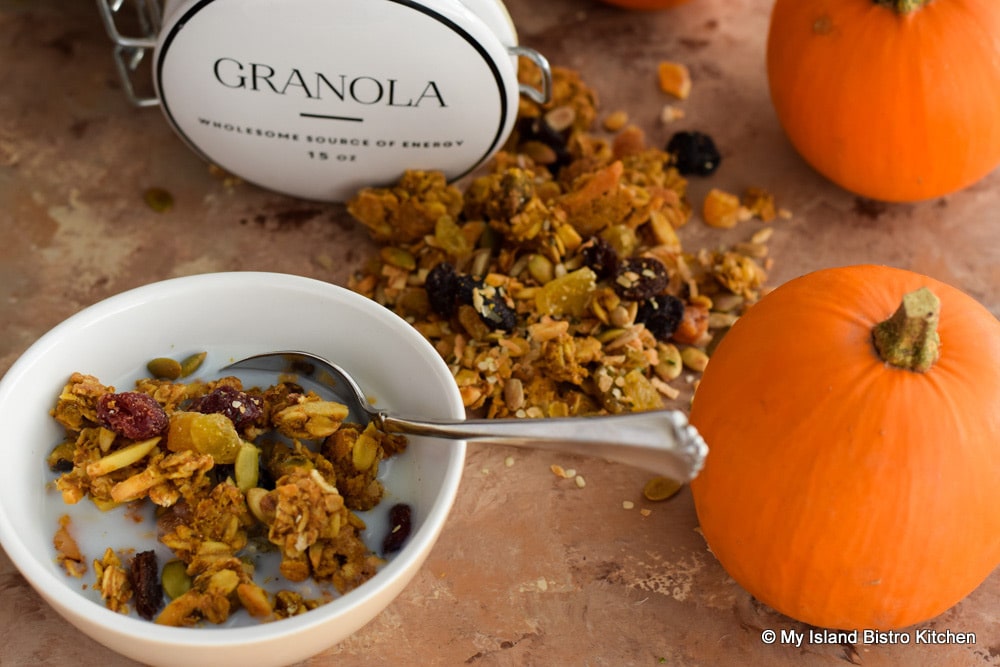
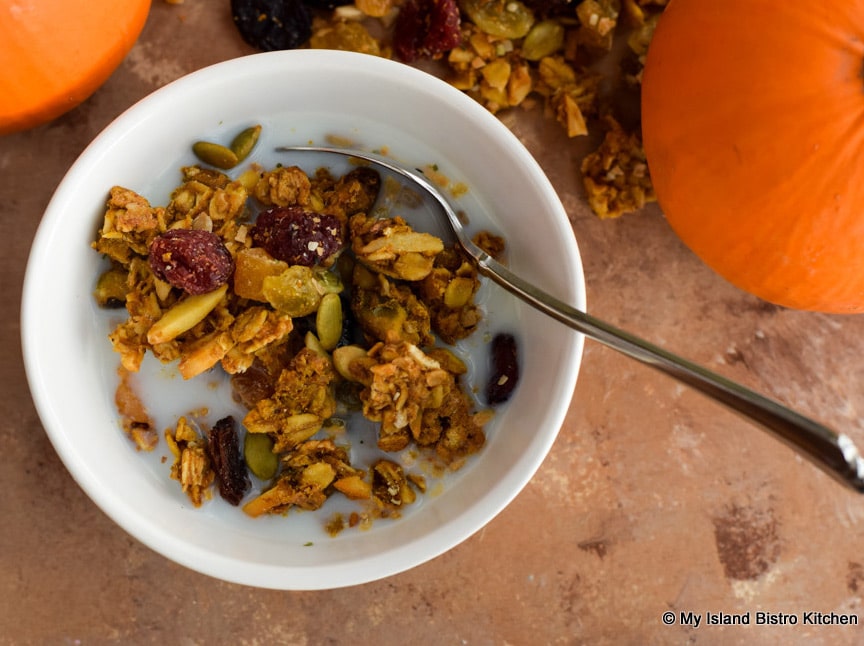
This granola is a staple in my freezer. There are so many different ways in which it can be used. I use it on its own as a cereal and, sometimes, I’ll top oatmeal or a cold cereal with it.
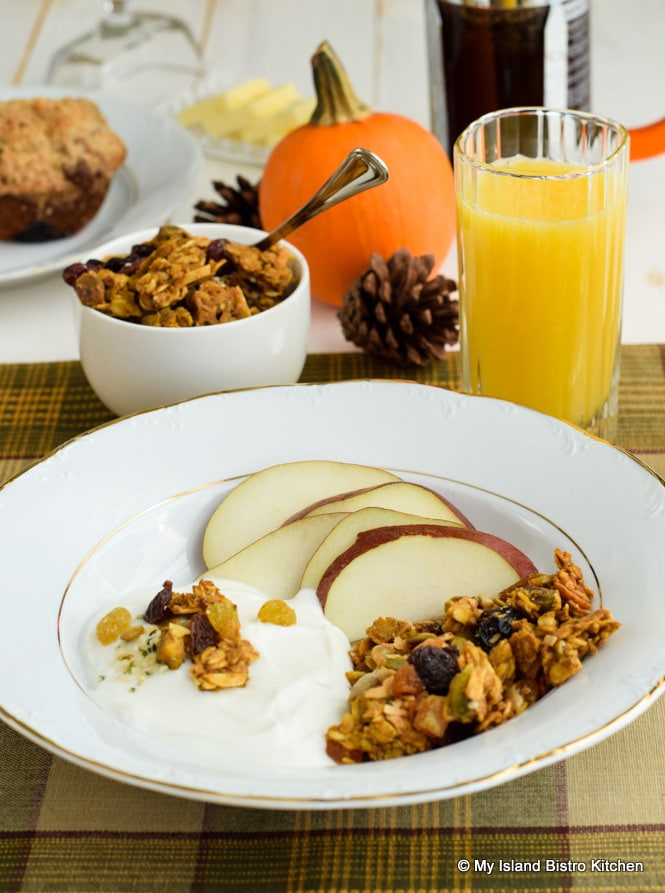
It’s also great to serve alongside (or on top of) Greek yogurt and some fresh fruit.

Toss some of the Pumpkin Spice Granola on top of a salad to add some extra crunch and texture. Or, simply eat it, as is, as a snack.
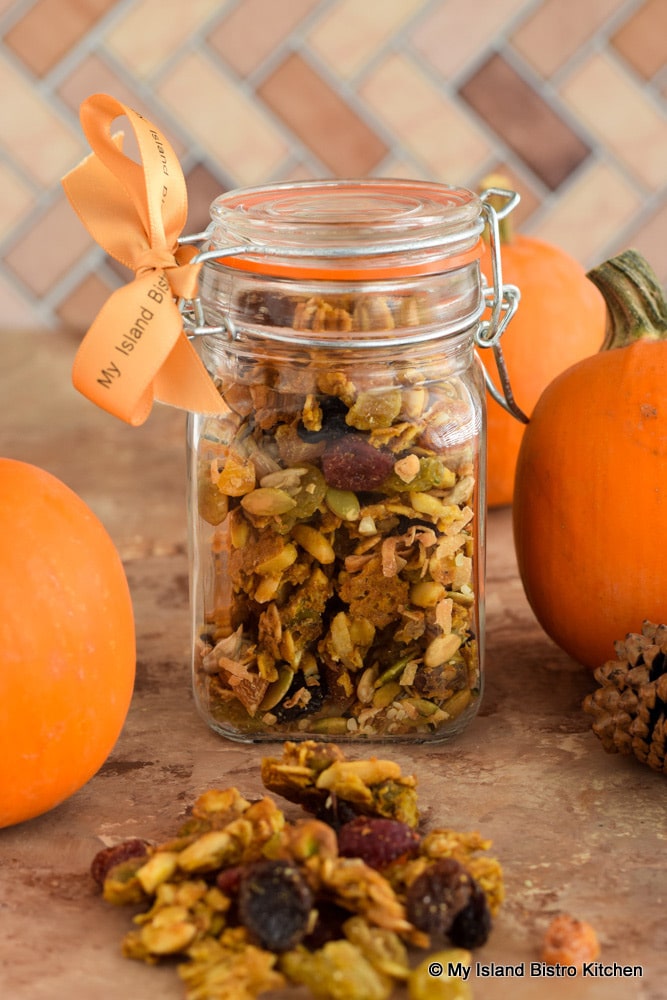
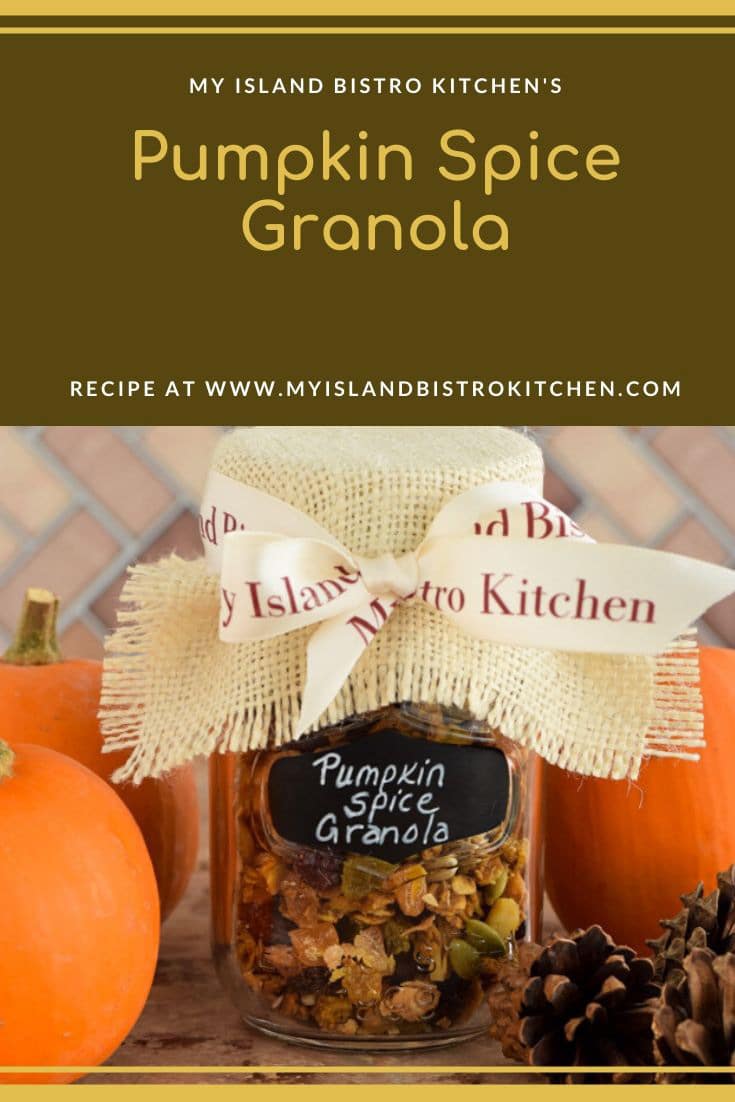
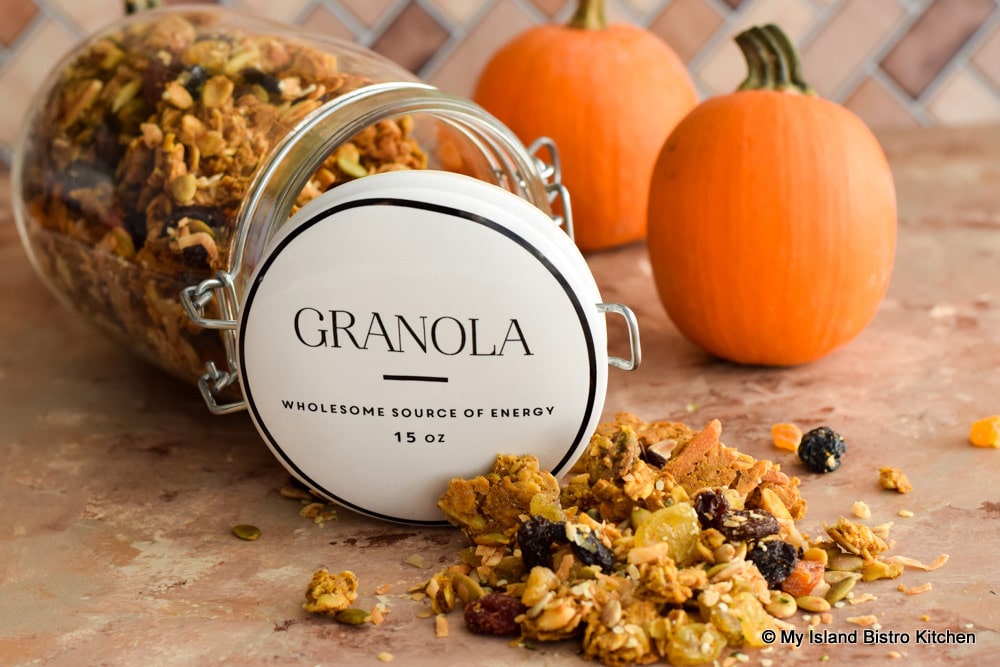
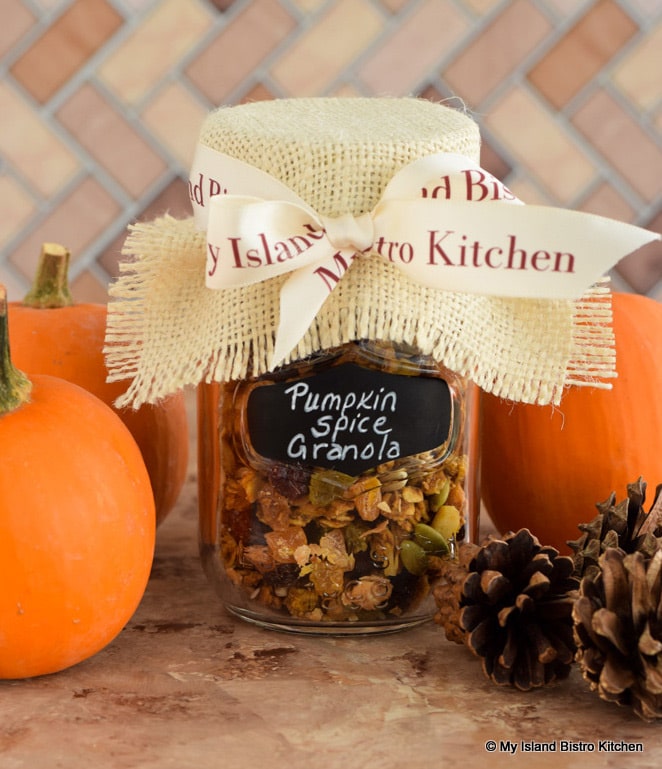
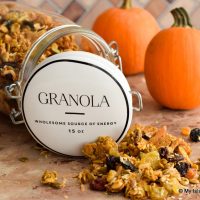
Of course, homemade Pumpkin Spice Granola makes a great gift, too. Package it attractively in a small cellophane bag or in a glass jar.

Add a ribbon and it makes a nifty host/hostess gift or small remembrance for someone. I love to give consumable gifts as they don’t clutter up anyone’s life and who doesn’t love a treat from someone else’s kitchen!
[Printable recipe follows at end of post]
Pumpkin Spice Granola
Ingredients:
½ cup pumpkin purée (not pumpkin pie filling)
1/3 cup + 1 tbsp pure maple syrup
1/3 cup coconut oil, liquid state
2 tbsp applesauce
2 tbsp light brown sugar
2 tsp pure vanilla
1¼ tsp cinnamon
½ tsp nutmeg
½ tsp allspice
¼ tsp cloves
1/8 tsp ginger
1/8 tsp mace (optional)
½ tsp fine sea salt
3 cups old-fashioned large flake rolled oats
½ cup slivered almonds
½ cup shelled pistachios
2 tbsp oat flour (optional)
2 tbsp ground flaxseed
2 tbsp ground chia seeds
1 extra-large egg white
2/3 cup golden raisins
½ cup sultana raisins
½ cup dried mixed fruit (e.g., cranberries, cherries, blueberries)
1/3 cup diced dried apricots
¼ cup hemp hearts
½ cup roasted pumpkin seeds
1/3 cup roasted sunflower seeds
½ cup toasted coconut flakes
Method:
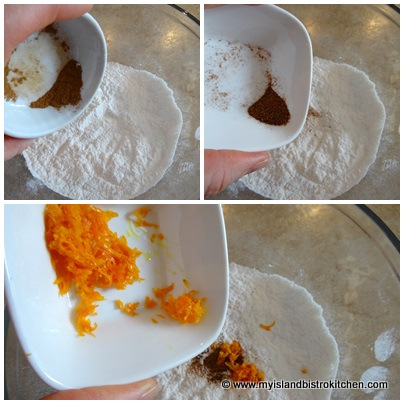
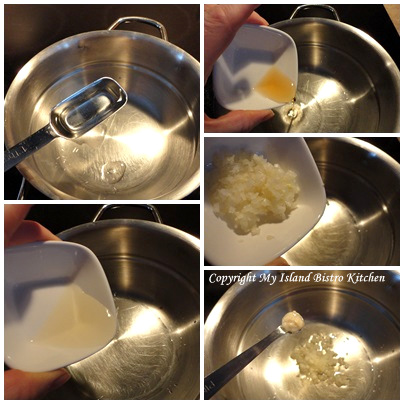
In small saucepan, combine the pumpkin purée, maple syrup, coconut oil, applesauce, brown sugar, and vanilla. Stir over medium-low heat until mixture is well blended and heated. Do not boil. Stir in spices and sea salt. Cool for about 20 minutes.
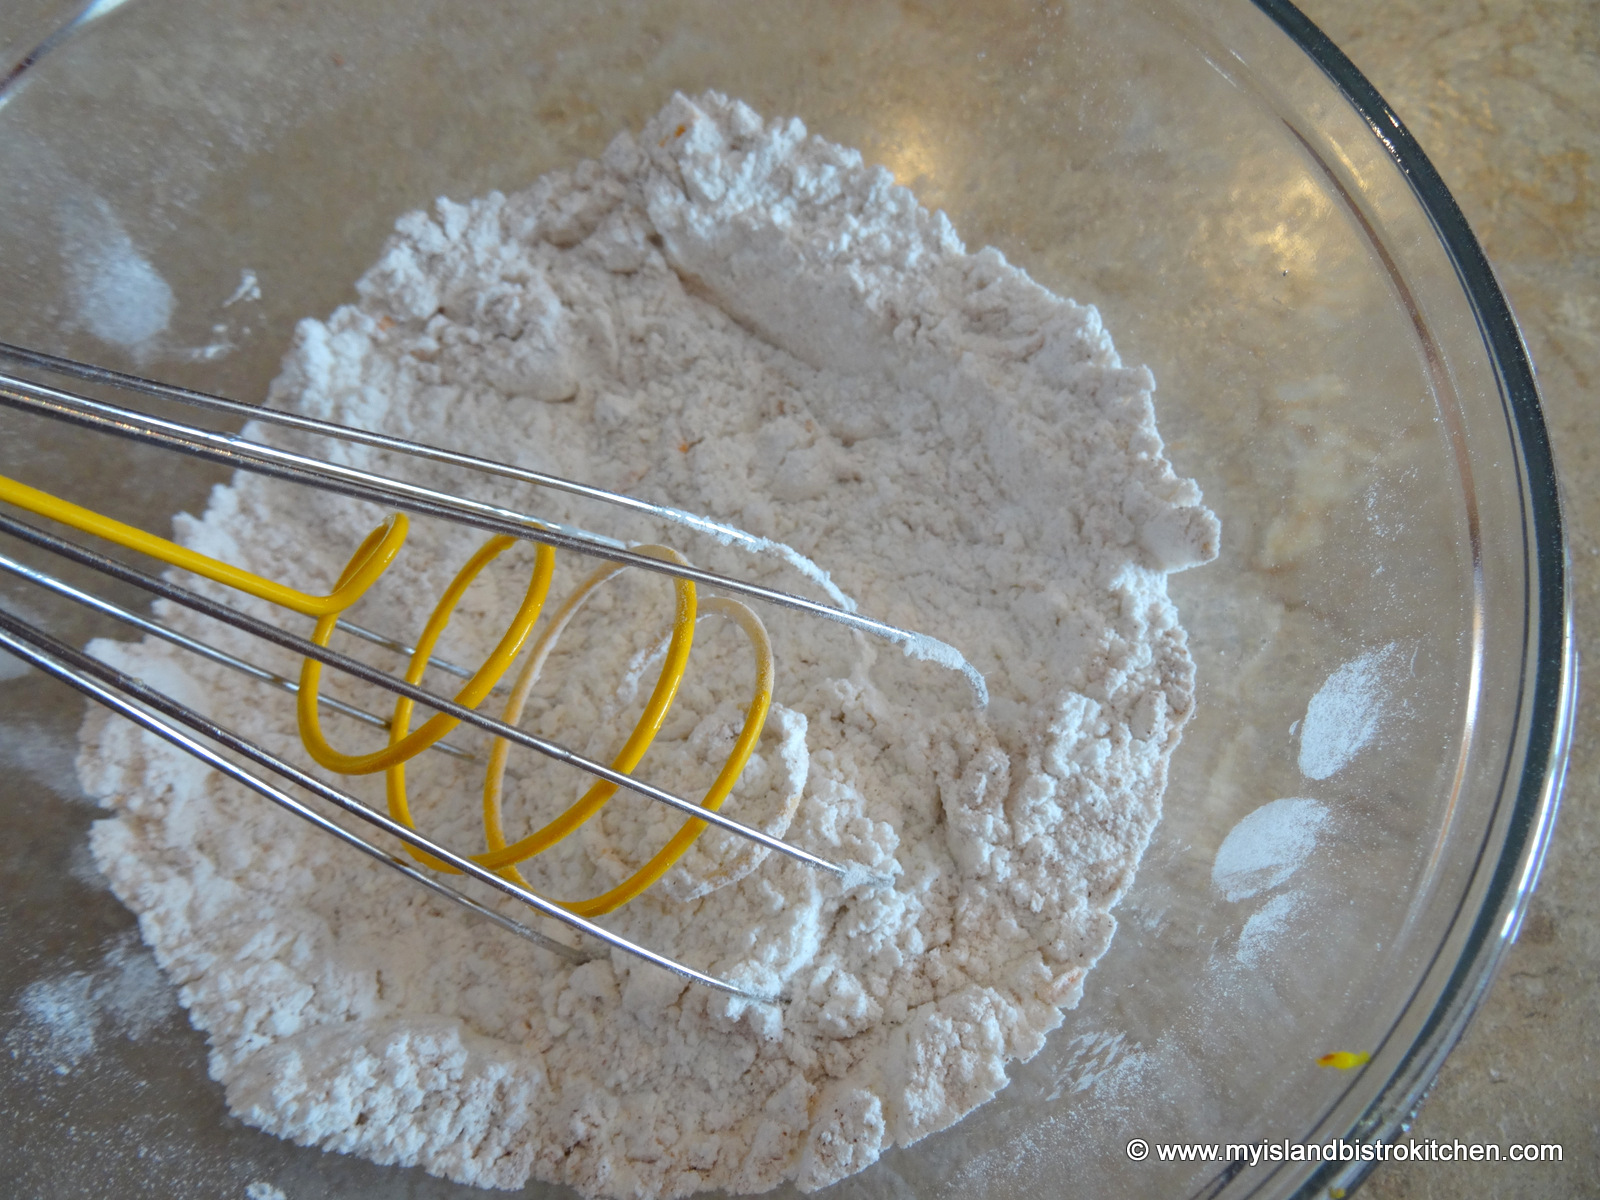
While the syrup is cooling, combine rolled oats, almonds, pistachios, oat flour, ground flax and chia seeds in large bowl.
In separate large bowl, combine raisins, dried mixed fruit, apricots, hemp hearts, pumpkin and sunflower seeds, and toasted coconut flakes. Set aside.
Preheat oven to 300°F. Line large rimmed baking sheet with foil. Spray lightly with cooking oil.
Beat egg white until frothy.
Pour cooled syrup over rolled oats mixture. Stir in the frothy egg white to coat the rolled oats mixture.
Spread oat mixture evenly in a single layer on prepared baking sheet. Pat down with the back of a spatula. Bake for 35-40 minutes, or until oats are a deep caramel color and start to get crispy and fragrant. Do not stir mixture during the baking. If granola starts to brown quickly, rotate the baking sheet in the oven and/or reduce the heat. Remove pan from oven and cool granola in pan for about 30 minutes. Break granola into desired sized pieces and add to the large bowl containing the dried fruit and seeds. Stir to combine all ingredients.
Store granola in airtight container at room temperature for 5-7 days or store in freezer for longer use.
Yield: Apx. 2½ pounds
Connect with My Island Bistro Kitchen by:
Joining the Facebook page for My Island Bistro Kitchen: https://www.facebook.com/MyIslandBistroKitchen/
Following “the Bistro” on Twitter: https://twitter.com/PEIBistro/
Seeing the drool-worthy gallery of mouth-watering food photos from My Island Bistro Kitchen on Instagram: https://www.instagram.com/peibistro/
Following “the Bistro” on Pinterest at https://www.pinterest.ca/peibistro/
(and you can pin the Pinterest-ready photo(s) below to your favorite Pinterest boards)
Of course, by subscribing to receive an email notification of new posts and recipes, you can be among the first to know when I publish a new post or recipe. Simply enter your name and email address in the Subscription block over on the right-hand side of my home page.
Pumpkin Spice Granola
Ingredients
- ½ cup pumpkin purée (not pumpkin pie filling)
- 1/3 cup + 1 tbsp pure maple syrup
- 1/3 cup coconut oil, liquid state
- 2 tbsp applesauce
- 2 tbsp light brown sugar
- 2 tsp pure vanilla
- 1¼ tsp cinnamon
- ½ tsp nutmeg
- ½ tsp allspice
- ¼ tsp cloves
- 1/8 tsp ginger
- 1/8 tsp mace (optional)
- ½ tsp fine sea salt
- 3 cups old-fashioned large flake rolled oats [gluten-free if required]
- ½ cup slivered almonds
- ½ cup shelled pistachios
- 2 tbsp oat flour (optional) [gluten-free, if required]
- 2 tbsp ground flaxseed
- 2 tbsp ground chia seeds
- 1 extra-large egg white
- 2/3 cup golden raisins
- ½ cup sultana raisins
- ½ cup dried mixed fruit (e.g., cranberries, cherries, blueberries)
- 1/3 cup diced dried apricots
- ¼ cup hemp hearts
- ½ cup roasted pumpkin seeds
- 1/3 cup roasted sunflower seeds
- ½ cup toasted coconut flakes
Instructions
- In small saucepan, combine the pumpkin purée, maple syrup, coconut oil, applesauce, brown sugar, and vanilla. Stir over medium-low heat until mixture is well blended and heated. Do not boil. Stir in spices and sea salt. Cool for about 20 minutes.
- While the syrup is cooling, combine rolled oats, almonds, pistachios, oat flour, ground flax and chia seeds in large bowl.
- In separate large bowl, combine raisins, dried mixed fruit, apricots, hemp hearts, pumpkin and sunflower seeds, and toasted coconut flakes. Set aside.
- Preheat oven to 300°F. Line large rimmed baking sheet with foil. Spray lightly with cooking oil.
- Beat egg white until frothy.
- Pour cooled syrup over rolled oats mixture. Stir in the frothy egg white to coat the rolled oats mixture.
- Spread oat mixture evenly in a single layer on prepared baking sheet. Pat down with the back of a spatula. Bake for 35-40 minutes, or until oats are a deep caramel color and start to get crispy and fragrant. Do not stir mixture during the baking. If granola starts to brown quickly, rotate the baking sheet in the oven and/or reduce the heat. Remove pan from oven and cool granola in pan for about 30 minutes. Break granola into desired sized pieces and add to the large bowl containing the dried fruit and seeds. Stir to combine all ingredients.
- Store granola in airtight container at room temperature for 5-7 days or store in freezer for longer use.
Recipe Notes
Yield: Apx. 2½ pounds
For Other Great Granola Recipes From My Island Bistro Kitchen, click on the links below:
Nut-free Granola
Clumpy Almond Butter Granola
PIN ME TO PINTEREST!