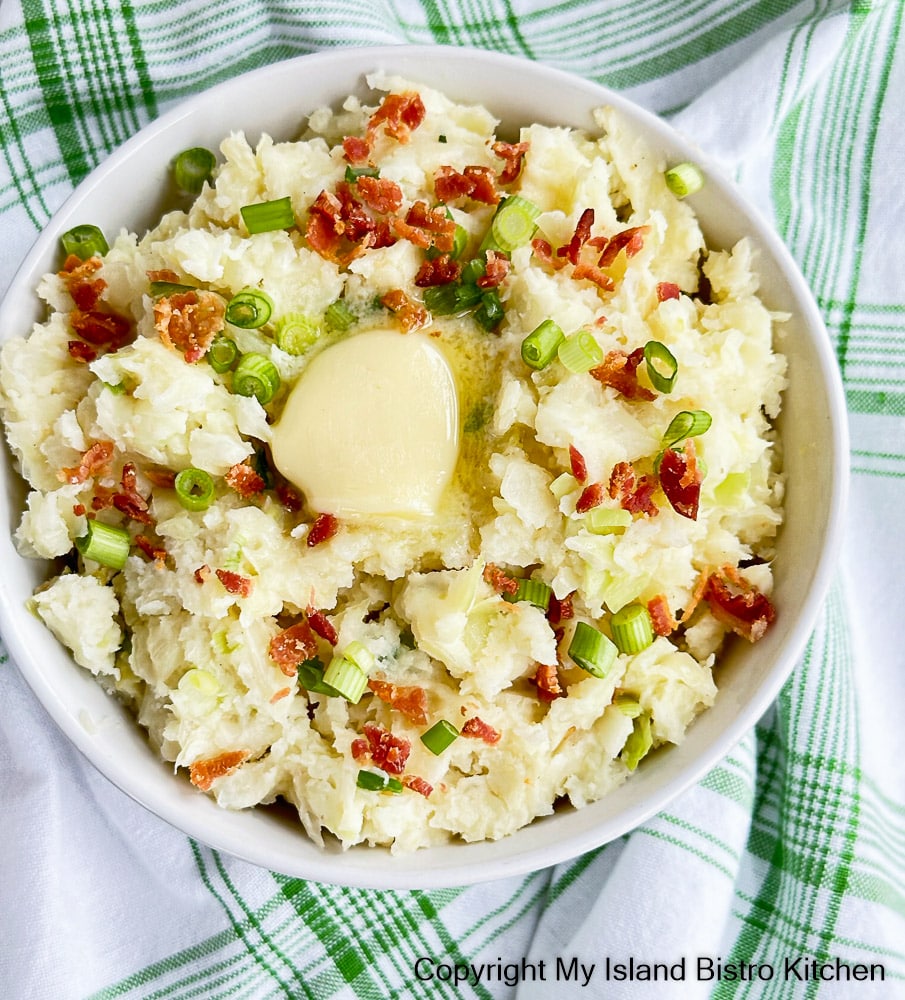
A traditional Irish mashed potato dish, Colcannon Potatoes were a staple of the Irish working class for centuries. Made with the simple ingredients of mashed potatoes, cabbage, milk or cream, and butter, additional seasonings such as onion, garlic, and bacon may also be incorporated into dish. Continue reading Colcannon Potatoes Recipe→
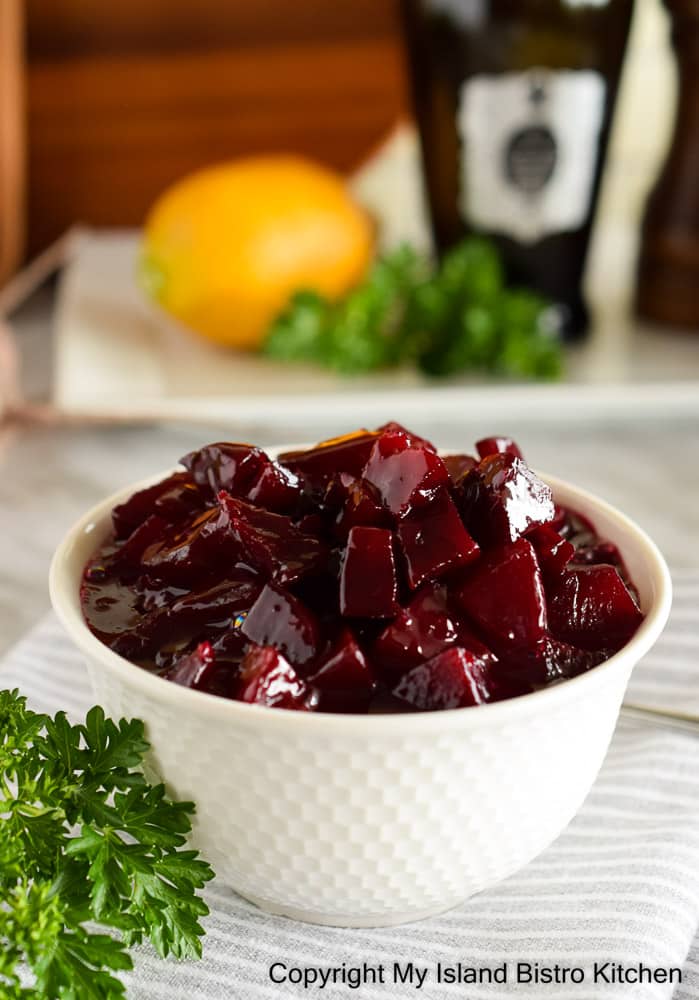
Harvard Beets are simply a side dish of cooked beets that have been diced or sliced and reheated in a sweet and slightly tangy sauce made primarily with sugar, vinegar, and thickener. Some refer to these beets as glazed beets. Harvard Beets may be eaten hot, lukewarm, or cold. Continue reading Delicious Harvard Beets Recipe→
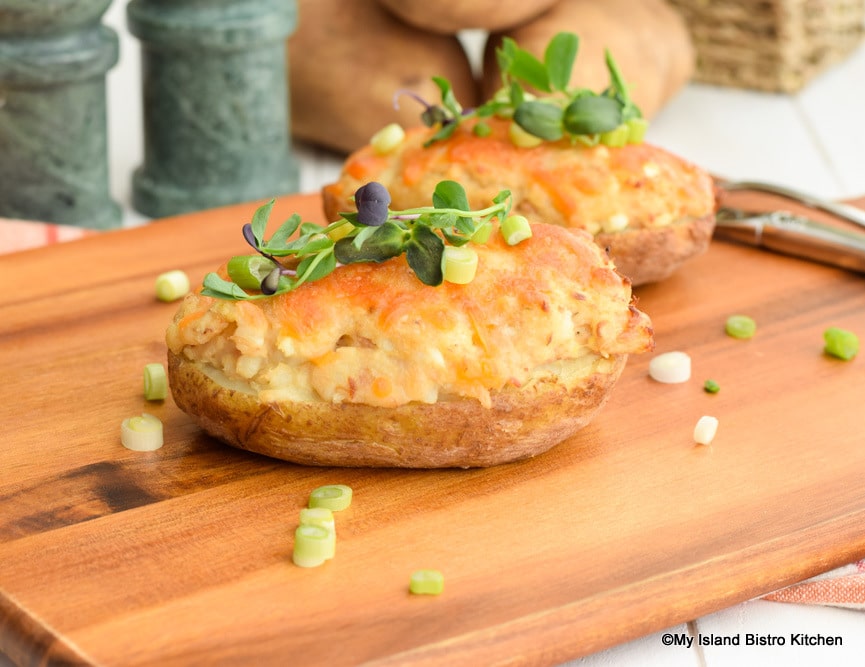
These tasty Tuna Stuffed Potatoes are the full meal deal. With a filling of potato, tuna, egg, and cheese, all encased in potato shells, these twice-baked potatoes make a great lunch all on their own. Continue reading Tuna Stuffed Potatoes Recipe→
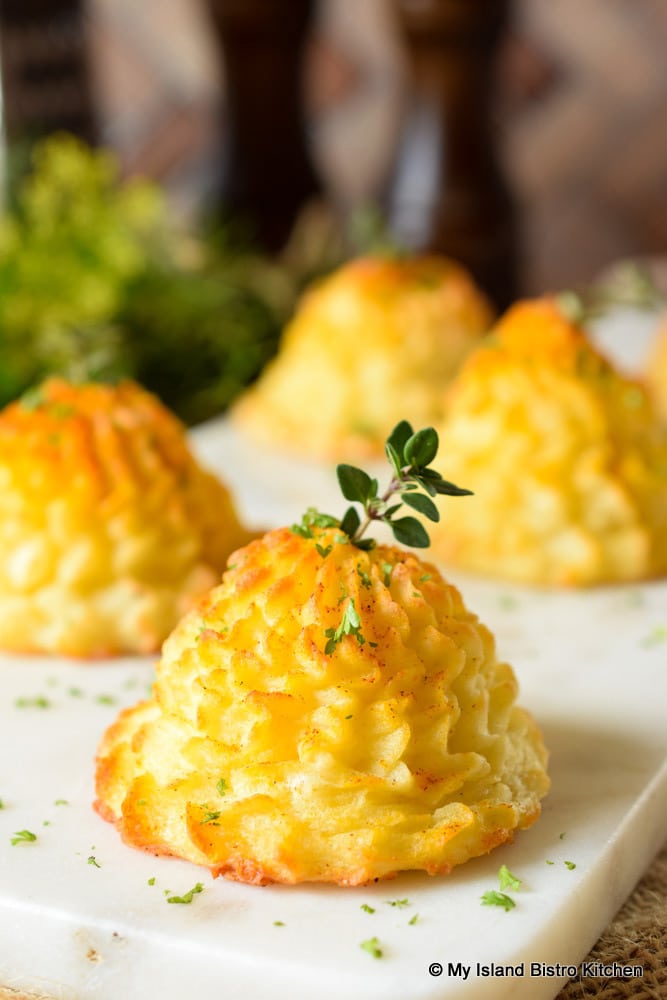
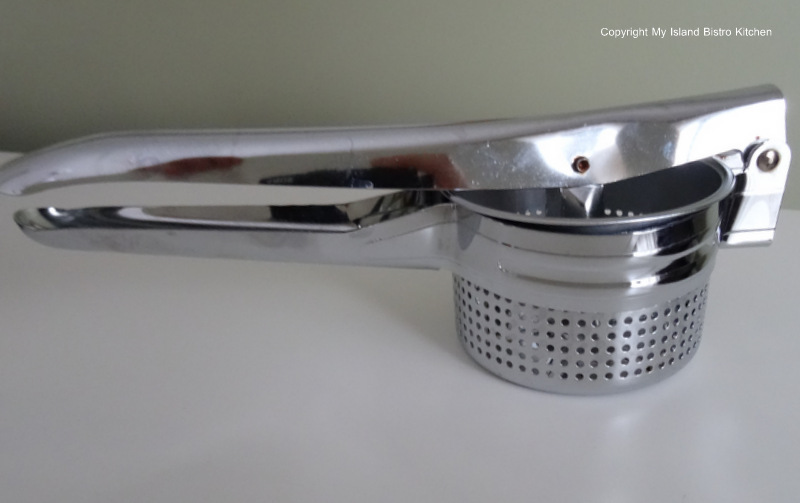
Duchess Potatoes are one of the most elegant ways to serve mashed potatoes. To make this recipe, the cooked potatoes are traditionally pushed through a potato ricer (like the one in the photo below) which removes all lumps and makes the potatoes very light and fluffy. Alternatively, if you don’t have a potato ricer, the potatoes can be mashed really well with a potato masher but they won’t be quite as smooth as when riced.
Potato Ricer
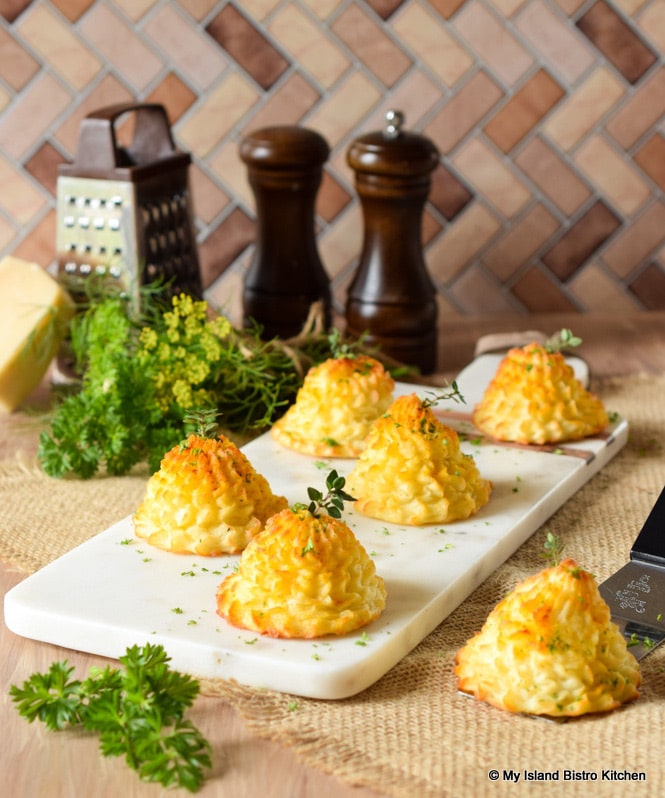
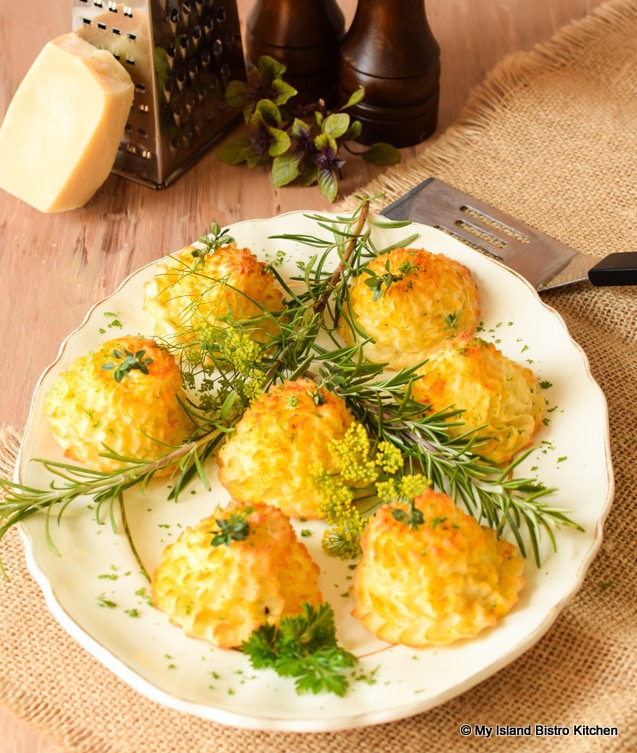
The potatoes are mixed with egg yolks, milk or cream, melted butter, some cheese, and seasonings like onion and garlic salt and, traditionally, a pinch of nutmeg. The creamy mixture is then squeezed through a pastry bag, fitted with a large open star tip, and piped into decorative shapes, like cones or rosettes, on to a baking sheet. Brushed with melted butter and browned in the oven, these little potato mounds take any meal up a notch! Slightly crispy on the outside, the inside is a soft, puffy cloud of tasty goodness.
Duchess Potatoes
Choose a good starchy potato, like Yukon Gold or Russets, suitable for mashing, for these little gems. You will want to select a variety of potato that has a higher starch content as these will generate a fluffy and smooth texture when riced or mashed which is what is required for Duchess Potatoes. The Yukon Gold variety will give a somewhat natural buttery taste and will have a creamier texture than will Russets though either variety will work for Duchess Potatoes. Avoid varieties of waxy potatoes as they have a tendency to become pasty and gummy when mashed or riced and mixed with other ingredients. That is not the texture for good Duchess Potatoes.
Some potatoes (like Russets, for example) absorb more liquid than others so the quantity of milk/cream called for in the recipe should be used as a guide. Add the cream/milk gradually, using only enough to make the potato mixture pliable and capable of being piped through the pastry bag. Adding too much milk/cream will cause the mixture to become too loose and soupy and the potato mounds to spread instead of holding their shape. When they are piped on to the baking sheet, they should immediately hold their shape perfectly and not spread or flop over.
Avoid using a mixer or blender to combine the ingredients for Duchess Potatoes because too much mixing may result in any variety of potato used becoming glue-like and gummy. Just a good old large mixing spoon or rubber spatula and some muscle power will mix the ingredients sufficiently.
It is recommended that the potato mounds be placed in the refrigerator for a minimum of 20 minutes before baking as this will help them to firm up and reduce the risk of them spreading when they are placed in the oven.
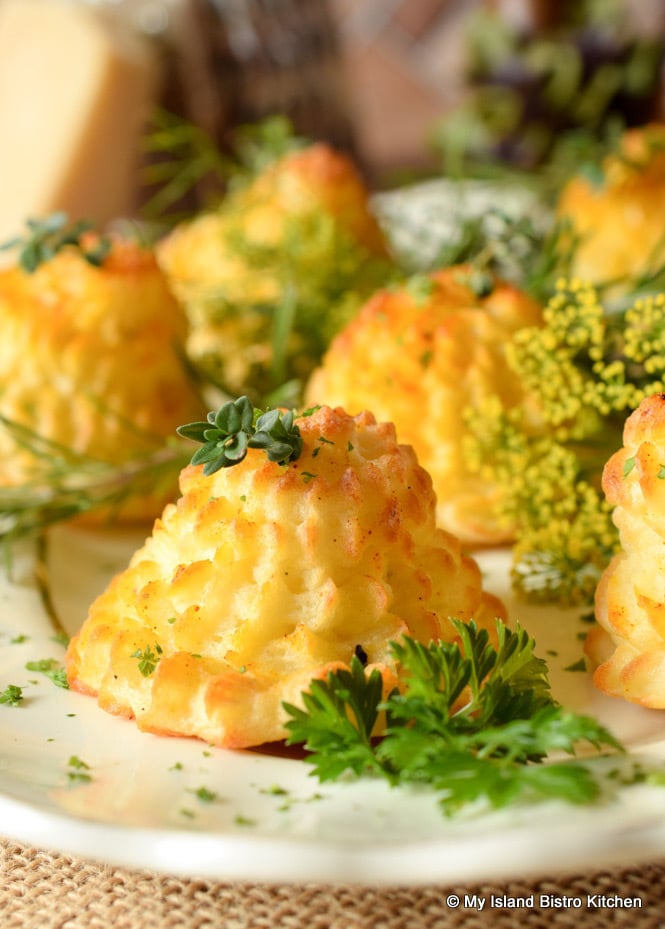
Duchess Potatoes
Known in French as pommes duchess, this method of presenting potatoes is considered to be a classic in French cuisine.
Duchess Potatoes
Duchess Potatoes are a wonderful side dish to many meals as they plate really well and look very stylish on the plate.
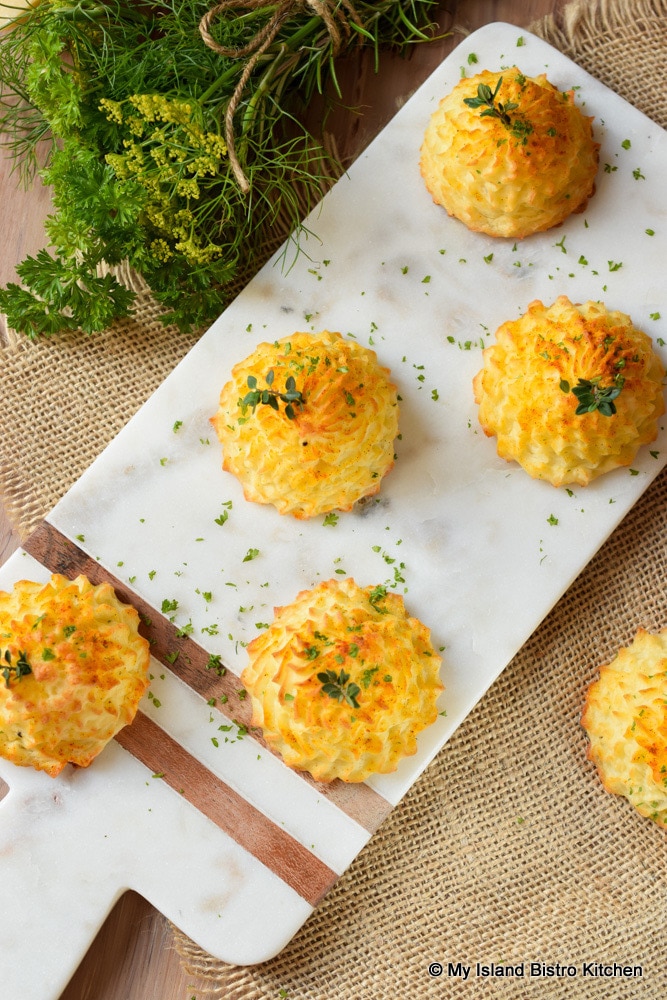
Duchess Potatoes
Duchess Potatoes may be made up to a day in advance of serving and refrigerated, loosely covered with plastic wrap. To bake, remove them from the refrigerator, brush with melted butter, sprinkle with paprika, and bake as directed in recipe.
The potatoes are typically piped into shapes about 2″ – 2 1/2″ in diameter. Depending on the meal to which they are a side, and the size of the mounds, one or two of the potato mounds would generally be allotted per serving. If they are made very petite, up to three could be plated with a meal.
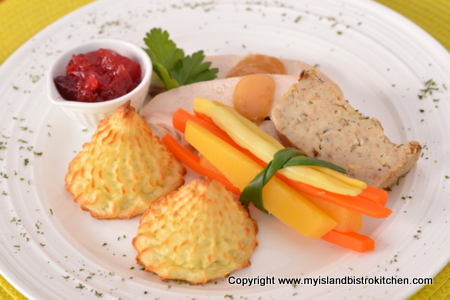
Roast Turkey Dinner Served with Duchess Potatoes
[Printable recipe follows at end of post]
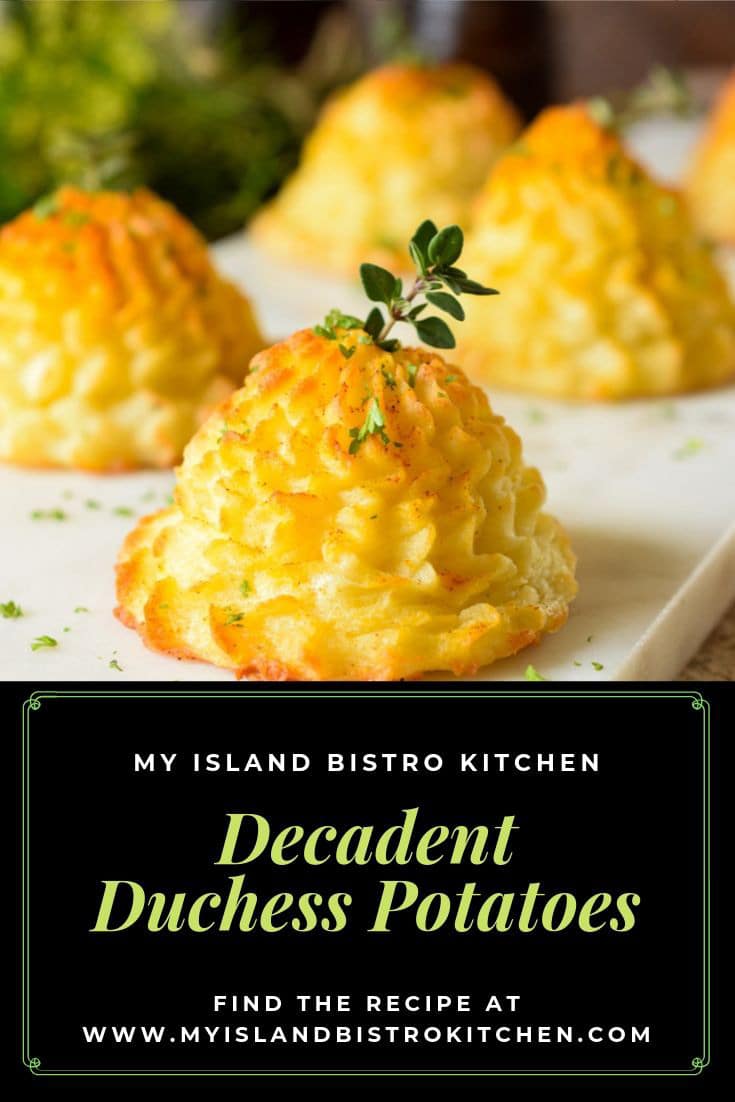
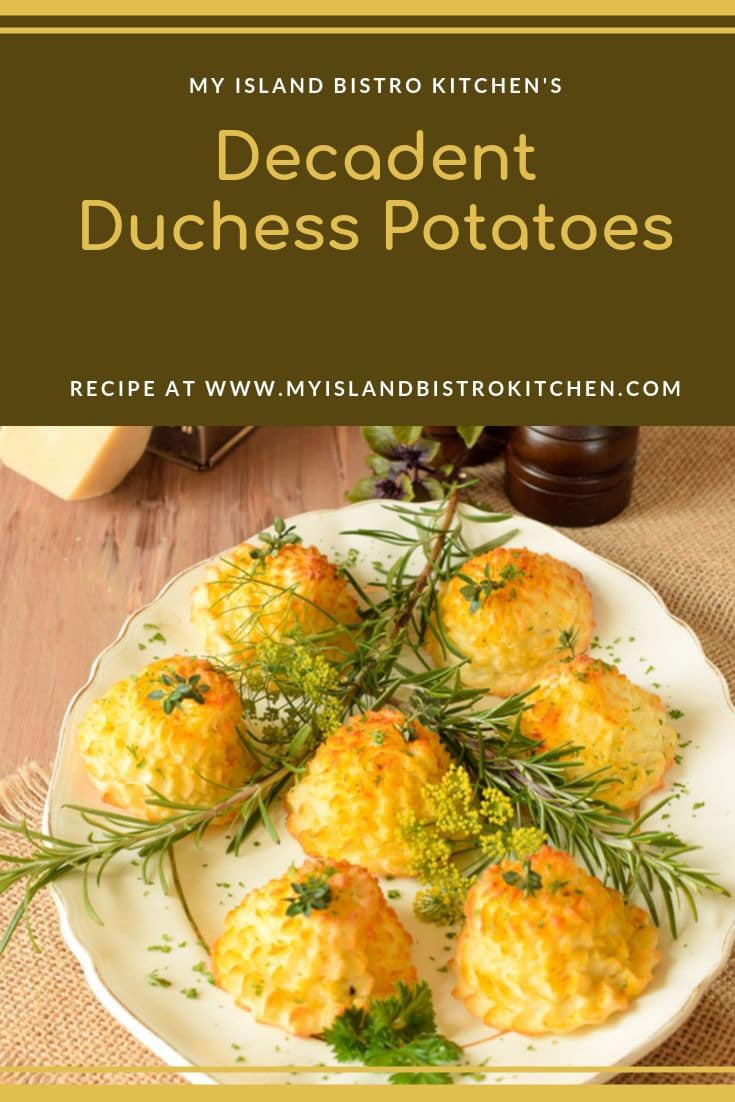
Decadent Duchess Potatoes
Ingredients:
5 or 6 medium potatoes (Russets or Yukon Gold), peeled, sliced, cooked, and drained (apx 2 lbs) ¼ tsp salt
¼ cup melted butter 3 egg yolks (room temperature), slightly beaten ¼ – 1/3 cup cream, half and half, or whole milk (warmed) [See Note below] 3 tbsp grated white cheddar cheese 1 tbsp grated Parmesan cheese ¼ – ½ tsp garlic salt dash freshly cracked pepper ¼ tsp onion salt (optional) Pinch nutmeg (optional)
2-3 tbsp melted butter for brushing potato mounds Paprika (optional) Fresh herbs of choice (e.g., thyme, rosemary, parsley) for garnish (optional)
Method:
Peel and slice potatoes. Place in large pot and add apx. 3 cups of water (1/4 tsp. salt). Bring to boil. Reduce heat to medium and cook potatoes until fork-tender. Drain.
Preheat oven to 425°F.
Line baking sheet with parchment paper. Spray lightly with cooking oil.
Process potatoes through a potato ricer or mash really well with a potato masher to remove any lumps. Add butter, egg yolks, cream or milk, cheeses, garlic salt, pepper, onion salt, and nutmeg. Stir well to incorporate ingredients thoroughly and to make the mixture smooth. Transfer potato mixture to a large pastry bag fitted with a large open star decorating tip (at least ¾” wide opening at tip).
Pipe mixture into decorative mounds, about 2 – 2½” round, directly onto prepared baking sheet leaving 1½” – 2” inches in between each mound (apx ½ cup potato mixture for each mound). Place in refrigerator for about 20 minutes to firm up the mounds before baking. Remove from refrigerator and brush mounds lightly with melted butter.
Sprinkle each mound lightly with paprika, if desired. Bake for 20 minutes, or until potatoes are slightly browned. Remove from oven and let potato mounds rest on baking sheet 3-4 minutes before serving.
Garnish with chopped fresh herbs and serve immediately.
Yield:Apx. 20 – 2” potato mounds
NOTE 1: Some potatoes absorb more liquid than others so the quantity of milk/cream given in the recipe should be used as a guide. Add the cream/milk gradually using only enough to make the potato mixture pliable and capable of being piped through the pastry bag. Adding too much milk will cause potato mounds to spread instead of holding their shape.
NOTE 2: Duchess Potatoes may be made up to a day in advance of serving and refrigerated, loosely covered with plastic wrap. To bake, remove from refrigerator and brush with melted butter and sprinkle with paprika. Bake as directed in recipe.
One of the most elegant ways to serve potatoes, these Duchess Potatoes take mashed potatoes to a whole new level!
Course Side Dish
Cuisine French
Keyword duchess potatoes, potatoes
Servings10
My Island Bistro KitchenMy Island Bistro Kitchen
Ingredients
5or 6 medium potatoes (Russets or Yukon Gold), peeled, sliced, cooked, and drained (apx 2 lbs)
¼tspsalt
¼cupmelted butter
3egg yolks, room temperature, slightly beaten
¼ - 1/3cupcream, half and half, or whole milk (warme[See Note below]
3tbspgrated white cheddar cheese
1tbspgrated Parmesan cheese
¼ - ½tspgarlic salt
dash freshly cracked pepper
¼tsponion salt (optional)
Pinchnutmeg (optional)
2-3tbspmelted butter for brushing potato mounds
Paprika (optional)
Fresh herbs of choice (e.g., thyme, rosemary, parslefor garnish (optional)
Instructions
Peel and slice potatoes. Place in large pot and add apx. 3 cups of water (1/4 tsp. salt). Bring to boil. Reduce heat to medium and cook potatoes until fork-tender. Drain.
Preheat oven to 425°F.
Line baking sheet with parchment paper. Spray lightly with cooking oil.
Process potatoes through a potato ricer or mash really well with a potato masher to remove any lumps. Add butter, egg yolks, cream or milk, cheeses, garlic salt, pepper, onion salt, and nutmeg. Stir well to incorporate ingredients thoroughly and to make the mixture smooth. Transfer potato mixture to a large pastry bag fitted with a large open star decorating tip (at least ¾” wide opening at tip).
Pipe mixture into decorative mounds, about 2 - 2½” round, directly onto prepared baking sheet leaving 1½” – 2” inches in between each mound (apx ½ cup potato mixture for each mound). Place in refrigerator for about 20 minutes to firm up the mounds before baking. Remove from refrigerator and brush mounds lightly with melted butter.
Sprinkle each mound lightly with paprika, if desired. Bake for 20 minutes, or until potatoes are slightly browned. Remove from oven and let potato mounds rest on baking sheet 3-4 minutes before serving.
Garnish with chopped fresh herbs and serve immediately.
Recipe Notes
Yield:Apx. 20 – 2” potato mounds
NOTE 1: Some potatoes absorb more liquid than others so the quantity of milk/cream given in the recipe should be used as a guide. Add the cream/milk gradually using only enough to make the potato mixture pliable and capable of being piped through the pastry bag. Adding too much milk will cause potato mounds to spread instead of holding their shape.
NOTE 2: Duchess Potatoes may be made up to a day in advance of serving and refrigerated, loosely covered with plastic wrap. To bake, remove from refrigerator and brush with melted butter and sprinkle with paprika. Bake as directed in recipe.
Living in a province known for its potato production, it’s almost inevitable that potatoes are served at many meals on PEI dinner tables. There are any number of ways this versatile veggie can be served and, later in this posting, you’ll find links to some of my favorite potato recipes.
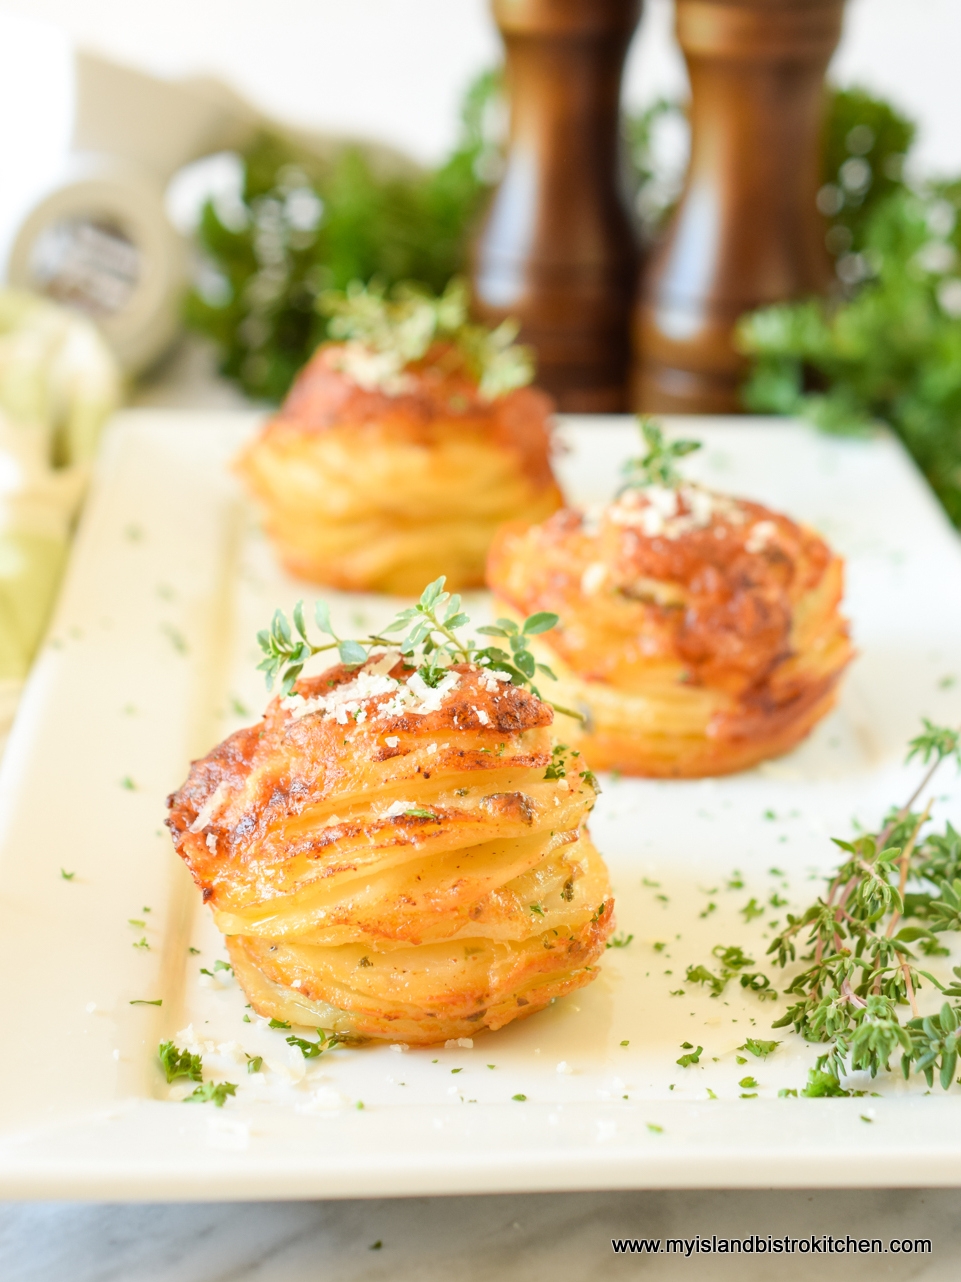
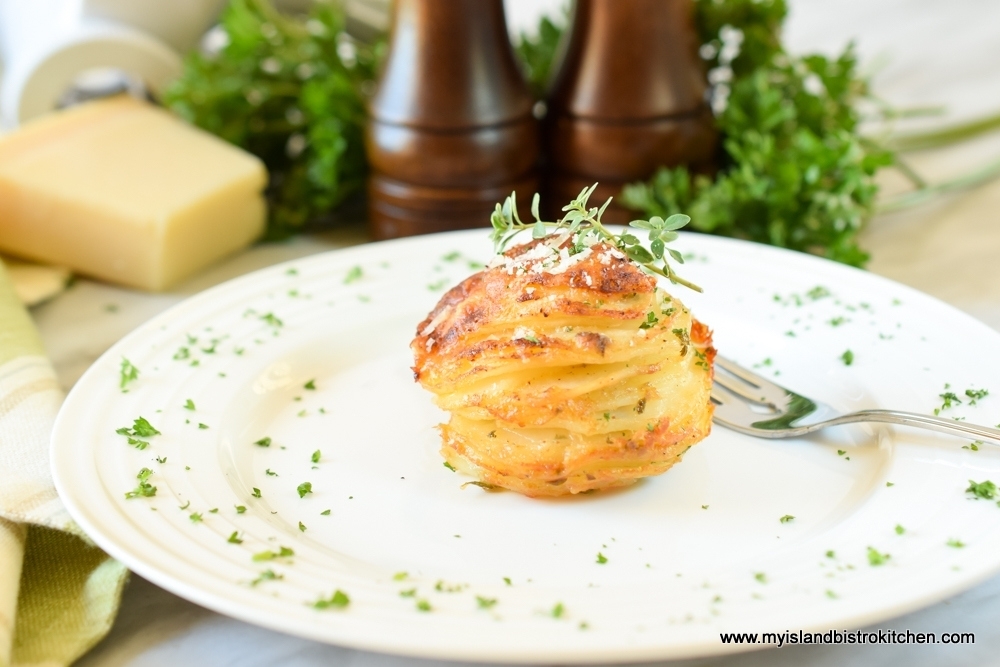
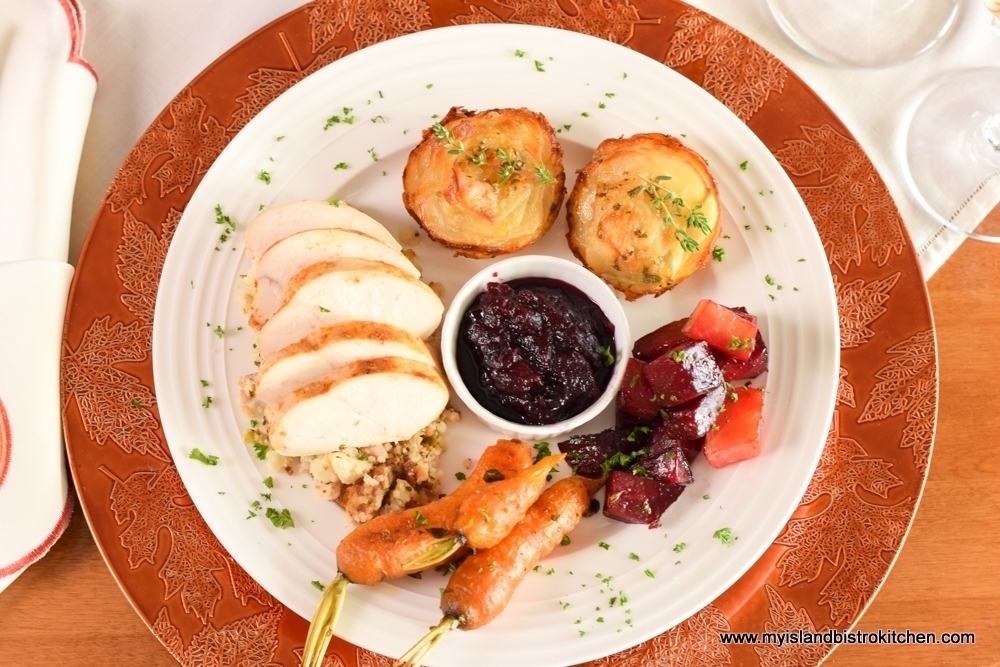
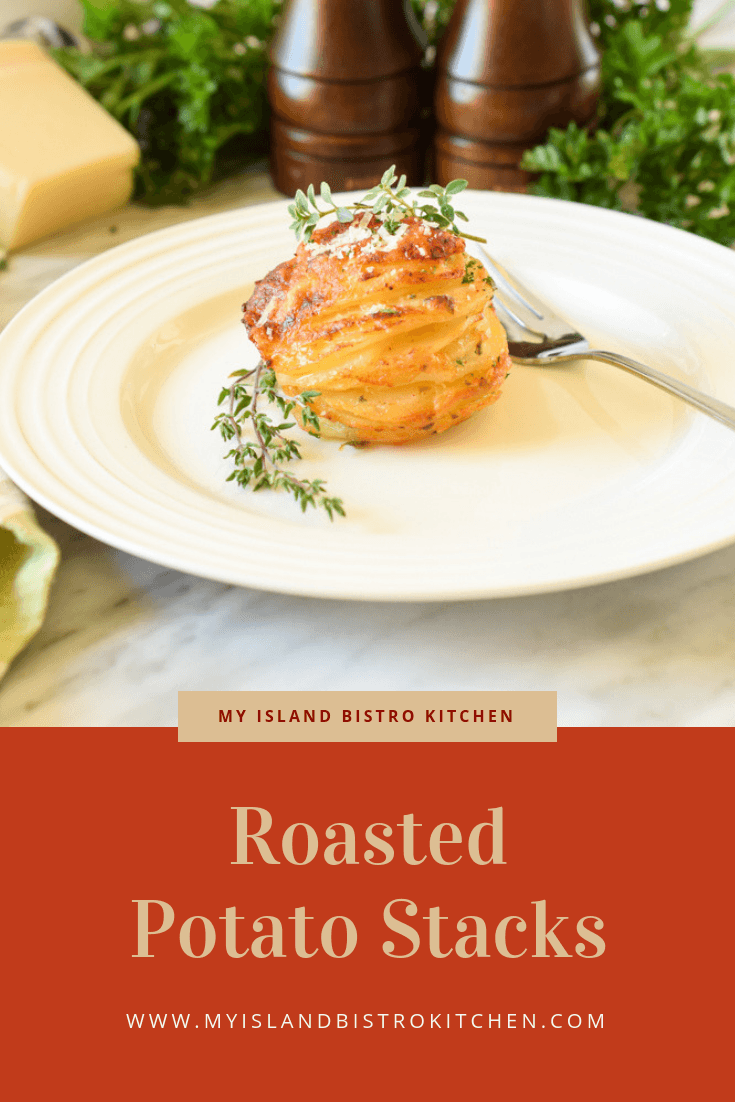
Roasted Potato Stacks are my latest creation involving potatoes. They are very tasty and do plate quite attractively. They are also suitable for serving at buffets.
Roasted Potato Stacks
Because these potato stacks are free-standing when cooked and removed from the muffin cups, they need to be able to stand on their own when plated. The goal is also to see the individual slices of the potato. I recommend choosing potatoes that have a medium starch content, are semi-waxy, and have somewhat firm flesh such as Yukon Gold, or an all-purpose round white potato variety. These are the types of potatoes that will hold their shape after cooking and when plated and they can take the higher heat at which the stacks are roasted without falling apart or becoming mushy. Choosing potatoes that have good moisture content also helps to keep the roasted potato stacks moist. Potatoes high in starch and low in moisture don’t hold their shape as well and tend to break down easier than less starchy or waxy potatoes. For this reason, they are not as suitable for these Roasted Potato Stacks as are their semi-waxy cousins. Select potatoes, about 2” around, so that, when sliced very thinly, they will easily fit flatly in muffin tin cups.
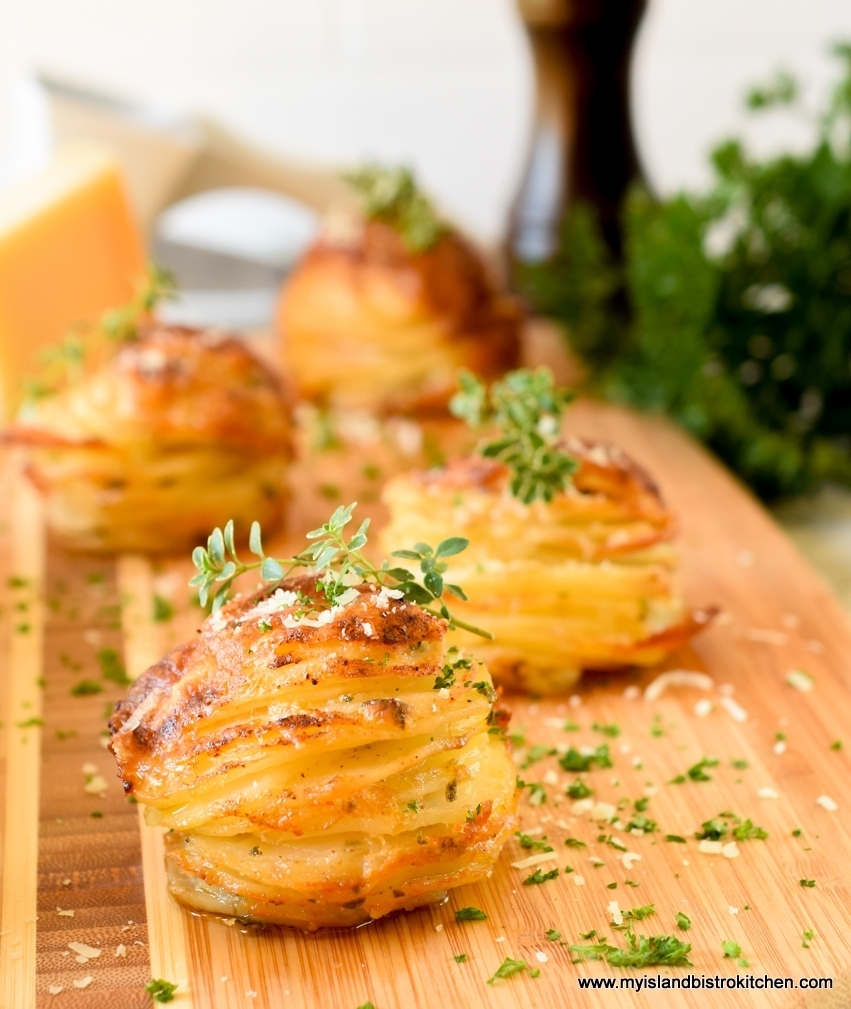
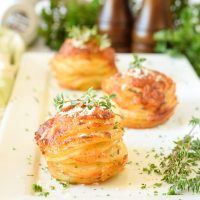
Roasted Potato Stacks
The key to making these Roasted Potato Stacks is to have the potato slices very thin and uniformly sized. I have tested my recipe with three different thicknesses of potatoes – 1/16”, 3/16”, and 1/8” and my preference is 3/16” as the layers of individual potato slices in each stack are still intact and identifiable when fully roasted but they are not so thick as to cause issues getting them cooked.
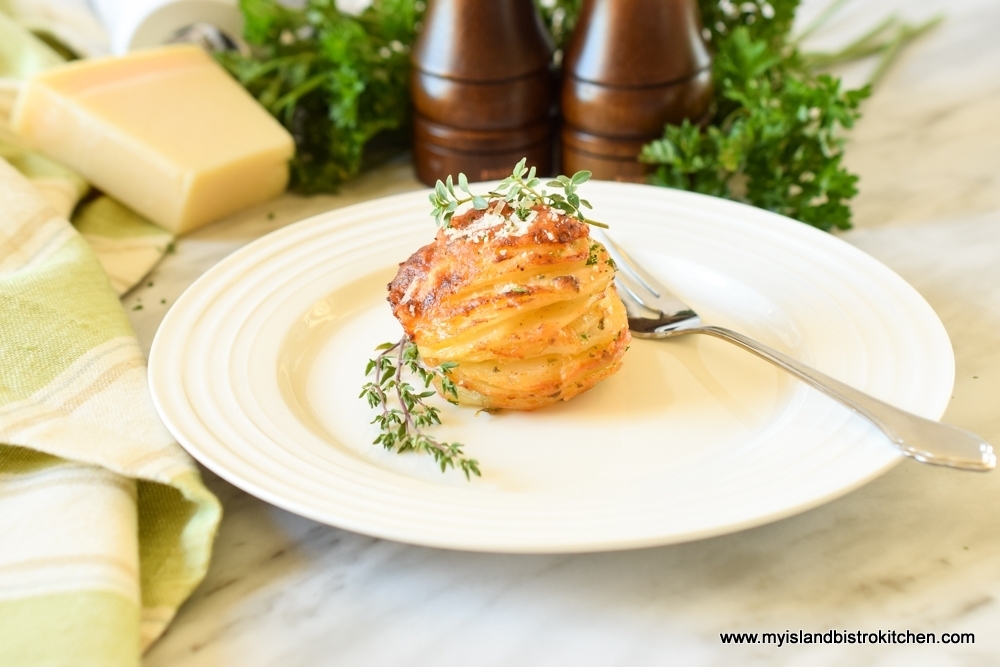
Roasted Potato Stack
I recommend using a mandolin for quick and uniform slicing. I have a dandy hand-held mandolin that is slick and easy for this kind of work and it saves the set up of my larger mandolin or the trials, tribulations, and time to thinly slice the potatoes by hand.
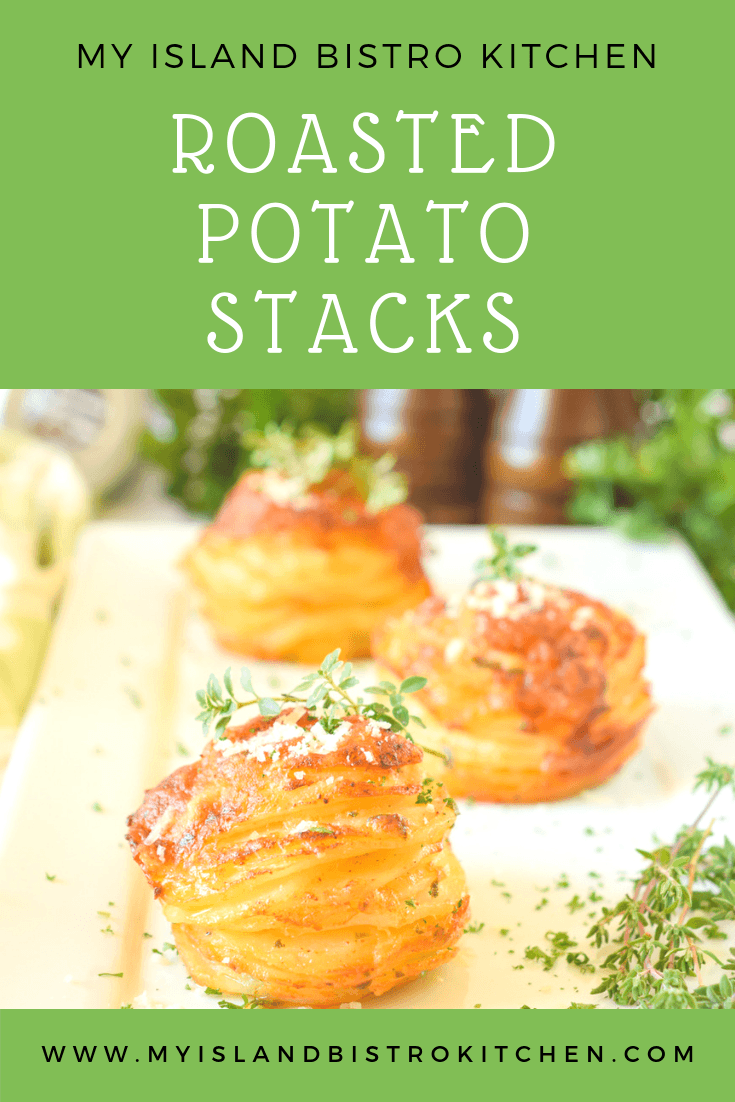
Made with seasoned butter and a blend of cheeses, these delectable easy-to-make roasted potato stacks are a great side dish or appetizer.
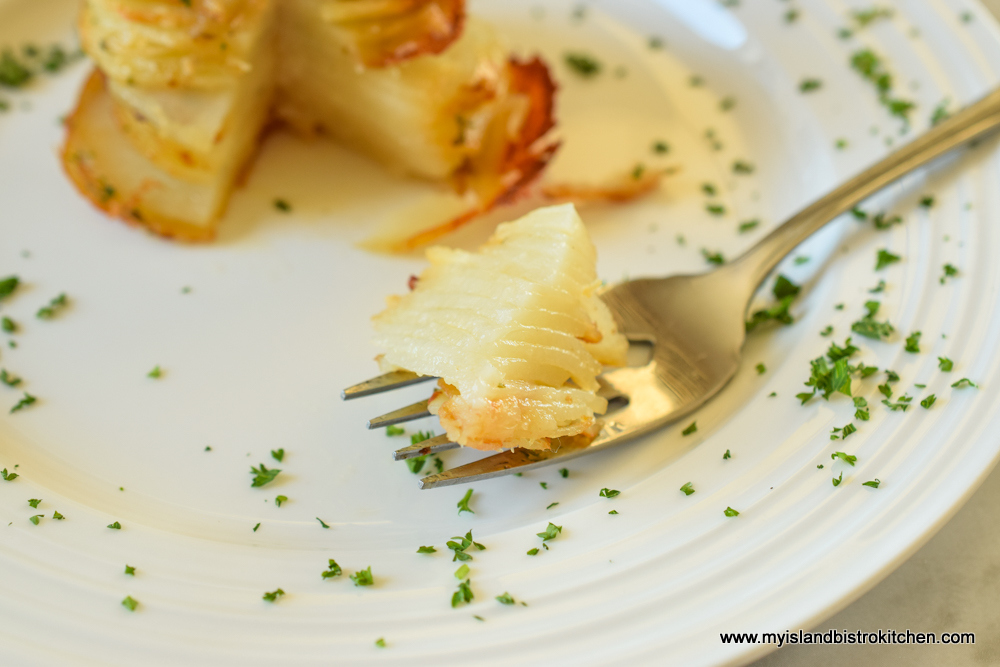
Roasted Potato Stack
[Printable recipe follows at end of posting]
Roasted Potato Stacks
Ingredients:
2¼ lb potatoes, peeled, washed, and dried (e.g., Yukon Gold or all-purpose round white variety) 3 tbsp melted butter 1 tsp olive oil 1 tsp liquid chicken bouillon 1 tsp garlic salt ¾ tsp onion powder 2 tsp fresh lemon thyme, chopped 2 tsp fresh parsley, minced Pinch nutmeg (optional) ½ – ¾ tsp fine sea salt Freshly ground pepper ½ cup Parmesan cheese, finely grated 3 tbsp Cheddar Cheese, finely grated 1 tbsp whole milk or cream
Position oven rack in center of oven. Preheat oven to 375°F.
Butter eight (8) regular-sized non-stick muffin cups with butter. Set aside.
In small, microwave-safe bowl, melt the butter. Add the olive oil, liquid chicken bouillon, garlic salt, onion powder, thyme, parsley, nutmeg, salt, and pepper. Stir well to mix. Stir in the Parmesan and Cheddar cheeses along with the milk or cream.
Choose potatoes that are not overly starchy and that will hold their shape after cooking – e.g., Yukon Gold or an all-purpose round white variety. Select potatoes the size that, when sliced horizontally, the slices will easily fit flat into the muffin cups. Using a mandolin, slice potatoes horizontally into slices 3/16” thick. Place half the potato slices in large bowl. Add half the mixed butter, seasonings, and cheese ingredients. Using hands, toss the potatoes in the mixture until the slices are well coated. Add the remaining potato slices and butter mixture and continue mixing until the potato slices are coated with the mixture. Either create the stacks of potatoes in hands and place in buttered muffin cups or individually stack the potato slices directly in the muffin tin cups, stacking the slices as evenly as possible until they are about ¾ – 1” above the muffin cup rims. The stacks will shrink a bit during the roasting but building them a little higher than the muffin cup rim will ensure a good sized potato stack when cooked.
Roast the potato stacks for about 25 minutes, then sprinkle each stack with additional grated Parmesan cheese and a light sprinkle of paprika. Roast for 20 minutes longer, or until the tops of the potato stacks are golden and crispy, and a skewer or thin knife inserted in center of a stack indicates potatoes are tender and cooked through. Remove from oven and let rest for 5 minutes then carefully run the tip of a knife around the perimeter of each muffin cup to ensure the potato stacks are loose for easy removal. With the aid of a fork, or soup spoon, and the tip of the knife, carefully remove each potato stack and serve immediately sprinkled with additional finely-grated Parmesan cheese and fresh parsley.
Made with seasoned butter and a blend of cheeses, these easy-to-make roasted potato stacks are a great side dish or appetizer.
Course Side Dish
Cuisine American
Cook Time50minutes
Resting Time5minutes
Servings4
My Island Bistro KitchenMy Island Bistro Kitchen
Ingredients
2¼lbpotatoespeeled, washed, and dried (e.g., Yukon Gold or all-purpose round white variety)
3tbspmelted butter
1tspolive oil
1tspliquid chicken bouillon
1tspgarlic salt
¾tsponion powder
2tspfresh lemon thyme,chopped
2tspfresh parsley,minced
Pinchnutmeg(optional)
½ - ¾tspfine sea salt
Freshly ground pepper
½cupParmesan cheese,finely grated
3tbspCheddar cheesefinely grated
1tbspwhole milk or cream
3 - 4tbspfinely grated Parmesan cheese
Paprikafor sprinkling tops of stacks
Fresh thyme sprigs for garnish
Instructions
Position oven rack in center of oven. Preheat oven to 375°F.
Butter eight (8) regular-sized non-stick muffin cups with butter. Set aside.
In small, microwave-safe bowl, melt the butter. Add the olive oil, liquid chicken bouillon, garlic salt, onion powder, thyme, parsley, nutmeg, salt, and pepper. Stir well to mix. Stir in the Parmesan and Cheddar cheeses along with the milk or cream.
Choose potatoes that are not overly starchy and that will hold their shape after cooking – e.g., Yukon Gold or an all-purpose round white variety. Select potatoes the size that, when sliced horizontally, the slices will easily fit flat into the muffin cups. Using a mandolin, slice potatoes horizontally into slices 3/16” thick. Place half the potato slices in large bowl. Add half the mixed butter, seasonings, and cheese ingredients. Using hands, toss the potatoes in the mixture until the slices are well coated. Add the remaining potato slices and butter mixture and continue mixing until the potato slices are coated with the mixture. Either create the stacks of potatoes in hands and place in buttered muffin cups or individually stack the potato slices directly in the muffin tin cups, stacking the slices as evenly as possible until they are about ¾ - 1” above the muffin cup rims. The stacks will shrink a bit during the roasting but building them a little higher than the muffin cup rim will ensure a good sized potato stack when cooked.
Bake the potato stacks for about 25 minutes, then sprinkle each stack with additional grated Parmesan cheese and a light sprinkle of paprika. Bake for 20 minutes longer, or until the tops of the potato stacks are golden and crispy, and a skewer or thin knife inserted in center of a stack indicates potatoes are tender and cooked through. Remove from oven and let rest for 5 minutes then carefully run the tip of a knife around the perimeter of each muffin cup to ensure the potato stacks are loose for easy removal. With the aid of a fork, or soup spoon, and the tip of the knife, carefully remove each potato stack and serve immediately sprinkled with additional finely-grated Parmesan cheese and fresh parsley.
If you have made this recipe and enjoyed it and/or wish to share it with your friends and family, please do so on social media but be sure to share the direct link to this posting from my website.
Connect with My Island Bistro Kitchen on Social Media
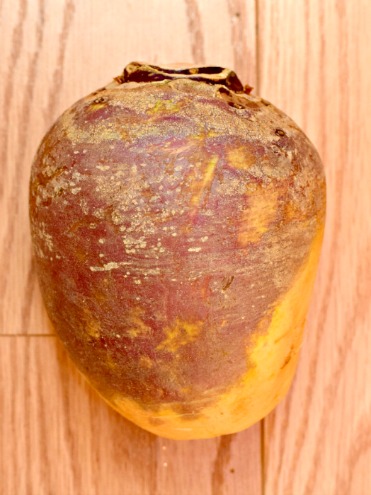
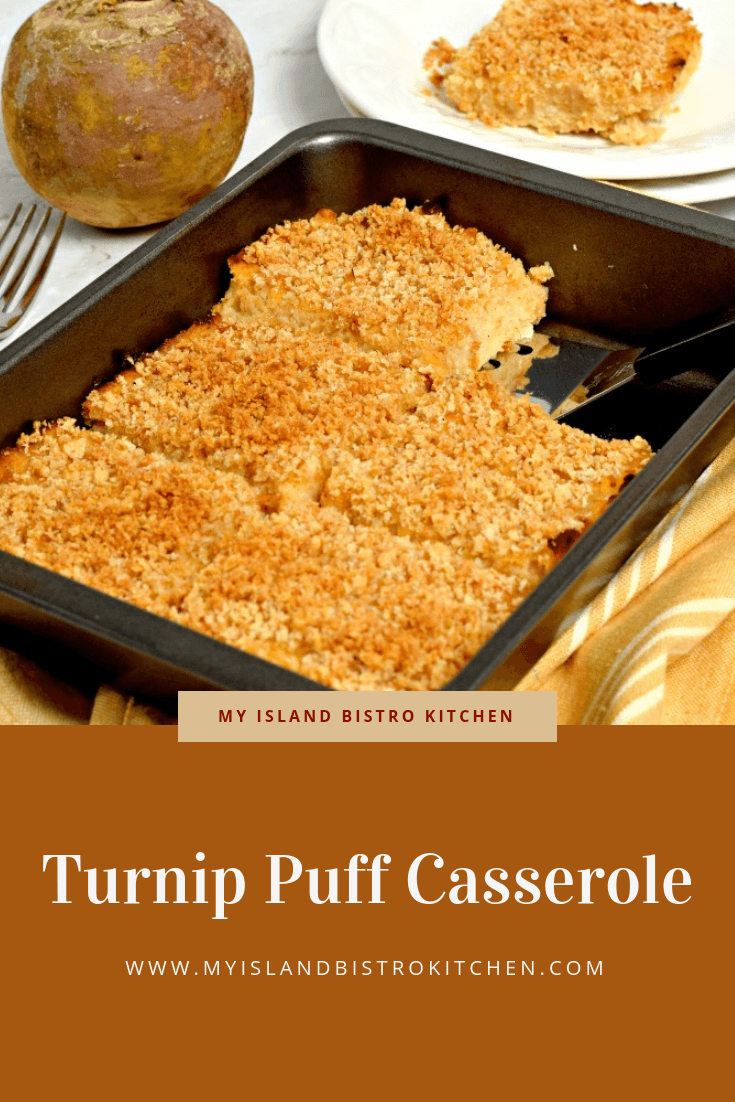
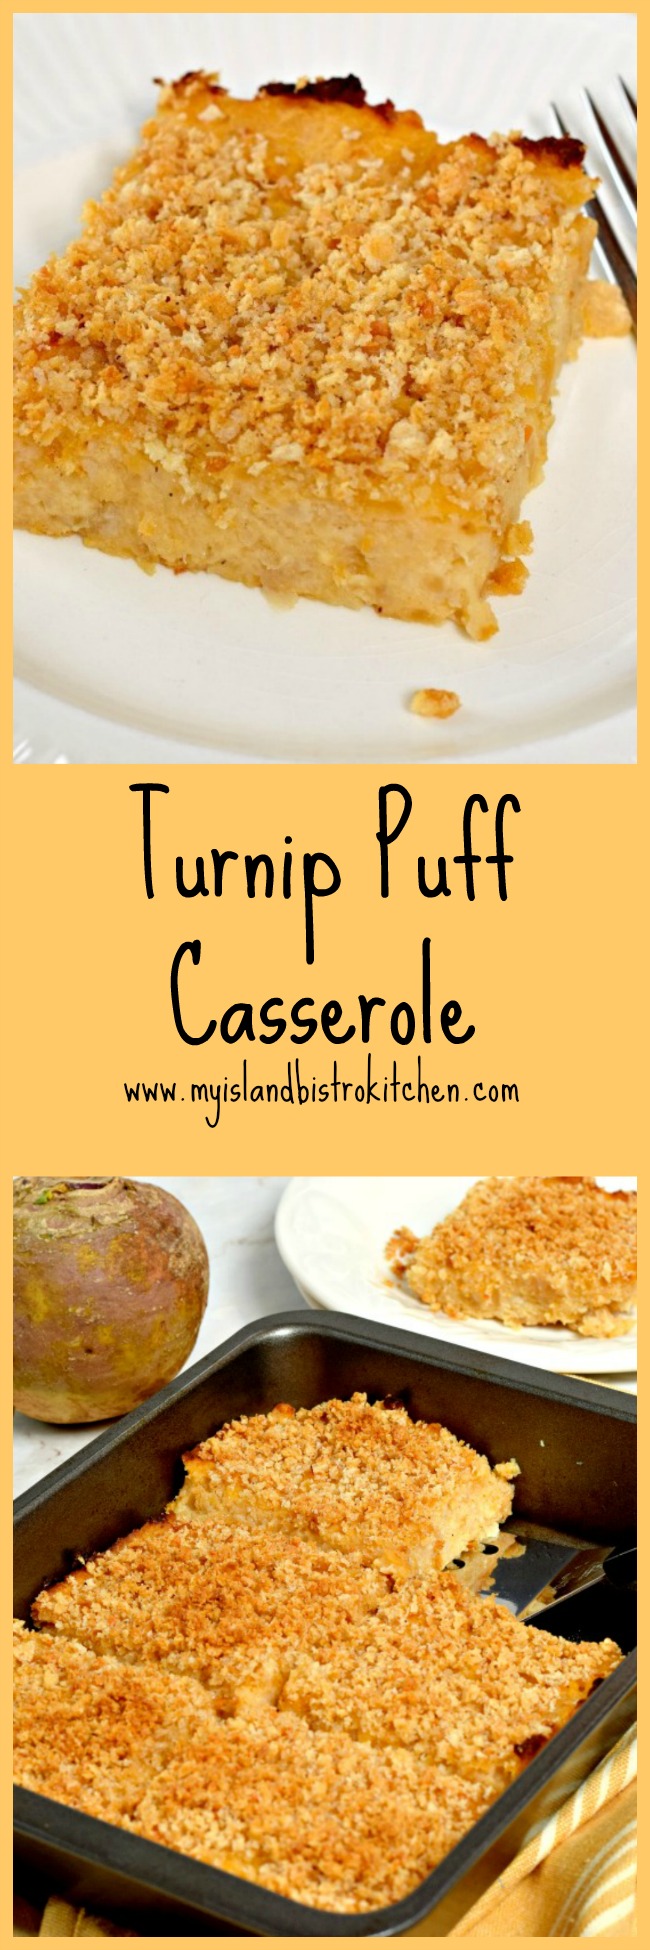
This turnip puff casserole is really a rutabaga puff casserole because, in fact, it is actually made with rutabaga, not turnip. However, all my life, I have known the root vegetable in the photo below as a “turnip”. Besides, I think turnip puff casserole sounds better than rutabaga puff casserole!
Rutabaga
Now, even though turnips and rutabagas are kissing cousins in the mustard plant family, there are some key differences between the two.
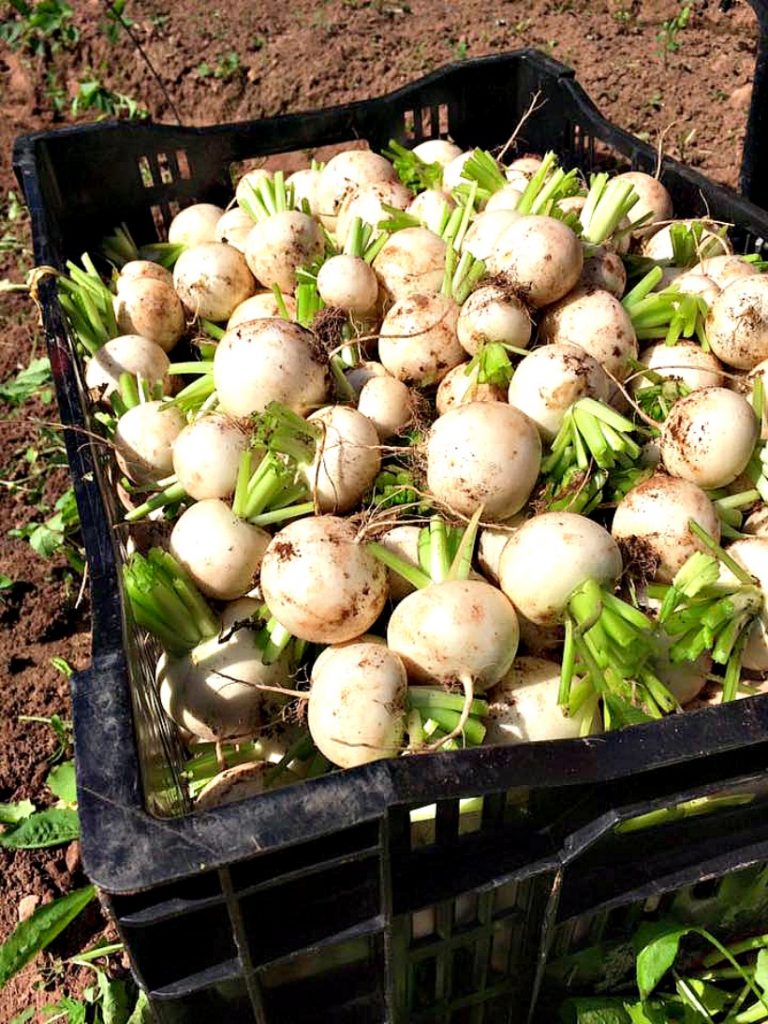
Turnips (Photo Courtesy Just a Little Farm, Bonshaw, PEI)
Turnips (shown in the photo above) are much smaller than rutabagas. They are usually anywhere from 2″ – 4″ in diameter compared to the much larger rutabagas that are typically 6″ or even more in diameter.
Rutabagas are much sweeter and turnips more bitter. Rutabagas have yellow flesh whereas turnips have white flesh. Rutabagas will have thicker outer skins than turnips and their exterior color will have a purple top and yellowy-beige bottom whereas turnips will have a white or white/purple outer skin. Rutabagas require much longer to grow and are more tolerant to cold than are turnips which is why you will often see turnips advertised as “summer” turnips. Because of their tolerance for the cold, rutabagas are often referred to as a “cold crop” and my grandparents always claimed the rutabagas (that they referred to as turnips) were no good until there had been a good frost before they were harvested. In fact, my grandmother always said the earlier they were harvested in the fall, the more bitter they were which is why, in the fall, she always added a small amount of sugar to the cooked rutabaga as she mashed it.
We often serve the golden-colored mashed rutabaga as a side vegetable to many meals but, sometimes (especially for special occasions), it’s nice to kick this side dish up a notch which is what I do when I make this turnip puff casserole. A rutabaga weighing approximately 1 lb, 7 oz will be required for this recipe. To the cooked rutabaga that is mashed really well to the texture of purée, I add some applesauce and brown sugar for sweetener, some onion to make it just a little bit savory, along with some cheese to boost the flavor. A hint of nutmeg and garlic provide additional flavor. An egg is added to bind the ingredients together and baking powder is added for leavening – hence the “puff” part of this side dish.
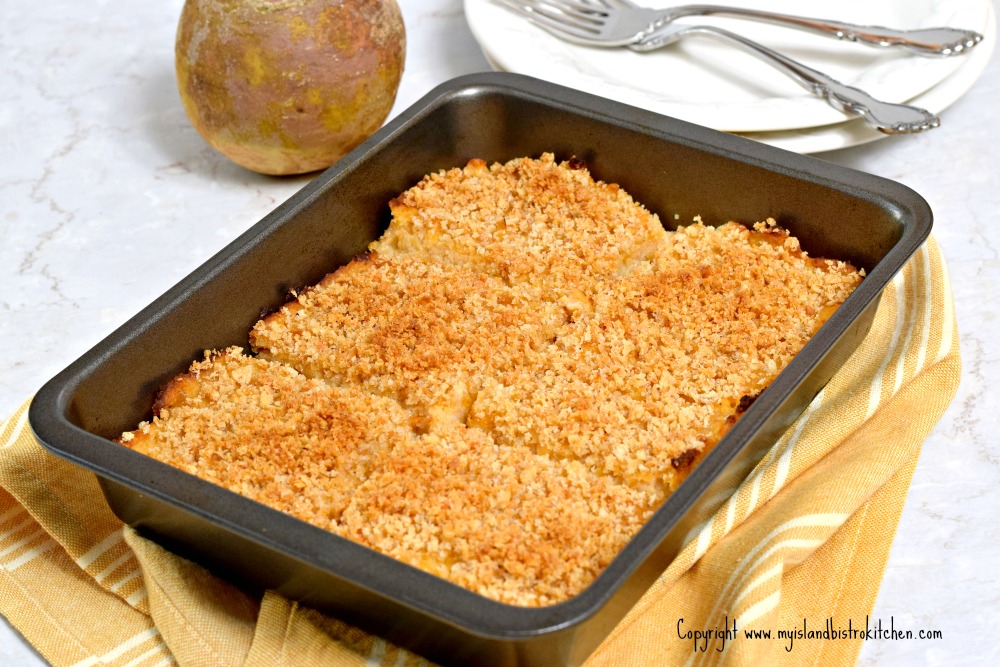
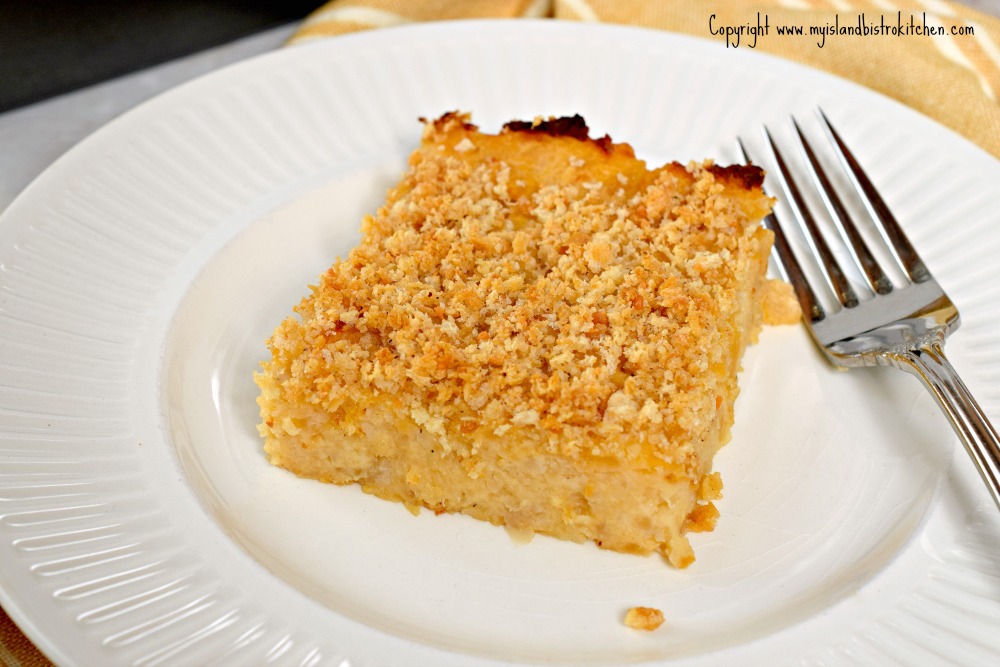
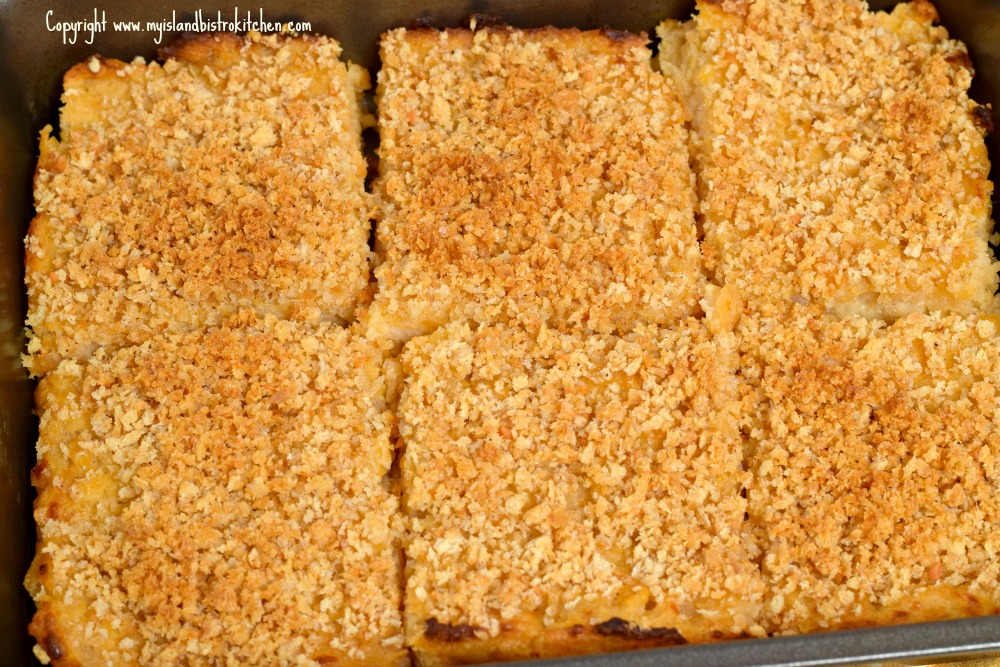
Turnip Puff Casserole
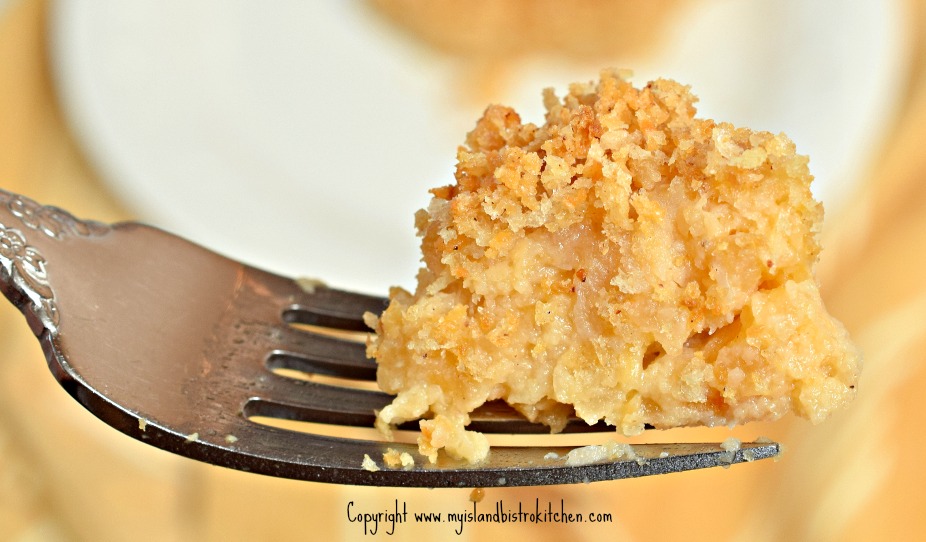
Now, I call this a “casserole” and, for photo demonstration purposes, have photographed a piece of it as a stand-alone on a plate. However, this is not a casserole I would make as a main meal entrée. Rather, it is a vegetable side dish so, instead of serving a scoop of mashed rutabaga with dinner, I cut out pieces of this casserole and serve it alongside other vegetables such as potatoes, carrots, and peas.
Turnip Puff Casserole
A casserole or baking pan with about a 1.5-quart capacity (or slightly less) is required for this casserole. I find the 6″x8″ baking pan that I have for my toaster oven works perfectly. I would not use a deep casserole dish for this recipe as it would not cut out well for serving purposes so use a shallow baking pan. This recipe will provide six standard-sized serving portions, the size shown in the photographs. If you are serving several other side vegetables for a dinner, or serving this buffet-style, smaller pieces may suffice…..but it’s tasty so don’t be surprised if there are requests for second helpings!
Turnip Puff Casserole
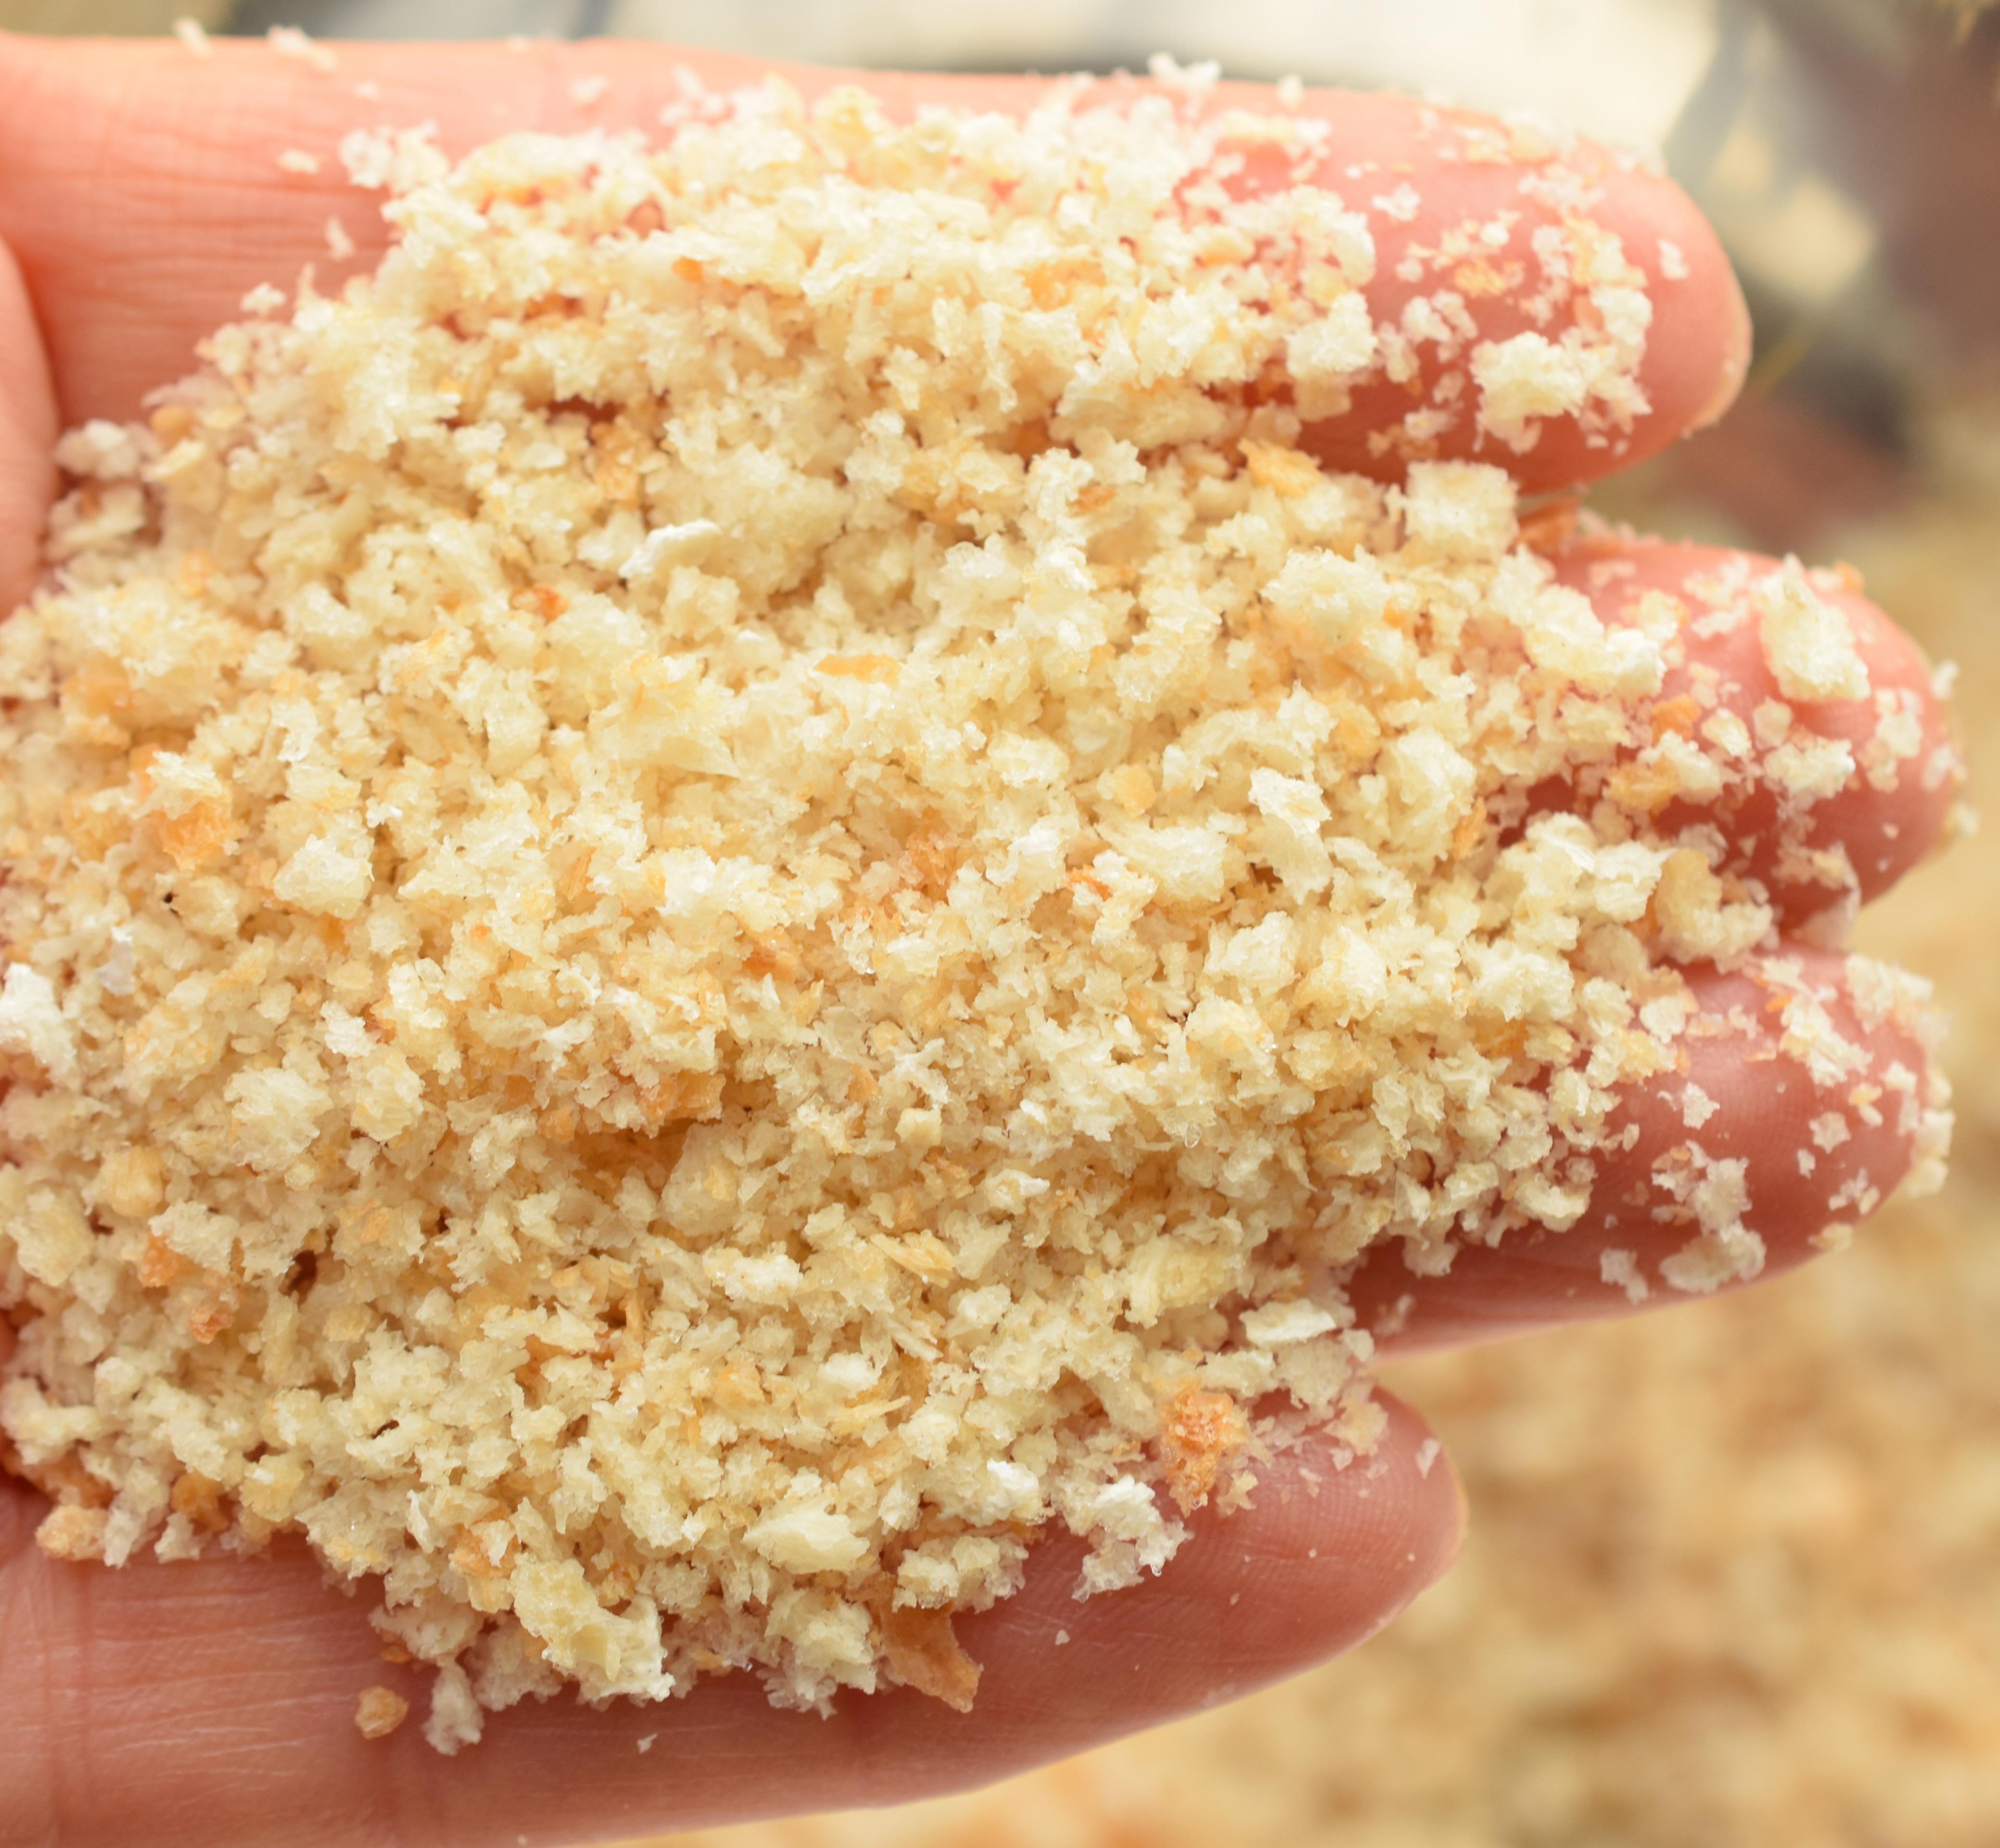
For the breadcrumb topping, I use crumbs that are not super fine as are found in commercial boxes or bags of crumbs. These are ones I crumb (in the food processor) from bread crusts and they are the consistency as shown in the photo below – not super-fine but not overly chunky.
Bread Crumbs
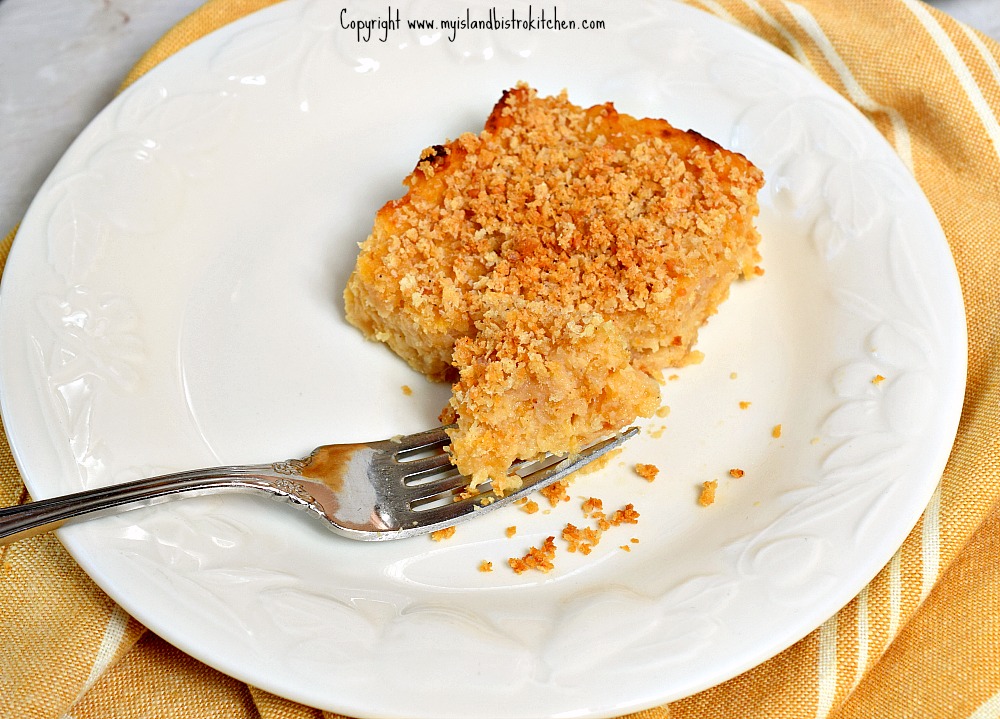
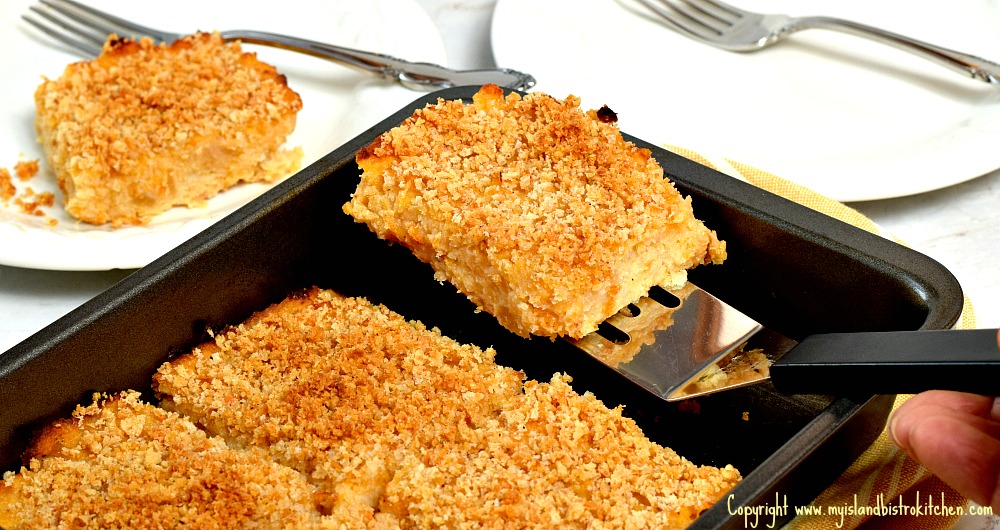
Bake this casserole in the oven for 30-35 minutes, just until the breadcrumb topping is lightly browned. Let stand for about 10 minutes before cutting into squares and serving.
Turnip Puff Casserole
This recipe is easily adapted to be gluten-free — simply replace the breadcrumbs called for in the recipe with those that are gluten-free and use gluten-free all purpose flour.
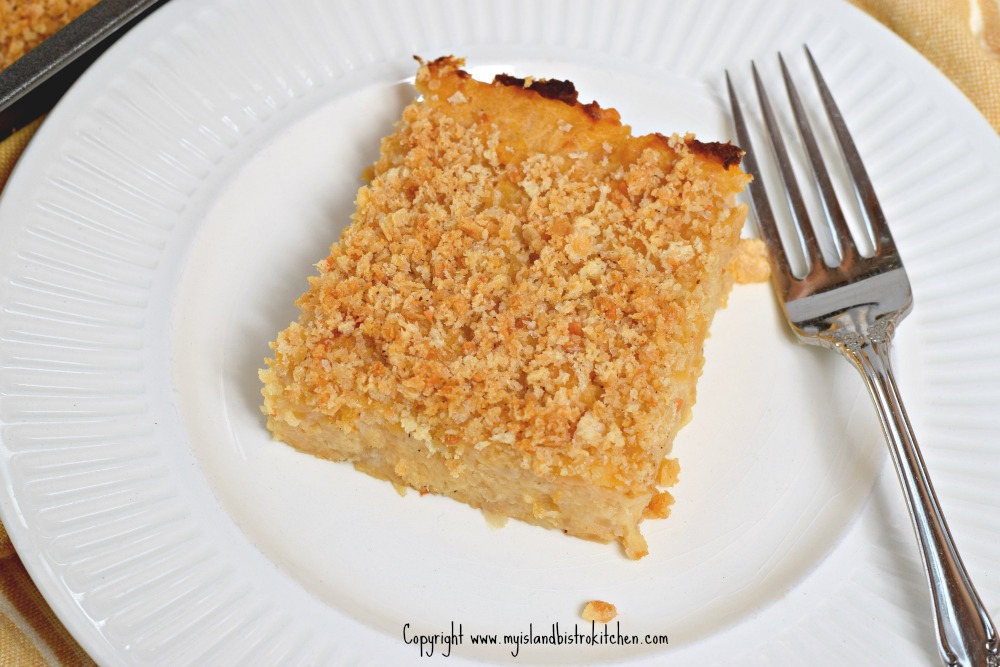
Turnip Puff Casserole
While this dish may be served at any time of the year, it is especially good at Easter, Thanksgiving, and Christmas with roast poultry, beef, or pork. This casserole may be made several hours in advance and refrigerated until needed.
½ cup fine bread crumbs 2 tsp finely grated Parmesan cheese Pinch nutmeg 1½ tbsp melted butter
Method: Preheat oven to 350°F. Grease a 6”x8” baking pan.
In medium-sized saucepan, combine the mashed rutabaga, applesauce, grated onion, butter, and egg. Mix well.
In small bowl, combine the brown sugar, nutmeg, garlic salt, baking powder, flour, Parmesan and cheddar cheese, and salt and pepper, to taste. Stir well into the rutabaga mixture. Transfer to prepared baking pan.
In small bowl, combine the bread crumbs, Parmesan cheese, and nutmeg with the melted butter. Sprinkle crumbs over rutabaga mixture. Bake, uncovered, for approximately 30-35 minutes, until lightly browned.
Serve hot as a side dish to any hot meal in which turnip/rutabaga would typically be served.
Yield: Apx. 6 servings
If you have made this recipe and enjoyed it and/or wish to share it with your friends and family, please do so on social media but be sure to share the direct link to this posting from my website.
Connect with My Island Bistro Kitchen on Social Media
Follow “the Bistro” on Pinterest at https://www.pinterest.ca/peibistro/ and pin the Pinterest-ready photo found at the end of this post to your favorite Pinterest boards.
1 tbsp all-purpose flour (or gluten-free all purpose flour)
2 tbsp finely grated Parmesan cheese
2 tbsp finely grated cheddar cheese
Salt and Pepper, to taste
½ cup fine bread crumbs
2 tsp finely grated Parmesan cheese
Pinch nutmeg
1½ tbsp melted butter
Instructions
Preheat oven to 350°F. Grease a 6”x8” baking pan.
In medium-sized saucepan, combine the mashed rutabaga, applesauce, grated onion, butter, and egg. Mix well.
In small bowl, combine the brown sugar, nutmeg, garlic salt, baking powder, flour, Parmesan and cheddar cheese, and salt and pepper, to taste. Stir well into the rutabaga mixture. Transfer to prepared baking pan.
In small bowl, combine the bread crumbs, Parmesan cheese, and nutmeg with the melted butter. Sprinkle crumbs over rutabaga mixture. Bake, uncovered, for approximately 30-35 minutes, until lightly browned. Serve hot as a side dish to any hot meal in which turnip/rutabaga would typically be served.
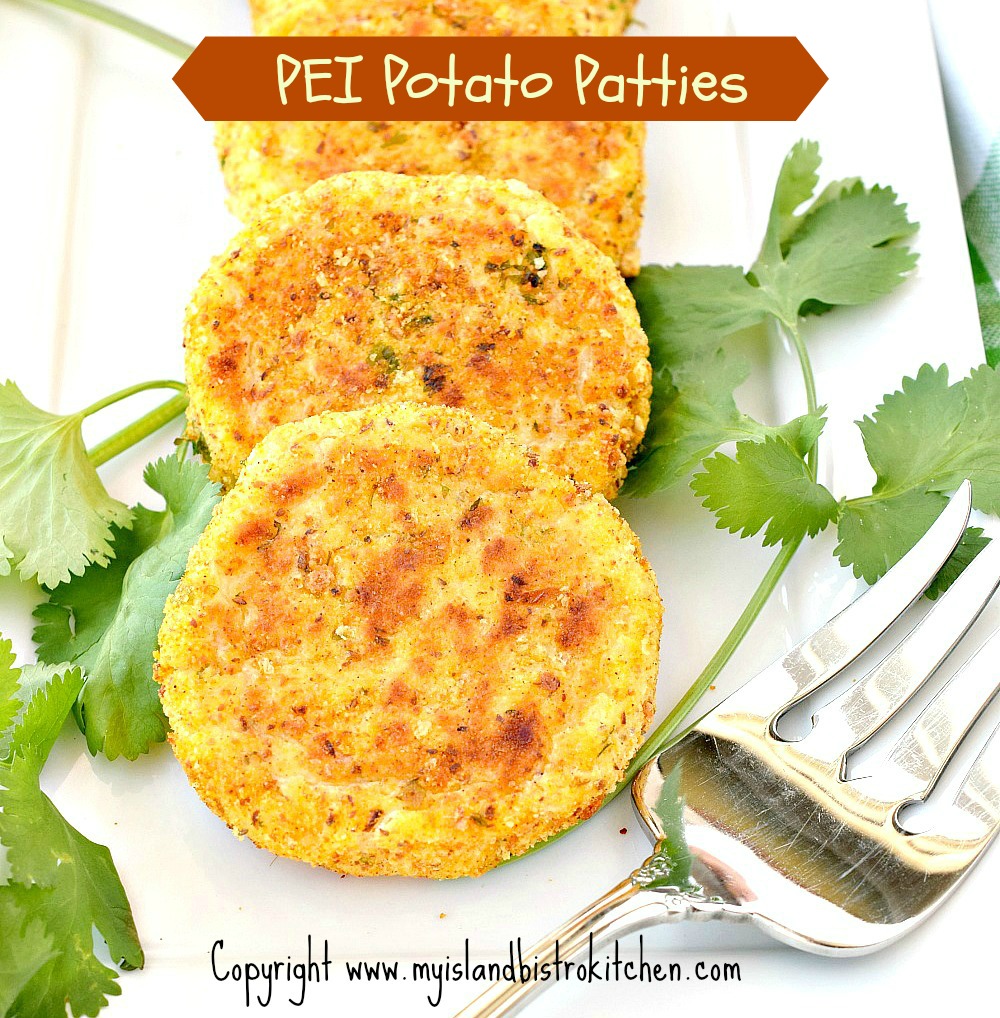
It’s inevitable, when you live in Prince Edward Island, that you’ll eat a lot of potatoes and find creative ways in which to serve them, including these PEI Potato Patties. That’s because there are lots and lots of spuds grown on our little Island with the rich red soil on Canada’s east coast. Continue reading Bistro Style Potato Patties→
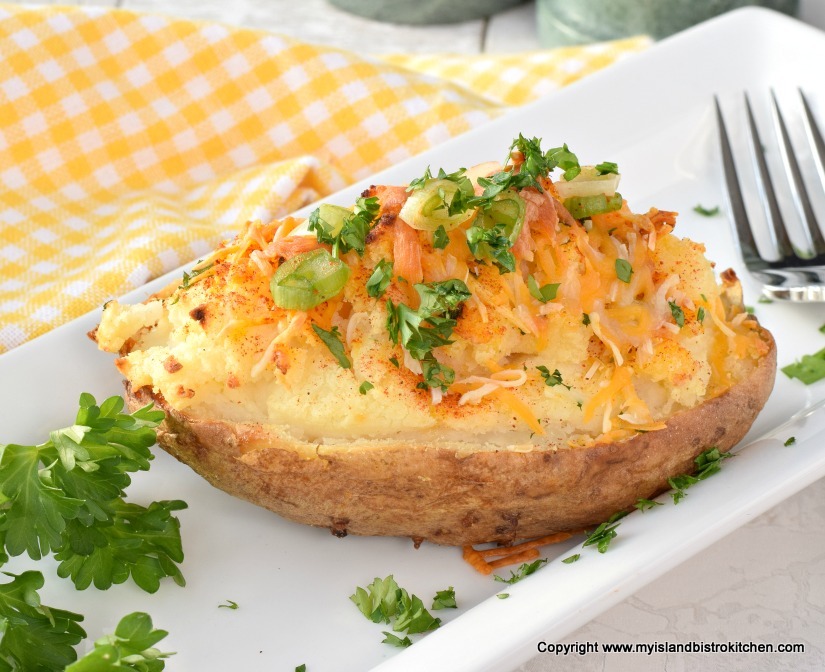
When you live in Prince Edward Island, Canada, where potatoes are one of the main agricultural crops, you find lots of ways to serve potatoes. Twice-baked potatoes, or stuffed baked potatoes, are one of my all-time favorites. I make up big batches of these and freeze them so they are always on hand, ready to be popped in the oven for dinner. Continue reading Twice-baked Potatoes Recipe→
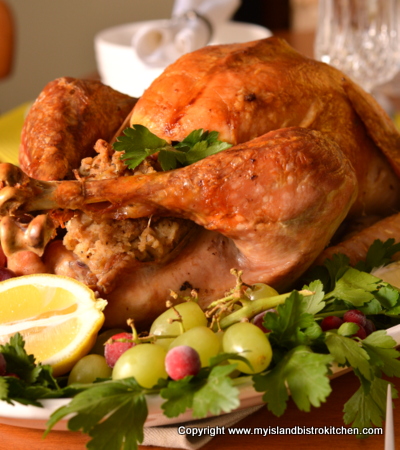
There is nothing like the scent of a turkey roasting in the oven! I love a roast turkey dinner with all the trimmings and I especially love the bread stuffing or, you may know it as “dressing”. The theory is that, if it goes inside the turkey cavity, it’s called “stuffing” but, if it is cooked separately (as in a casserole or loaf pan), then it’s called “dressing”. Regardless what it’s called, it just would not be a roast turkey dinner without this wonderful savory side dish. Continue reading Bread Stuffing/Dressing Recipe for Roast Turkey/Chicken→
(Mostly) PEI and Maritime Food – Good Food for a Good Life!