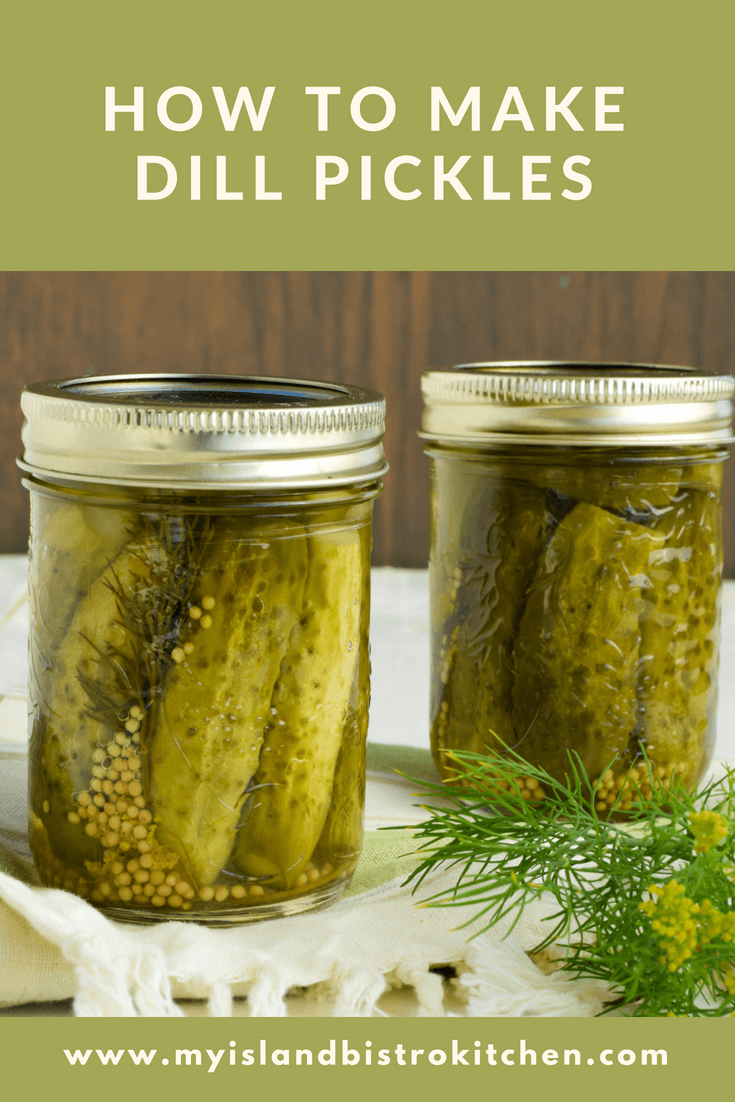
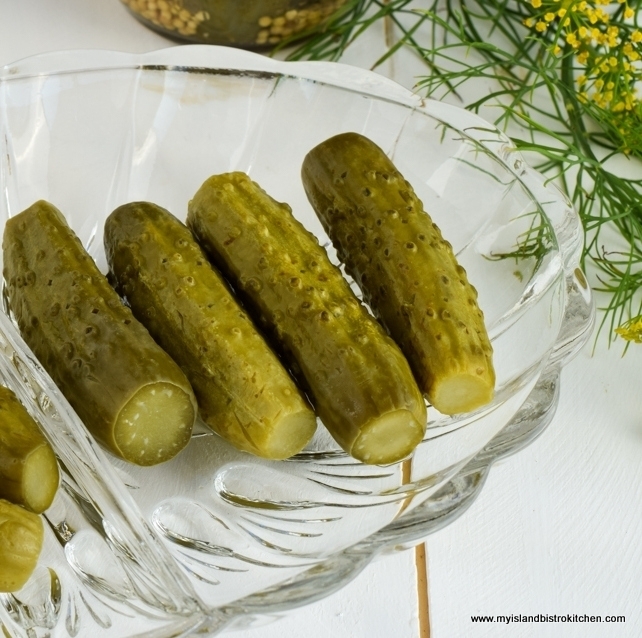
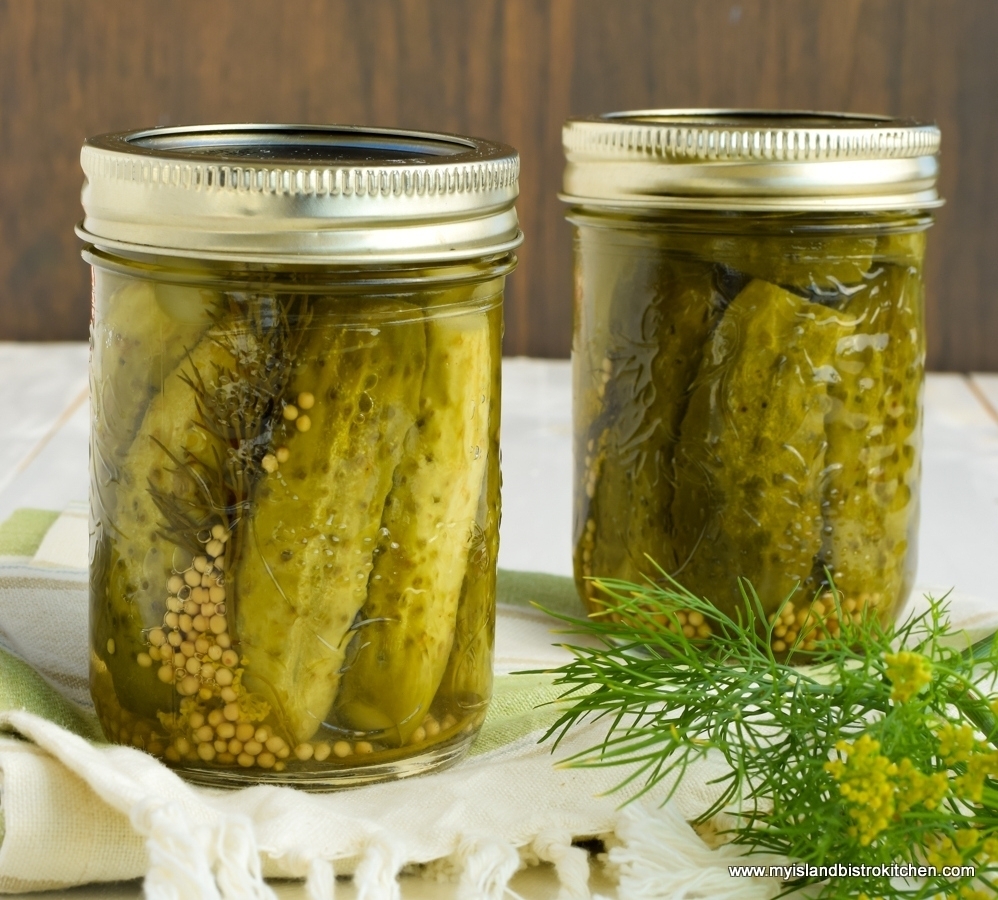
Dill pickles are one of the easiest pickles to make. Cold-packed into hot sterilized jars, this recipe transforms tiny 3” – 4” cucumbers into tangy pickles that, for any dill lover, are the quintessential pickles to accompany many sandwiches and burgers.
This recipe is sized with the smaller household in mind. Many don’t have large storage capacity for big batches of pickles such as our ancestors made and stored in their cold rooms or cellars. Yet other households are comprised of only one or two people so they don’t need large batches of pickles but still want to have a taste of homemade goodness that comes from home preserving.
Freshness Counts with Pickling Cucumbers!
As with any pickle recipe, freshness of ingredients is key. That means the cucumbers should, ideally, be processed the same day they are picked from the vine or, certainly, within 24 hours. Otherwise, the cucumbers start to lose their flavour and get soft and punky and, as we all know, dill pickles are meant to have crunch.
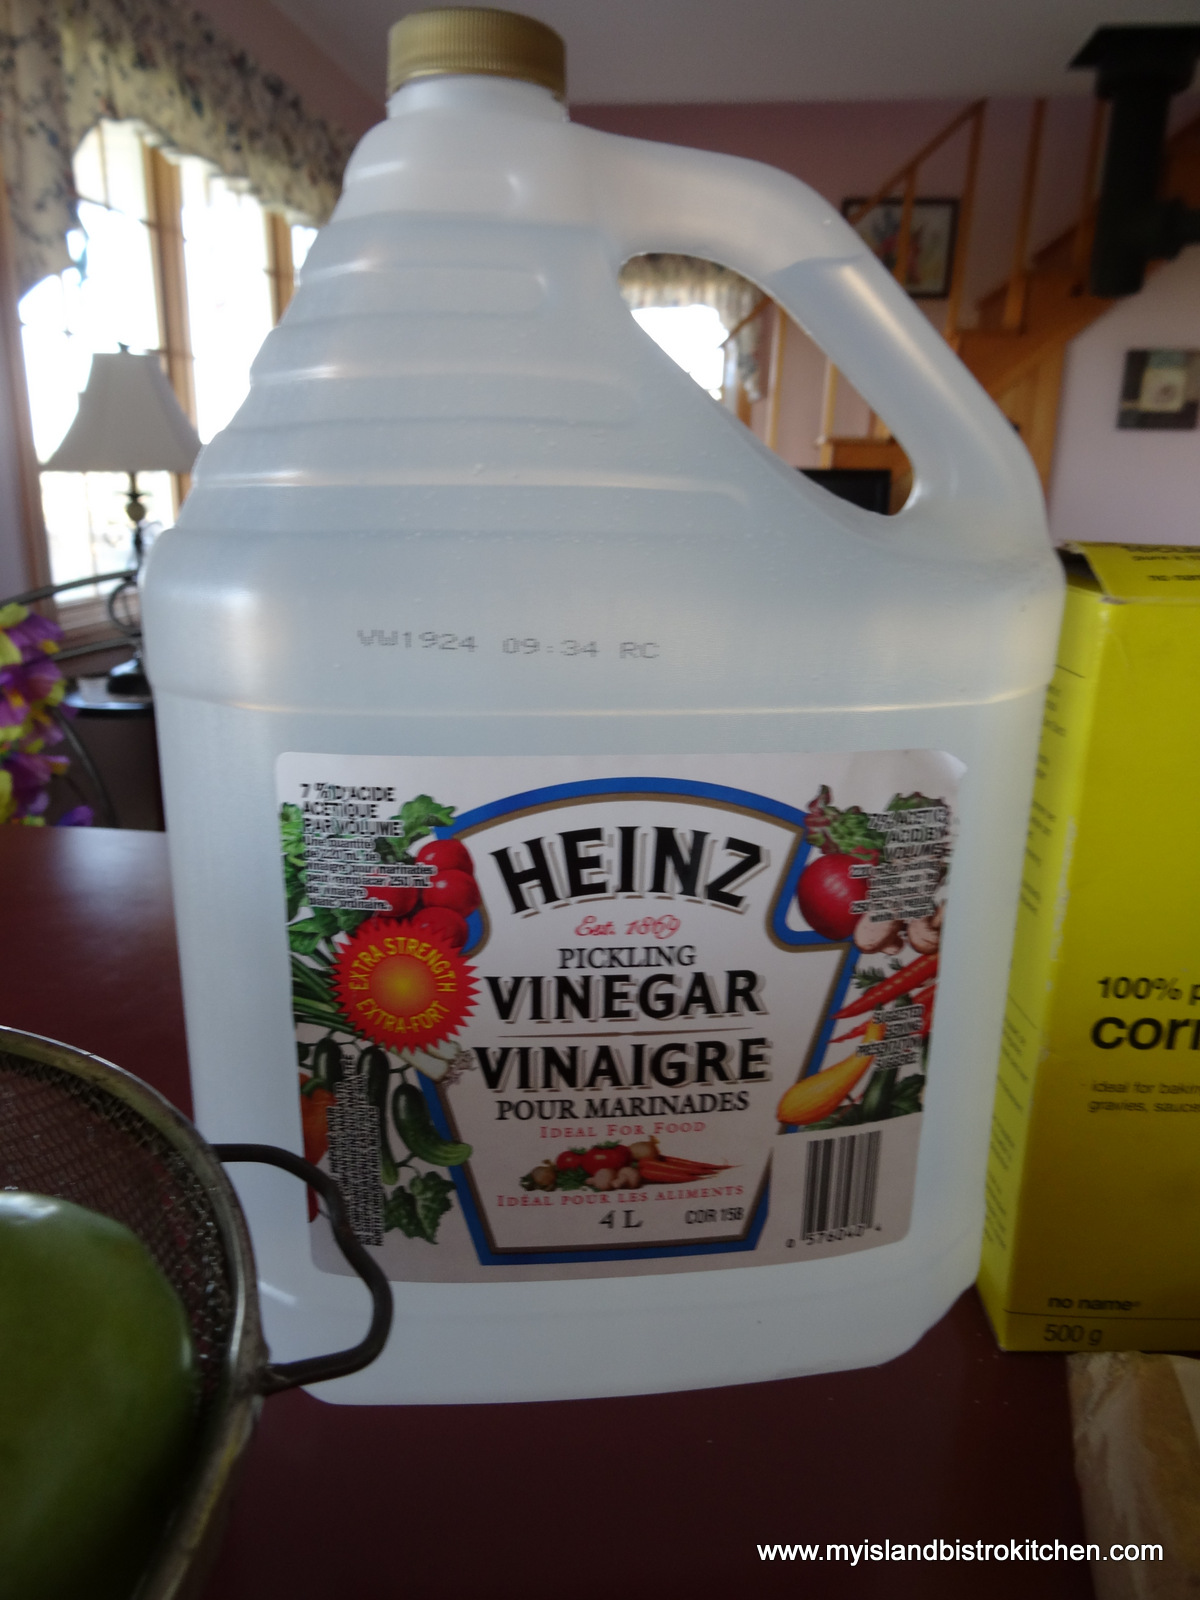
Use Pickling Vinegar
It is very important to use vinegar which is made especially for the pickling process. It will usually have 7% acidity, making it stronger than table vinegar. This helps to preserve the pickles longer. Most large grocery stores will stock this vinegar, especially around “pickling time” in late summer or fall. The container should state that it is “pickling vinegar”.
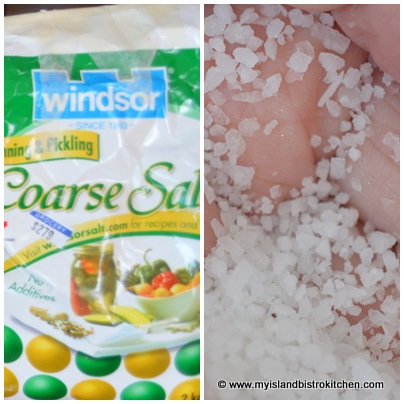
Use Pickling Salt, Not Table Salt, in Pickles
One of the biggest tips I have for pickling is to never use table salt in the pickling process. Always use proper pickling salt. This is a coarse salt specifically for pickling and it will be marked as such on the package label. Apart from it being way too salty for pickling, iodized table salt can cause some discoloration of the cucumbers and will likely form a cloudy brine. The brine should be bright and clear. Table salt, because of its fine texture is too easily absorbed into the cucumbers, resulting in overly salty pickles. I can always tell if someone has used table salt in making pickles just by simply looking at the bottles of pickles – the contents of those bottles just do not have an appetizing look to them.
Preparing the Jars
The jars should be examined to ensure they are free of cracks, chips, and nicks. They should then be washed, rinsed, and sterilized. I sterilize mine in a pot of boiling hot water on the stove. Use a jar lifter to place the jars, upright in the water, holding each one steady until it fills with water. Bring the water back to a boil, reduce the heat slightly to prevent boil-overs, and boil the jars gently for 10 minutes from this point. Turn the heat to simmer and leave the jars in the water until they are ready to be filled with the cucumbers. The jars must be kept hot because, once filled, they will be going into a hot water bath and cold jars meeting up with boiling water will crack.
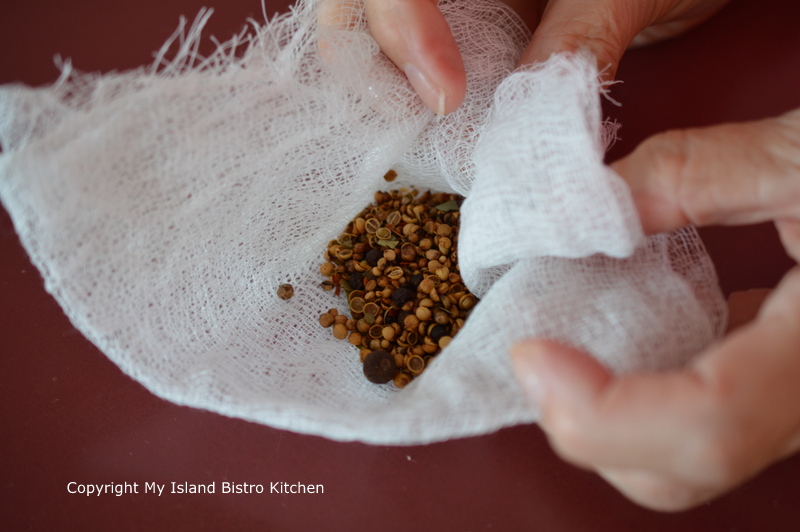
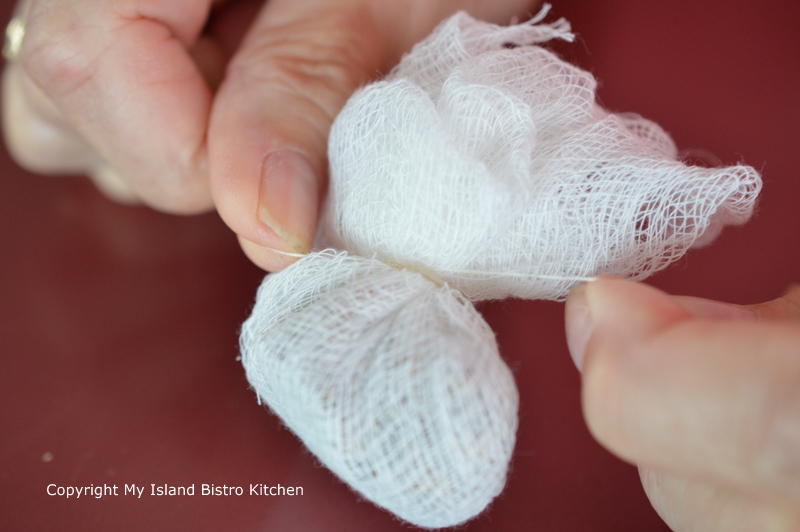
Making the Brine
The process I use to make my dill pickles is quite simple. This involves making a simple brine of equal parts of pickling vinegar and water along with some pickling salt, a bit of sugar, and some pickling spices. To keep the brine clear, bundle the pickling spice into a double (or triple) layer of cheesecloth. Gather up this little sachet and tie with string. Once this brine has simmered for about 15 minutes, discard the spice sachet and bayleaf. The brine is then ready to be poured over the cucumbers.
Preparing the Cucumbers and Filling the Jars
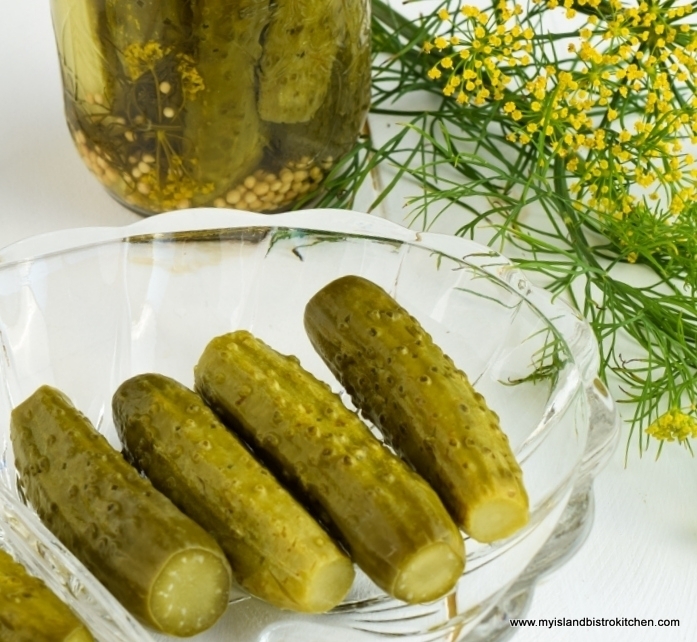
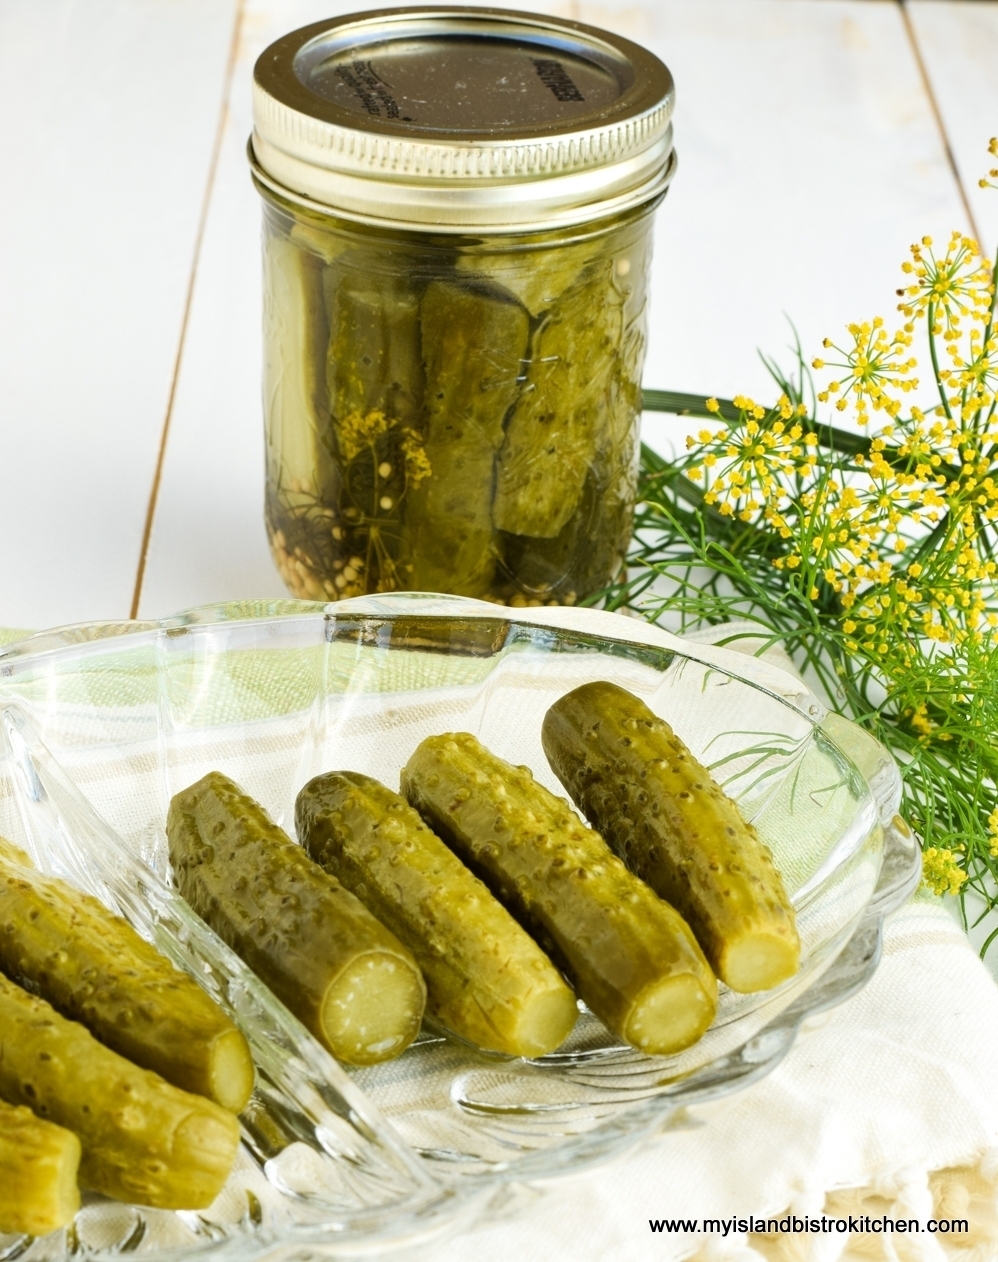
The small 3” – 4” dill-sized cucumbers can be left whole or they can be sliced in two (or even quartered) lengthwise or they can be sliced into “coins”. Just note that the pickles are likely to have more crunch if the cucumbers are left whole. Make sure to trim the blossom end of each cucumber by 1/8” – these blossom tips have enzymes that can lead to limp, punky pickles. Pricking each cucumber 3-4 times with the tines of a fork will help the vinegar brine penetrate the cucumbers better resulting in more flavorful pickles.
The point where you start to place ingredients into the jars is the point where it is necessary to work along quickly because the jars cannot be allowed to get cold before they go into the hot water bath. Ensuring all ingredients and pickling equipment are laid out before starting the process and following a set order will help this process move along quickly. Further along in this posting, you will find an outline of the step-by-step sequence I follow to quickly get the jars filled while they are still hot and then into the hot water bath.
A slightly smashed garlic clove along with some mustard seed and a whole clove are first placed in the bottom of each jar. Where, in the jars, the small bunch of feathery dill fronds and the umbrella-shaped seed head of the dill plant are placed is a matter of personal preference. I like to place the dill fronds on one side of the jar and the seed head on the opposite side. These can, of course, be placed on the bottom of the jar or the feathery dill fronds on the bottom and the dill head on top of the cucumbers. The taste will be the same. However, if you like your jars to have a nice appearance that immediately signifies they are dill pickles, placing the fronds and dill head so they are visible will do the trick!
Ensure the cucumbers are tightly packed, compactly, into the jars but not so tight that they are squished. Once all the ingredients are placed in the jar, pour the hot brine into each jar, leaving ½” head space at the top of each jar. A chopstick, or small non-metal spatula, is useful to remove any air bubbles that may appear and more of the brine may need to be added, as necessary, to bring it to about ½“ from the jar rim.
Add a Grape Leaf to Keep the Dills Crunchy
I add a grape leaf on top of the cucumbers in each jar. This is an old trick to keep the cucumbers crisp – the tannin-rich grape leaves have enzymes that help to keep the cucumbers crunchy. Some say, with the removal of the blossom ends of the cucumbers, it is not necessary to add the grape leaves to the jars but I have access to them so I add them and my dill pickles always turn out super crunchy.
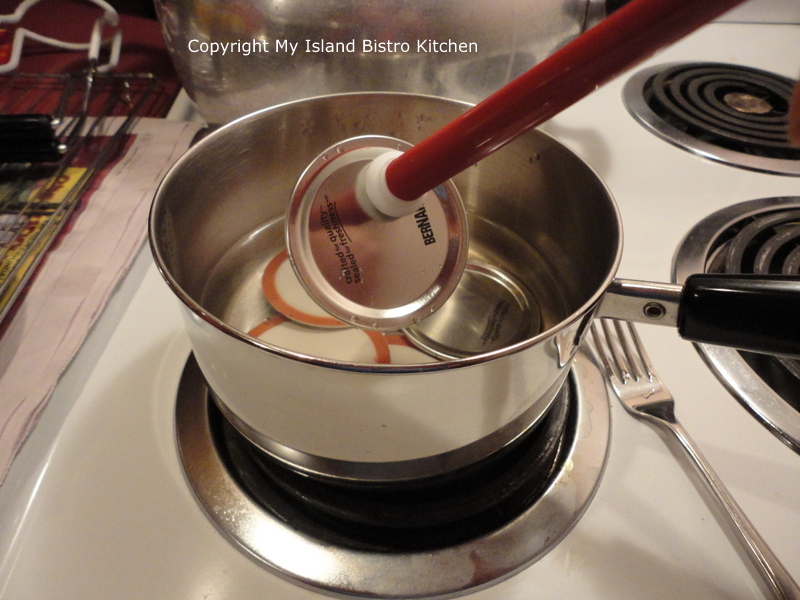
Heat the Jar Lids and Metal Ring Bands
Always use brand new metal jar lids; never re-use them for pickling purposes as their seal is only meant for single use. Check the metal ring bands (which can be re-used multiple times) to ensure they have no dents or nicks in them and there is no rust. The jar lids are heated in hot simmering water, just until they are hot and the gaskets softened — 3 – 4 minutes should do it. Heating the lids too long or in rapidly boiling water will weaken the rubber on them causing them not to seal properly. Wipe each jar rim with a clean, damp cloth before applying the lids, rubber side down, to the jar tops. Tighten the metal ring bands, fingertip tight. At this point, the dills are ready, without delay, for their hot water bath.
The Hot Water Bath
Processing the jars of dills stabilizes the contents for longer shelf life. Make sure the hot water canner is ready to go with the boiling water in it by the time you fill the jars. Load the filled jars into the metal basket that comes with the canner. The jars should remain upright during the hot water bath process and they should not touch each other. Once the basket is lowered into the boiling water, ensure the water level is at least 1” above the jar tops. Add more boiling water, if necessary, to bring the water to this level.
I recommend following your canner manufacturer’s instructions for the canning process as the length of time the jars need to be processed will depend on the altitude of your locale. Here on PEI, I process my half-pint jars of dills for 10 minutes and I start the timing from the time the hot water returns to a full rolling boil after the basket of jars has been placed in the canner of hot water. Once the 10 minutes is up, remove the jars, one by one, with a jar lifter and place them on a wire rack to finish cooling completely.
Listen for the “pop” or “ping” sound as the bottles seal. Sometimes, this will take place almost immediately and sometimes it can take a few hours. The lids of properly sealed jars will curve downward. Let the jars rest, undisturbed, on the wire cooling rack for 12 hours. Then, let the sealed jars stand in a cool, dark place for 6 weeks before opening. This gives time for the dill flavour to develop fully.
The Sequence
To help organize your work to make these pickles, I offer the following suggested order for the sequence so that the steps happen when they should and the hot jars do not have a chance to cool before they are filled and placed in the hot water bath.
- Fill the hot water canner with hot tap water, place it on the stove, and start the heating process to get it to the boiling point. Starting with hot tap water will reduce the amount of time it takes to get the large canner of water to a boil. Make sure the water is at the boiling point before the wire basket of filled bottles is placed in the canner.
- Heat a pot of boiling water to sterilize the jars. Wash jars. Boil them gently for at least 10 minutes. Keep them, at simmer level, in the hot water until they are needed for filling.
- Wash and cut blossom ends from cucumbers and prick each with tines of a fork, 3-4 times.
- Gather spices for the jars and prepare garlic cloves.
- Start making the brine.
- Make a quick trip to the garden to pick the fresh dill heads and fronds.
- As the brine is nearing completion, remove the sterilized jars from the hot water and place the garlic, spices, dill fronds and dill head in each jar. Pack in the cucumbers.
- Heat lids in small pan of hot water. Boil extra water in case it is needed to top up hot water canner to 1” above jar tops.
- Pour brine over cucumbers, remove air bubbles with a chopstick (or small non-metal spatula), and top up with more brine, as necessary. Add the grape leaf to top of each jar. Wipe the jar rims with clean damp cloth.
- Place lids and metal ring bands on jars. Place jars in canner basket and lower into canner of hot water. Add any additional water necessary to bring water level to 1” above jar lids. Cover. Bring canner water back to full rolling boil. Start timing the canning time from this point.
- Have wire rack set out for bottles as they come out of the canner.
Note: The garlic clove is likely to turn a blue-green-gray color. Don’t be alarmed by this – it’s just the effect of the acid from the vinegar coming into contact with the garlic.
[Printable recipe follows at end of posting]
Dill Pickles
Ingredients:
2 lbs – 3” – 4” pickling cucumbers, freshly picked and washed
1 tbsp pickling salt
1¼ cups + 1 tbsp pickling vinegar
1¼ cups + 1 tbsp water
2 tbsp granulated sugar
½ tbsp pickling spice, gathered into double (or triple) layer of cheesecloth and tied into spice sachet
1 bay leaf
3 – 4 whole cloves
1 tsp mustard seed, divided equally among the jars
3 – 4 small garlic cloves, slightly smashed
Fresh dill heads, one per jar along with small bunches of feathery dill fronds
Grape leaves, medium-sized, 1 per jar
3 – 4 half-pint jars, lids, and metal ring bands (the number of jars needed will depend on the size of the cucumbers, whether they are sliced or left whole, and how compactly they are fit into the jars)
1 chopstick
Method:
Wash and trim 1/8“ from blossom end of each cucumber. Prick cucumbers 3-4 times with tines of a fork. Leave cucumbers whole or cut into two or four spears, lengthwise (or slice into “coins”). Fill the canner with hot tap water and heat to boiling point while making the brine. Begin sterilizing the jars in large pot of hot water to have them ready when brine is heated.
To make the brine, combine the pickling salt, vinegar, water, sugar, pickling spice sachet, and bay leaf in small stockpot. Bring to a boil over medium-high heat. Immediately reduce heat to low and cook brine, uncovered, for 15 minutes, stirring periodically. Remove from heat and discard pickling sachet and bay leaf.
Place 1 whole clove, ¼ to 1/3 teaspoon mustard seed (divide the teaspoon of seeds equally between number of jars used), and 1 small slightly smashed garlic clove in each hot, sterilized jar. Place a small bunch of feathery dill fronds along one side of the jar and one umbrella-shaped dill head on the opposite side of the jar. Fill the jars with the cucumbers, packing tightly (but not squashing them), and keeping the dill fronds and dill head in place against the sides of the jars.
Pour the hot brine into each jar, filling to within ½ inch from jar rim (head space). Use a chopstick (or small non-metal spatula) to remove any air bubbles that may have formed in the brine. Add more brine, if necessary, to bring it to ½“ from the jar rim. Add 1 grape leaf to top of each jar, pressing it below the surface of the brine, to keep cucumbers crisp. Wipe each jar rim with a clean, damp cloth. Seal the jars with heated lids. Screw on metal ring bands, fingertip tight.
Place jars in hot water bath basket, ensuring jars do not touch each other or fall over. Lower basket into canner of hot water. Ensure the water level is at least 1″ above the jar tops, adding more water as necessary. Cover with canner lid. Increase the heat to return the water to a rolling boil then decrease the heat to just keep the water at a rolling boil but not boiling over. Process half-pint jars in the hot water bath for 10 minutes, adjusting time for altitude. Start timing the processing from the point where a full rolling boil is reached after basket of jars has been added to the canner. Turn off heat and remove canner lid. Using a jar lifter, carefully remove the jars, one at a time, and transfer them to a wire rack to cool completely. Listen for the “pop” or “ping” sound as the bottles seal over the next few minutes or hours. The lids of properly sealed jars will curve downward. Let jars rest, undisturbed, on wire rack for 12 hours. For maximum dill flavour, let sealed jars stand in cool, dark place for 6 weeks before opening.
Yield: Approximately 3- 4 half-pint jars
Dill Pickles
Ingredients
- 2 lbs – 3” - 4” pickling cucumbers, freshly picked and washed
- 1 tbsp pickling salt
- 1¼ cups + 1 tbsp pickling vinegar
- 1¼ cups + 1 tbsp water
- 2 tbsp granulated sugar
- ½ tbsp pickling spice, gathered into double (or triple) layer of cheesecloth and tied into spice sachet
- 1 bay leaf
- 3 - 4 whole cloves
- 1 tsp mustard seed, divided equally among the jars
- 3 – 4 small garlic cloves, slightly smashed
- Fresh dill heads, one per jar along with small feathery dill fronds
- Grape leaves, medium-sized, 1 per jar
- 3 – 4 half-pint jars lids, and metal ring bands (the number of jars needed will depend on the size of the cucumbers, whether they are sliced or left whole, and how compactly they are fit into the jars)
- 1 chopstick (or small non-metal spatula)
Instructions
- Wash and trim 1/8“ from blossom end of each cucumber. Prick cucumbers 3-4 times with tines of a fork. Leave cucumbers whole or cut into two or four spears, lengthwise (or slice into “coins”). Fill the canner with hot tap water and heat to boiling point while making the brine. Begin sterilizing the jars in large pot of hot water to have them ready when brine is heated.
- To make the brine, combine the pickling salt, vinegar, water, sugar, pickling spice sachet, and bay leaf in small stockpot. Bring to a boil over medium-high heat. Immediately reduce heat to low and cook brine, uncovered, for 15 minutes, stirring periodically. Remove from heat and discard pickling sachet and bay leaf.
Place 1 whole clove, ¼ to 1/3 teaspoon mustard seed (divide teaspoon of mustard seed equally between number of jars used), and 1 small slightly smashed garlic clove in each hot, sterilized jar. Place a small bunch of feathery dill fronds along one side of the jar and one umbrella-shaped dill head on the opposite side of the jar. Fill the jars with the cucumbers, packing tightly (but not squashing them), and keeping the dill fronds and dill head in place against the sides of the jars.
Pour the hot brine into each jar, filling to within ½ inch from jar rim (head space). Use a chopstick (or small non-metal spatula) to remove any air bubbles that may have formed in the brine. Add more brine, if necessary, to bring it to ½“ from the jar rim. Add 1 grape leaf to top of each jar, pressing it below the surface of the brine, to keep cucumbers crisp. Wipe each jar rim with a clean, damp cloth. Seal the jars with heated lids. Screw on metal ring bands, fingertip tight.
Place jars in hot water bath basket, ensuring jars do not touch each other or fall over. Lower basket into canner of hot water. Ensure the water level is at least 1" above the jar tops, adding more water as necessary. Cover with canner lid. Increase the heat to return the water to a rolling boil then decrease the heat to just keep the water at a rolling boil but not boiling over. Process half-pint jars in the hot water bath for 10 minutes, adjusting time for altitude. Start timing the processing from the point where a full rolling boil is reached after basket of jars has been added to the canner. At the end of the processing time, turn off heat and remove canner lid. Using a jar lifter, carefully remove the jars, one at a time, and transfer them to a wire rack to cool completely. Listen for the “pop” or “ping” sound as the bottles seal over the next few minutes or hours. The lids of properly sealed jars will curve downward. Let jars rest, undisturbed, on wire rack for 12 hours. For maximum dill flavour, let sealed jars stand in cool, dark place for 6 weeks before opening.
Recipe Notes
Yield: Approximately 3- 4 half-pint jars
Be sure to read blog posting that accompanies this recipe for more information on the procedure to make dill pickles.
For other great pickle, relish, and chow recipes from My Island Bistro Kitchen, click on the links below:
Mustard Pickles
Bread and Butter Pickles
Pickled Beets
Mustard Beans
Green Tomato Chow
Rhubarb Relish
Pin Me To Pinterest!