As I write this post, it’s autumn – the days are shorter and cooler and leaves are off the trees, all signs that winter on PEI is not far off. This time of the year always makes me think of warm and cozy teas leisurely enjoyed in front of the fireplace.
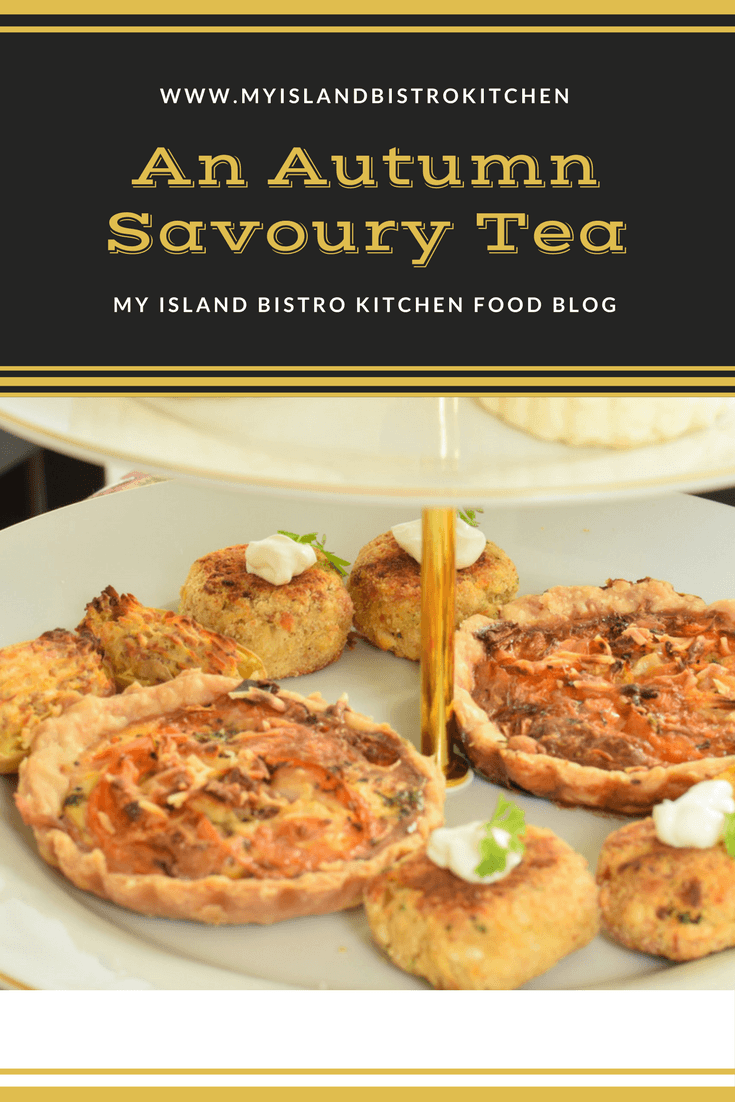
My late day event today is what I’m calling a “savoury tea” – which, because of my menu choices, most closely resembles (but is not quite) a “high tea”. I’m drawing the menu from previous postings to my food blog so those interested in the food items can access my recipes by clicking on the hotlinks throughout this posting.
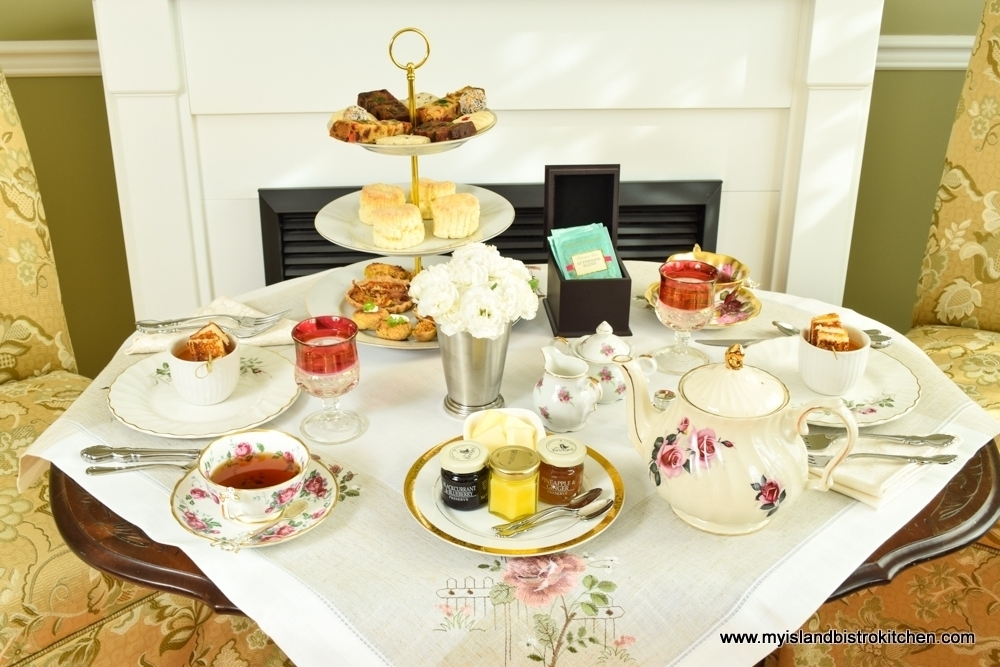
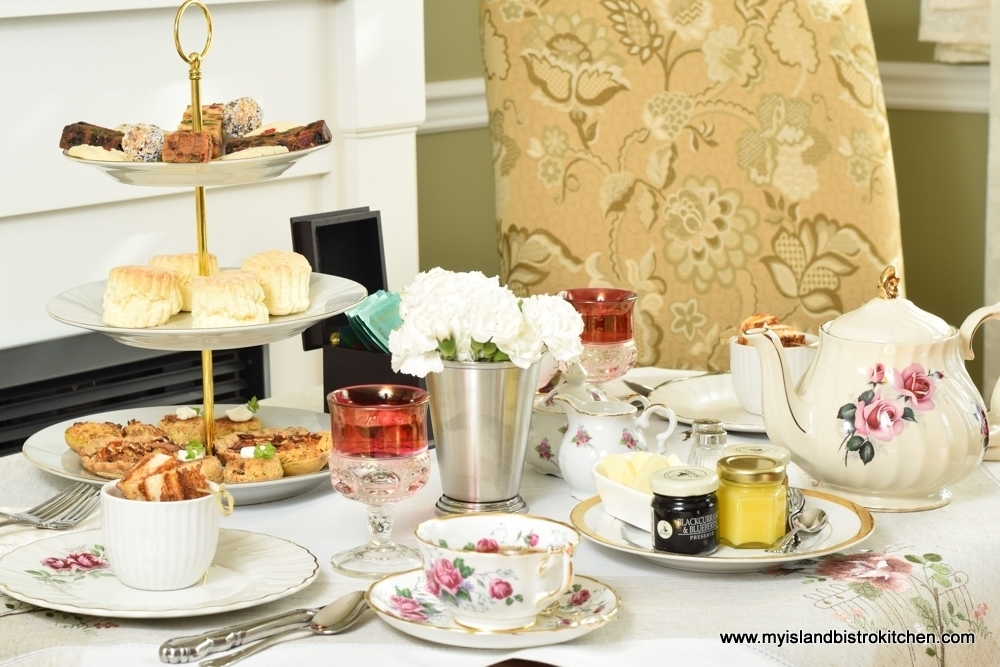
Some people refer to the traditional afternoon tea of dainty (and always crustless) sandwiches, scones, and an array of sweets as “high tea” (which it isn’t). I’m not sure why this happens – perhaps it is because the food is often served on a tall (hence “high”) three-tier server (pictured below), or curate stand, along with fancy cups and saucers on the table or it may be because the mere mention of afternoon tea evokes the notion that it is a “high” society event. In any event there is a distinction between a “high tea” and an “afternoon tea” (the latter sometimes referred to as a “low tea”).
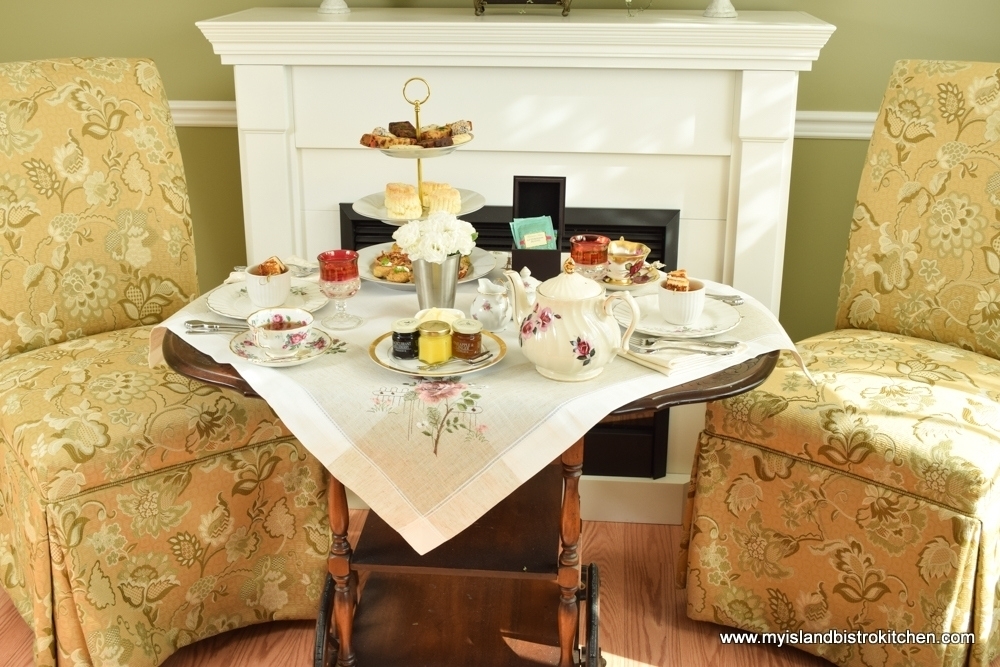
Originally, afternoon teas consisted of light refreshments served on low tables like coffee tables, for example. The idea of an afternoon tea was to have some refreshments, mid-afternoon, to counter the sluggishness often experienced in the afternoon and to stave off the hunger until dinner was served later in the evening. Partakers would often be seated in comfy armchairs as opposed to formal dining chairs and would use the low tables upon which to set their cup and saucer and refreshments. In fact, some high-end hotels in London serve afternoon tea in the surroundings of their lobbies and, indeed, comfortable armchairs and sofas are still used along with low coffee tables. Today, however, the traditional afternoon tea is most often served at regular height tables. What characterizes a traditional afternoon tea are crustless finger sandwiches, scones, sweets and, of course, tea.
High tea, on the other hand, is more like a light supper featuring hot menu items which are most frequently served at a regular height table. Foods denoting a high tea might include egg dishes like quiches, and/or dishes that include meat and fish. Bread or biscuits would most commonly be served but less likely sandwiches if hot savoury dishes are part of the menu. And, of course, there would indeed be tea! High teas, then, tend to be comprised of more substantial fare and are typically served later in the afternoon or early evening as in the case of mine today. For those who watch the British soap opera, Coronation Street, you’ll often hear the characters invite others “round for tea” – it’s “high tea” or supper they are referring to in this context. (Yes, I’m a “Corrie” fan!)
Because of the choice of menu items I am serving, my savoury tea is, therefore, most similar (but not quite identical) to a “high tea” versus an “afternoon tea”.
The Table
I was fortunate enough to find an antique Gibbard tea trolley, in relatively decent condition, a few years ago and it is, indeed, handy. I love to use it for displays in my dining room and, because it has a double drop leaf, it often serves as my tea table when it is just tea for two. It’s the perfect size to hold all the tea elements and is easily wheeled to whatever location in the house I choose for the tea. (I am still on the hunt for a Roxton maple tea trolley in excellent condition to match my dining room set so, if anyone on PEI has one they are interested in parting with, or knows someone who does, please get in touch!)
The Linens
The tablecloth square on my tea table is one I bought in Burano on my last trip to Italy. Yes, when I’m looking for mementos of trips, my interests usually veer toward tabletop items and foods local to the area!
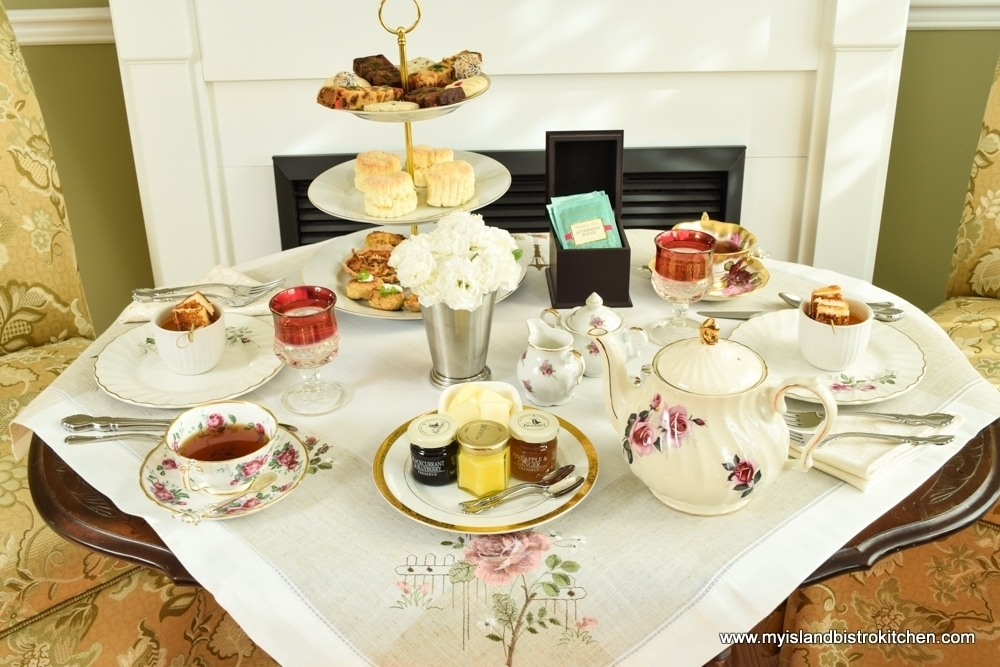
Napkin folds for tea tables tend to lean toward basic, classic designs, much like the simple triangular fold I’ve chosen here. Most often, the folds tend to be flat designs as opposed to stand-up folds and the napkins are usually plain in color.

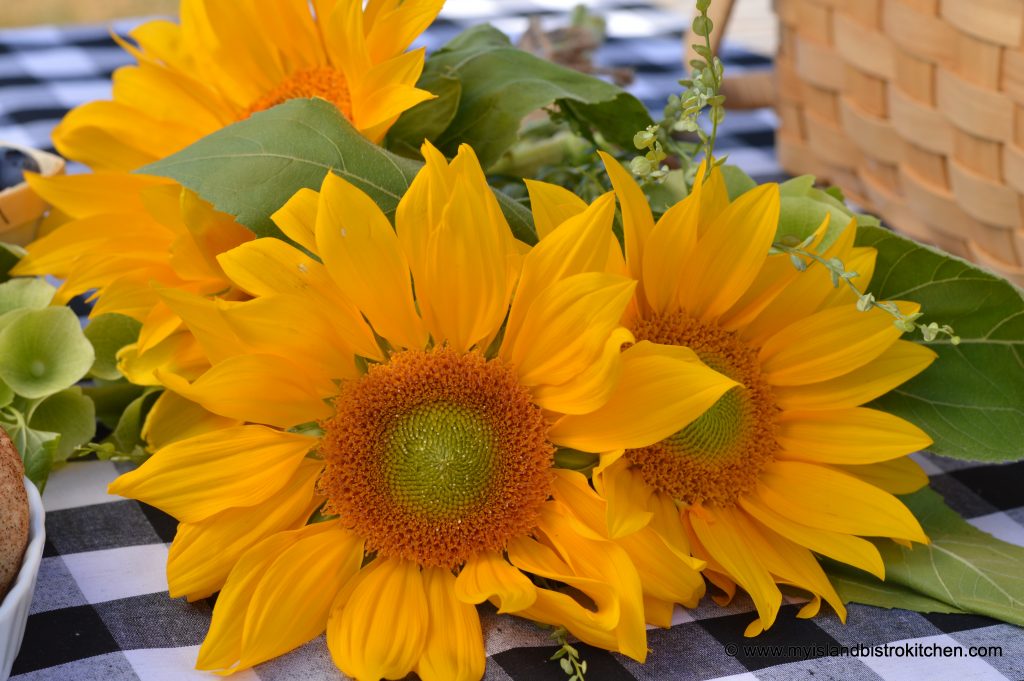
The Flowers
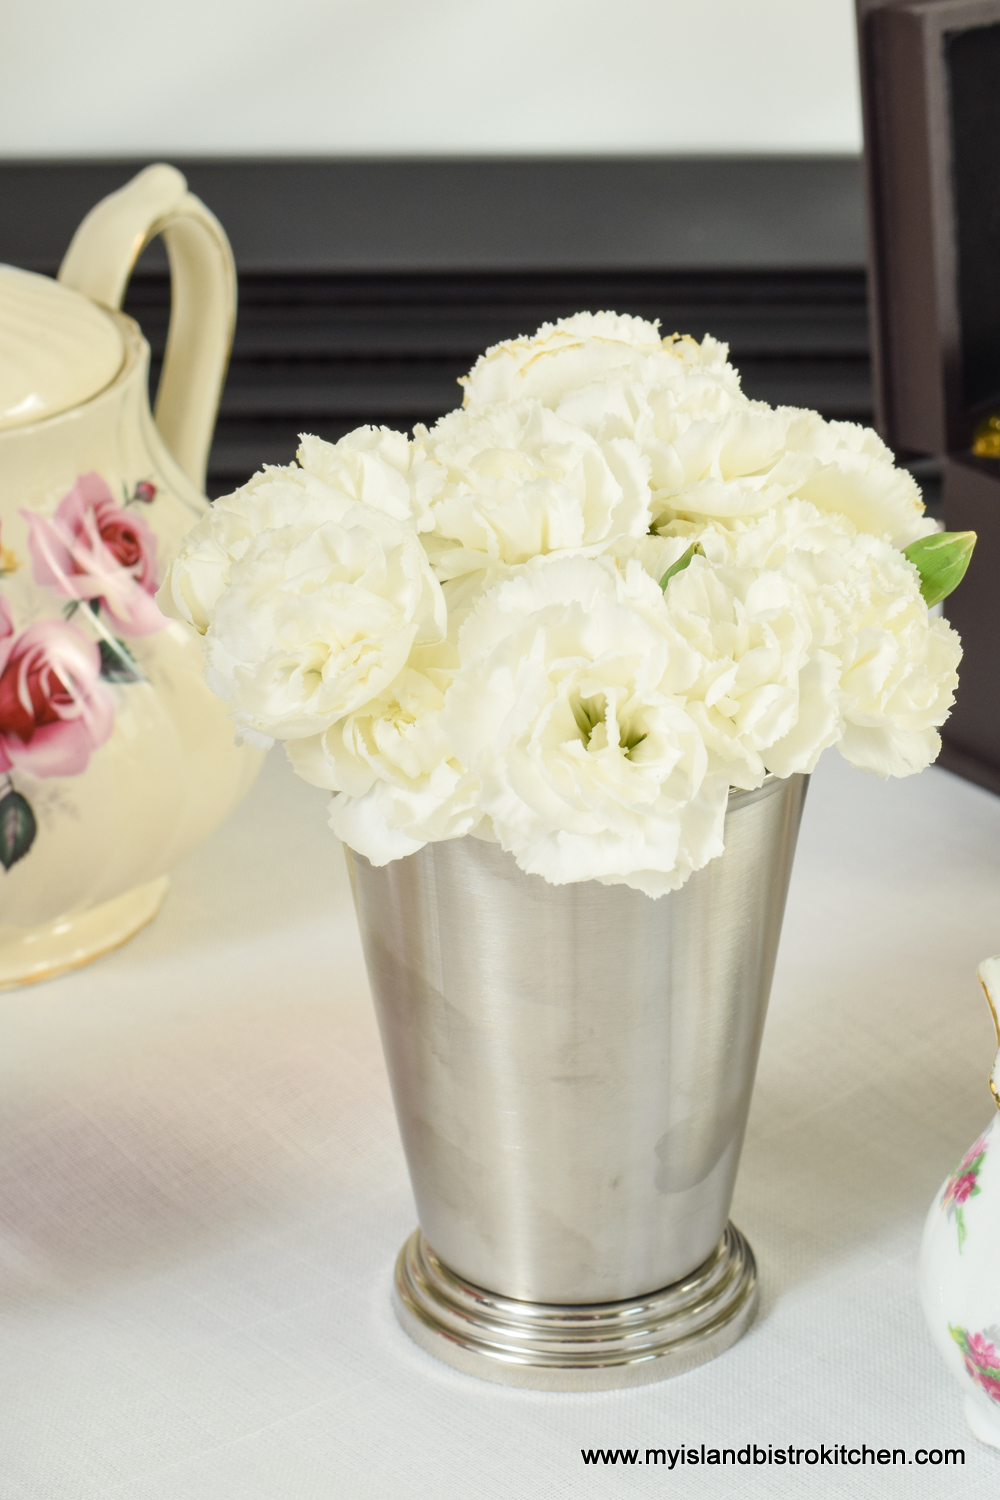
I like to include fresh flowers on my tea tables. They don’t have to be anything more elaborate than a simple bouquet of mini carnations. The arrangement, however, does need to be proportionately sized. Floral arrangements for tea tables are typically quite small, especially if it is a tea table set for two. Using a single color and variety of flower keeps the look simple and uncluttered.
Dishes and Glassware
Sometimes, it’s nice to use a formal tea set or pieces from formal china for tea settings. Matching pieces do lend an air of formality and cohesiveness to the setting. However, it’s totally acceptable to have a mix of dishes on the tea table so long as they coordinate in style and color.
Always use small tea-sized plates, or supper plates, for tea events. Small portions of food characteristic of tea fare just look better on small plates as the food does not appear so minuscule and “lost” as it would on a large dinner plate, for example. These pink design plates were a thrift shop find.
From my collection, I have simply chosen two different teacups and saucers that I particularly like. They both have pink designs to compliment the plates.
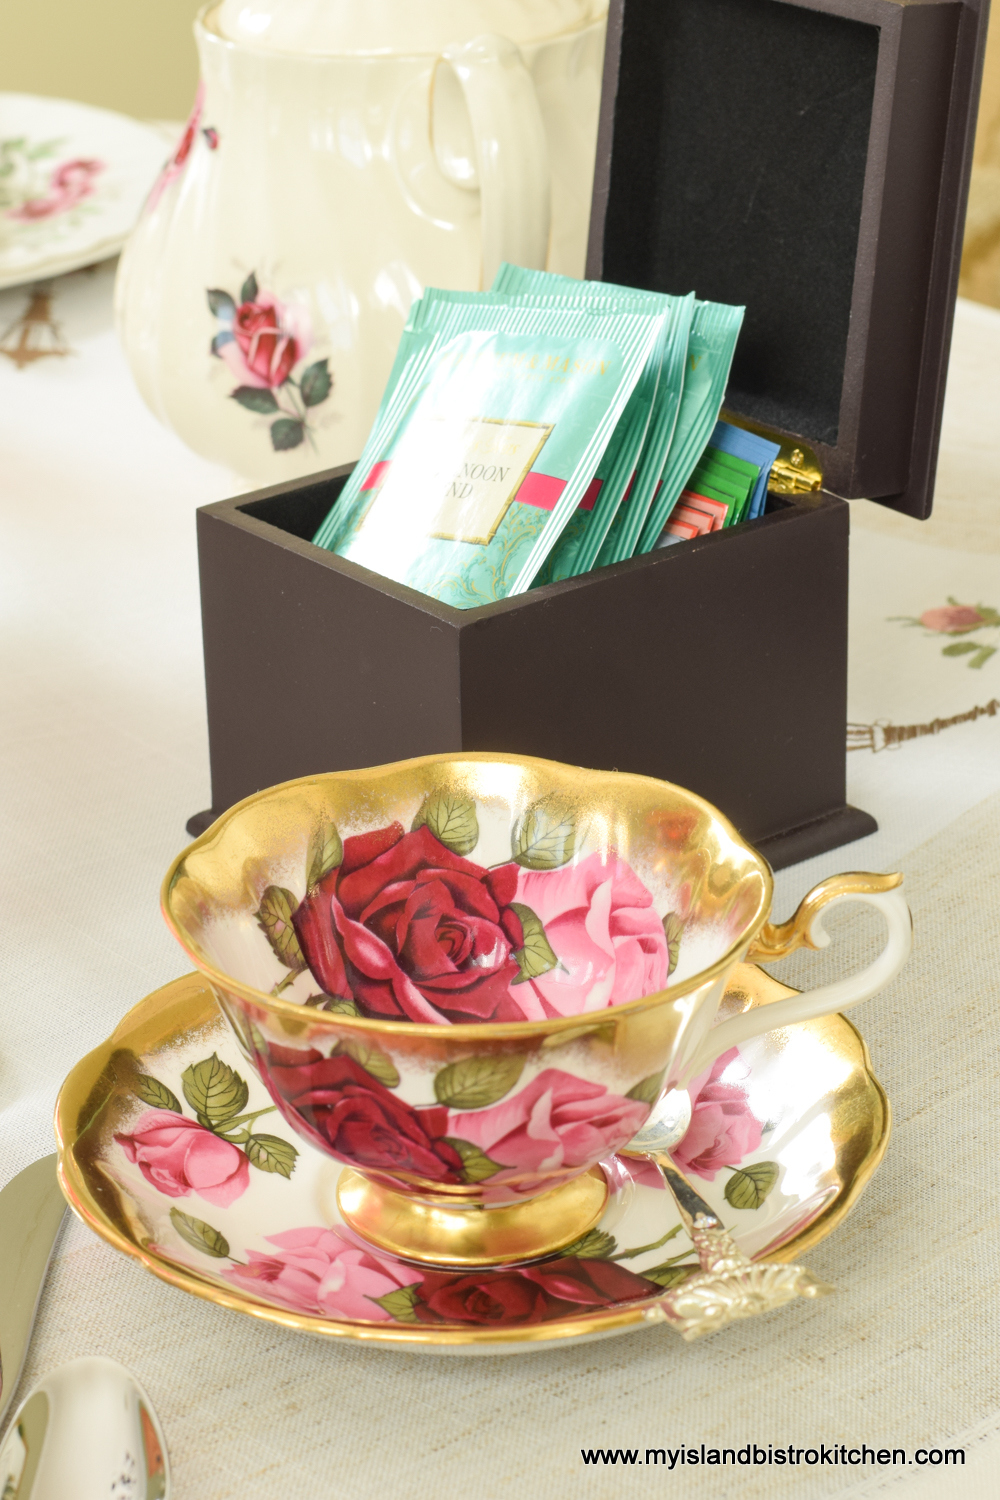
Both cups have wonderful designs inside and outside.

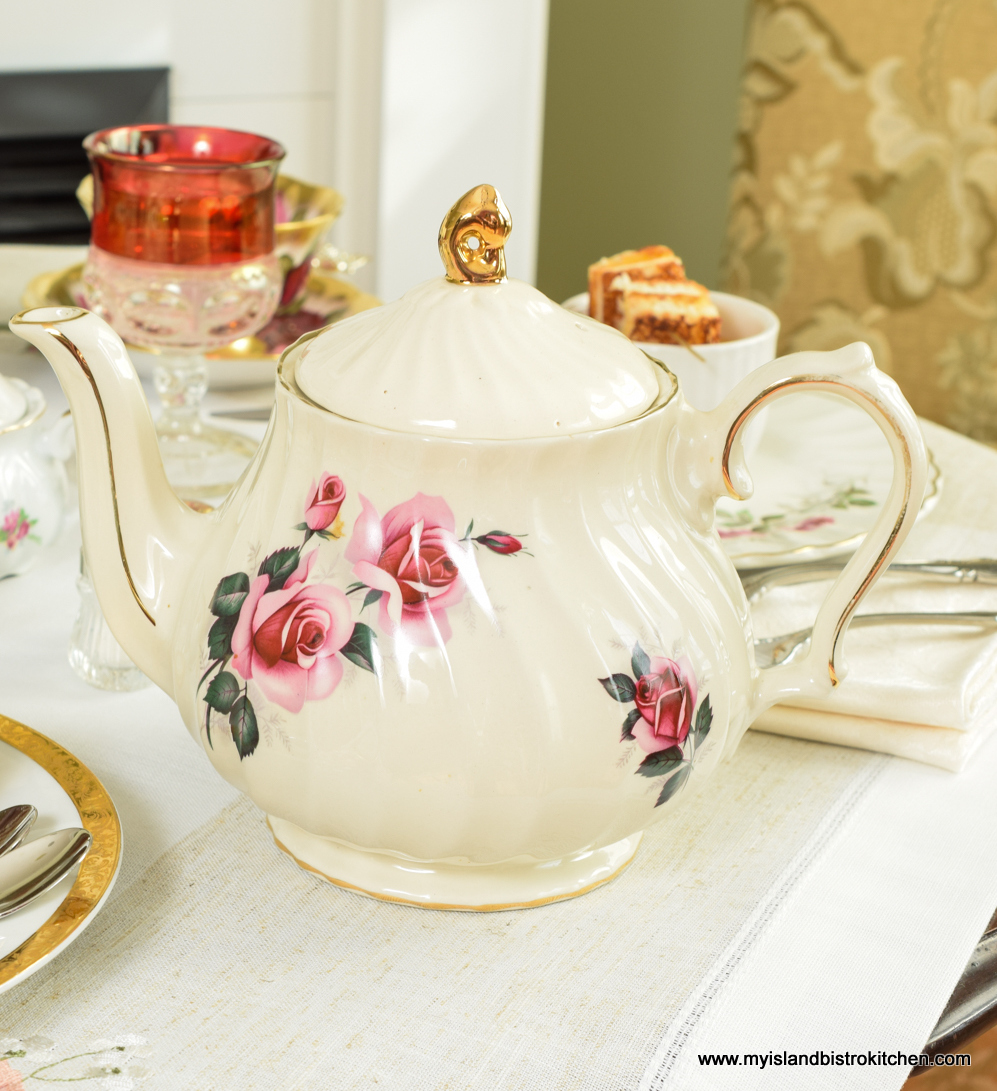
The teapot, a Sadler, also has a pink theme. The pink shades coordinate with the salmon pink shade highlighted in the tablecloth.
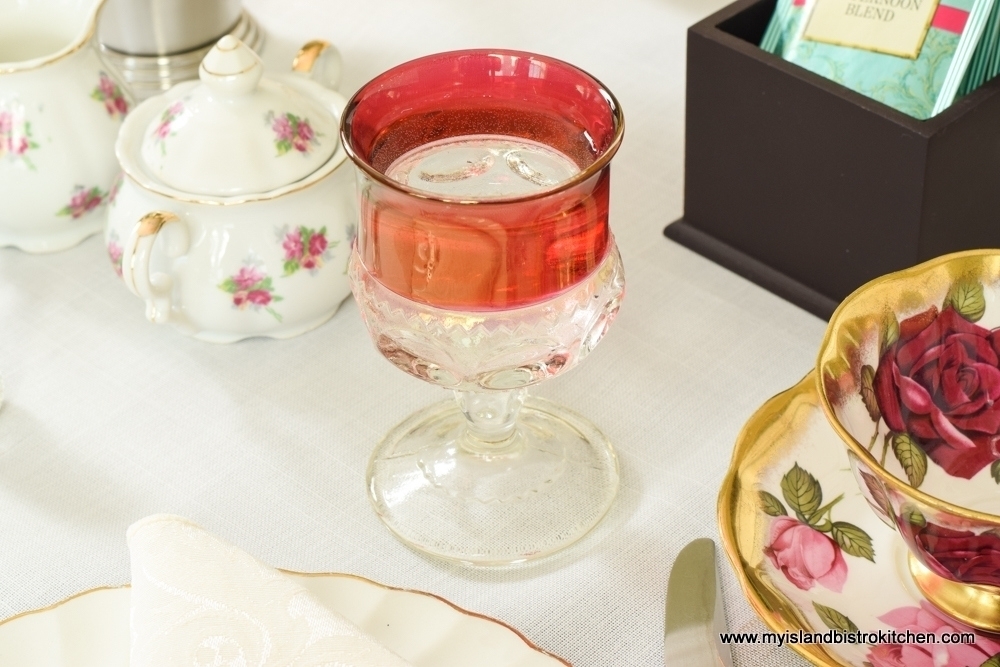
I found these little pedestal glasses with cranberry trim at a second-hand shop and knew they would be perfectly sized for tea tables. They lend an air of elegance and color to the table.
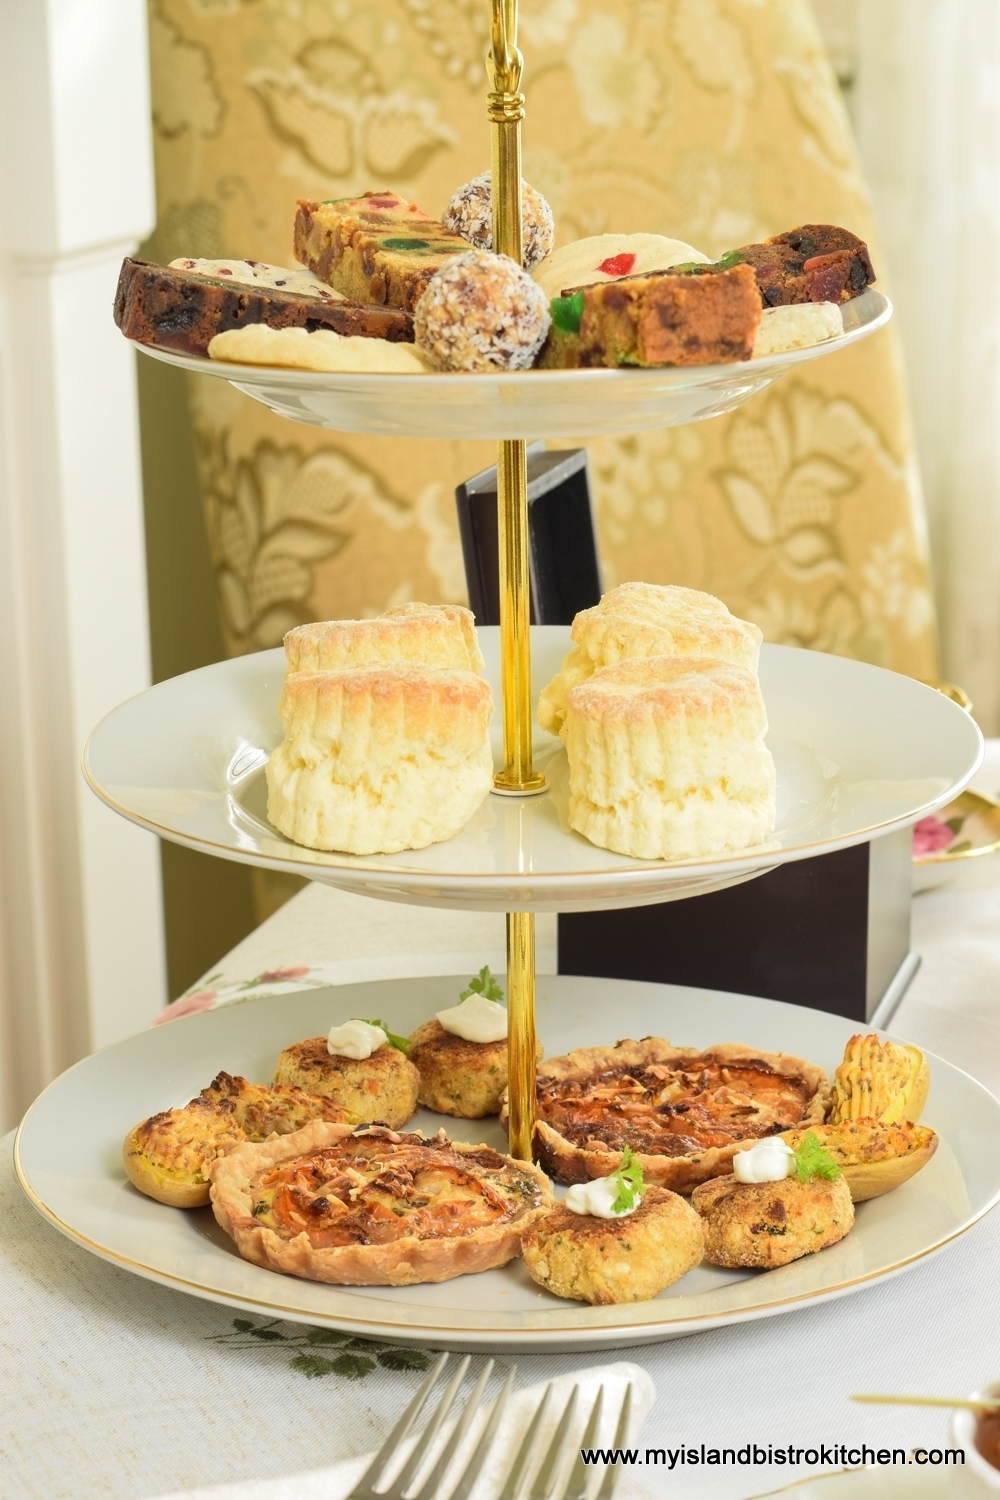
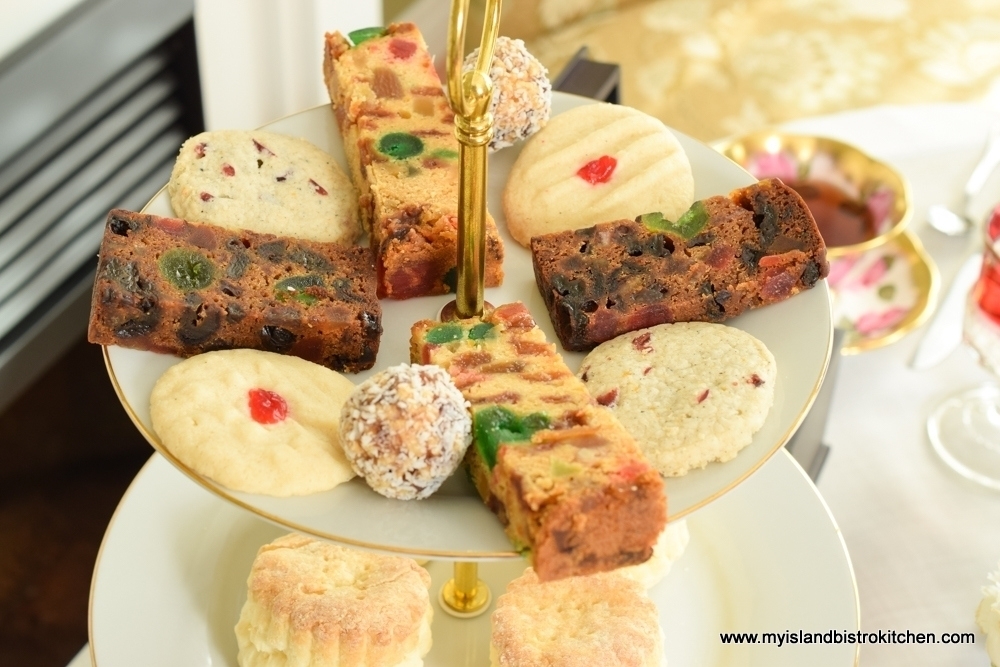
I adore my three-tier servers! They give an air of elegance and sophistication to any tea table. Plus, they are super useful and an efficient way to serve the food. All the food items can be brought to the table at once on one unit, taking up less space as tea tables tend to be small and compact. Sandwiches/savoury items go on the bottom tier, scones/biscuits on the middle tier, followed by the tempting sweet treats on the top tier.
The Menu
So, here is what is on my five-course savoury tea menu.
~ Starter ~
Cream of Roasted Tomato Soup with Grilled Cheese Squares
~ Savoury ~
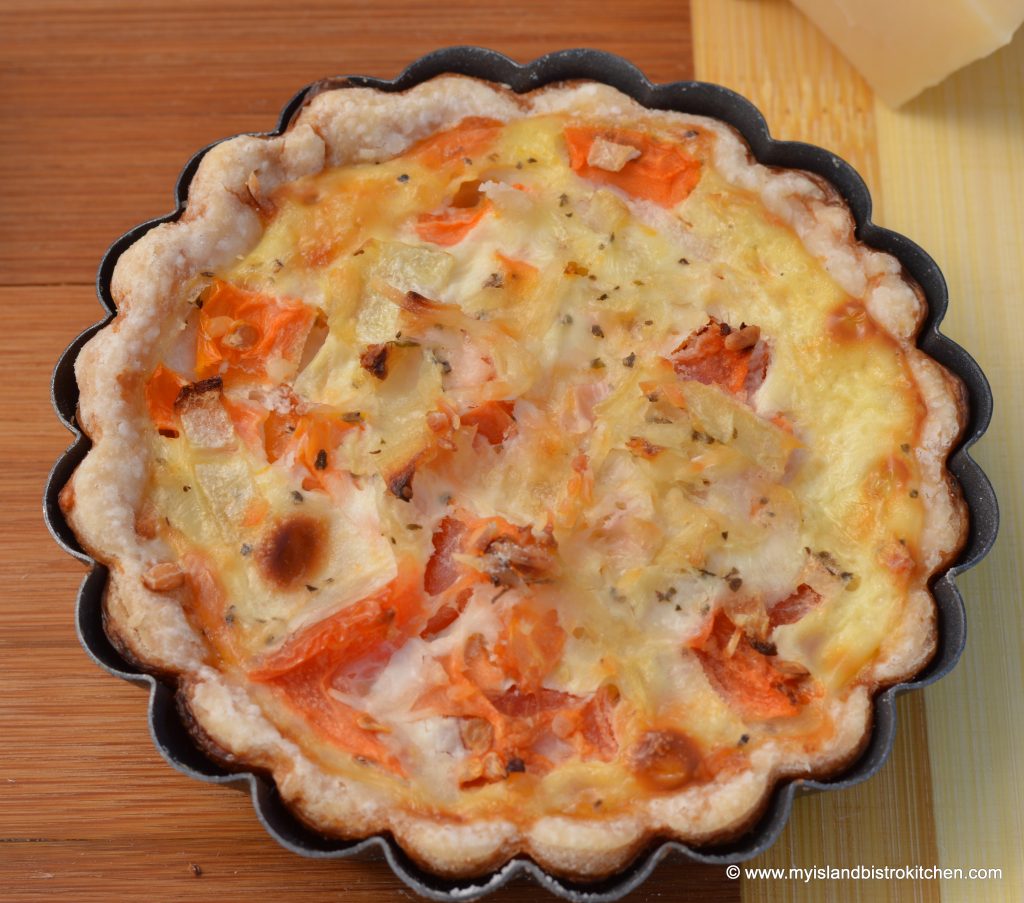
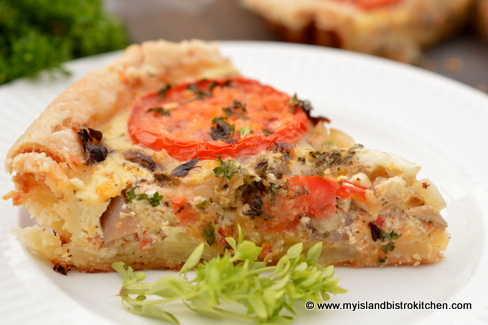
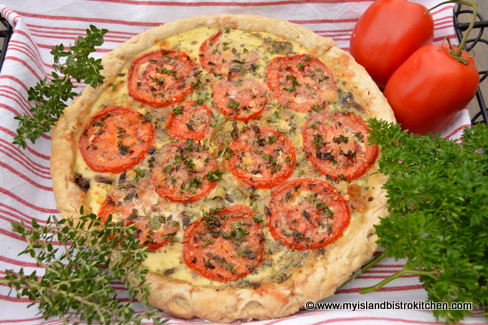
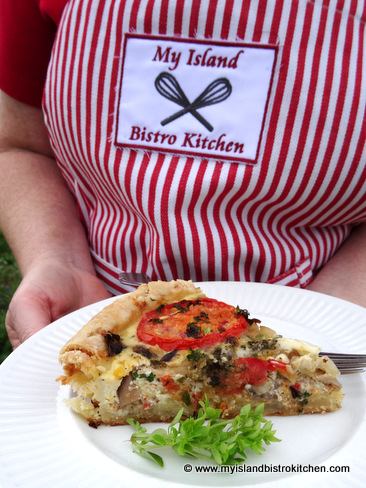
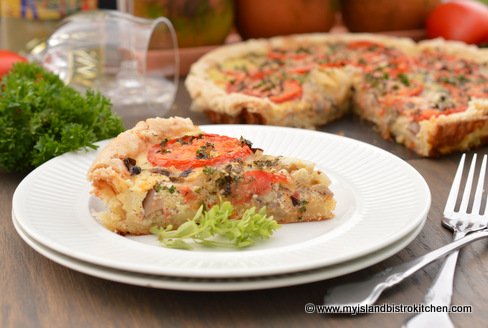
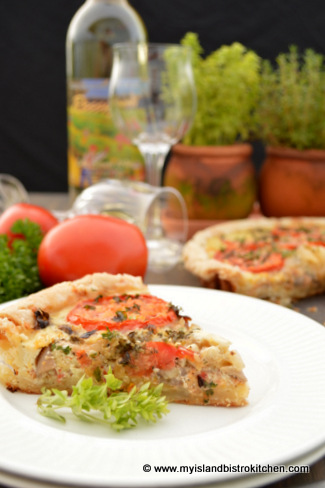
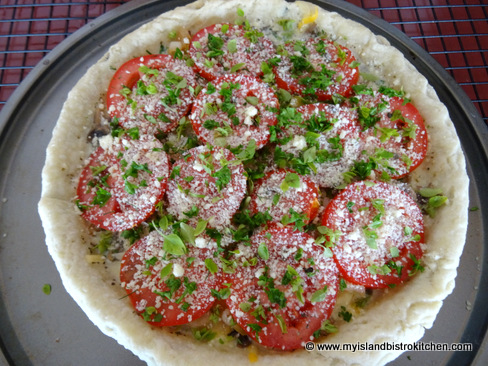
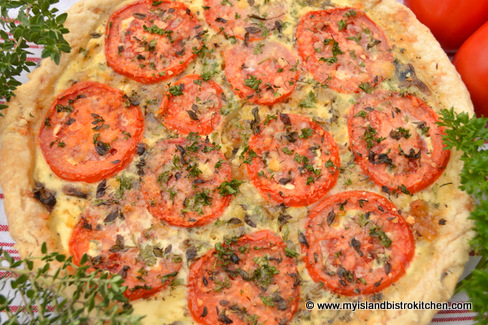
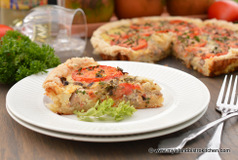
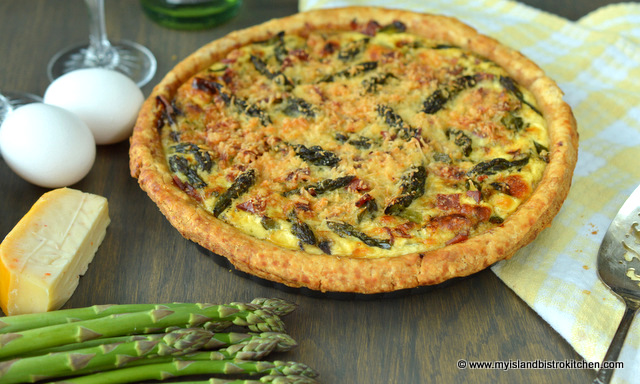
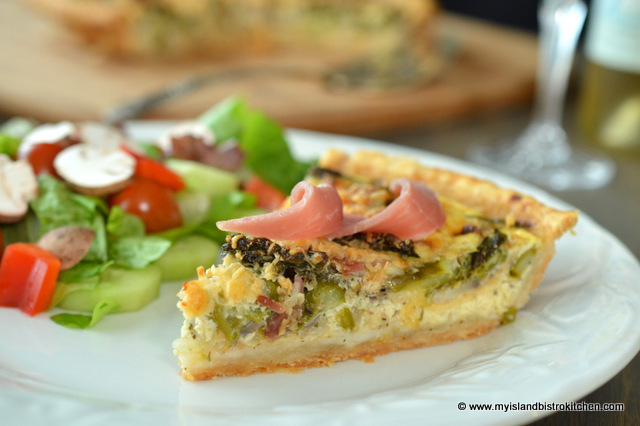
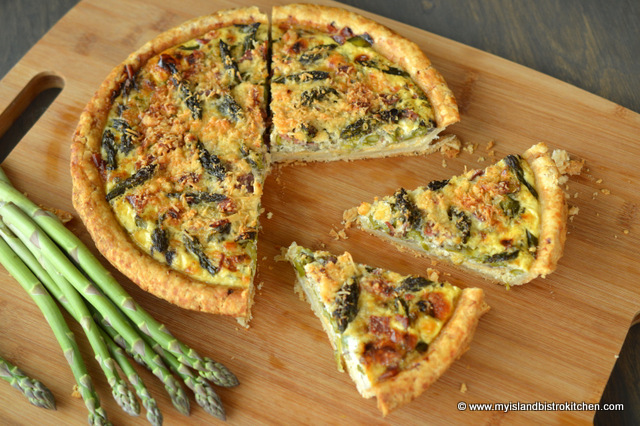
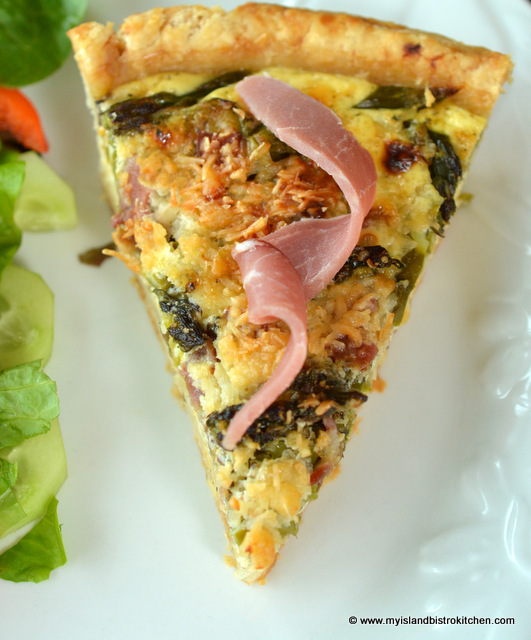
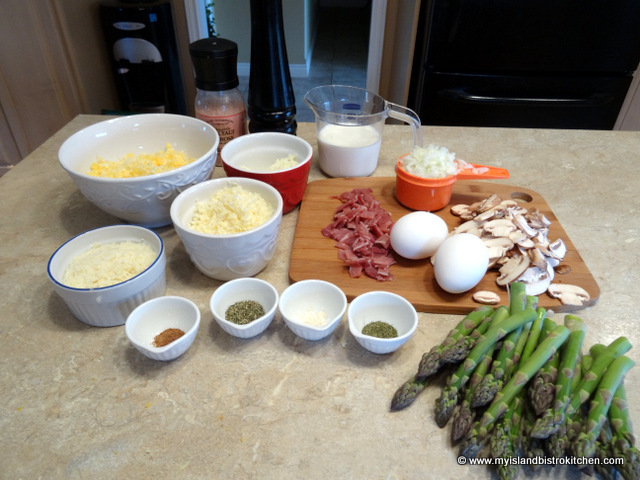
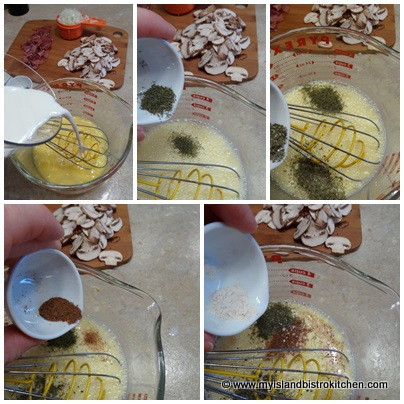
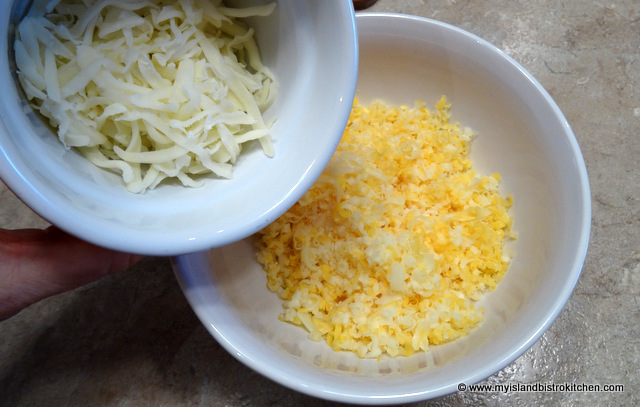
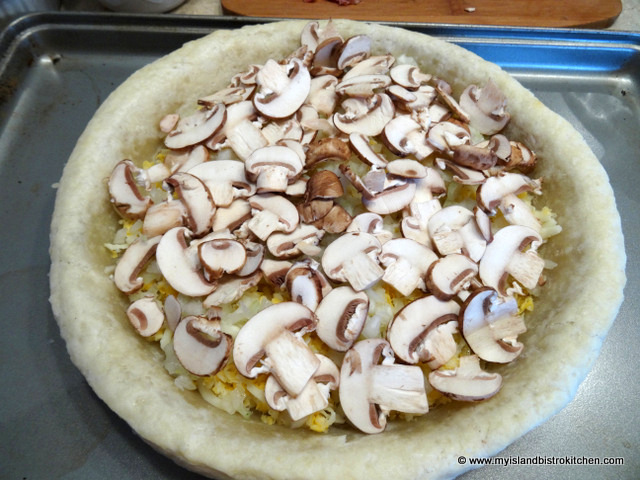
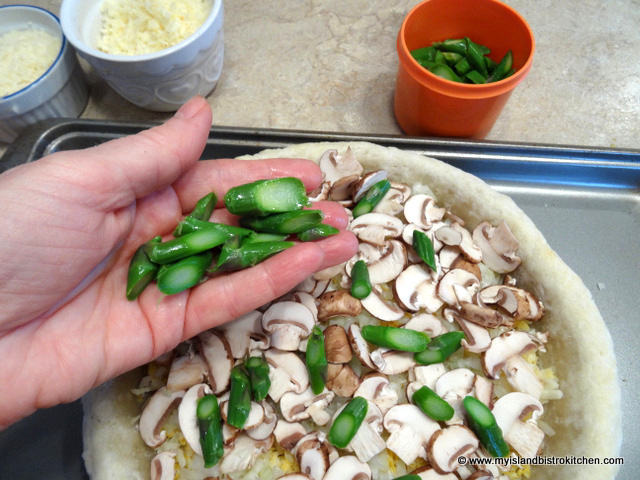
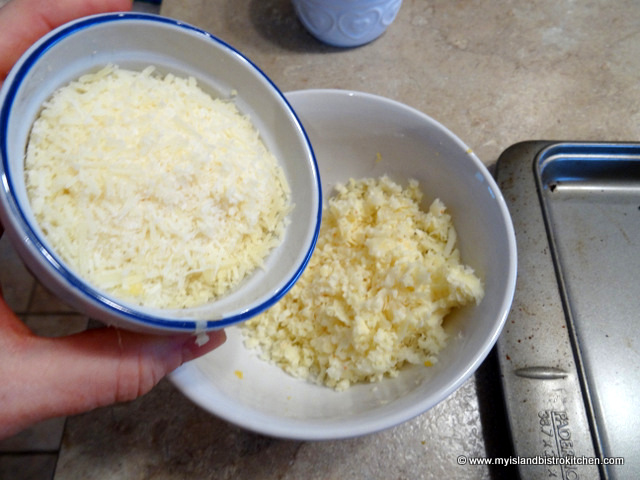
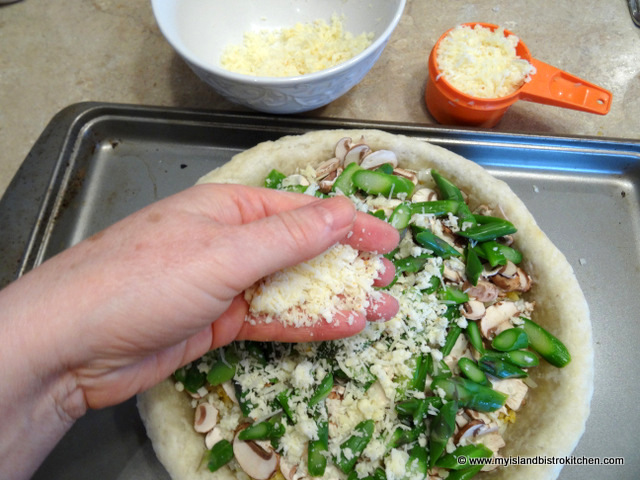
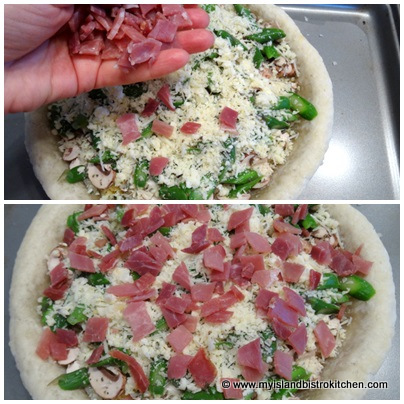
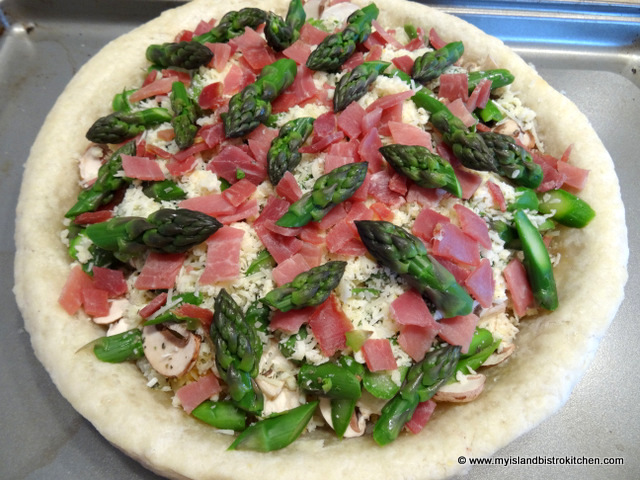
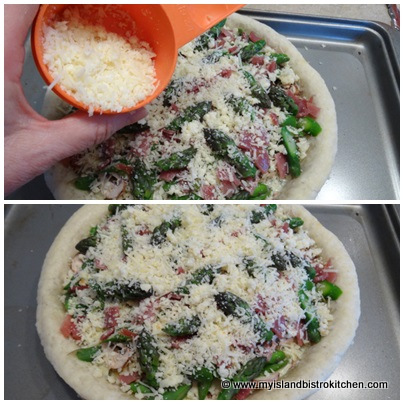
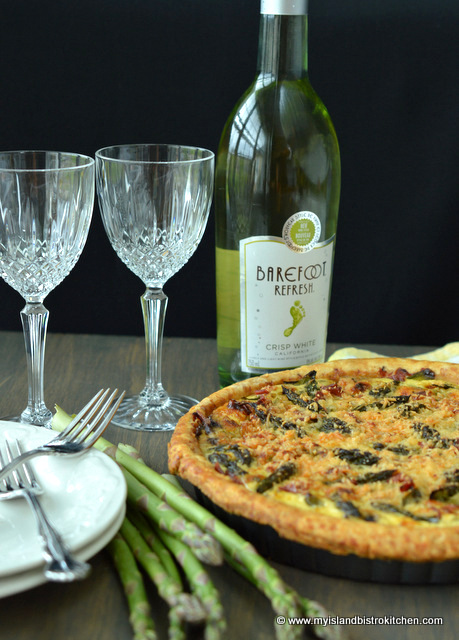
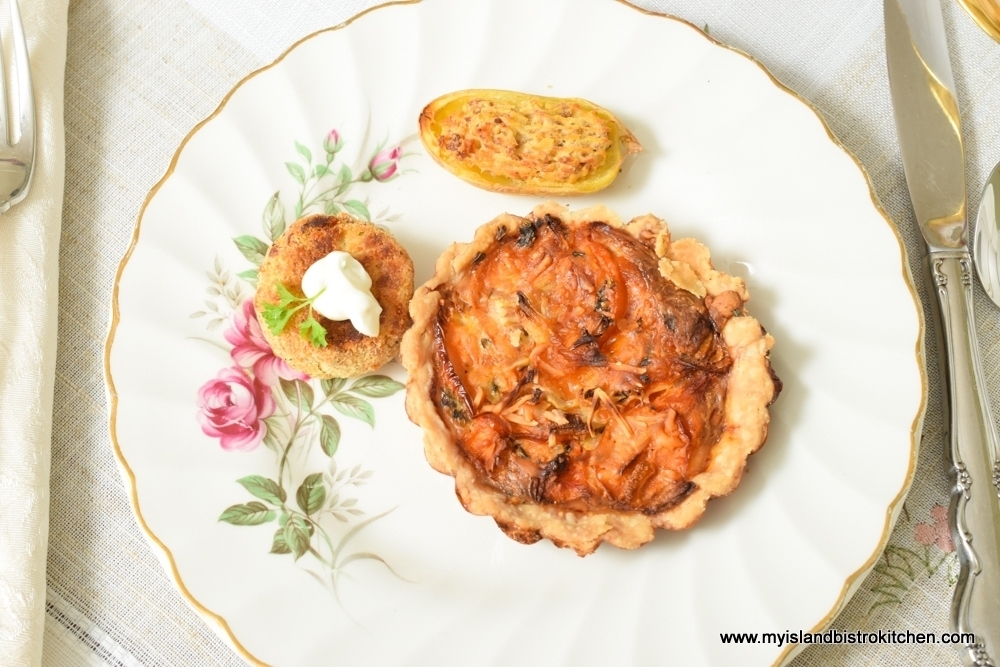
Harvest Quiche
Baked Stuffed Fingerlings
Mini Lobster Cakes
~ Biscuits ~
Biscuits served with lemon curd and preserves
~ Sweet Offerings ~
Dark and Light Fruitcake
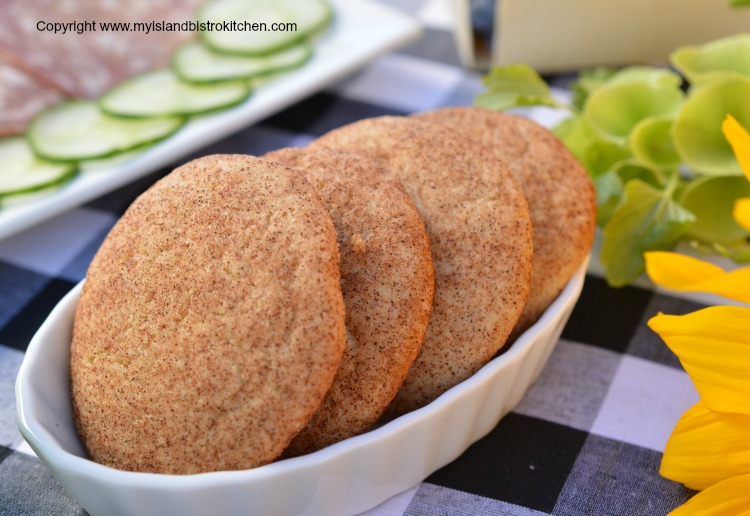
Frypan Cookie Balls
Gluten Free Earl Grey Cranberry-Orange Shortbread
Gluten Free Melting Moments
~ Dessert ~
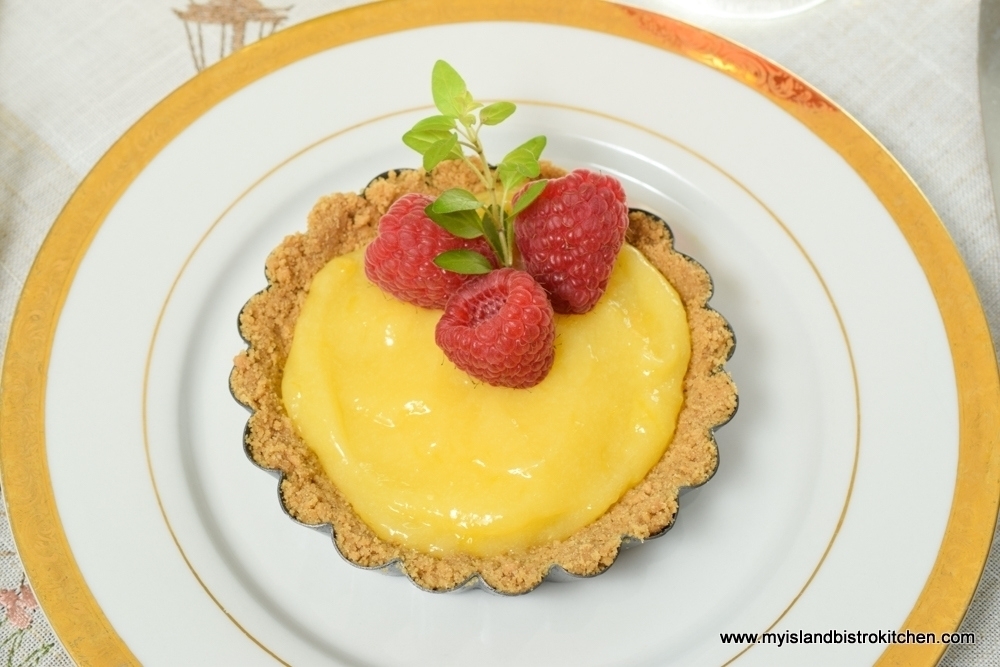
Luscious Lemon Curd Tartlets
~ Tea ~
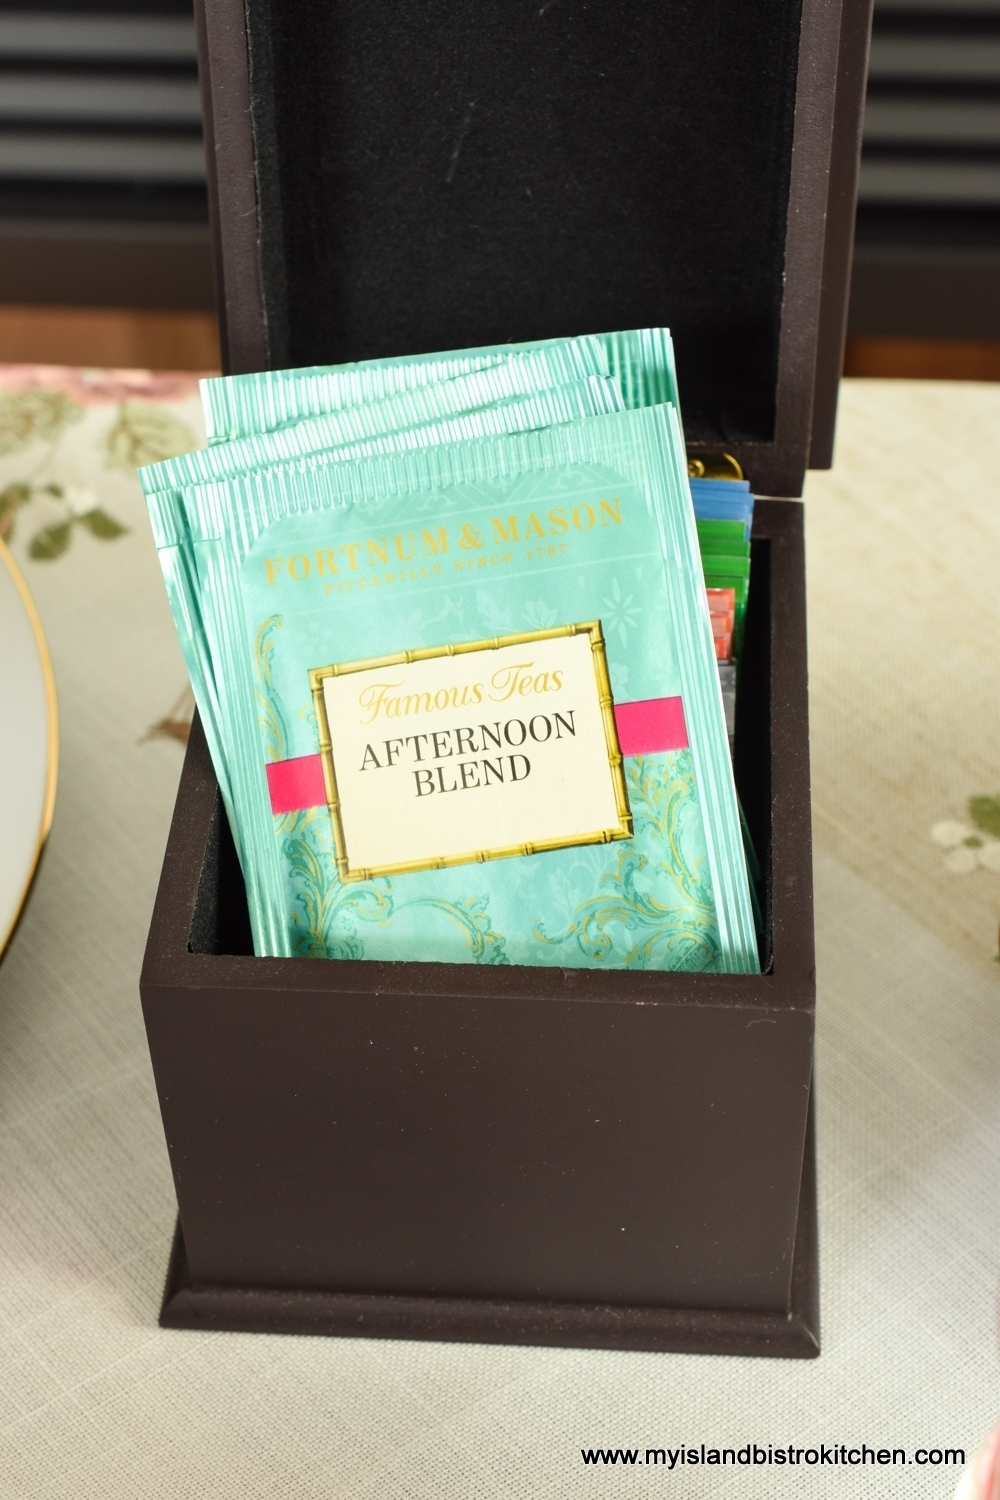
Fortnum and Mason’s “Afternoon Tea” blend
The traditional order in which to consume tea foods are sandwiches/savouries first, followed by the scones/biscuits, and ending with the sweets. So, let’s take a closer look at the menu items.
Starter Course
For the starter course, I’m serving my homemade cream of roasted tomato soup with tiny squares of grilled cheese.
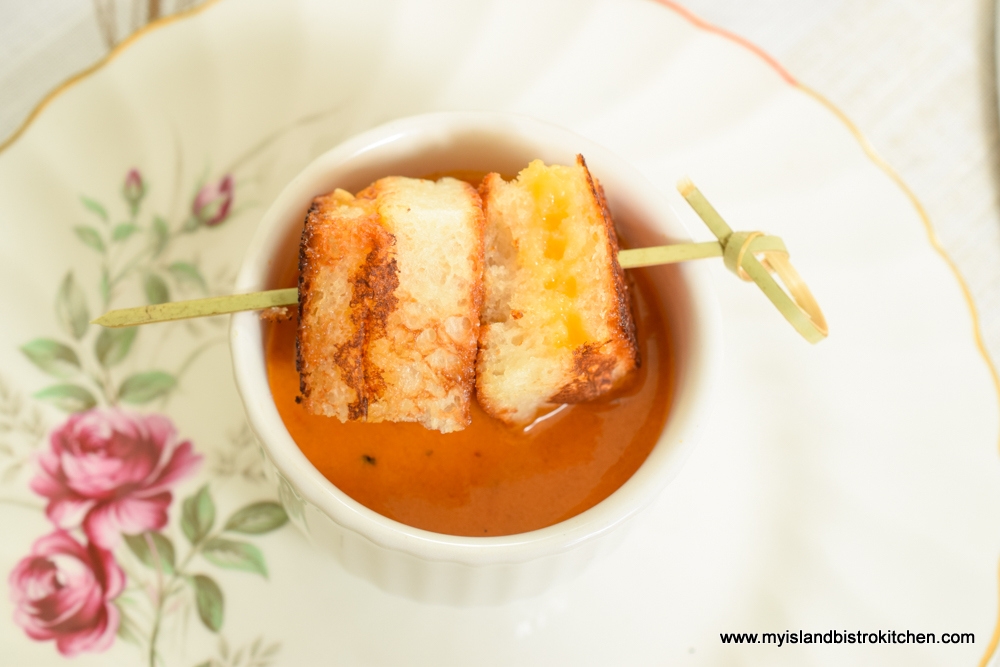
In keeping with the small portion size conducive to tea serving size, I’m serving the soup in small soup cups and threading the grilled cheese squares on to a skewer.

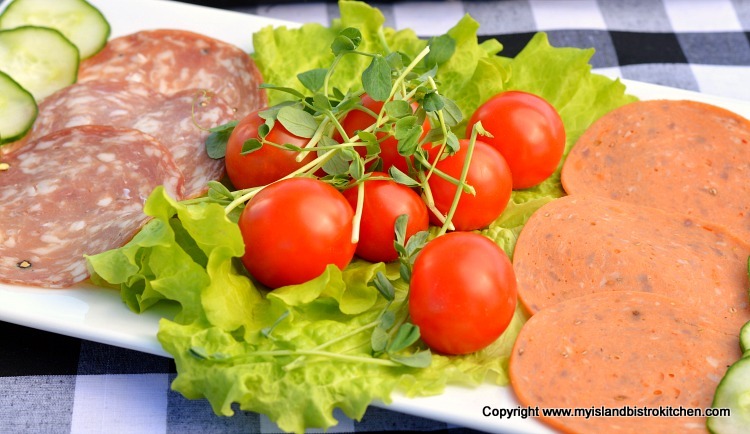
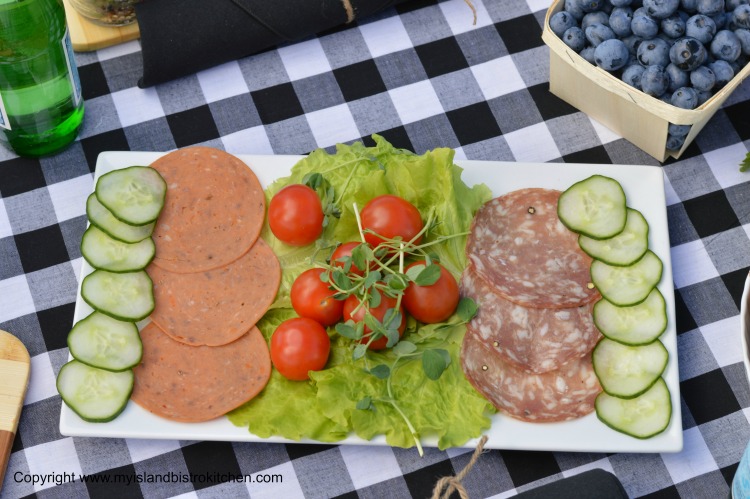
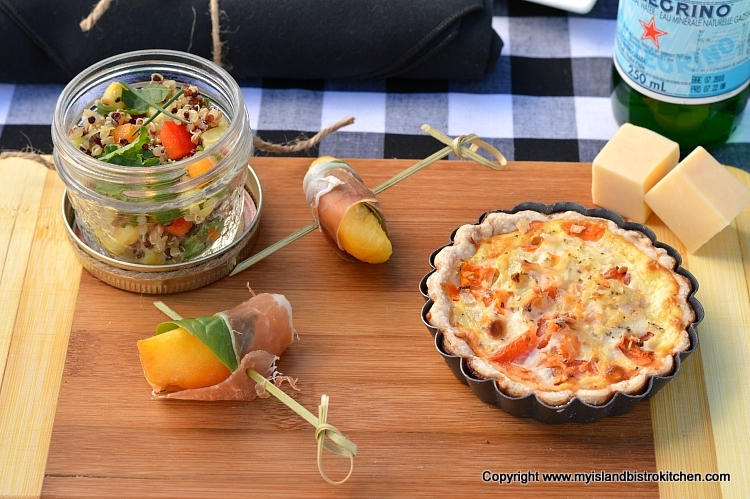
Savoury Course
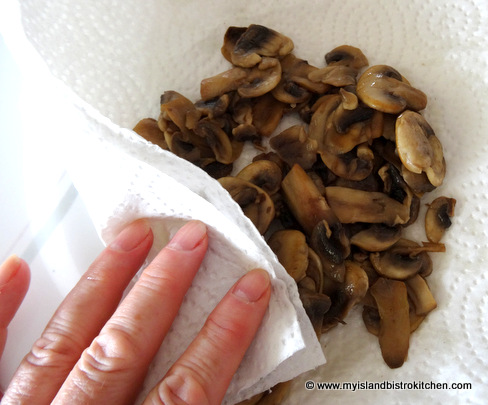
For the savoury course, I have selected three hot items – mini harvest quiches, baked stuffed fingerlings, and mini lobster cakes. By clicking on the foregoing hotlinks, you can access my recipes. I will often plan ahead for tea events when I am doing my batch cooking for the freezer. In this case, I made some mini quiches and lobster cakes earlier and had them frozen. This allows me to add some variety to my tea events that I probably might not otherwise have if I had to mix up special small batches especially for a tea event.
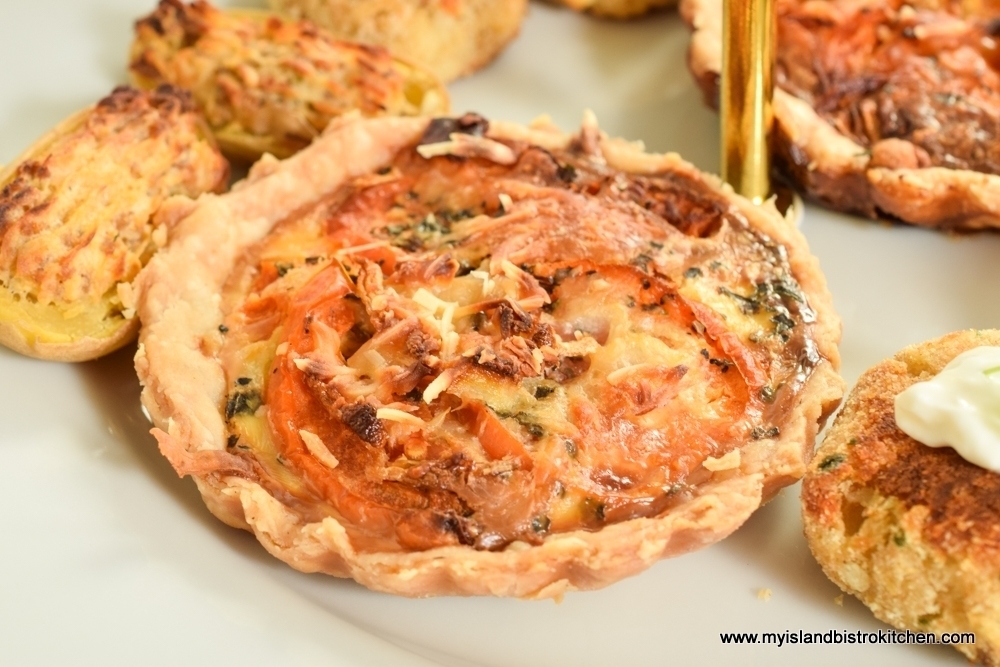
The fingerlings are stuffed with sausage, cheese, tomato sauce, and seasonings and are tasty little bites.

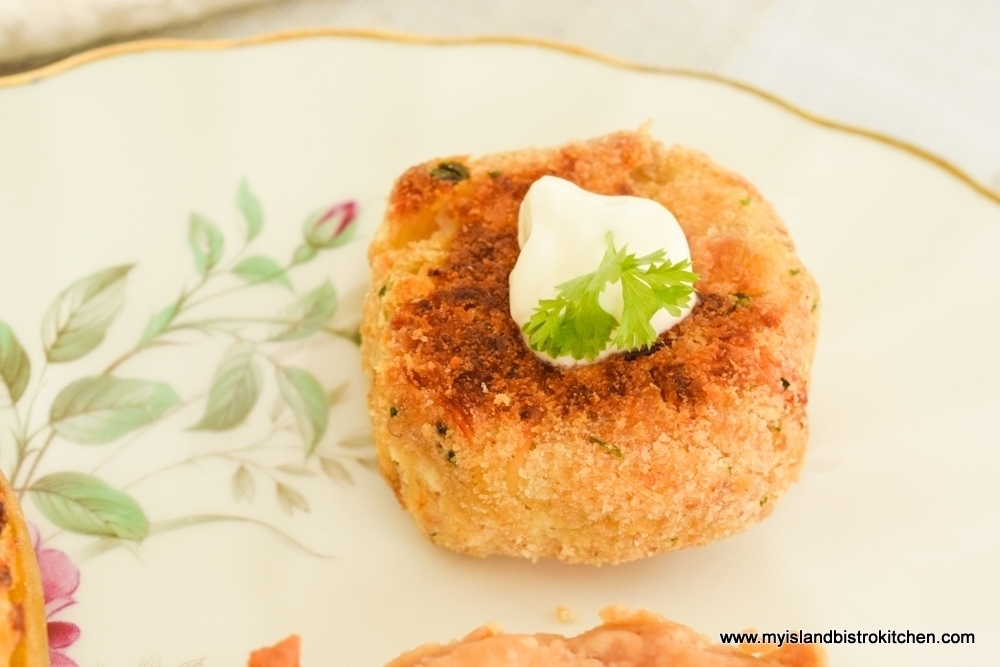
Living on PEI, lobster fishing is one of our main fisheries so, naturally, I am going to include it in some fashion on my menu. The small lobster cakes are served with a small dob of sour cream.
Keep the size portions small – they can be the same size as appetizers/hors d’oeuvres or very slightly larger. For example, I use the small individual tart shells for the mini quiches because I like the look of a complete, uncut quiche for each serving. If using pieces cut from a larger quiche, I recommend making the quiche in a small quiche/pie plate 6” – 8” in diameter, no larger.
Biscuits Course
Because this is a savoury tea, I am swapping out the traditional scones associated with afternoon tea and am replacing them with biscuits. I currently have two biscuit recipes on my food blog – classic tea biscuits and whole wheat biscuits. Either works well with this type of tea.
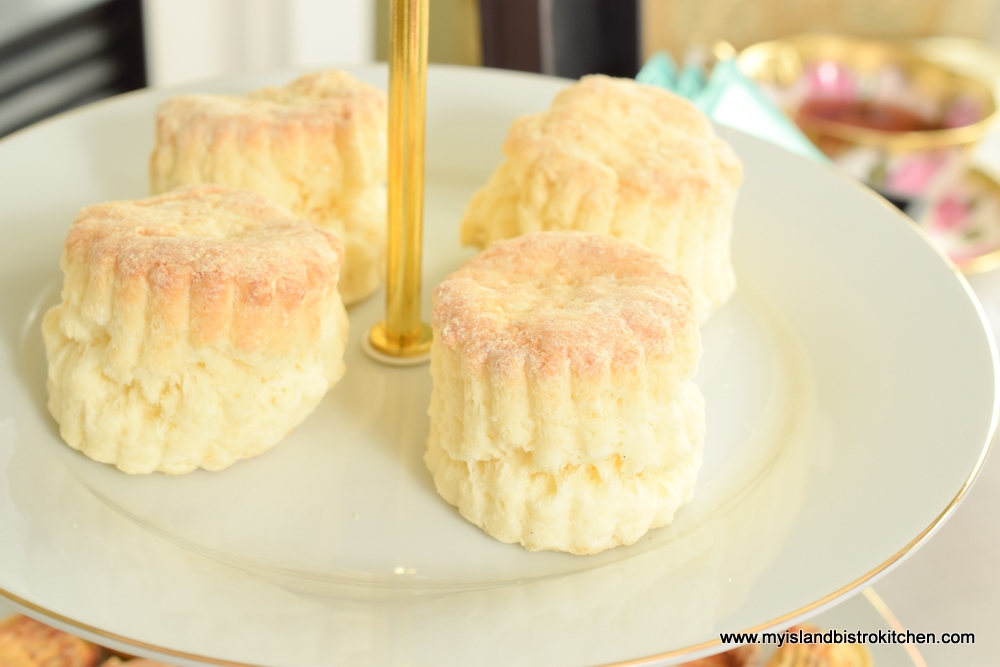
Biscuits are less sweet and rich than scones and I think they go better with my savoury tea. That doesn’t mean, however, that lemon curd and preserves can’t be enjoyed with biscuits! It’s a great way to transition the palate from the savoury course to the sweets!
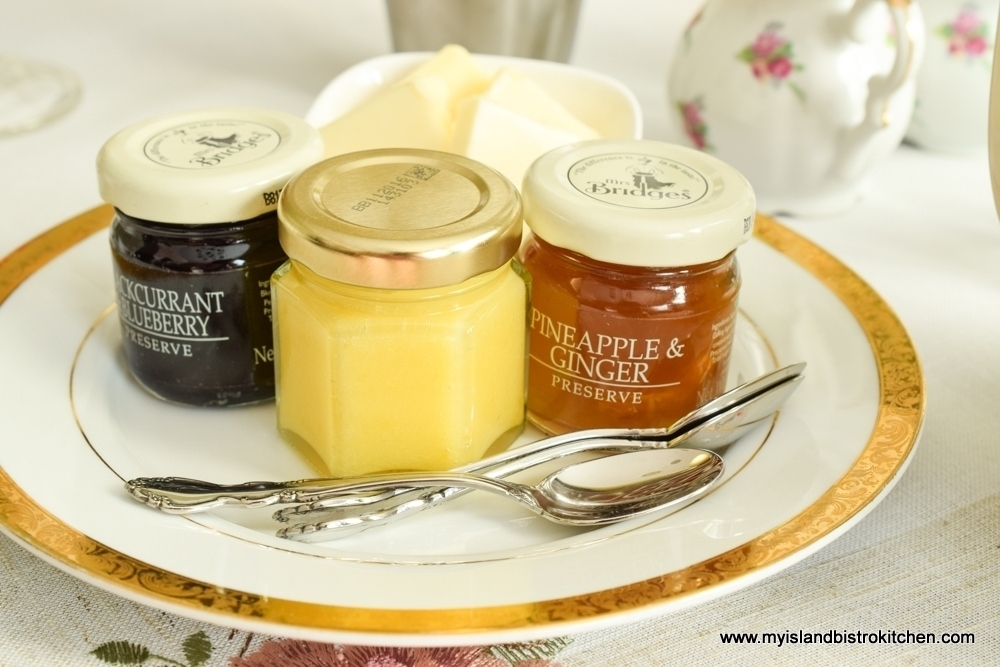
I have made a batch of my lemon curd to enjoy with the biscuits. Sometimes, I will use small dishes for the preserves but, if I have the small jars, I will often use them because I like the look of the tiny jars clustered together on a server plate!
Sweets Course
Fruitcake is often (but not always) found on tea tables. I am including both my light fruitcake and dark fruitcake, cut into small pieces. Fruitcakes are rich and are best served in small pieces (and they go particularly well with a fine cup of tea). Two kinds of cookies – Gluten Free Earl Grey Cranberry-Orange Shortbread and Gluten Free Melting Moments are also included along with Frypan Cookie Balls.
Desserts Course
This is an optional course because, really, the sweets themselves are generally sufficient. However, a nice touch is to add one special signature dessert. With my fresh batch of lemon curd, a luscious lemon curd tartlet was an obvious choice. I added some bright red raspberries for contrast along with a sprig of greenery.
Tea Selection
My tea selection is one of my personal all-time favorites – Fortnum & Mason’s “Afternoon Tea” blend which I brought home from my latest trip to London. When in London, I always try to make time for a stop at Fortnum & Mason’s flagship store on Piccadilly to browse through their food halls and to pick up some of their tea. This tea from Ceylon is crisp and refreshing yet full bodied so it goes equally well with a savoury tea as it does with a traditional afternoon tea.
I thoroughly enjoy the opportunity to go out for afternoon tea but, unfortunately, where I live, there are no restaurants or hotels that offer this option. I think that’s why, when I’m in London, I allot time for 1-2 afternoon teas which are always a highlight of my visits. I often agonize over which ones to choose because there are so many wonderful options. I have written postings on three I particularly enjoyed and you can access those by clicking on the following links: Afternoon Tea in London and “Scents of Summer” Afternoon Tea in London.
Tea time can be elaborate or simplified and, with some planning, can be made in to an event for entertaining family and friends at home. You’ll find inspiration for tea events of all sorts here on my blog. Simply go to the “Afternoon Teas” menu or type “Afternoon Tea” in the search box on the home page.