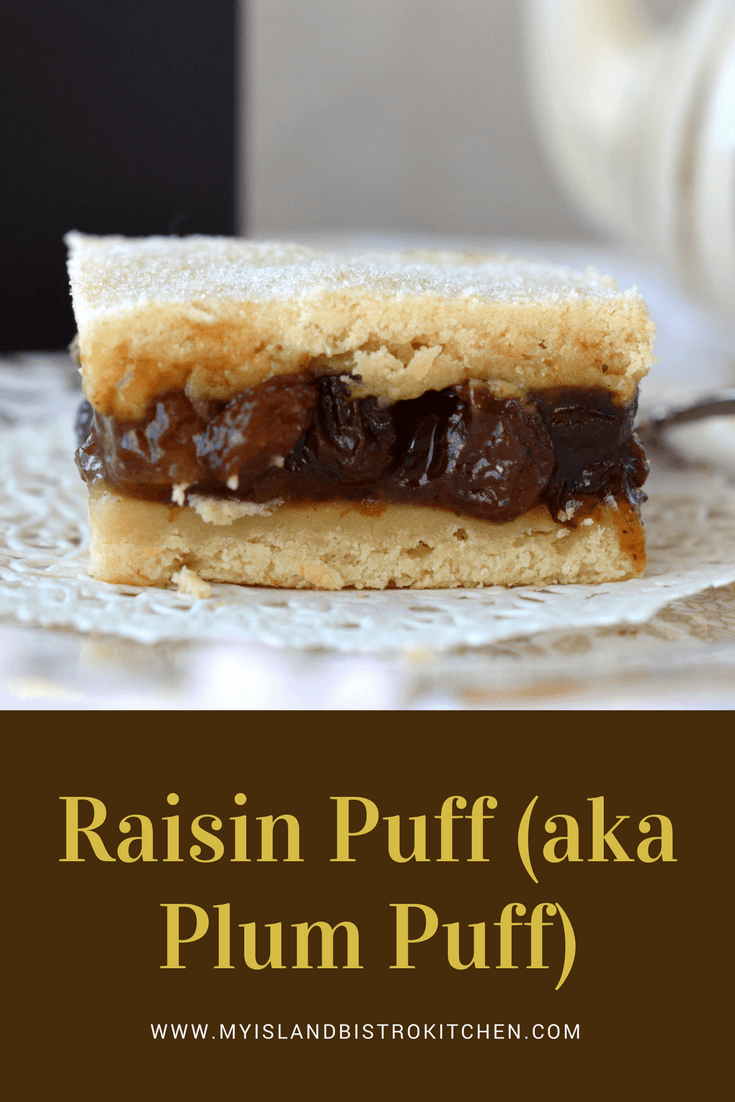
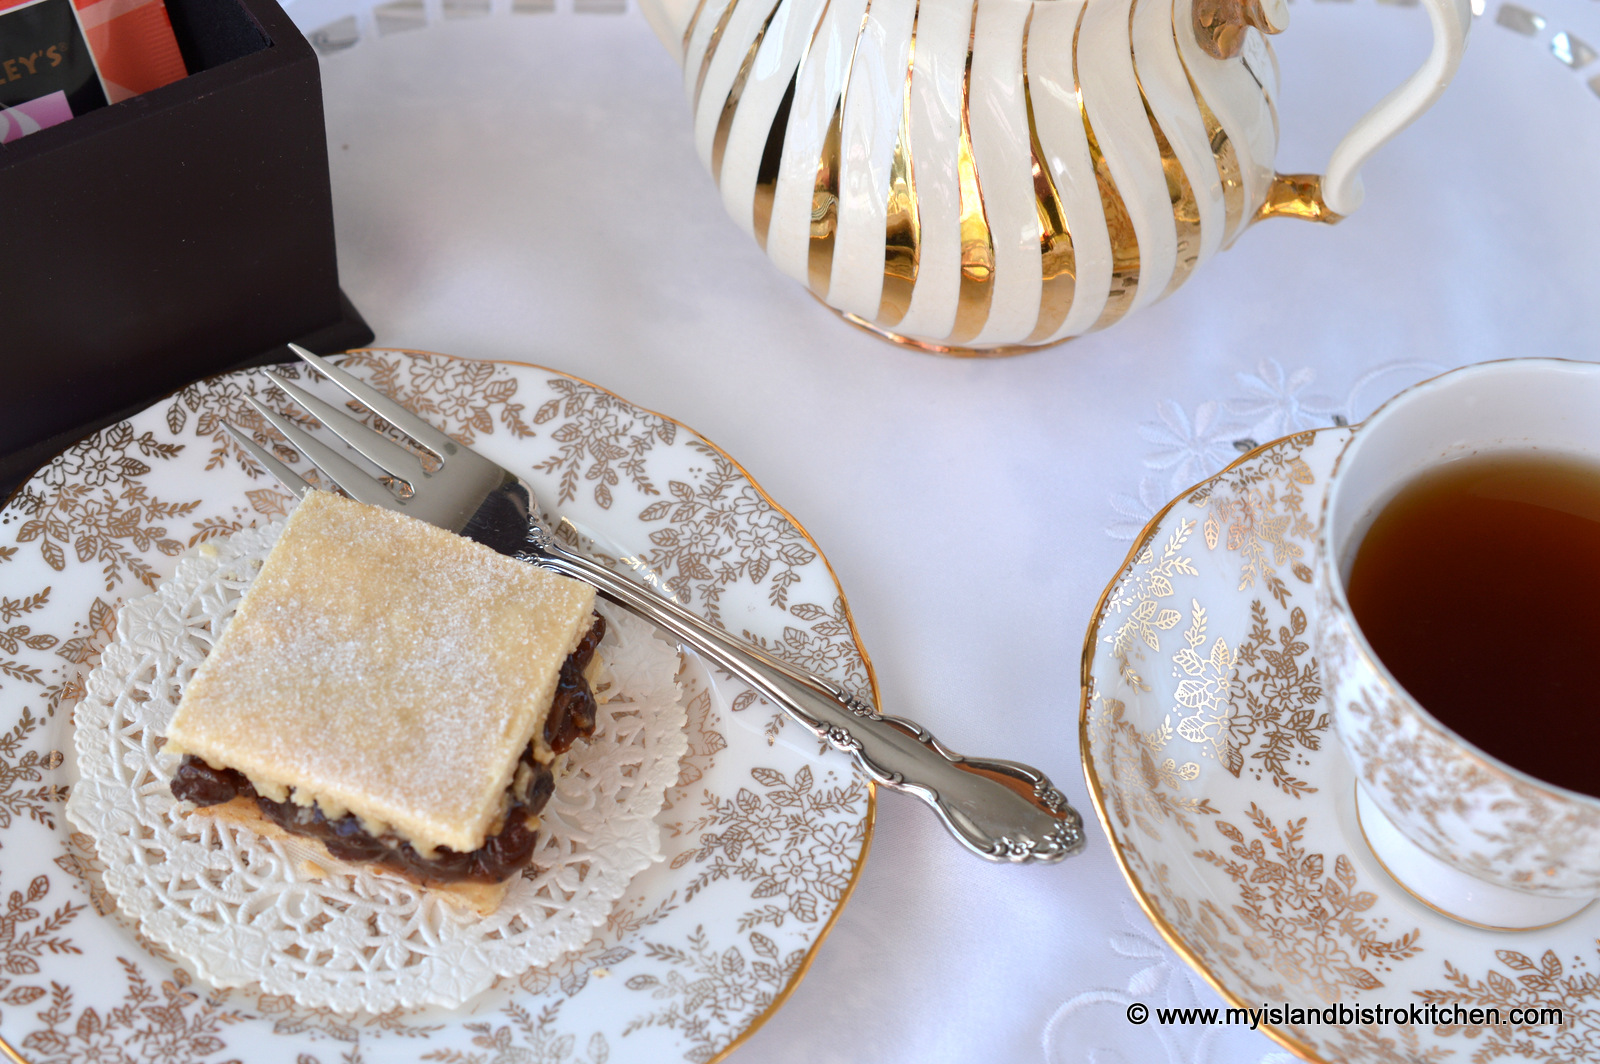
Today, I’m sharing the recipe for a real old-fashioned vintage dessert. Some of you may remember your mother or grandmother making Raisin Puff (aka Plum Puff) dessert or, perhaps, you have made it yourself.

This dessert was popular in my part of the world up until about the early 1960s but is not so common anymore. It’s one of those desserts that carries a lot of nostalgia with it. When I first mentioned that I was working on a posting for Raisin Puff, several people said they hadn’t had it in years but it brings back great memories of their childhood days when Raisin Puff was a staple in many PEI households.
Some remember grandmothers making this dessert in huge pans for their large families. Others remember going to visit neighbours and being served Raisin Puff. My mother recalls her own mother always having Raisin Puff on hand. I suspect the popularity of this dessert may have been due to it being a very substantial, filling dessert that does not call for many ingredients nor any that are difficult to source. So long as one has raisins and common baking ingredients, it’s a dessert that can be made from pantry stock without having to go on a special shopping trip to the supermarket.
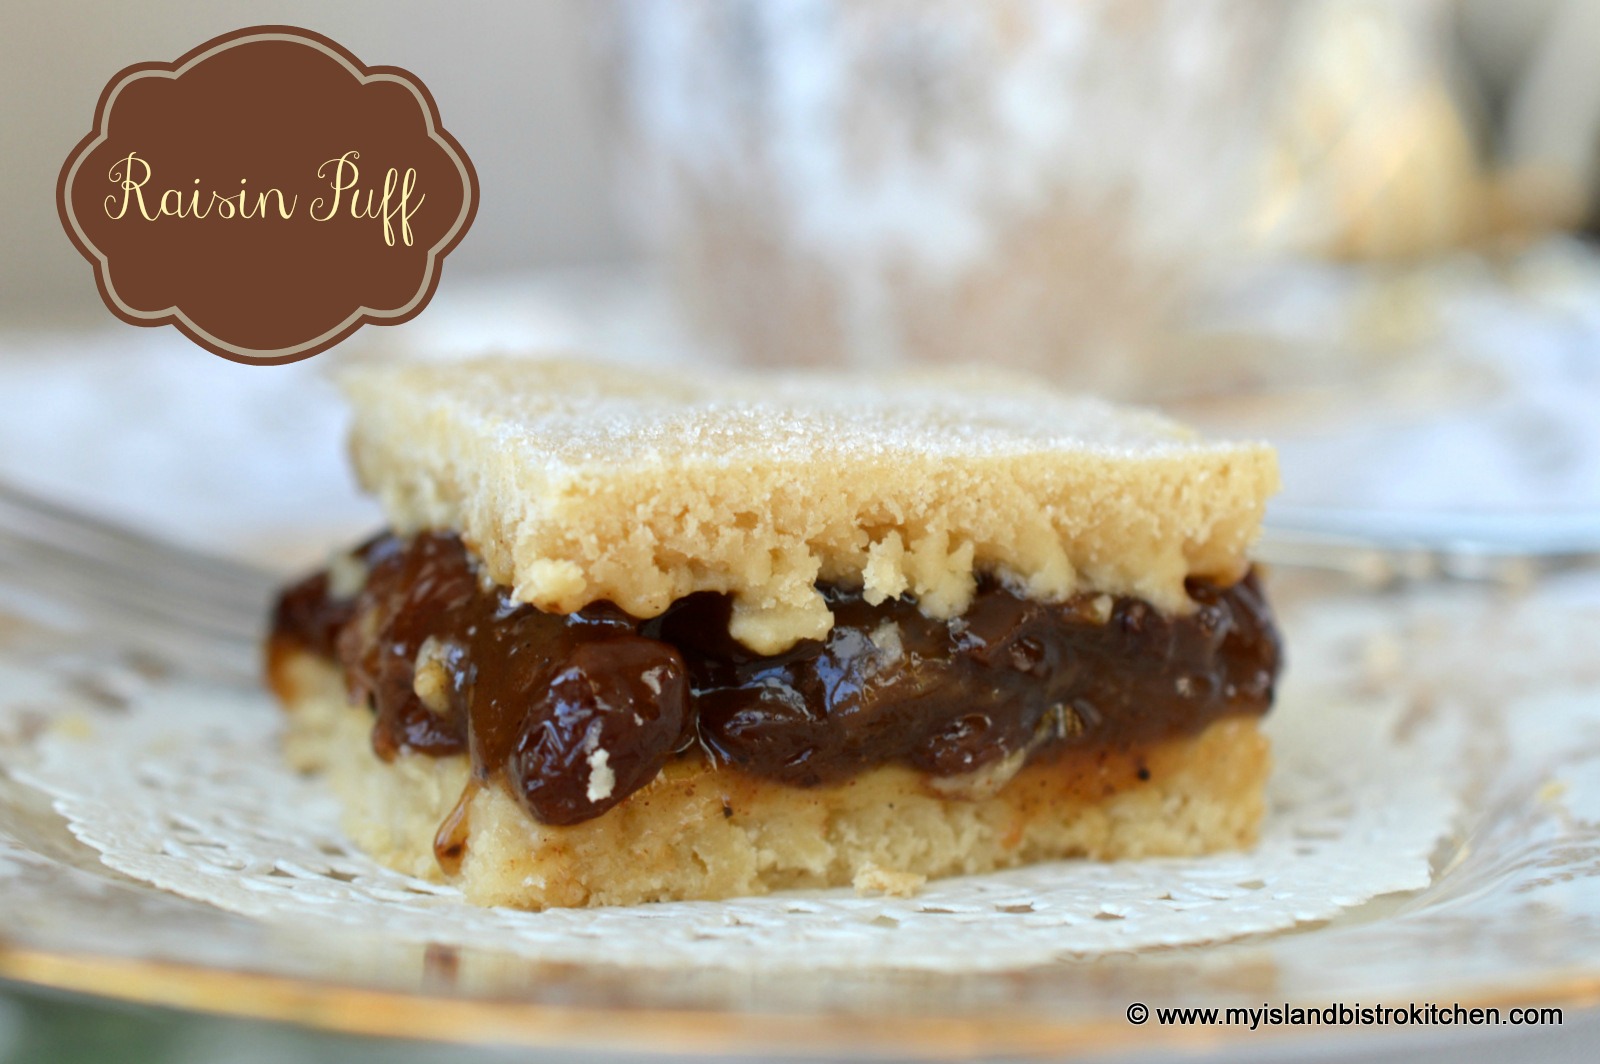
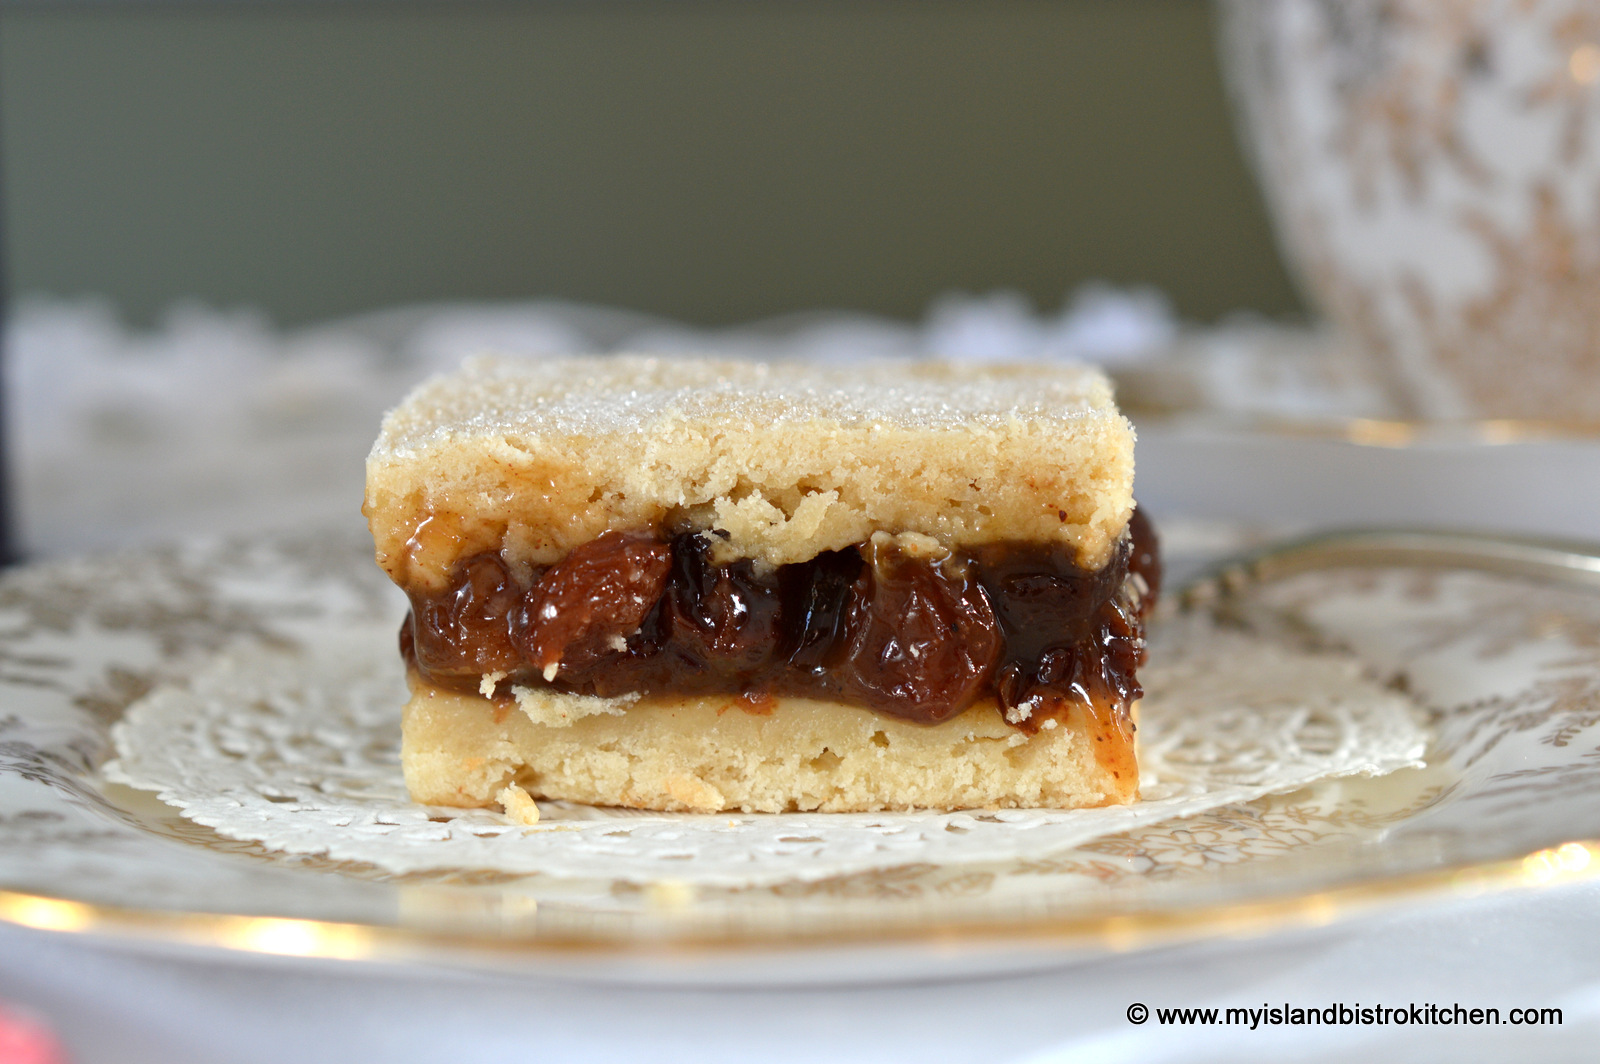
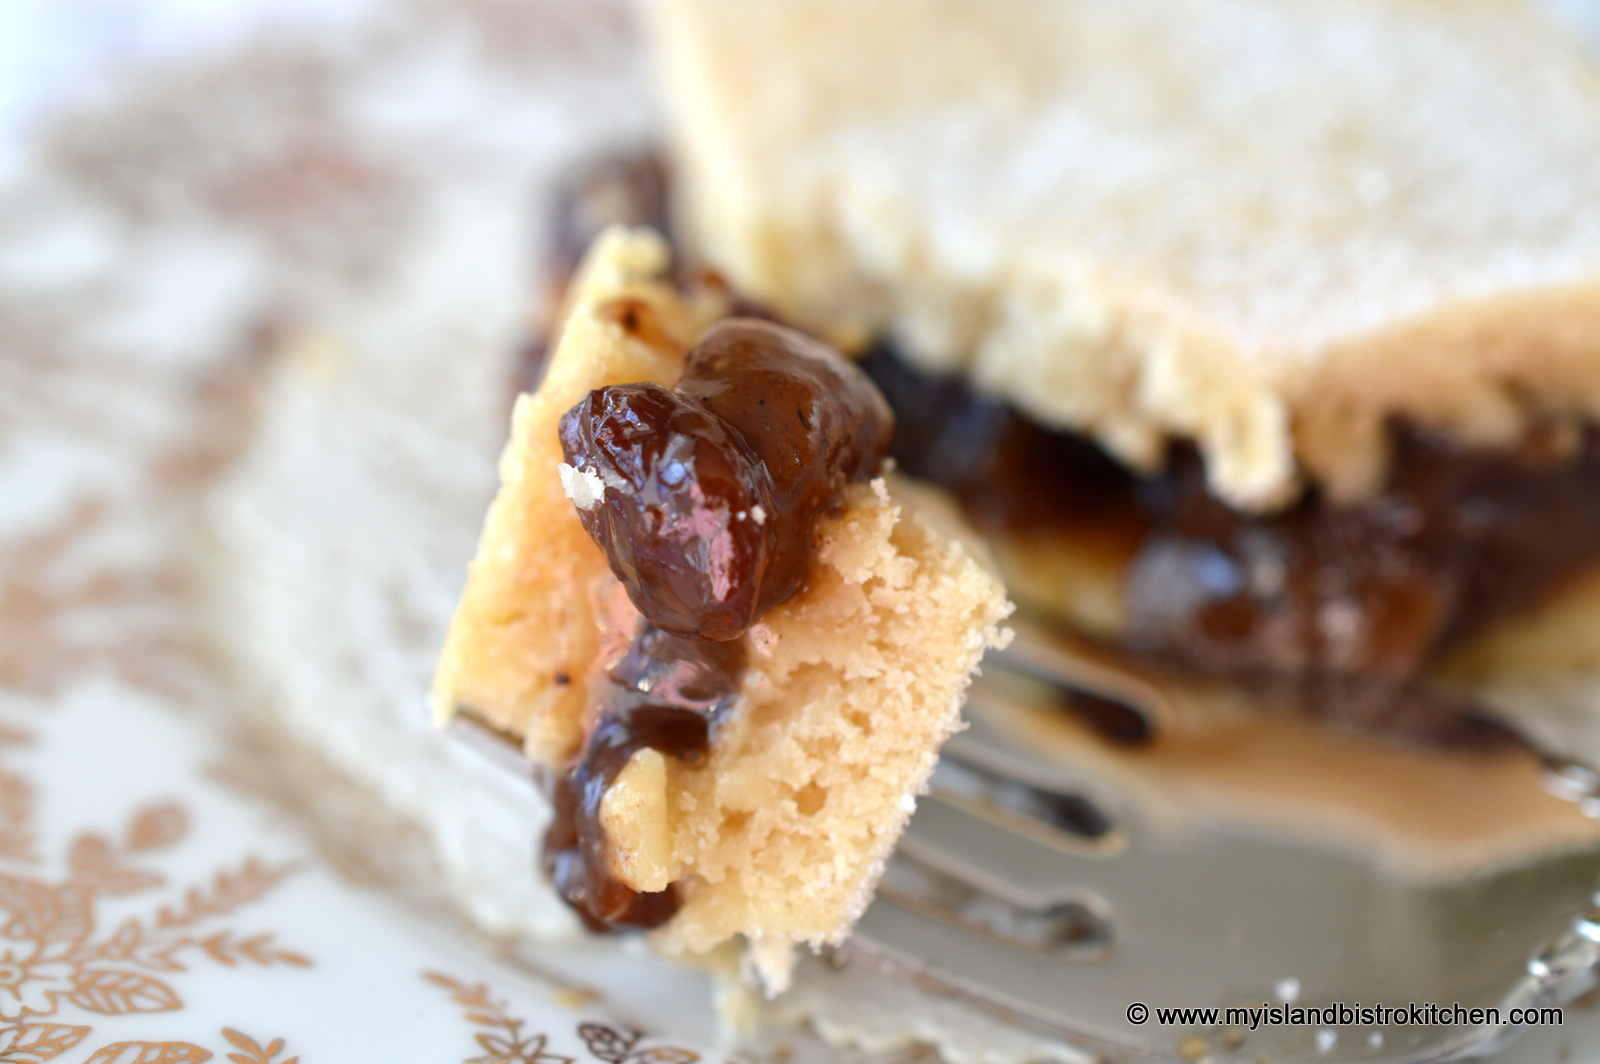
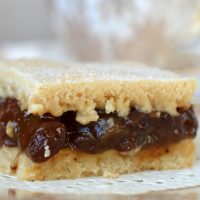
Raisin Puff is essentially raisin pie without the pastry crust. In its place, a cookie dough is used for the base and top into which is sandwiched a spiced, cooked raisin filling.
Following my recipe below, I will offer some tips on how to make this tasty dessert.
Raisin Puff
(aka Plum Puff)
Raisin filling:
1 lb sultana raisins
2½ cups water
1 tbsp orange juice
½ cup white sugar
3 tbsp flour
½ tsp salt
½ tsp cinnamon
½ tsp cloves
½ tsp nutmeg
1 tsp vanilla
1 tbsp butter
Cookie Dough Base and Top:
½ cup butter
1 cup brown sugar, lightly packed
1 extra-large egg
1 tsp vanilla
¾ cup milk
3¼ cups + 2 tbsp all-purpose flour
2 tsp baking powder
¼ tsp baking soda
¼ tsp cream of tartar
½ tsp salt
Sugar for sprinkling on top crust
Method:
Assemble ingredients.
Place raisins into a medium-sized saucepan. Add the water and orange juice.
Cover raisin mixture and bring to a boil then immediately reduce heat, uncover, and boil mixture gently over medium-low heat for 10-12 minutes, stirring occasionally.
Mix white sugar, flour, salt, and spices for the filling together.
Add dry ingredients to raisins and cook, uncovered, over medium low heat until thick, about 10-12 minutes, stirring constantly and gently to prevent scorching.
Remove from heat and add vanilla and butter. Stir well.
Place saucepan on wire cooling rack and let mixture cool completely to room temperature, stirring several times, for a couple of hours or so.
Preheat oven to 400°F. Grease 9”x13” pan.
In large bowl, cream butter and brown sugar.
Add egg and beat well.
Add vanilla and milk and beat until incorporated.
Sift flour, baking powder, baking soda, cream of tartar, and salt together.
Add dry ingredients to the creamed mixture, a cup at a time, stirring until combined.
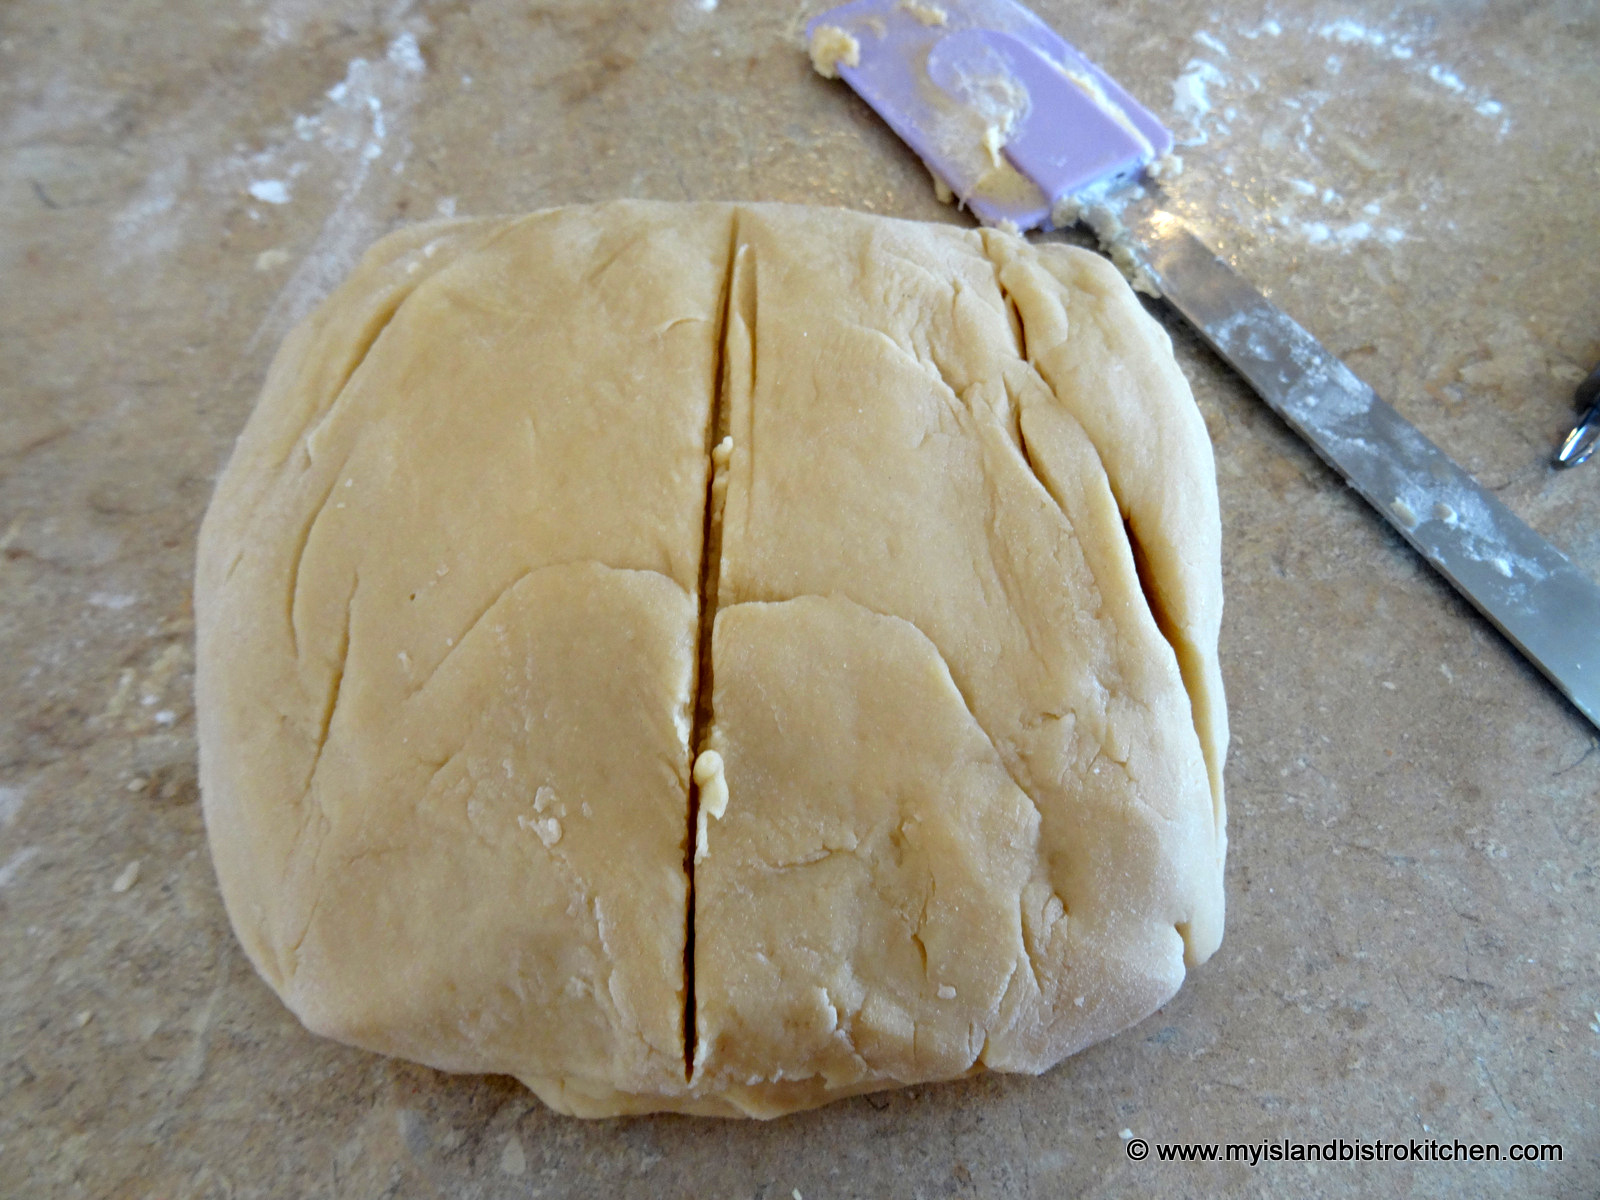
Transfer dough to floured flat surface and knead dough into a disk shape.

Divide the dough into two equal parts.
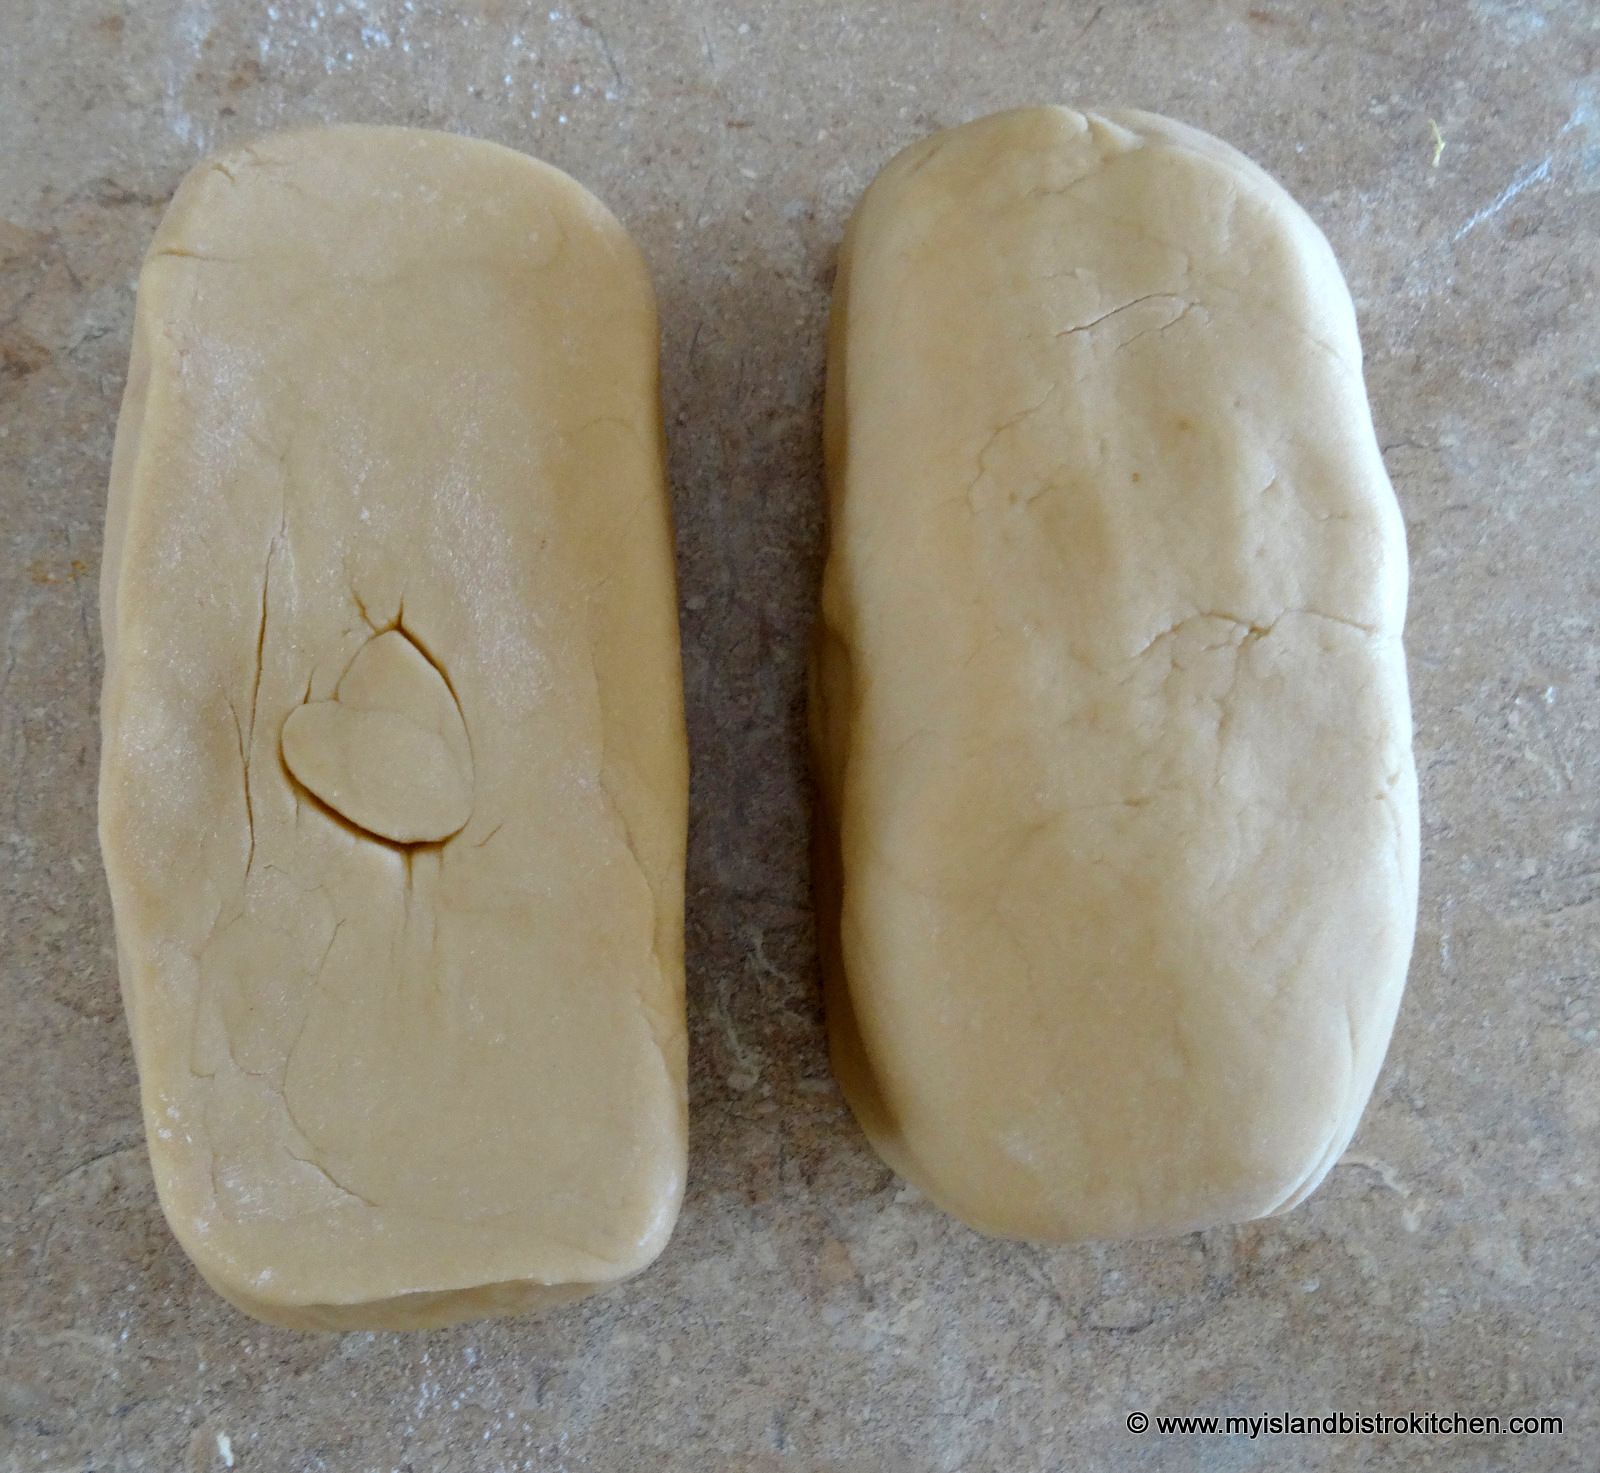
Form each half of the dough into a rectangular log shape.
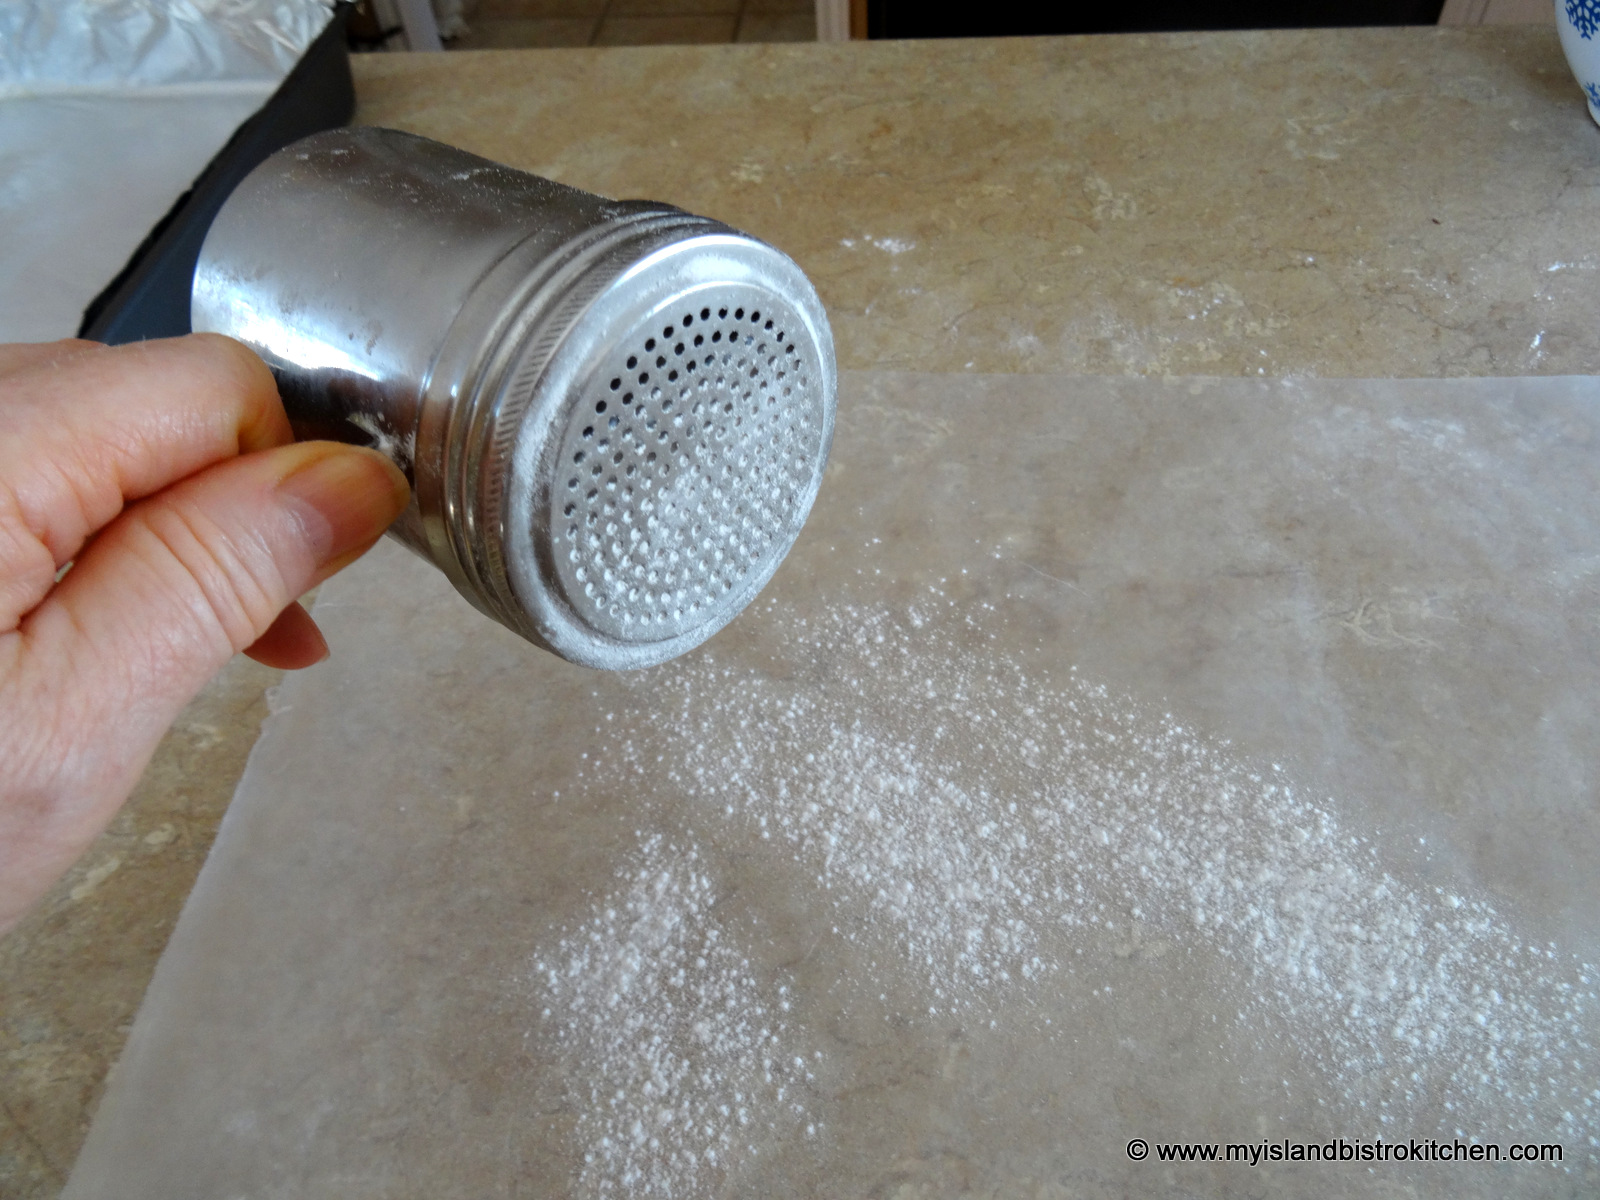
Cut a piece of wax paper about 18” long. Sprinkle lightly with flour.
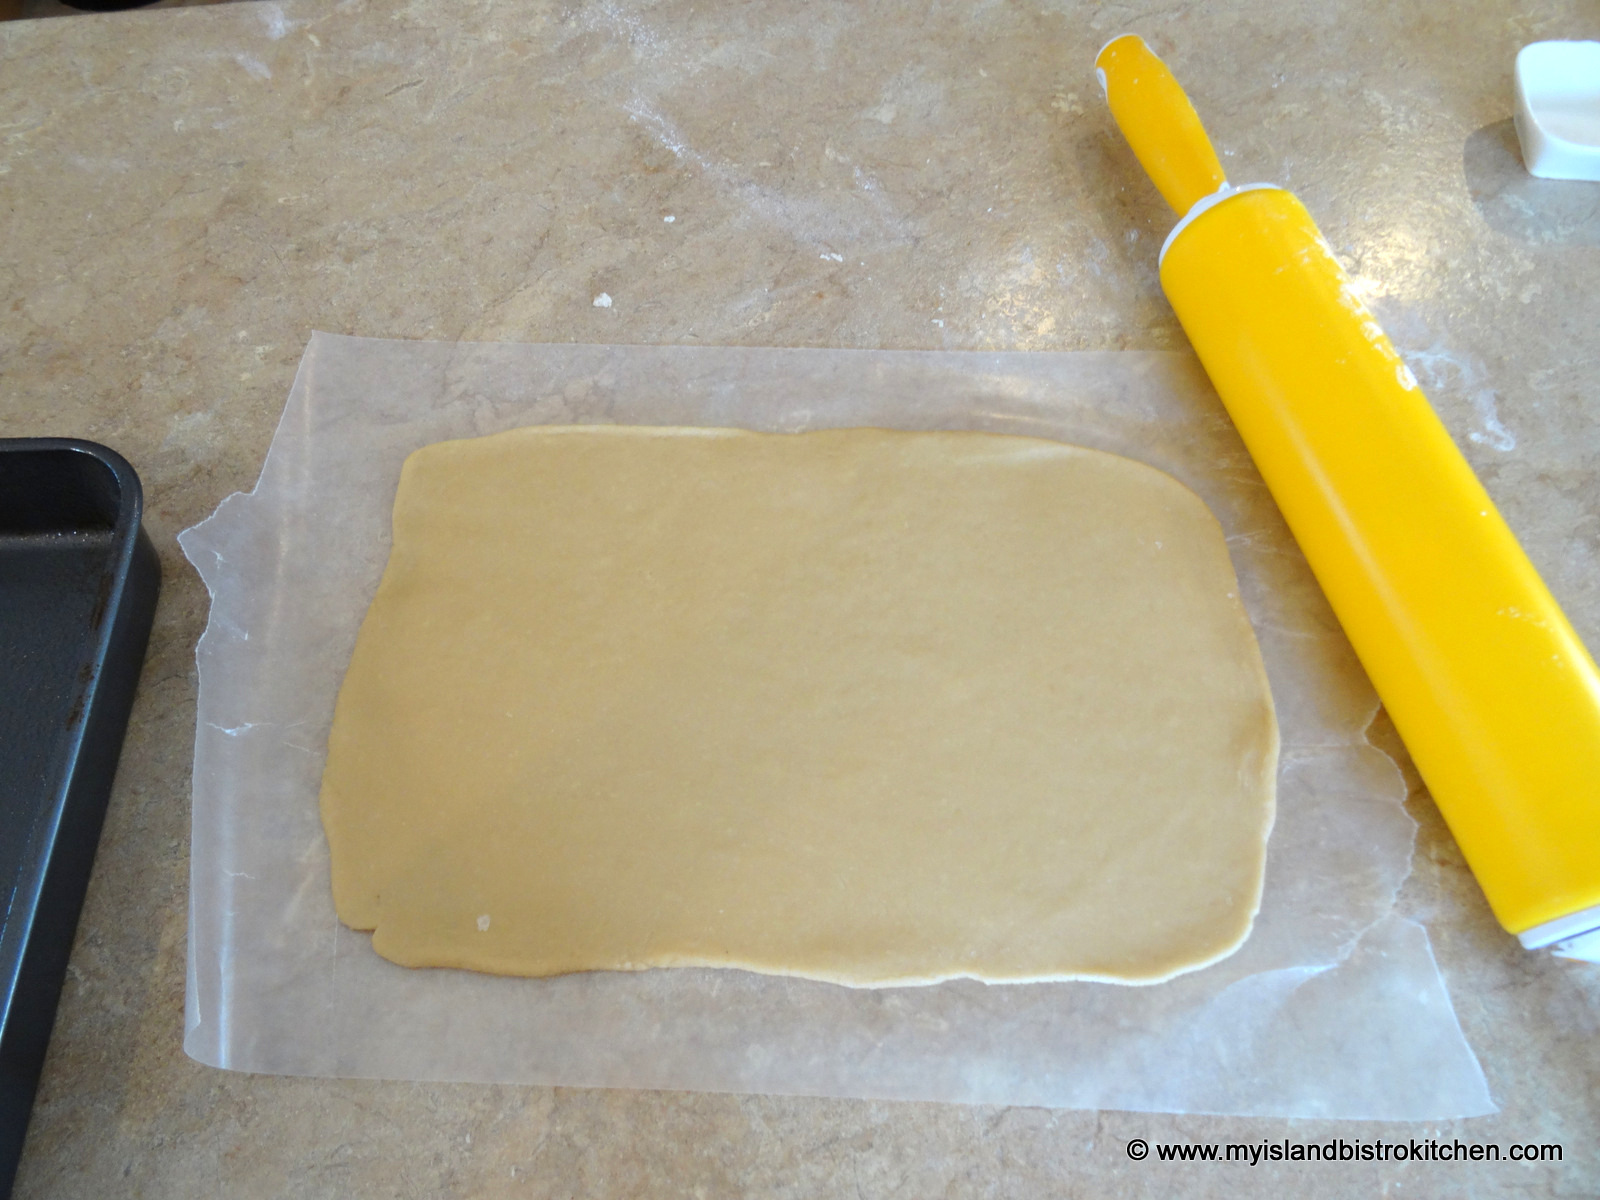
On the wax paper, roll out half of the dough into a rectangle shape the size of the pan.
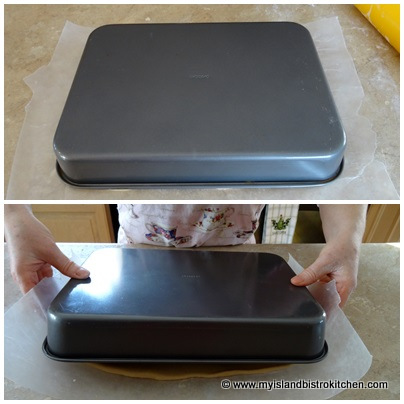
Lay the pan upside down over the dough. Catch both ends of the wax paper while grabbing onto the ends of the pan and flip the pan and dough over together.
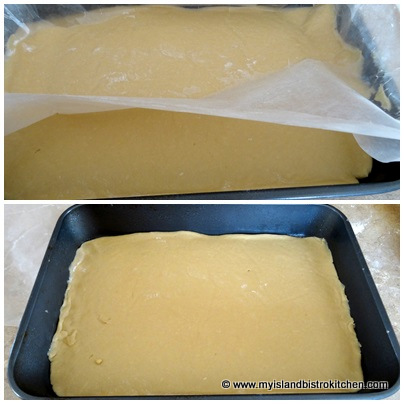
Remove the wax paper and adjust and press the dough to fit the bottom of the pan.
Spread the cooled raisin mixture evenly over the cookie dough base.

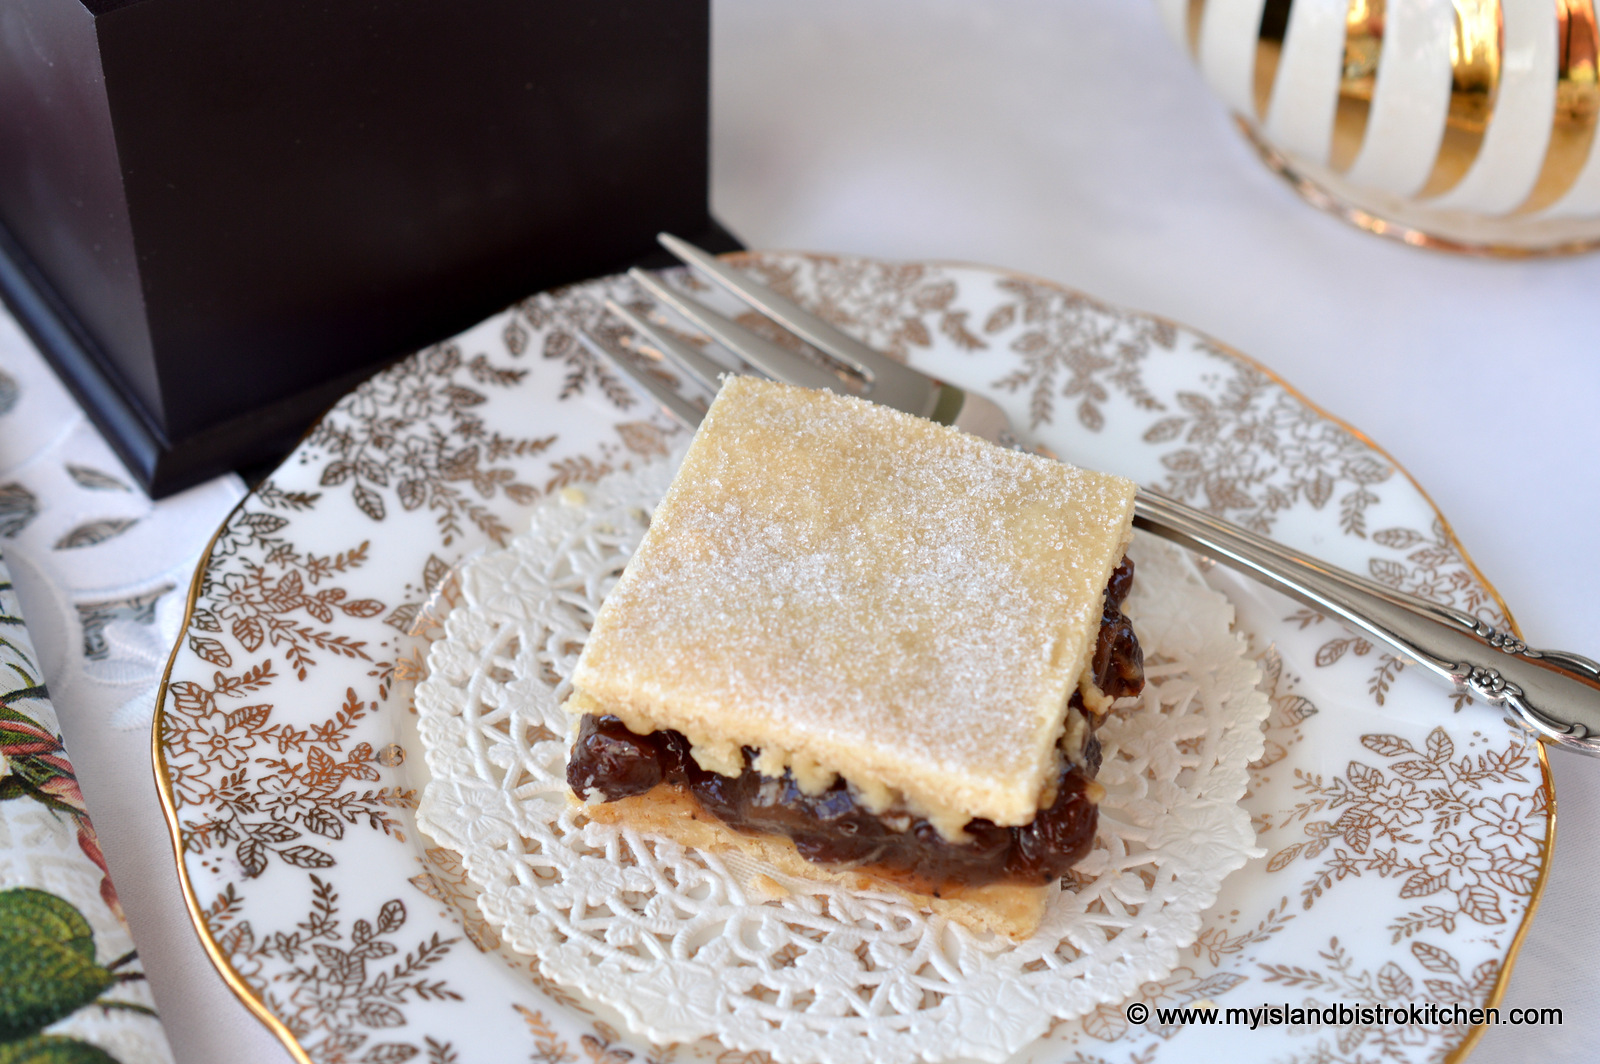
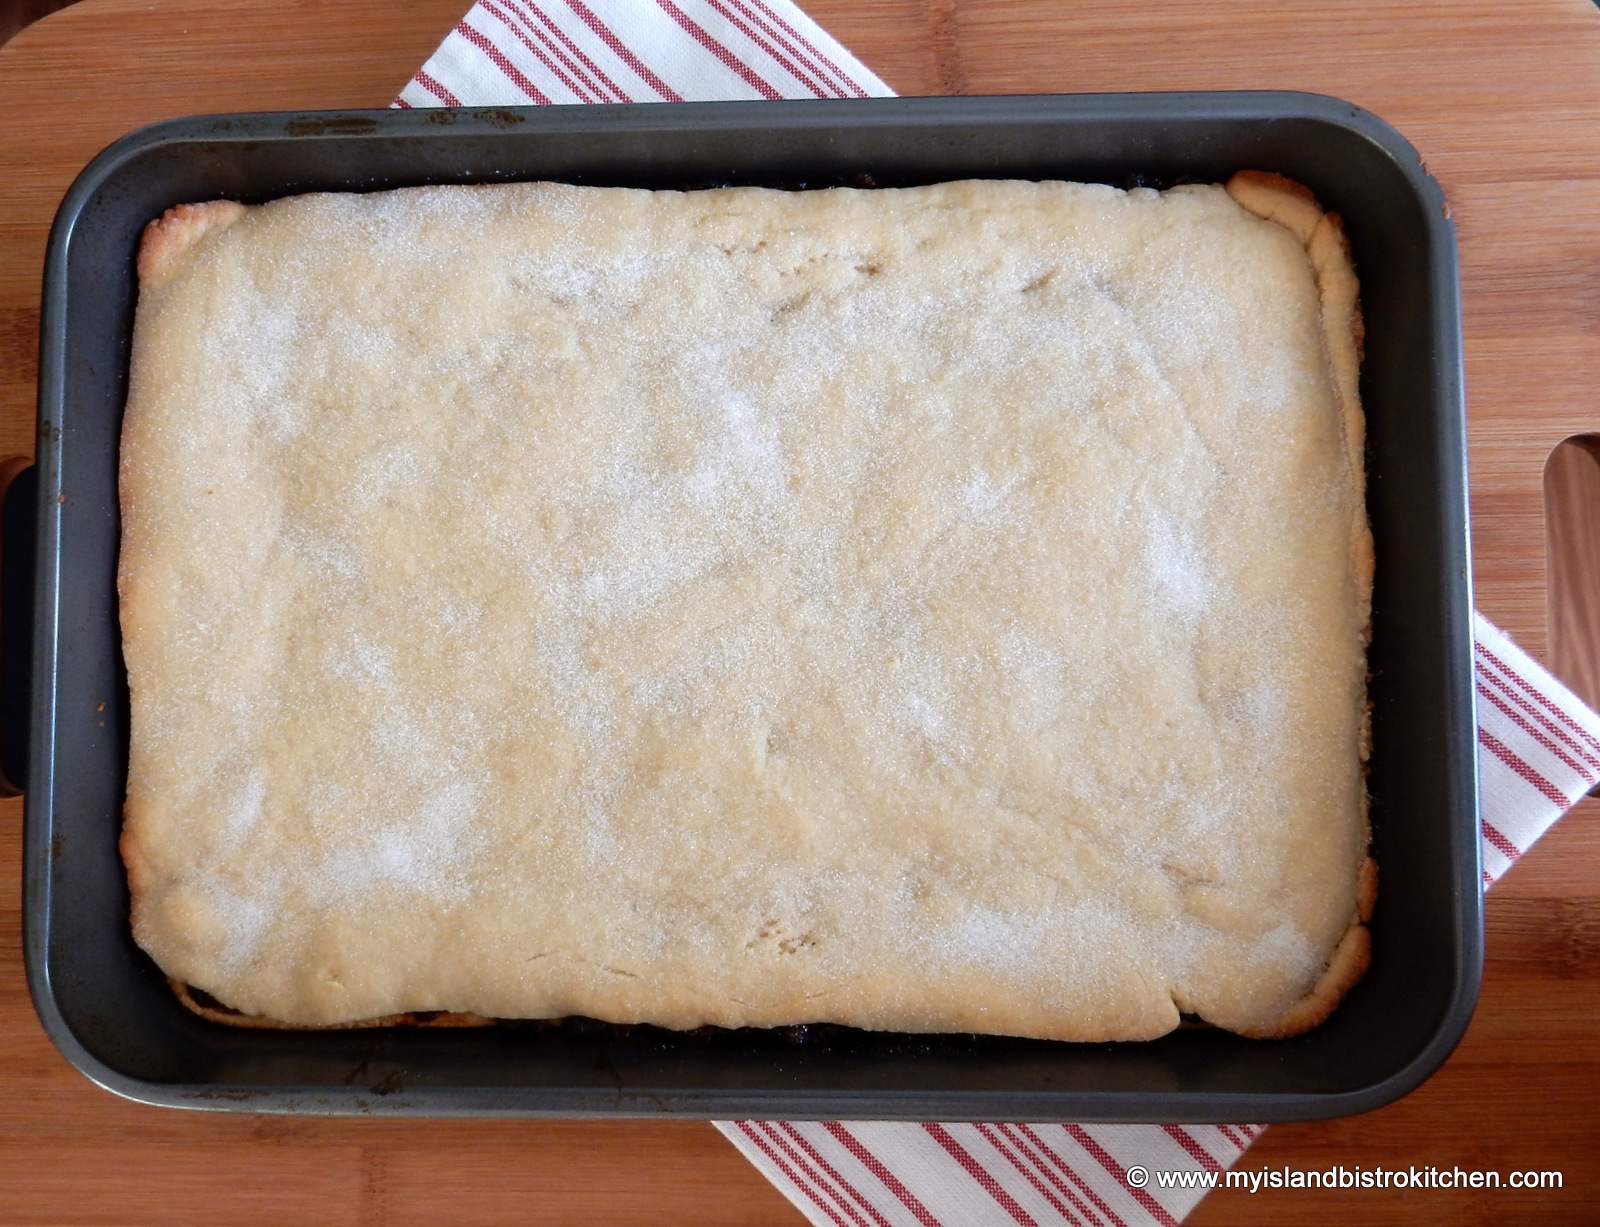
On wax paper sprinkled lightly with flour, roll out the remaining half of the dough into a rectangle shape to fit the size of the pan. By catching hold of the ends of the wax paper, carefully lift the wax paper and dough up and flip it over on to the raisin filling. Remove the wax paper. Sprinkle the crust with white sugar, if desired.

Bake for 18-20 minutes. Let cool completely on a wire cooling rack before cutting into 2” squares and serving.
Yield: 24 – 2” squares
Hints and Tips
Cooking the Raisin Filling
The one ingredient not listed in the recipe is patience! This is not a quick dessert to make. This is because the raisin mixture has to first be cooked then allowed to cool to room temperature before assembling the dessert.
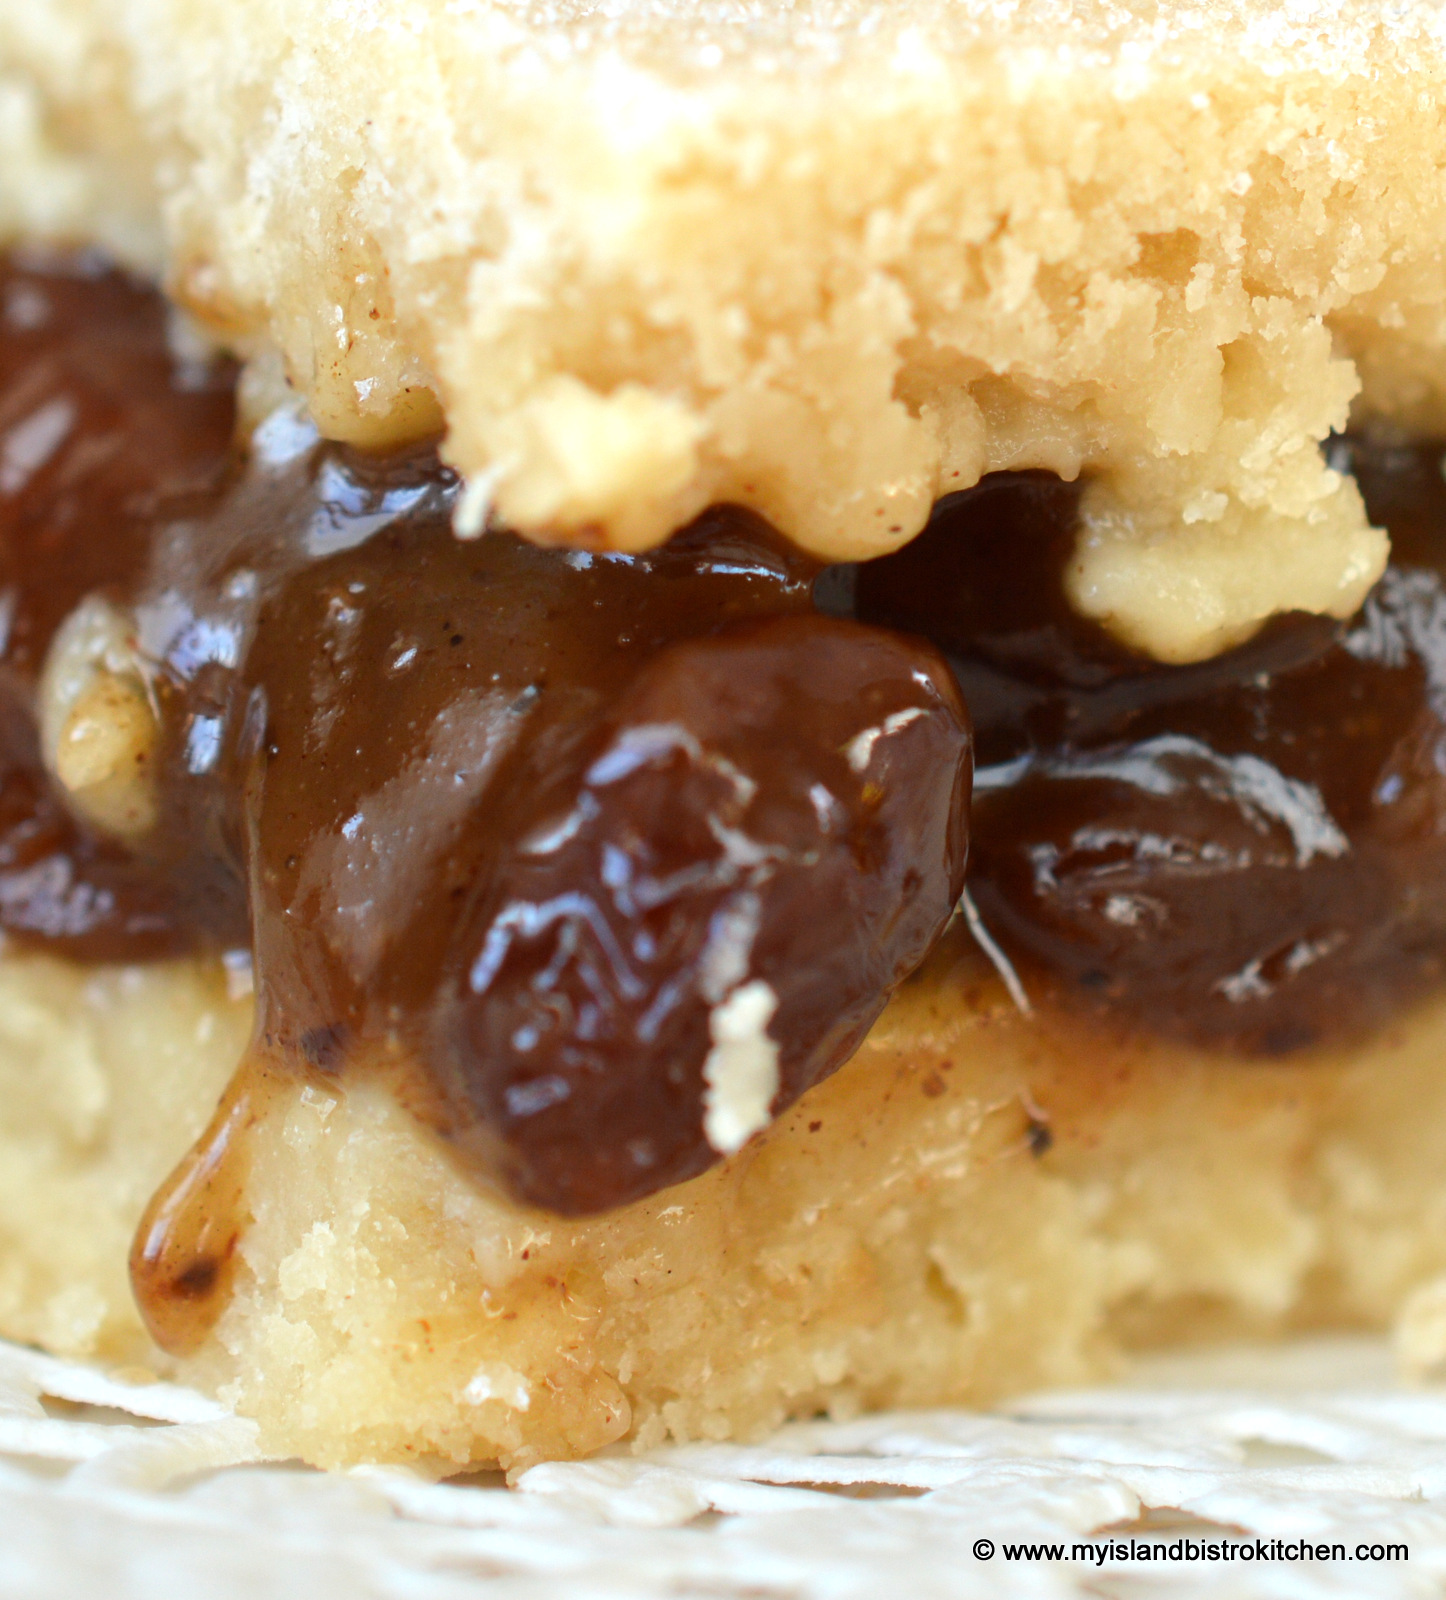
Once the sugar-flour-spice mixture is added to the raisins, it is important to stir the mixture constantly to avoid scorching but do so gently so as not to break up the raisins. The raisins should keep their shape for this dessert.
Let the raisin mixture cool at room temperature as opposed to trying to speed up the cooling process by placing it in the refrigerator. The filling will thicken more as it cools slowly. The filling will be a better texture and easier to spread if allowed to cool naturally at room temperature. This cooling process will take at least two hours (remember, I mentioned patience!).
It is important to let the mixture cool completely before spreading it on the cookie dough base because, if the mixture is too warm, it will start to melt, or break down, the composition of the cookie dough, yielding a doughy base.
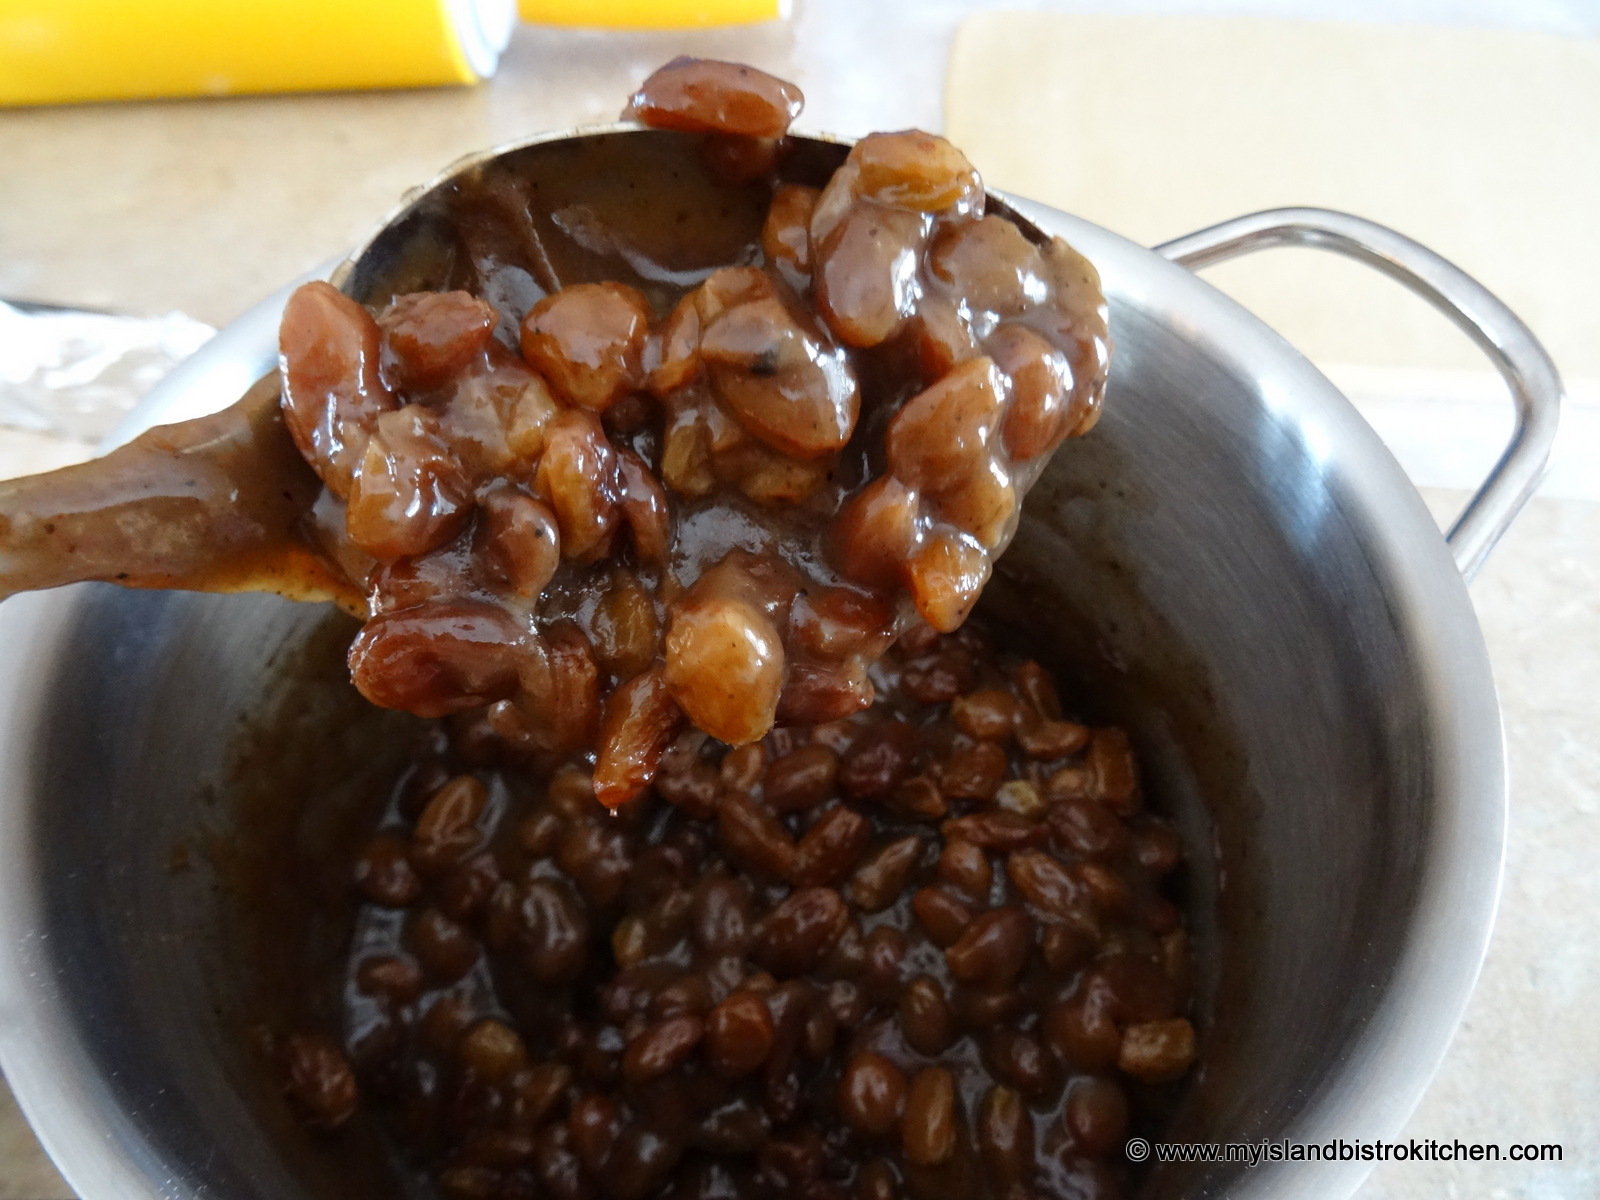
Stirring the mixture occasionally as it cools will also help the filling to thicken. By the time the mixture is cool enough to spread on the cookie dough base, it should be sufficiently thick that it clings to the spoon as shown in the photo below.
Cookie Dough
The top and bottom crusts are made of a soft cookie dough which means only barely enough flour is used to be able to roll it out. Add the dry ingredients to the dough mixture, a cup at a time, blending well before adding the next cup.
Once the cookie dough mixture has been prepared, it needs to be divided into two equal parts – one for the base and one for the top. If you are able to “eyeball” the equal division, great. If not, or for more assurance that the top and bottom crusts are of equal depth, I recommend weighing each dough portion to ensure equal amounts of dough are apportioned for the two crusts. I love my kitchen scales and couldn’t get along without them.
It also helps to shape each dough portion into rectangular-shaped logs before starting to roll out the dough to fit the 9”x13” pan. This will help to shape the dough as it is being rolled out. Lightly flour a piece of wax paper about 18” long. Rolling out the dough on the wax paper will make it easier to transfer the dough to the pan as this is a very soft dough. If you try to pick up the dough in your hands to move it, it will stretch and might tear before it reaches the pan.
Try to keep the depth of the dough even as you roll it out. If the dough starts to roll out unevenly, gently “square” it up by repositioning or reshaping it with your hands. When you think it is about the size of the pan, hold the pan over the dough and make any necessary adjustments to the dough so it will fit the pan.
Place the greased pan, upside down, over the dough. Grasp both ends of the wax paper and the ends of the pan and flip the dough and pan over together at the same time. The dough will drop into the pan. Remove the wax paper and make any minor adjustments needed so the dough covers the bottom of the pan completely. Do not put any dough up the sides of the pan. Sounds easy enough – and the bottom crust is. It’s the top crust placement that’s a bit tricky.
Once the raisin mixture is cooled, evenly spread it over the base. Prepare the top crust using the same procedure as for the bottom crust. Obviously, with the raisin filling now added, the pan cannot be turned upside down over the dough! This means the dough on the wax paper needs to be flipped on top of the filling. This is one of those times where it’s important to get it right the first time as there is no opportunity to remove or re-adjust the top crust once it is placed on the sticky raisin filling and the filling needs to be completely covered with the crust. Bring the wax paper with the dough on it as close to the pan as possible. Grab both ends of the wax paper and flip the dough on to the filling, then remove the wax paper. Sprinkle a light dusting of sugar on top of the crust, if desired.
Baking
Bake the Raisin Puff in a 400°F oven on a rack positioned in the middle of the oven. Bake for about 18-20 minutes. It’s important that the dough get baked but it is not meant to be hard. It still should have some “give” and softness to it – a fork should easily break through the crust with moderate resistance.
Cooling
Let the Raisin Puff cool completely in the pan on a wire cooling rack before cutting into 2” squares. This dessert is not a finger food because of the gooey filling so is best served plated.
Storing
Store in refrigerator.

Raisin Puff (aka Plum Puff)
Ingredients
Raisin filling:
- 1 lb sultana raisins
- 2½ cups water
- 1 tbsp orange juice
- ½ cup white sugar
- 3 tbsp flour
- ½ tsp salt
- ½ tsp cinnamon
- ½ tsp cloves
- ½ tsp nutmeg
- 1 tsp vanilla
- 1 tbsp butter
Cookie Dough Base and Top:
- ½ cup butter
- 1 cup brown sugar, lightly packed
- 1 extra-large egg
- 1 tsp vanilla
- ¾ cup milk
- 3¼ cups + 2 tbsp all-purpose flour
- 2 tsp baking powder
- ¼ tsp baking soda
- ¼ tsp cream of tartar
- ½ tsp salt
- Sugar for sprinkling on top crust
Instructions
- Assemble ingredients.
- Place raisins into a medium-sized saucepan. Add the water and orange juice. Cover and bring to a boil then immediately reduce heat, uncover, and boil mixture gently over medium-low heat for 10-12 minutes, stirring occasionally.
- Mix sugar, flour, white sugar, salt, and spices together. Add to raisins and cook, uncovered, over medium low heat until thick, about 10-12 minutes, stirring constantly and gently to prevent scorching. Remove from heat and add vanilla and butter. Stir well. Place saucepan on wire cooling rack and let mixture cool completely to room temperature, stirring several times, for a couple of hours or so.
- Preheat oven to 400°F. Grease 9”x13” pan.
- In large bowl, cream butter and brown sugar. Add egg and beat well. Add vanilla and milk and beat until incorporated.
- Sift flour, baking powder, baking soda, cream of tartar, and salt together. Add to the creamed mixture, a cup at a time, stirring until combined.
- Transfer dough to floured flat surface and knead dough into a disk shape.
- Divide the dough into two equal parts. Form each half of the dough into a rectangular log shape. Cut a piece of wax paper about 18” long. Sprinkle lightly with flour. On the wax paper, roll out half of the dough into a rectangle shape the size of the pan. Lay the pan upside down over the dough. Catch both ends of the wax paper while grabbing onto the ends of the pan and flip the pan and dough over together. Remove the wax paper and adjust and press the dough to fit the bottom of the pan.
- Spread the cooled raisin mixture evenly over the cookie dough base.
- On wax paper sprinkled lightly with flour, roll out the remaining half of the dough into a rectangle shape to fit the size of the pan. By catching hold of the ends of the wax paper, carefully lift the wax paper and dough up and flip it over on to the raisin filling. Remove the wax paper. Sprinkle the crust with white sugar, if desired.
- Bake for 18-20 minutes. Let cool completely on a wire cooling rack before cutting into 2” squares and serving.
Recipe Notes
Yield: 24 – 2” squares
Copyright My Island Bistro Kitchen
If you like raisins, you may also enjoy this Raisin Pie recipe:
If you have made this recipe and enjoyed it and/or wish to share it with your friends and family, please do so on social media but be sure to share the direct link to this posting from my website.
Connect with My Island Bistro Kitchen on Social Media
Join the Facebook page for My Island Bistro Kitchen: https://www.facebook.com/MyIslandBistroKitchen/
Follow “the Bistro” on “X” (formerly Twitter): https://twitter.com/PEIBistro/
See the drool-worthy gallery of mouth-watering food photos from My Island Bistro Kitchen on Instagram: https://www.instagram.com/peibistro/
Follow “the Bistro” on Pinterest at https://www.pinterest.ca/peibistro/ and pin the Pinterest-ready photo at the end of this posting to your favorite Pinterest boards!
Pin Me To Pinterest!