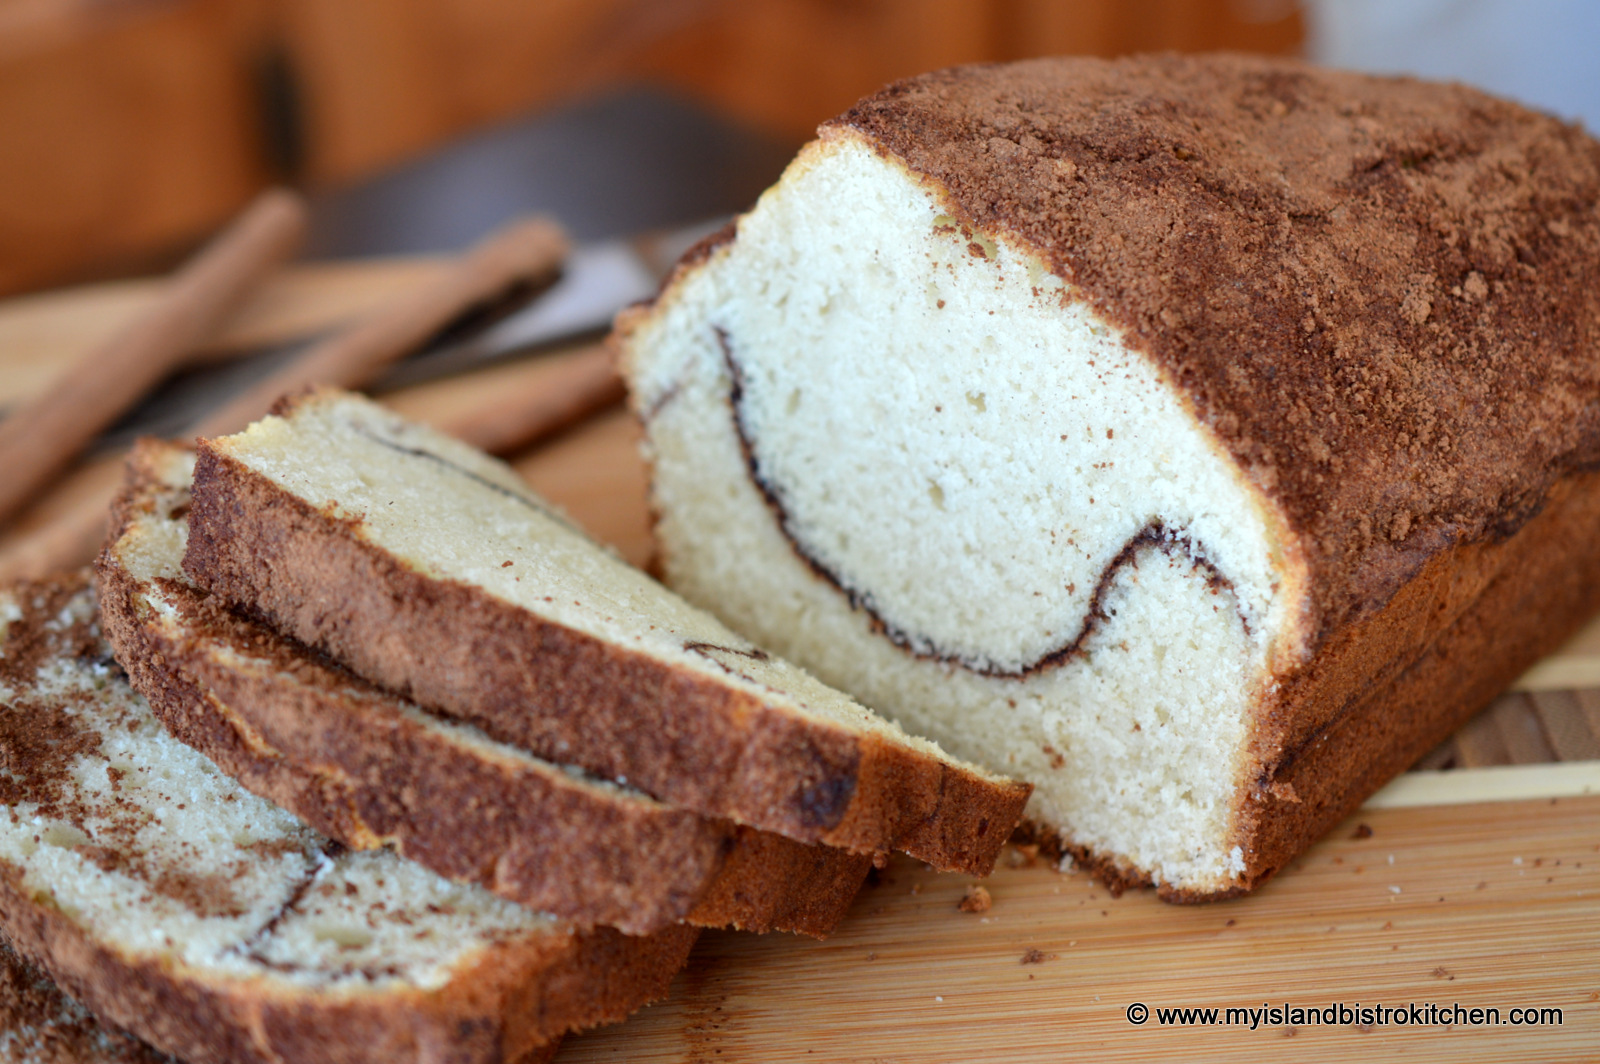
Did you ever get the urge to bake (often on a storm day, for example) and realize that every recipe you look at requires a shopping trip to the supermarket? Well, here’s my answer to that dilemma. Today’s recipe is Cinnamon Quick Bread that takes no more than pantry staples. So long as you have basic baking supplies, you can whip this tasty sweet bread up in no time. Continue reading Cinnamon Quick Bread→
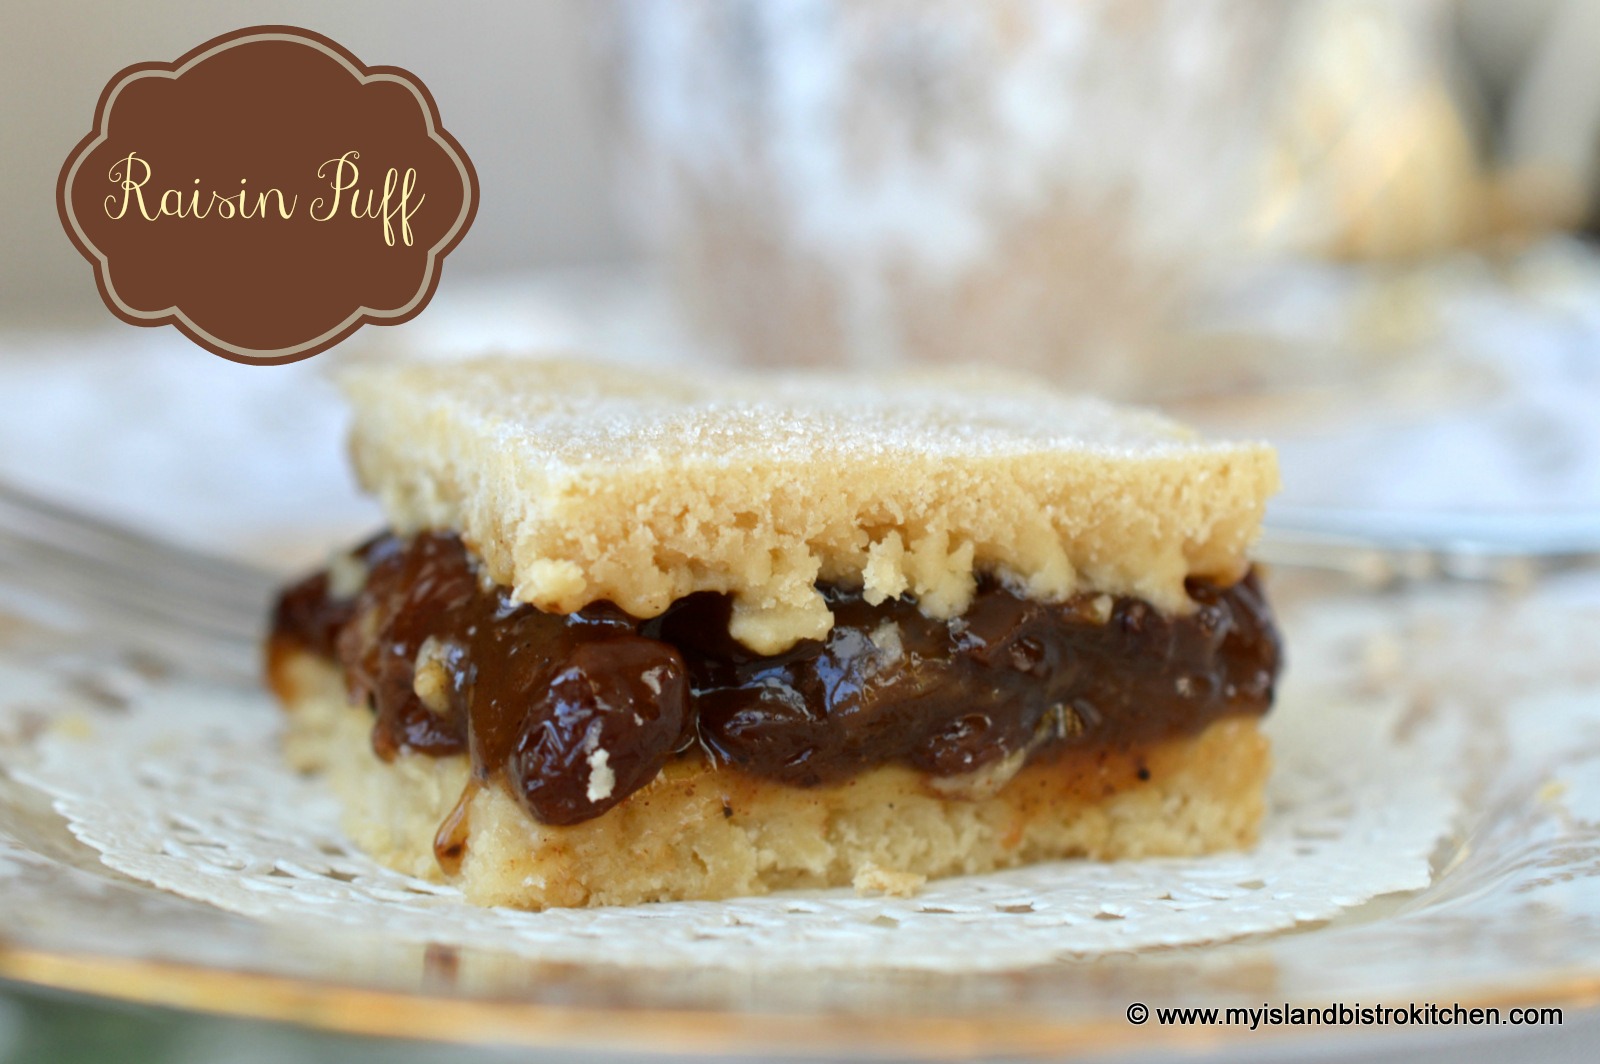
Today, I’m sharing the recipe for a real old-fashioned vintage dessert. Some of you may remember your mother or grandmother making Raisin Puff (aka Plum Puff) dessert or, perhaps, you have made it yourself. Continue reading Raisin Puff (aka Plum Puff)→
Today, I celebrate my third blogiversary, three years blogging about food. For those of you who are regular followers of my blog, you’ll notice I often focus on food that is produced in my home province of Prince Edward Island on the East Coast of Canada and I frequently features stories about Island food producers. As I have said countless times, we may be Canada’s smallest province but we sure do produce some mighty fine food! Along with top quality food products to work with, Island-produced food gives me great inspiration to cook, bake, and blog.
So, some “eye candy” to celebrate the blogiversary.
I live in a winter climate so I chose ice blue for the cupcake frosting, almost a Tiffany blue.
I like the turquoise-colored frosting against the chocolate cupcakes encased in the silver foil liners. There are many pretty paper cupcake liners on the market but I have yet to discover the trick to keeping the oil/butter from seeping through and spoiling the look of them. That’s one reason why I like the foil liners – they stay clean.
The cupcakes are themed around snowflakes and ice crystals. Here’s a close-up of the detail.
I spent some time playing with the lighting today so these cupcakes starred in many photos! (They were very patient subjects!)
One of the things I like most about cupcakes is that they are each a little mini canvas to work with. They are also more casual than a cake and each guest gets his/her own mini cake. As well, they are size and portion-controlled and don’t need to be served on a plate!
They may be a more casual option to a celebratory cake but that doesn’t mean cupcakes can’t be dressed up for the party!
Thanks for stopping by “the Bistro” today and celebrating my third blogiversary with me! Cheers!
———————–
Thank you for visiting “the Bistro” today. There are lots of ways to connect with “the Bistro” through social media:
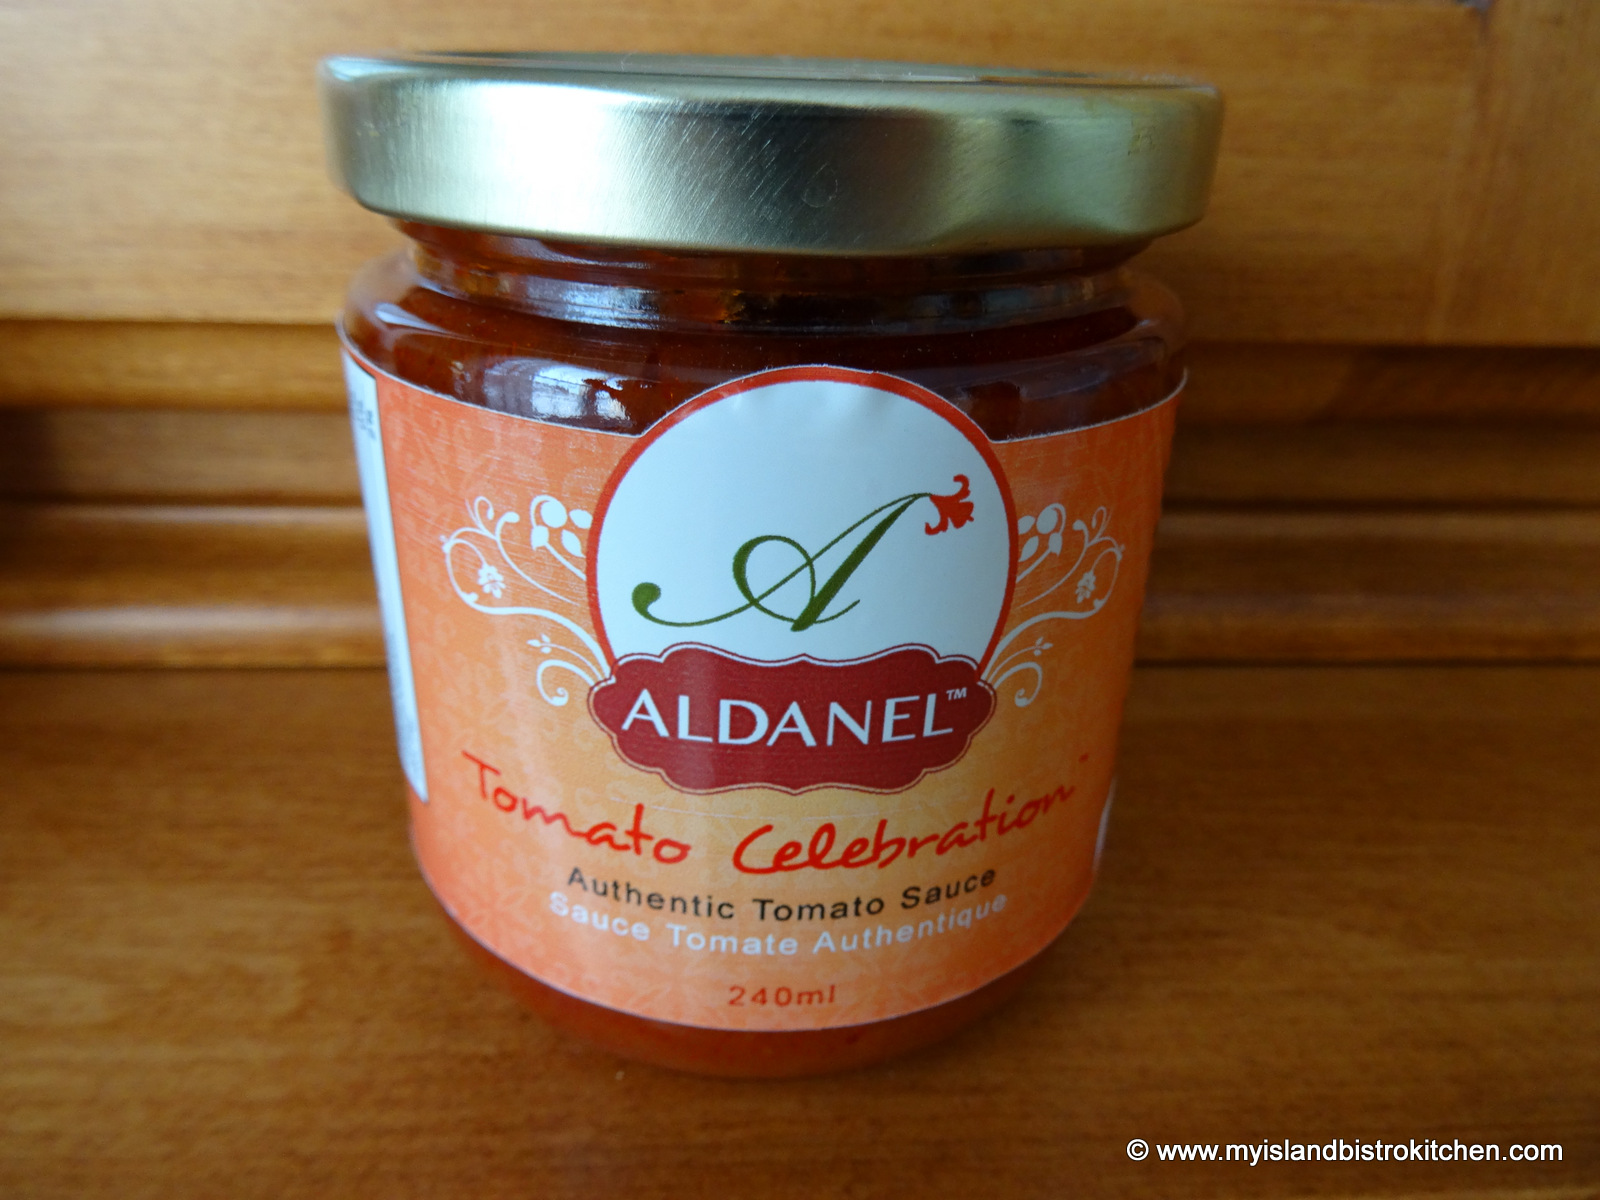
I was recently contacted by Laure Solange Tchamdja, President and CEO of Aldanel Authentic Foods, of Charlottetown, PEI, to let me know about her new line of tomato sauces being produced right here on PEI. I sat down for a chat with Tchamdja to find out more about the sauces.
In October, 2013, Tchamdja began producing tomato sauce. The company manufactures five varieties of their tomato-based sauces, all sold in 240ml bottles: Tomato Celebration, Spinach Carnival, Chili Tango, Carrot Symphony, and Rouge Poivron. Over the period of some nine months in the lab, the BioFood Technology plant on the UPEI campus in Charlottetown helped Tchamdja convert her family recipe into a commercial product suitable for the retail market. As the company does not presently have its own manufacturing plant, the sauces are produced at the BioFood Technology plant on the UPEI campus in Charlottetown.
Tchamdja wanted to create a tomato sauce product that is safe and healthy, not too spicy, and that would help working women, young professionals, and students prepare healthy meals at home. She says her products are versatile and multipurpose and one does not have to be a chef to use them. They can be used directly from the bottle as pasta sauces, added to soups and vegetables, used as a condiment for meat and fish, as a sauce for pizza, on nachos, and even as marinades for meat and fish. So, the product can be used as is without having to cook it again or it can be used as an ingredient in a recipe. Tchamdja says her products are all natural with no preservatives and are low in sugar.
Initially, Tchamdja sold her tomato sauces at local PEI shops such as Riverview Country Market. She has since expanded her markets to include Sobey’s and Co-op Supermarkets, Pete’s Frootique in Halifax, and Winners and Home Sense stores in Eastern Canada.
The products are sold under the Aldanel™ label, the letters for which are formed from those found in the names of her children. Depending on the retailer, prices per 240 ml bottle range from $4.49 to $5.99 (as of the time of writing).
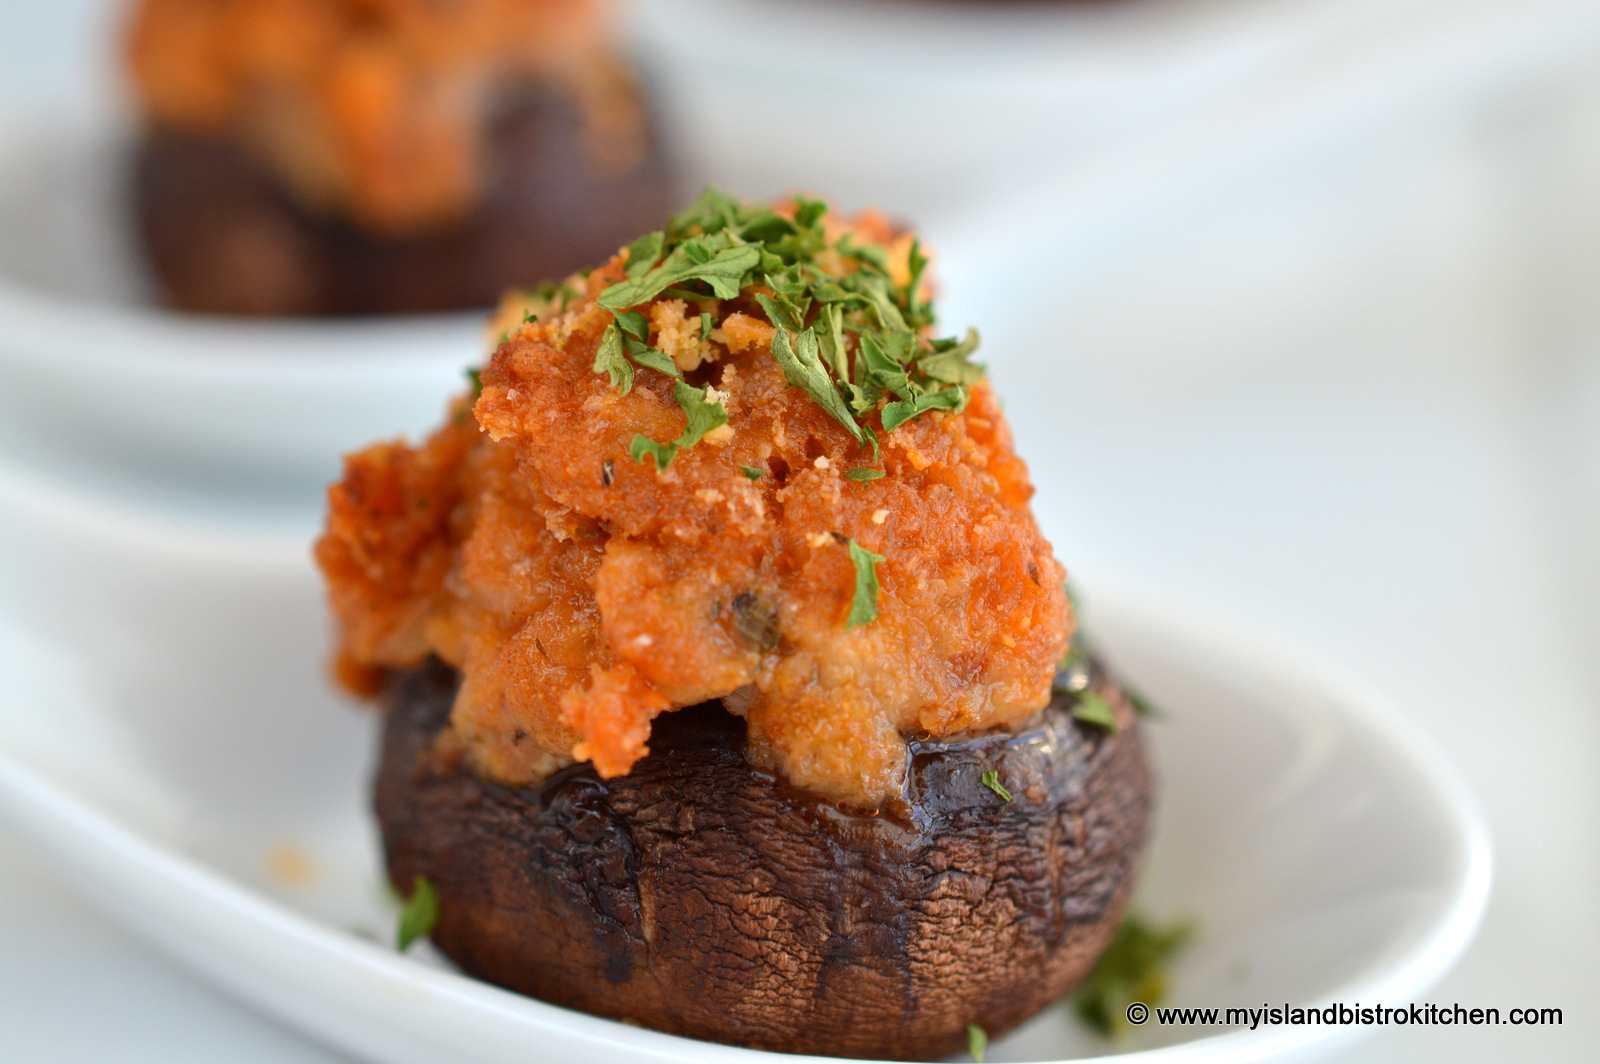
Tchamdja offered me some complimentary samples of her Tomato Celebration sauce to try. Tchamdja is correct – I found the sauce to be a versatile ingredient in several dishes. I have used it as a pizza sauce and found it very tasty. I have also used it in a recipe I created for baked stuffed fingerling hors d’oeuvres. And, I have used it as an ingredient in the following recipes for sausage-stuffed cremini mushroom caps.
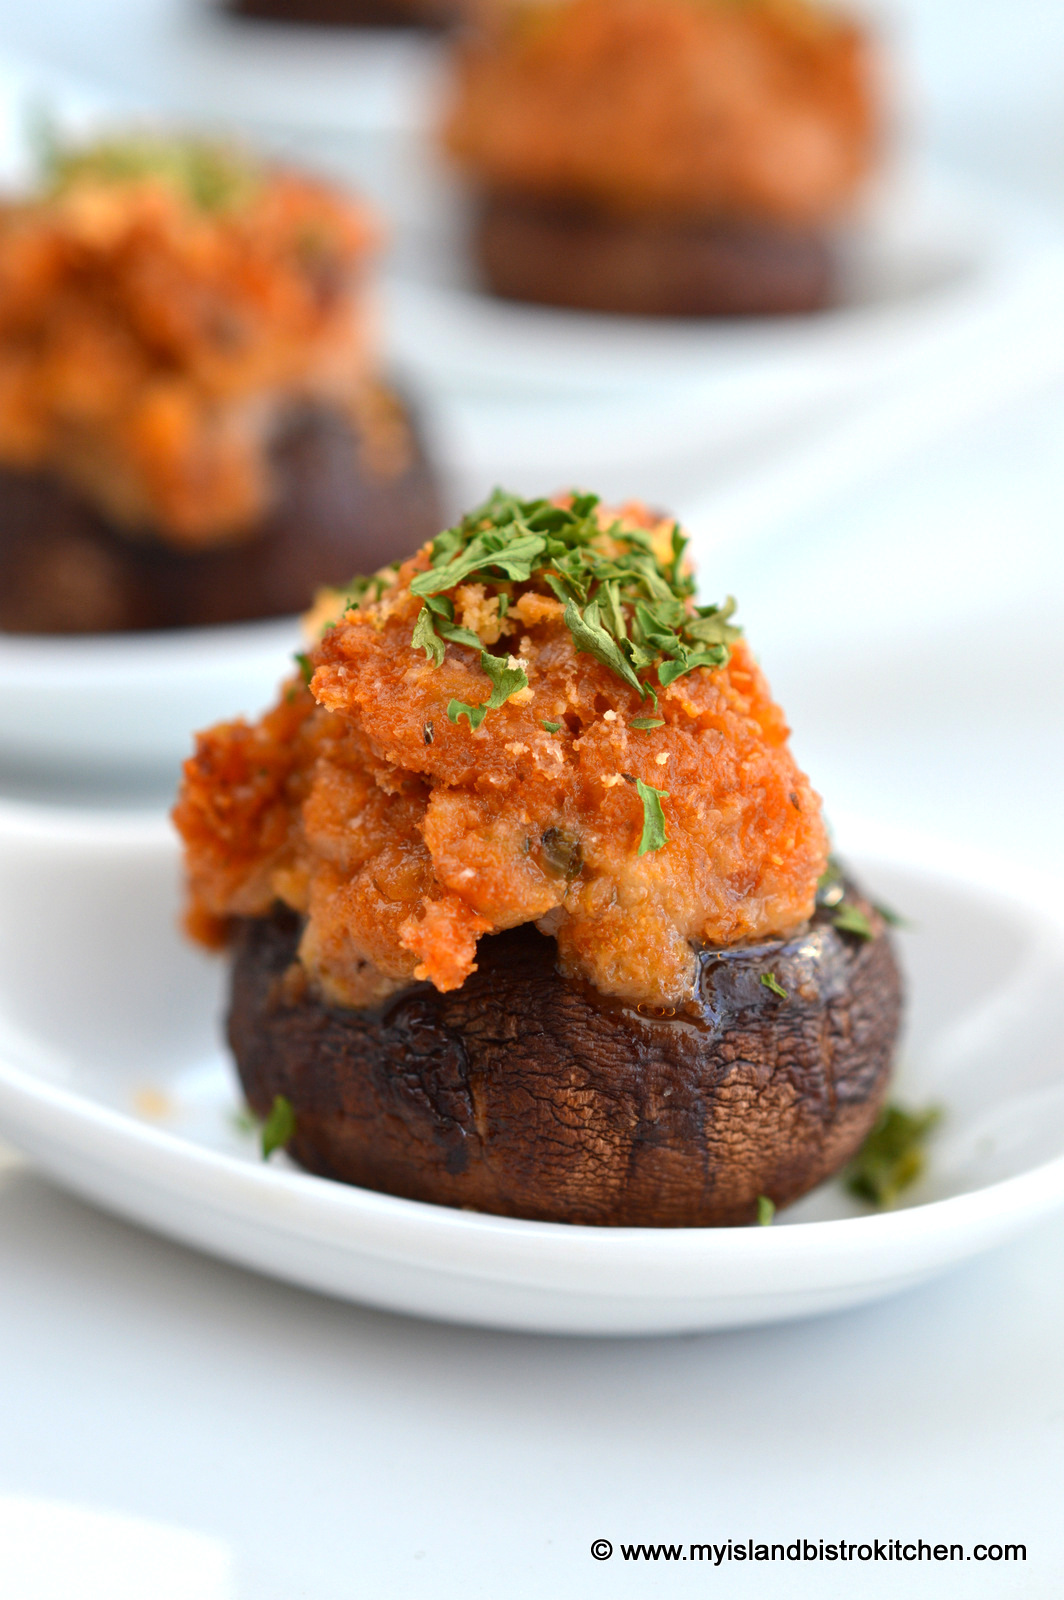
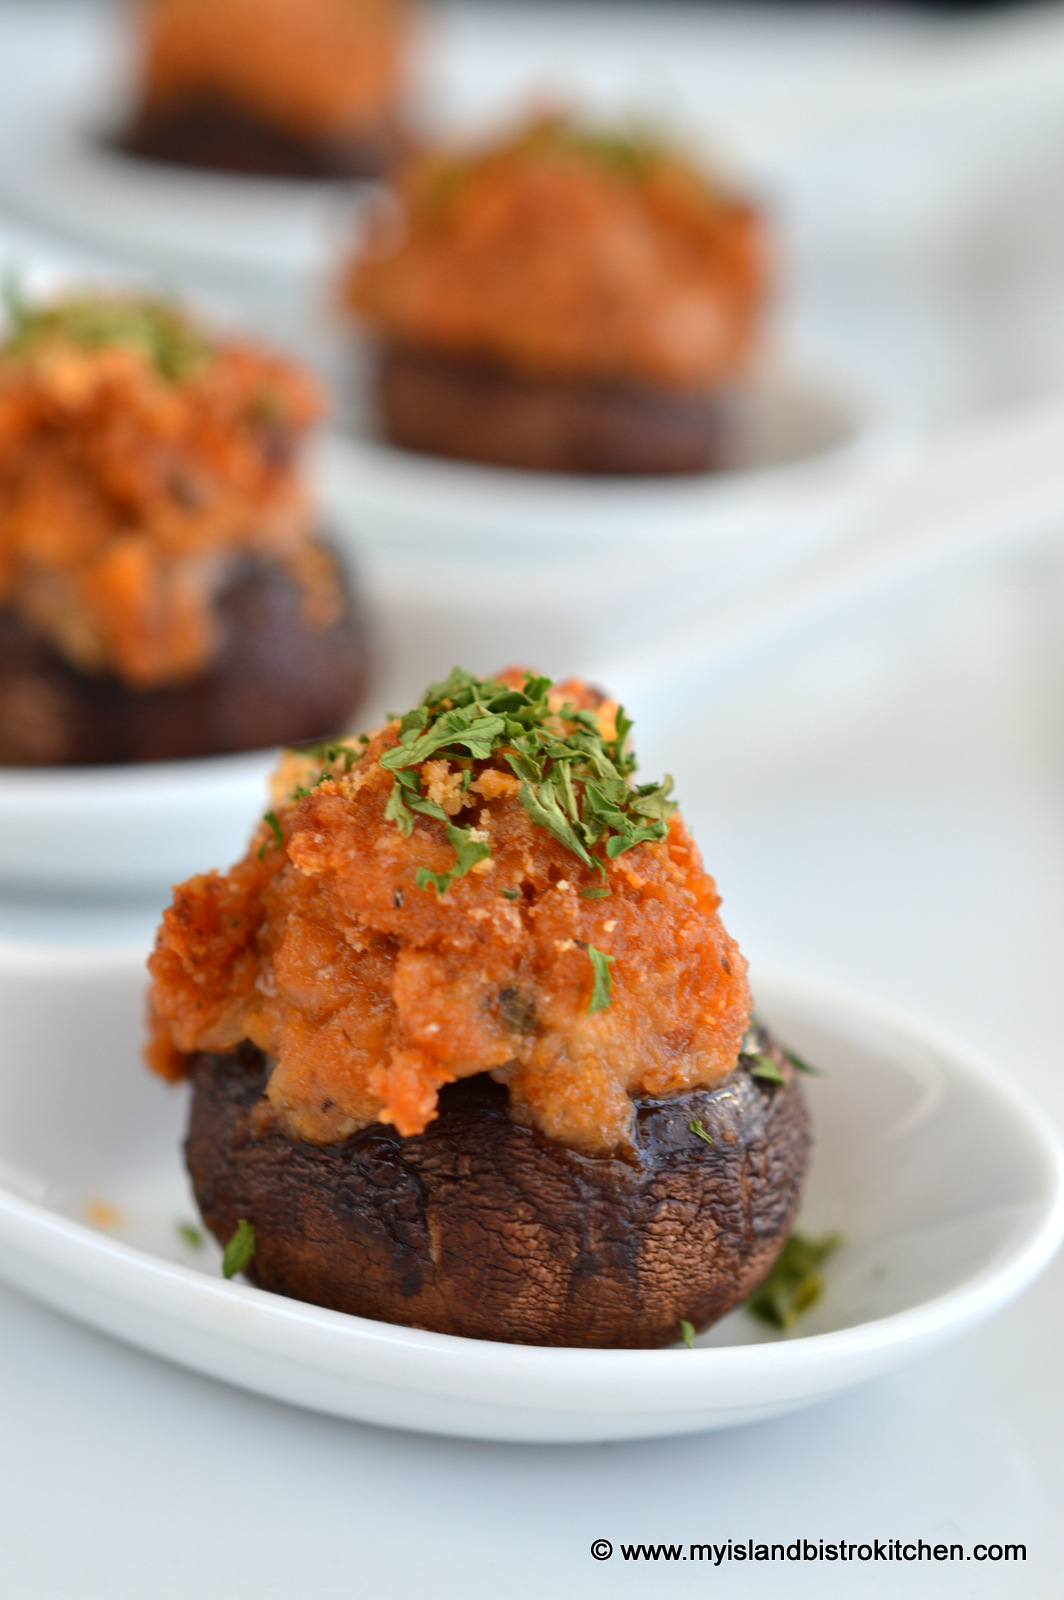
My recipe for stuffed mushrooms is suitable for hors d’oeuvres or, add a tomato sauce, and they turn into an appetizer.
I have chosen to use cremini mushrooms but white button mushrooms would also work. As well, any kind of sausage can be used – I have chosen to use sun-dried tomato sausage from KJL Meats here in Charlottetown. The herb and garlic Gouda cheese I used is from Glasgow Glen Farm in New Glasgow, PEI. The tomato sauce that I am featuring in both recipes is Aldanel’s “Tomato Celebration” variety but any of their other sauces would work well, too.
Sausage-stuffed Cremini Mushroom Caps
Stuffed Cremini Mushroom Caps (Hors d’oeuvres)
1 tsp olive oil ½ tsp butter
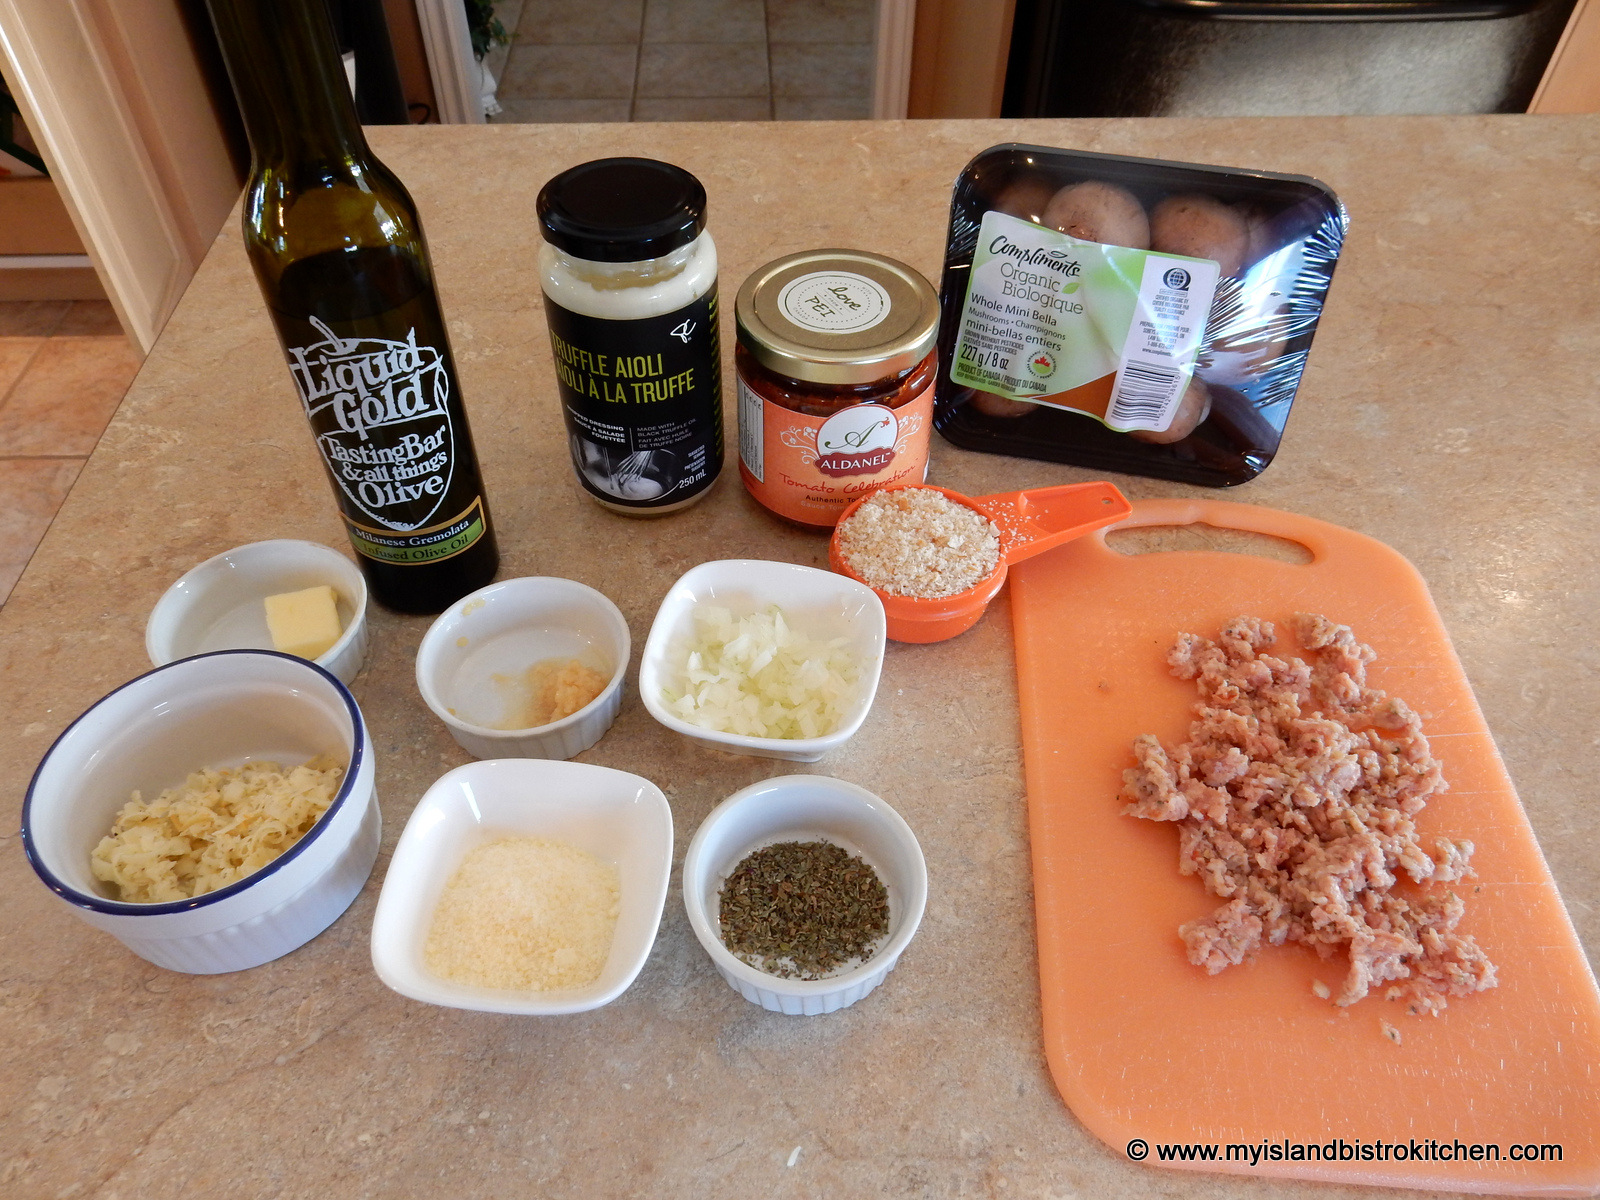
12 medium-sized cremini mushrooms, washed, dried, and de-stemmed (reserve the stems) 2 cloves of garlic, minced 1½ tbsp onion, finely chopped 2 oz. sun-dried tomato sausage, removed from casing and loosely broken up 2 tbsp Ardanel™ tomato sauce 2 tsp truffle aioli ½ tsp basil ½ cup fine breadcrumbs 2 tbsp shredded Gouda cheese 1 tbsp finely grated Parmesan cheese Salt and pepper, to taste
Method:
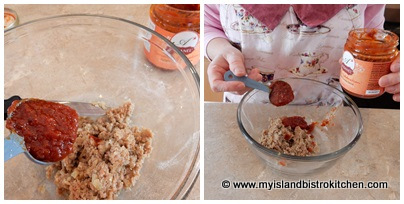
Assemble ingredients.
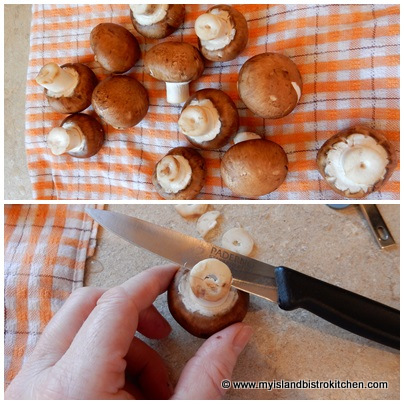
Trim and discard ends from mushroom stems.
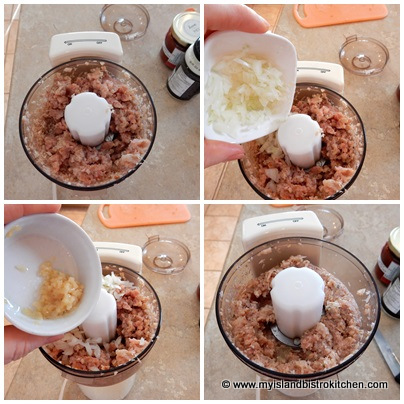
Remove the stems from the mushroom caps and place mushroom stems into bowl of small food processor. Pulse until mixture is finely chopped.
Add garlic, onion, and sausage and pulse just until mixture is combined.
Preheat oven to 375ºF.
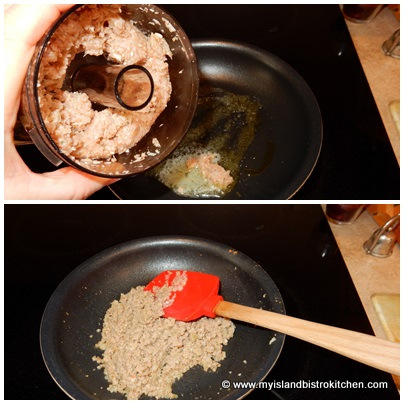
Heat oil in small frypan. Add butter.
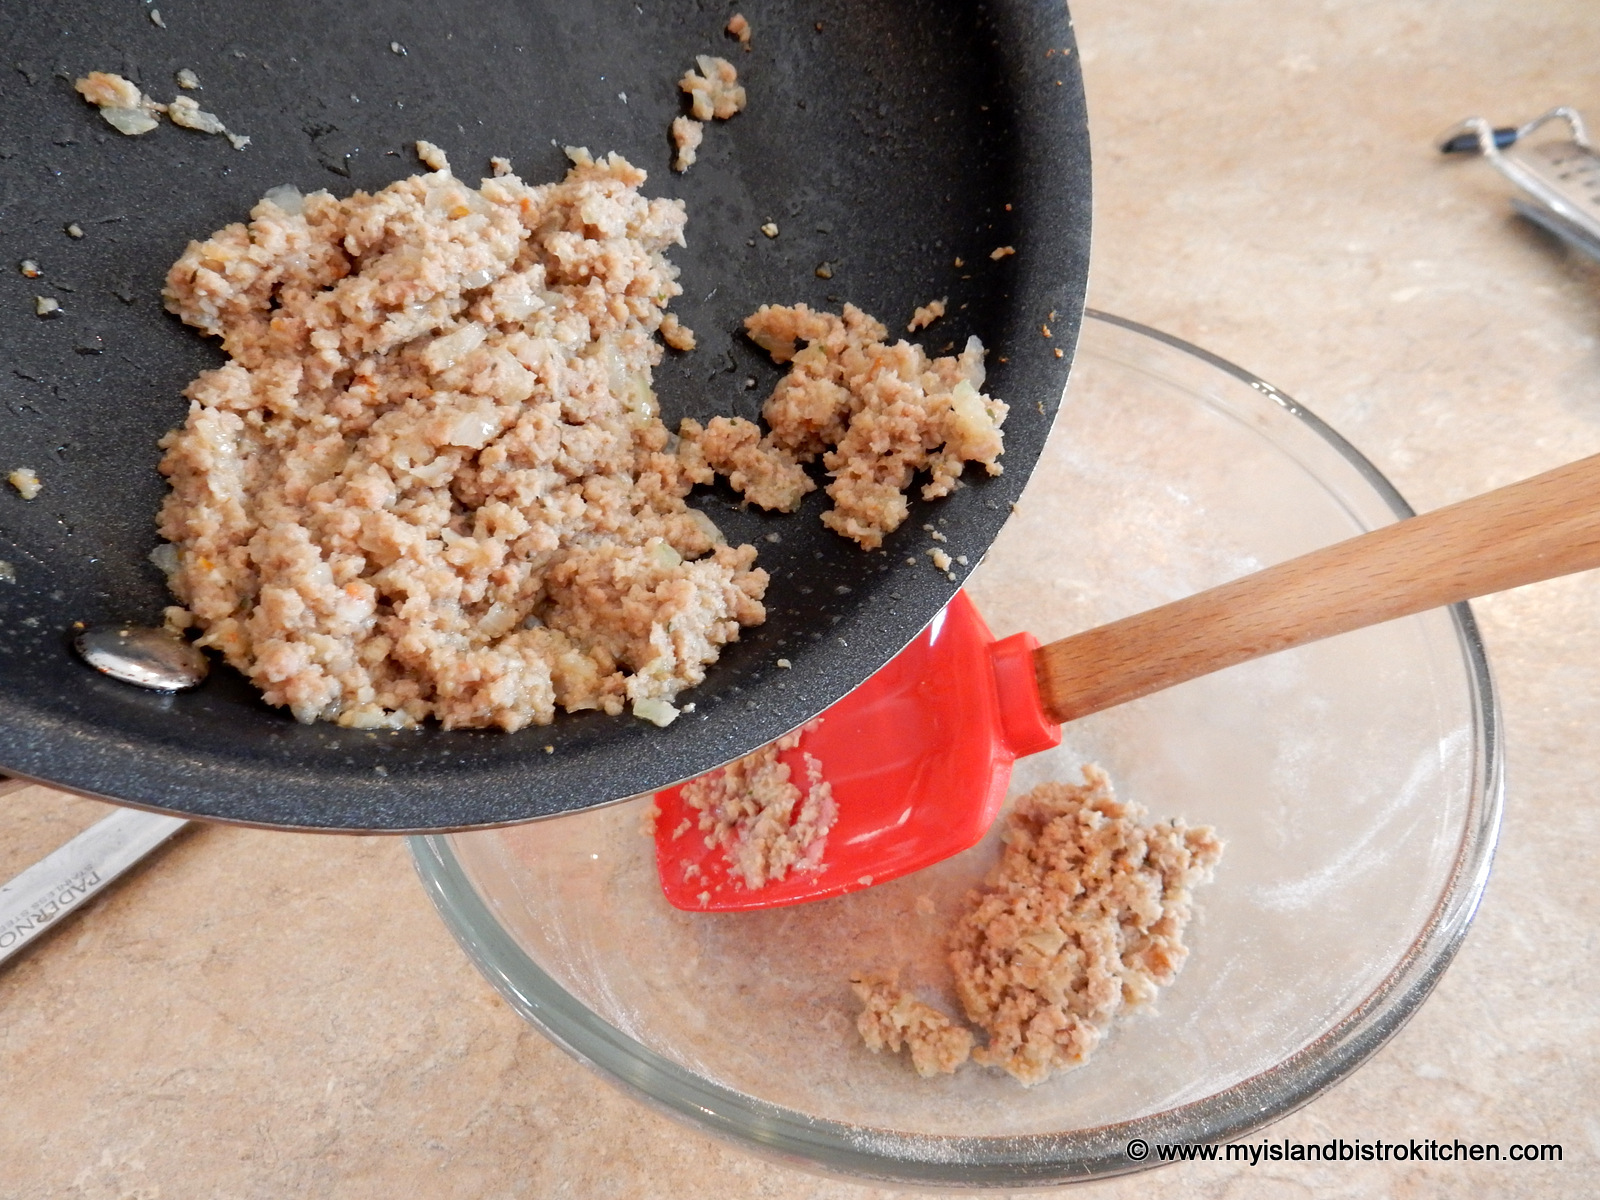
Add mushroom-sausage mixture and cook over medium heat for 4-5 minutes, or until sausage meat is no longer pink.
Transfer mixture to small bowl.
Add the tomato sauce.
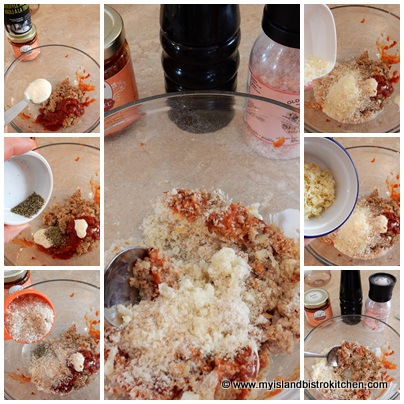
Add truffle aioli, basil, breadcrumbs, and cheeses along with salt and pepper to taste.
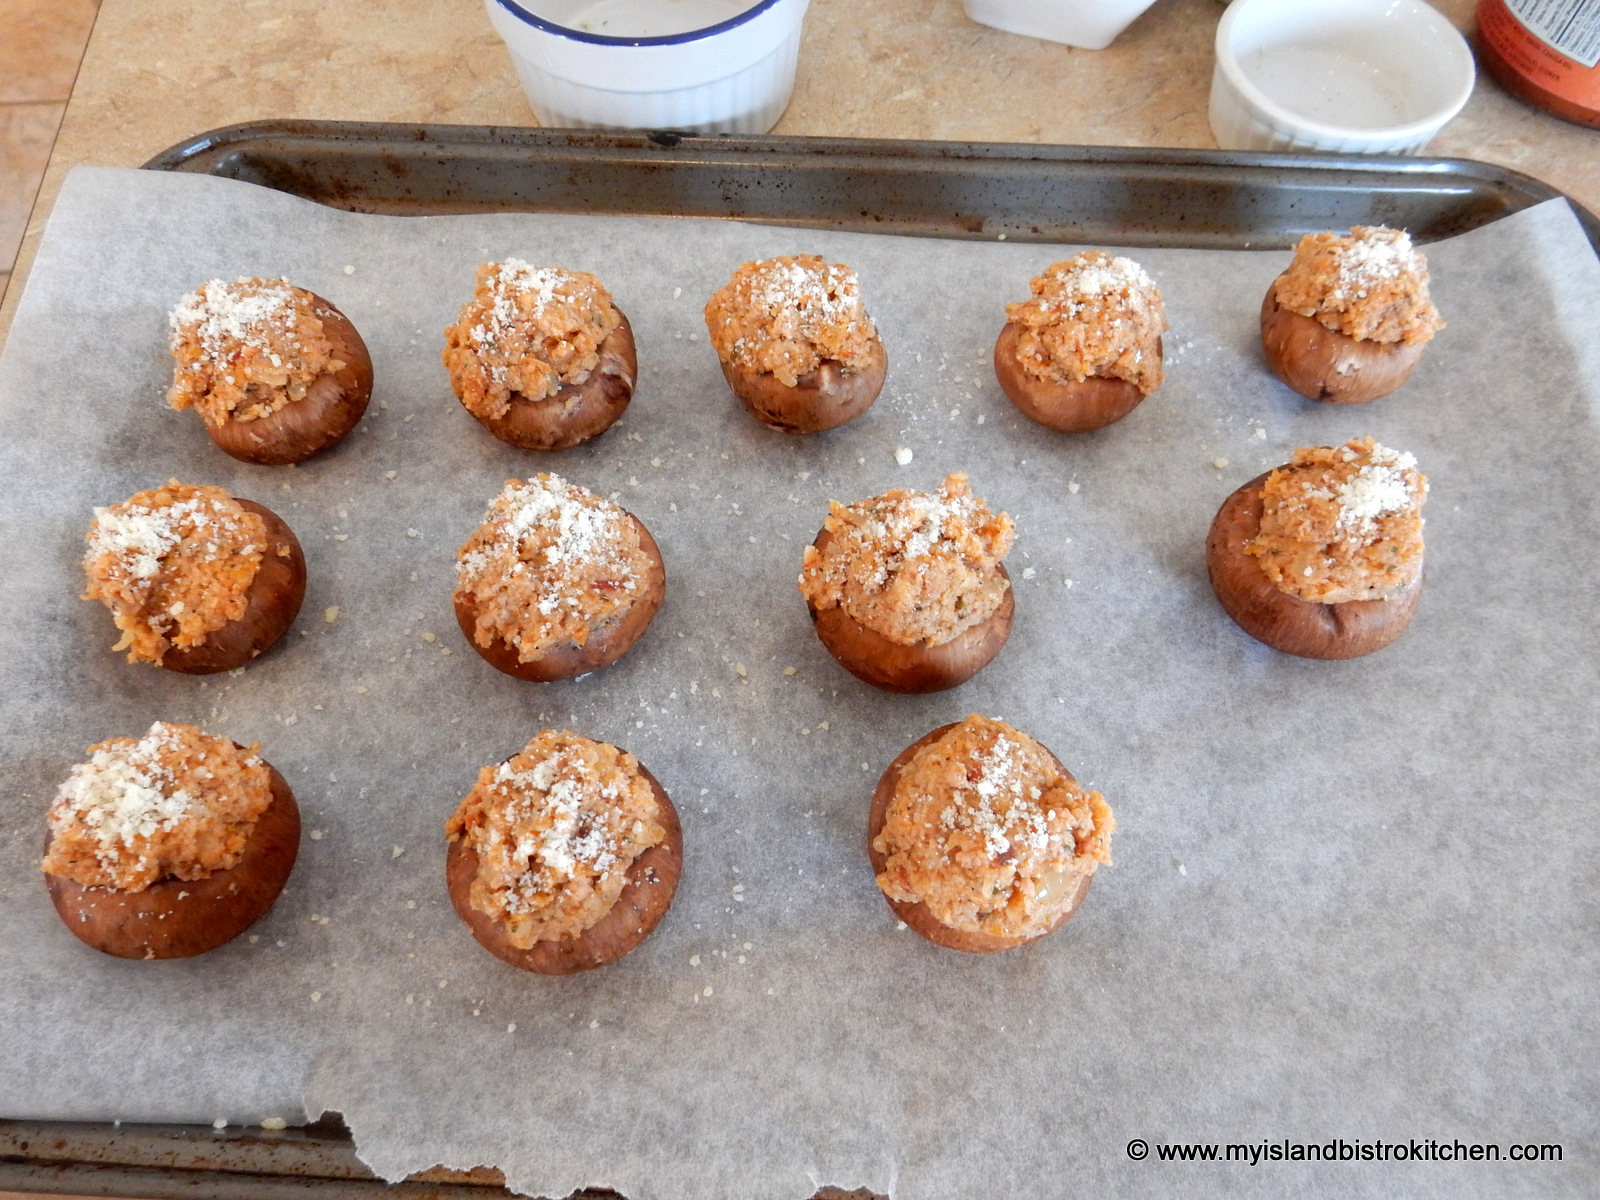
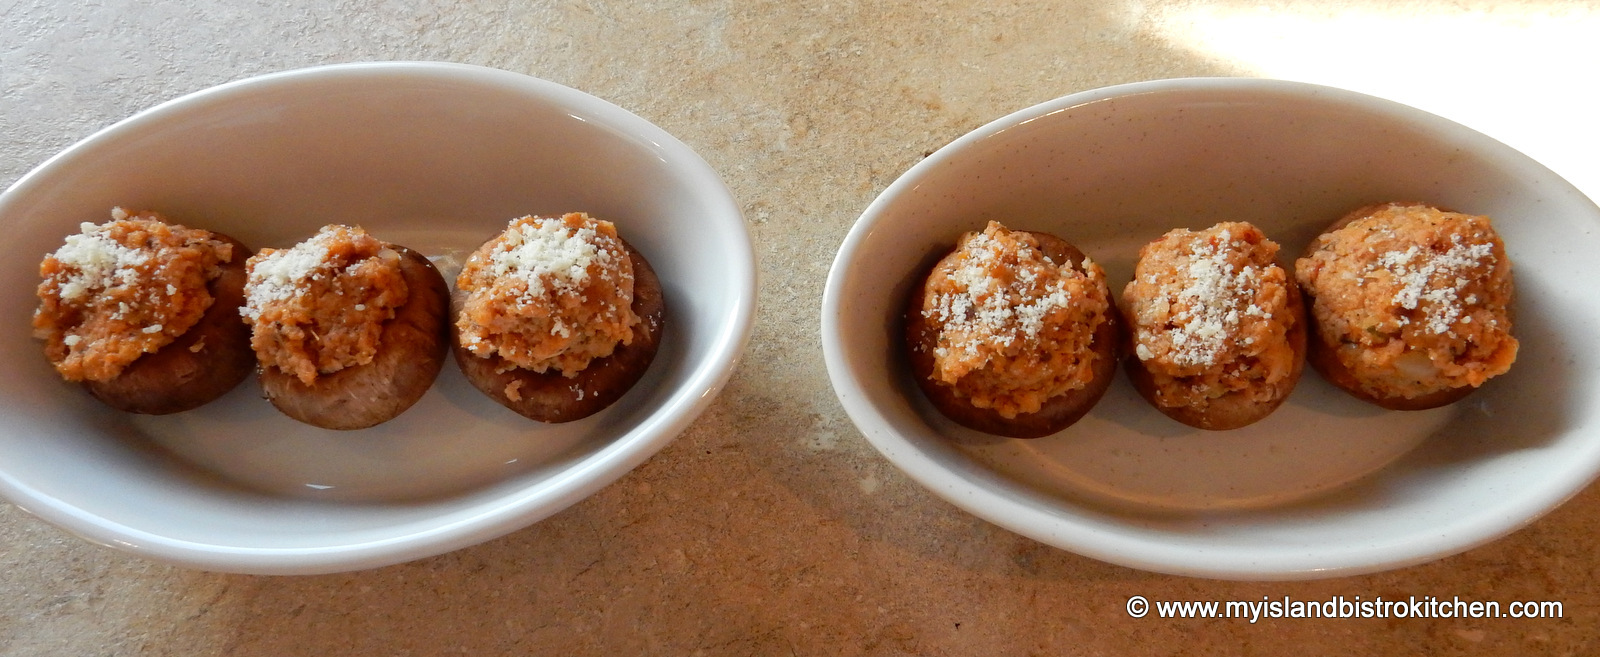
Place mushroom caps on parchment-lined baking sheet. Stuff each mushroom cap with mixture, slightly mounding the top. Sprinkle with finely grated Parmesan cheese.
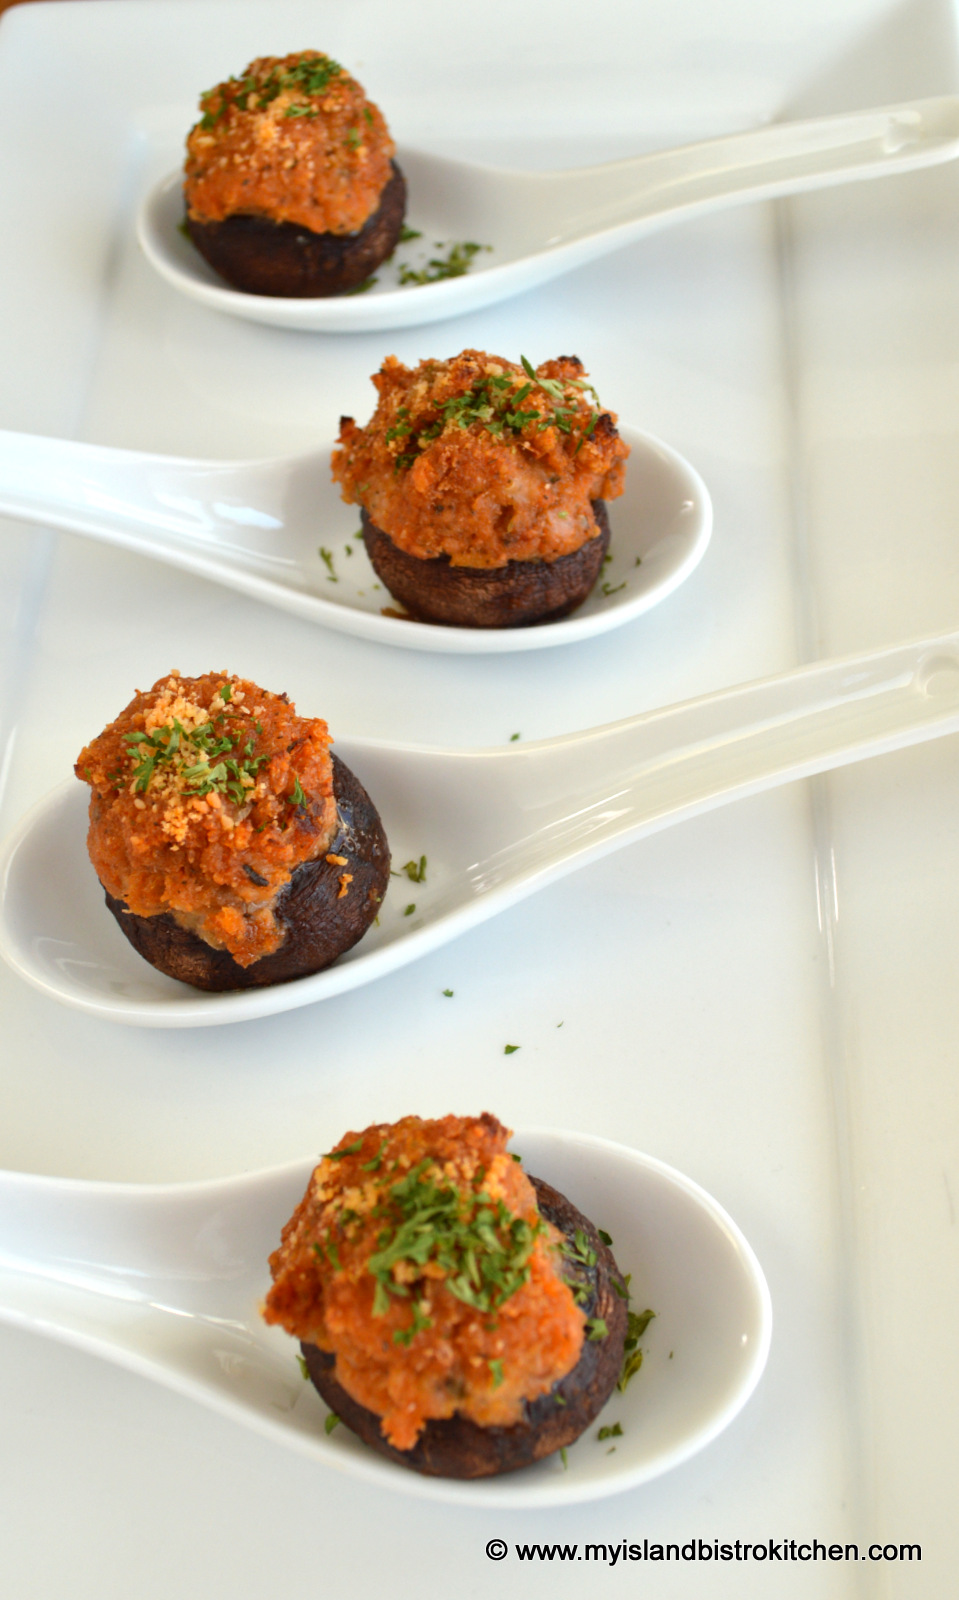
Bake for about 12 minutes. Garnish with fresh chives, sliced green onion, or parsley, if desired. Serve immediately.
Yield:12 hors d’oeuvres
Sausage-stuffed Cremini Mushroom Caps
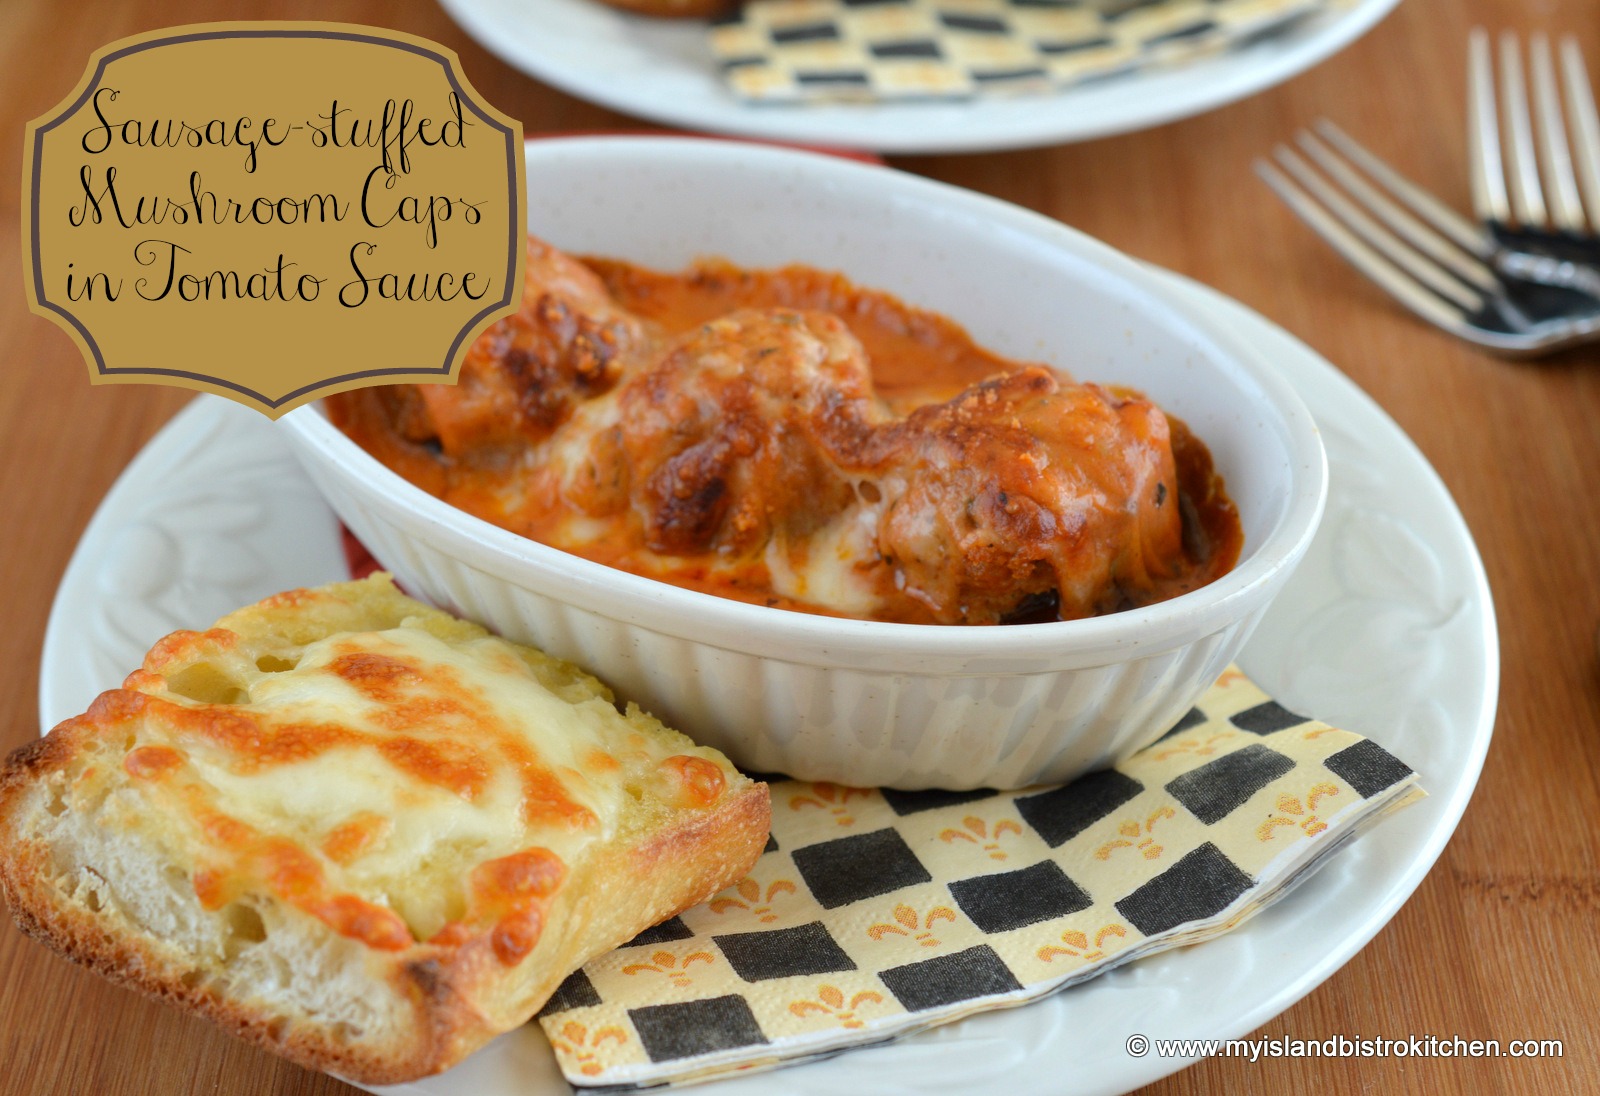
Stuffed Cremini Mushroom Caps with Tomato Sauce (Appetizer)
½ tbsp butter 1½ tbsp flour ½ cup chicken or vegetable broth ½ cup light cream or milk ¼ cup Ardanel™ tomato sauce ½ tsp Italian seasoning ¼ cup finely grated Parmesan cheese ½ cup shredded Mozarella cheese
Method:
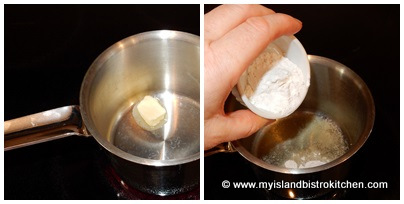
Over medium heat, melt butter. Stir in flour.
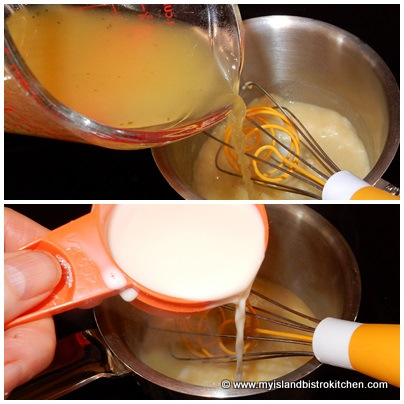
Whisk in the broth and milk until mixture is smooth.
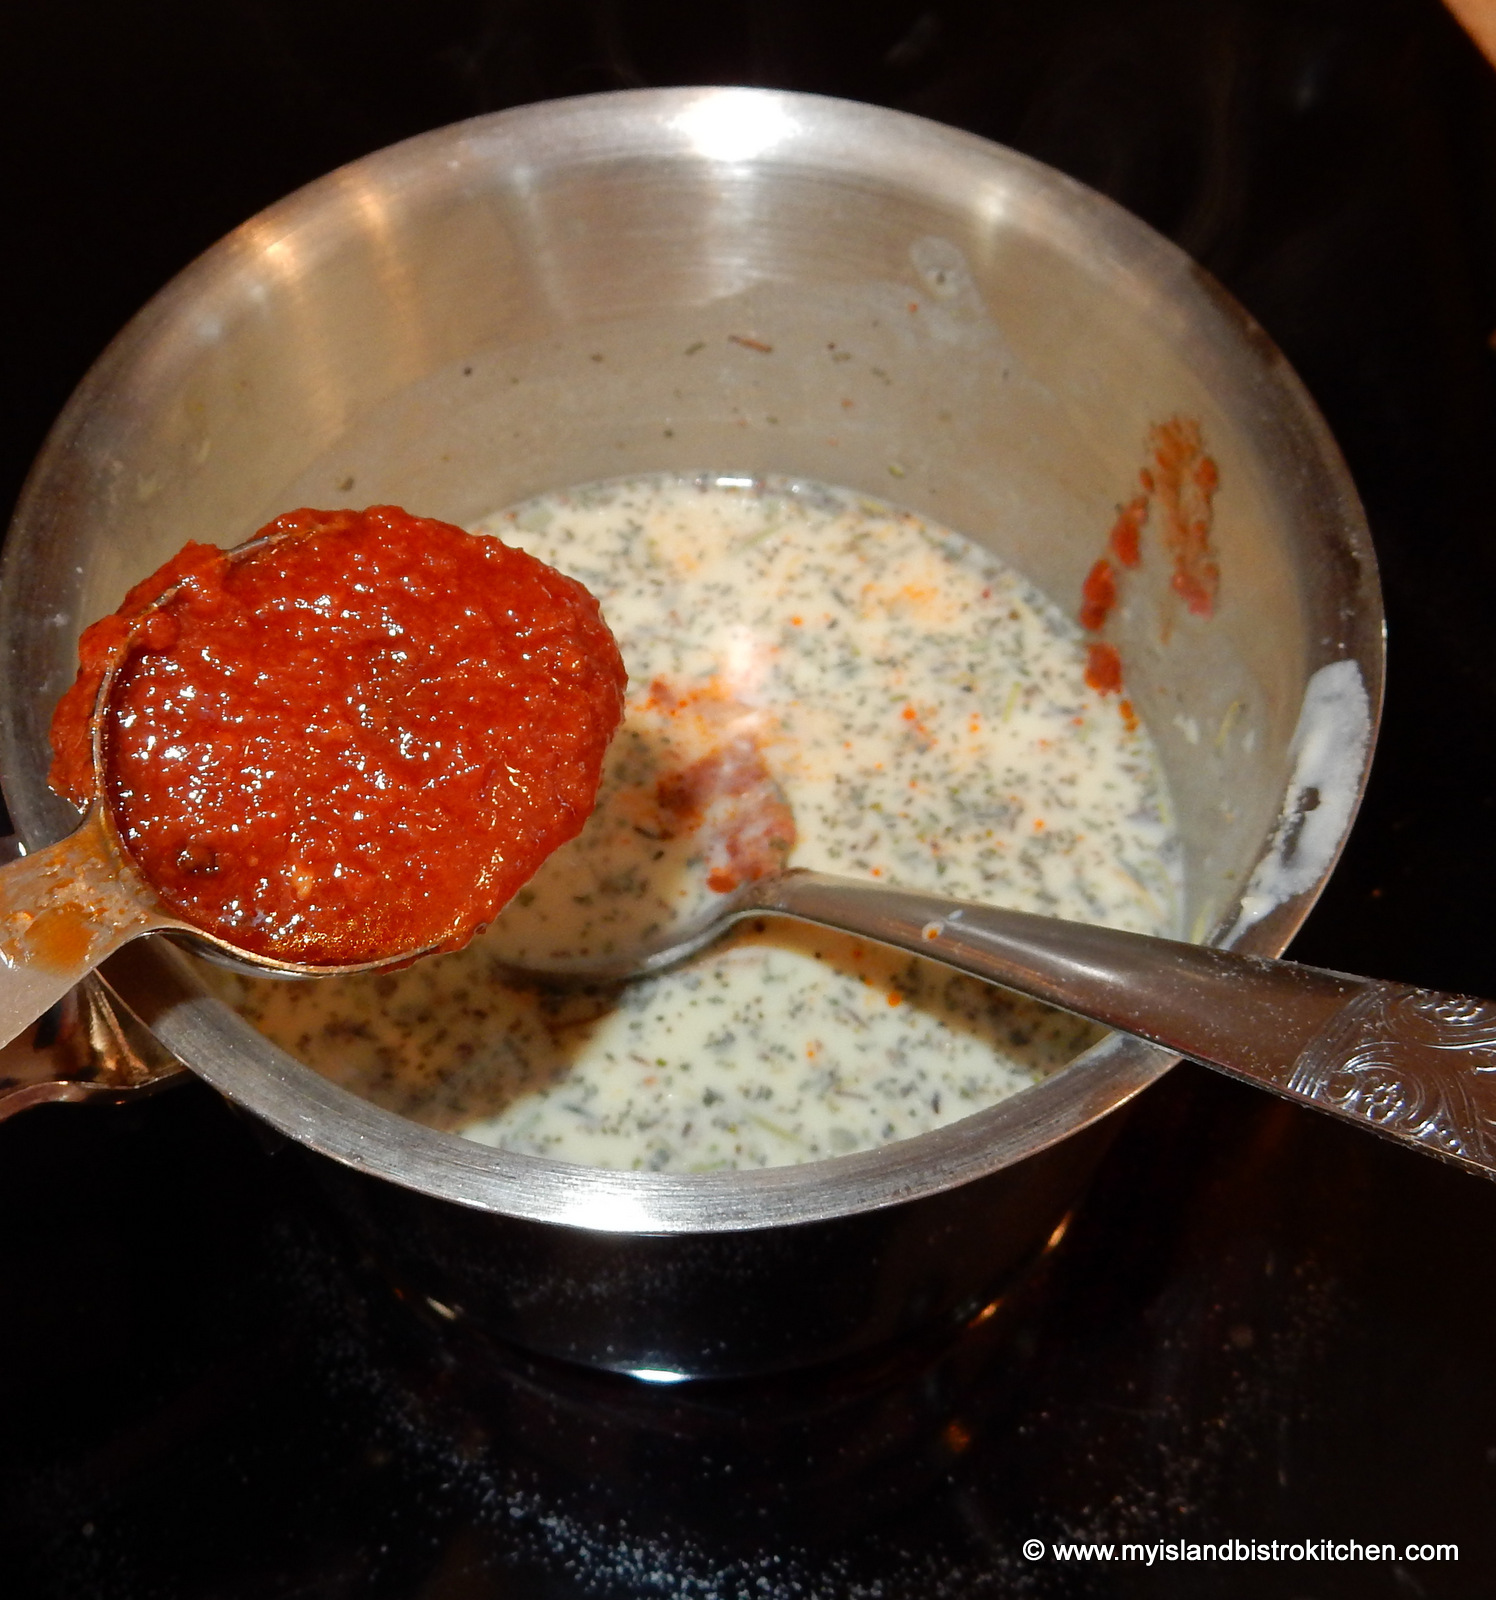
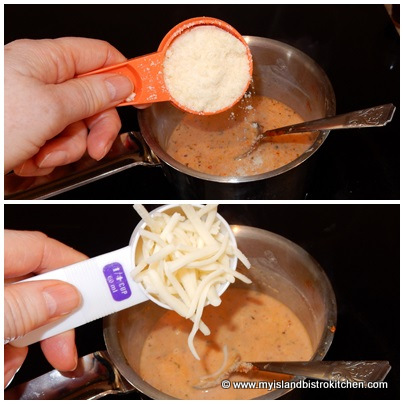
Stir briskly until mixture starts to thicken then add the tomato sauce, Italian seasoning, and cheeses.
Stir until cheese is melted and sauce is thickened to desired consistency.
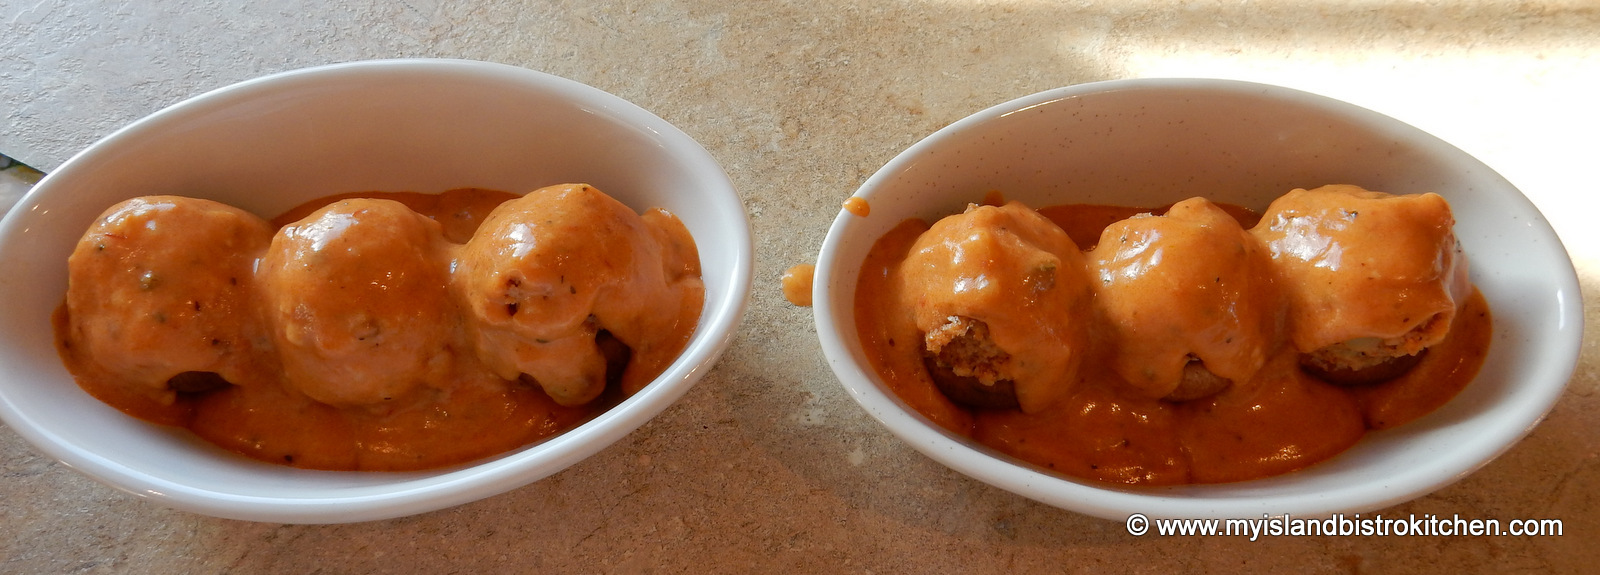
Grease four oven-safe appetizer-sized baking dishes. Place three stuffed mushrooms into each dish.
Pour the sauce over the mushrooms, dividing it equally between the four dishes.
Sprinkle with shredded mozzarella cheese.
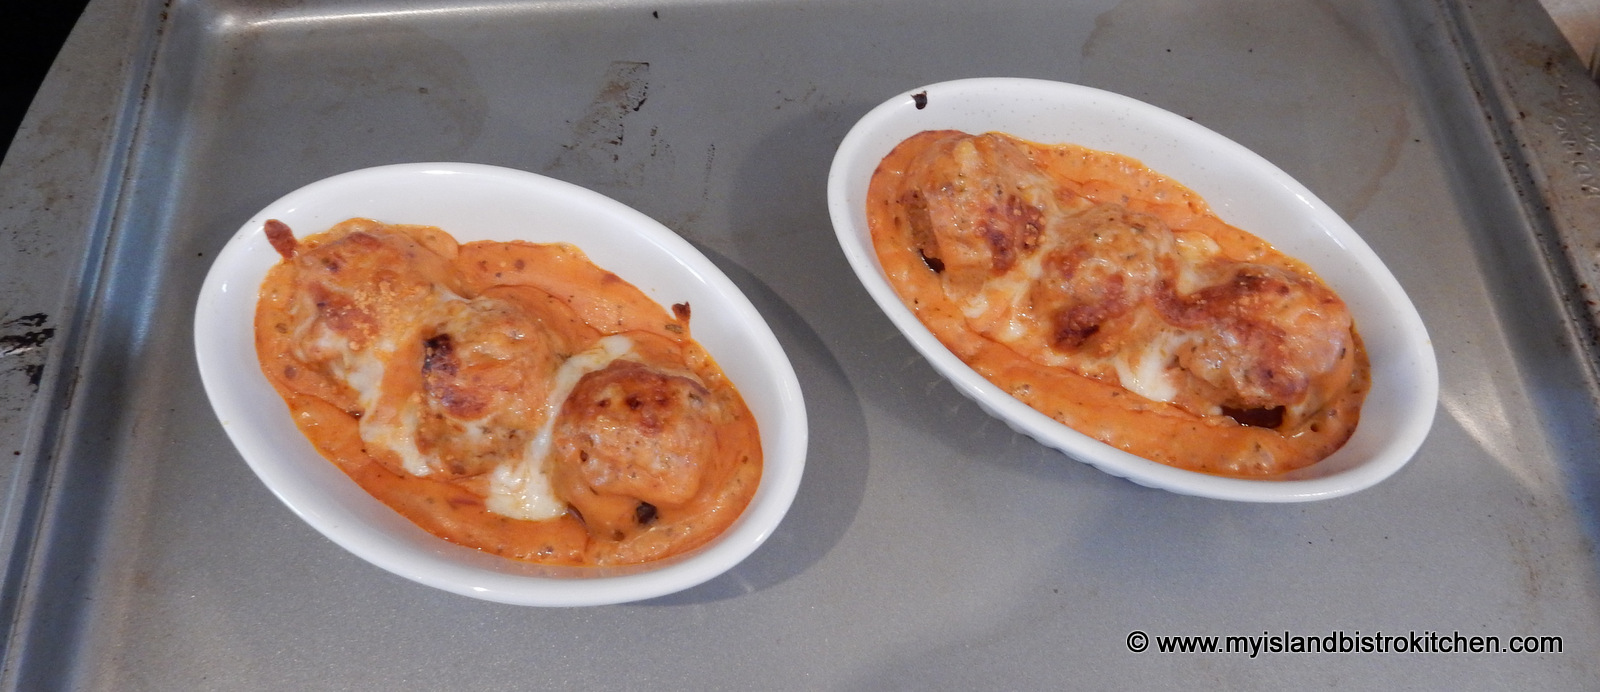
Broil on high for about 5-6 minutes, until cheese is melted and sauce is bubbling. Serve immediately.
Yield:4 appetizer servings
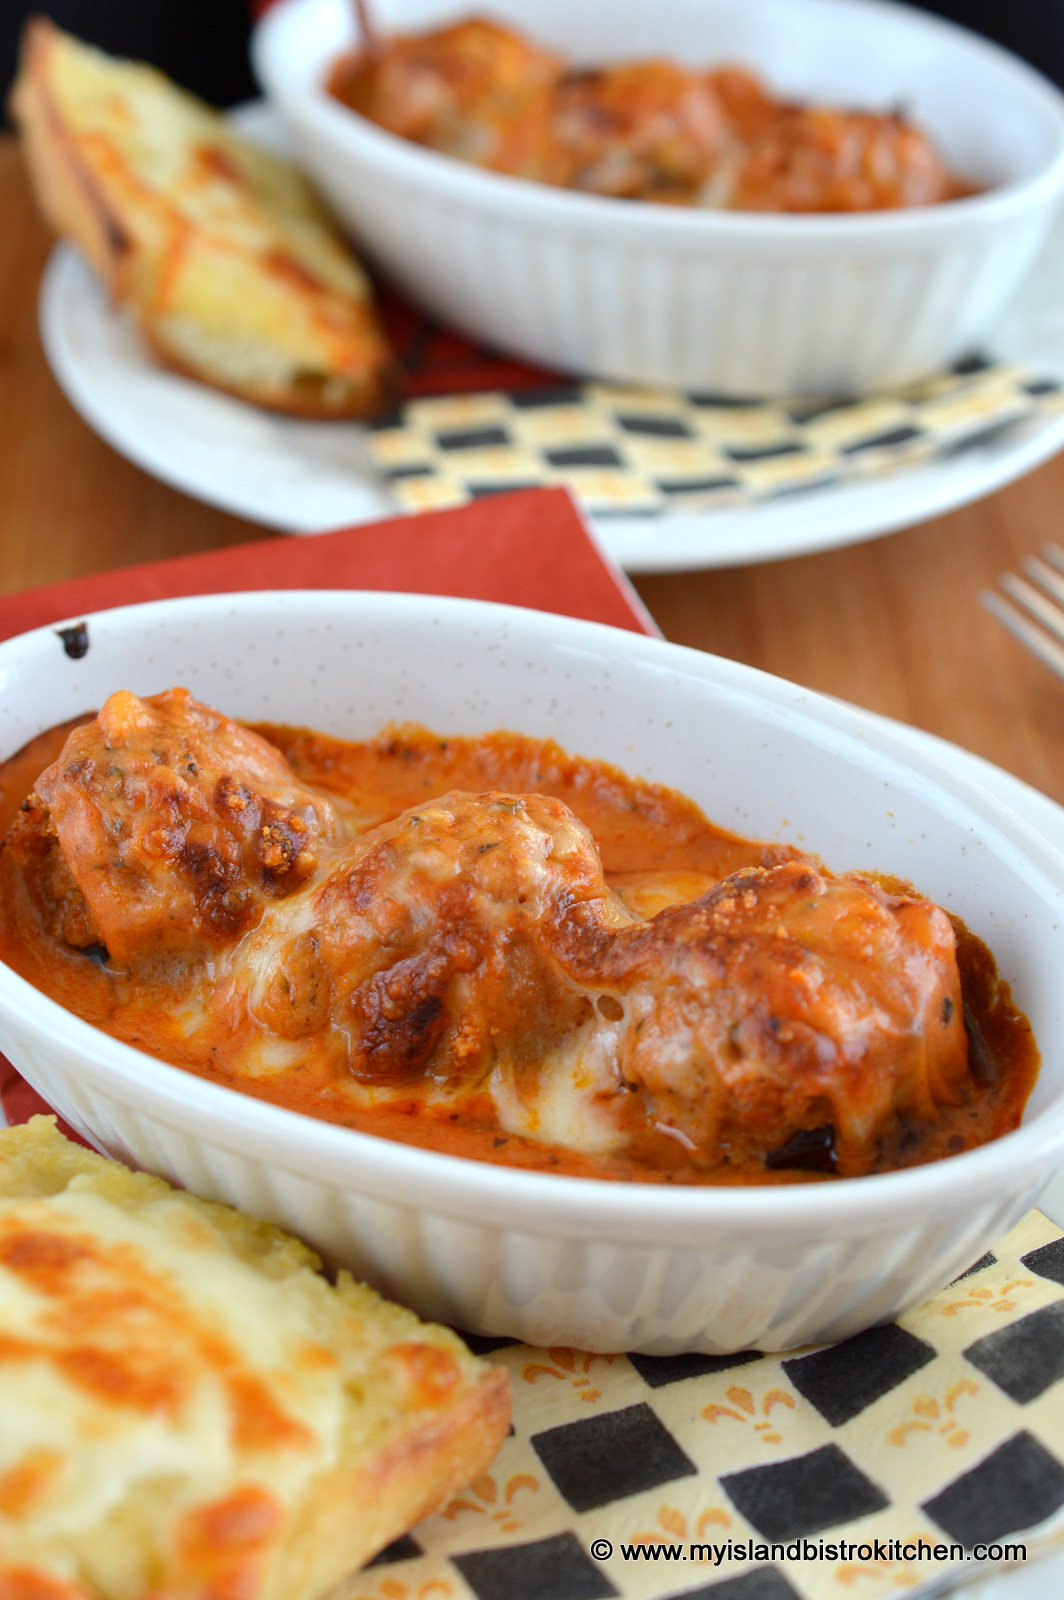
Sausage-stuffed Cremini Mushroom Caps in Tomato Sauce
To learn more about the Aldanel tomato sauce products, visit their website.
This recipe is also being submitted for the Foodie Pages CHEF’S BOX Challenge.
———————–
Thank you for visiting “the Bistro” today. There are lots of ways to connect with “the Bistro” through social media: