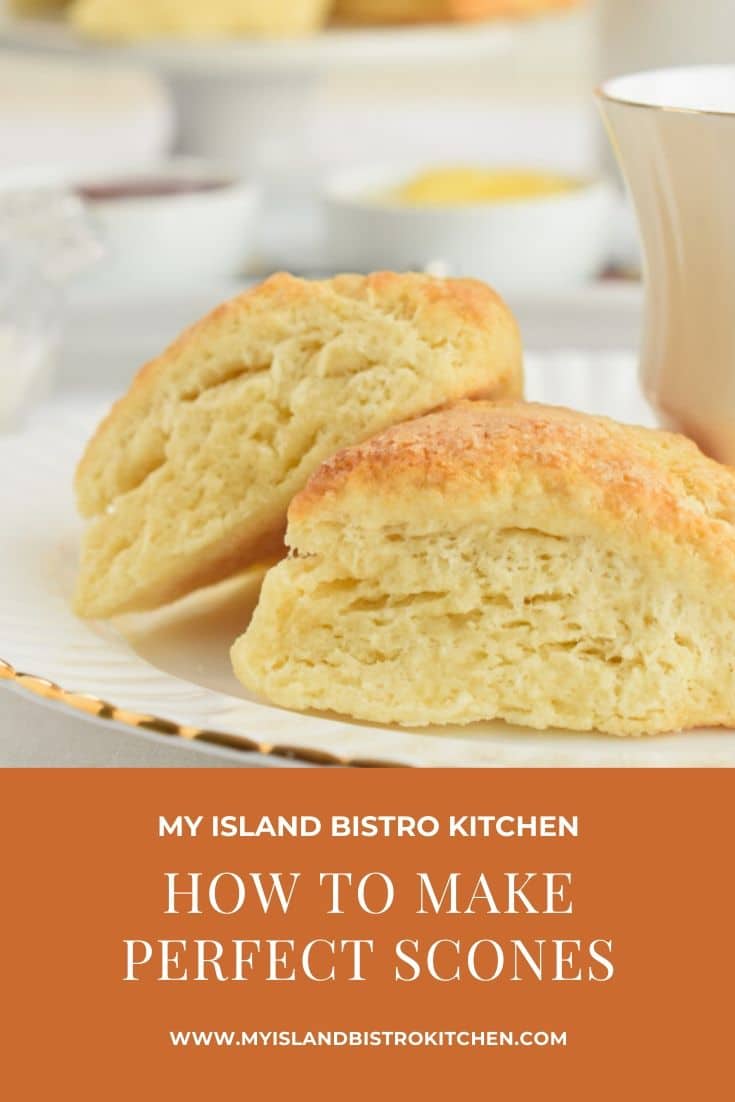
There is just something absolutely delightful about fresh scones still warm from the oven. Ever so much better they are when slathered with a dollop of either clotted cream or English double cream and a favorite jam or fruit curd such as lemon curd, for example. This posting today is all about how to make perfect scones.
While they certainly do not have to be reserved for a Cream Tea, scones are indeed an essential component to a Cream Tea as well as to the more elaborate Afternoon Tea which, inevitably, will have a scone course.
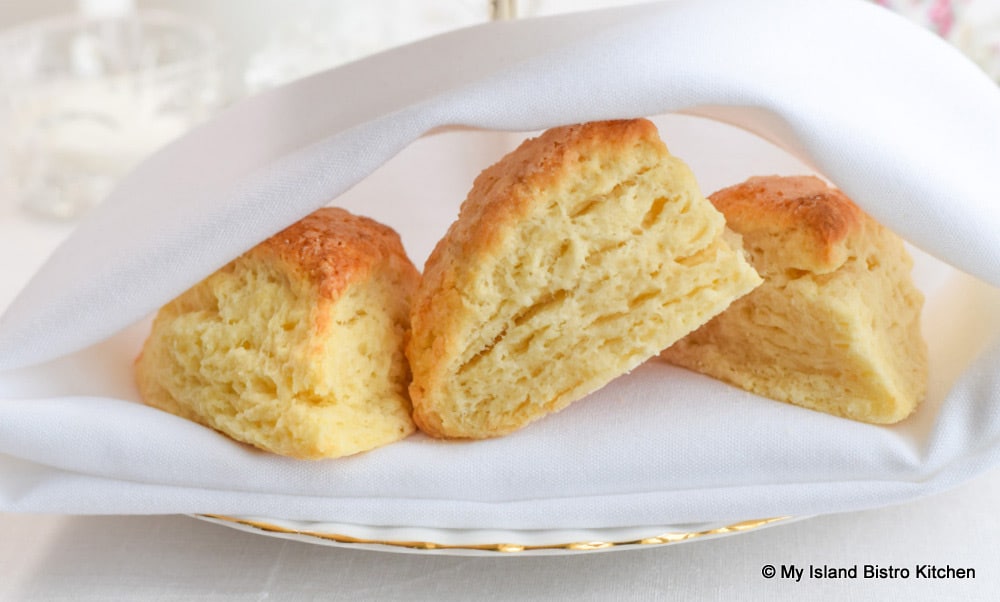
In my view, the perfect scone should have puffy height and be light and flaky.
The internal crumb should exhibit qualities of a light-colored moist, soft, tender texture. The scone should not be wet or doughy nor should it be hard and/or dry, with a chippy or chibbly texture.
What follows is my interpretation of what constitutes a perfect scone. I am offering tips that work for me to achieve that desired end result. There are variances in different parts of the world as to what this particular baked good, in its ideal form, should be. So, that said, others, of course, may have differing opinions and expectations of what constitutes the ideal scone and that’s perfectly fine.
What is a Scone?
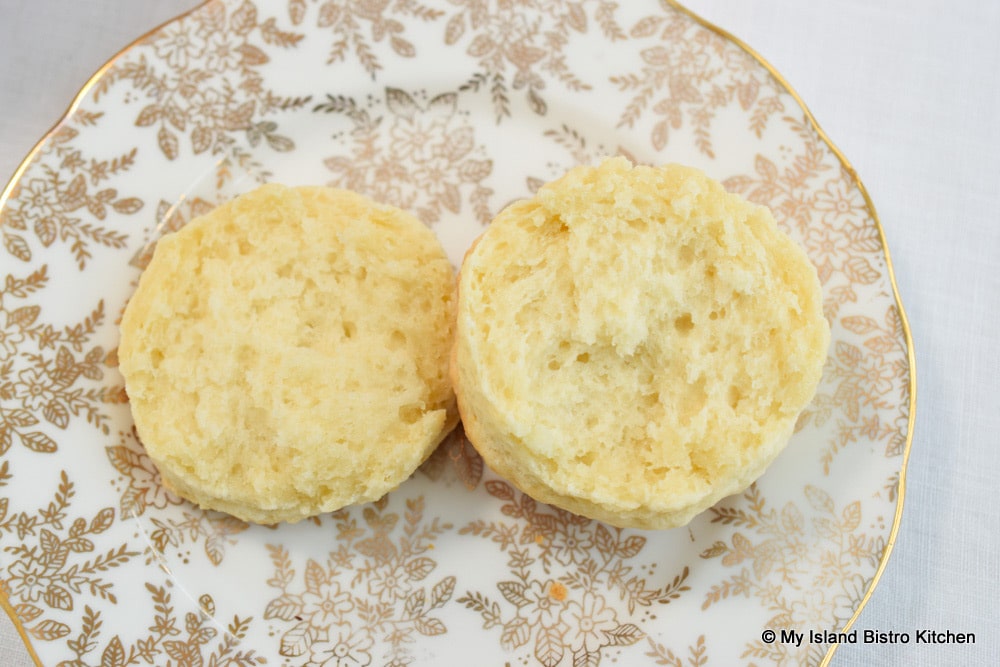
Scones are similar, but not entirely identical, to what we here in North America refer to as tea biscuits, shown in the photo below.

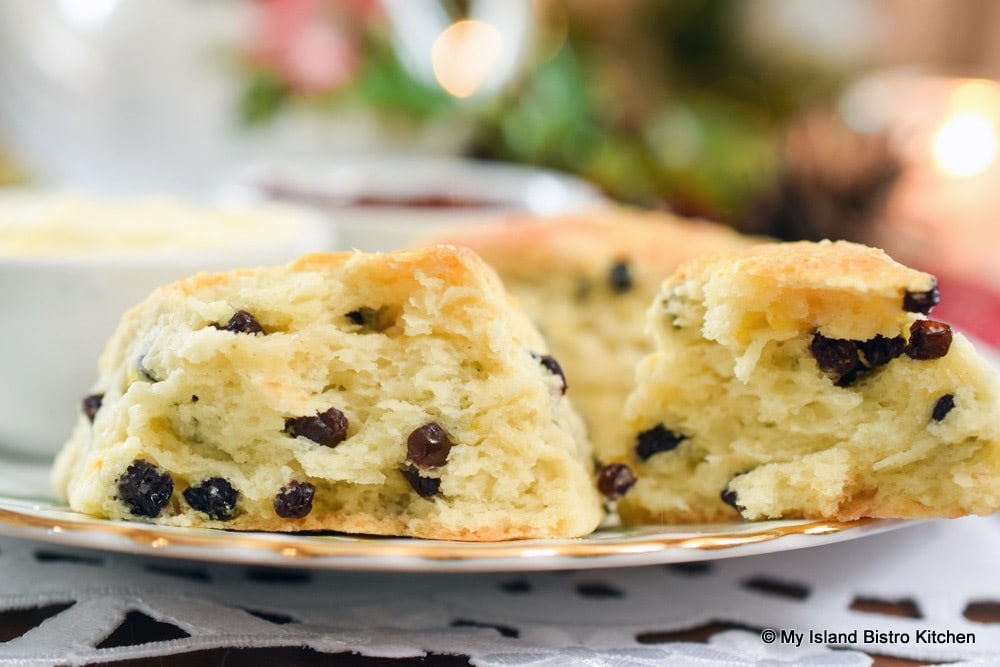
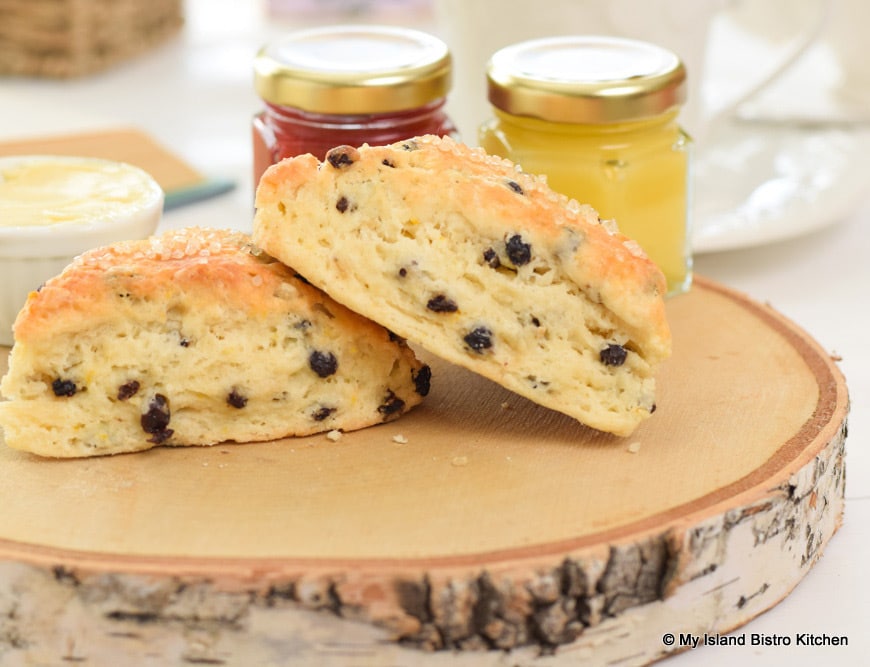
While the basic ingredients are quite similar, the dough for scones is typically richer and sweeter than the standard tea biscuit. Sometimes, scones will be slightly larger than tea biscuits and they may be plain or they may have additions like currants (shown in the photo below), raisins, mixed dried fruit, or even fresh berries such as blueberries and raspberries.
Biscuits can be made with either butter or a vegetable shortening. Scones, on the other hand, are truly best made with pure butter which imparts just so many wonderful attributes to scones that I recommend no substitutions.
You may hear scones referred to as a quick bread as they are leavened with baking powder and not yeast. Additionally, they bake quickly in a hot oven so they are a food item that can be produced quite fast and from ingredients generally considered to be basic staples and/or easy to come by.
Biscuits, as we know them in North America, are traditionally served with a meal whereas scones are intended to be served on their own with a favorite cup of brew. Scones are a key element of a basic Cream Tea, often associated with British fare. A Cream Tea typically consists of scones with either clotted or double cream and jam. It goes without saying that a pot of tea typically accompanies scones at a Cream Tea.
Biscuits, on the other hand, are more often served with butter or a spread such as peanut butter or molasses, though they certainly can be served with a jam of choice. Cream Tea scones are traditionally plain with no additions added though I have had them with raisins at various locations in England. And, today, lots of recipes exist for different flavors of scones and all kinds of additions such as dried or fresh fruits, for example.
There is always a debate on the pronunciation of the word “scone”. I am not going to venture weighing in on the correct pronunciation of “scone” – i.e., whether it is ‘skon’ that rhymes with “gone” or ‘skoan’ that rhymes with “cone”!
Ingredients – Use the Best and Ensure They Are Cold
The ingredients for scones are simple. Dry ingredients are basic and consist of flour, baking powder, salt, and sugar. In other words, the ingredients that gives scones the structure, leavening, and sweetness.
In my view, butter is absolutely essential to light, flaky, tender, tasty scones! Not only does it add incredible rich flavor but butter is essential for those fabulous desired layers of flakiness, the “short” tender texture, and the puffy rise for which dreamy, mouthwatering perfect scones are known.
Always use cold or frozen butter for scones
Always use cold or frozen butter for scones
The egg gives structure and helps bind the ingredients together as well as contributes to the tender, light texture, and aids the rising of the scones.
In my opinion, scones benefit from thick cream, like whipping cream (35%M.F), which gives richness and tenderness to the dough. I like to also add a small amount of 2% milk as I find it balances out the whipping cream and helps to keep the texture of the scones light. I do not recommend using skim milk as the scones will be less tender. Ensure the egg, whipping cream, and milk are cold so as not to soften the butter.
Perfect scones are meant to be rich and decadent so my advice is not to skip out on using the high quality ingredients.
Mixing the Dough (but mix as little as possible)
The dry ingredients should be sieved, or sifted, together to ensure the ingredients are thoroughly dispersed and are well mixed. Frozen butter can be grated or cold butter cut into cubes. Toss the butter with the dry ingredients to coat it. If using cold cubed butter, use a wire pastry cutter to cut the butter into the dry ingredients until it has the consistency of coarse crumbs or small pea-sized pieces.
What I do after the butter is cut in is use my fingers to scoop up some of the pieces of butter and quickly rub them between my thumb and forefinger to form the butter into flat, paper-thin slivers. Do this quickly as the butter needs to remain cold and warm hands can soften butter very fast. In fact, I run my hands under cold water before undertaking this activity so the heat of my fingers will not warm the butter.
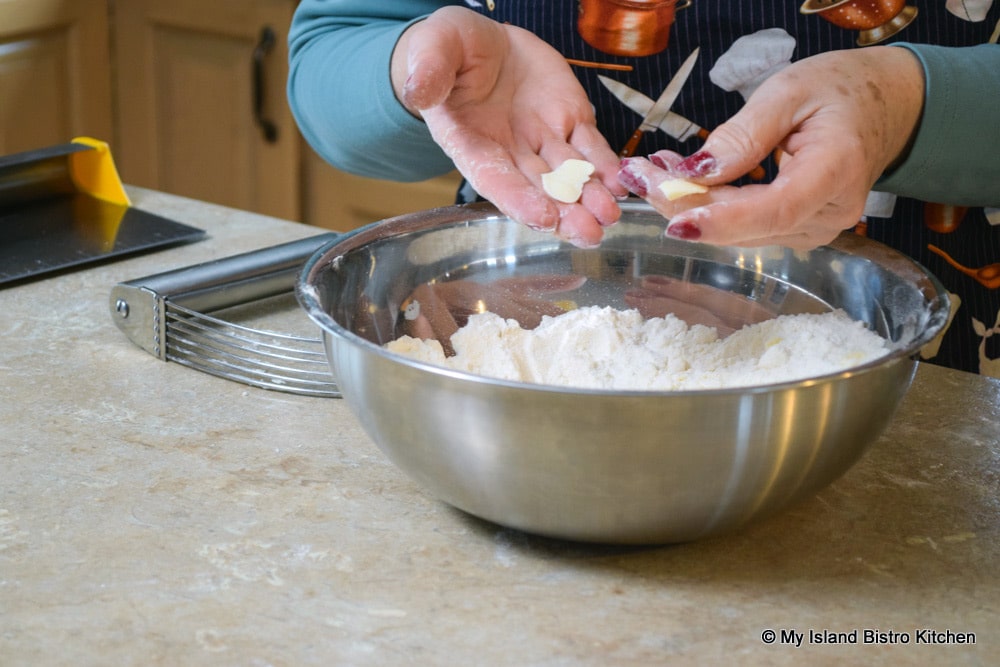
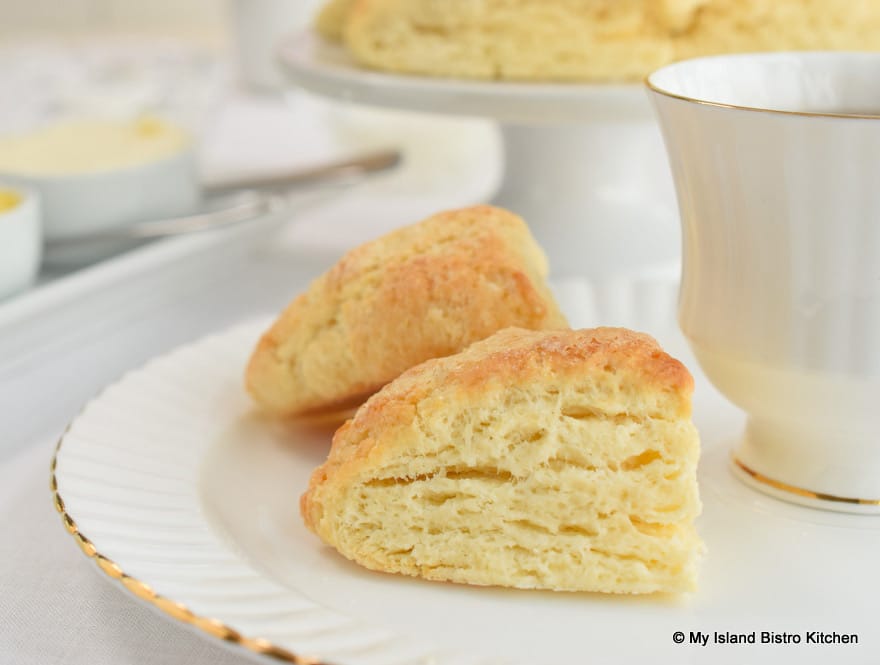
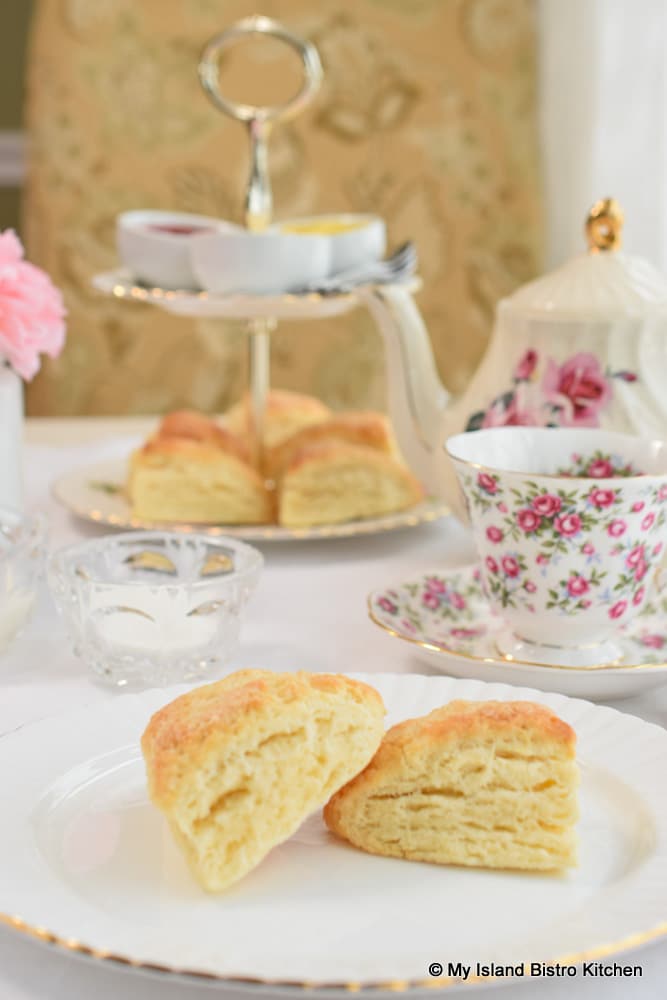
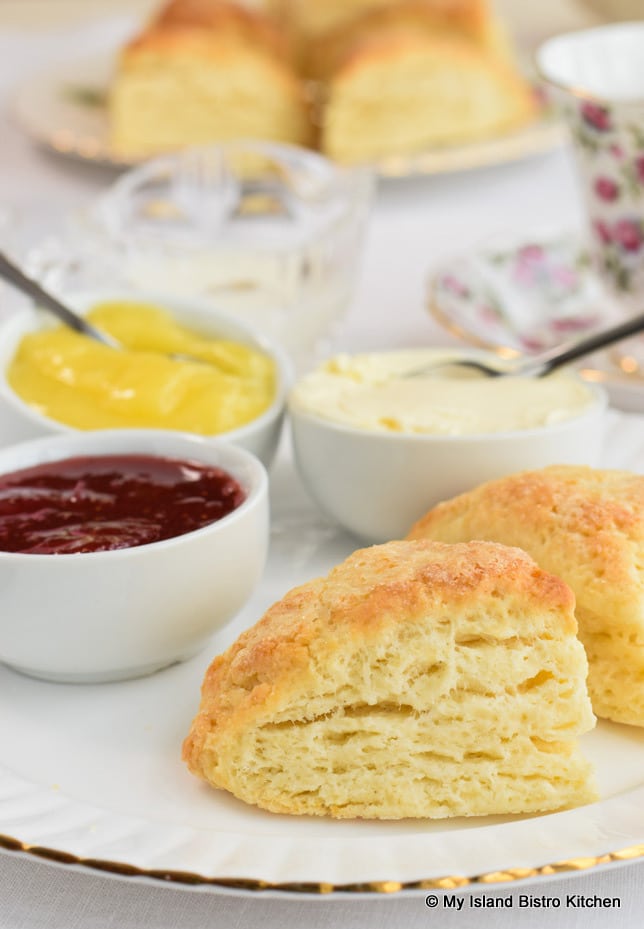
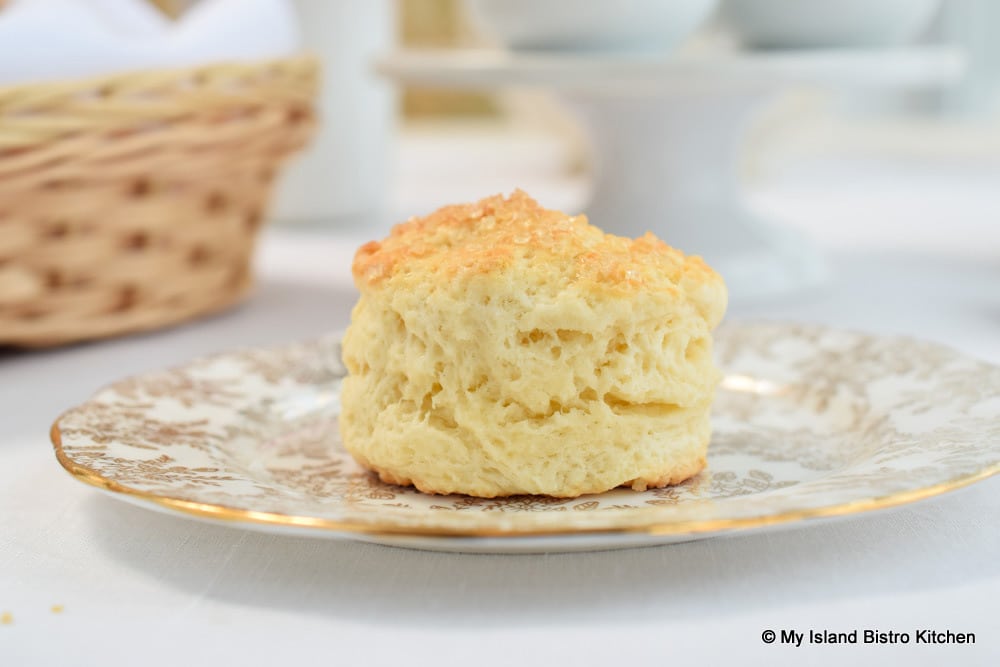
It is not necessary to make “slivers” of every single piece of butter but run your fingers through the mixture a few times and flatten out some of the pieces. Then, toss the butter “slivers” with the dry ingredients to coat. These little bits and slivers of flour-coated butter will create small pockets of steam that, during the baking process, will help form the desired flaky layers in the scones and, of course, help them to rise to their maximum height. Essentially, the flour-coated butter pieces will be interspersed with layers of flour containing no fat and, during baking, the steam produced by the melting butter will lift and separate these layers, resulting in flaky scones as shown in the photo below.
The liquid ingredients are lightly whisked together with the egg and this mixture is poured, all at once, into a well made in the dry ingredients. Now, from this point on, you want to be very vigilant about not overworking the dough as, once the liquids meet up with the dry ingredients, strands of gluten start to form. If overworked, excessive gluten will be created. While this may be desired in some baking products (like bread, for example), it is not desired in scones and will result in tough, dry scones that don’t rise as well. Additionally, the desired light, flaky texture of the scones will be lost.
One of the most important tips to always remember when making scones is not to overwork the dough.
Use a fork to incorporate the wet ingredients into the dry. The dough will be very soft and sticky at this point and there is no need to fully incorporate all the dry ingredients. Just mix until the liquid ingredients have been absorbed and there is no liquid visible in the bowl.
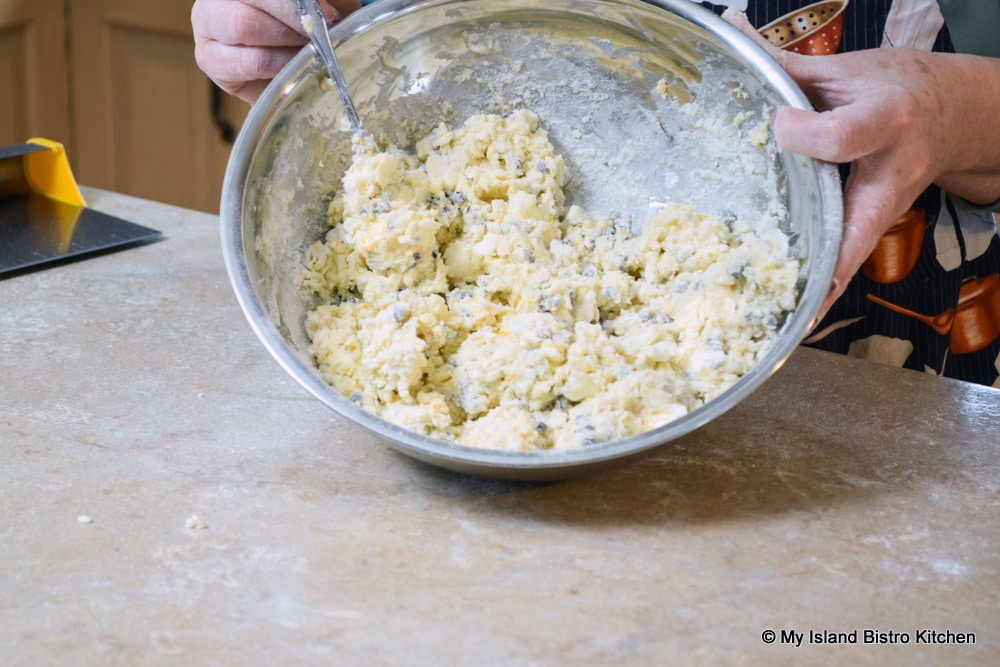
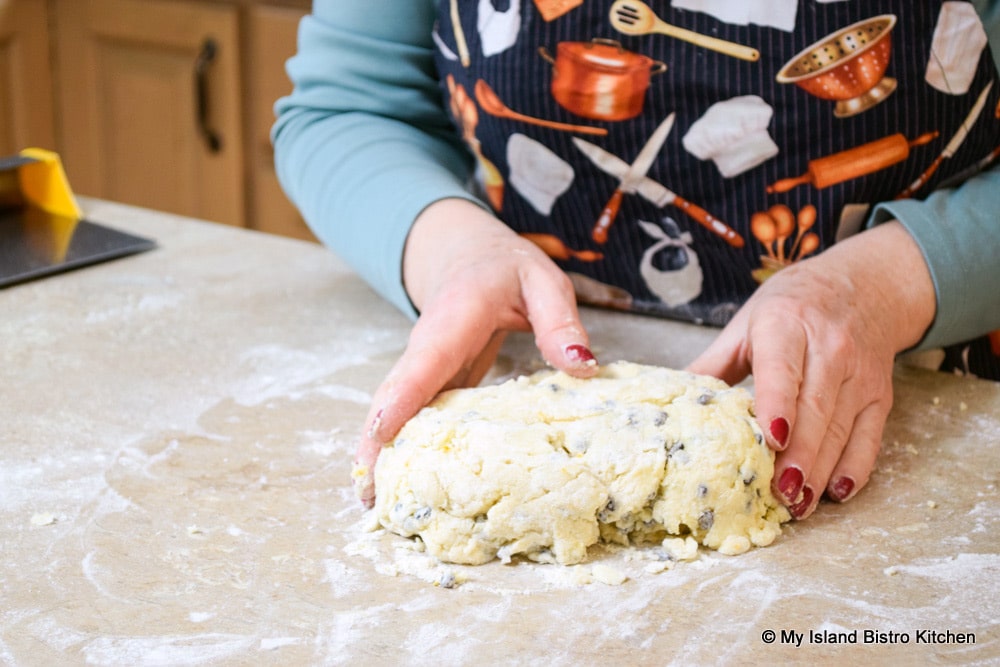
Transfer the dough to a lightly floured work surface and just work it enough that the dough barely comes together and the dry ingredients are reasonably well incorporated.
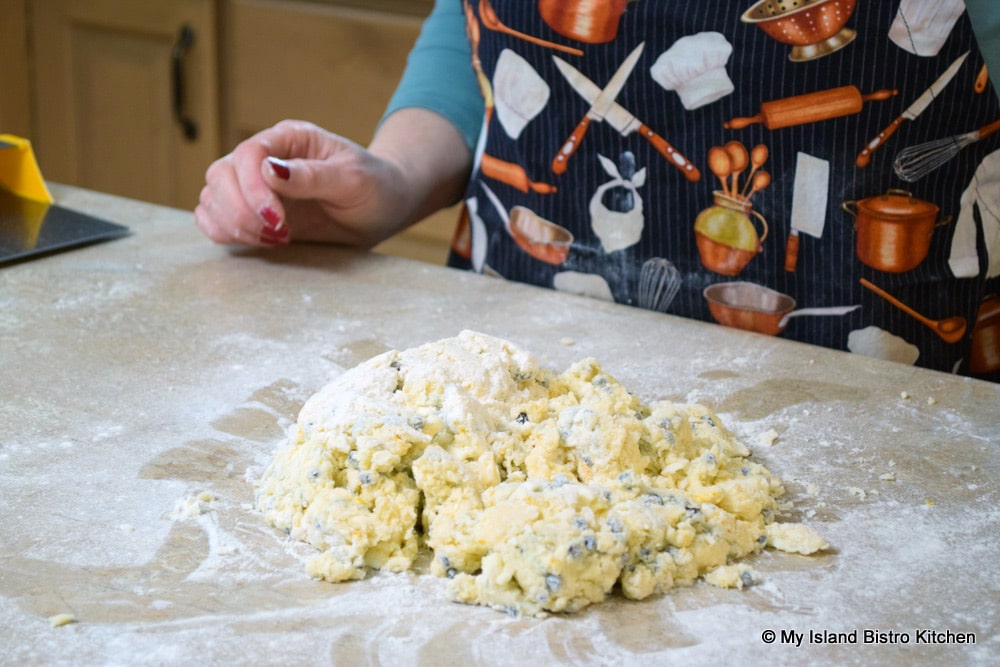
It will look rough and shaggy and that’s okay.
Scone dough is a moist dough and this moisture is needed during the baking process to achieve scones that have a light texture and short tender crumb. So, don’t add more flour thinking the dough is too soft and sticky. You will end up with dry scones if too much flour is used. I do not recommend the use of a mixer or food processor for making scones as, in my opinion, either can too quickly over-process the ingredients.
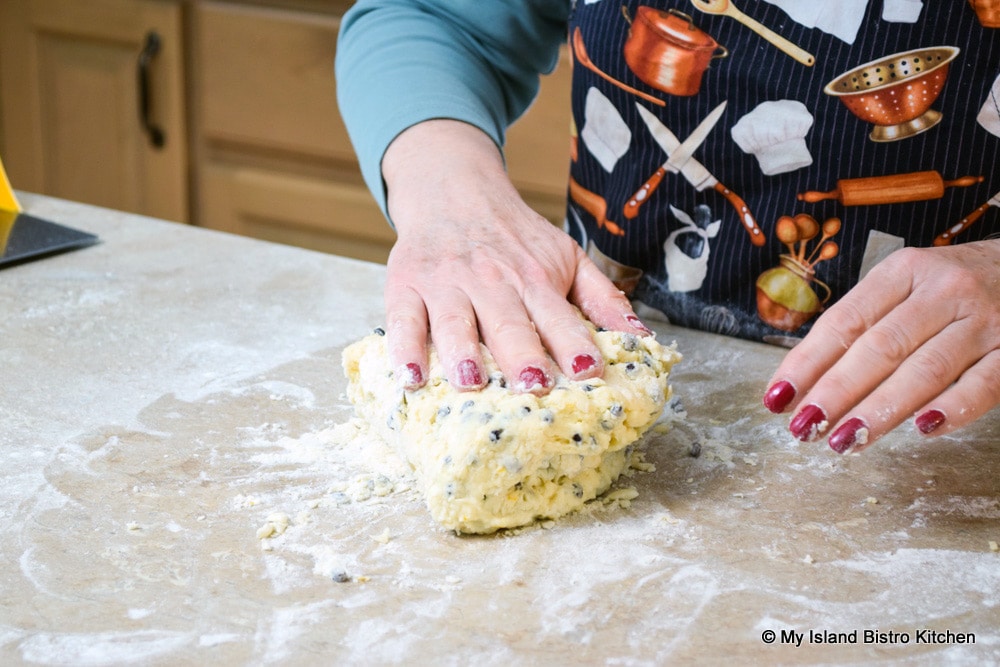
Instead of kneading the dough, my preference is to place the dough on a lightly floured work surface and fold the dough in half over onto itself a few times (just like folding a piece of paper), gently pressing it down each time and turning it a half turn before repeating the exercise.
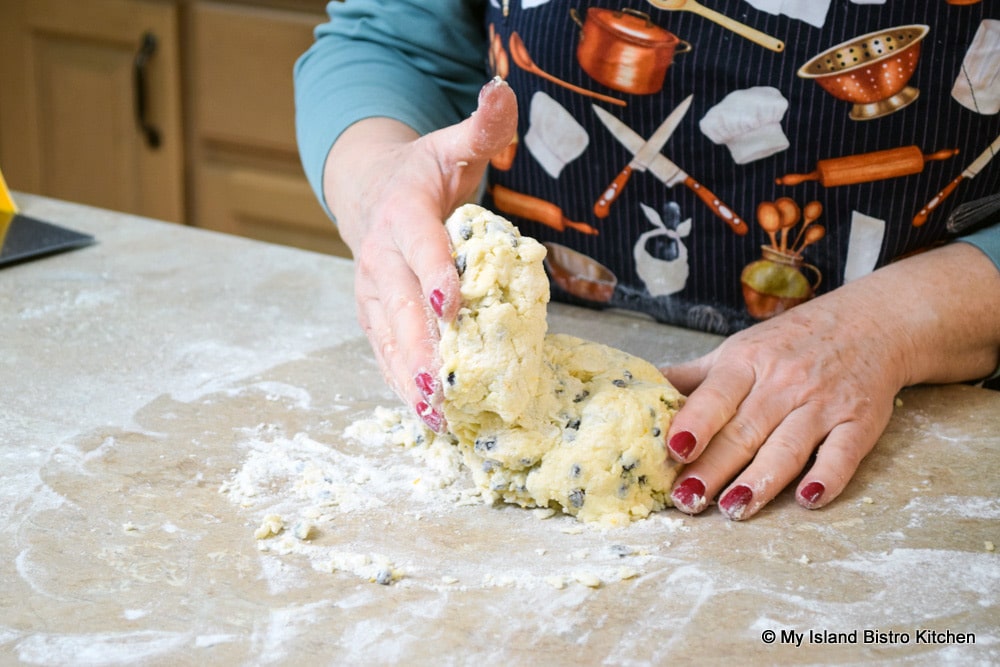
I find this method results in less “working” of the dough than can occur with traditional kneading. Three to four times of this fold-over technique is generally all that is required.
Shapes of Scones
I like high, lofty scones so I pat the dough out to about ¾“ thick (or just slightly more) and I do this with my hands rather than with a rolling pin. I find it’s very easy to get carried away with a rolling pin and roll the dough too much and too thin. Thickness of scones is a matter of preference but I find that, as a general benchmark frame of reference, approximately ¾“ thickness is a good depth for the dough. Remember, the baked scones will rise higher than this.
Scones can be cut into round shapes with a cutter or into wedges (or even squares, for that matter). My preference is to cut them into wedges from a circle because it means less re-working of the dough. One cut through the dough with a bench/pastry scraper or sharp knife and that’s it; there are no scraps to be gathered and reworked.
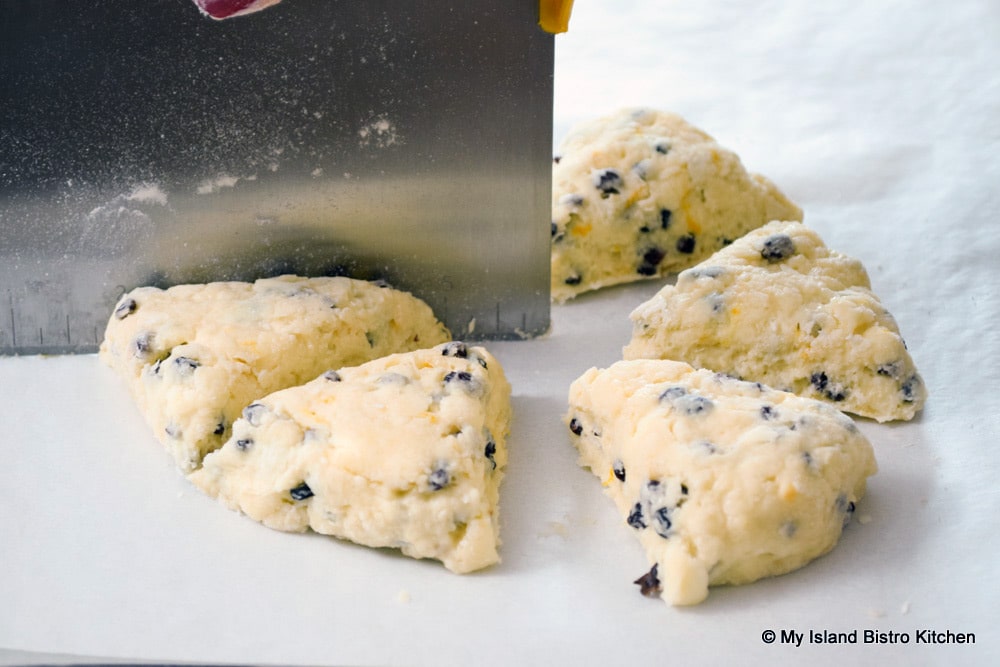
With round-shaped scones, on the other hand, the dough scraps from the first cutting have to be gathered up and patted down again for the next cutting and this, of course, means more reworking of the dough. Every time that dough is handled, more gluten strands are being created and the probability of tough, less flaky, flat scones increases. Gather and re-work the scraps only once, if possible, to avoid this.
If making round scones, a cutter of about 1¾“ – 2” in size makes a suitably-sized scone. Lightly dip the cutter edge in flour before cutting out each scone. Make sure you push the cutter straight down into the dough and back out without twisting it. Twisting the cutter causes compression of the scone and “seals” the sides of the scone. Think of it as suffocating the scones and cutting off their access to the supply of air they need to help them rise properly. This can be a cause of the scones not rising to their maximum potential and can also be a cause of them toppling over during baking. This is particularly so with round-shaped scones and also holds true for tea biscuits as well. Resist also the urge to take each scone and rub its sides between your hands to make it look smoother and tidier. Again, this is “sealing” in the sides of the scones and potentially inhibiting their rise.
The shape of the scones is, of course, a matter of personal preference. My experience of having both Cream Teas and Afternoon Teas at multiple venues in London has revealed that the scones there are frequently in round shapes.
I tend to like wedge shapes because I think it visually sets scones apart from tea biscuits that are typically round. However, for tea service, I do often use round-shaped scones because I find they tend to fit and display better on some of my tiered servers.
The choice of scone shape won’t affect the taste at all!
Tips for Baking Scones
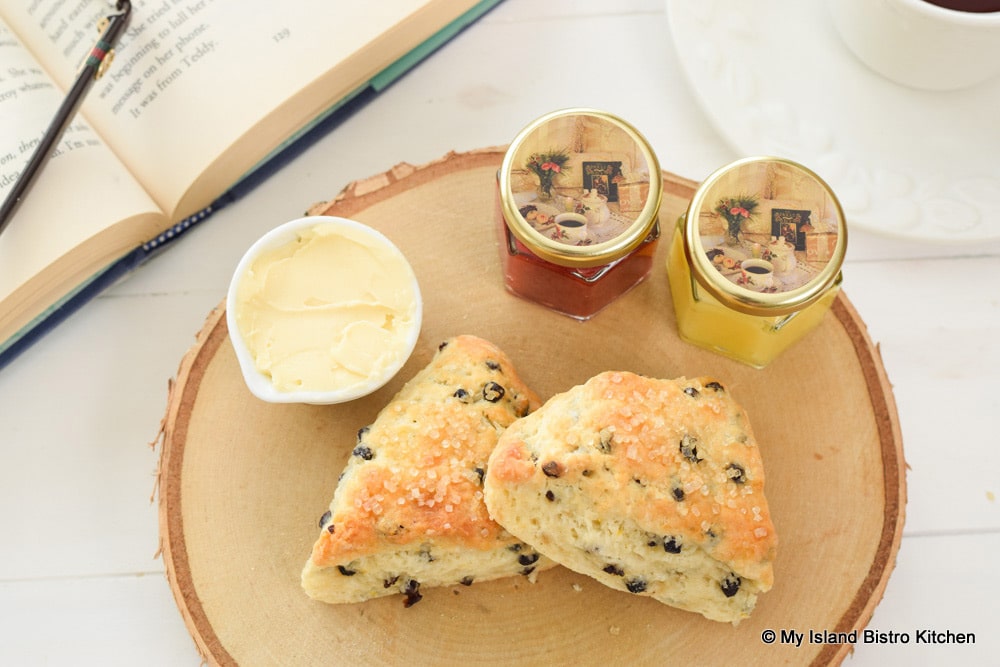
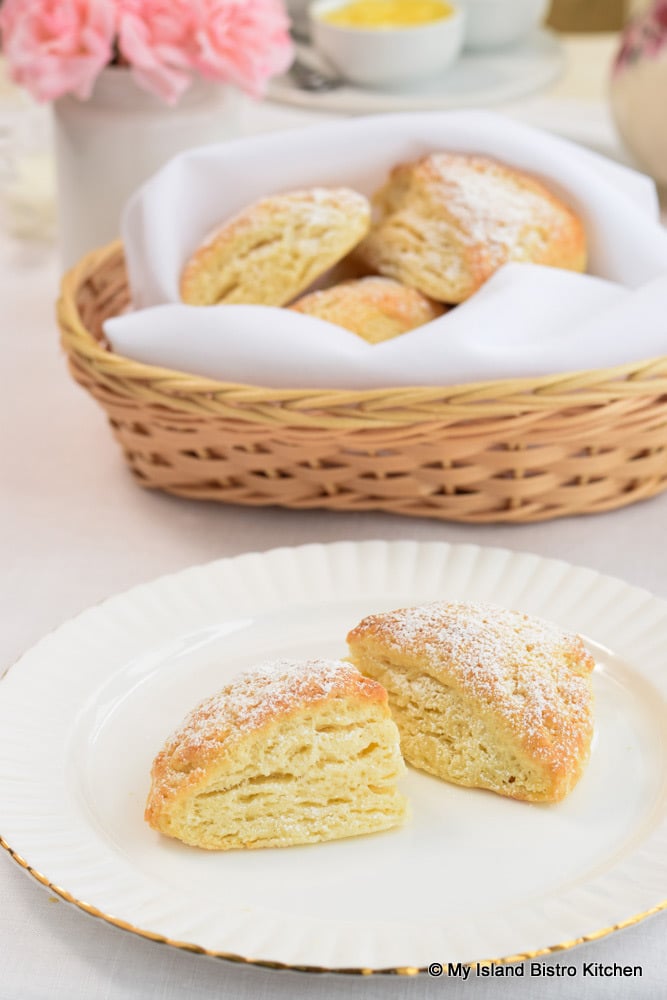
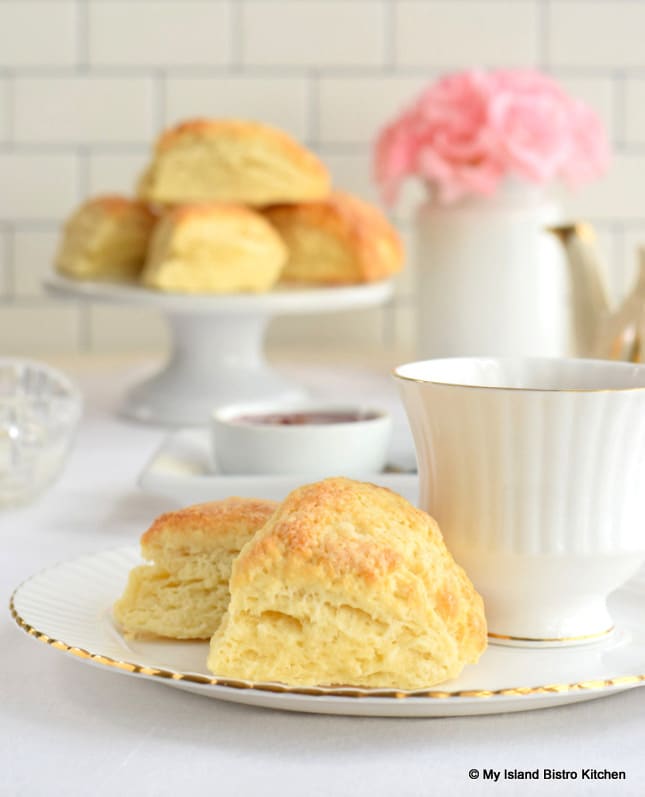
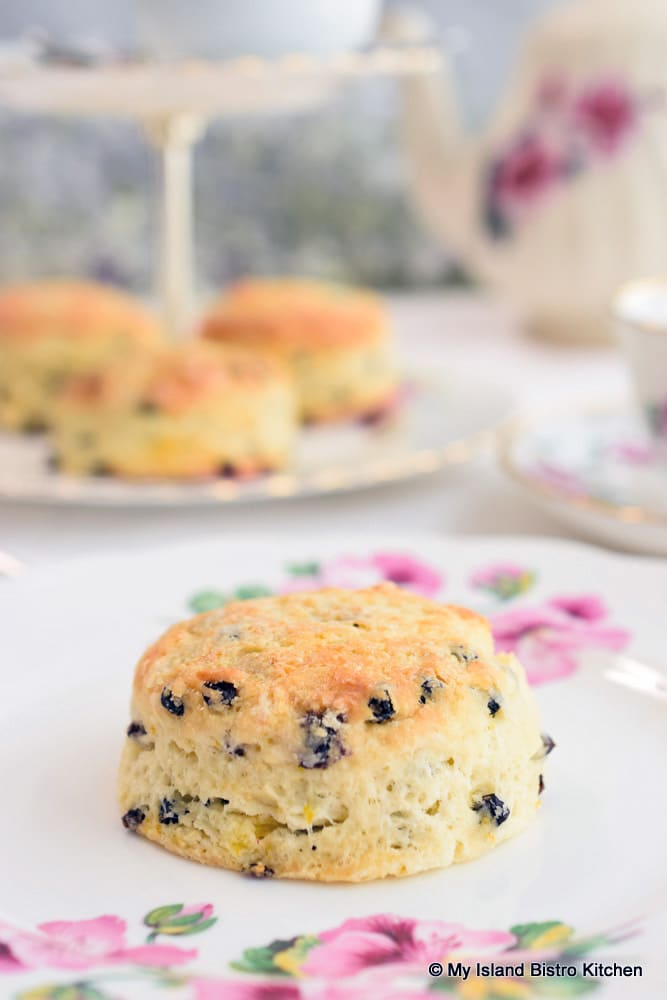
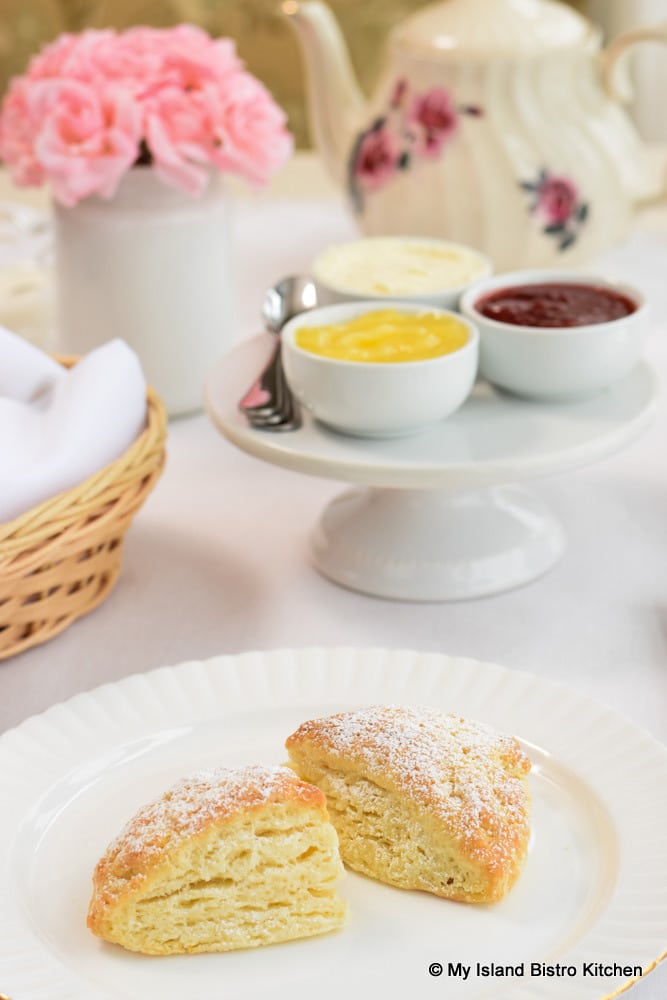
Brushing the tops of the scones lightly with some whipping cream and giving them a light sprinkle of sugar (either granulated or turbinado) will help the tops to form a lovely soft crust and add color to them. The scones in the photo above were sprinkled with turbinado sugar while those in the photo below were sprinkled with granulated sugar. Using turbinado sugar will result in the tops of the scones having a little bit of crunch to them.
Scones, like tea biscuits, need a high heat to bake them quickly – i.e., often around 400°F. The high heat quickly sets the scones and speeds the release of ingredient moisture to turn into steam which, as previously mentioned, aids in a more lofty, flaky scone with a light texture.
Placing the scones close together on the baking sheet will encourage them to bake straight and tall. Further, leaving too much space between them can be a cause, during baking, of them toppling over because they had too much room to “spread their wings”. Keep those wings clipped by placing the scones close together, about 1” apart for round scones and approximately ¾“ for wedge-shaped scones, to reduce their opportunity to travel and topple while baking! There is never any guarantee the scones won’t “travel” or topple somewhat during baking but this practice inhibits just how far they can go!
If you find you still experience issues with toppling scones, you may wish to try turning them upside down when placing them on the baking sheet. Placing them in the refrigerator for 20-30 minutes before baking may also help the scones rise nice and tall when in the oven.
Depending on the size of scones, they will typically bake for 15-17 minutes or until the edges just start to turn a light golden color and the tops are golden tanned. The scone bottoms should be very pale in color. I use insulated baking sheets and, for scones, find that these sheets do provide some additional protection to keep them from browning on the bottom.
Rotate the baking sheet once, part way through the baking, to ensure even baking of all scones. A true test of doneness is when a cake tester or knife, inserted into the center of a scone, comes out clean. Once the scones are out of the oven, leave them on the baking sheet for 3-4 minutes then transfer them to a wire rack.
How to Serve Scones
Scones are best served fresh and still slightly warm from the oven. That’s why you’ll often find them arriving at your table at Afternoon Tea events, served cozily tucked into a napkin to keep them warm.
A light dusting of confectioner’s sugar (aka icing sugar or powdered sugar) may be added to the tops of scones at time of serving, if desired.
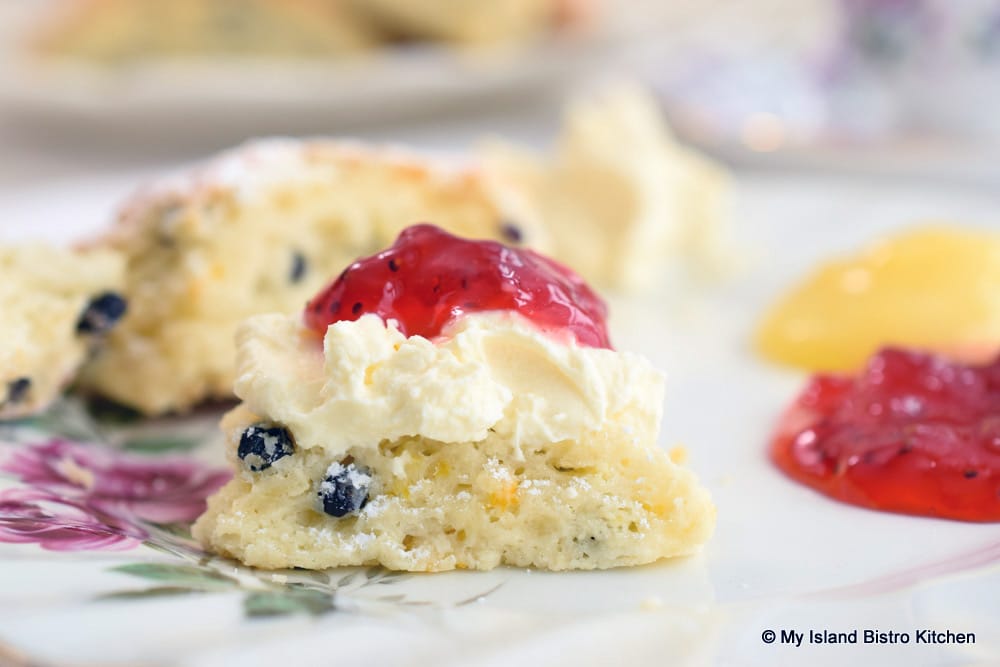
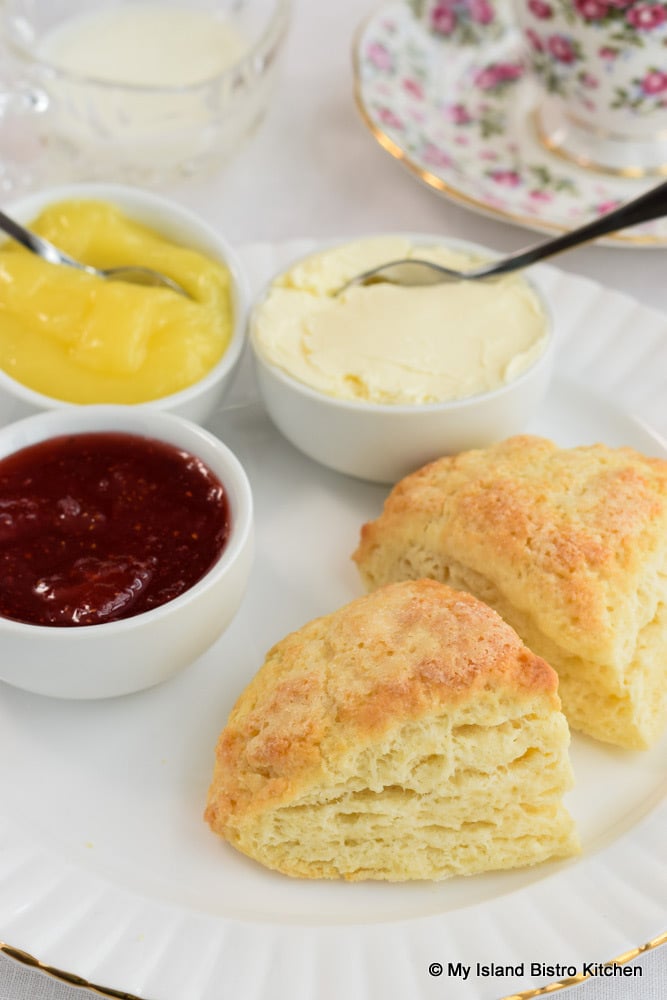
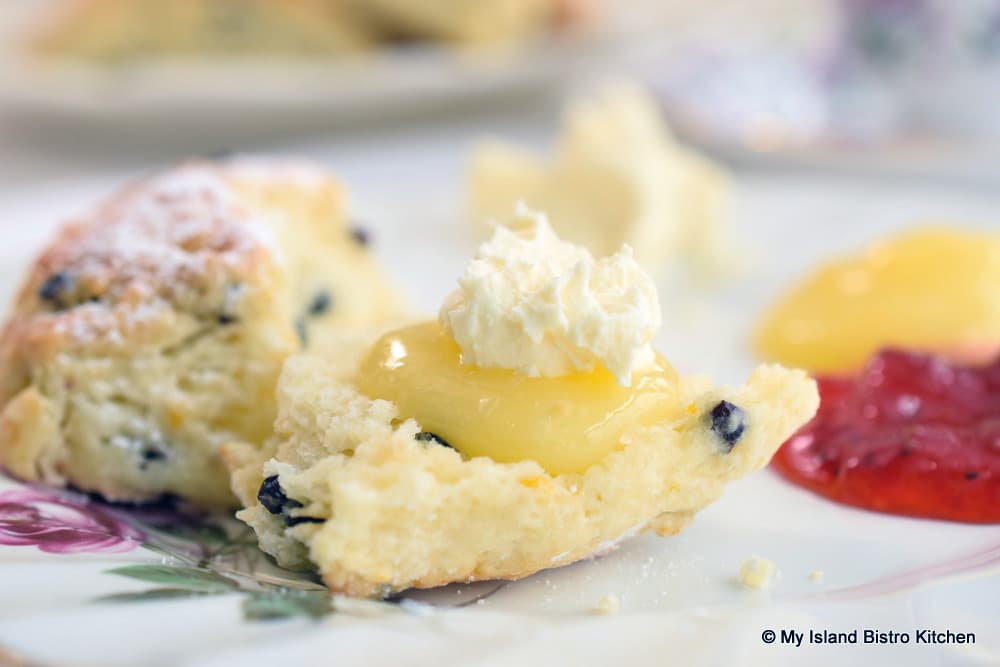
As previously mentioned, scones are traditionally served with jam (most frequently, strawberry) and either English double cream or the slightly more tangy clotted cream.
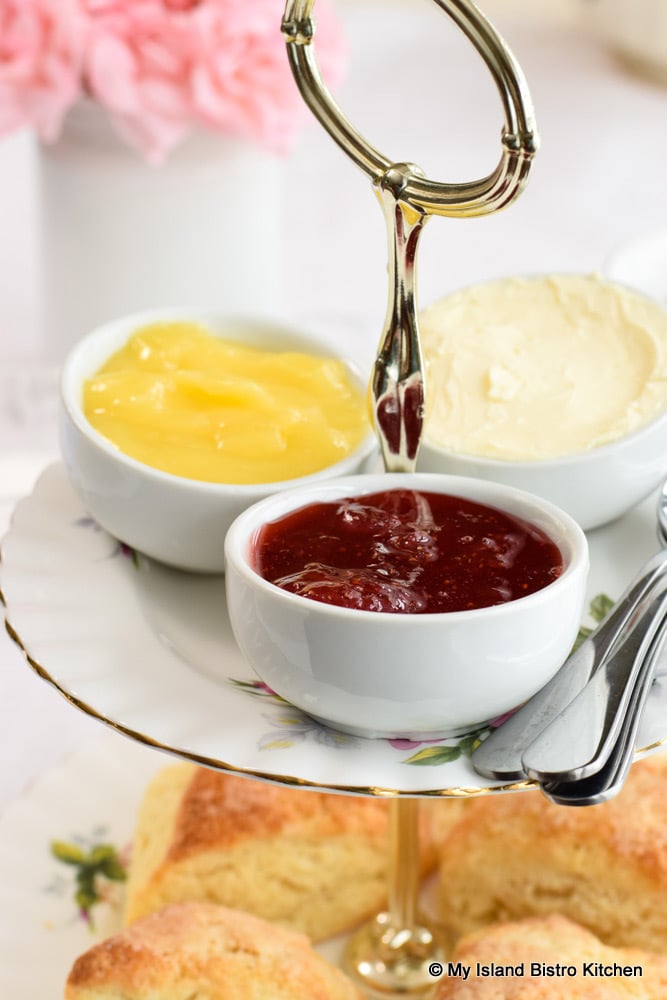
Today, many different kinds of jams are served with scones so it’s really a matter of taste preference. Lemon curd may also be served as well and you can find my recipe for this curd here. My Strawberry-Rhubarb Freezer Jam and Gooseberry Jam are also tasty on scones.
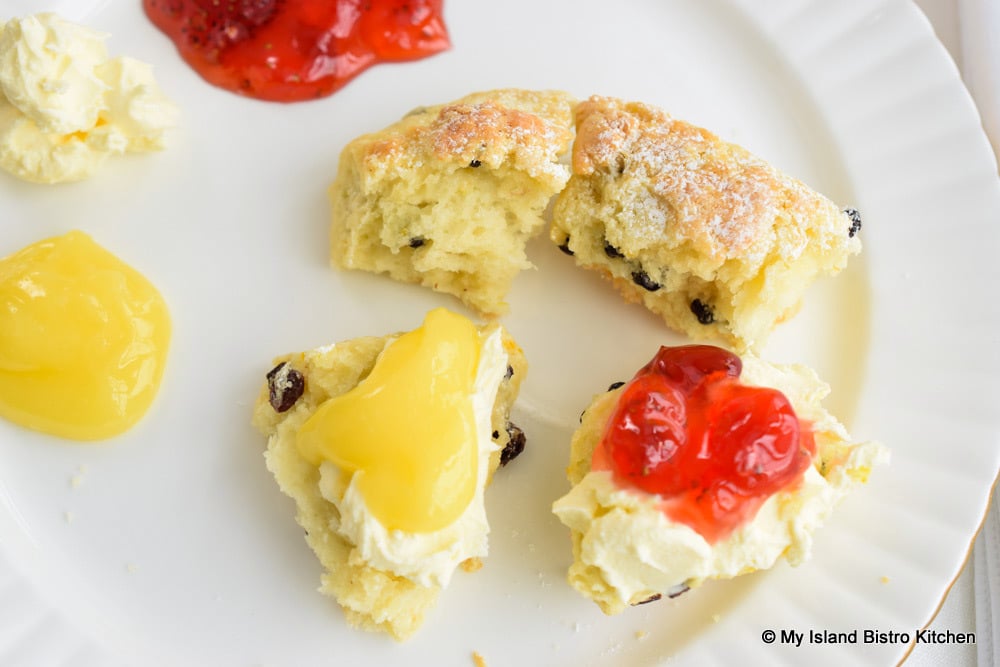
There is always a debate as to which should be applied to the scone first – the cream or the jam.
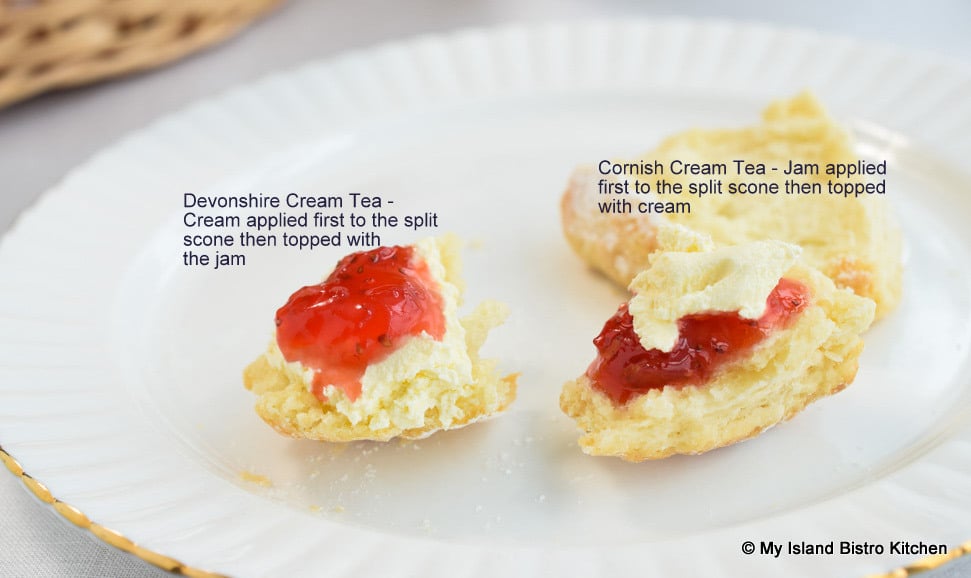
The Devonshire method is to split the scone in half and first apply the cream and then top it with the jam. The Cornish practice, alternatively, is to split the scone into two parts and apply the jam first and top it with a spoonful of the cream. How one chooses to layer the jam and cream on a scone is, in my opinion, a matter of personal preference. I have enjoyed scones both using the Devonshire and the Cornish methods and both have been an equally enjoyable scone experience.
I have not been able to find clotted cream in PEI. One of our local supermarkets here has imported the English double cream, in small 170g jars, the price of which I’ll warn you, is not cheap! The product my supermarket carries comes from Melksham, Wilts, England, and is thick pasteurized cream – 48% M.F. and it definitely is not a pourable cream! It is meant to be spread and it does, in my opinion, take the Cream Tea experience to a whole other decadent level.
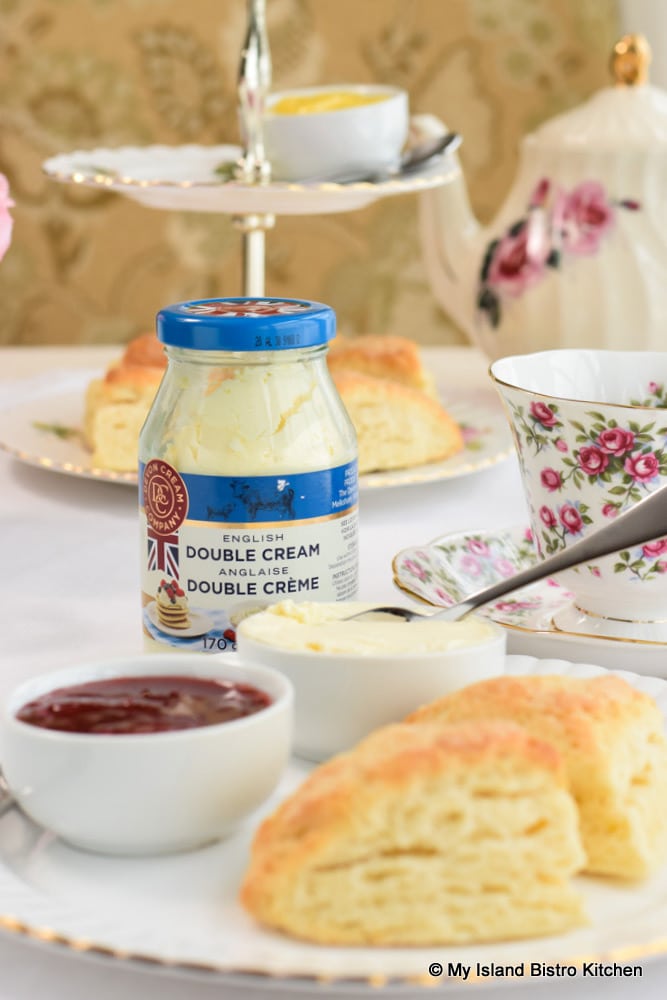
Just remember, because the cream is so thick, to take it out of the refrigerator about a half hour or so before serving and give it a gentle stir as some separation may have occurred.
Of course, if you don’t have either the clotted cream or double cream, a good slather of butter with some favorite jam or lemon curd is just lovely also on scones.
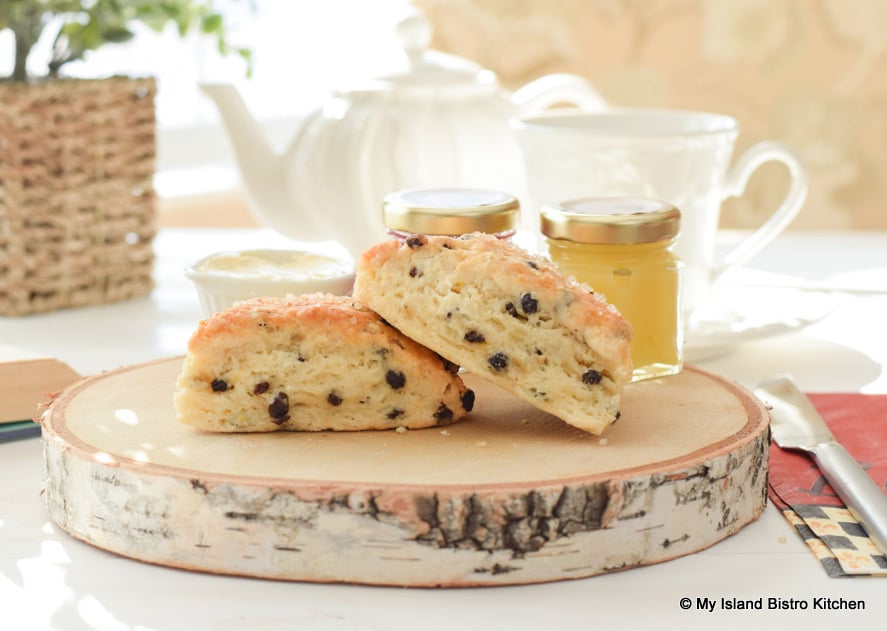
I don’t want to leave anyone with the impression that scones are to be reserved for formal tea events or that fine bone china has to be part of the experience. Quite the contrary as scones can be enjoyed casually at any time, for a coffee or tea break, or a light lunch. They are also lovely to tuck inside the work lunch bag, too.
Yes, scones are best served warm and freshly made. However, scones may be frozen, thawed at room temperature, and heated in the microwave for a few seconds or in a preheated 350°F oven for just a few minutes (e.g., 7-10 minutes).
There are many recipes for, and ways to make, scones as well as varying opinions on what constitutes a perfect scone. What precedes is my method for making scones and I hope you find my tips useful when making scones.

So, ready to make some scones? Click the links below for my Scone recipes. Note that, if you prefer perfectly plain scones, use the Currant and Orange Scones recipe (link below) and simply omit the currants and the orange zest and you will have divine plain cream scones.
Currant and Orange Scones
Panettone Scones
Cranberry and Lemon Scones
Gluten-free Scones
Pumpkin and Eggnog Scones
[The content and images in this article and the recipes in the links are copyrighted to My Island Bistro Kitchen.]
Connect with My Island Bistro Kitchen by:
Joining the Facebook page for My Island Bistro Kitchen: https://www.facebook.com/MyIslandBistroKitchen/
Following “the Bistro” on “X” (formerly Twitter): https://twitter.com/PEIBistro/
Seeing the drool-worthy gallery of mouth-watering food photos from My Island Bistro Kitchen on Instagram: https://www.instagram.com/peibistro/
Following “the Bistro” on Pinterest at https://www.pinterest.ca/peibistro/
(and you can pin the Pinterest-ready photo(s) below to your favorite Pinterest boards)
[Posting last updated January 30, 2024]
Pin Me To Pinterest!