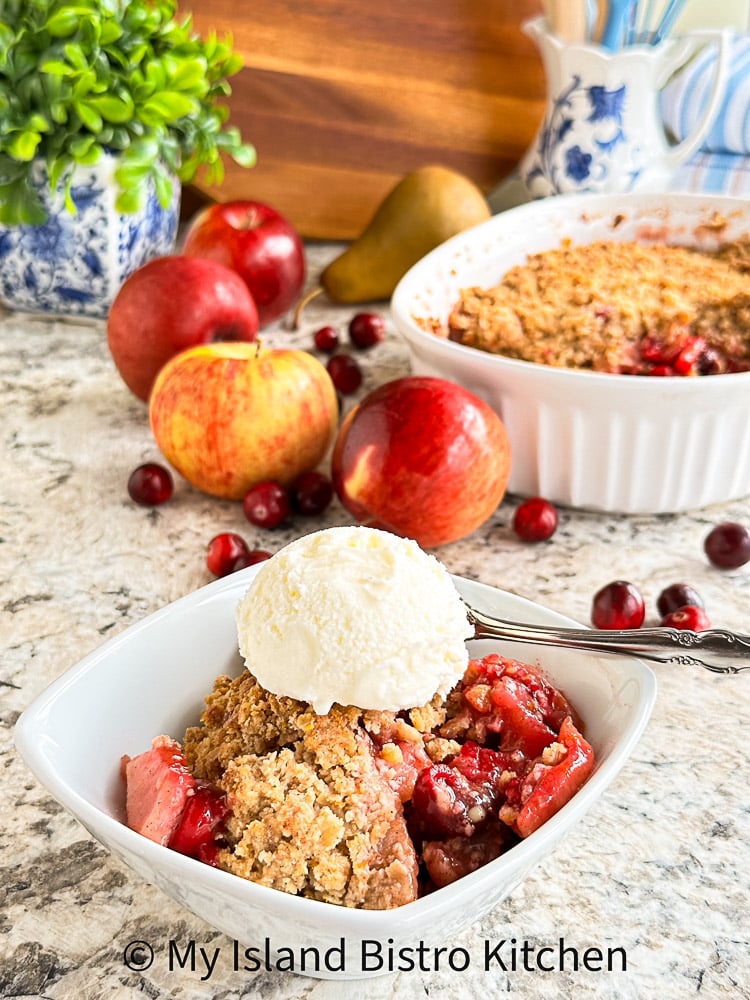
Oh, the heavenly scent in the house when this Apple, Cranberry, and Pear Crisp is baking! You’ll want to hurry through the main course of dinner in anticipation of this tasty dessert! Continue reading Apple Cranberry and Pear Crisp

Oh, the heavenly scent in the house when this Apple, Cranberry, and Pear Crisp is baking! You’ll want to hurry through the main course of dinner in anticipation of this tasty dessert! Continue reading Apple Cranberry and Pear Crisp
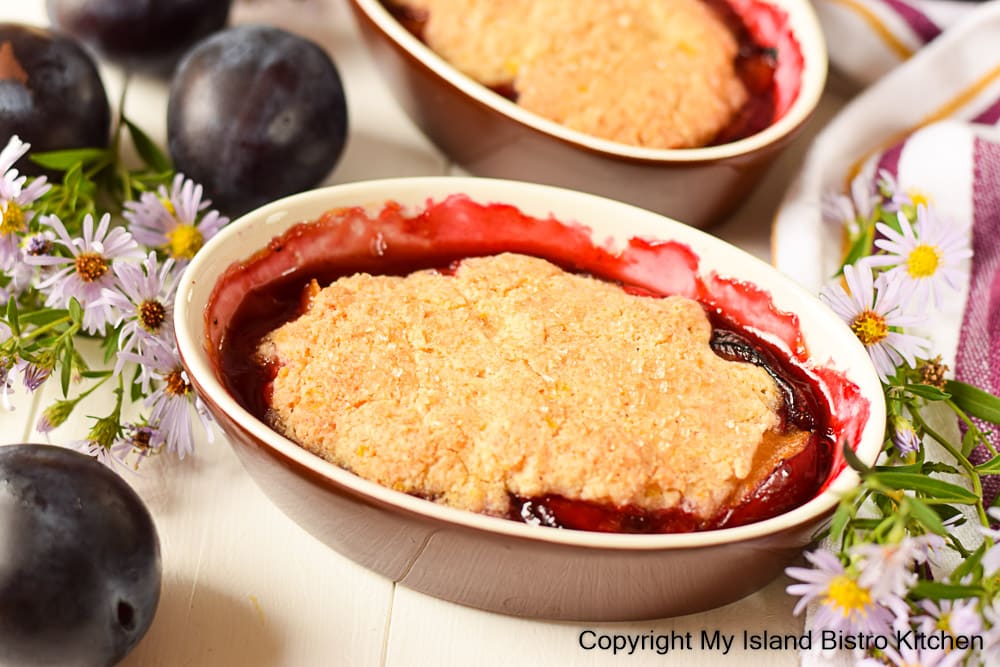
This Plum Cobbler is a dessert I place in the comfort food category. It does not take any odd or hard-to-find ingredients and makes a lovely finale to dinner. Continue reading Plum Cobbler
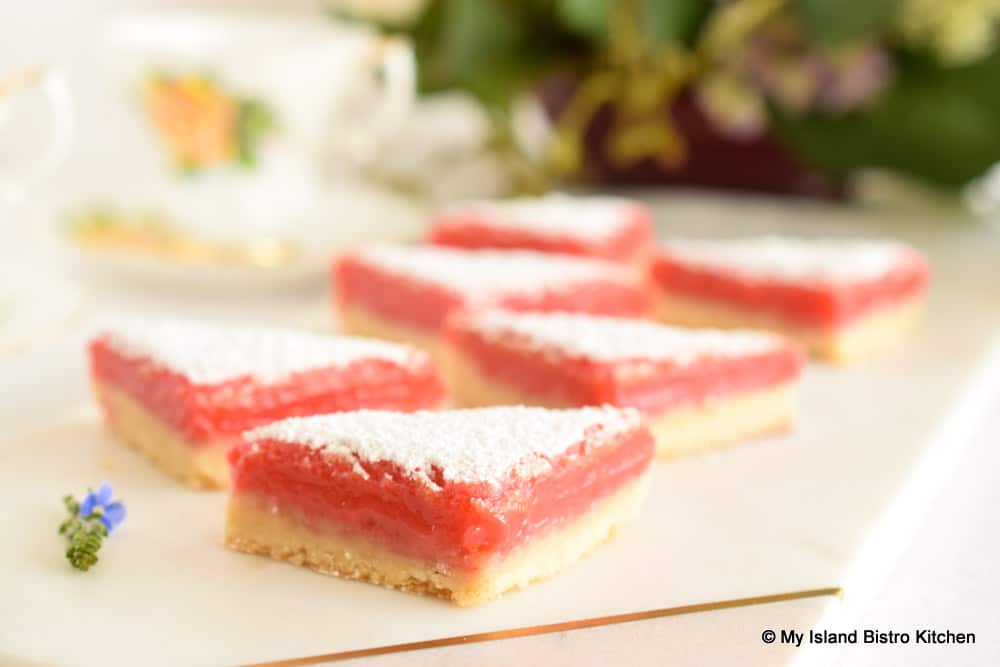
Two of the season’s best treats – strawberries and rhubarb – combine to make a luscious topping for Scrumptious Strawberry Rhubarb Bars with a rich buttery shortbread base. Continue reading Scrumptious Strawberry Rhubarb Bars
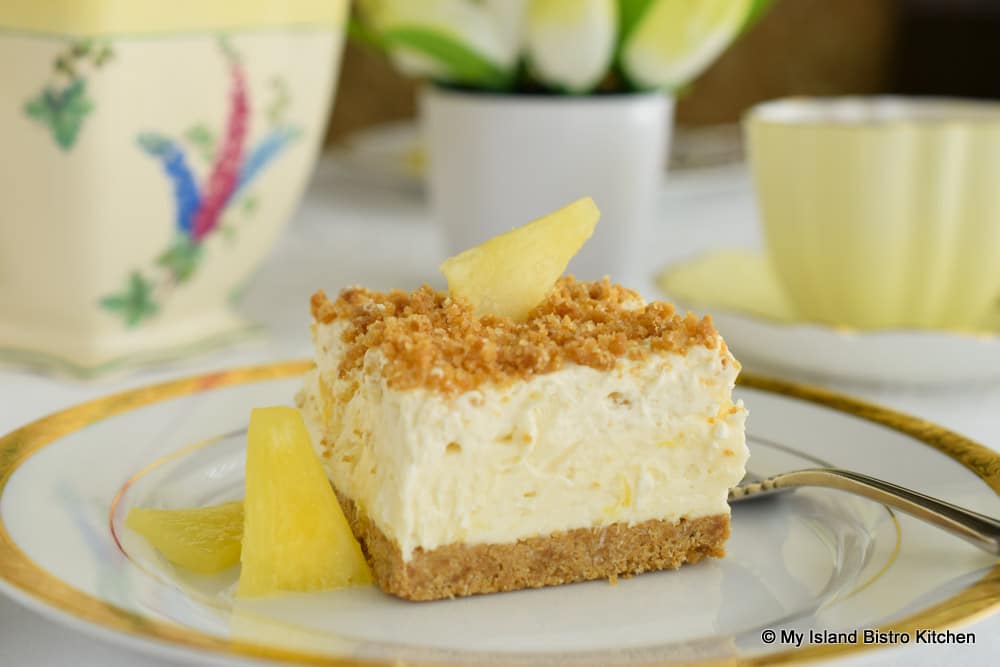
Who doesn’t love a no-bake dessert! This delectable Pineapple Cheesecake Dessert is very easy to make and does not take a lot of ingredients. While no baking is required, some refrigerator time in between steps is needed for the dessert to set. Continue reading No-Bake Pineapple Cheesecake Dessert

Mini Bundt cakes have become quite popular and trendy and they are ideal individual desserts that present so attractively on a plate. Today, I used my pan of fluted mini Bundt pan molds (each having a 1-cup capacity) to make individual Mini Blueberry Bundt Cakes with a lemon glaze. Continue reading Mini Blueberry Bundt Cakes
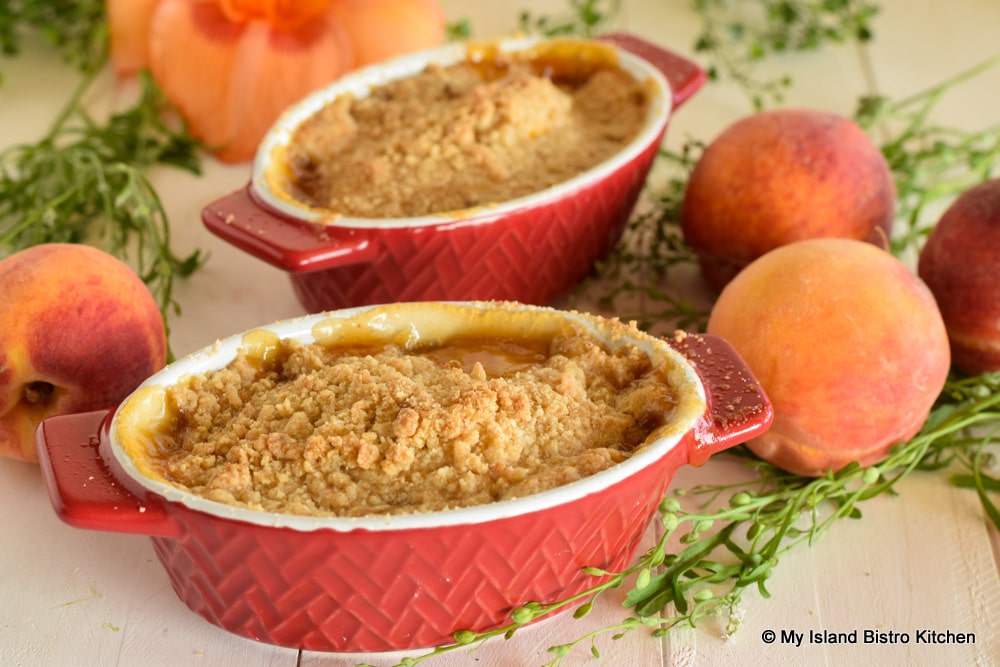
Today, I am making Peach Crumble for dessert. Mid-summer always brings an abundance of lovely seasonal fruits and I adore peaches so it is never a problem coming up with wonderful ways to use them. Continue reading Perfect Peach Crumble Recipe
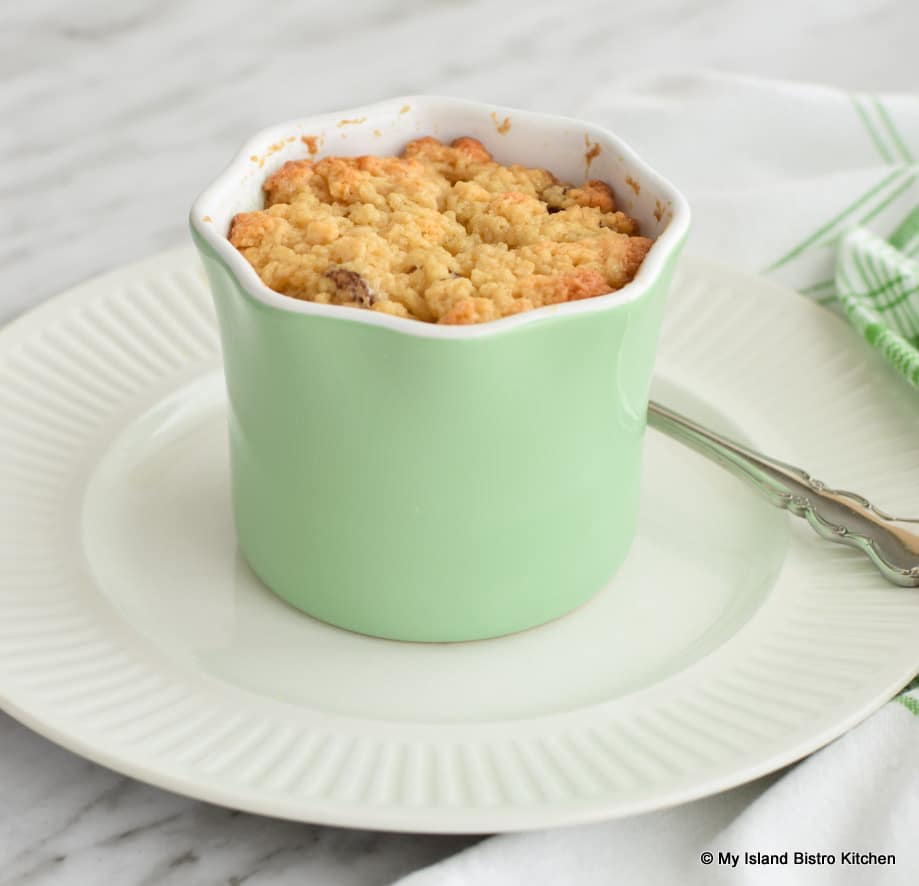
Single-serving “mug” cakes and puddings are popular for those living alone. I haven’t published many recipes for one or two servings since the industry standard for recipe development tends to be dishes that will generate four to six servings. That, however, for singles living alone can be a problem, particularly if the dish desired is not one that can be batch cooked and frozen in individual serving sizes for later use.
Sometimes, one has a craving for something sweet but if there are not several people to eat it up, who wants a pudding that will make four to six servings when you really only want the one serving! My proportionately sized Baked Caramel Pudding is perfect when you have no one to please with a dessert but yourself! Continue reading Baked Caramel Pudding For One
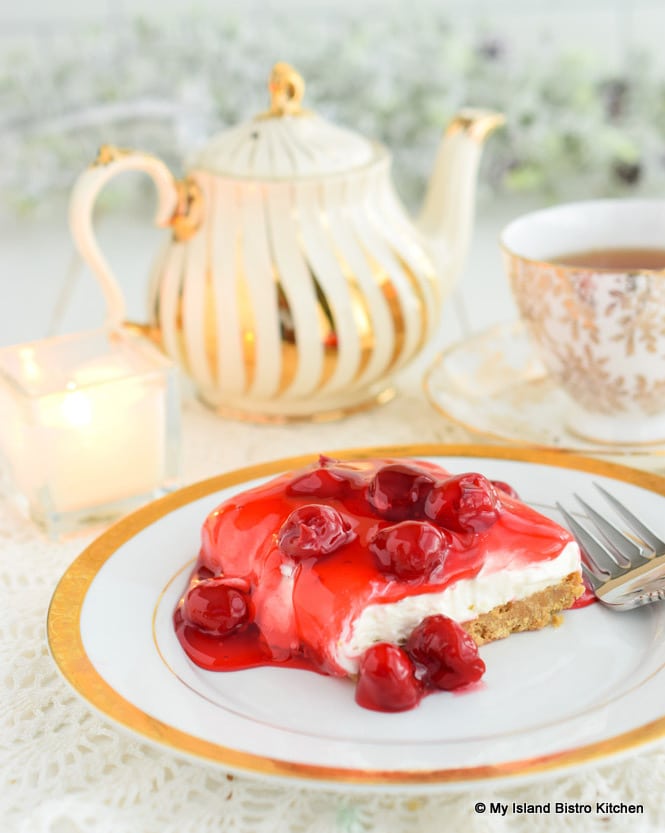
No-bake Cherry Cheesecake has long been a favorite dessert at family gatherings, potlucks, and church, office, and community events. It’s very easy to make, does not take a lot of ingredients, and is showy and super tasty. Continue reading No Bake Cherry Cheesecake
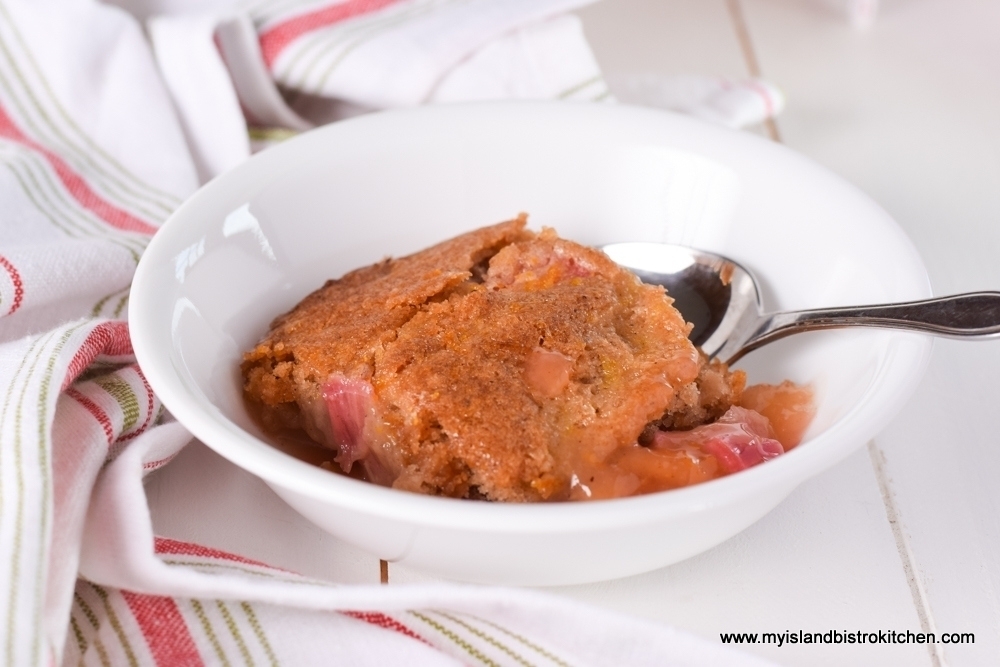
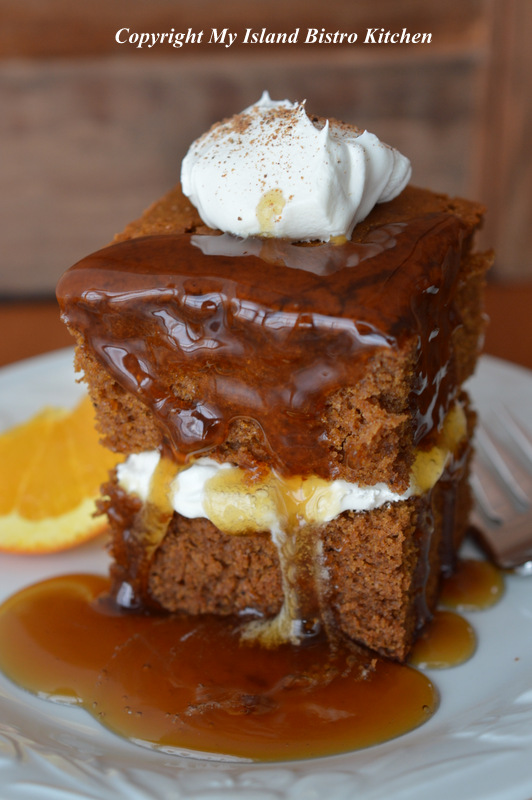
Today, I am sharing my recipe for a real old-fashioned type of dessert – Rhubarb Pudding Cake. The cake is “self-saucing” which means that the delectable sauce forms underneath the simple cake batter as the cake bakes. It’s an “all-in-one” pudding and cake! It may not be the most extravagant looking dessert but it sure is mighty tasty! If you are a rhubarb lover, you will love this dessert. Continue reading Old-fashioned Rhubarb Pudding Cake

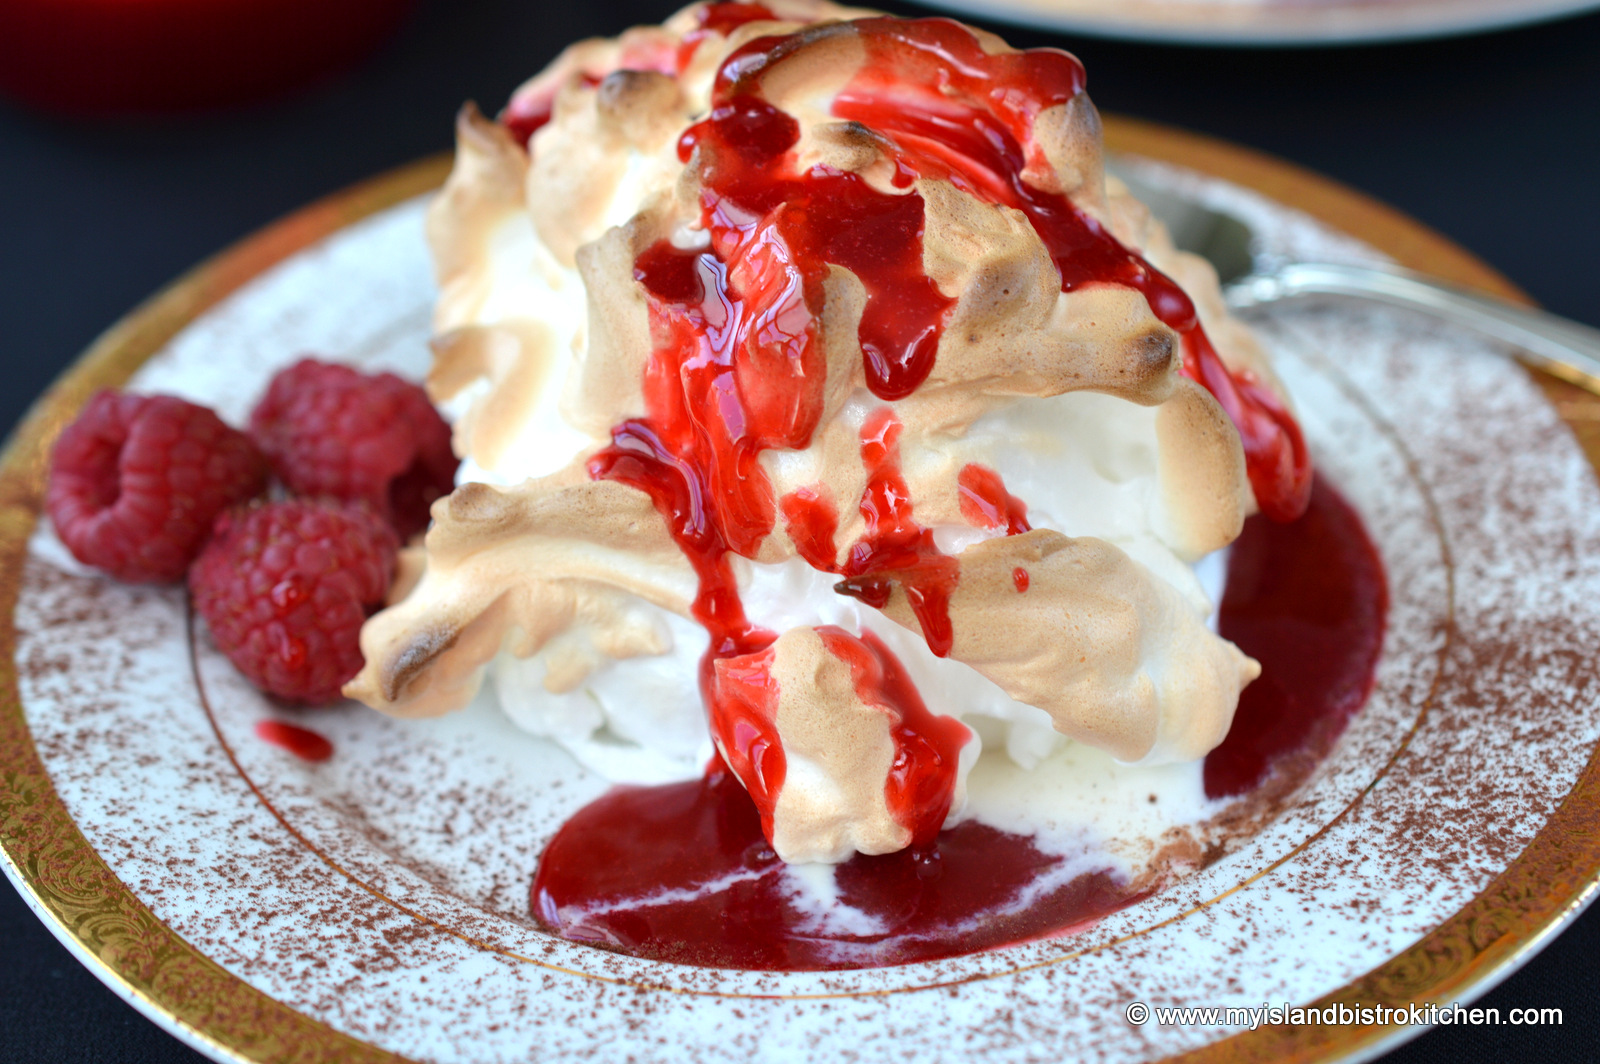
One of my all-time favorite desserts is Baked Alaska. I first had Baked Alaska on a cruise many, many years ago and I have loved it ever since. Many people think Baked Alaska is difficult to make but I don’t find it is. It does, however, take a little planning and time since it is prepared in stages. Baked Alaska can be made as a large dessert to serve several or it can be tailored down to serve one or two. My recipe is for two individual servings, perfect for a special intimate dinner such as Valentine’s Day, or anytime as a nice treat.
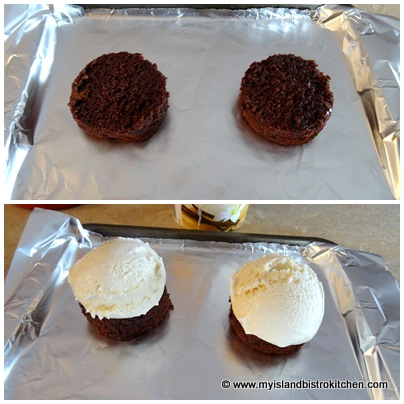
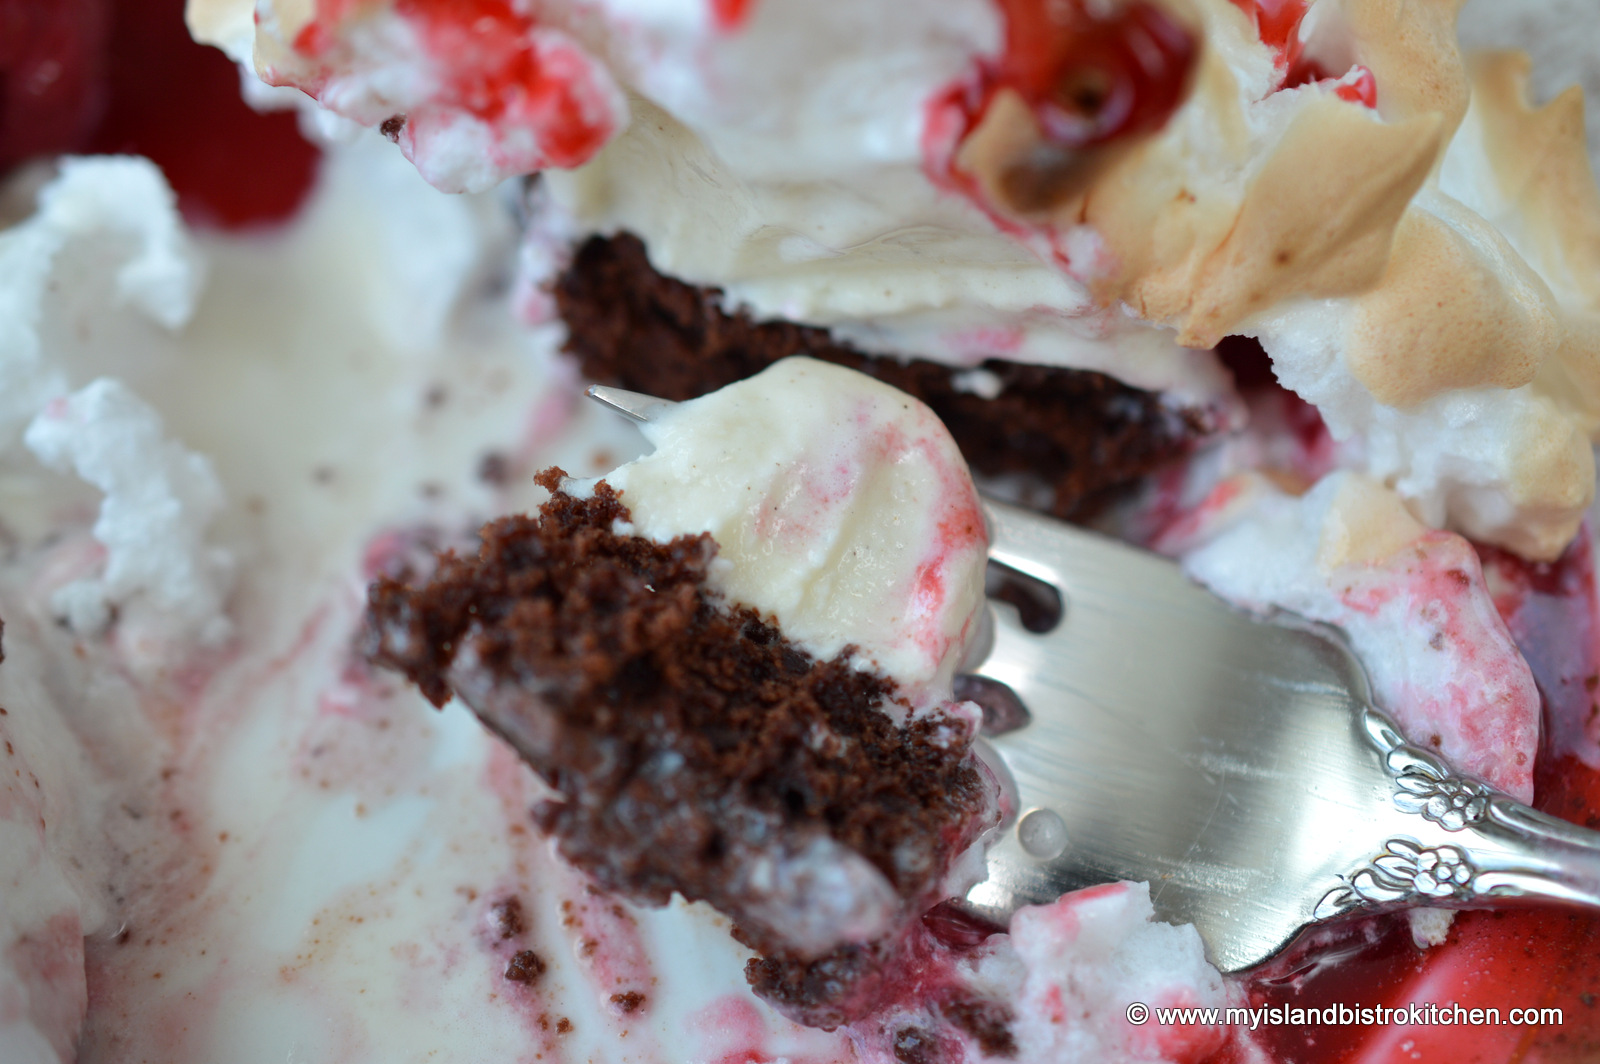
There are options for the cake base of a Baked Alaska. Brownies or pound cake are my preferences and they can be either bought or homemade. I like brownies because the dark contrast is eye-appealing with a light-colored ice cream. Whatever base is used, it needs to be cut out with a 2” cookie cutter and it should have a depth of about ½” to ¾ “. Now, at first glance, this might appear to be a rather miniscule dessert but, as you’ll soon discover, the meringue adds a lot of volume to the Baked Alaska.

Choice of ice cream is important for the Baked Alaska. Choose a high quality ice cream with a high percentage cream content for this dessert because it will freeze hard. Some of the lower fat or cheaper ice creams tend to be softer and, because this ice cream is going into a 475° oven, it needs to be able to stand up for itself! Any flavour of ice cream of your choosing will work. My favorites are vanilla, coffee, or strawberry. Let the ice cream soften slightly at room temperature for 5-7 minutes before scooping it out. You want to try and get as perfectly a round scoop as you can because this is what will give the Alaska its dome shape.
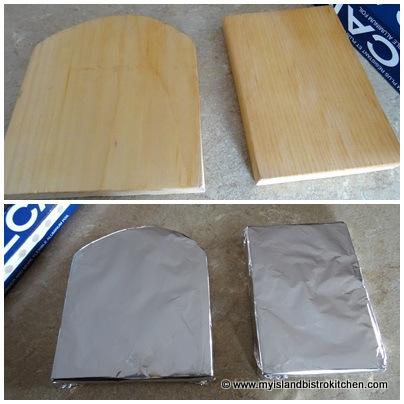
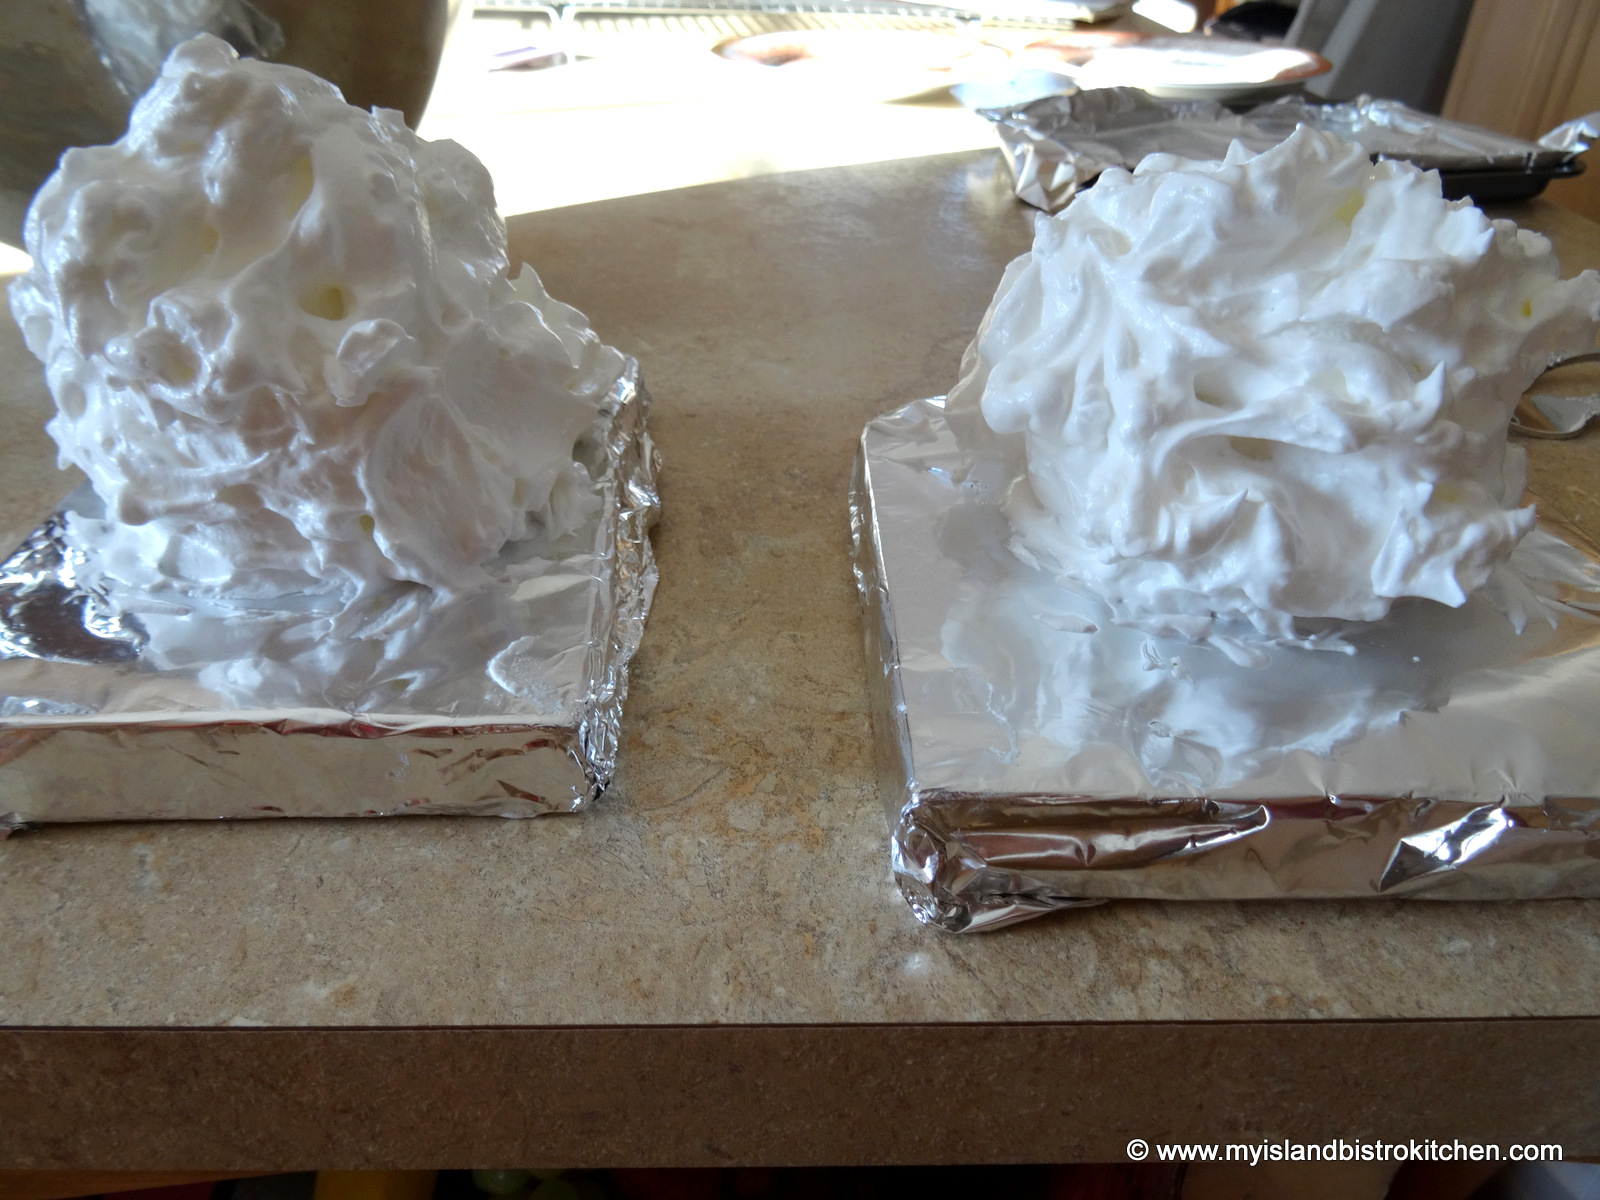
It’s important that both the cake base and the scoop of ice cream be frozen super hard so plan ahead to have them frozen for at least two hours or longer before serving time. I use a couple of small pieces of wooden boards covered with tin foil on which to bake the Alaskas because the boards don’t heat as fast as a metal cookie sheet would which could cause the Alaskas to start to melt down too quickly in the oven. The idea is to keep the Baked Alaskas as cold as possible. The Alaskas are only put in the oven for 2-3 minutes solely to tan the meringue.
The Raspberry Coulis can be made a day or two ahead and kept refrigerated.
I find I have greater success with whipping egg whites for the meringue when they are at room temperature. Allow the separated egg whites to come to room temperature for about 30-40 minutes before whipping.
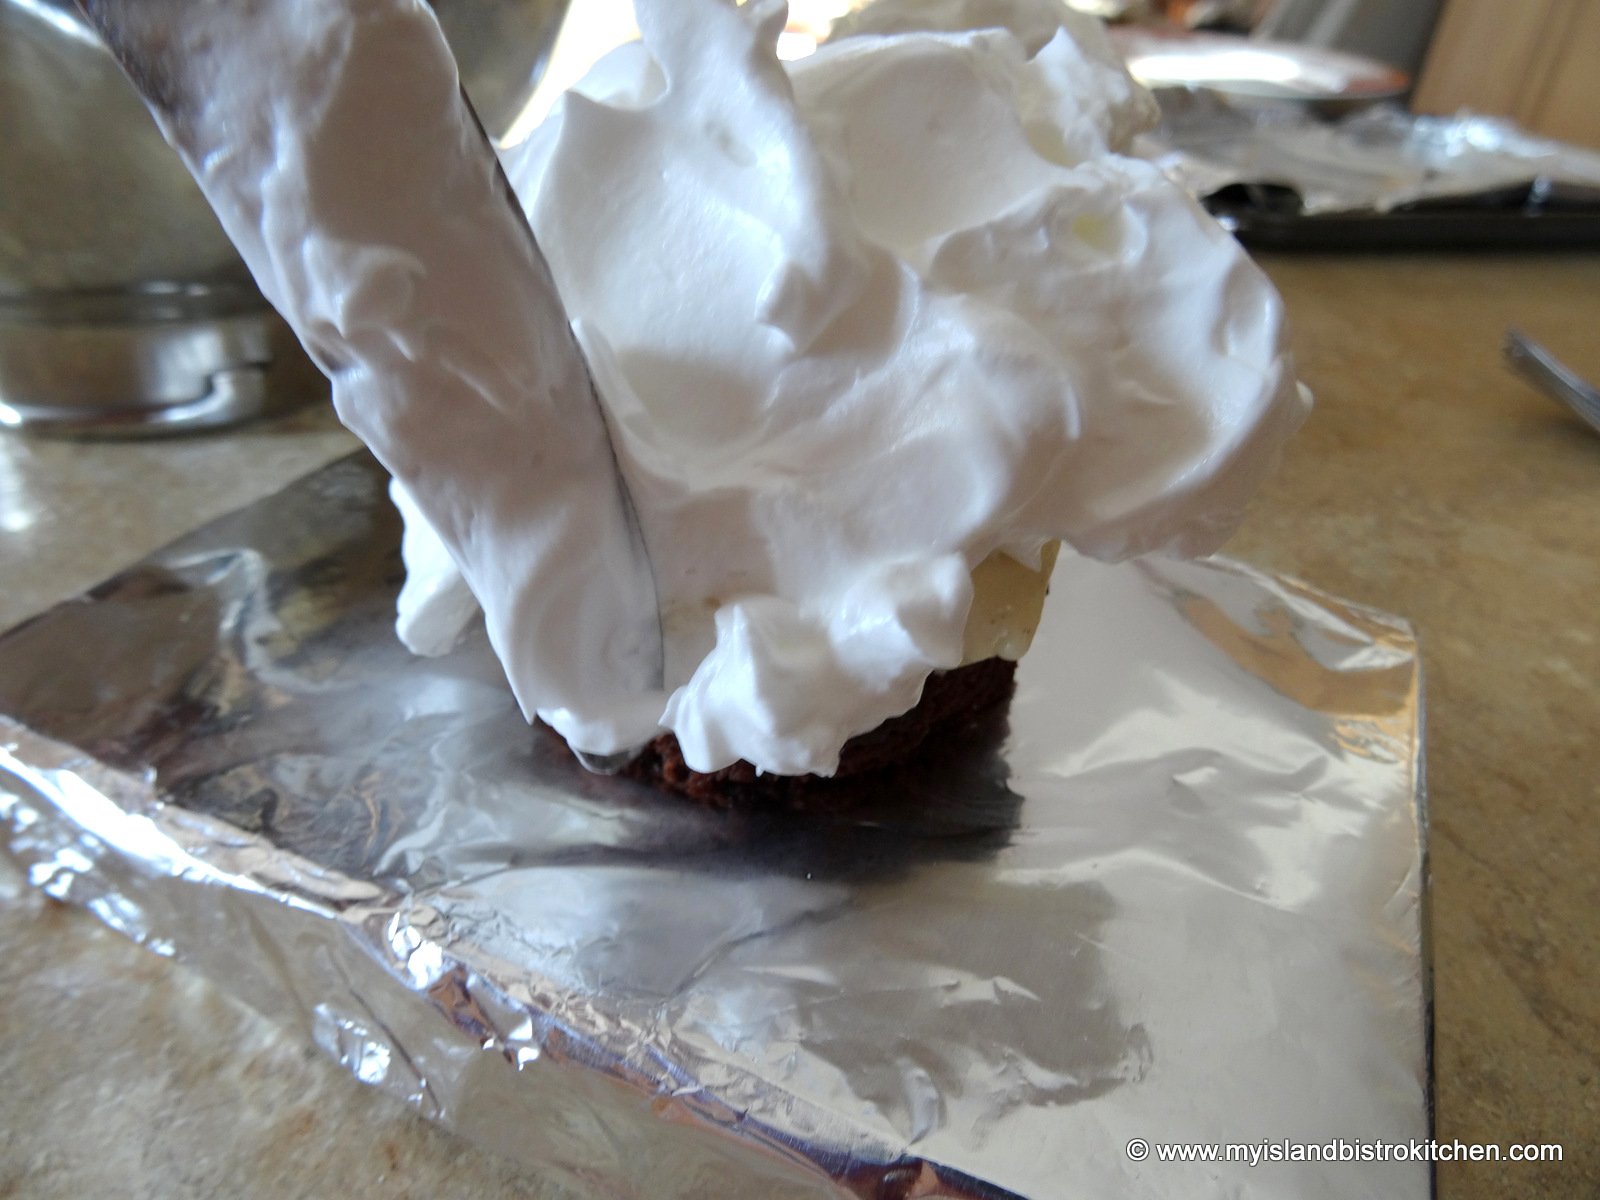
It’s super important to completely cover the ice cream and base with the meringue as, otherwise, heat will reach the ice cream which will simply melt and ooze out of the Alaska when placed in the oven. The meringue acts as an insulator of sorts which prevents the ice cream from melting for the 2-3 minutes it is in the oven. I have found that even the smallest gap in the meringue will cause the ice cream to melt in even the short time it is in the oven. Work as quickly as you can to apply the meringue so that the ice cream does not soften and melt.
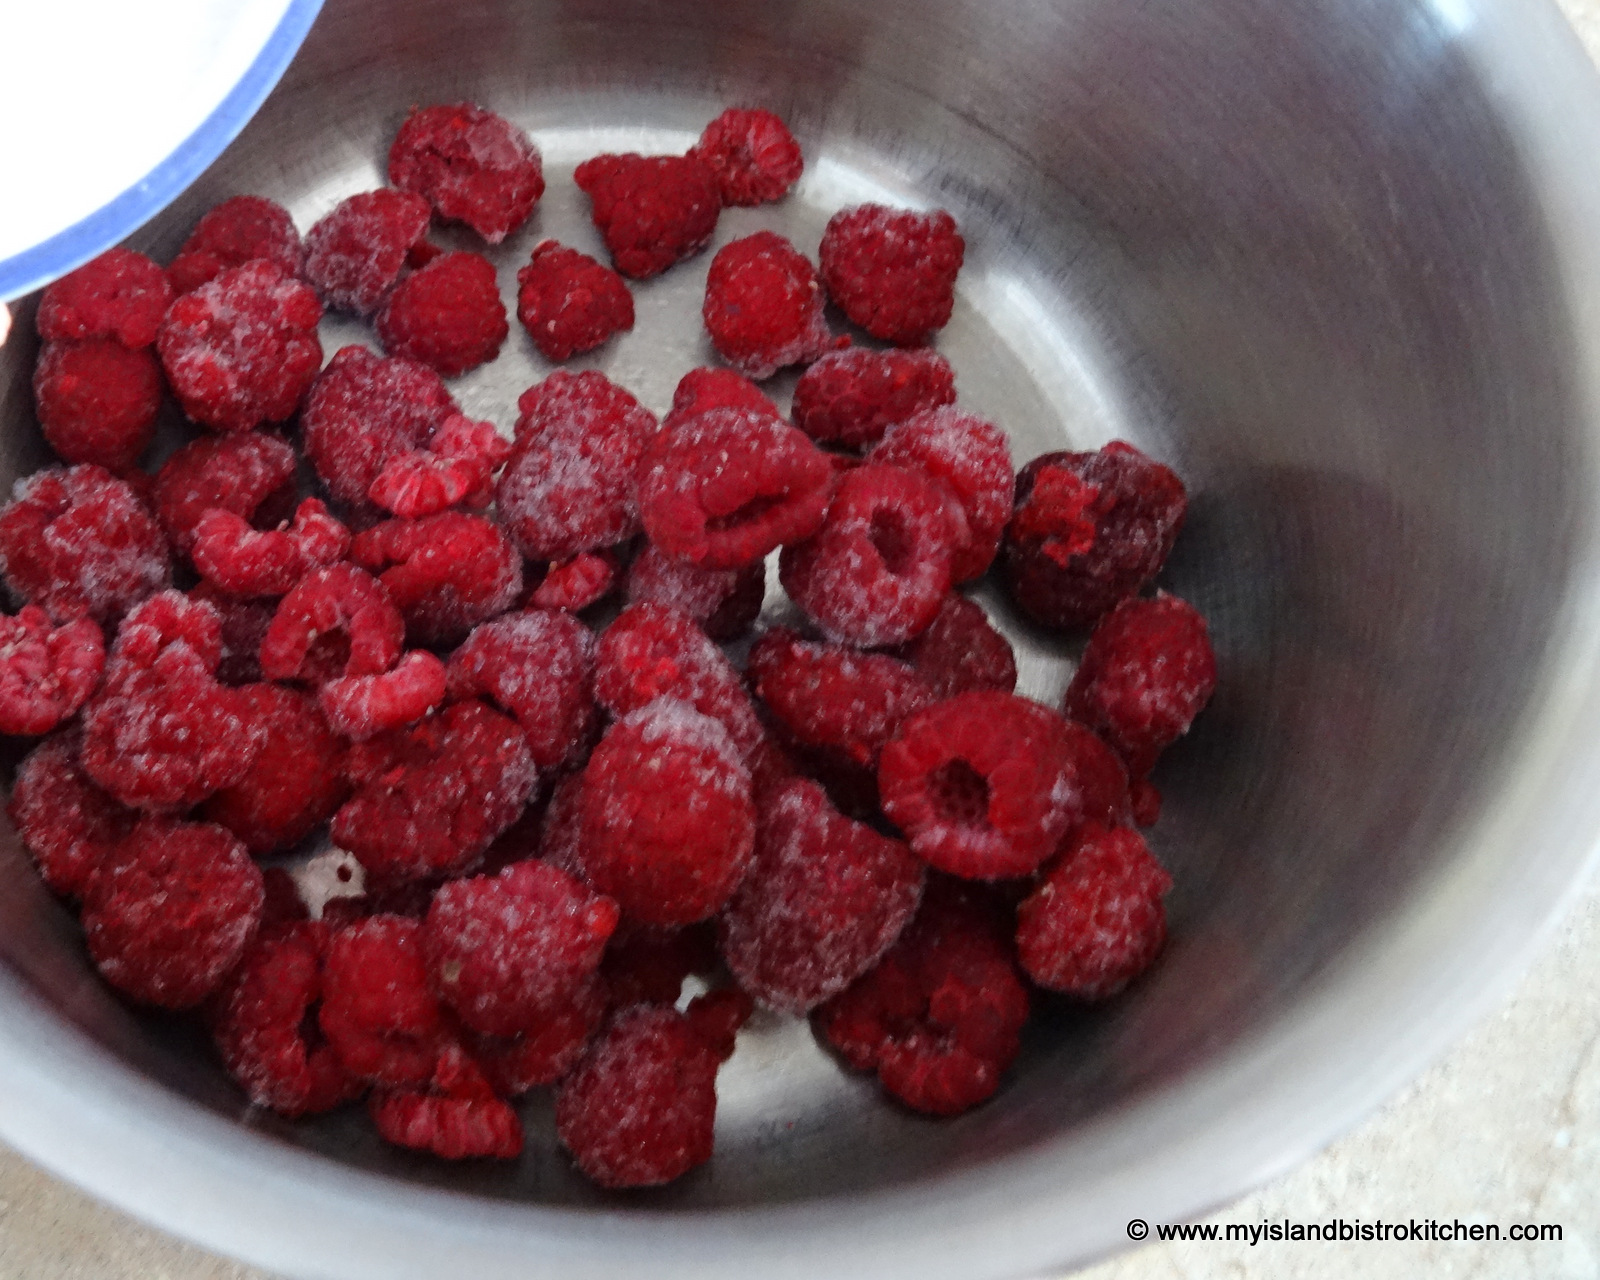
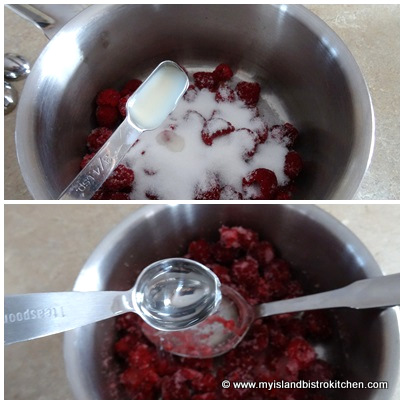
1¼ cups raspberries, fresh or frozen
⅓ cup sugar
¾ tsp lemon juice
1 tsp water
In medium-sized saucepan, combine all ingredients.
Cook over medium heat, stirring constantly until raspberries have broken down and released their juices.
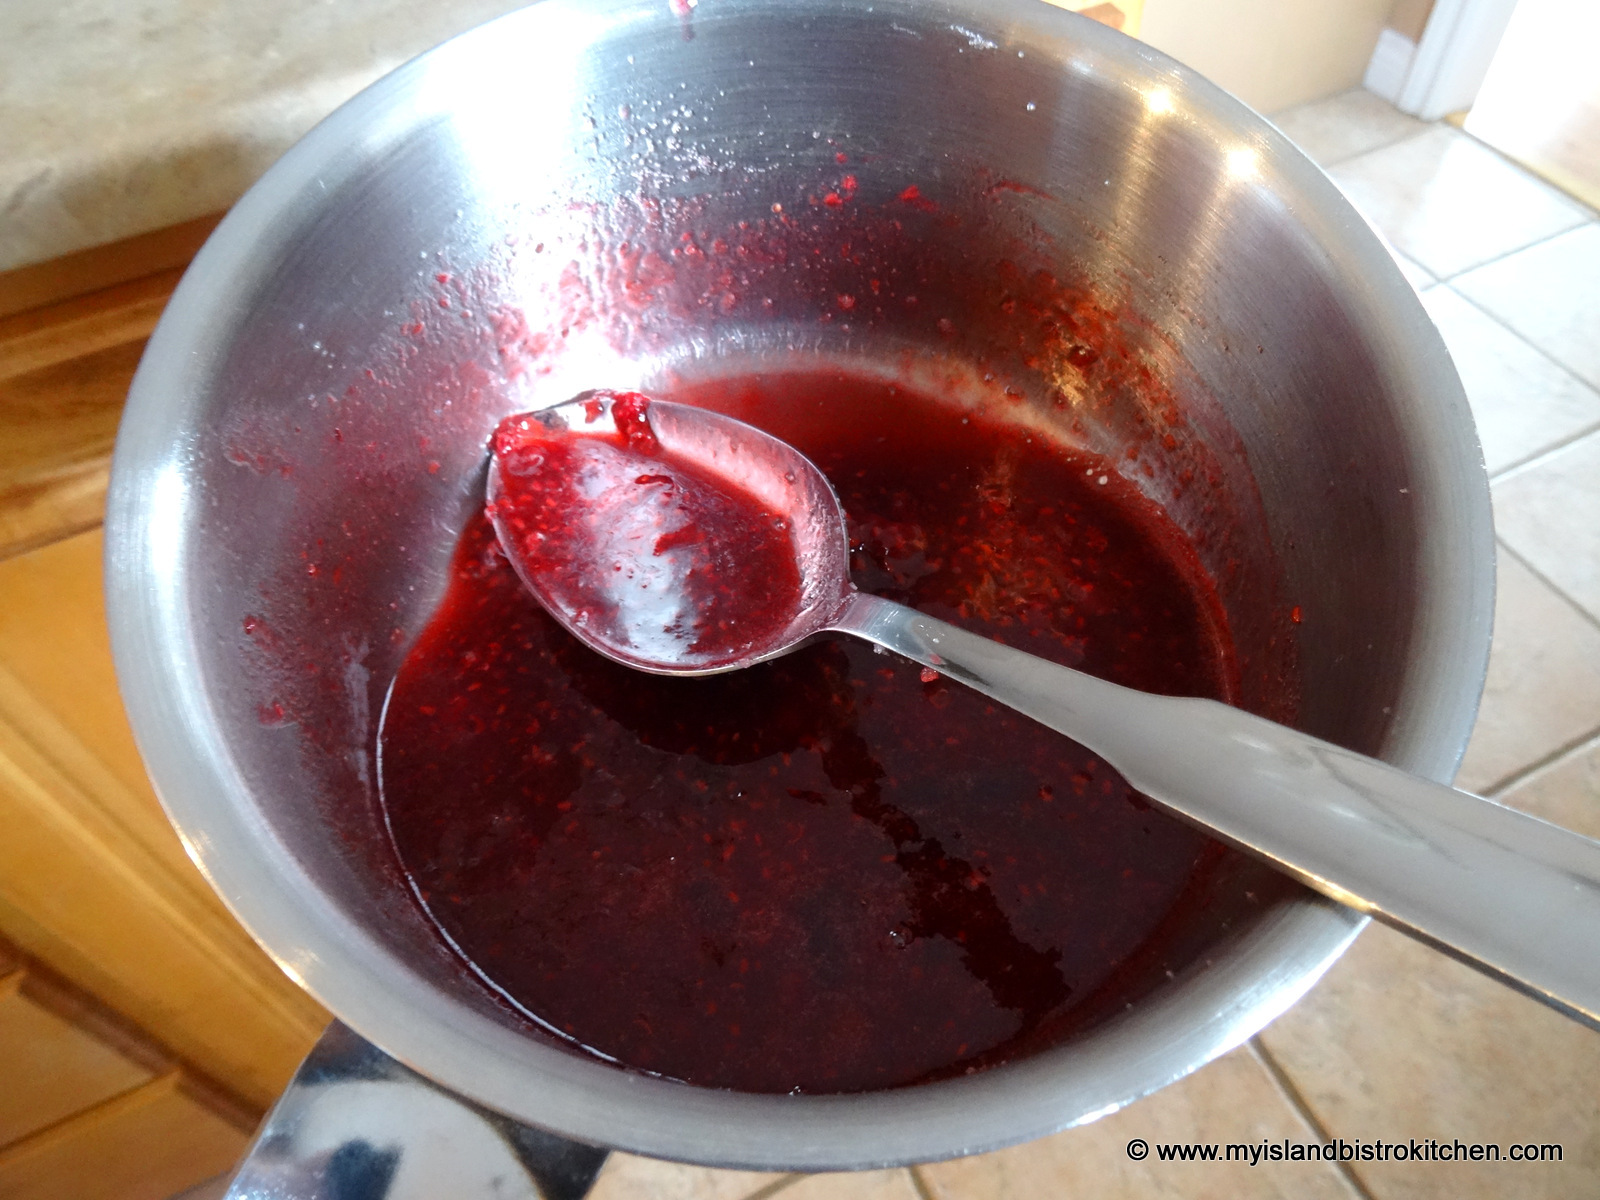
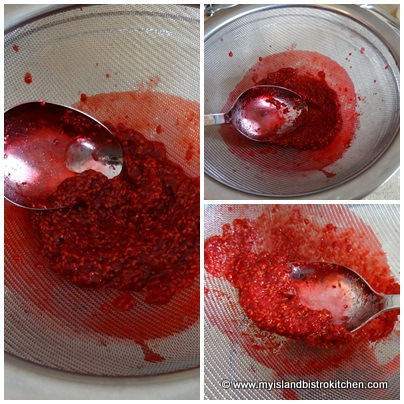
Remove from heat and pour mixture into a fine sieve over a bowl.
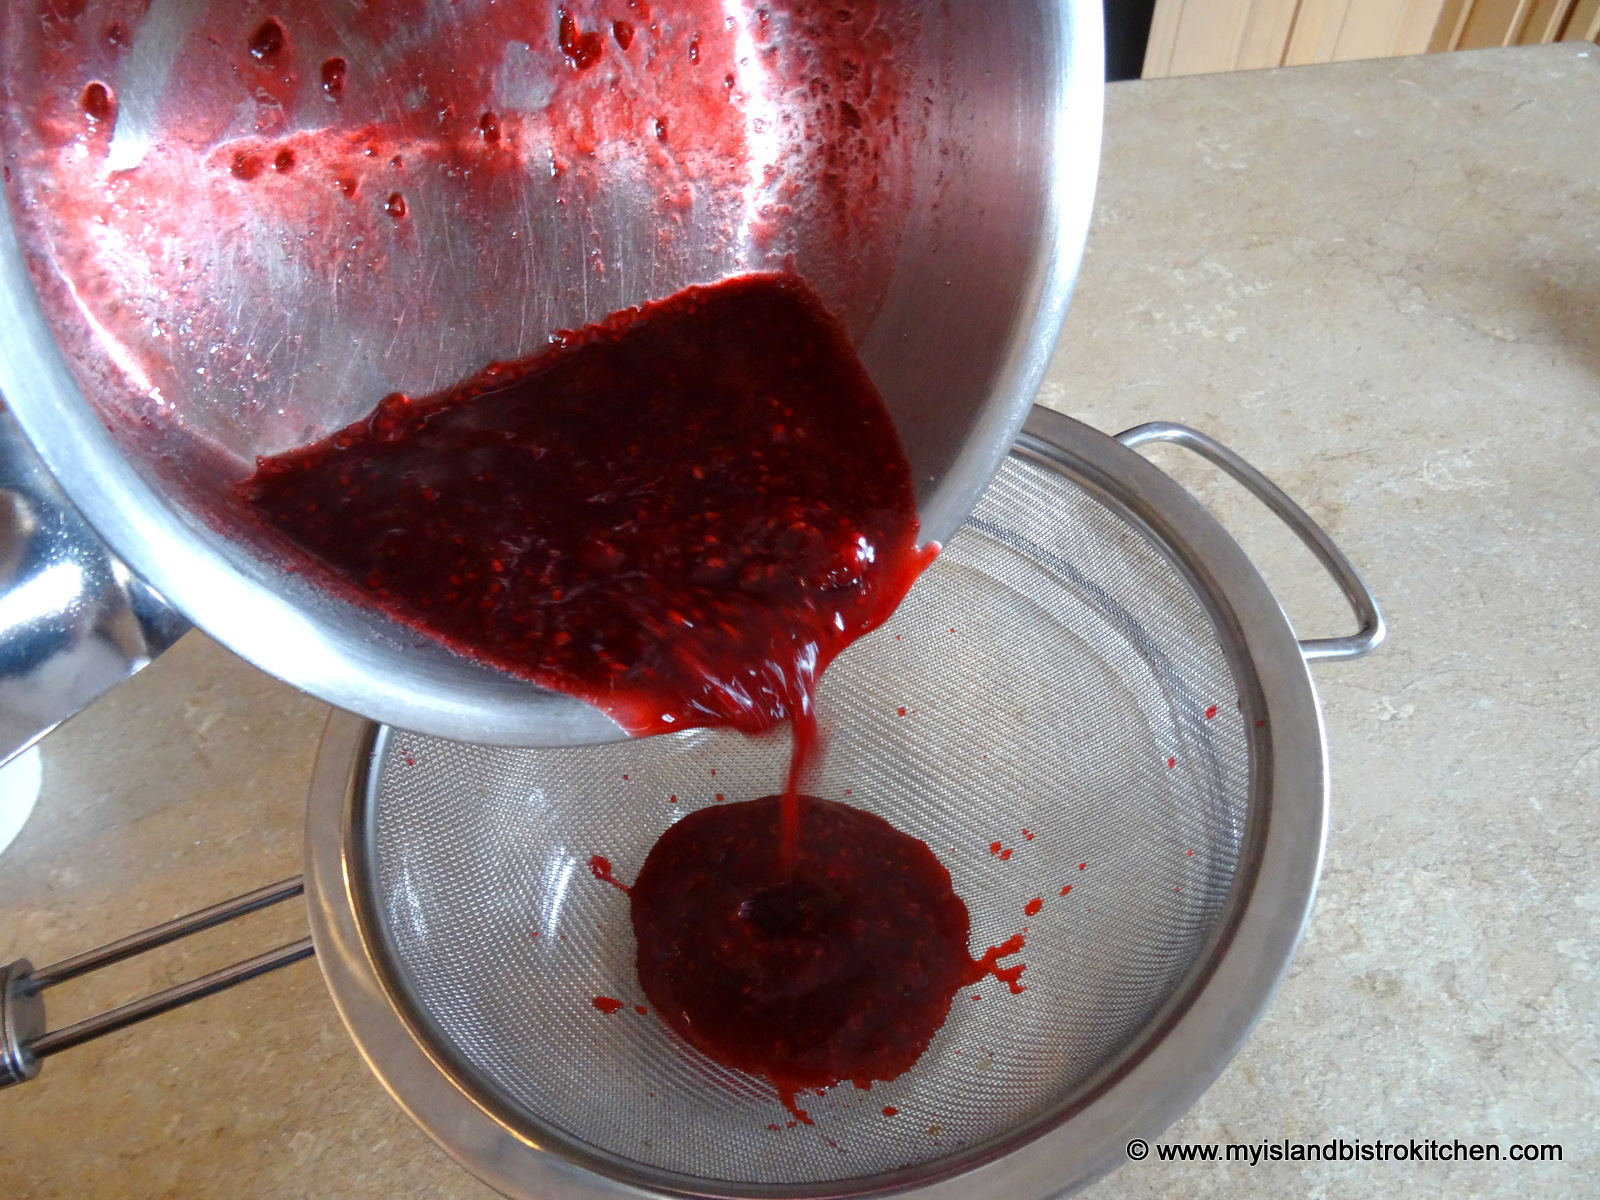
Press mixture with the back of a spoon to extract as much juice as possible. Discard raspberry seeds left in the sieve.
Cover coulis tightly with plastic wrap and refrigerate until well chilled.
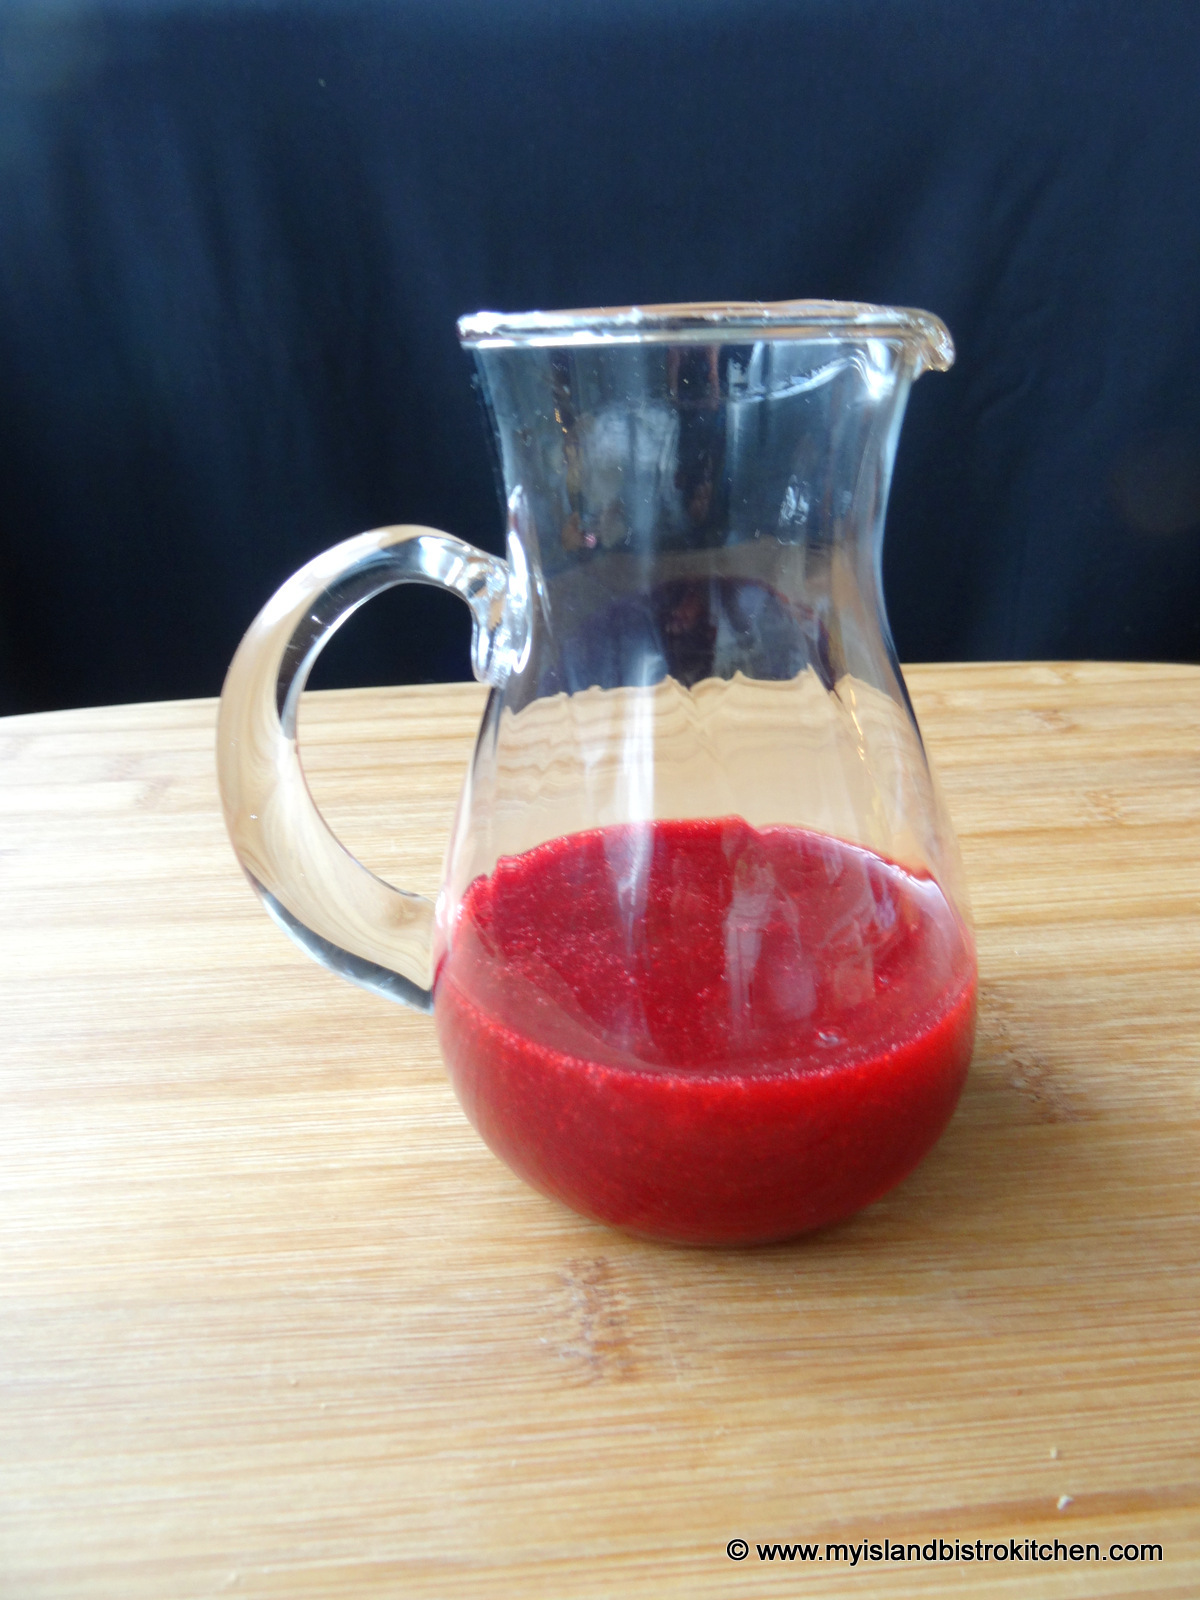
Yield: ½ cup
2 pieces of brownie cut into 2” circles and sliced ½“ – ¾” thick.
2 round scoops of ice cream, your favourite flavour
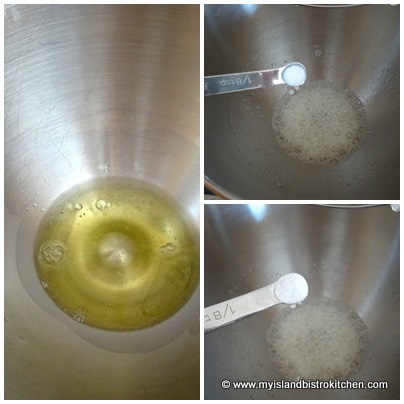
2 large egg whites, room temperature
⅛ tsp salt
⅛ tsp cream of tartar
¼ cup sugar
½ tsp almond flavouring
Line a small rimmed baking sheet with tin foil. Using the rimmed baked sheet allows for easy transport to and from the freezer and keeps the Alaska bases from accidentally sliding off. Place the brownie circles on the baking sheet and top each with a scoop of ice cream. Place in freezer for at least 2 hours, until very firm.
At the same time, cover two small boards with tin foil and place in freezer.
When ready to prepare the dessert, place oven rack about 8” from broiler and preheat oven to 475°F.
In bowl of stand mixer, beat egg whites just until frothy then add the salt and cream of tartar.
While beating the egg whites, add the sugar slowly, about a teaspoon at a time.
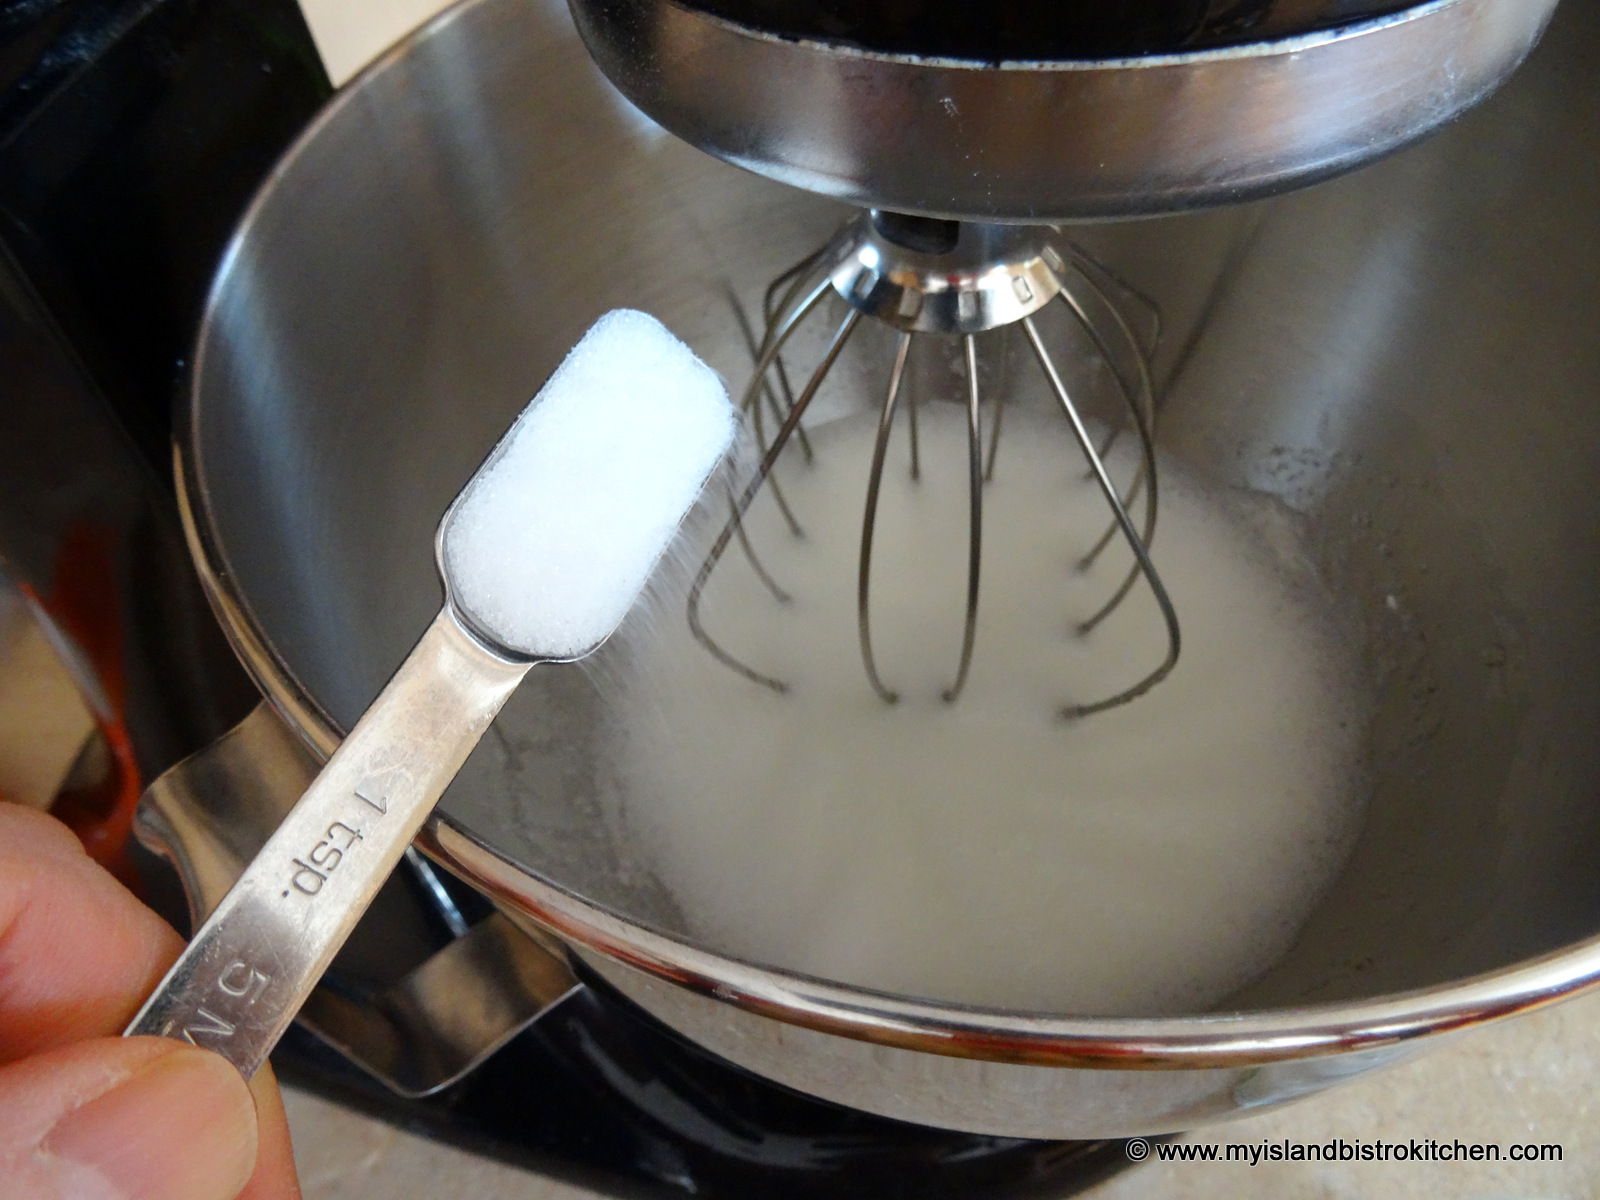
Continue to beat the egg whites until stiff peaks form when wire whisk is lifted from the egg whites.

Add the almond flavoring and beat for 10-15 seconds longer.

Remove brownie and ice cream rounds along with the foil-covered boards from the freezer. Transfer the brownie and ice cream rounds to the foil-covered boards. Quickly cover the ice cream and brownie completely with the meringue.
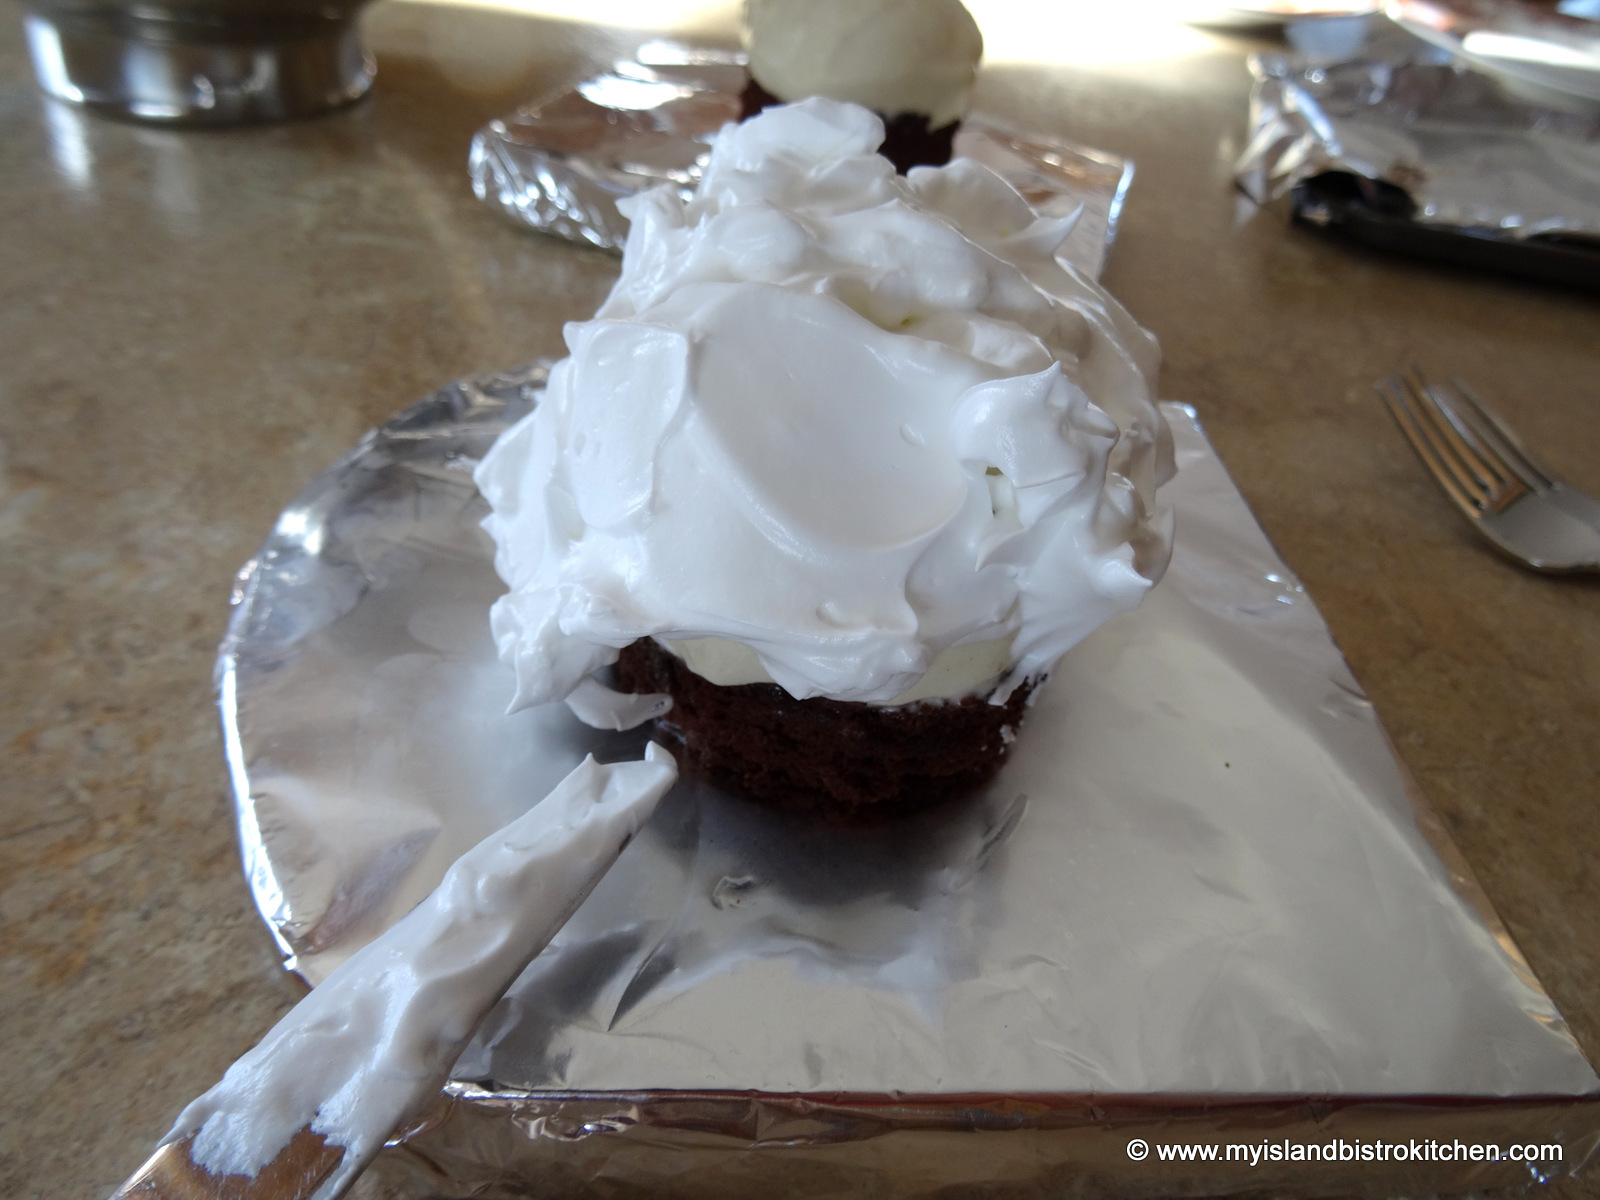
With the tip of a knife, twirl the meringue into decorate tips.
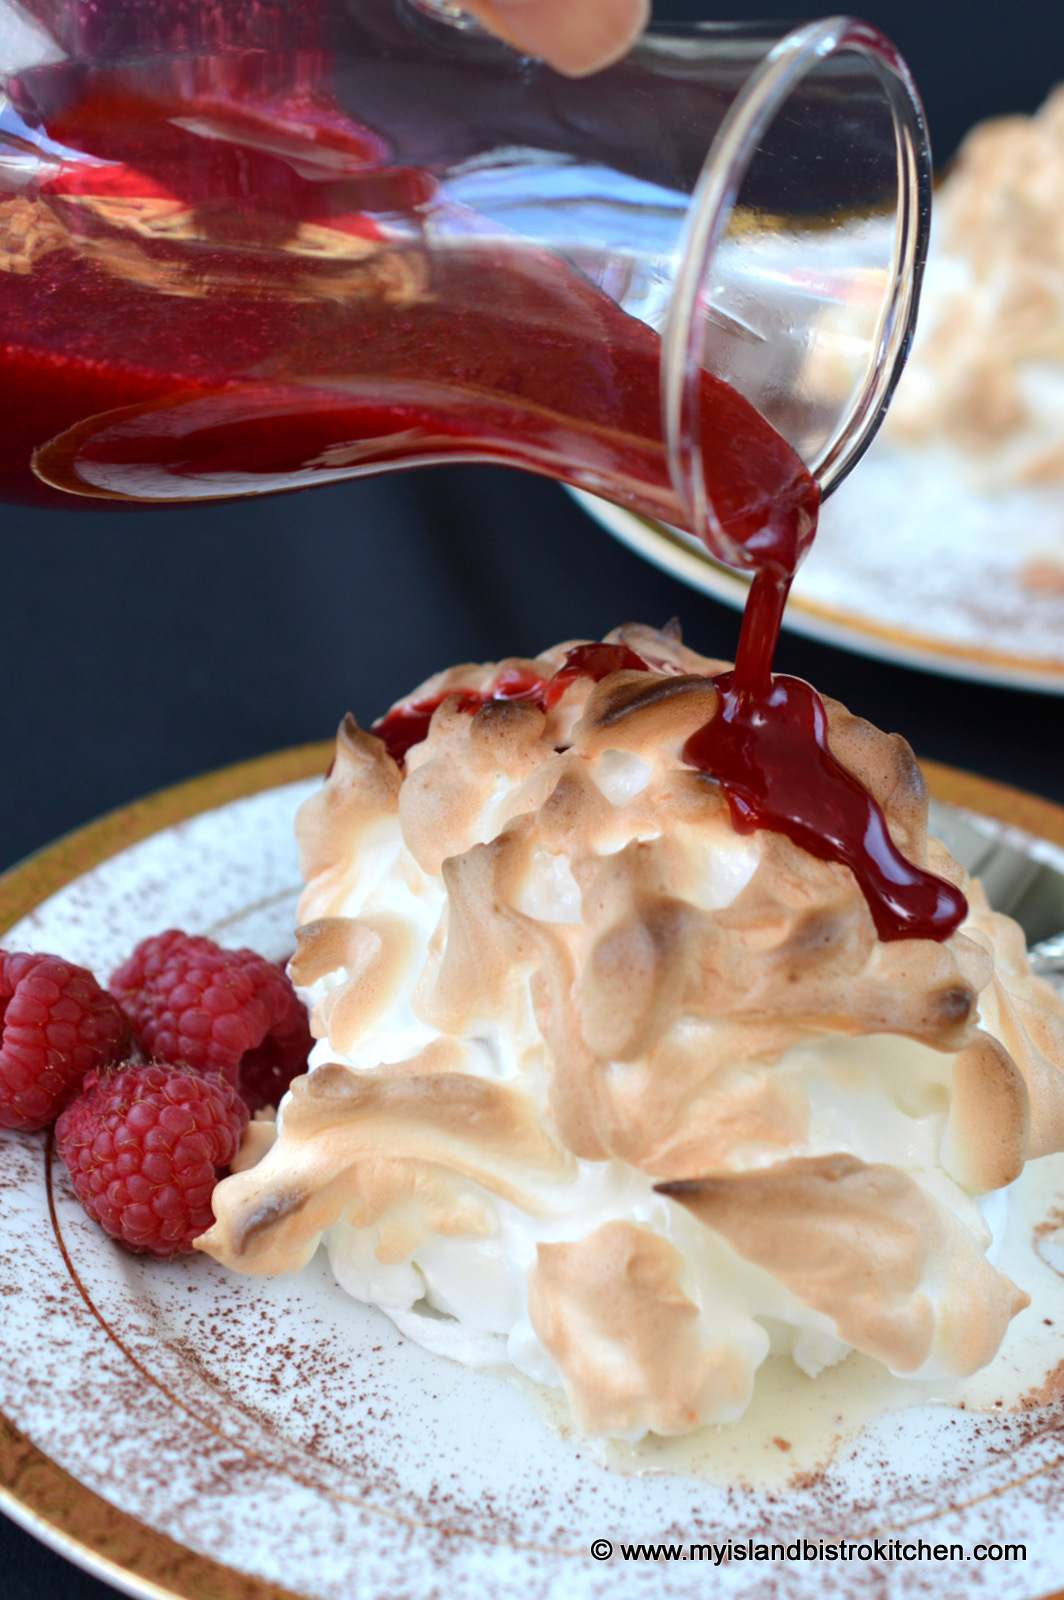
Place the Alaskas on a rimmed baking sheet for ease of transfer to and from oven. Bake in the pre-heated oven until the meringue browns, about 2-3 minutes.
Remove from oven and plate. Drizzle with Raspberry Coulis and garnish with fresh raspberries. Serve immediately.
Serves: 2
——————
Thank you for visiting “the Bistro” today. There are lots of ways to connect with “the Bistro” through social media:
Join My Island Bistro Kitchen on Facebook
Follow the Bistro’s tweets on twitter @PEIBistro
Find the Bistro on Pinterest at “Island Bistro Kitchen”
Follow along on Instagram at “peibistro”

Rhubarb Custard Torte is one of my all-time favorite desserts and it is simply sublime! While I freeze a substantial amount for use over the winter, there is nothing like scooting out to the garden to pick some fresh rhubarb just at the time I am making a recipe. However, our rhubarb season here in Atlantic Canada is all too short so most of my rhubarb recipes, including this torte, can be made with frozen rhubarb. Continue reading Rhubarb Custard Torte
Do you have certain desserts that you associate with different seasons or times of the year? Gingerbread is one dessert I tend to associate most with the coldest winter months for some reason. It’s a plain but tasty dessert any time of the year but it’s a particularly good comfort food in the dead of winter. Continue reading Gingerbread
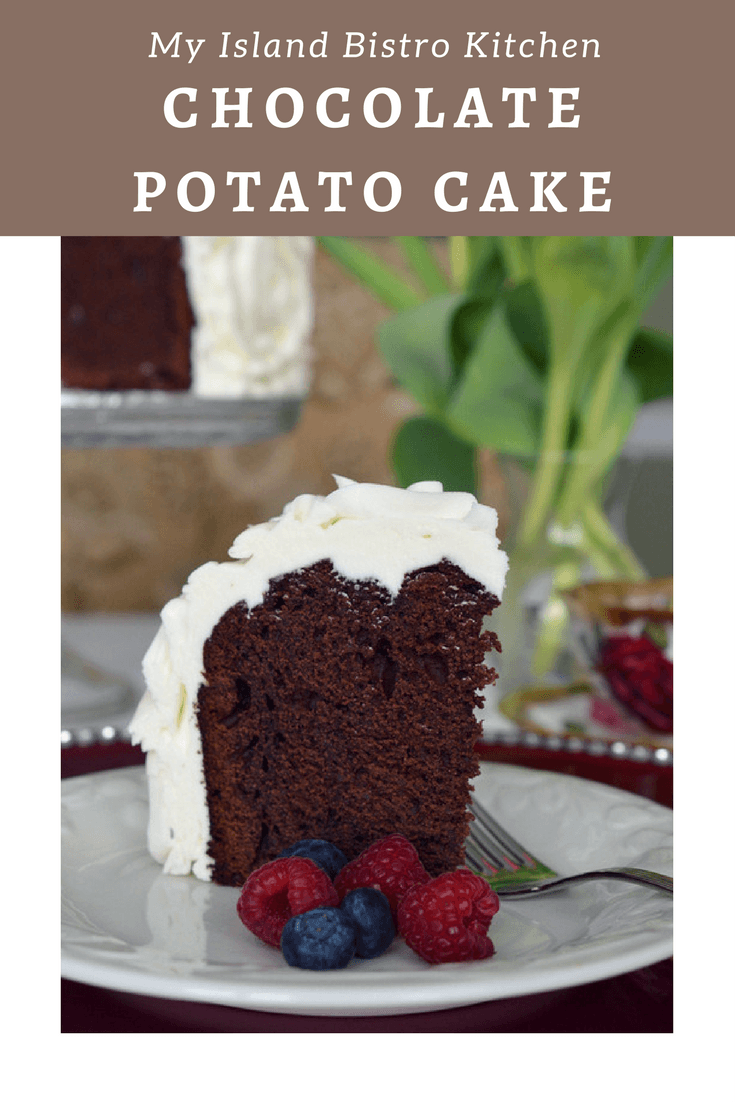
We are familiar with cakes made with vegetables like carrot and zucchini. However, have you ever heard of potato cake?
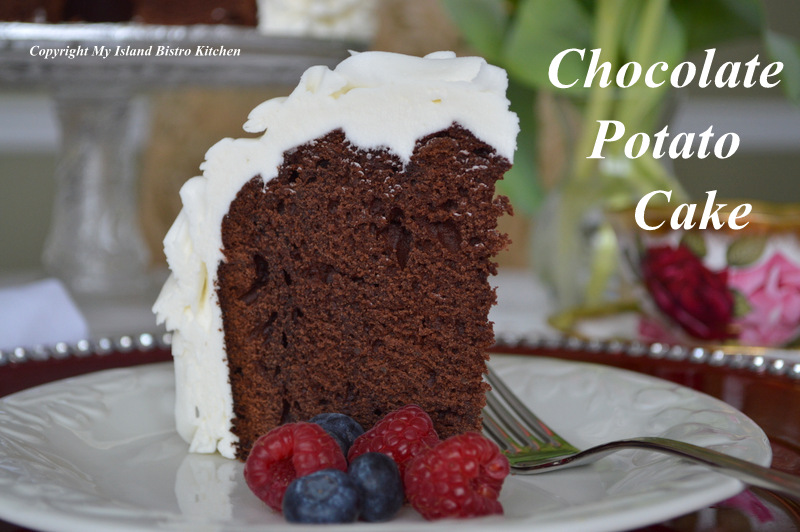
We Islanders like our spuds, there is no doubt about it. Potatoes are a very versatile vegetable and can be prepared and served in many different ways but have you ever heard of having them for dessert? Well, combine potatoes with chocolate and some light spice seasoning and you have a really tasty cake.
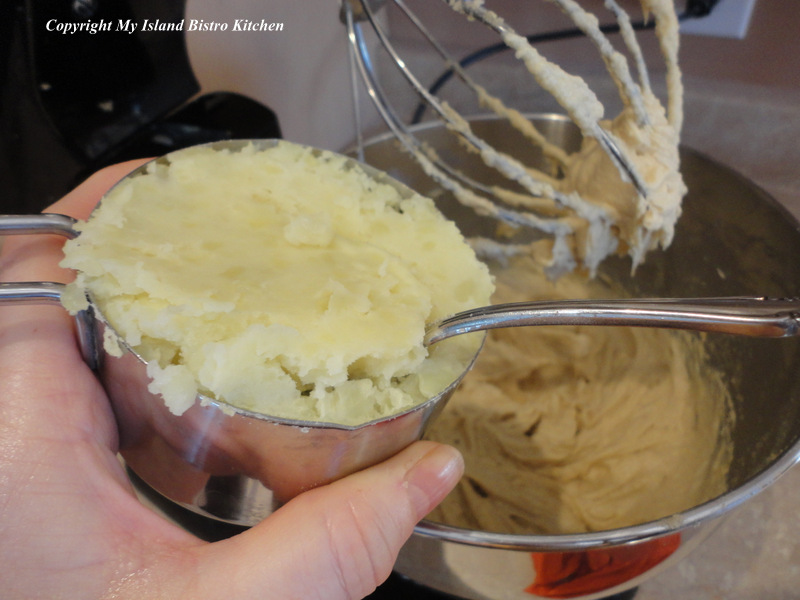
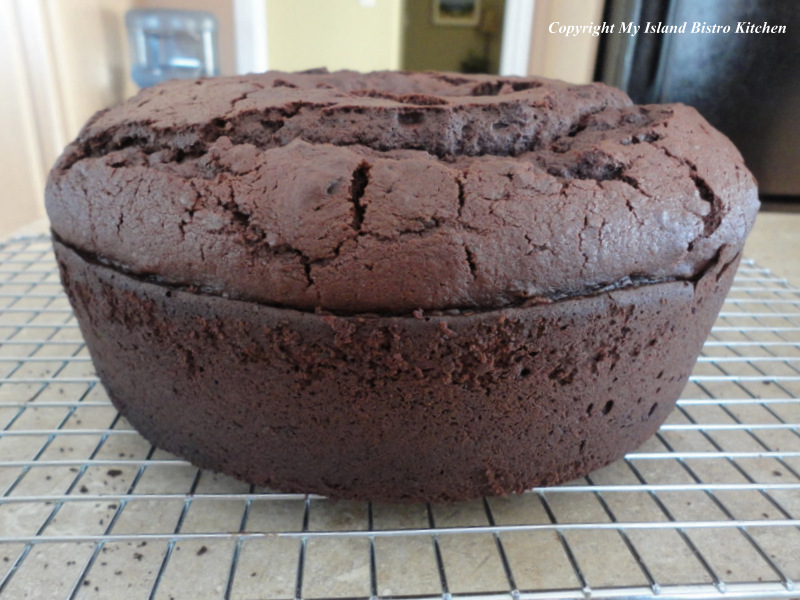
What follows is my creation of a recipe for chocolate potato cake. This is a fairly dense-textured cake so don’t look for it to have the same “foggy” and fluffy texture of a typical chocolate cake mix out of a box! Despite the two cups of sugar in the recipe, it is not overly or sickeningly sweet. The potatoes are cooked and mashed really well before adding them to the cake batter. It is important that they be lump-free as, otherwise, you will have lumps in the cake batter. The mashed potatoes should be warm when added to the batter.
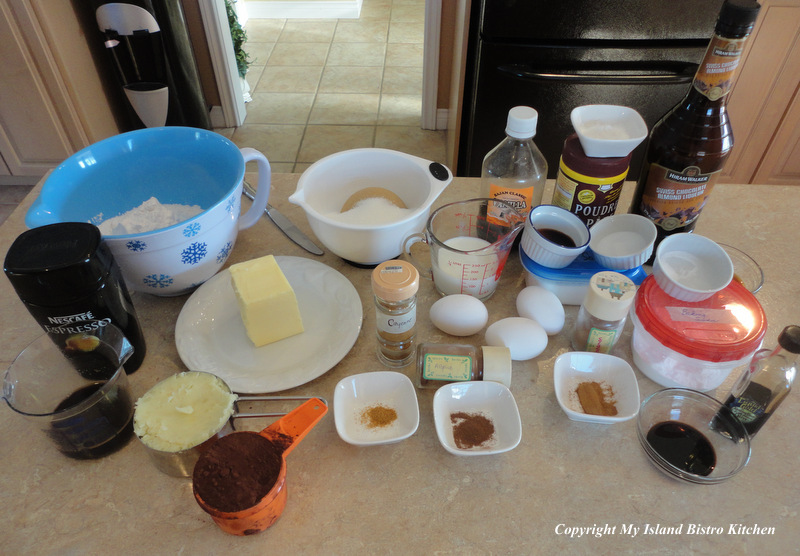
You may find two or three of the ingredients different in this cake recipe. For example, I have added a pinch of cayenne pepper because I find it enhances the depth of the chocolate flavor. The key, of course, is not to overdo it – if you add too much, there will be excessive “heat” in the cake….just a pinch is all it takes. The addition of the espresso powder is also another good way to draw out the flavor of the cocoa and lend a mocha flavor to the cake. I have quite a collection of balsamic vinegars from our local Liquid Gold store here in Charlottetown. One of them is the dark chocolate balsamic vinegar which is delicious when simmered on the stove, reduced down, and drizzled over ice cream. If you have never tried a good quality balsamic vinegar reduction in this way, you are missing out on a delectable treat. I added 1/2 tbsp of this balsamic vinegar to the chocolate cake batter. This is a chocolate all-the-way cake!
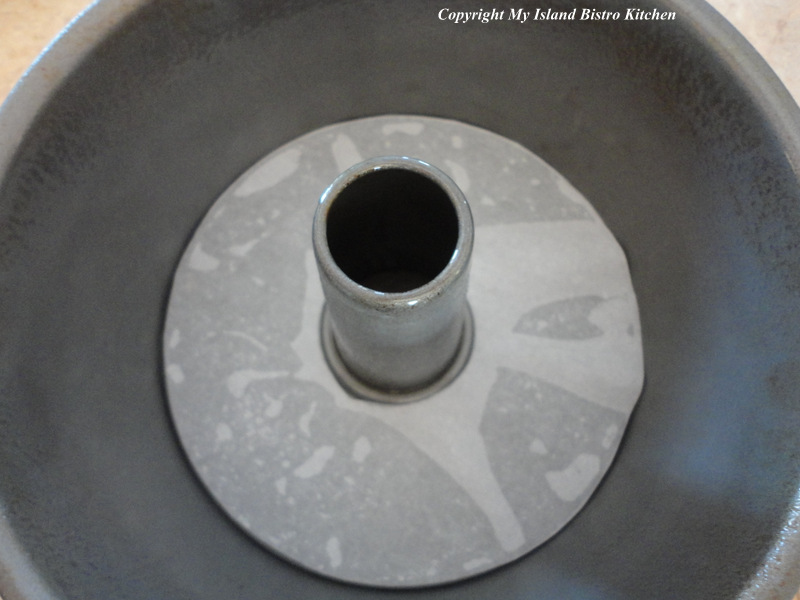
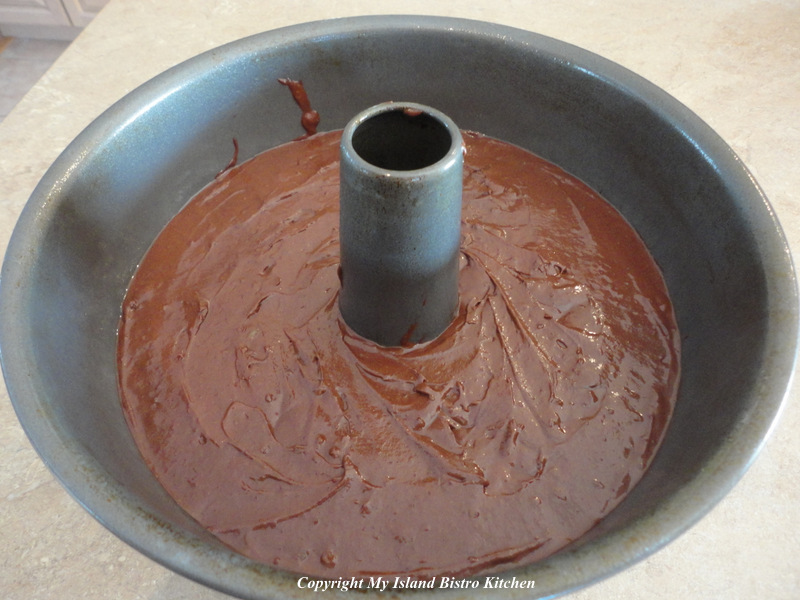
I recommend baking this cake in a 10″ tube or bundt cake pan. These pans have a hollow tube in the center of the pan and this allows dense-batter cakes to rise and bake more evenly. There is also less chance of the cake falling in the middle or the outsides of the cake baking too quickly and drying out before the centre of the cake is baked.
The key to making this cake is not to overbake it. Start checking it at about the 40-45-minute baking point. If a cake tester does not come out clean at that point, continue to bake it but check it every 4-5 minutes. If it overbakes, it will be dry.
Chocolate Potato Cake
2½ cups flour
¼ tsp salt
2¾ tsp baking powder
¼ tsp soda
1 tsp cinnamon
¼ tsp allspice
pinch cayenne
⅔ cup cocoa
¾ cup butter
1 cup white sugar
1 cup brown sugar
3 eggs
1 cup warm mashed potatoes
½ cup milk
1½ tsp espresso powder dissolved in ⅓ cup hot water
2 tbsp Swiss Chocolate Almond Liqueur (or your favorite coffee liqueur)
½ tbsp dark chocolate balsamic vinegar (optional, but good)
1½ tsp vanilla
Method:
Assemble ingredients.
Preheat oven to 350°F.
Line bottom of 10” tube pan with parchment paper. Grease or spray cooking oil on sides of pan.
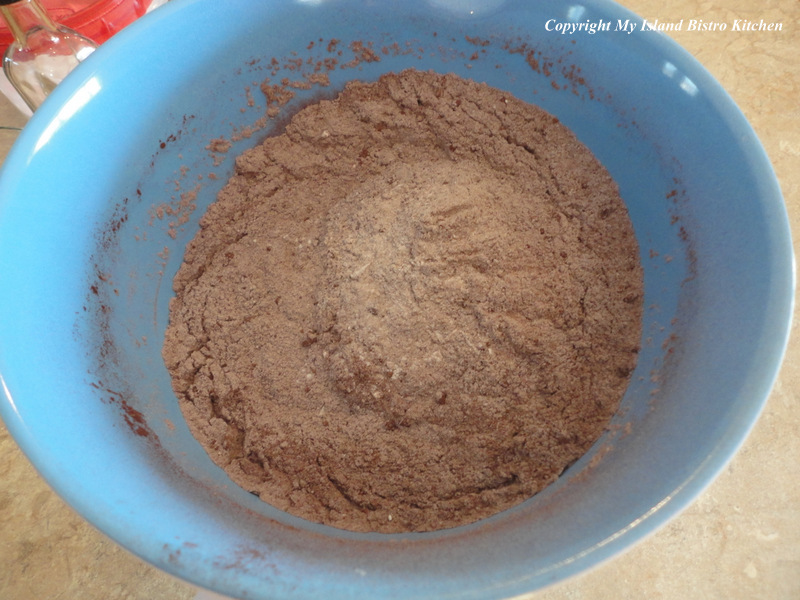
Sift or whisk together the flour, salt, baking powder, soda, cinnamon, allspice, cayenne, and cocoa. Set aside.
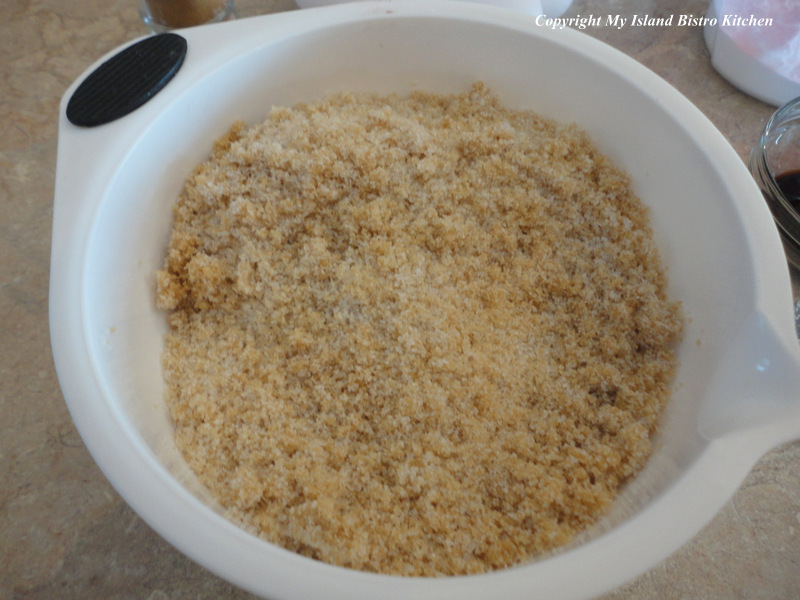
In separate bowl, combine the brown and white sugars.
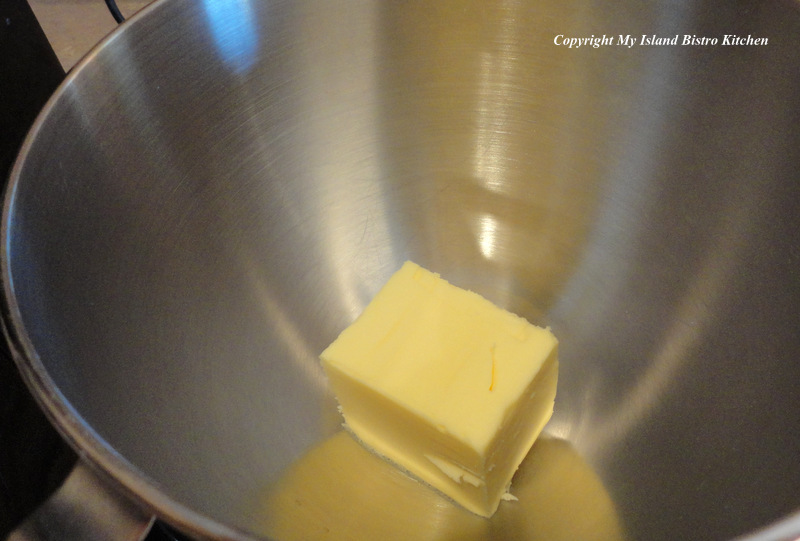
In bowl of stand mixer, cream the butter and sugars until fluffy (2-3 mins on medium-high speed).
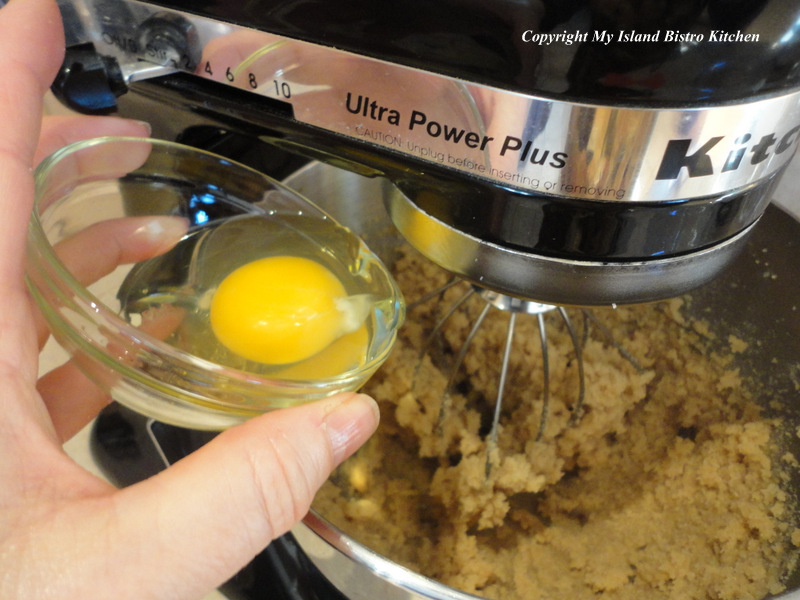
Add the eggs, one at a time and beat well to incorporate after each addition.
Add the mashed potatoes and beat on medium-high speed for 1-2 minutes until batter is smooth.
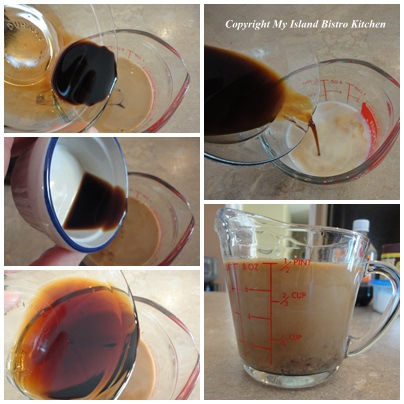
Add the coffee, liqueur, balsamic vinegar, and vanilla to the milk to make 1 cup of liquid. (Note – if you choose not to add the liqueur and/or balsamic vinegar, replace them with milk so that the liquid measurement equals 1 cup.)
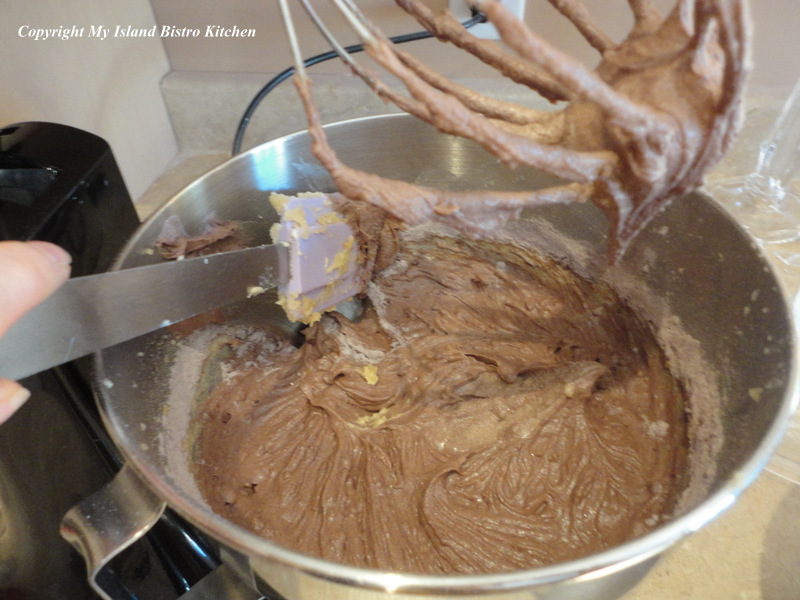
Add the sifted dry ingredients alternately with the liquid ingredients, starting and ending with the flour mixture (process is three additions of dry ingredients to two of liquid), mixing well after each addition.
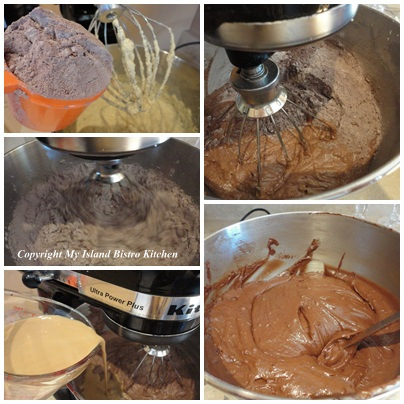
Scrape sides of bowl with spatula as necessary to ensure all ingredients are incorporated.
Pour batter into prepared tube pan.
Bake for apx. 40-55 minutes or until cake tester inserted in center of cake comes out clean and the cake springs back to a light touch. Do not overbake or cake will be dry.
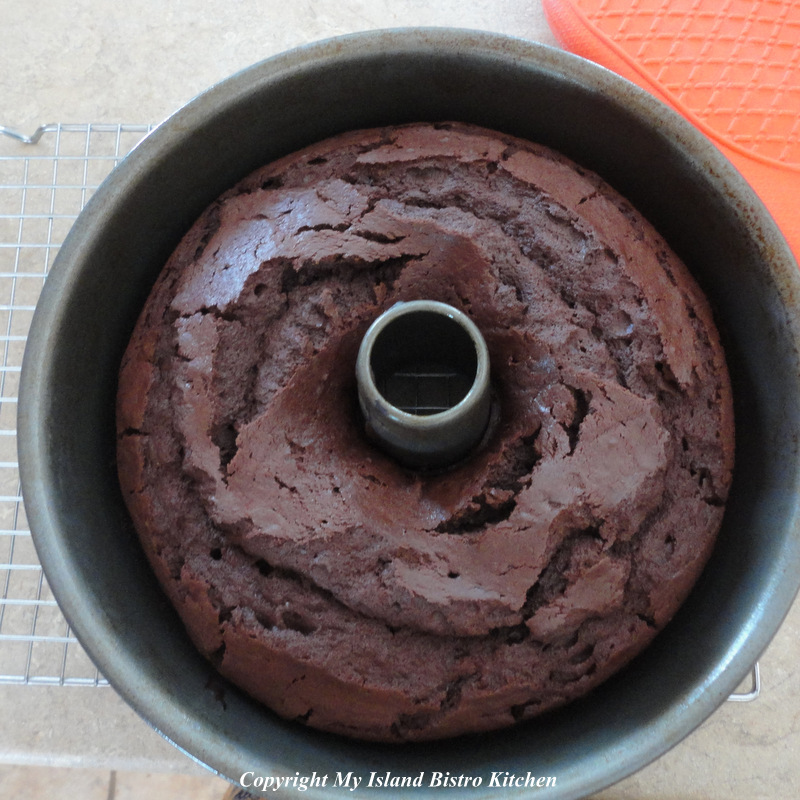
Let cake cool in pan for 10 minutes then transfer to a wire rack to cool completely.
Ice with your favorite frosting.
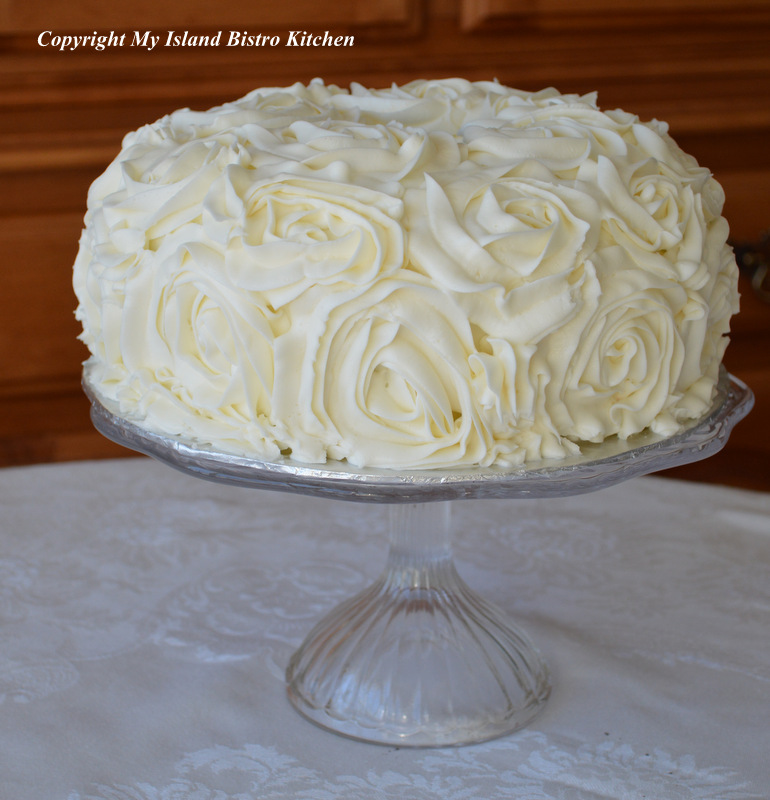
Enjoy!

Thank you for visiting “the Bistro” today.
Be sure to visit my Facebook page at My Island Bistro Kitchen. You may also wish to follow me on twitter @PEIBistro, on Pinterest at “Island Bistro Kitchen”, and on Instagram at “PEIBistro”.
