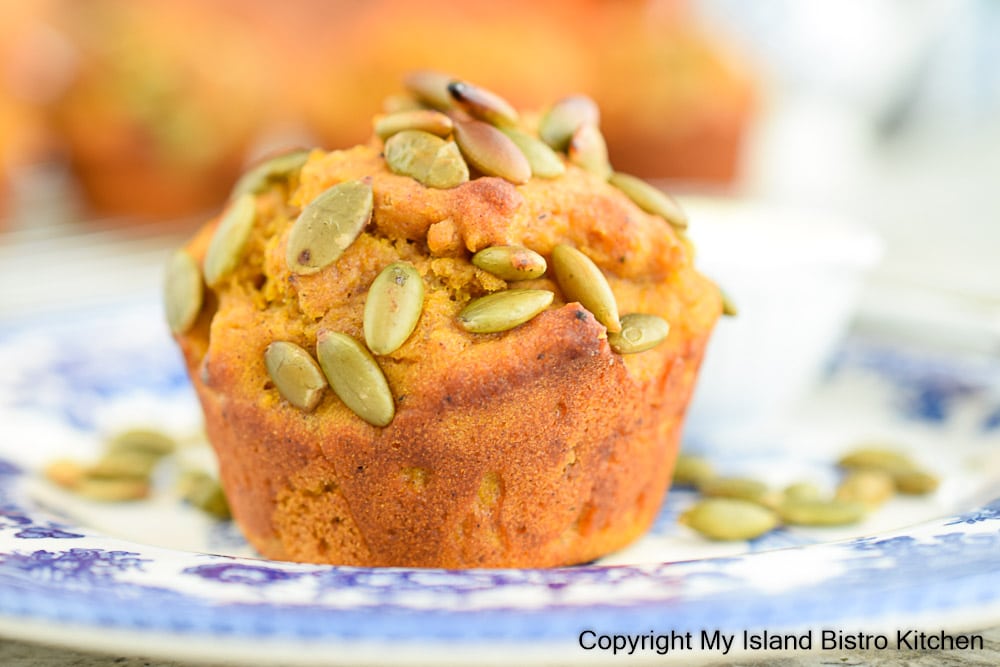
These Deli-style Pumpkin Eggnog Muffins are a fabulous way to enjoy pumpkin and eggnog, two complementary flavors. These muffins are an especially wonderful treat in the fall and around the Christmas holiday period. Continue reading Deli-style Pumpkin Eggnog Muffins→
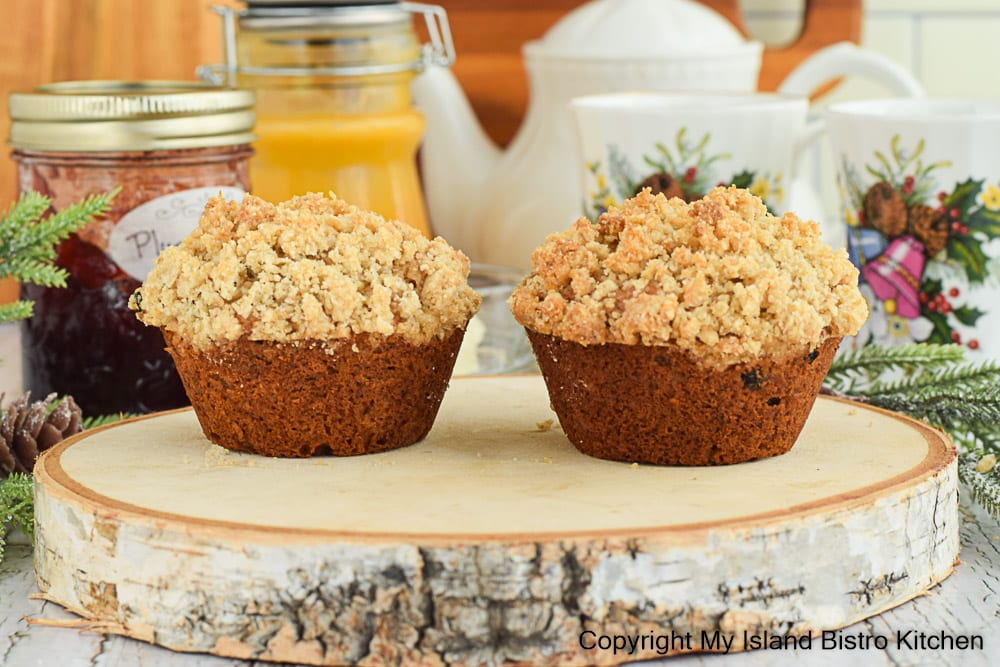
These decadent Gourmet Deli-style Mincemeat Muffins with their lovely crumble topping are a fabulous way to enjoy mincemeat. Good any time of the year, they are an especially wonderful treat around the Christmas holiday period. Continue reading Gourmet Deli-style Mincemeat Muffins→
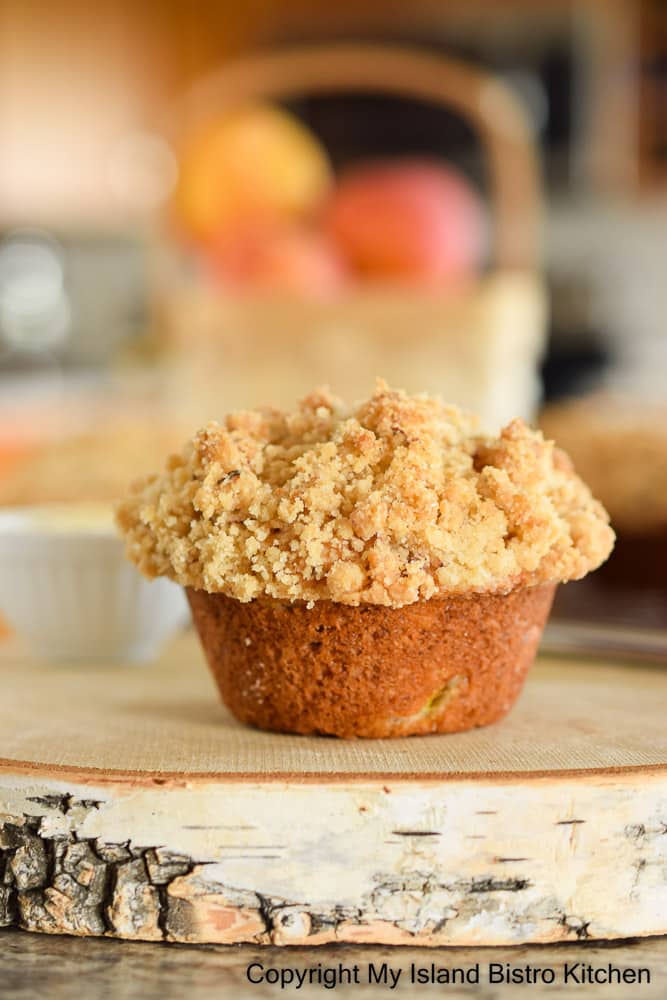
These Deli-style Peach Pecan Muffins, with their tasty crumble topping, have a lightly spiced batter to complement the peaches and pecans. While they can be made with frozen peaches, these muffins are an extra-special treat to make when fresh peaches are on the market. Continue reading Deli-style Peach Pecan Muffins→
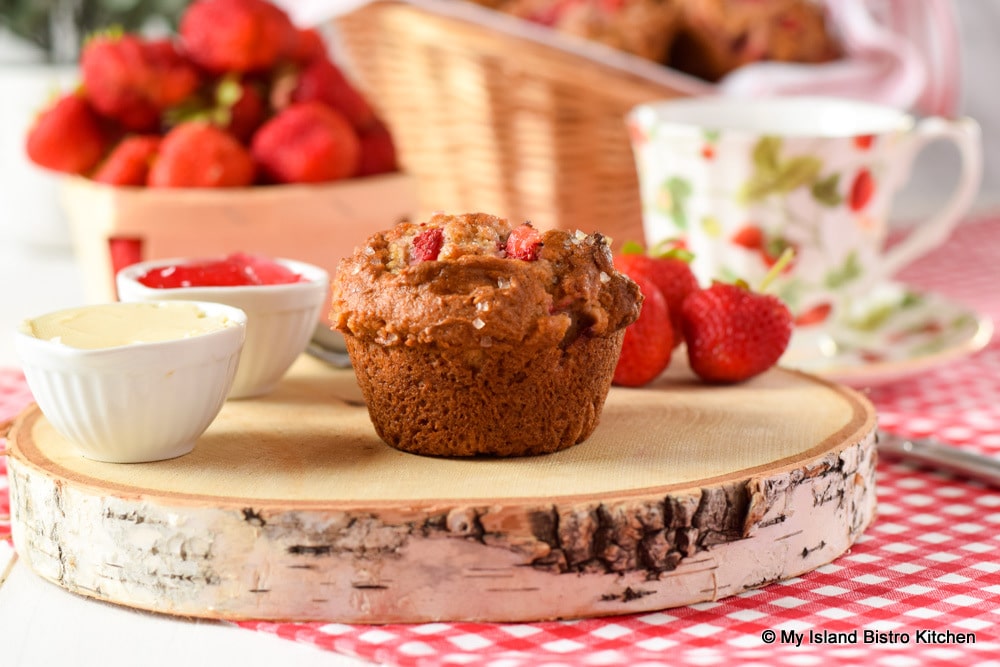
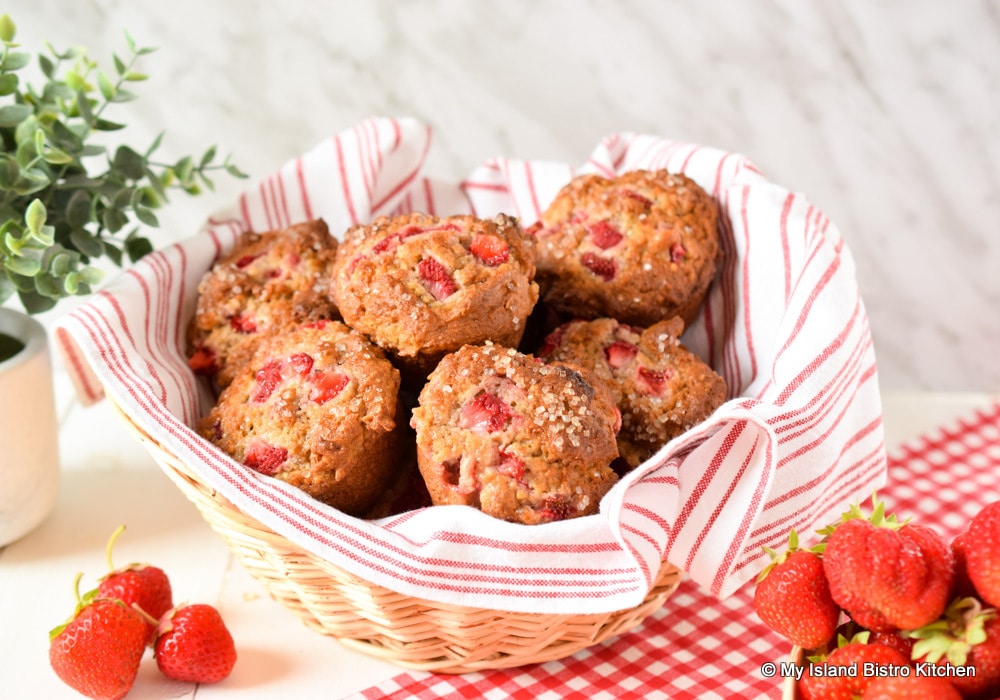
Achieving a recipe for gluten-free muffins that closely replicates wheat-based muffins can be a challenge. The good news is, however, that it is indeed possible as demonstrated by these tasty deli-style gluten-free strawberry muffins.
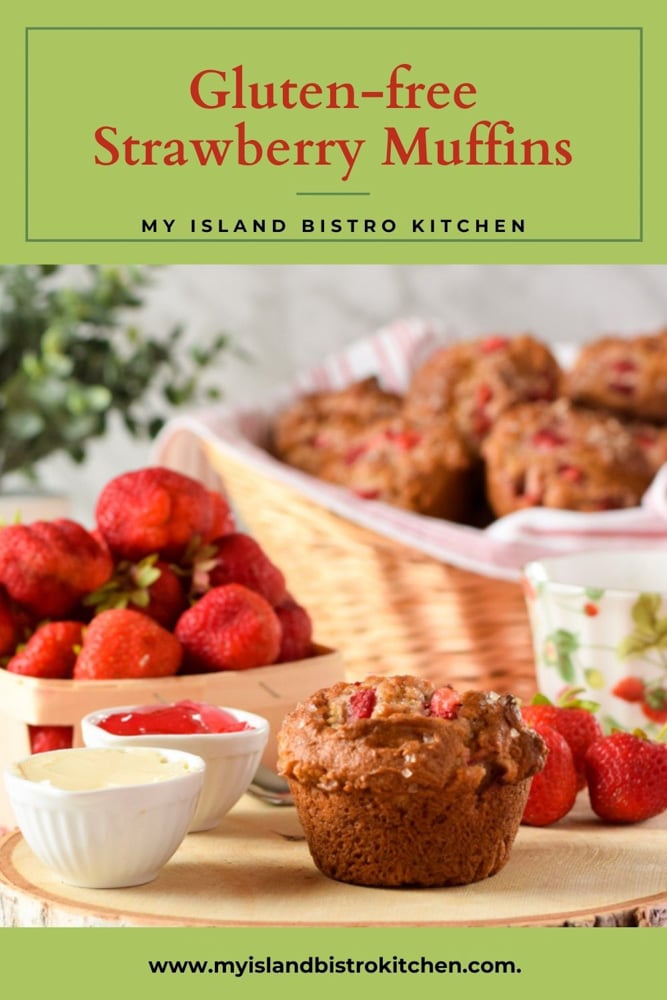
Gluten-free Strawberry Muffins
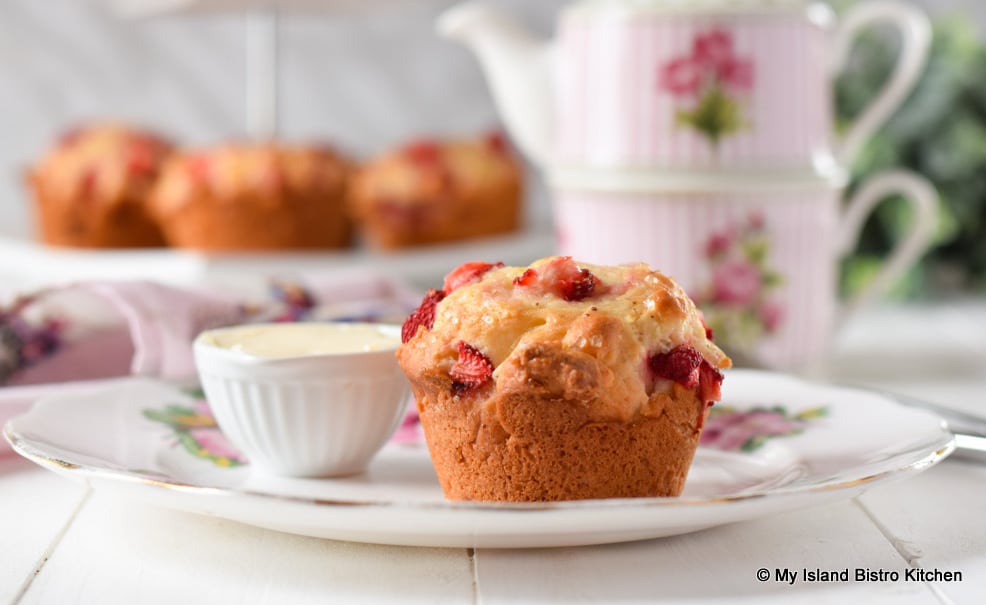
A large part of the challenge surrounds the right blend of gluten-free flours and starches and then finding the right combination and amount of wet ingredients since, as you probably know if you bake gluten-free, each gluten-free flour reacts differently to liquid ingredients. So, while the list of ingredients in my gluten-free muffin recipes may appear long, each ingredient is necessary when a tasty muffin is desired. Of course, I am always aiming to achieve a nicely dome-shaped muffin and one that has a lovely muffin-like texture, much the same as you would expect a muffin to be like when made with wheat flour.
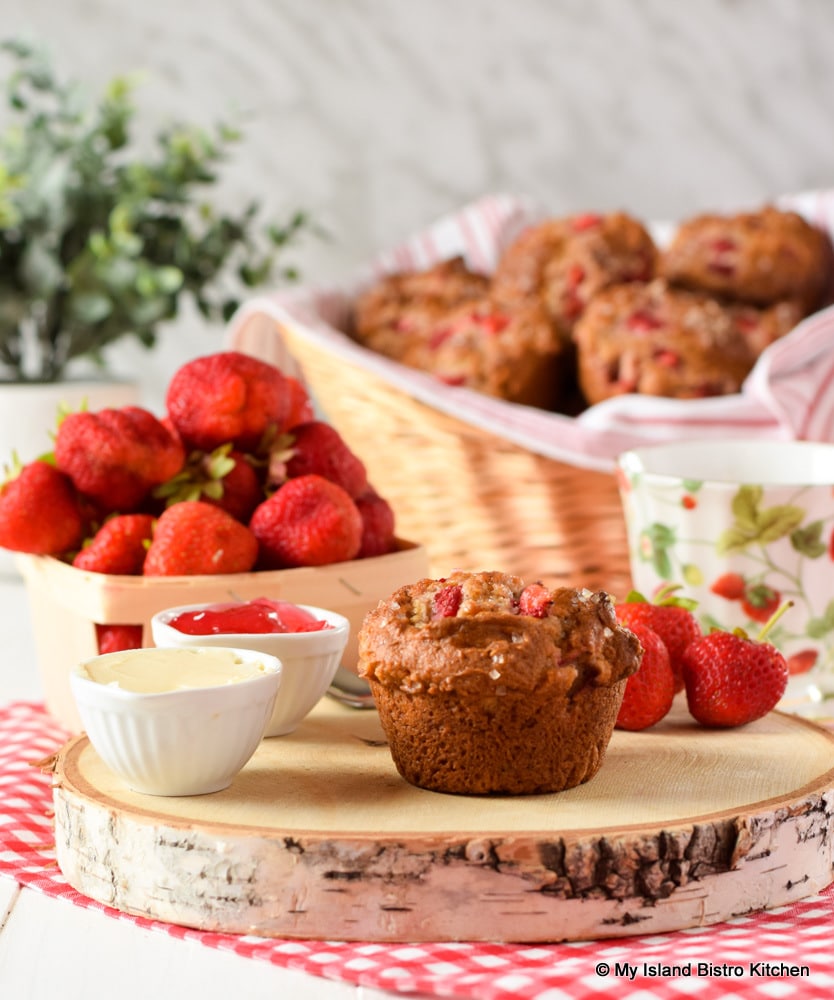
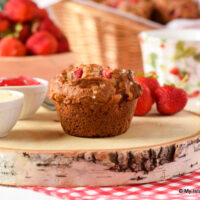
Gluten-free Strawberry Muffin
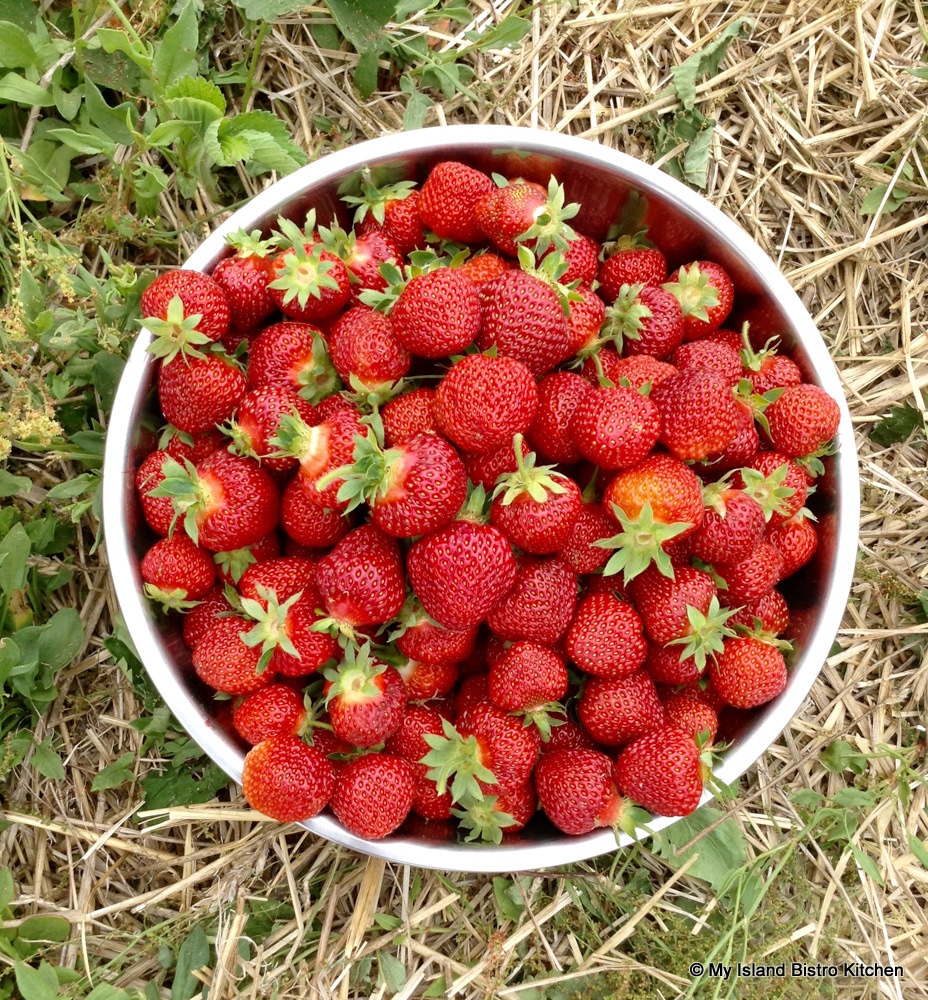
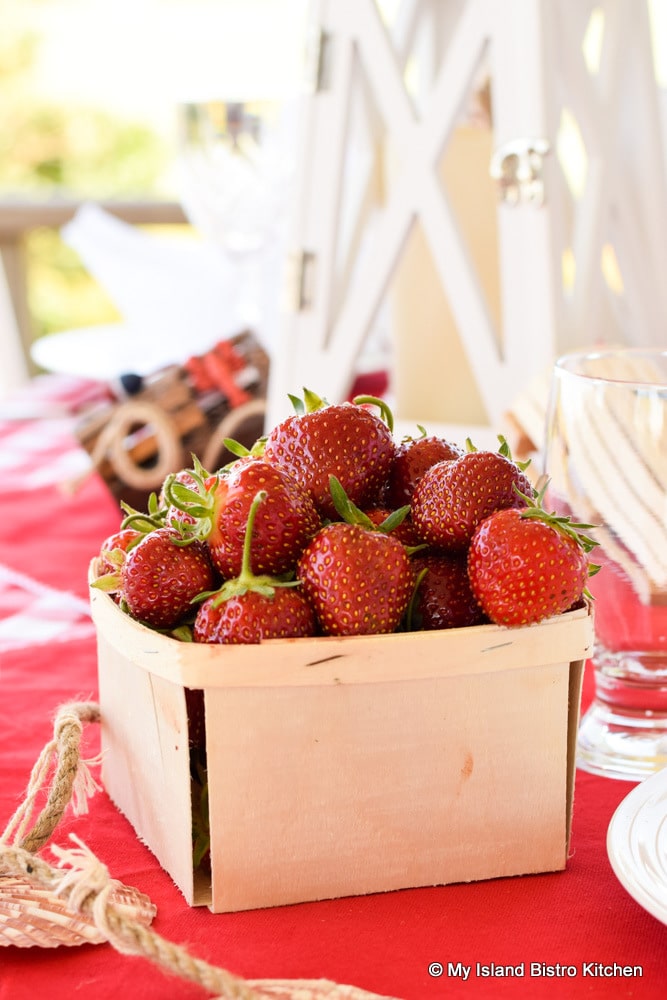
Today, fresh locally grown strawberries are my featured ingredients in muffins. The berries provide a lovely little burst of wonderful flavor in the muffins. I hope you enjoy them as much as I do!
Freshly Picked Strawberries
At the bottom of this posting, you will also find links to several other gluten-free muffin recipes I have developed.
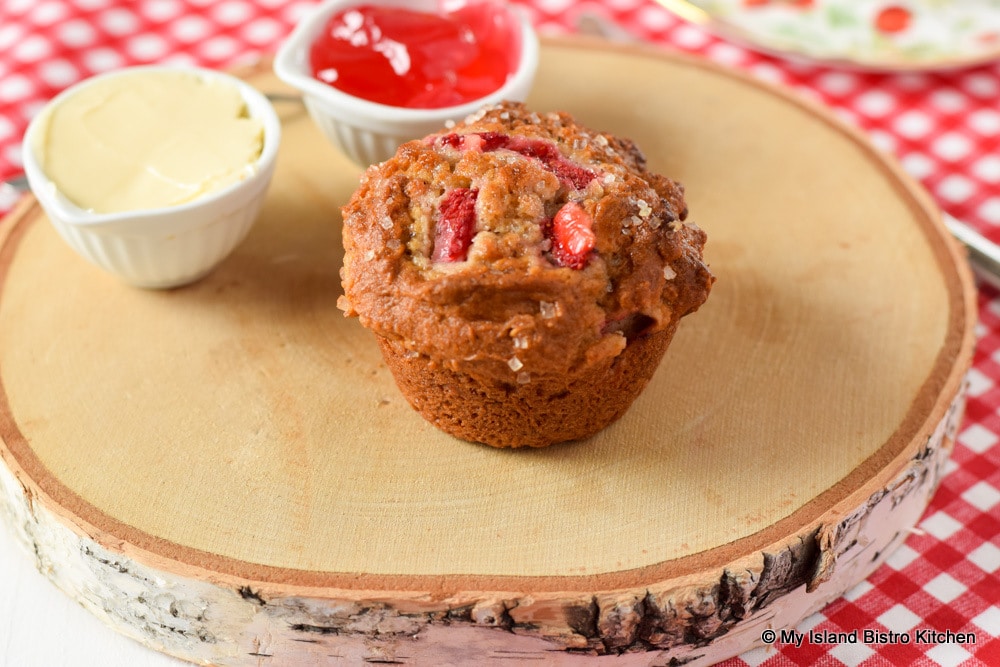
Gluten-free Strawberry Muffins
[Printable recipe follows at end of post]
Gluten Free Strawberry Muffins
Ingredients:
¾ cup sorghum flour 1/3 cup gluten-free quick cooking rolled oats ¼ cup brown rice flour ¼ cup almond flour ¼ cup gluten-free oat flour 2½ tbsp potato starch 2 tbsp ground chia seeds 1 tbsp + ¾ tsp tapioca starch 1¾ tsp xanthan gum 1 tbsp baking powder ½ tsp baking soda ½ tsp salt ½ tsp cardamom 1/8 tsp ground nutmeg
½ cup light brown sugar, lightly packed 2 large eggs, room temperature, lightly beaten ¼ cup coconut oil 2 tbsp pure maple syrup (no artificial substitutions) 1½ tsp pure vanilla ½ cup Greek-style vanilla yogurt (or ¼ cup plain vanilla yogurt + ¼ cup sour cream) 2 tbsp whole milk mixed with ¼ tsp lemon juice (let sit 5 minutes before using)
1½ cups fresh strawberries, diced (apx. 8 oz)
3 – 4 tsp turbinado sugar (optional)
Method:
Set out the eggs, yogurt, and whole milk to bring them to room temperature. If using solid coconut oil, melt and cool it completely before proceeding with recipe.
Preheat oven to 475°F.
Prepare 12 muffin cups (each at least ½-cup capacity) by spraying each muffin cup with cooking spray or greasing individually.
Whisk the flours, rolled oats, starches, ground chia seeds, xanthan gum, baking powder, baking soda, salt, and spices together in a large bowl. Make a well in the center of the dry ingredients. Set aside.
In separate medium-sized bowl, or large measuring cup, whisk together the brown sugar, eggs, coconut oil, maple syrup, and vanilla. Stir in the yogurt and milk.
Pour wet ingredients into well in dry ingredients. With large spoon, mix ingredients together just until dry ingredients are fully incorporated. Do not overmix. Gently fold in 1 cup of the diced strawberries. Batter will appear very thick, stiff, and somewhat dry at this point. This is normal for this recipe.
Spoon batter into prepared muffin cups, filling each cup to the rim. Sprinkle remaining ½ cup of diced strawberries over the muffins and sprinkle each muffin with a few grains of turbinado sugar, if desired. Transfer muffins to pre-heated oven and immediately reduce oven temperature to 400°F. Bake for apx. 20 minutes, or until muffins are just firm to the touch and a cake tester inserted into center of a muffin comes out clean. Do not overbake or muffins will be dry. Remove from oven and let muffins rest in pan for 5 minutes then gently remove from pan and transfer to wire rack to cool completely.
Yield: 12 standard-sized muffins
Connect with My Island Bistro Kitchen on Social Media
Follow “the Bistro” on Pinterest at https://www.pinterest.ca/peibistro/ and pin the Pinterest-ready photo at the end of this posting to your favorite Pinterest boards!
2tbsppure maple syrup (no artificial substitutions)
1½tsppure vanilla
½cupGreek-style vanilla yogurt (or ¼ cup plain vanilla yogurt + ¼ cup sour cream)
2tbspwhole milk mixed with ¼ tsp lemon juice (let sit 5 minutes before using)
1½cupsfresh strawberries, diced (apx. 8 oz)
3 - 4tspturbinado sugar (optional)
Instructions
Set out the eggs, yogurt, and whole milk to bring them to room temperature. If using solid coconut oil, melt and cool it completely before proceeding with recipe.
Preheat oven to 475°F.
Prepare 12 muffin cups (each at least ½-cup capacity) by spraying each muffin cup with cooking spray or greasing individually.
Whisk the flours, rolled oats, starches, ground chia seeds, xanthan gum, baking powder, baking soda, salt, and spices together in a large bowl. Make a well in the center of the dry ingredients. Set aside.
In separate medium-sized bowl, or large measuring cup, whisk together the brown sugar, eggs, coconut oil, maple syrup, and vanilla. Stir in the yogurt and milk.
Pour wet ingredients into well in dry ingredients. With large spoon, mix ingredients together just until dry ingredients are fully incorporated. Do not overmix. Gently fold in 1 cup of the diced strawberries. Batter will appear very thick, stiff, and somewhat dry at this point. This is normal for this recipe.
Spoon batter into prepared muffin cups, filling each cup to the rim. Sprinkle remaining ½ cup of diced strawberries over the muffins and sprinkle each muffin with a few grains of turbinado sugar, if desired. Transfer muffins to pre-heated oven and immediately reduce oven temperature to 400°F. Bake for apx. 20 minutes, or until muffins are just firm to the touch and a cake tester inserted into center of a muffin comes out clean. Do not overbake or muffins will be dry. Remove from oven and let muffins rest in pan for 5 minutes then gently remove from pan and transfer to wire rack to cool completely.
Recipe Notes
Yield:12 standard-sized muffins
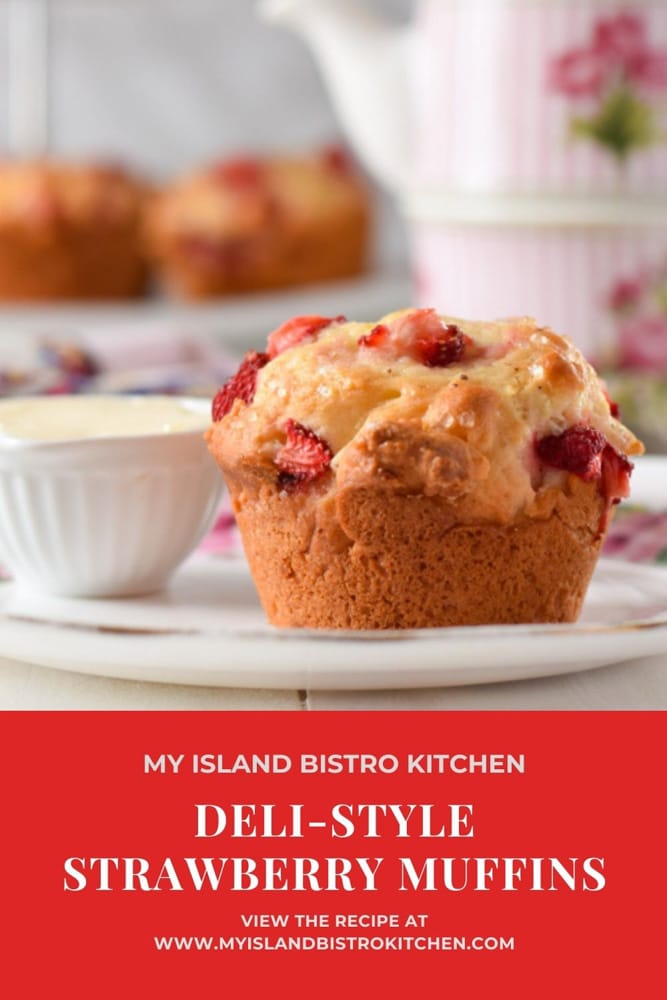
PIN ME TO PINTEREST!
For other Gluten-free Muffin Recipes from My Island Bistro Kitchen, click on the links below:
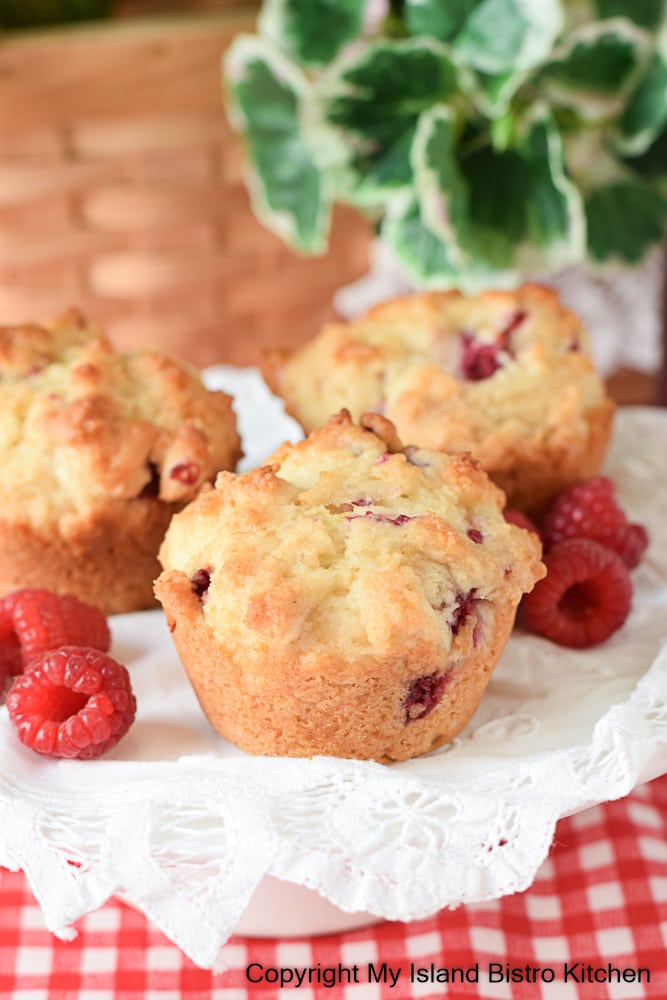
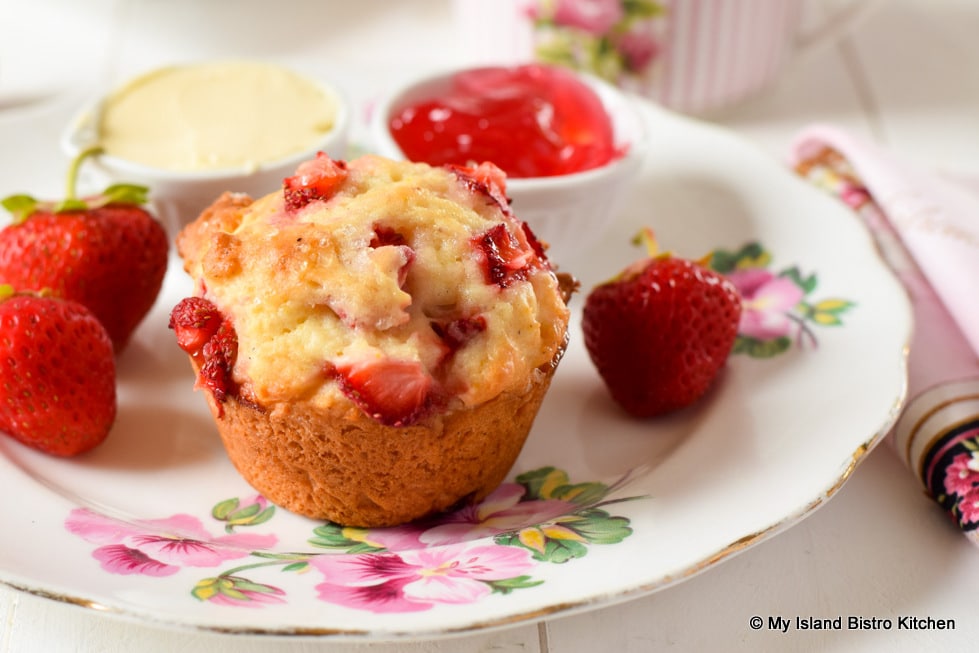
These Deli-style Strawberry Muffins are a must make when local strawberries are in season. Those lovely plump, juicy berries add wonderful flavor to a muffin batter that is lightly spiced with cardamom and nutmeg and has just a whisper of citrus notes.
Strawberries
The muffins are perfect for brunch, coffeebreak, or the lunch bag. Dress them up by sprinkling a few grains of turbinado sugar on each muffin just before they go in the oven. It will add a bit of crunch to the muffin top.
Deli-style Strawberry Muffins
[printable recipe follows at end of post]
Deli-style Strawberry Muffins
Ingredients:
2 cups all-purpose flour 1 tbsp baking powder ½ tsp salt ½ tsp cardamom ⅛ tsp nutmeg 2 tsp finely grated orange rind
2 large eggs, room temperature, slightly beaten ½ cup granulated sugar ½ cup Greek-style vanilla yogurt (or ¼ cup plain vanilla yogurt + ¼ cup sour cream), room temperature ¼ cup vegetable oil 1 tsp vanilla 1½ tbsp milk
1½ cups fresh strawberries, diced (apx. 8 oz)
3 – 4 tsp turbinado sugar (optional)
Method:
Preheat oven to 475°F. Prepare muffin tins by greasing or spraying with cooking oil, ensuring the top edges of each muffin cup are also well-greased/sprayed.
In large bowl, whisk together the flour, baking powder, salt, cardamom, and nutmeg. Stir in grated orange rind. Set aside.
In medium-sized bowl, whisk together the eggs, sugar, yogurt, vegetable oil, vanilla, and milk.
Pour the wet ingredients into the dry and stir only until barely incorporated. Do not overmix. Gently fold in strawberries. Spoon batter into prepared muffin tins, filling each cup three-quarters full. Sprinkle a few grains of turbinado sugar on top of each muffin, if desired.
Transfer muffins to oven and immediately reduce the oven temperature to 375°F. Bake for 23-25 minutes or until muffins are just firm to the touch and a cake tester inserted into the center of a muffin comes out clean.
Let muffins rest in muffin tins for about 5 minutes then transfer to wire rack to finish cooling.
Yield: 12 standard-sized muffins
Connect with My Island Bistro Kitchen on Social Media
Follow “the Bistro” on Pinterest at https://www.pinterest.ca/peibistro/ and pin the Pinterest-ready photo at the end of this posting to your favorite Pinterest boards!
Pockets of juicy fresh strawberries in a lightly spiced batter make these Deli-style Strawberry Muffins a delight to enjoy when local strawberries are in season.
Course Snack
Cuisine Canadian
Keyword muffins, strawberries, strawberry muffins
Servings12
My Island Bistro KitchenBarbara99
Ingredients
2cupsall-purpose flour
1tbspbaking powder
½tspsalt
½tspcardamom
⅛tspnutmeg
2tspfinely grated orange rind
2large eggs, room temperature, slightly beaten
½cupgranulated sugar
½cupGreek-style vanilla yogurt (or ¼ cup plain vanilla yogurt + ¼ cup sour cream), room temperature
¼cupvegetable oil
1tspvanilla
1½tbspmilk
1½cupsfresh strawberries, diced (apx. 8 oz)
3– 4 tsp turbinado sugar (optional)
Instructions
Preheat oven to 475°F. Prepare muffin tins by greasing or spraying with cooking oil, ensuring the top edges of each muffin cup are also well-greased/sprayed.
In large bowl, whisk together the flour, baking powder, salt, cardamom, and nutmeg. Stir in grated orange rind. Set aside.
In medium-sized bowl, whisk together the eggs, sugar, yogurt, vegetable oil, vanilla, and milk.
Pour the wet ingredients into the dry and stir only until barely incorporated. Do not overmix. Gently fold in strawberries. Spoon batter into prepared muffin tins, filling each cup three-quarters full. Sprinkle a few grains of turbinado sugar on top of each muffin, if desired.
Transfer muffins to oven and immediately reduce the oven temperature to 375°F. Bake for 23-25 minutes or until muffins are just firm to the touch and a cake tester inserted into the center of a muffin comes out clean.
Let muffins rest in muffin tins for about 5 minutes then transfer to wire rack to finish cooling.
I am not a fan of muffins that have a cake-type texture. I like the muffins, whether wheat-based or gluten-free, to be deli-or café-style, hearty, and generously sized. That’s exactly how I have created these tasty Gluten-free Blueberry Zucchini Muffins to be! Continue reading Gluten-free Blueberry Zucchini Muffins→
Making gluten-free muffins can have its challenges! Getting the right blend of flours, enough rising power to achieve the perfect contoured muffin tops, and the right balance of liquid to dry ingredients, and that’s all before getting a great flavour and texture. Good news, though, I have perfected a great flour blend for these Banana Date Muffins and have worked out the necessary ratios of wet to dry ingredients to accommodate the properties of gluten-free flours! Continue reading Gluten-free Banana Date Muffins→
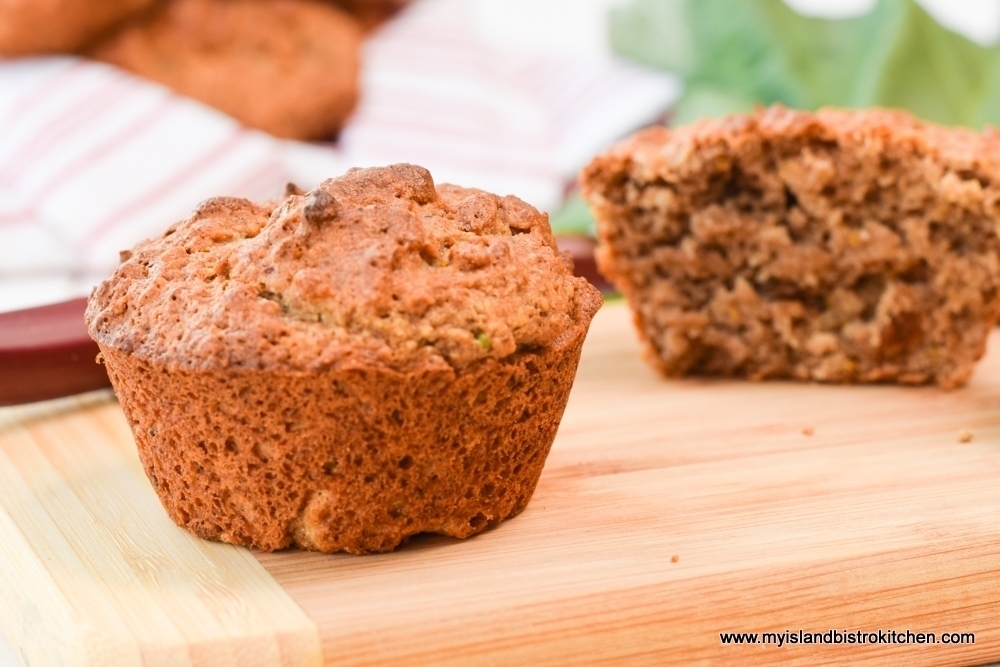
I love the produce our garden generates and its earliest treat is rhubarb. It is so versatile and I make lots of recipes using rhubarb. Today, a treat for my gluten-free diet followers — a new recipe for deli-style gluten-free Rhubarb Granola Muffins.
Deli-style Gluten-free Rhubarb Granola Muffins
There are many recipes for rhubarb muffins but many of them call for chopped rhubarb. Rhubarb has a lot of water content and cooks fast when used in chopped form in baking goods. This extra water content can cause some baked goods to turn out soggy, particularly in the areas where the rhubarb chunks land. To combat this problem, for this recipe, I cook the rhubarb then mash, or purée, it with a hand-held immersion blender. I then use the mashed/puréed rhubarb as part of the liquid content in the muffin batter. So, I still get rhubarb muffins but without the wet soggy spots.
When I make muffins, I like them to be deli- or café-style which is to say I’m looking for muffins that are a reasonable size, are hearty, have a lovely texture with a coarse crumb (not cake-like), and are filled with flavour.
Deli-style Gluten-free Rhubarb Granola Muffins
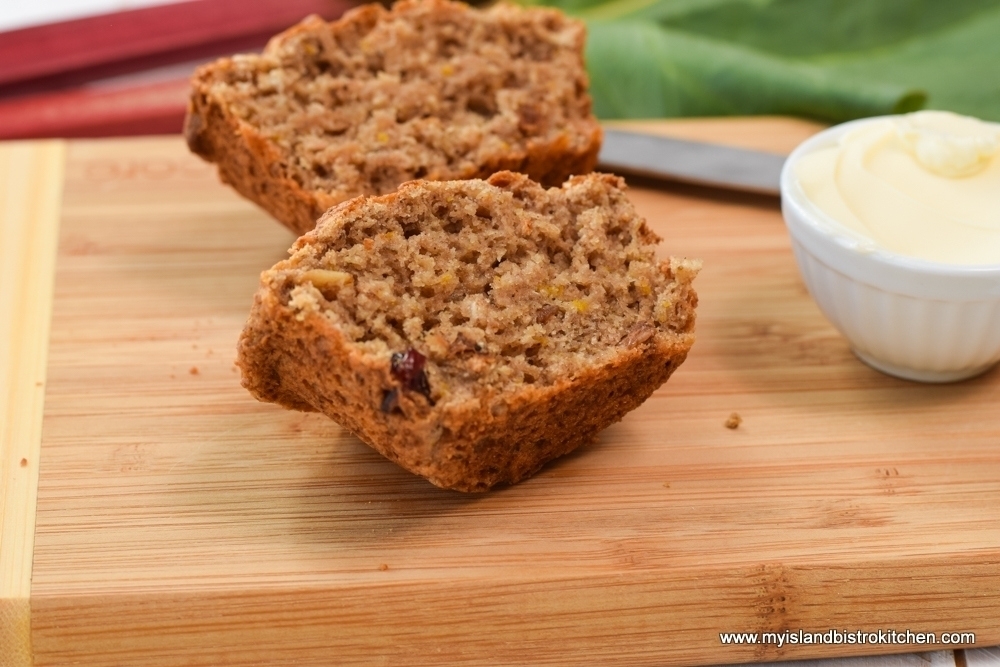
Muffins are, for lack of a better way of putting it, little individual quick breads. We all know that, appearance-wise, the perfect muffin should bear a slightly domed top that has a bit of firmness to it. There are a combination of factors that will contribute to that desired result — the right amount of leavening, the consistency of the batter, and the oven temperature.
Deli-style Gluten-free Rhubarb Granola Muffins
Rhubarb is, by nature, tart. However, it is important not to over-do the sugar content in the muffins because too much sugar will create a cake-like texture and the moist, open tender crumb, which is a hallmark feature of muffins, will be lost and you will end up with a product that more closely resembles a cupcake. A batter that is too runny will pose the risk of muffins that will rise to form stiff mountain peaks. Adding some Greek yogurt to the batter is one way to thicken it up and reduce this risk. Of course, the addition of the right proportions of leavening (baking powder and baking soda) are key. Having the muffins go into a really hot oven to start them baking is also key to getting a lovely gentle dome on the muffin tops. Using the high temperature allows the outside of the muffin to quickly set while still allowing the inside to continue to rise.
Since I have been developing gluten-free muffins, one thing I have discovered is that I end up with better quality, deli-style muffins when I use a blend of gluten-free flours versus, say, one all-purpose flour or only the one-to-one gluten free flour. Each gluten-free flour has its own unique qualities and properties and the right blend will provide structure, texture, and flavour to the muffins. The addition of granola to these muffins adds texture, flavour, and bulk to the muffins, making them more hearty and filling.
Deli-style Gluten-free Rhubarb Granola Muffins
[Printable recipe follows at end of posting]
Gluten Free Rhubarb Granola Muffins
Ingredients:
3½ oz rhubarb, chopped into ½ inch pieces 1½ tbsp orange juice
1 cup one-to-one gluten-free flour 2 tbsp potato starch ¼ cup gluten-free oat flour ¼ cup almond flour ¼ cup coconut flour ¾ tsp xanthan gum ¼ cup gluten-free quick oats 5½ tsp baking powder ½ tsp baking soda ½ tsp salt 1½ tbsp ground chia seeds 1¾ tsp cinnamon ¼ tsp cloves ½ tsp nutmeg 1/8 tsp ginger ¼ tsp allspice 2 tsp finely grated orange rind 2/3 cup granola
2/3 cup light brown sugar, lightly packed 2 extra-large eggs, room temperature, lightly beaten ¼ cup coconut oil, melted and cooled 1½ tsp vanilla 1½ tbsp orange juice ½ cup whole milk 2 tbsp pure maple syrup 1/3 cup cooled rhubarb purée 2 tbsp Greek style coconut yogurt or sour cream 1½ tsp rose water (optional)
Method:
In small sauce pan, combine the rhubarb and orange juice. Cook over medium-low heat until rhubarb is softened. Cool slightly then, using the back of a large spoon, mash up the rhubarb or, alternatively, use a handheld immersion blender to purée the rhubarb. Set aside to cool completely.
Preheat oven to 450°F.
Prepare 12 muffin cups (each ½-cup capacity) by spraying each muffin cup with cooking spray or greasing individually.
Combine flours, xanthan gum, quick oats, baking powder, soda, salt, ground chia seeds, spices, and grated orange rind together in a large bowl. Whisk ingredients well to combine. Stir in granola. Make a well in the center of the dry ingredients. Set aside.
In separate medium-sized bowl or large measuring cup, whisk together the brown sugar, eggs, coconut oil, vanilla, orange juice, milk, maple syrup, Greek yogurt or sour cream, and rose water (if using). Whisk ingredients well. Stir in cooled rhubarb purée.
Pour wet ingredients into well in dry ingredients. With large spoon, mix ingredients together just until dry ingredients are fully incorporated. Do not overmix.
Spoon batter into prepared muffin cups, filling almost to the rim of each cup. Transfer to pre-heated oven and immediately reduce oven temperature to 400°F. Bake for 20-22 minutes, or until muffins are just firm to the touch and a cake tester inserted into center of a muffin comes out clean. Do not overbake or muffins will be dry. Remove from oven and let muffins rest in pans for 5-7 minutes then gently remove from pan and transfer to wire rack to cool completely. Muffins freeze well.
Recipe Notes
Link to granola recipe: https://myislandbistrokitchen.com/2016/03/08/the-bistros-great-nut-free-granola/
For other gluten-free muffin recipes from My Island Bistro Kitchen, click on the links below:
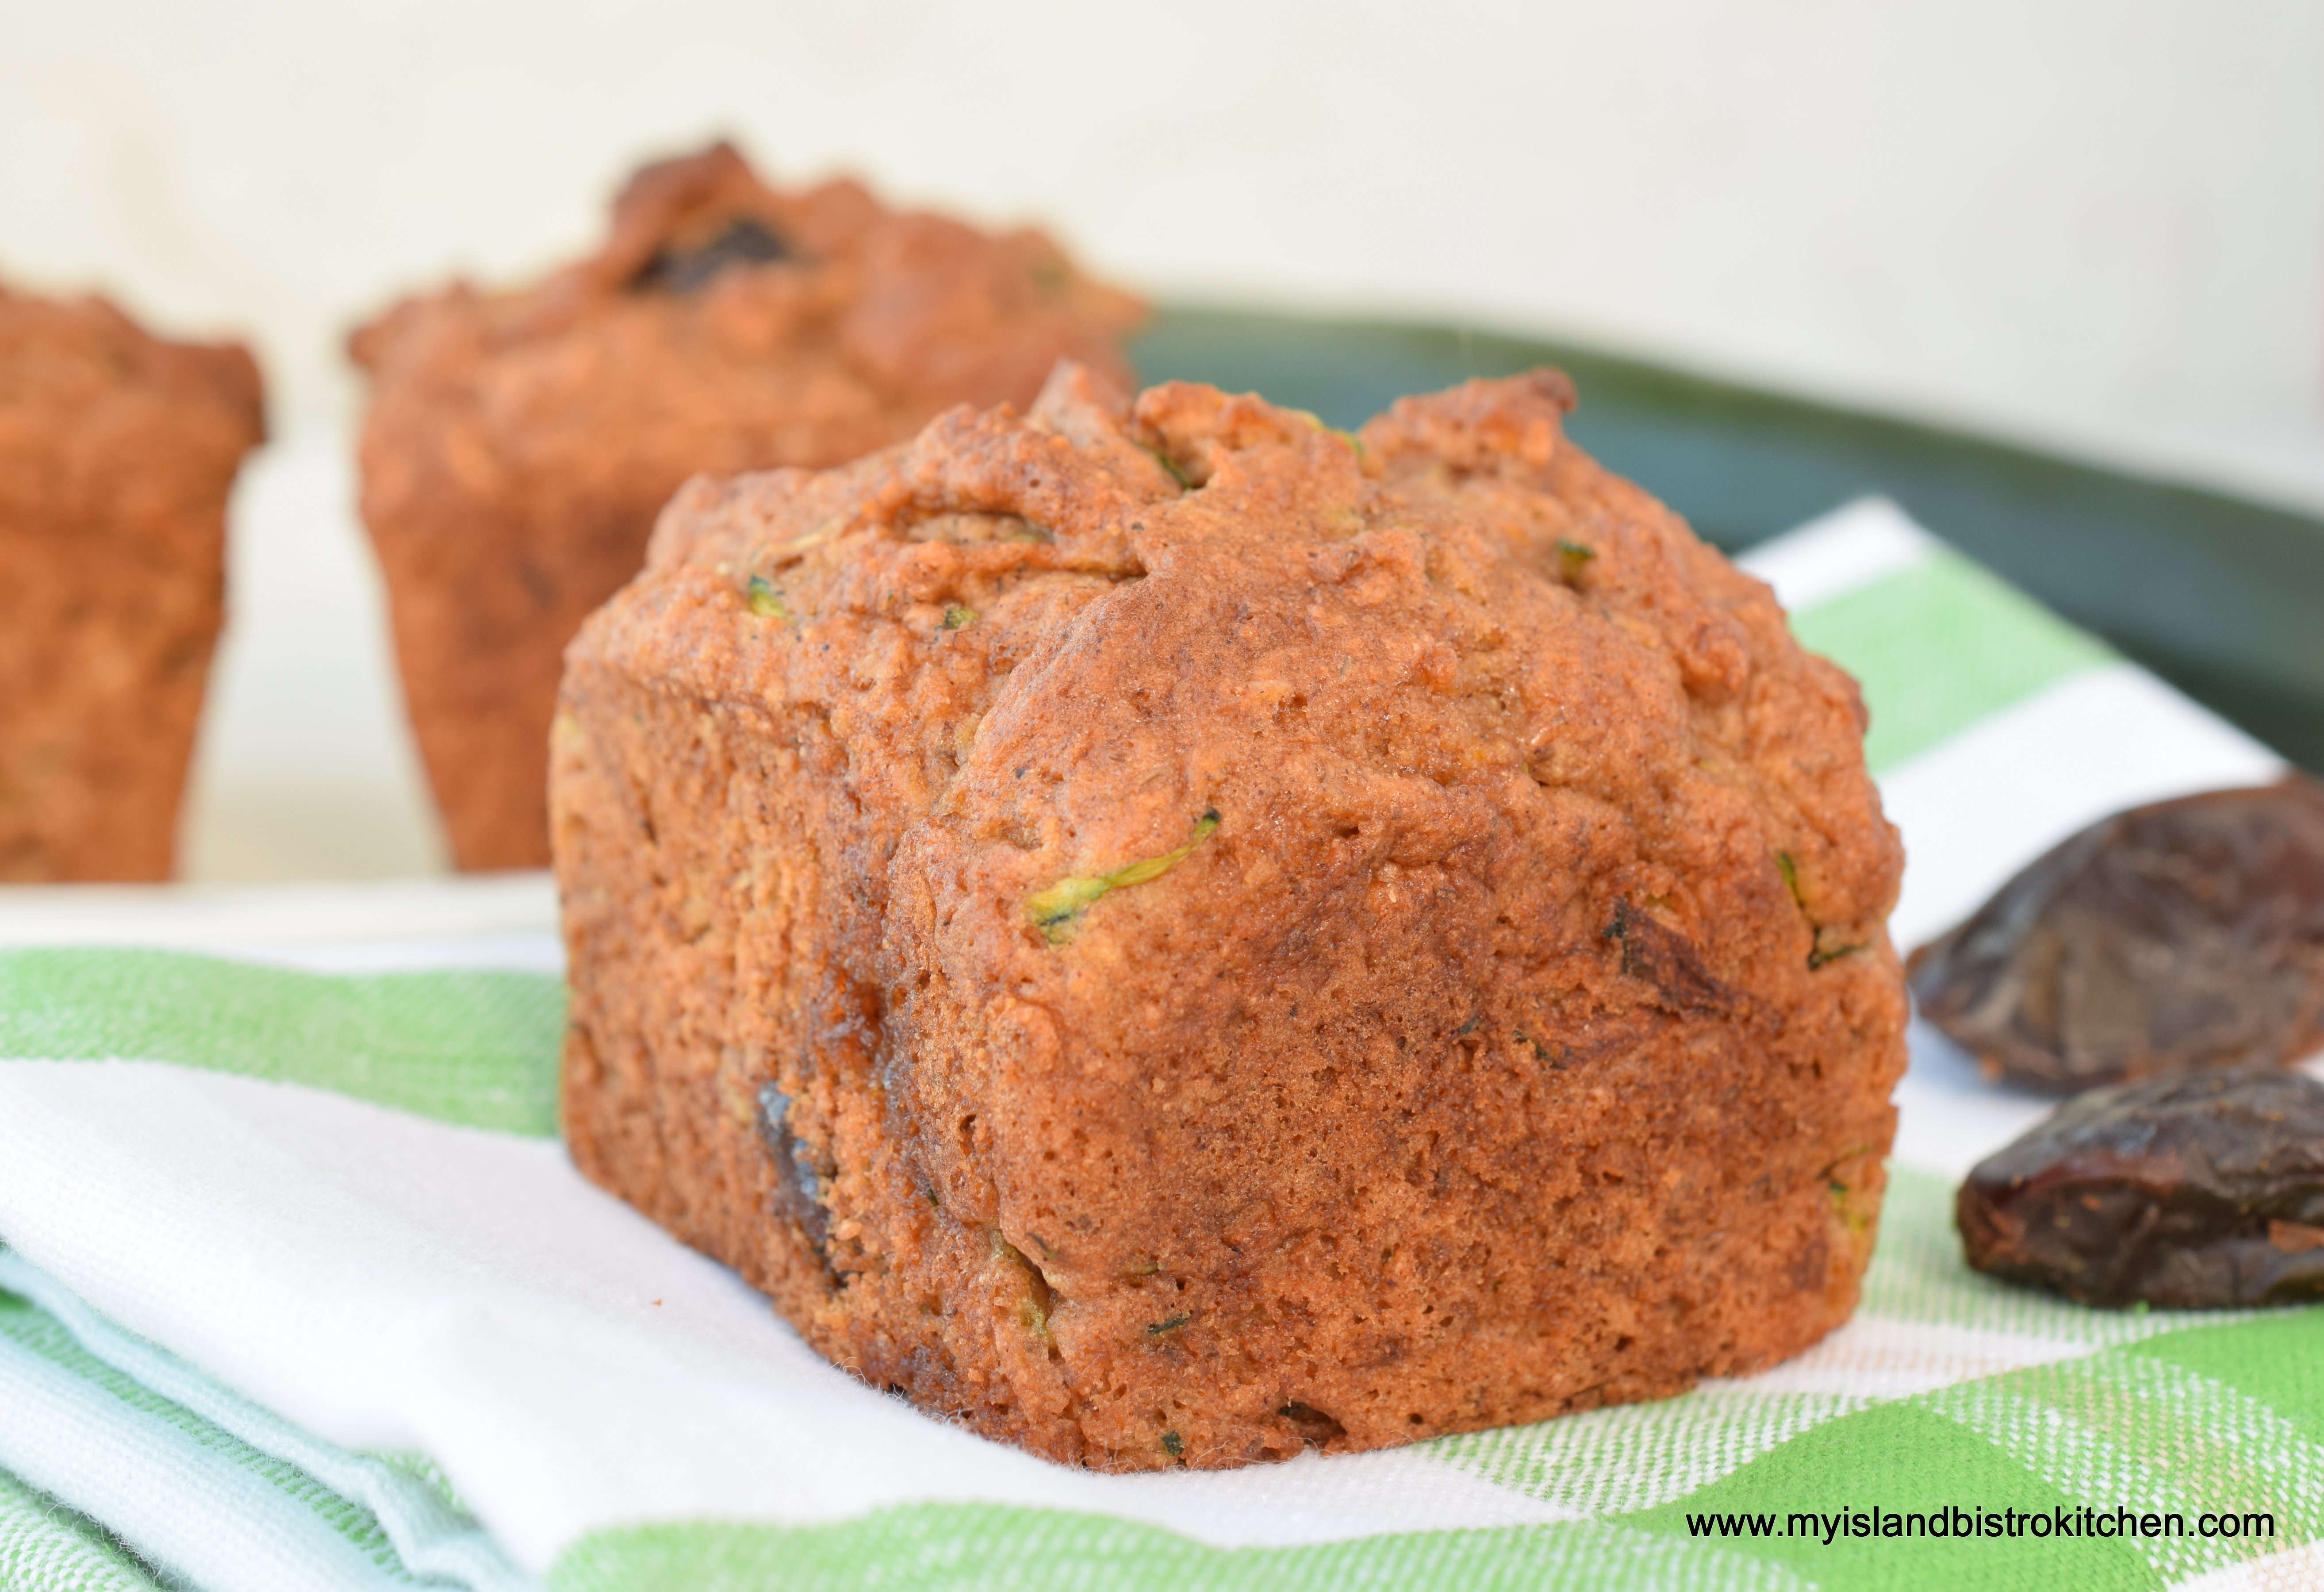
These Gluten-Free Zucchini Date Muffins will rival any traditional wheat-based muffins! They sport a lovely gently domed top that is the hallmark of a perfect muffin shape, they are packed full of flavor, and they have a lovely tender, moist crumb. Continue reading The Ultimate Gluten-Free Zucchini Date Muffins→
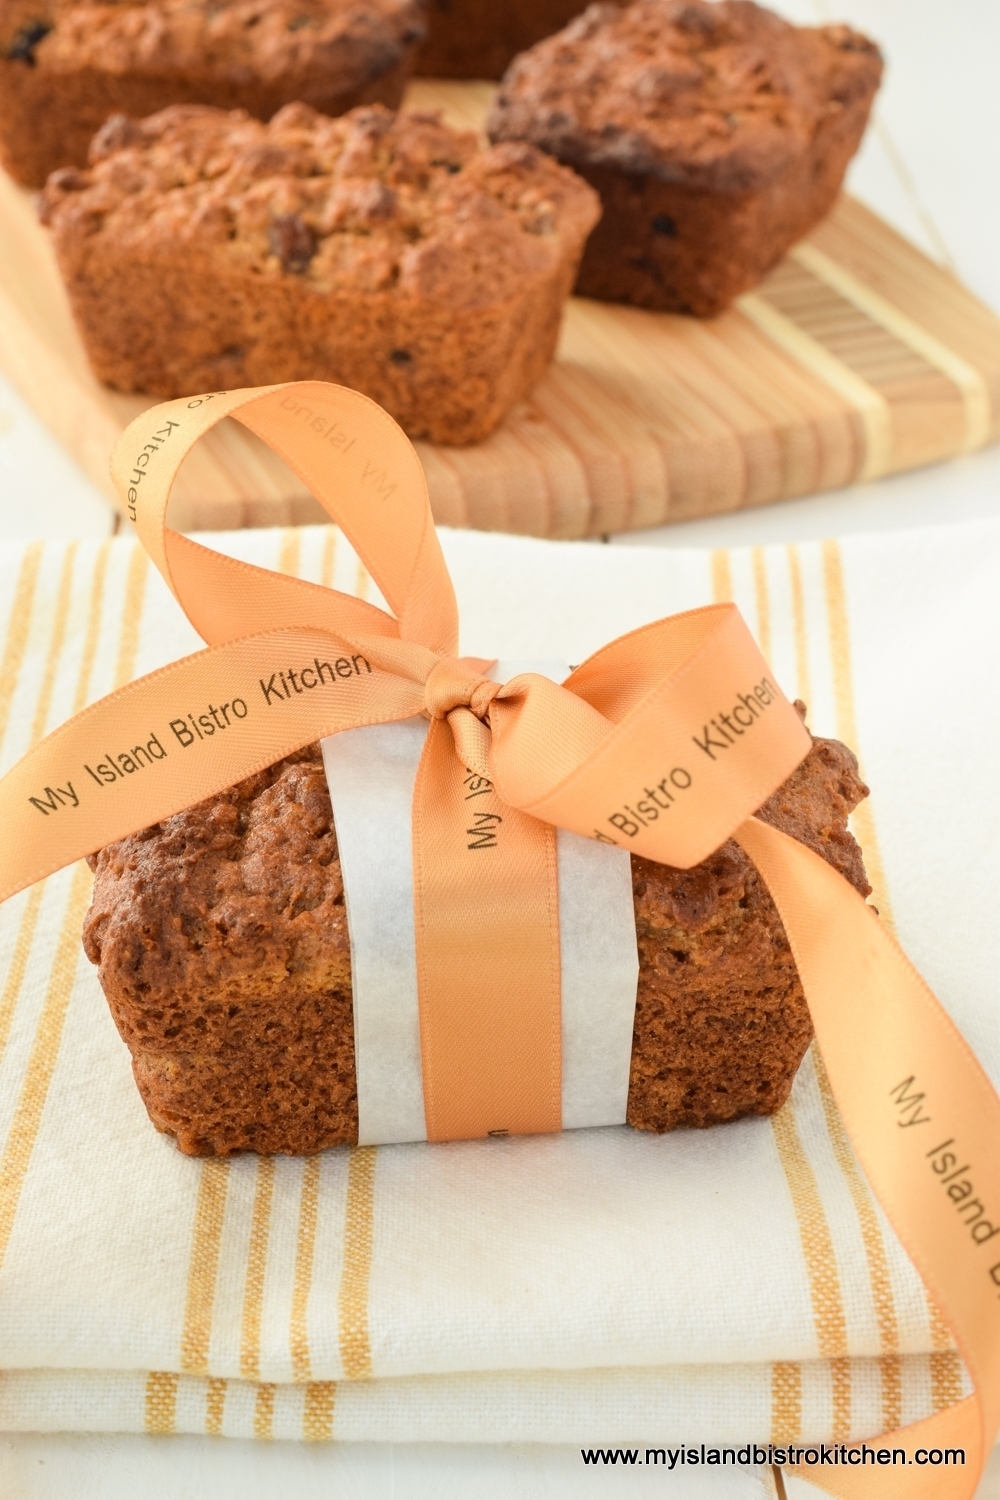
These Gluten-Free Pumpkin-Mincemeat Muffins or mini loaves are super tasty and it’s hard to tell they are gluten-free! I believe this is so because I use a mix of gluten-free flours that include almond and coconut flours which lend exceptional texture and flavour to baked goods. Continue reading Gluten-Free Pumpkin-Mincemeat Muffins→
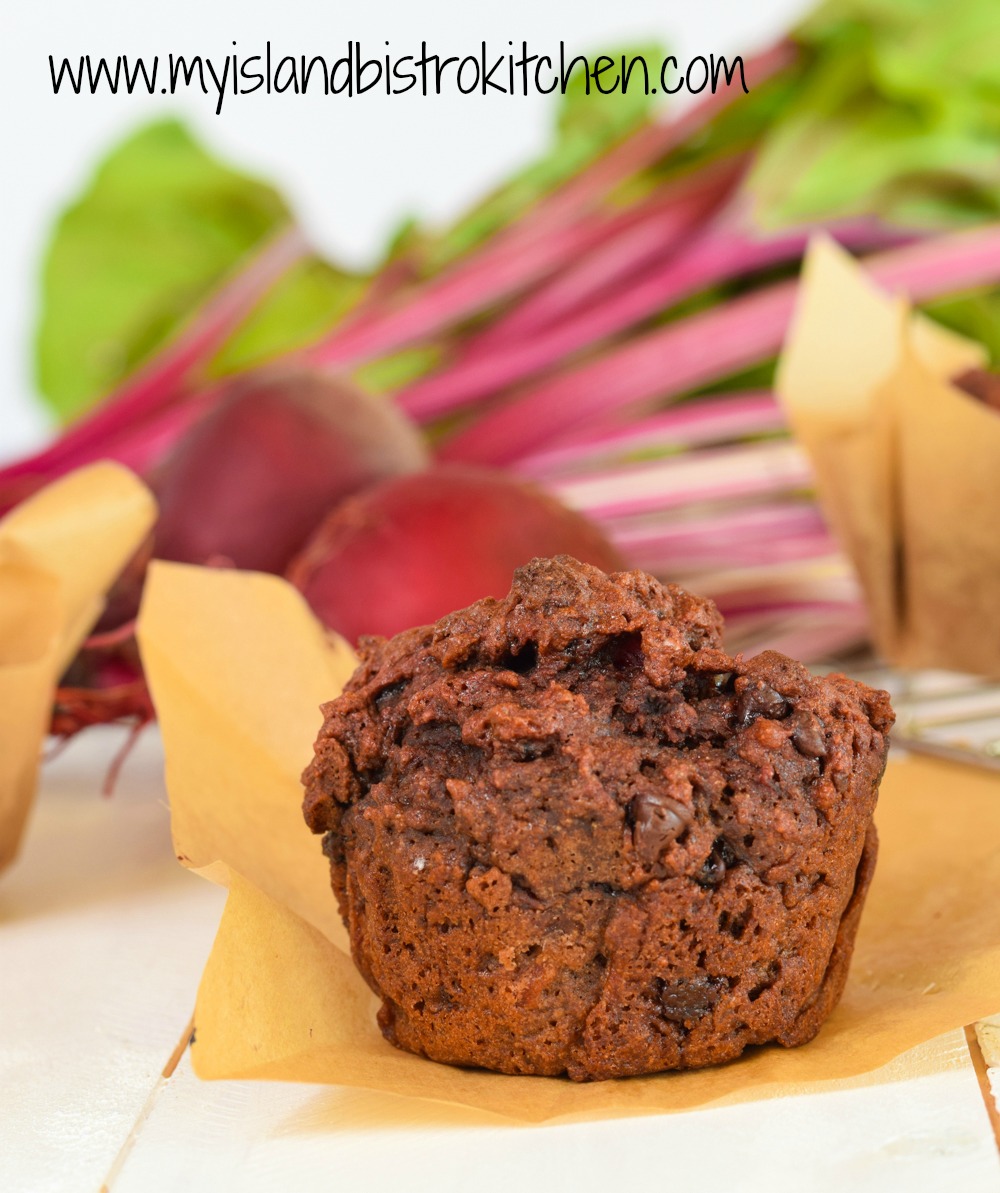
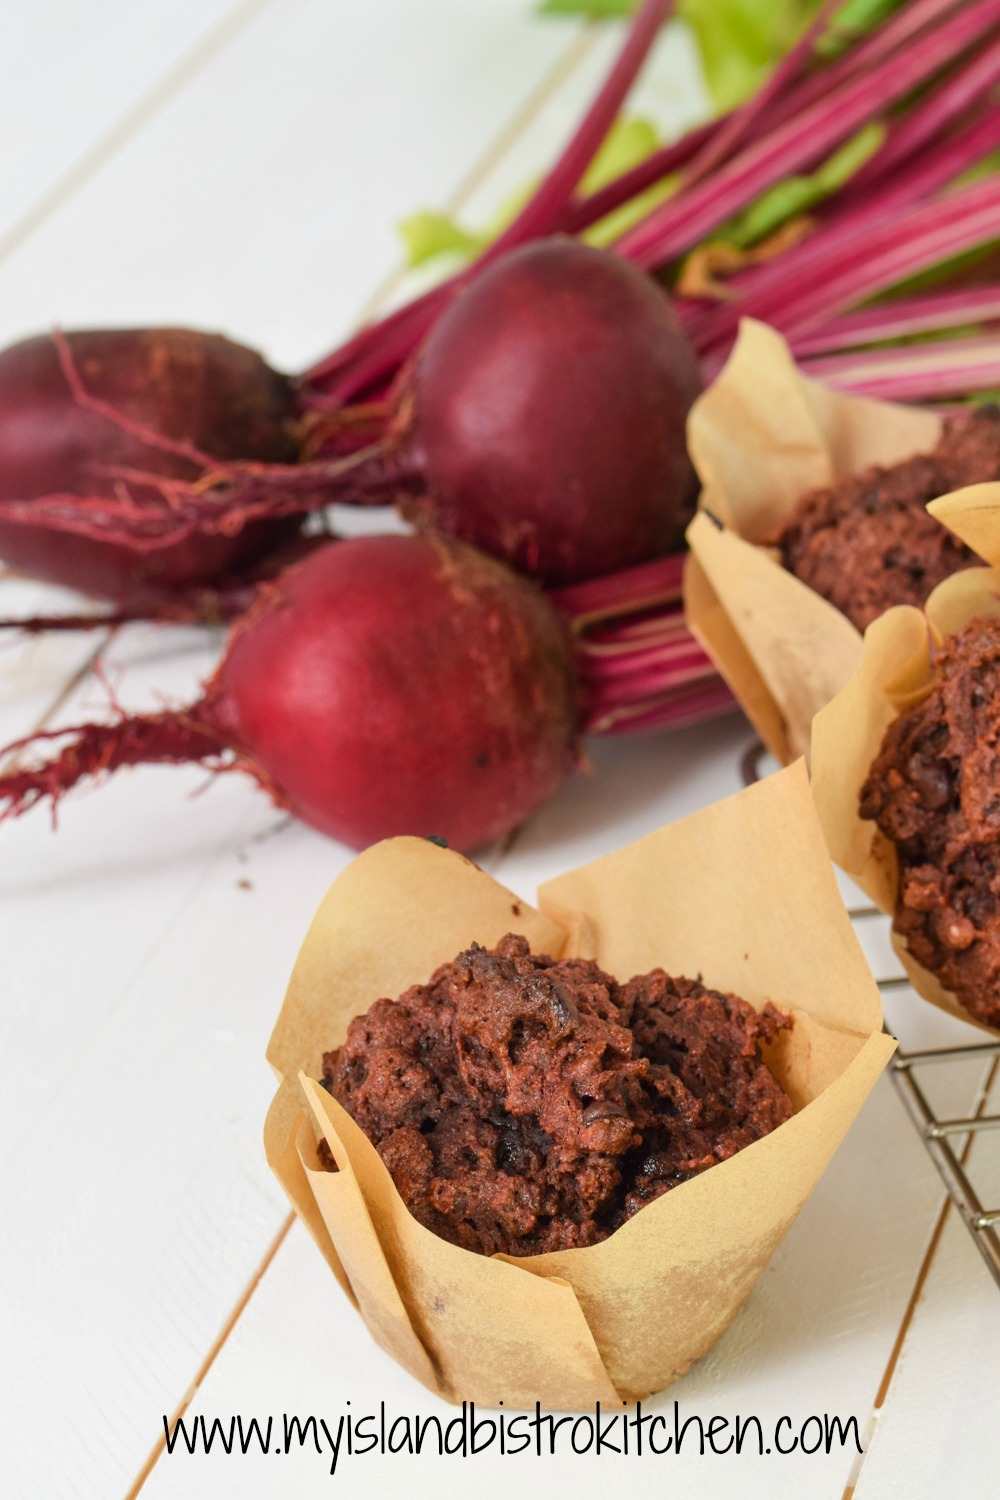
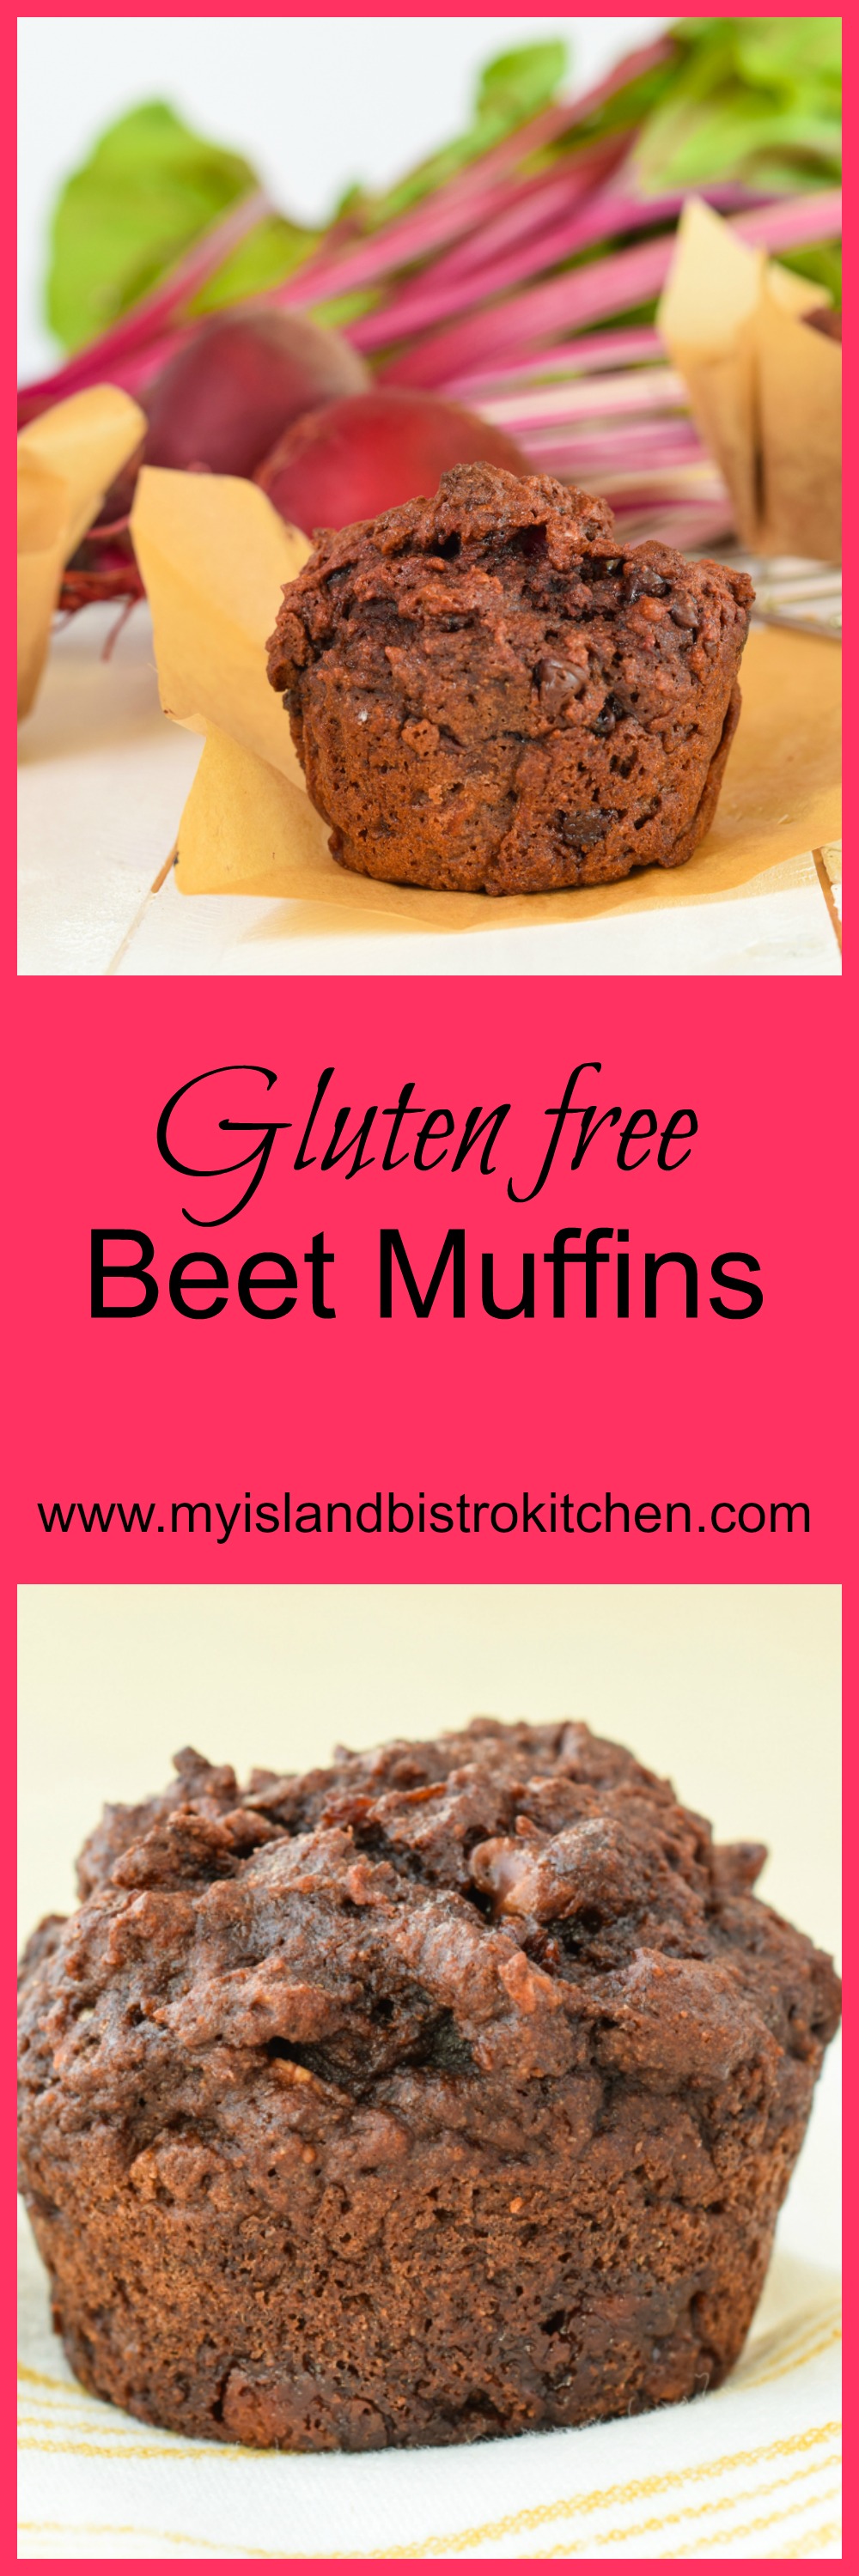
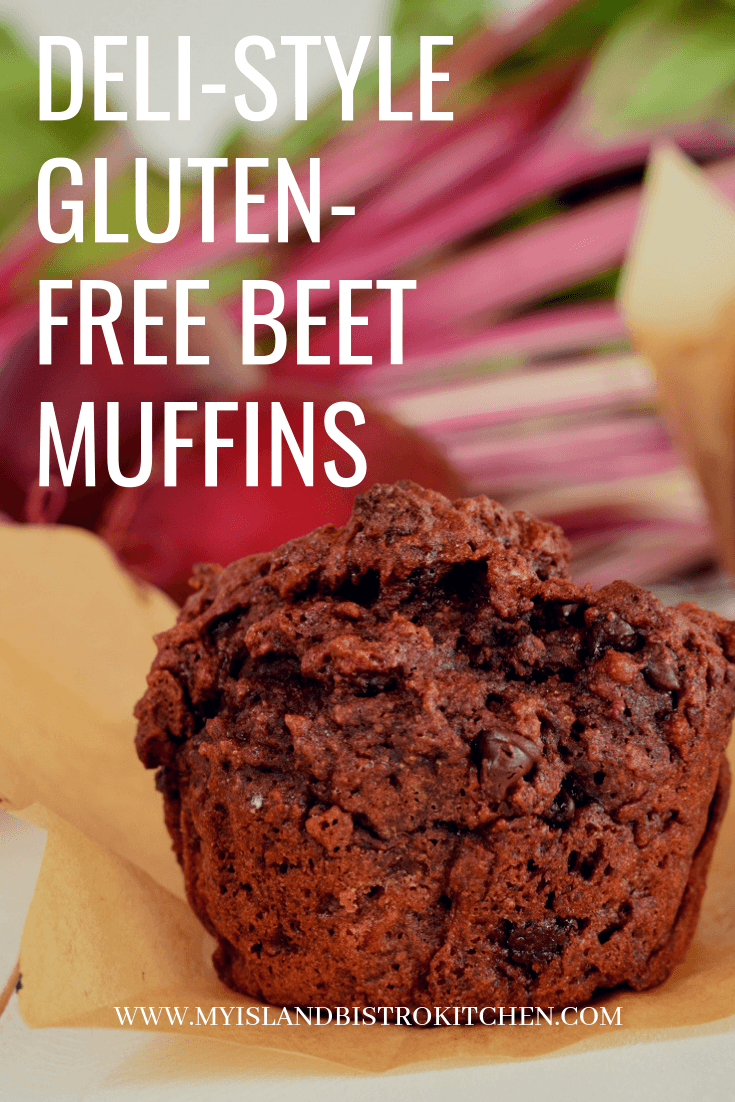
We have all heard of carrot muffins and don’t think twice about including the carrot vegetable into baked goods. What is less commonly heard of is the use of beets for the same purpose. Today, I am sharing my newly-created and tested recipe for deli-style gluten-free beet muffins which are moist and packed full of wonderful flavor. This is definitely in the category of “don’t knock it till you’ve tried it“!
Beets
Our garden did extremely well this year and our beets, in particular, grew very well….to the point that we had way more than what we could eat fresh or pickled. I am always looking to add new gluten-free muffins to my recipe repertoire so, with an abundance of beets available, I figured this was a good time to experiment with them and I am very pleased with the results. These deli-style gluten-free beet muffins have undergone several testings, in different ovens, and have produced consistently good results to the point that I am ready to publish my recipe here on my website.
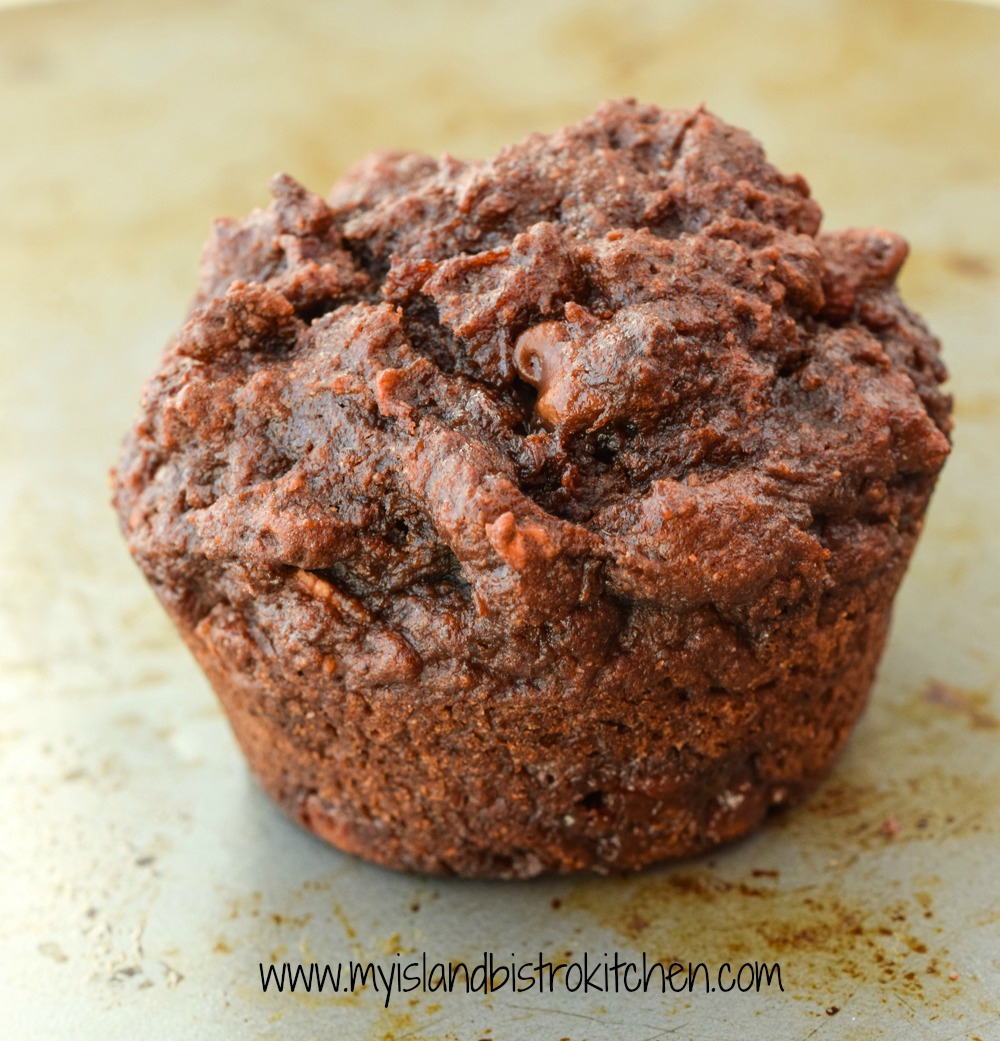
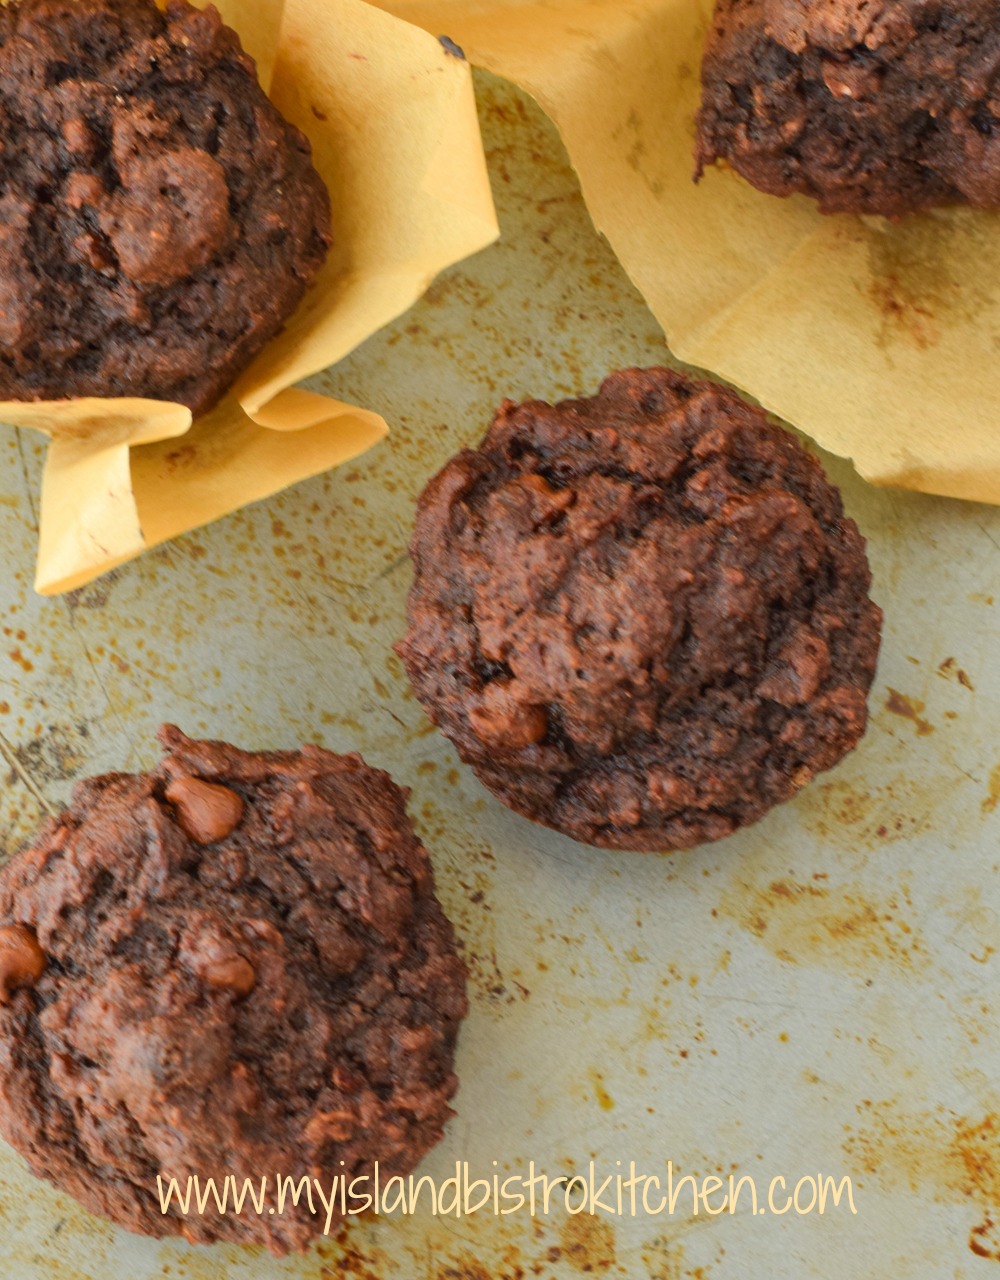
Gluten-Free Beet Muffin
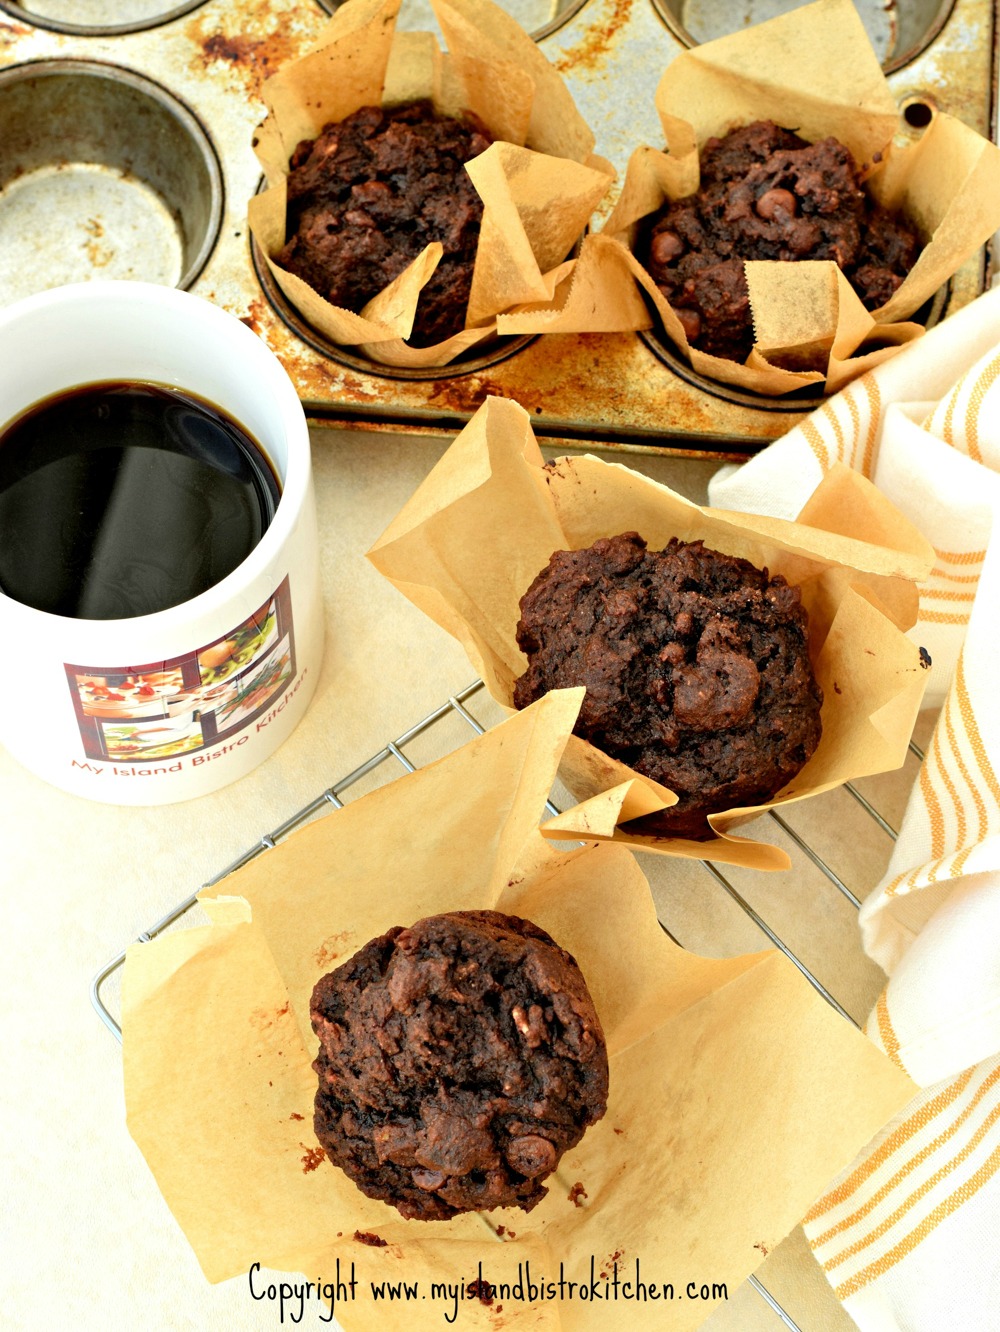
For those of you who follow a gluten-free diet, you are likely aware that it is often difficult to get good quality baked goods that reasonably replicate gluten baked goods and that are appetizing and tasty. I have been doing a lot of experimenting with gluten-free recipe creation over the past while and am having very good results, particularly with muffins. I love a muffin for coffeebreak at work every day and I absolutely detest any muffin with a flat top! I expect my muffins to resemble deli-style muffins – those that are beautifully raised, with the dome top, and are a reasonably good sized muffin.
Gluten-free Beet Muffins
In order to get that deli-style muffin, I have learned that gluten-free muffins take more leavening. This is probably due to the properties in the gluten-free flours and they obviously must take more leavening. I find some gluten-free flours produce baked goods that have a “gritty” texture to them while others will result in a “gummy” textured product, and still others can have an offputting taste that is just not very appetizing. I have come up with a flour mixture blend that alleviates these issues and I attribute a lot of that to my use of small amounts of almond and coconut flours in my baked products. These flours cannot be used cup-for-cup substitutions for all-purpose flours because they react to liquid differently and, hence, the use of them in any quantity requires modifications to the liquid content in a recipe. However, small amounts of them can be used and I find they do enhance both the texture and certainly the flavor of baked goods like cookies and muffins.
Gluten-free Beet Muffin
The other thing I have learned about gluten-free baking is that the addition of several flavor enhancers greatly improves the flavor of the baked product. This is where the use of yogurt, vegetables (such as beets), maple syrup, cocoa, and so forth come in. For this beet muffin recipe, I use a thick Mediterranean-style/Greek yogurt. Many recipes will call for the use of plain yogurt and that certainly works in this muffin recipe. However, I have also tested it with coconut and lavender (yes, lavender!) flavored yogurts and both are very good in these muffins. Don’t substitute regular yogurt for the thick Mediterranean-style yogurt in this recipe as the regular yogurt will be too watery and will change the ratio of wet-to-dry ingredients in the muffins.
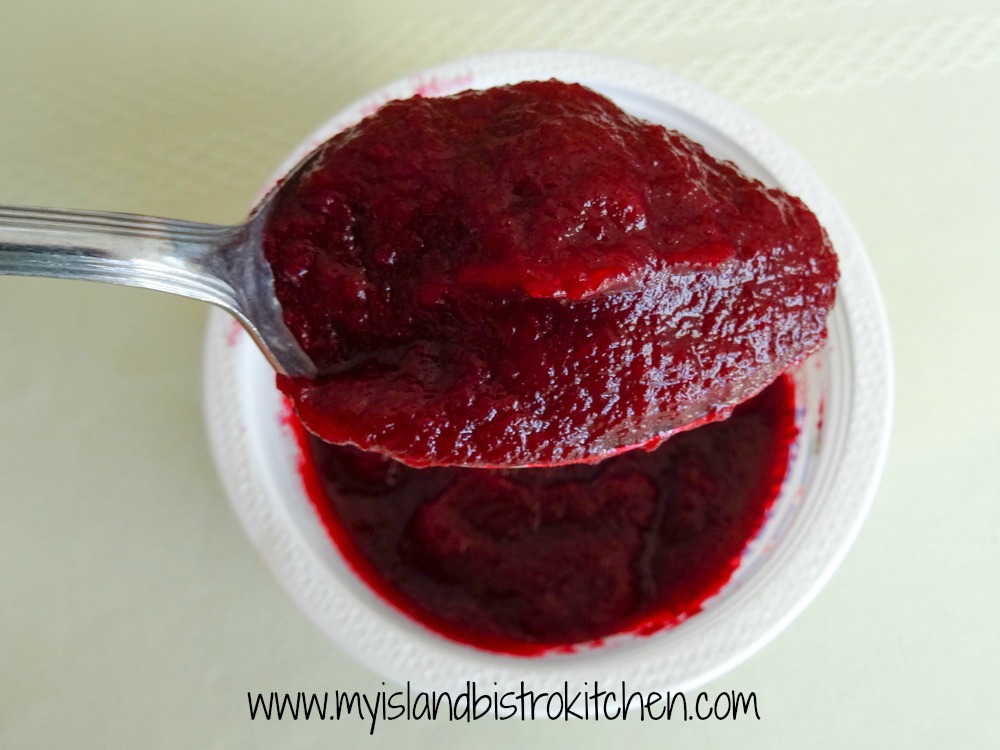
For this recipe, I incorporate beets in two ways – as a purée and in shredded form. The purée should be of the consistency of applesauce or baby food and should look like this.
Beet Purée
A small food processor or blender works well for the purée but I often use my immersion blender. If the beets are soft enough, the immersion blender will work. I use my tall 2-cup measuring cup when using the immersion blender to purée these beets as it contains any splatters – you really do see how red beets can be if you find splatters on the wall!
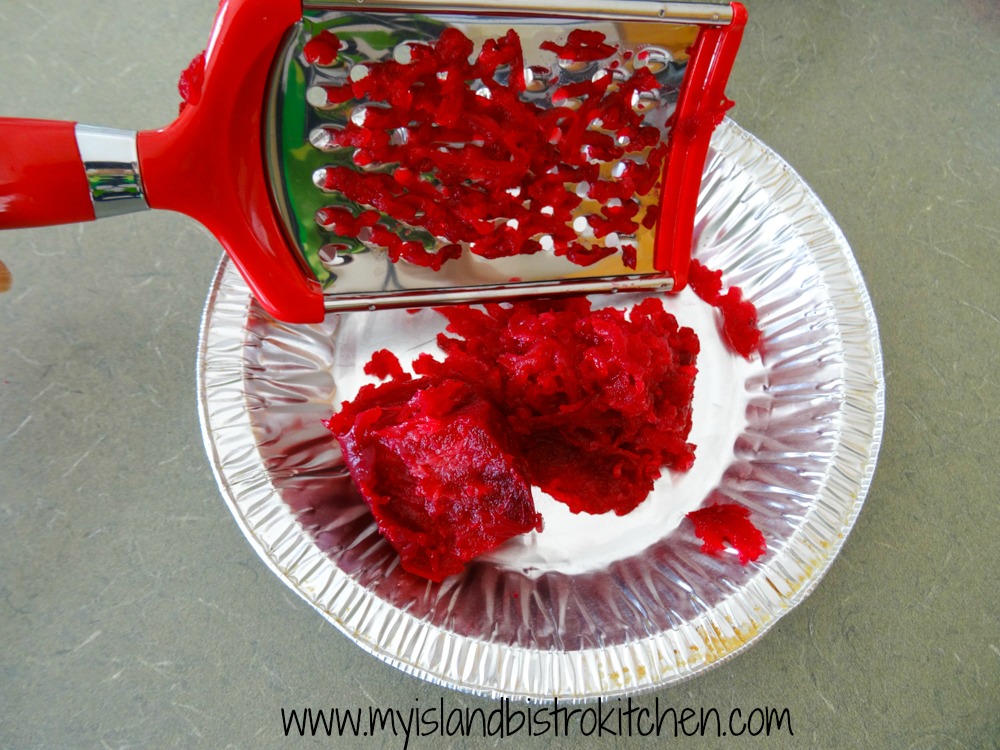
To shred the remaining beet(s) required for the recipe, I use a simple shredder like the one shown in the photo below. As you can see, the beets are shredded rather coarsely.
Shredded Cooked Beets
Some recipes call for shredded uncooked beets to be used in muffins; however, these muffins only take about 20 minutes to bake and, since beets are firm and take a while to cook I find, to ensure the beets are cooked in the muffins, I have better success using cooked beets in this recipe. Both the beet purée and shredded beets give these muffins flavor and moisture.
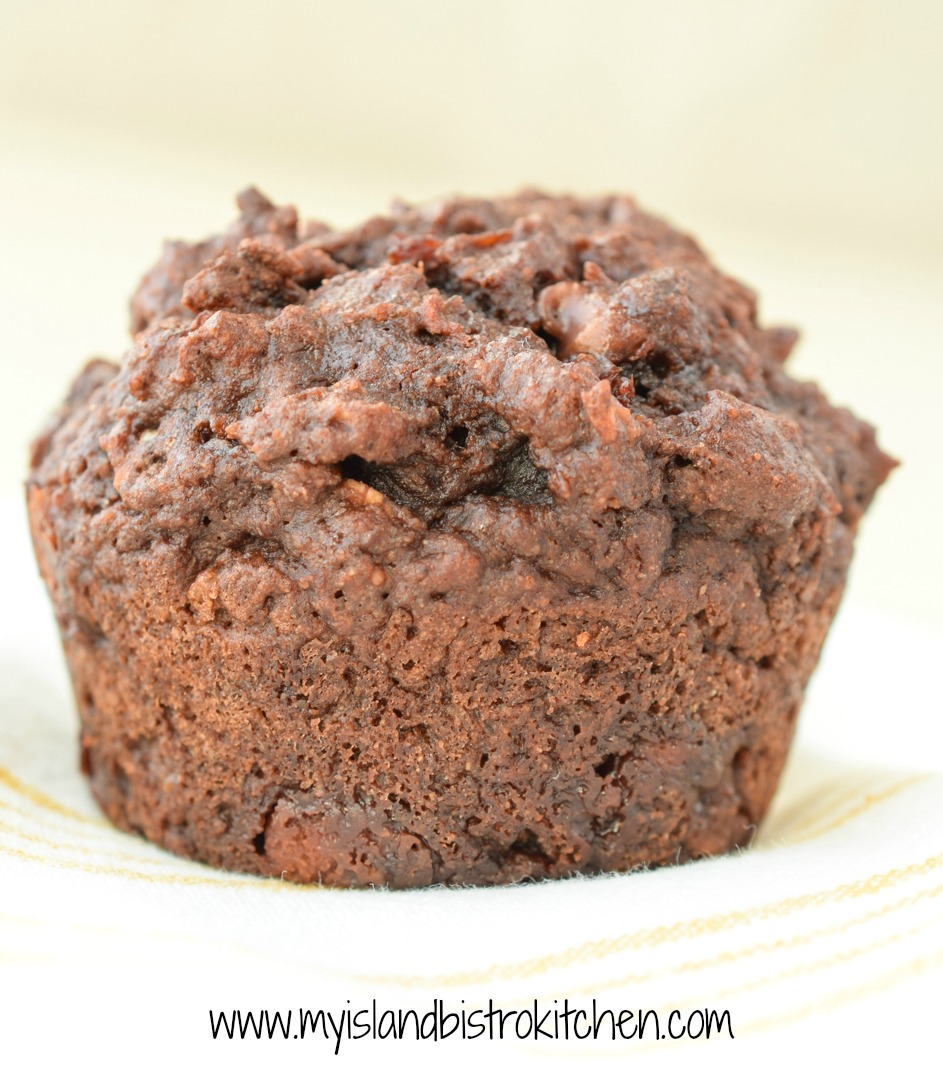
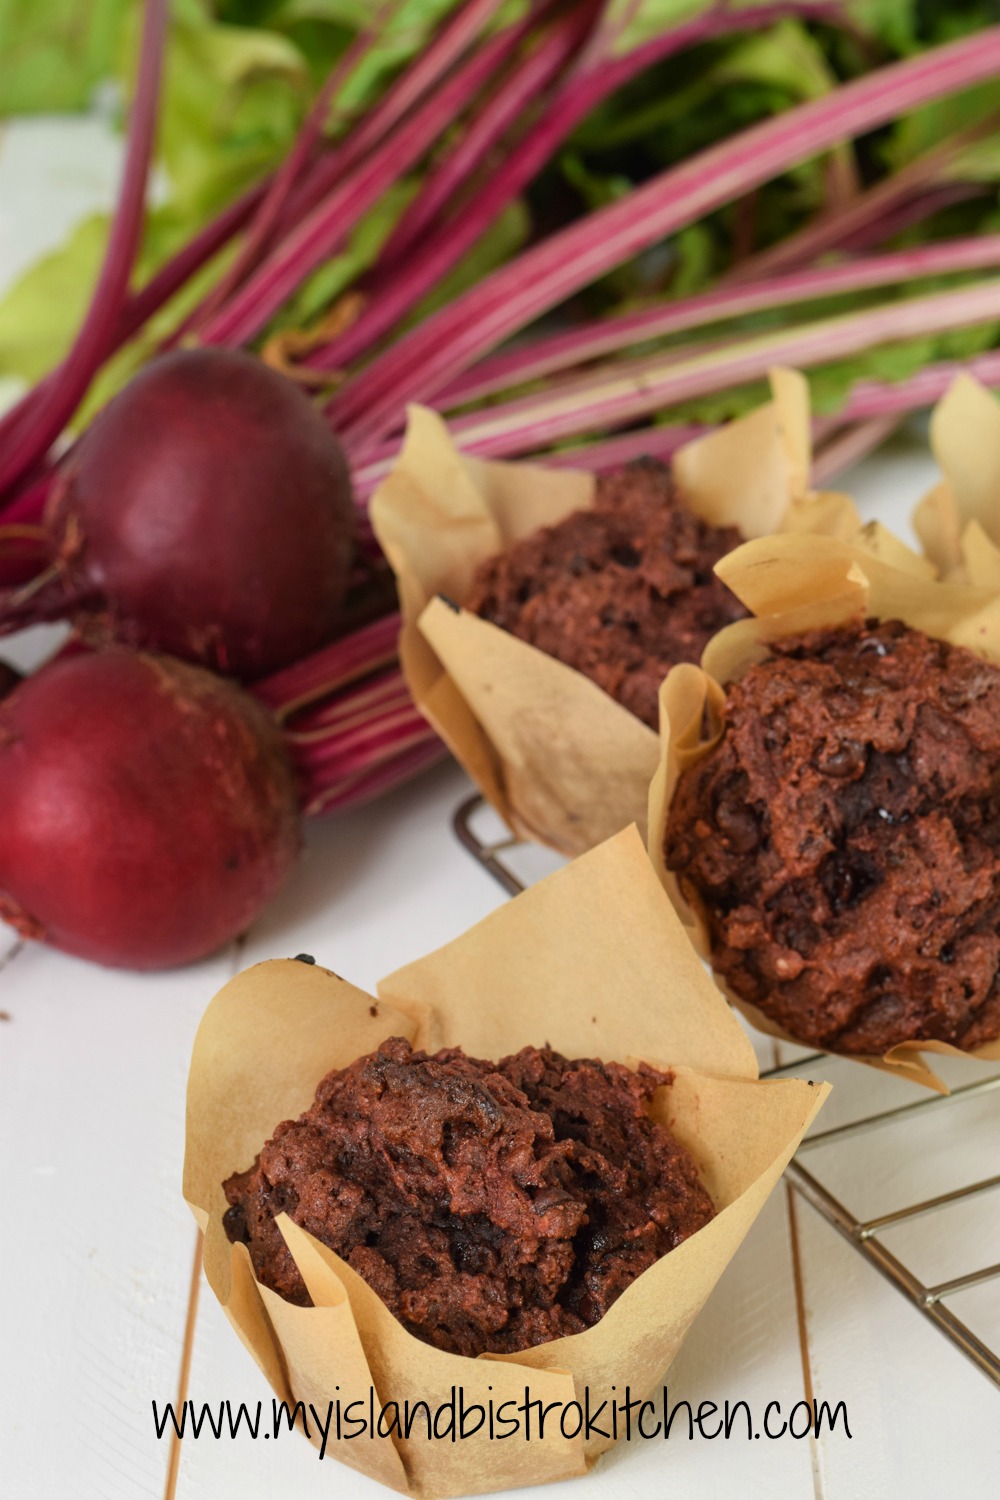
Gluten-free Beet Muffins
I love chocolate so have incorporated some cocoa and chocolate chips into the muffins as both add lovely flavor to the baked product.
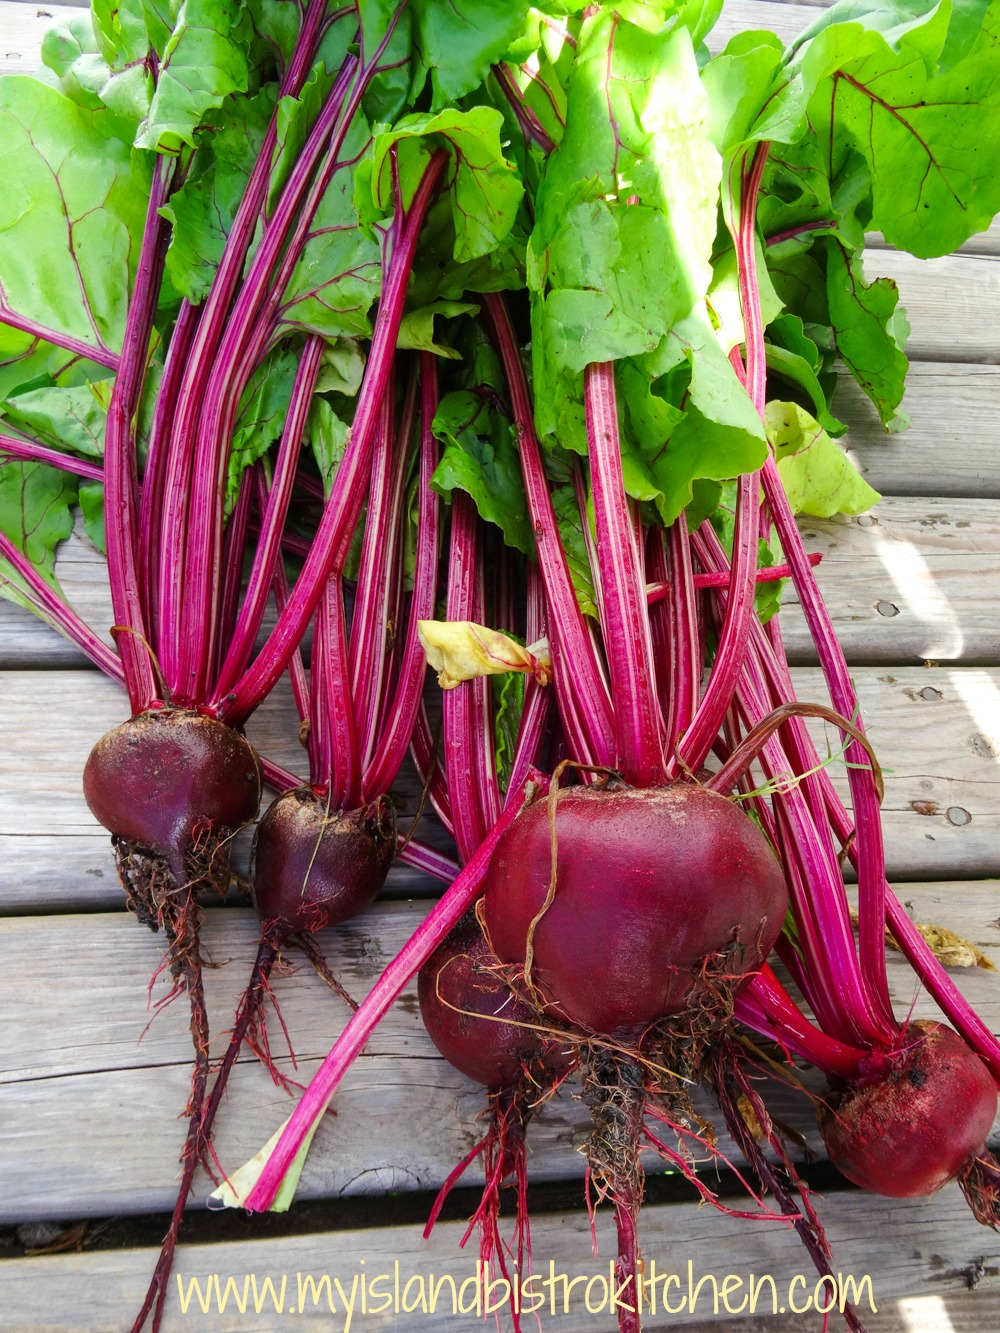
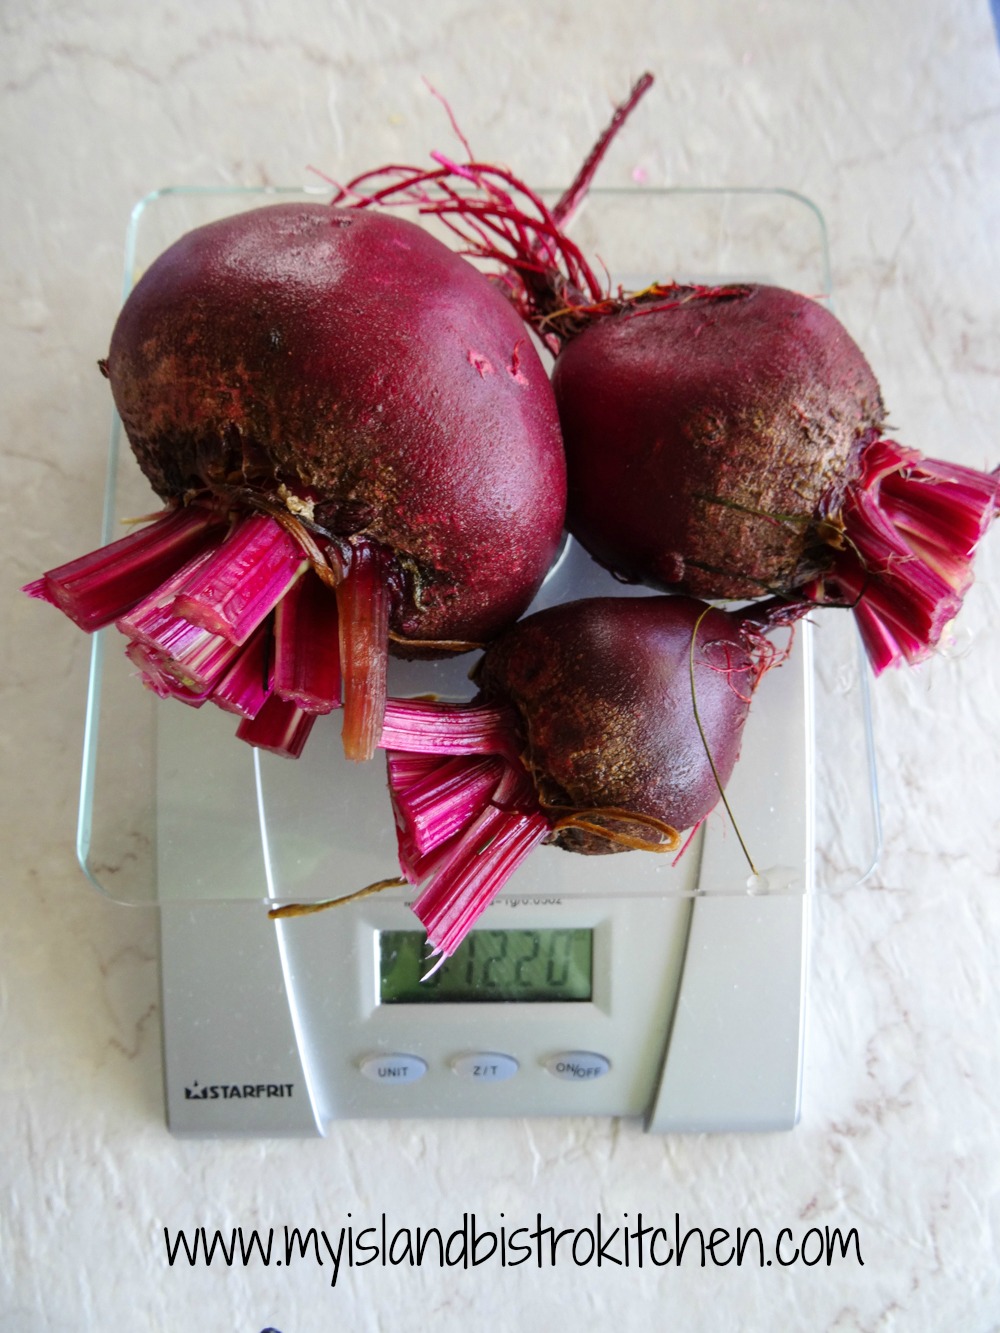
While I cook the beets especially for these muffins, if you happen to have cooked too many beets for another purpose, these muffins would be a good way to use the left-over beets. Three-quarters of a pound of beets (weighed after leaves removed) are required for this recipe. The ones in the photo below are from our garden so, as you can see, they are of varying sizes! Just know that the bigger beet is going to take longer to cook to fork-tender state. Don’t split the beets before they are cooked as they will bleed and their goodness will be poured down the drain.
Beets
As always, make sure that all the ingredients called for in the recipe are gluten free.
Gluten-free Beet Muffins
These are great muffins to make in the summer and fall when you have fresh beets in the garden or can access them at local farmers markets or roadside farm market stands. These muffins freeze well.
[Printable recipe follows at end of posting]
Gluten-Free Beet Muffins
Ingredients:
¾ lb beets
1 cup gluten-free all-purpose flour (or gluten-free one-to-one flour) 1/3 cup gluten-free oat flour ¼ cup almond flour ¼ cup coconut flour 2 tbsp arrowroot starch 1¼ tsp xanthan gum ¼ cup gluten-free small flake rolled oats 5½ tsp baking powder ½ tsp baking soda ½ tsp salt 2 tbsp ground chia seeds 1/3 cup cocoa Scant 2/3 cup brown sugar, lightly packed ¾ tsp cinnamon
2 extra-large eggs, room temperature, lightly beaten ½ cup almond milk or whole milk ¼ cup coconut oil, melted and cooled 1/3 cup Mediterranean-style/Greek yogurt (plain, coconut, or lavender flavor) 4 oz beet purée (see method below) 2 tbsp maple syrup 1½ tsp vanilla ½ cup shredded cooked beets
½ cup chocolate chips (optional)
Method:
Remove leaves, leaving about 1½“ stems along with the roots on the beets. Wash beets. Cook beets in boiling salted water until fork tender. Let beets cool enough to handle, then peel. Loosely chop 4 oz beets into a small food processor or a blender and purée until smooth (an immersion blender may also be used). Consistency of puréed beets should be similar to apple sauce or baby food. Shred remaining beets to fill ½ cup measuring cup.
Preheat oven to 450°F.
Use muffin tins with cups that have ½-cup holding capacity. Prepare muffin tins by greasing or spraying each muffin cup with cooking oil, ensuring the top of the muffin tin is also well greased. Alternatively, line with parchment paper cups.
In large bowl, combine the dry ingredients by whisking very well. Make a well in the middle of the dry ingredients and set aside.
In separate bowl, or large measuring cup, whisk together the lightly beaten eggs, almond or whole milk, coconut oil, yogurt, beet purée, maple syrup, vanilla, and shredded beet.
Pour wet ingredients into well in the dry ingredients. Combine just until dry ingredients are barely incorporated. Do not overmix. Gently stir in the chocolate chips, if using.
Spoon batter into prepared muffin tins, filling almost to the muffin cup rim. Let batter sit for 5 minutes before baking.
Transfer muffins to oven and immediately reduce heat to 400°F. Bake 20-22 minutes or until muffins are just firm to the touch and a cake tester inserted into the center of a muffin comes out clean.
Let muffins rest in muffin cups for 5-7 minutes then gently remove from pan and transfer to wire rack to cool completely.
1/3 cup Mediterranean-style/Greek yogurt (plain, coconut, or lavender flavor)
4 oz beet purée (see method below)
2 tbsp maple syrup
1½ tsp vanilla
½ cup shredded cooked beets
½ cup chocolate chips (optional)
Instructions
Remove leaves, leaving about 1½“ stems along with the roots on the beets. Wash beets. Cook beets in boiling salted water until fork tender. Let beets cool enough to handle, then peel. Loosely chop 4 oz beets into a small food processor or a blender and purée until smooth (an immersion blender may also be used). Consistency of puréed beets should be similar to apple sauce or baby food. Shred remaining beets to fill ½ cup measuring cup.
Preheat oven to 450°F.
Use muffin tins with cups that have ½-cup holding capacity. Prepare muffin tins by greasing or spraying each muffin cup with cooking oil, ensuring the top of the muffin tin is also well greased. Alternatively, line with parchment paper cups.
In large bowl, combine the dry ingredients by whisking very well. Make a well in the middle of the dry ingredients and set aside.
In separate bowl, or large measuring cup, whisk together the lightly beaten eggs, almond or whole milk, coconut oil, yogurt, beet purée, maple syrup, vanilla, and shredded beet.
Pour wet ingredients into well in the dry ingredients. Combine just until dry ingredients are barely incorporated. Do not overmix. Gently stir in the chocolate chips, if using.
Spoon batter into prepared muffin tins, filling almost to the muffin cup rim. Let batter sit for 5 minutes before baking.
Transfer muffins to oven and immediately reduce heat to 400°F. Bake 20-22 minutes or until muffins are just firm to the touch and a cake tester inserted into the center of a muffin comes out clean.
Let muffins rest in muffin cups for 5-7 minutes then gently remove from pan and transfer to wire rack to cool completely.
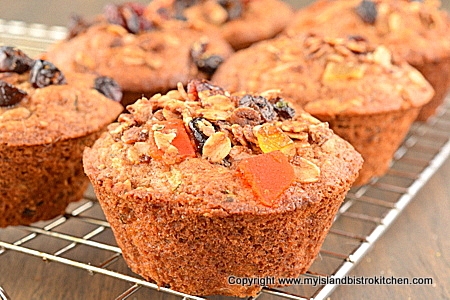
I make a lot of muffins and freeze them to take to work for coffeebreak snacks. I am always testing out flavour combinations for muffins. This recipe for Zucchini Granola Muffins combines grated zucchini, applesauce, granola, orange rind, and spices to make tasty muffins. Adding some granola to the muffin tops makes them colorful and interesting. Continue reading Best Zucchini Granola Muffins Recipe→
In October, I traveled to Farmington, near Souris, PEI, to watch the wet harvesting of cranberries at Mikita Farms. One of the recipes I developed with the Mikita Farm cranberries is for Cranberry-Banana Eggnog Muffins. Continue reading Cranberry-Banana Eggnog Muffins→
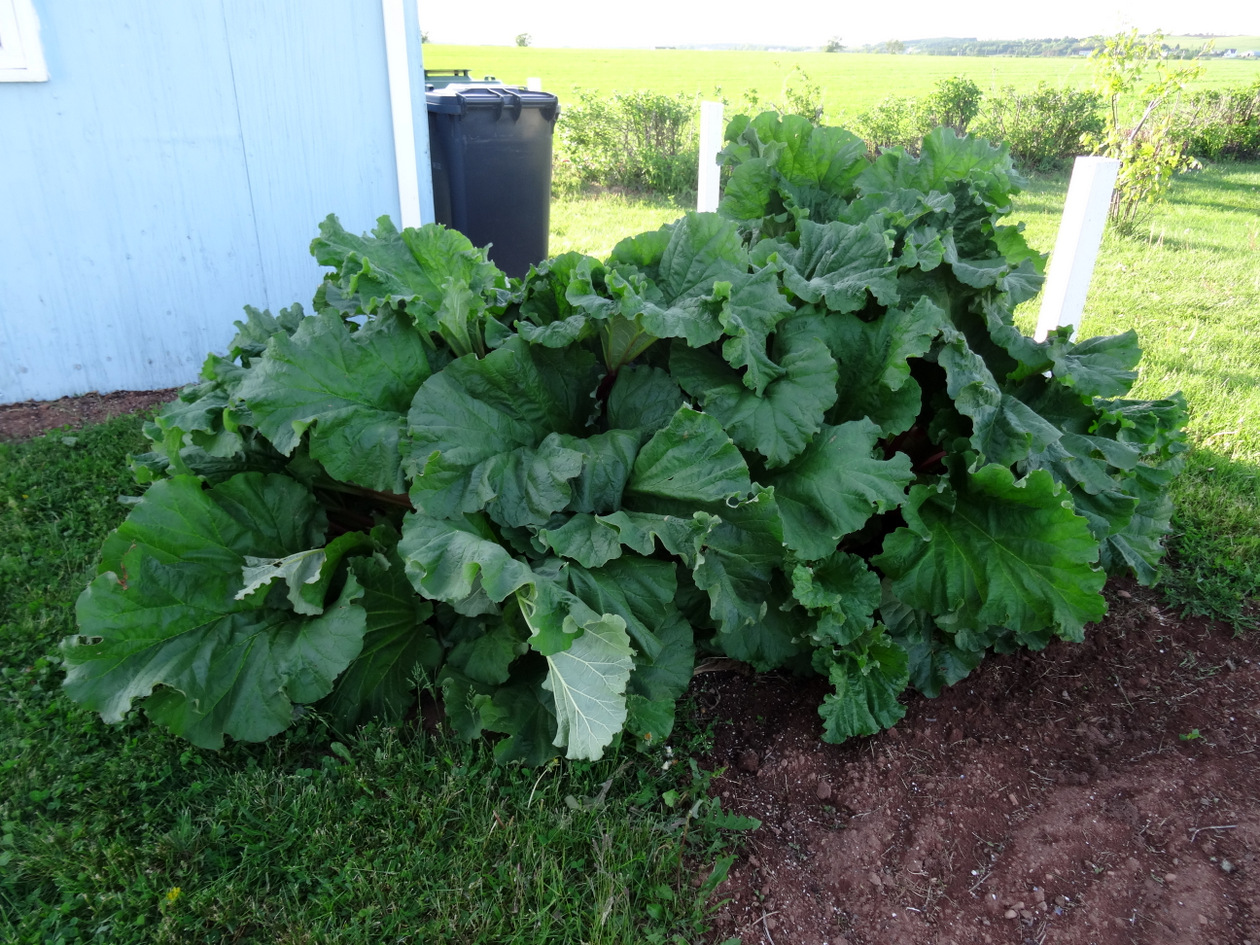
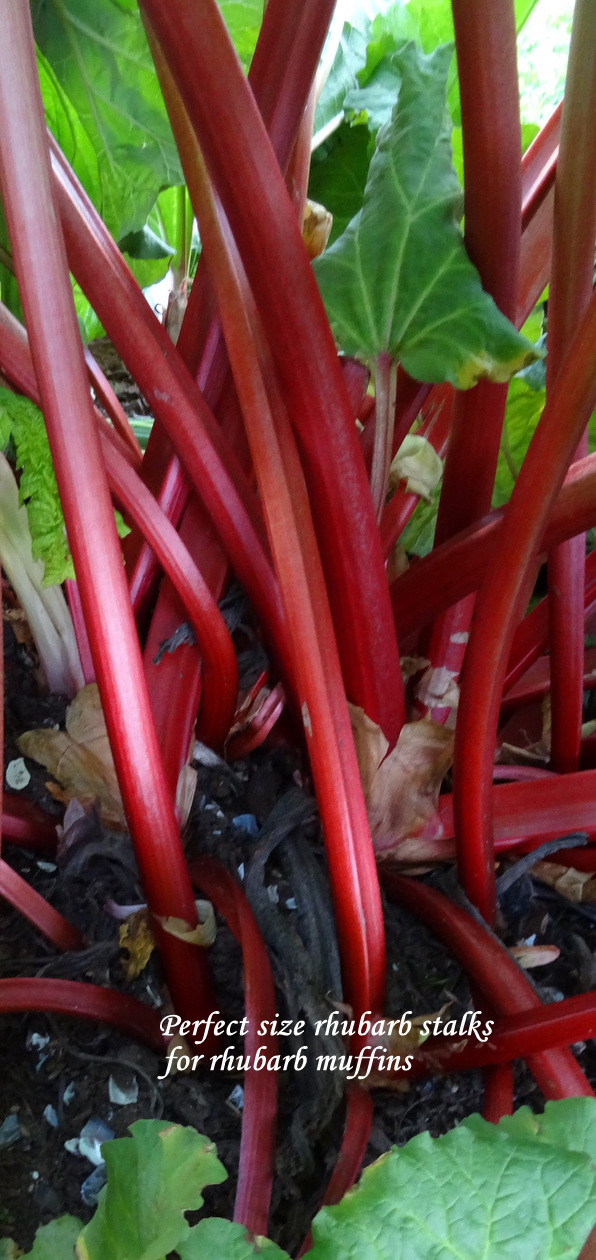
We are blessed with well-producing rhubarb in our backyard garden. The photo below is of two crowns of rhubarb I started several years ago so it is quite a mature patch now. It has very deep ruby-red stalks. The patch graces us with a steady supply of rhubarb for fresh usage and for freezing. It also allows me to create all kinds of recipes featuring rhubarb like today’s for Rhubarb and Orange Muffins.
Mature Rhubarb Patch
Rhubarb is so versatile as it can be used in pies, puddings, marmalades, jams, tortes, baked goods, sauces, drinks, and so much more. And, it freezes well for year-round use.
Rhubarb and Orange Muffins
For these muffins, I have used grated orange rind and a small amount of orange juice to give a little zest and enhanced flavor to them.
Rhubarb pairs very well with citrus fruits.
The key to using rhubarb in muffins and sweet breads is not to add too much rhubarb as it contains a lot of water and, if too much is used, can make the baked goods somewhat soggy. I have tested this recipe several times and have concluded that 7 1/4 ounces ( or between 1 1/2 – 1 2/3 cups) of diced rhubarb is a good amount to use.
The other factor to keep in mind is that the rhubarb stalks should be quite thin (about 1/2″ to 3/4″ wide) for dicing as opposed to some larger and wider stalks (some of ours grow to be almost 2″ wide).
Rhubarb Stalks
While you can split a large rhubarb stalk in half, lengthwise, it does tend to make the rhubarb bleed and the chunks don’t seem to hold their shape as well when baked in the muffins. You can use either fresh or frozen rhubarb in this recipe. In fact, I freeze the measured out amount of diced rhubarb in labeled freezer bags so they are ready to be used for muffins throughout the year.
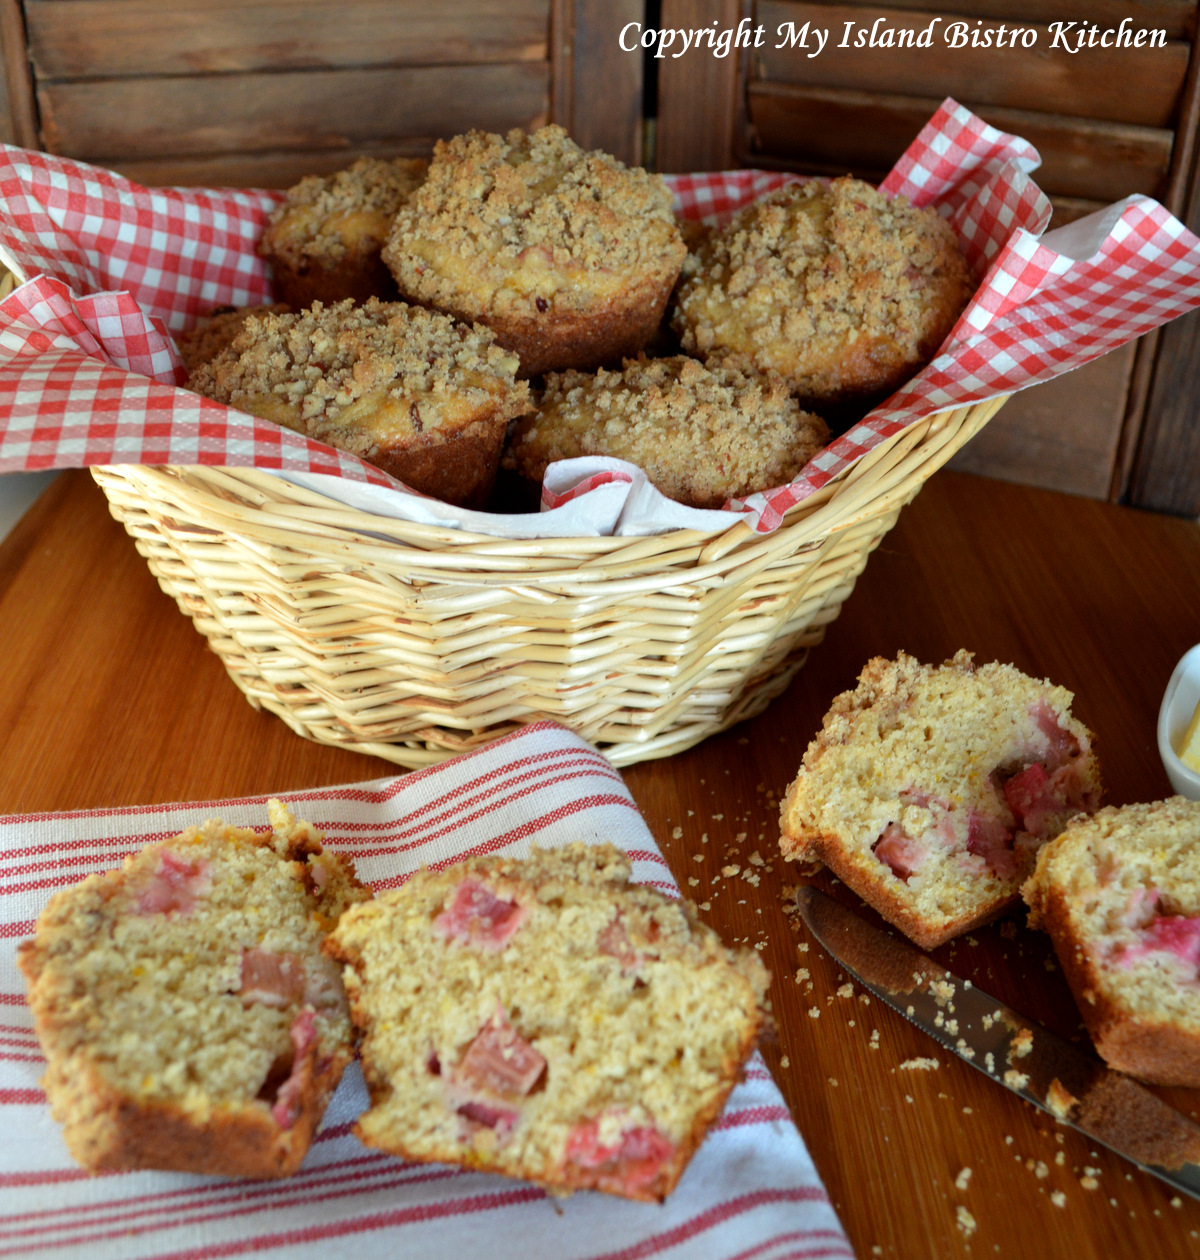
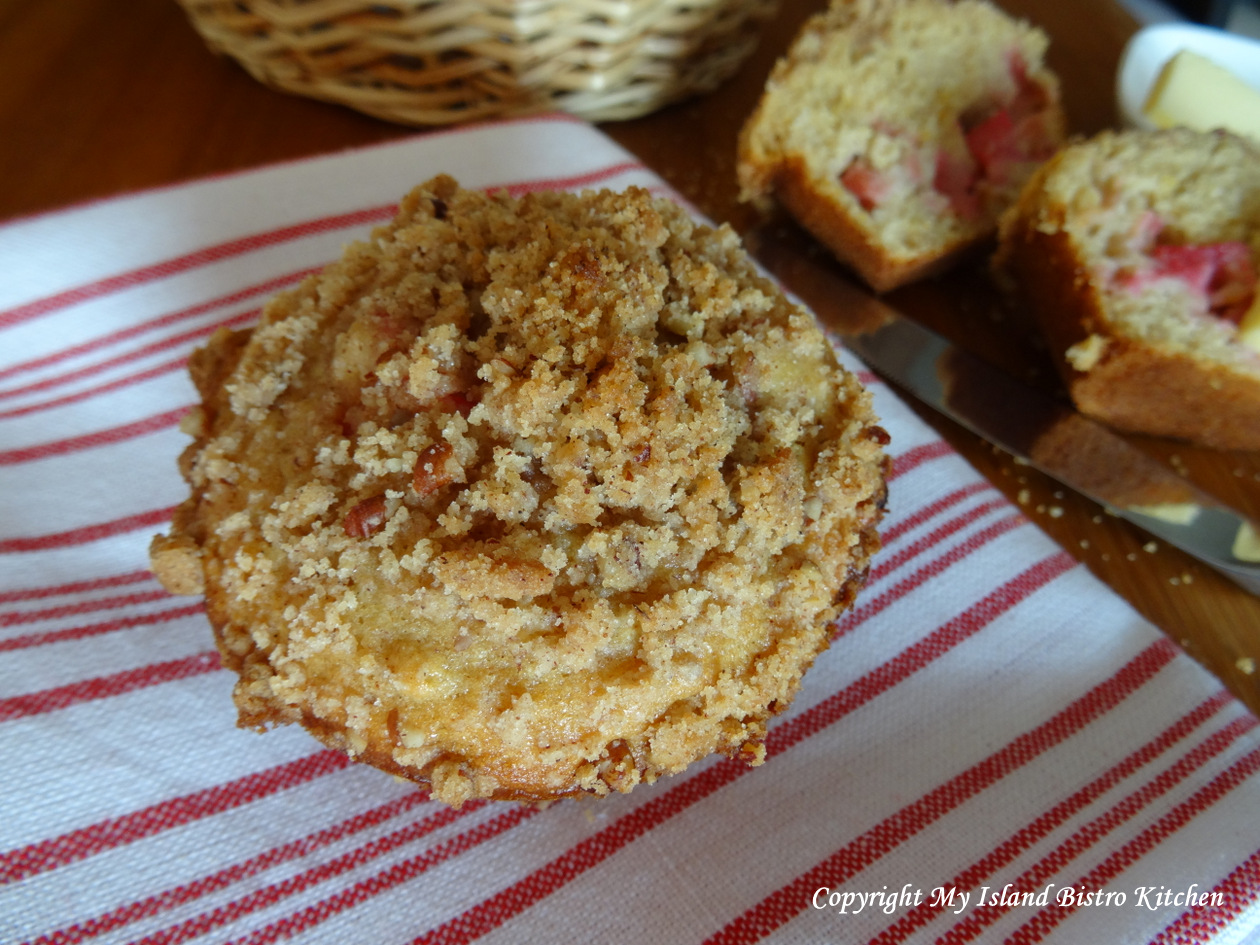
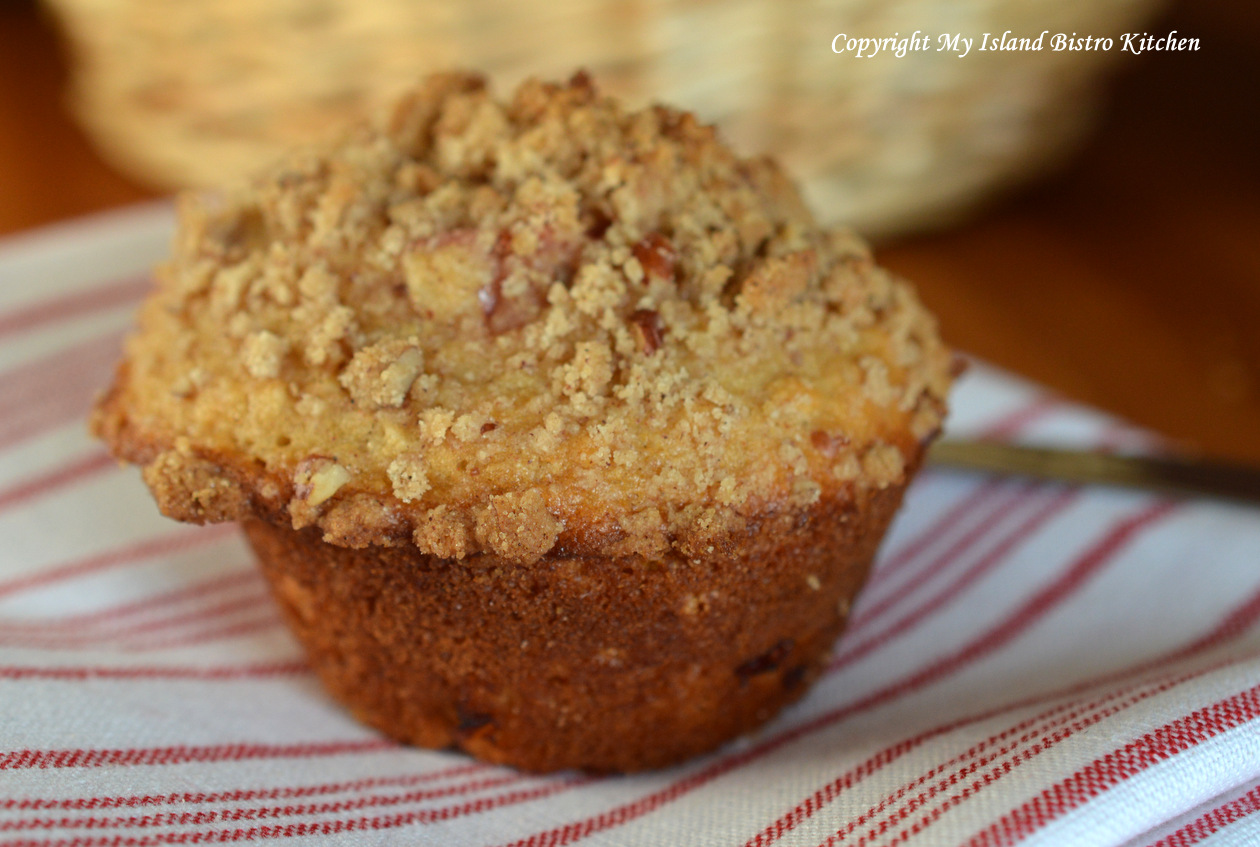
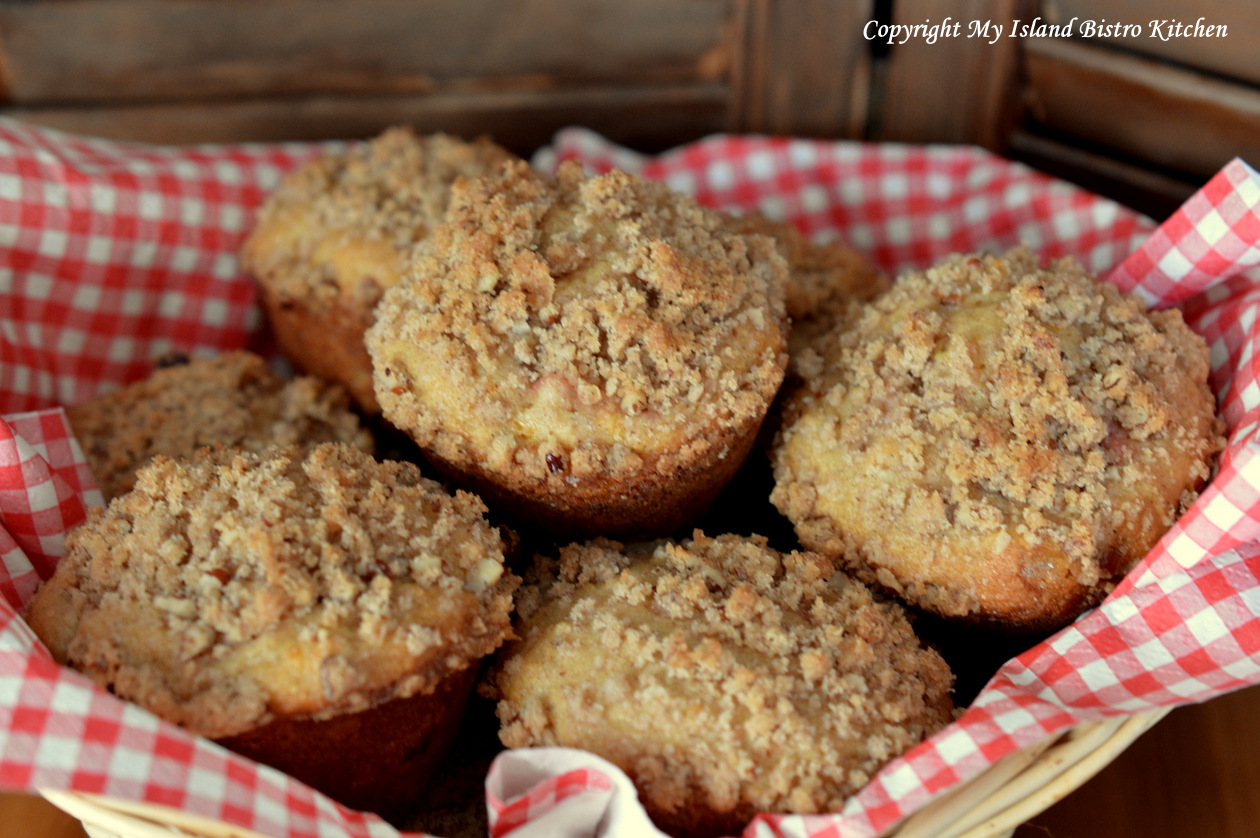
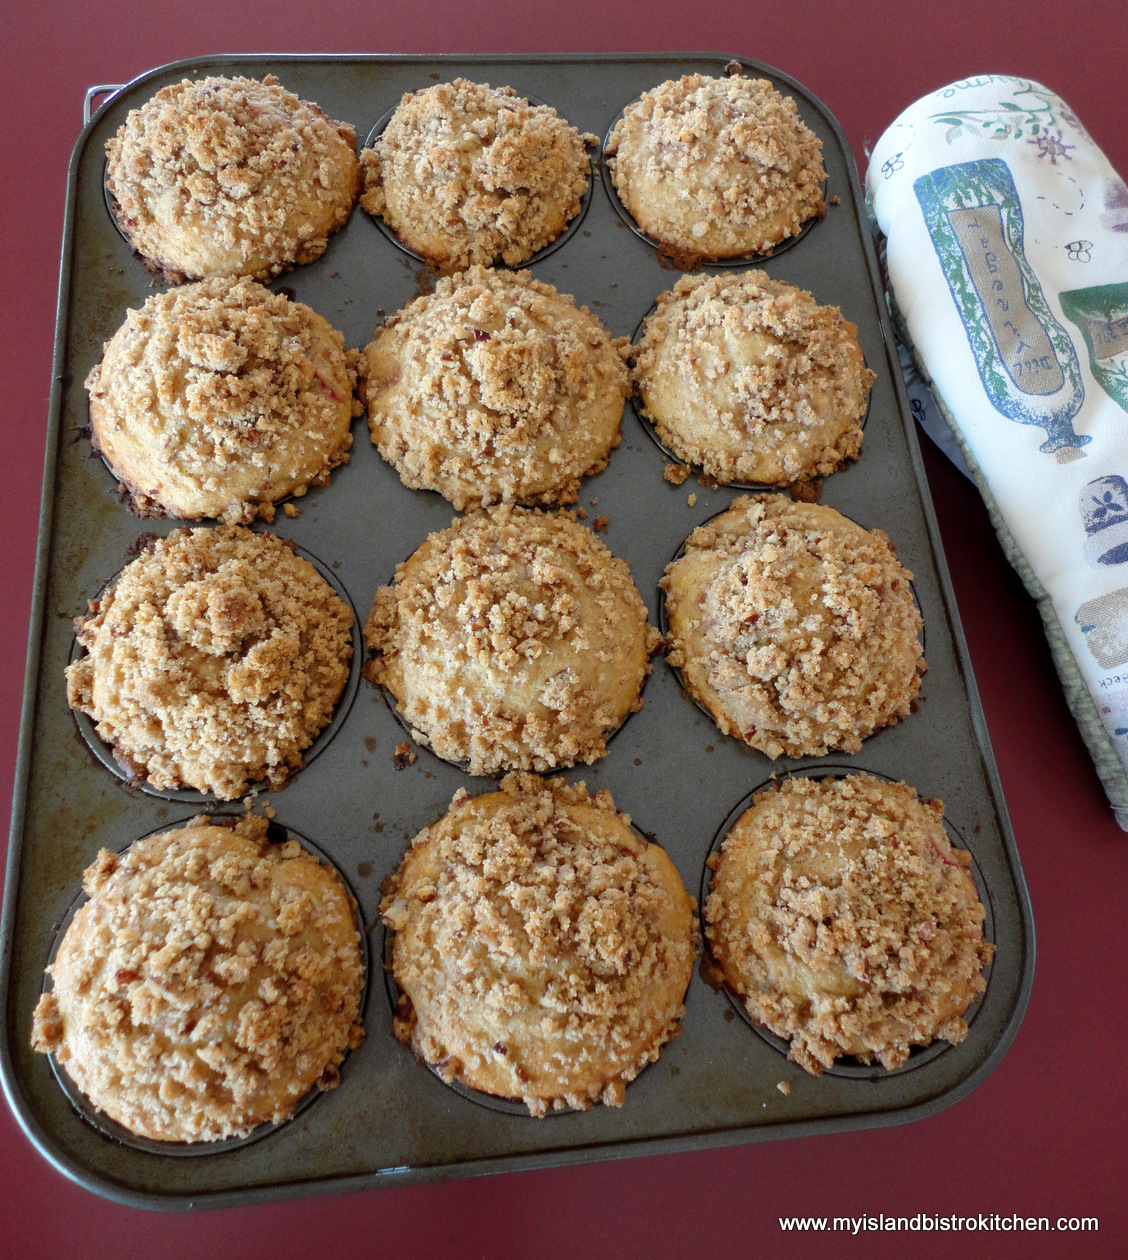
The streusal topping for these muffins is optional but it does add both flavor and crunchiness to the muffins along with an attractive appearance.
Streusal-topped Rhubarb Muffin
To get that lovely dome-shaped muffin, you need to use a relatively high oven temperature – i.e., 400F or 425F.
To get that lovely dome-shaped muffin, you need to use a relatively high oven temperature – i.e., 400F or 425F.
To get that lovely dome-shaped muffin, you need to use a relatively high oven temperature – i.e., 400F or 425F. In my rhubarb muffin recipe, I use a preheated 400F oven. Using the high temperature allows the outside of the muffin to quickly set while still allowing the inside to continue to rise. This also gives that nice, soft muffin top crust. We have all seen those flat-topped muffins and they don’t look as appealing as a nicely domed muffin does.Rhubarb and Orange Muffin
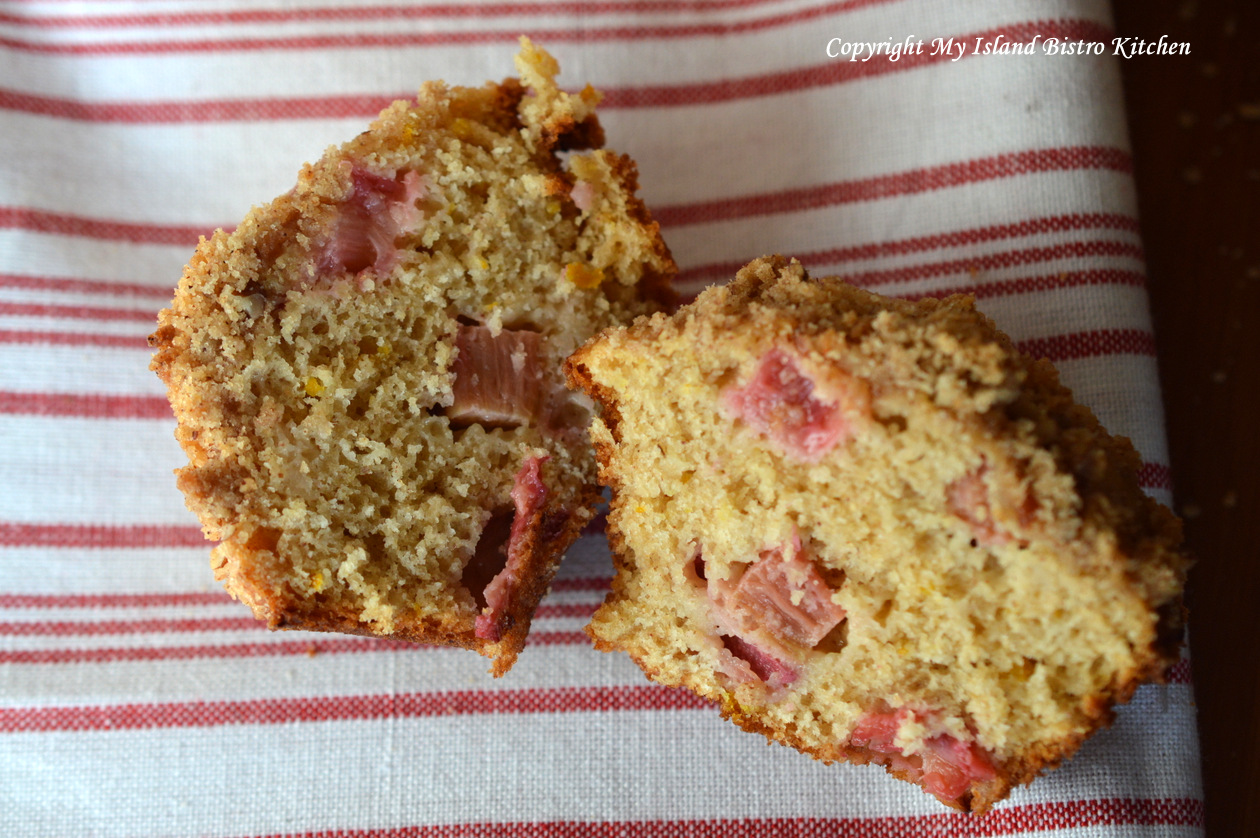
The texture of a good muffin should be somewhat “open” as you don’t want a finely-textured cake batter for muffins. A good muffin will have a loose, coarse interior crumb. When mixing the batter, do not overmix as this will cause the muffins to be tough, rubbery, and somewhat heavy. Stir just until the dry ingredients are barely incorporated. In fact, in muffins in which I am adding fruit (which gets added last, using the “folding” technique), I don’t completely incorporate all the dry ingredients to the wet because, when the fruit is folded in, the dry ingredients will get further incorporated then. The batter should be lumpy, not smooth.
Open, loose crumb texture of muffin
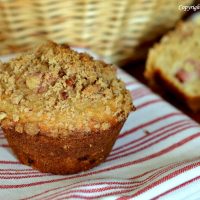
The other thing to keep in mind is not to overbake the muffins. I have found, in my oven, that 18 minutes bakes these rhubarb muffins perfectly but, as you know, every oven is a bit different. I suggest checking the muffins at about the 15-16 minute mark and, just as soon as they spring back to a light finger touch, remove them from the oven. Overbaking will result in a dry, unappealing muffin and it only takes a couple of minutes for muffins to be overbaked so keep a close watch on them as they bake. To double-check doneness, you can also use a toothpick or cake tester inserted into the center of a muffin – if it comes out clean, the muffins are done. Let the baked muffins rest in the baking tin for 5-7 minutes, then transfer them to a wire rack to finish cooling.
My Island Bistro Kitchen’s Rhubarb and Orange Muffins
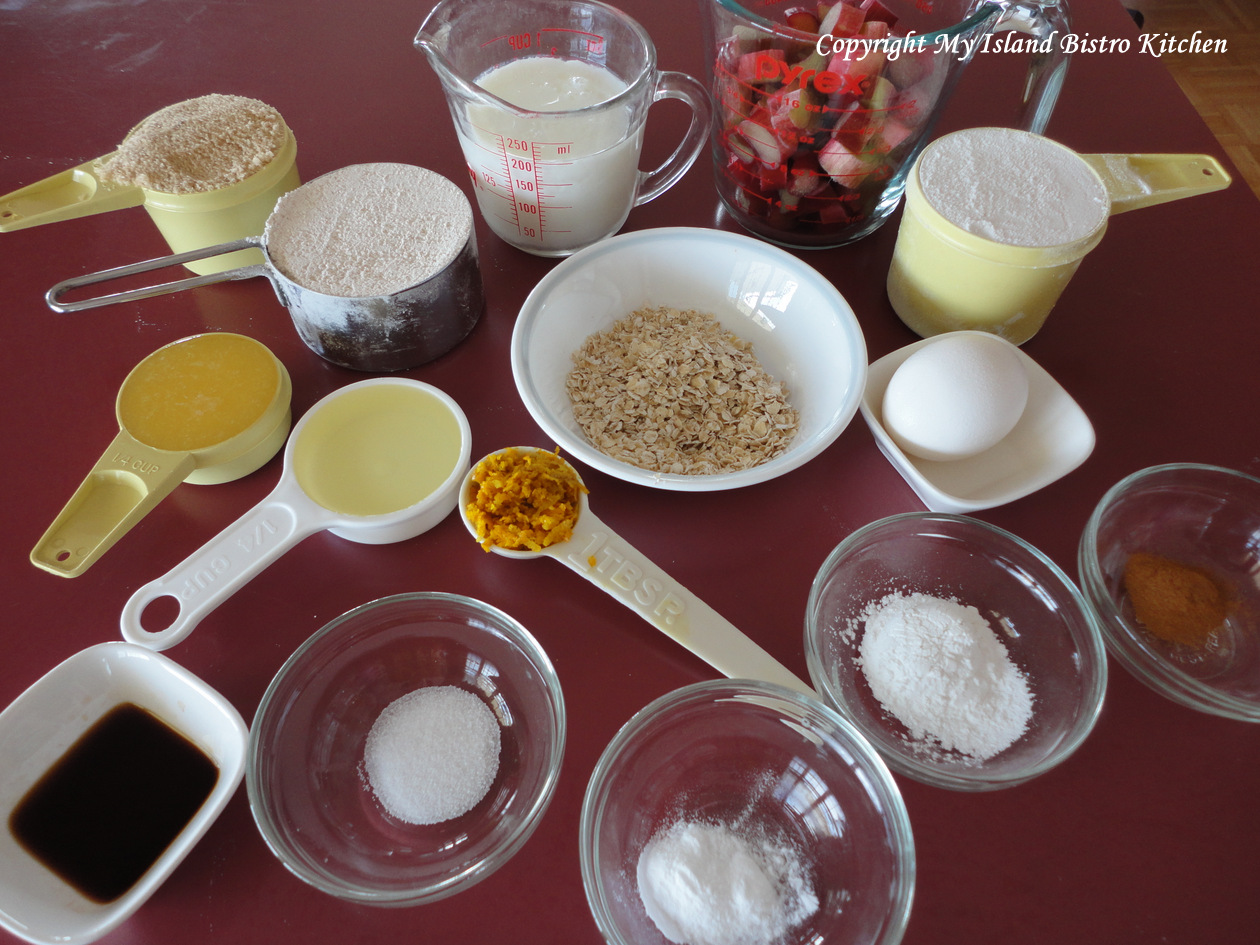
1 cup all-purpose flour 1 cup whole wheat pastry flour ¼ cup rolled oats ⅔ cup brown sugar, packed 2 tsp. baking powder ½ tsp baking soda ½ tsp salt ½ tsp cinnamon 1 tbsp grated orange rind 1 egg, lightly beaten 1½ tsp vanilla ⅔ cup sour milk ¼ cup orange juice ¼ cup cooking oil 7¼ oz finely chopped rhubarb, cut into ¼-inch chunks (about 1½ – 1⅔ cups)
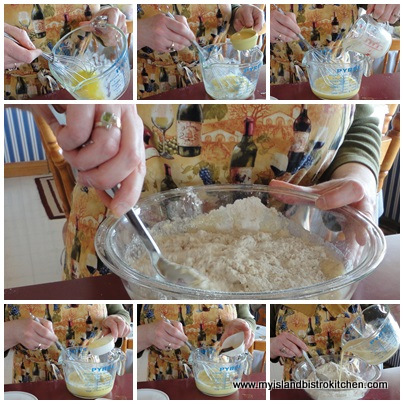
Method: Assemble ingredients.
Preheat oven to 400°. Grease 12 muffin cups.
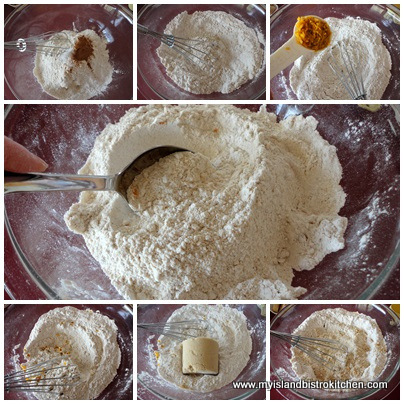
In large bowl, combine first nine (9) ingredients. Mix well. Make a well in the center.
In separate bowl, combine the egg, vanilla, sour milk, orange juice, and cooking oil. Mix well. Pour into well in dry ingredients. Mix only to barely combine dry ingredients. Do not overmix.
Gently fold in rhubarb.
Mix streusal (recipe and instructions follow)
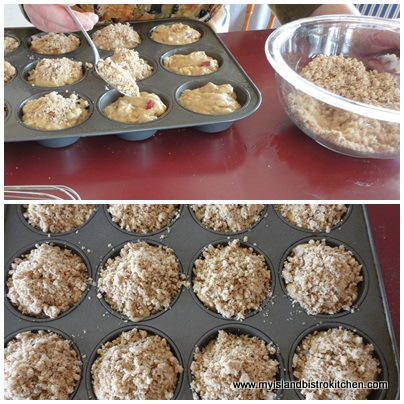
Spoon batter into muffin cups, filling each about ¾ full. Top with streusel mixture.
Bake for about 18 minutes, or until muffins spring back to a light touch or a toothpick or cake tester inserted into the center of a muffin comes out clean.
Let muffins stand in baking tin for 5-7 minutes then carefully remove them and transfer them to a wire rack to finish cooling.
Streusal Topping ¼ cup + 2 tbsp flour 3 tbsp brown sugar 2 tbsp chopped pecans ½ tsp cinnamon 3 tbsp butter
Method: Combine dry ingredients. Cut in butter to make a crumb mixture.
Spoon over tops of muffins. Bake as described above.
For Muffins: In large bowl, combine first nine (9) ingredients. Mix well. Make a well in the center of the ingredients.
In separate bowl, combine the egg, vanilla, sour milk, orange juice, and cooking oil. Mix well. Pour into well in dry ingredients. Mix only to barely combine dry ingredients. Do not overmix.
Gently fold in rhubarb. Spoon batter into muffin cups, filling each about ¾ full.
For Streusel Topping: Mix flour, brown sugar, pecans, and cinnamon together in small bowl. Cut in butter until mixture resembles coarse crumbs.
Distribute streusel mixture evenly between the muffins.
Bake muffins for about 18 minutes, or until muffins spring back to a light touch. Let muffins stand in baking tin for 5-7 minutes then carefully remove them and transfer them to a wire rack to finish cooling.
Recipe Notes
Yield:12 muffins
Pin Me To Pinterest!
Rhubarb and Orange Muffins
Thank you for visiting “the Bistro” today.
There are lots of ways to connect with “the Bistro” through social media:
Join My Island Bistro Kitchen on Facebook Follow the Bistro’s tweets on twitter @PEIBistro Find the Bistro on Pinterest at “Island Bistro Kitchen” Follow along on Instagram at “peibistro”
(Mostly) PEI and Maritime Food – Good Food for a Good Life!