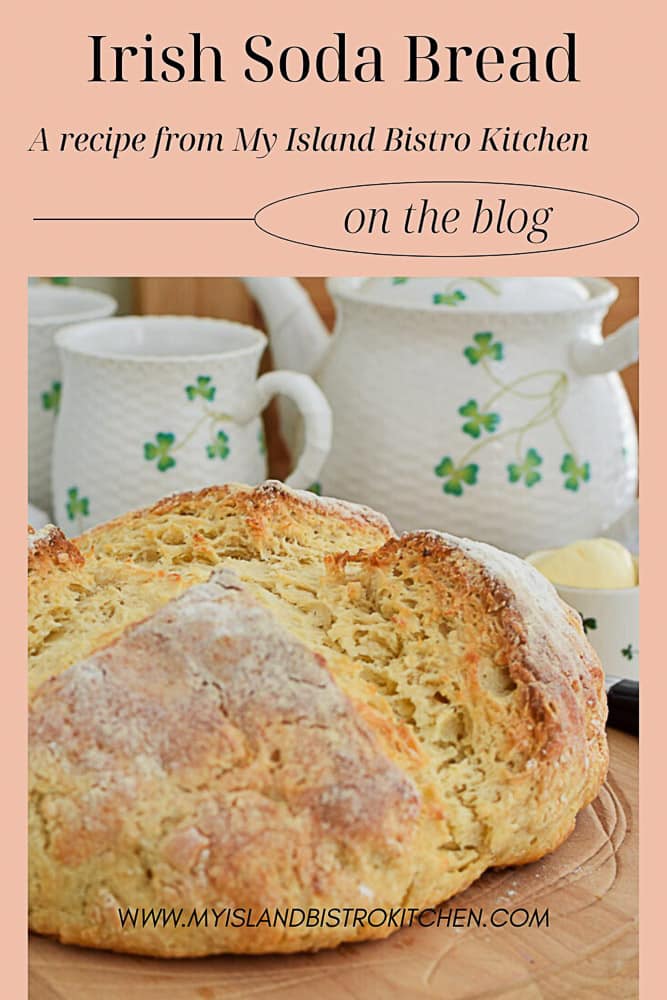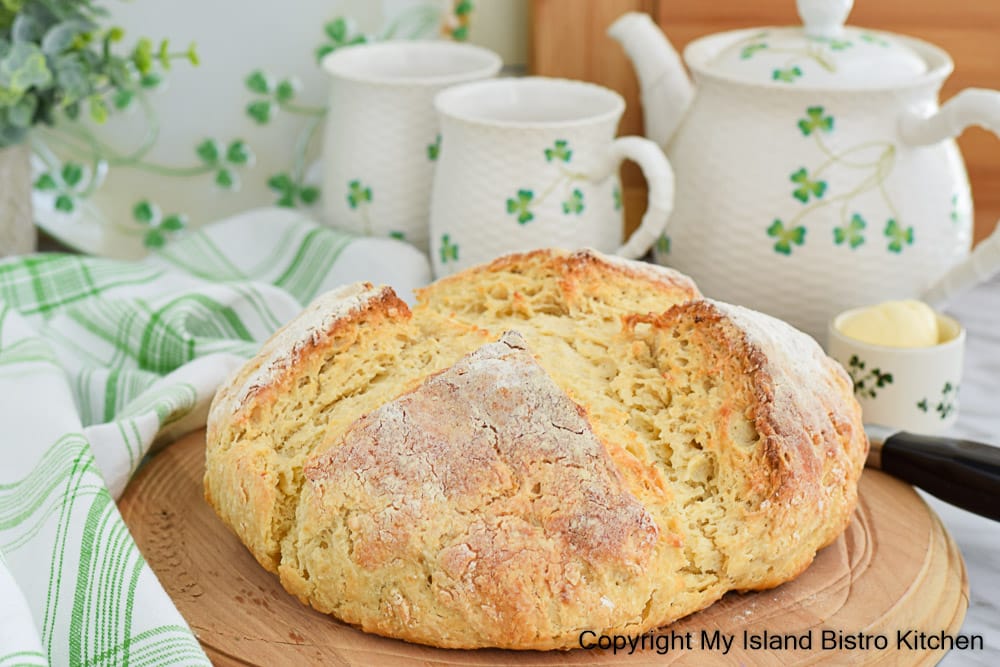
Chances are you have heard of Irish Soda Bread. Perhaps you have even made it yourself. Irish Soda Bread is a quick bread leavened with baking soda (bicarbonate of soda) that is activated by acidic buttermilk. Easy and quick to make because there is no yeast and no waiting for the dough to rise, this bread can be pulled together as easily as making tea biscuits or scones though the baking time will be longer.
Origins of Irish Soda Bread
Even though soda bread is most commonly associated with Ireland, from my research, I am not convinced that it can conclusively be said that the Irish were the first to use some form of baking soda as a leavener for a bread-like product. Native Americans are credited with making some type of bread using a forerunner natural form of baking soda as a leavener. This substance was called Pearl Ash (commonly known today as potash) made from soaking wood ashes.
Baking soda was introduced in the UK in the late 1830s and offered a bread leavening option. It seems the Irish, when they realized that the chemical reaction between baking soda and an acidic property like sour milk or buttermilk worked quite effectively as a bread leavener, began making what, today, is commonly known as Irish Soda Bread.
When the Potato Famine in the mid-1840s struck Ireland, it caused poverty, starvation, and food shortages. With the availability of Ireland’s homegrown soft wheat flour (deemed more preferable for quick breads (like soda bread) than hard wheat flour) along with the new baking soda leavener, Irish Soda Bread became a staple in many households. Additionally, soda bread required only four simple and inexpensive ingredients and could be cooked in iron pots or on griddles over an open hearth without need of an oven.
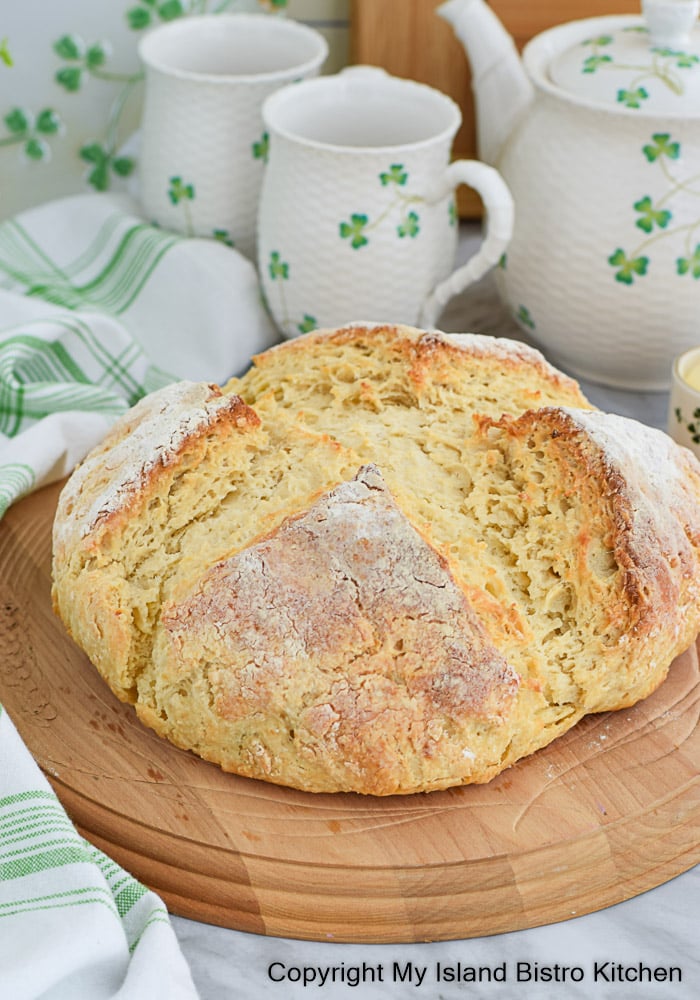
The simple quick bread, made with only four basic ingredients – flour, baking soda, salt, and sour milk/buttermilk, soon became synonymous with Ireland, a tradition that remains today.
While Irish Soda Bread was traditionally made with just the four basic ingredients, the ingredients have, as is the case with many recipes, evolved over time as ingredients became available and baking methods improved.
Ingredients in Irish Soda Bread
For certain, flour, baking soda, salt, and some form of sour milk will be called for in Irish Soda Bread recipes. Today, cultured buttermilk is commonly used in place of sour milk. It is richer and thicker than simply souring milk with vinegar or lemon juice and, in my view, has a totally different texture. I recommend that pure buttermilk be used in my recipe. I have not tested my recipe with using regular milk that has been soured with either vinegar or lemon juice so cannot indicate how the bread would turn out or what its texture would be like.

The buttermilk has high acidity levels and not only lends tenderness, moisture, and a hint of tangy flavor to the bread but has the important function of activating the baking soda. As we know, baking soda needs something acidic to make it work. When the soda and buttermilk meet up in the dough or batter, a chemical reaction occurs. This is when the lactic acid found in the buttermilk reacts to the baking soda, resulting in tiny bubbles of carbon dioxide being formed. This gets trapped in the dough, causing the bread to rise without the presence of traditional yeast. Because the reaction occurs immediately on contact, it is important to work quickly with the dough to get it into the baking pan and into the oven.
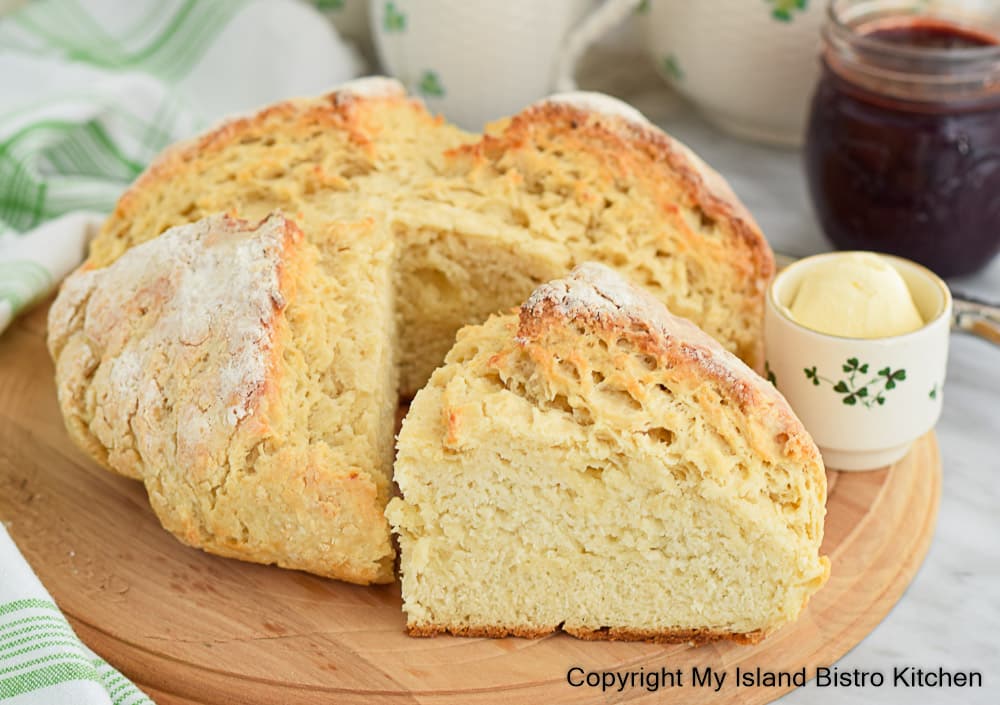
Purists will insist that true Irish Soda Bread can only be made with the four basic ingredients (flour, baking soda, salt, and sour milk/buttermilk). Adding anything else into the mix is, in their opinion, creating something other than Irish Soda Bread. Today, however, many Irish Soda Bread recipes will include other ingredients and add-ins.
For example, baking powder is often used in addition to baking soda. I do include it in my bread to give it an extra boost in rising. If too much baking soda is used, it will cause an offputting taste in the bread so I limit it to one teaspoon and boost the dough up by the addition of baking powder.
I also include a small amount of granulated sugar in my recipe. It adds a touch of sweetness to the bread and counterbalances the slight tanginess of the buttermilk. Additionally, I do add one egg and a small amount of butter to the dough to add richness and tenderness to the bread texture with the added bonus from the egg of binding the ingredients together.
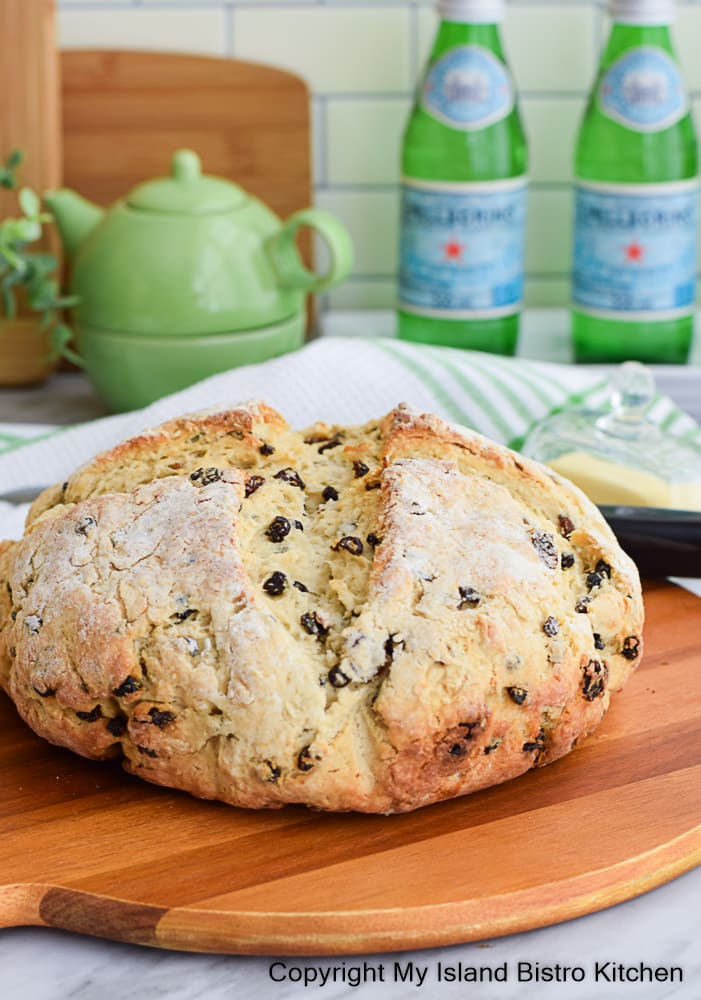
As for add-ins, I sometimes add currants or raisins or a mixture of both. They do add a bit of sweetness to the loaf. The addition is purely optional. Some recipes add caraway seeds, orange zest, nuts, or herbs, for example. I don’t usually add them but that is personal preference.
Mixing the Dough and Shape of Irish Soda Bread
Just as with tea biscuits and scones, there are two key factors: 1) Use cold ingredients, and 2) do not overmix or over-handle the dough for Irish Soda Bread.
So, start out by ensuring the butter, egg, and buttermilk are all cold. Just as with biscuits and scones, ingredients must be very cold. Cold butter, when it melts as the bread is baking, will create steam which will help develop a tender crumb in the bread. It stands to reason, then, that other ingredients going into the dough must also be cold or else they will soften the cold butter, defeating its goal.
Irish Soda Bread like its cousins, tea biscuits and scones, needs to be handled as little as possible and the quick bread requires no kneading. In fact, I do not knead this dough at all as it will stir up the gluten in the flour and make a tough textured bread. Handle the dough as little as possible.
For Irish Soda Bread, I use almost the exact same method as I use for making scones. The only difference is that I use a plastic dough scraper to gather up the dough and loosely form it into a ball right in the mixing bowl. Carrying out this function in the bowl versus on a floured work surface eliminates the addition of extra flour that could create a dry loaf. Since this quick bread naturally dries out quite quickly, I do not want extra flour added to the dough.

I do very lightly flour the work surface, though, and transfer the dough to it to do the final shaping. Using the same method as used for my scone recipes, flatten out the dough with the palm of the hand and fold the dough over onto itself. Lightly press the dough down. Turn the dough in half turns and repeat the process another three to four times in total. Basically, you are just bringing the ingredients in the dough together to form a mass.
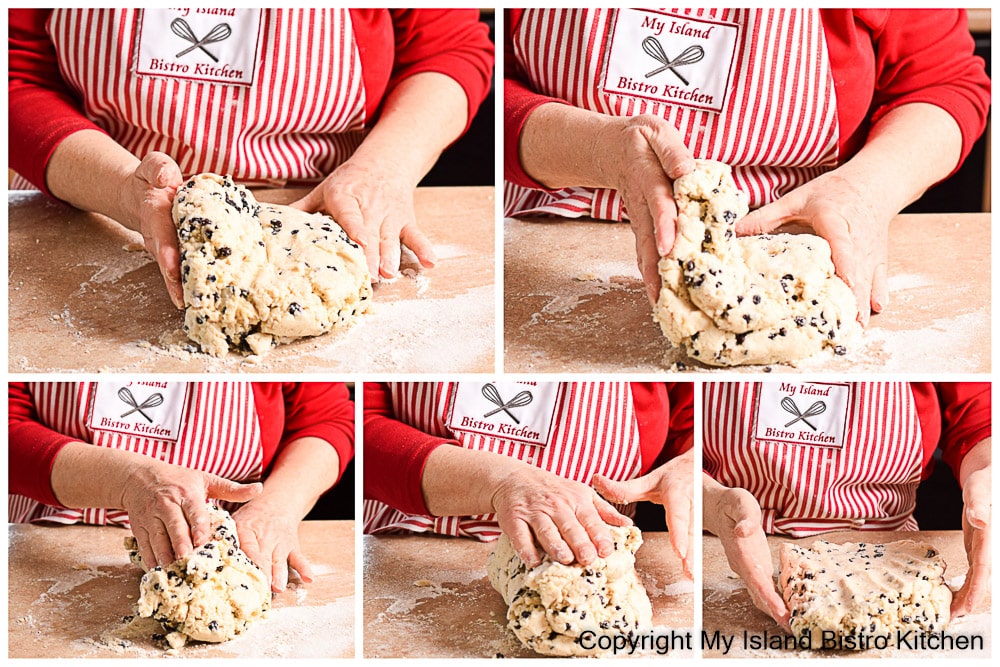
Without overhandling the dough, shape dough loosely into a circular shape, about 2“ – 2½“ high. Use a fine wire mesh sieve to sprinkle a light dusting of flour over the top of the dough circle, if desired. A fine wire mesh tea strainer works great for this. I think the flour dusting adds an artisan look to the bread and contributes to its rustic facade.
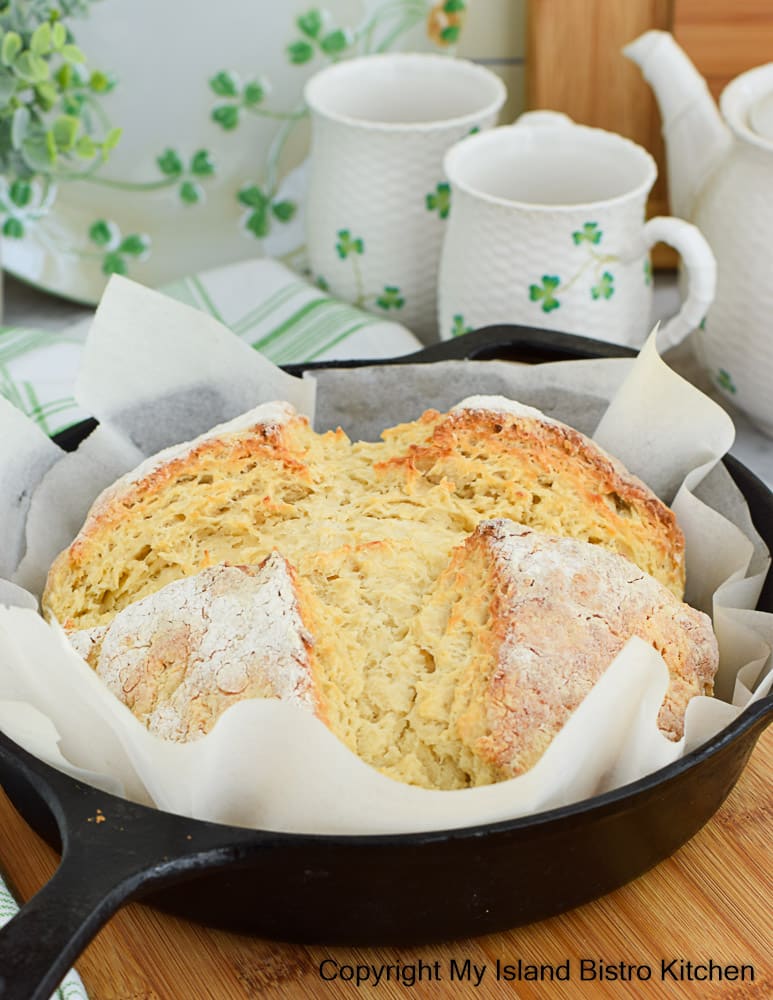
I make my Irish Soda Bread in the traditional round shape. This is meant to be a rustic style bread so perfection in terms of a perfectly formed round, smooth surfaced bread is not the goal.
The bread may be baked in a cast iron skillet, a round cake pan with straight sides, a Dutch Oven, or even on a simple baking sheet. Note that, if using a porcelain enameled Dutch Oven, put it in the cold oven and let it heat up while the oven is preheating. When it comes time to put the bread in the oven, put the bread on a piece of parchment paper on a bread board, remove the Dutch Oven from the oven and quickly (but carefully) lift and transfer the bread, parchment paper and all, into the Dutch Oven and immediately put it, uncovered, in the oven to bake. I find grasping all four corners of the parchment paper works effectively to lift the bread from the bread board into the Dutch Oven.
If you find that the bottom of your bread tends to darken too much in the Dutch Oven, place a small round wire rack or trivet in the bottom of the Dutch Oven and place the parchment-lined bread on it. This will eliminate the bread having direct contact with the hot bottom of the Dutch Oven. The browning of the bottom bread crust, of course, will depend on the quality and thickness of the sides of the Dutch Oven as well as how hot your oven runs.
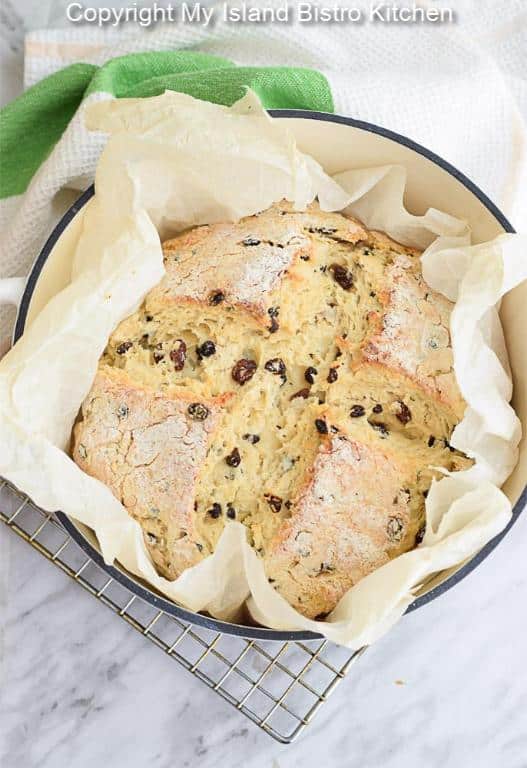
If using a baking sheet, just know that the bread may spread a bit because it has nothing to confine its shape. For that reason, the baking sheet is not my preferred method. I find the bread has better rise and shape if confined in a cast iron skillet, Dutch Oven, or round baking pan.
What’s With the Cross Shape on Top of Irish Soda Bread Loaves?
Would it really be an Irish bread if there were no superstitions or folklore involved!
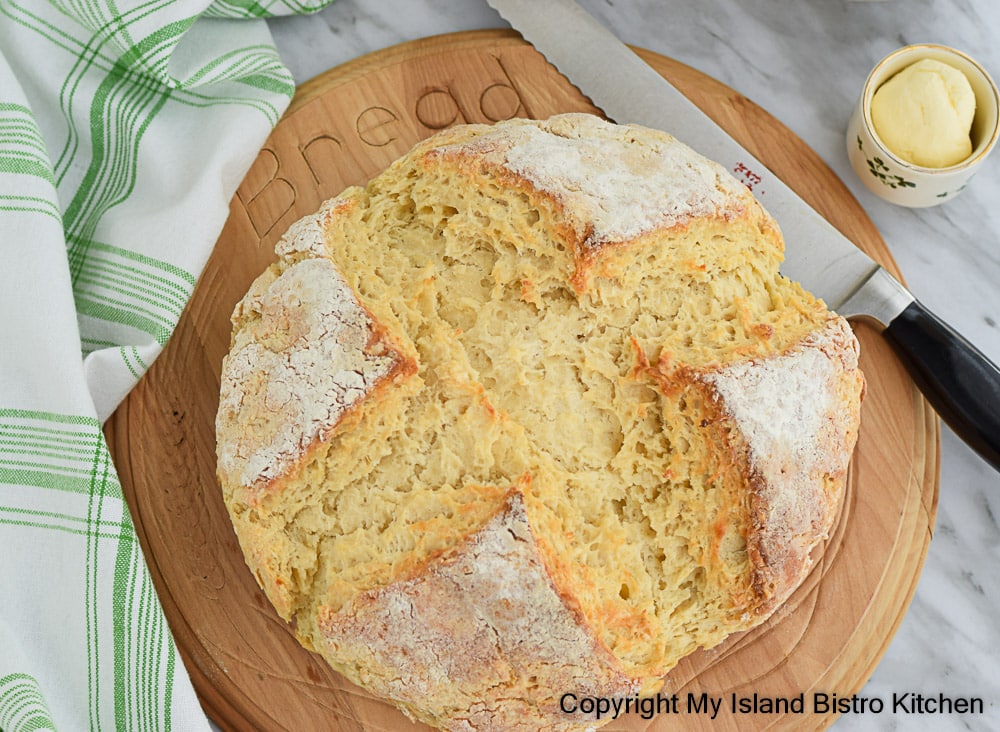
If you are familiar with, or have seen photos of Irish Soda Bread, you have undoubtedly noticed a defined cross shape cut into the top of the loaf (seen in photo above). Stories go that the purpose of this cross cut was to allow fairies to escape (I’d like to know how they got into the dough in the first place!), ward off evil spirits, and protect the household. Another theory is that, given it is in the shape of the Christian cross, it is symbolic of the cross upon which Christ was crucified. You can decide the validity of these claims for the “X” cut into the loaf top for yourself.
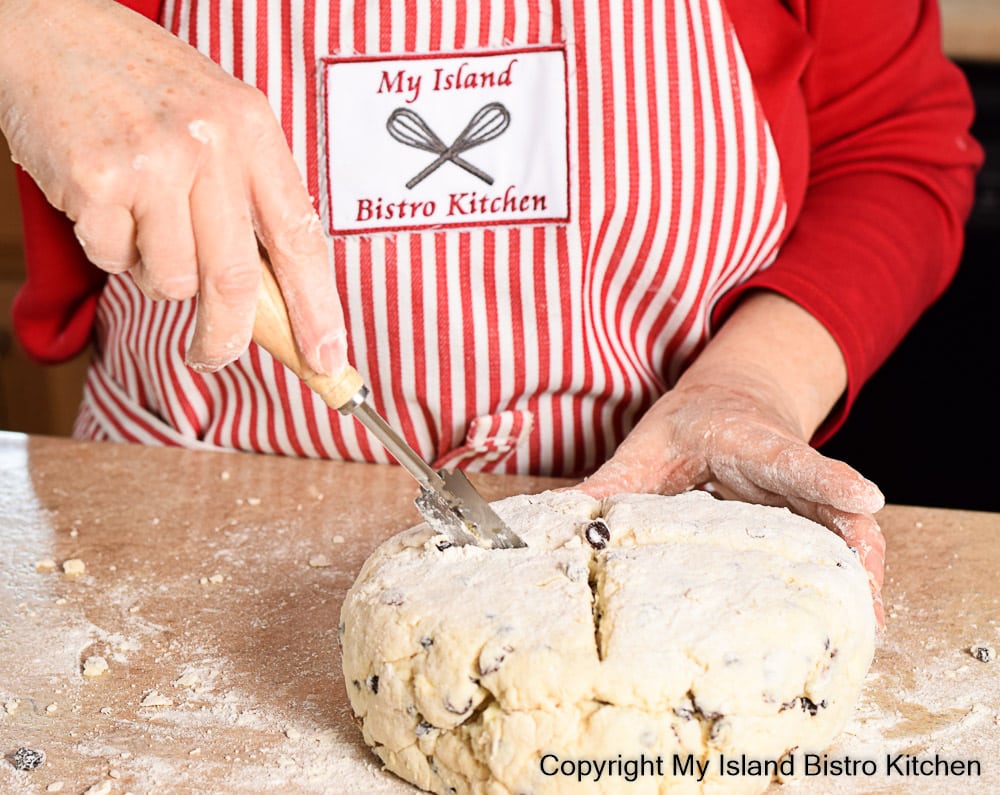
However, there is a practical purpose to cutting an “X” shape, about 1/3” inch thick, into the top of the loaf. A bread lame (shown in photo above) or a sharp knife will work for the two cuts. As the bread bakes, this “X” will expand and spread and this will allow steam to escape the loaf and permit the heat to reach the inside center of the deep, dense loaf, allowing it to bake properly and to its maximum size.
It is for this reason that I do not recommend this loaf be baked in a regular loaf pan as it would be difficult for the dough to expand and spread sufficiently to ensure the loaf is consistently baked throughout and to rise to its full potential. Also, as the round loaf bakes, the “X” cut dictates the direction in which the dough will expand and to its full volume. In the case of this bread, its shape will evolve into four triangular quadrants which makes it easy to break the bread into four equal pieces.
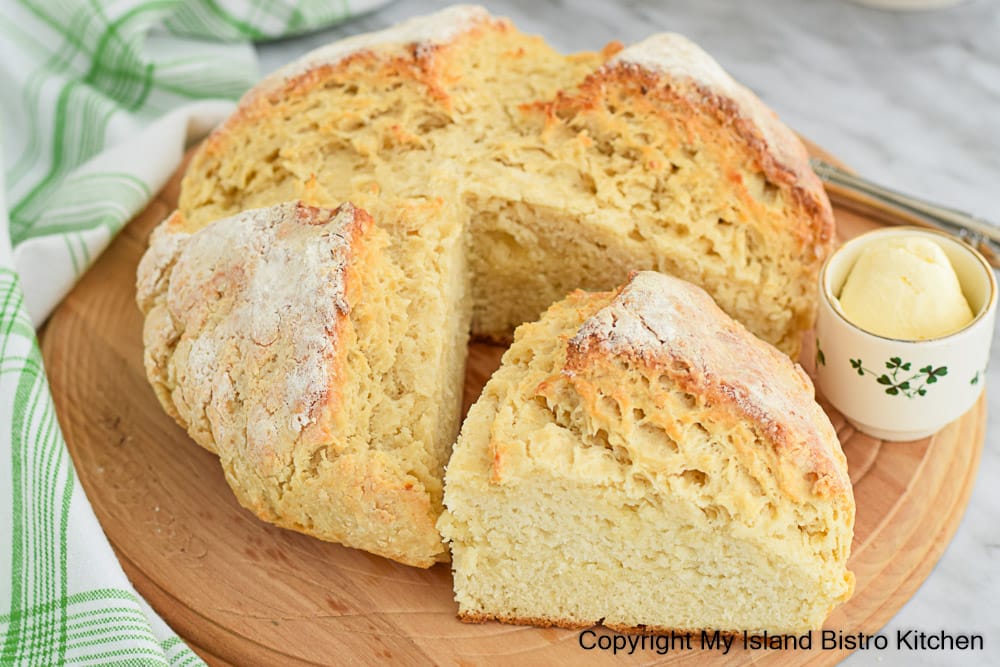
Note, though, that the bread can certainly be sliced into long crosswise slices, if desired.
Texture of Irish Soda Bread
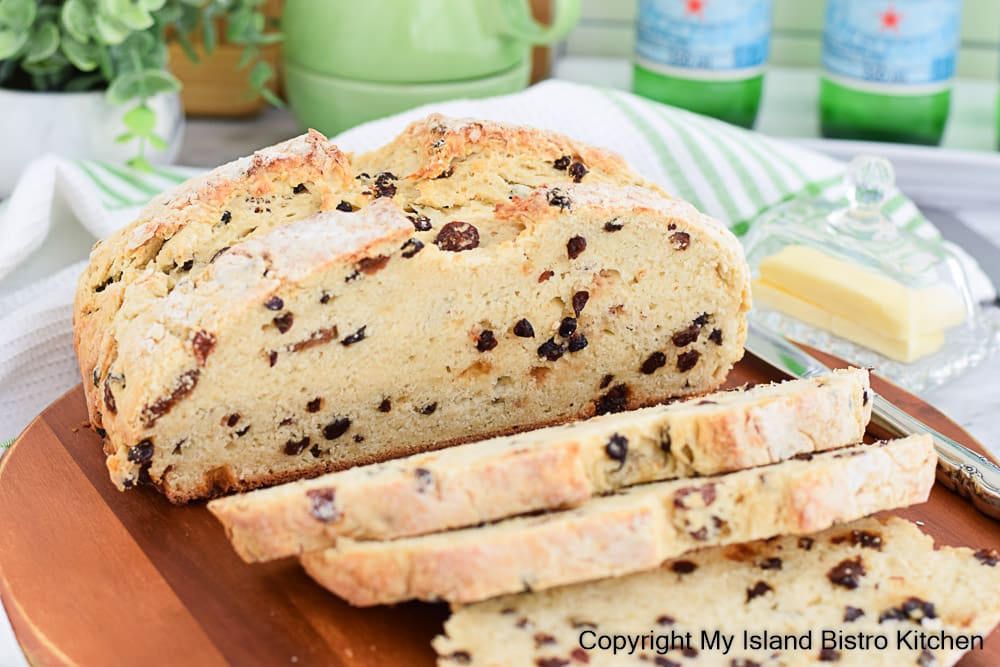
This is a quick bread made without yeast so do not expect the bread to have the same texture as yeast-leavened bread. Irish Soda Bread has a dense texture but, at the same time, has a moist and tender crumb (so long as the dough has not been overworked). The loaf will be characterized by a somewhat firm crust. Insofar as flavor is concerned, you may be able to detect a slight sour tang but it will not be prevalent given there is sugar in the dough to counteract any sourness that could come from the buttermilk.
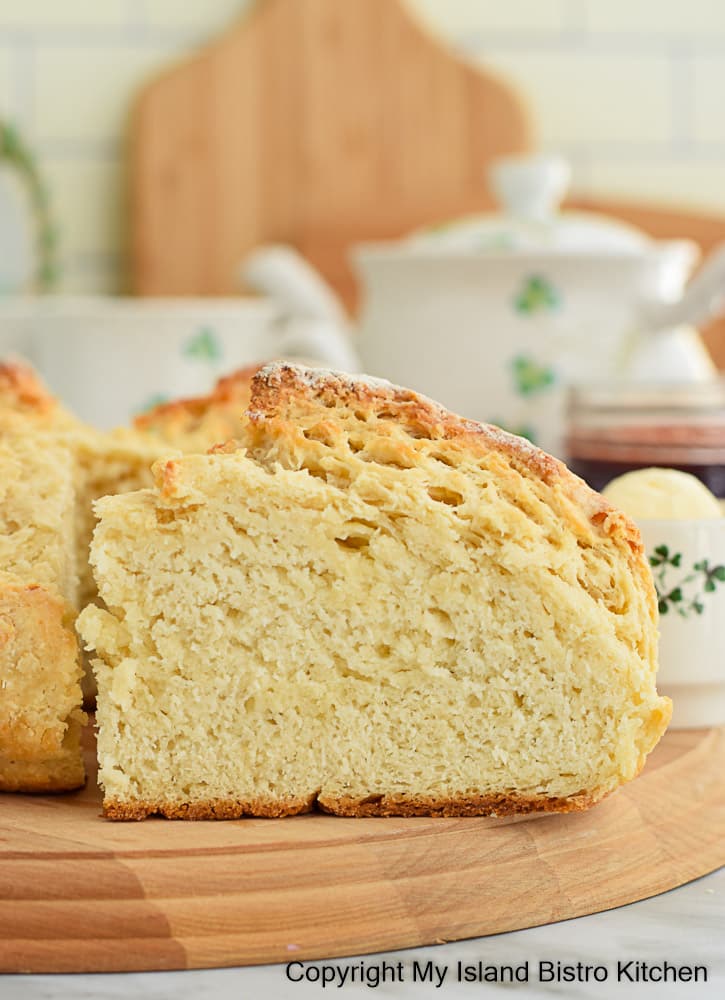
Soda bread is best eaten the day it is made. It tends to dry out quickly so, to hold it over for a day, it could be stored at room temperature in an airtight container. A quick visit to the microwave for just a very few seconds helps to restore the bread’s original texture. The bread freezes quite well, either whole, sliced, or divided into quadrants. For best texture, be sure to let the bread thaw naturally at room temperature (as opposed to in the microwave) before serving.
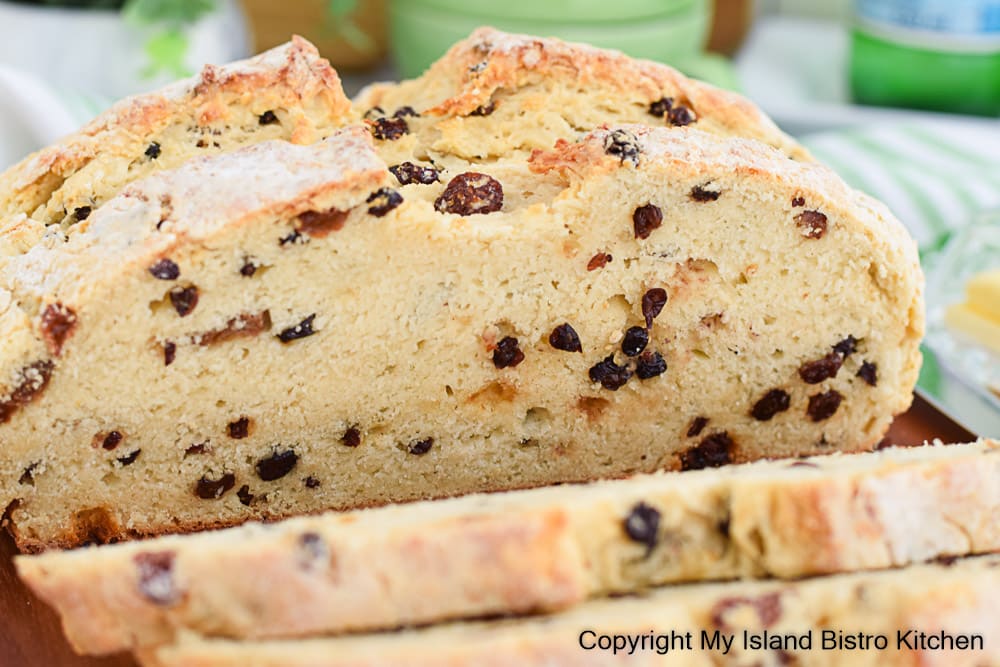
What to Eat With Irish Soda Bread
While we often hear of Irish Soda Bread around St. Patrick’s Day on March 17th, there is no reason to reserve this tasty quick bread for just one day of the year. It is grand on any day!
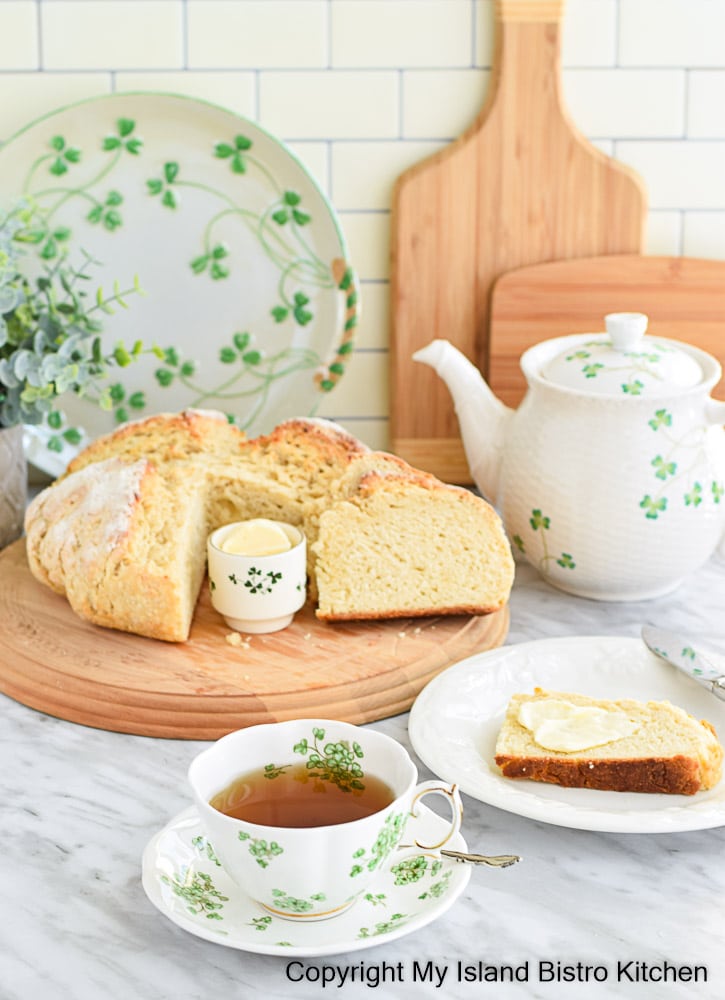
Irish Soda Bread can be served warm or at room temperature. The bread is lovely with just a slather of good butter and a fine cup of tea. Jam or marmalade is also a good accompaniment. The bread may be eaten at breakfast, lunch, or supper, or as a snack in between with a lovely cup of tea.
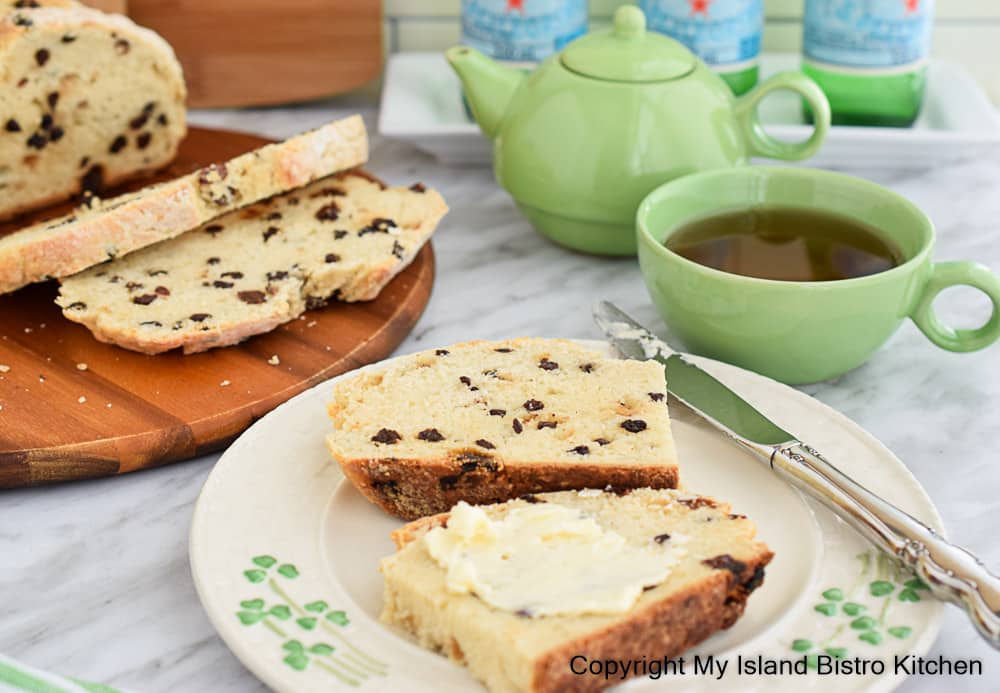
It’s also tasty when served alongside soups and stews (especially Irish Stew) or Shepherd’s or Cottage Pie, casseroles, or just about anything.
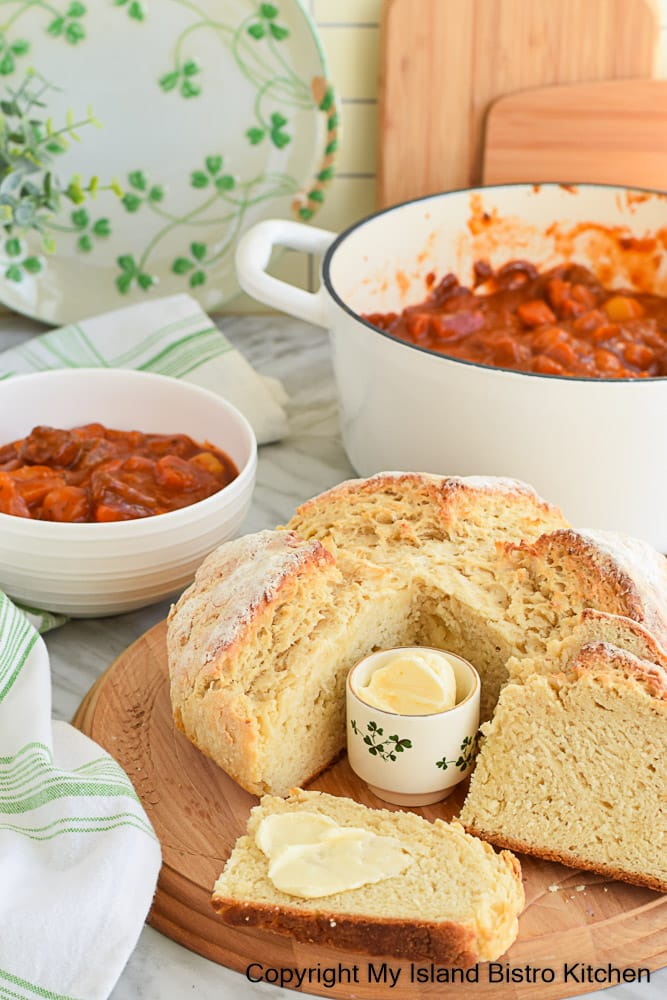
One thing we can say about Irish Soda Bread is that, regardless who first used some form of baking soda as a bread leavener, the Irish embraced the baking soda and sour milk chemical reaction to create a leavener for a mighty tasty soda bread. In the process, the popularity of soda bread became so ingrained in Irish culinary history and tradition that this bread is well associated with the Emerald Isle though it is made and enjoyed in many parts of the world.
Ready to try your hand at making Irish Soda Bread? Here’s my recipe.
Irish Soda Bread
Ingredients:
4 cups all-purpose flour
1/3 cup granulated sugar
2½ tsp baking power
1 tsp baking soda
1 tsp salt
1/3 cup cold butter, cubed into ½“ pieces
1 cup raisins or currants (optional)
1 large egg (cold)
1¾ cups cold buttermilk
Method:
Preheat oven to 375°F.
Line a 9”- 10” cast iron skillet, cake pan, or baking sheet with parchment paper. Alternatively, a Dutch Oven may be used. See Note below for instructions re using a Dutch Oven for this bread.
In large bowl, sieve or sift the flour, sugar, baking powder, baking soda, and salt together. Drop the cubes of butter into the dry ingredients and toss to coat the butter with the dry ingredients. Cut in the butter with a wire pastry cutter until mixture resembles coarse crumbs or pea-sized pieces. If using raisins or currants, stir them into the dry mixture. Make a well in the center of the dry ingredients.
In a small bowl or large measuring cup, lightly whisk the egg then whisk in the buttermilk until combined with the egg. Pour liquid ingredients all at once into well in center of dry ingredients. Using a Danish dough whisk or a large wooden spoon, stir dough just enough that the liquid is absorbed into the dry ingredients. Dough will be soft and sticky and some floury spots may remain. Using a plastic dough scraper, gather up the dough and loosely form it into a ball in the mixing bowl.
Transfer dough to lightly floured work surface. With the palm of the hand, flatten out the dough into a rectangular shape and fold the dough in half over onto itself. Lightly press the dough down. Turn the dough a half turn and repeat the folding exercise. Do this 3-4 times in total. Without overhandling the dough, shape dough loosely into a circular shape, about 2“ – 2½“ high.
Sieve a small amount of flour over top of loaf. Using a bread lame or sharp knife, cut an “X”, approximately 1/3” thick, on top of the loaf. Transfer dough to prepared baking pan. Bake for approximately 50 minutes, or until top of bread is tanned and cake tester inserted into center of bread comes out clean. If bread starts to darken too much before it is baked, loosely tent top of loaf with a piece of tinfoil.
Transfer bread to wire cooling rack. Bread may be served warm after it has cooled a bit or, alternatively, cooled to room temperature.
Yield: 1 loaf
NOTE: If using a porcelain enamel Dutch Oven, put it in the cold oven and let it heat up while the oven is preheating. Prior to placing Dutch Oven in oven, fit it with a piece of parchment paper sized to fit but remove the parchment paper while the oven is preheating. When it comes time to put the bread in the oven, put the bread on the parchment paper on a bread board, remove the Dutch Oven from the oven and quickly (and carefully) transfer the bread, parchment paper and all, into the Dutch Oven and immediately put it, uncovered, in the oven to bake.
If you have made this recipe and enjoyed it and/or wish to share it with your friends and family, please do so on social media but be sure to share the direct link to this posting from my website.
Irish Soda Bread
Ingredients
- 4 cups all-purpose flour
- 1/3 cup granulated sugar
- 2½ tsp baking power
- 1 tsp baking soda
- 1 tsp salt
- 1/3 cup cold butter, cubed into ½“ pieces
- 1 cup raisins or currants (optional)
- 1 large egg (cold)
- 1¾ cups cold buttermilk
Instructions
-
Preheat oven to 375°F.
-
Line a 9”- 10” cast iron skillet, cake pan, or baking sheet with parchment paper. Alternatively, a Dutch Oven may be used. See Note below for instructions re using a Dutch Oven for this bread.
-
In large bowl, sieve or sift the flour, sugar, baking powder, baking soda, and salt together. Drop the cubes of butter into the dry ingredients and toss to coat the butter with the dry ingredients. Cut in the butter with a wire pastry cutter until mixture resembles coarse crumbs or pea-sized pieces. If using raisins or currants, stir them into the dry mixture. Make a well in the center of the dry ingredients.
-
In a small bowl or large measuring cup, lightly whisk the egg then whisk in the buttermilk until combined with the egg. Pour liquid ingredients all at once into well in center of dry ingredients. Using a Danish dough whisk or a large wooden spoon, stir dough just enough that the liquid is absorbed into the dry ingredients. Dough will be soft and sticky and some floury spots may remain. Using a plastic dough scraper, gather up the dough and loosely form it into a ball in the mixing bowl.
-
Transfer dough to lightly floured work surface. With the palm of the hand, flatten out the dough into a rectangular shape and fold the dough in half over onto itself. Lightly press the dough down. Turn the dough a half turn and repeat the folding exercise. Do this 3-4 times in total. Without overhandling the dough, shape dough loosely into a circular shape, about 2“ – 2½“ high.
-
If desired, sieve a small amount of flour over top of loaf. Using a bread lame or sharp knife, cut an “X”, approximately 1/3” thick, on top of the loaf. Transfer dough to prepared baking pan. Bake for approximately 50 minutes, or until top of bread is tanned and cake tester inserted into center of bread comes out clean. If bread starts to darken too much before it is baked, loosely tent top of loaf with a piece of tinfoil.
-
Transfer bread to wire cooling rack. Bread may be served warm after it has cooled a bit or, alternatively, cooled to room temperature.
Recipe Notes
Yield: 1 loaf
NOTE: If using a porcelain enamel Dutch Oven, put it in the cold oven and let it heat up while the oven is preheating. Prior to placing Dutch Oven in oven, fit it with a piece of parchment paper sized to fit but remove the parchment paper while the oven is preheating. When it comes time to put the bread in the oven, put the bread on the parchment paper on a bread board, remove the Dutch Oven from the oven and quickly (and carefully) transfer the bread, parchment paper and all, into the Dutch Oven and immediately put it, uncovered, in the oven to bake.
Copyright My Island Bistro Kitchen 2023
Connect with My Island Bistro Kitchen on Social Media
Join the Facebook page for My Island Bistro Kitchen: https://www.facebook.com/MyIslandBistroKitchen/
Follow “the Bistro” on “X” (formerly Twitter): https://twitter.com/PEIBistro/
See the drool-worthy gallery of mouth-watering food photos from My Island Bistro Kitchen on Instagram: https://www.instagram.com/peibistro/
Follow “the Bistro” on Pinterest at https://www.pinterest.ca/peibistro/ and pin the Pinterest-ready photo at the end of this posting to your favorite Pinterest boards!
PIN ME TO PINTEREST!
