I am a huge fan of cooking with the intent of having leftovers for several meals. It’s great to have cold leftover turkey, ham, or roast beef but, after a couple of days, well, it can get a little monotonous. I don’t like to throw out food so the alternative is to find other creative ways to use the leftovers and stretch the food budget. Sometimes, as in the case of a large family, perhaps the leftovers don’t span far enough unless they are used in a way that extends them.
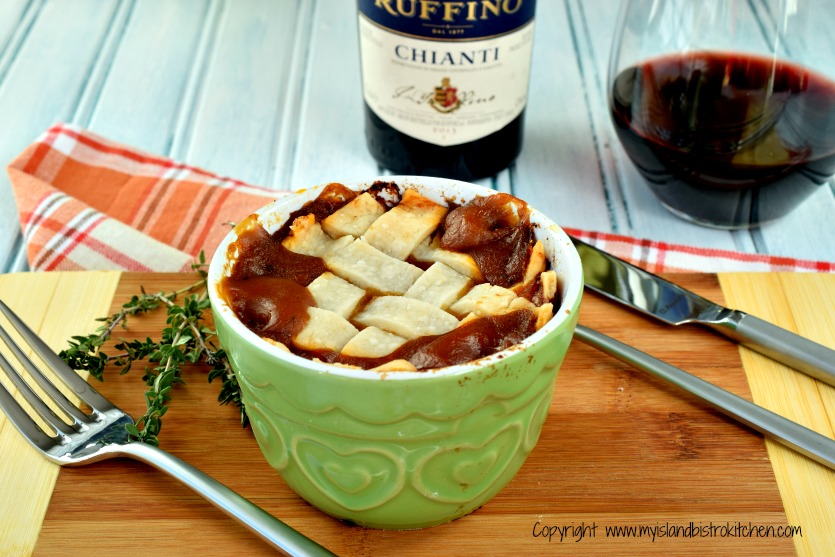
So, whether it’s a case of having leftover meat you’re tired of or not having enough left to plate as straight cold meat slices to make another meal, my recipe for Beef Pot Pie will be the answer for leftover roast beef. Just make sure you make an extra 1 1/3 cups of gravy when preparing that roast beef dinner so you will have enough gravy to make this recipe. Continue reading The Bistro’s Beef Pot Pie→
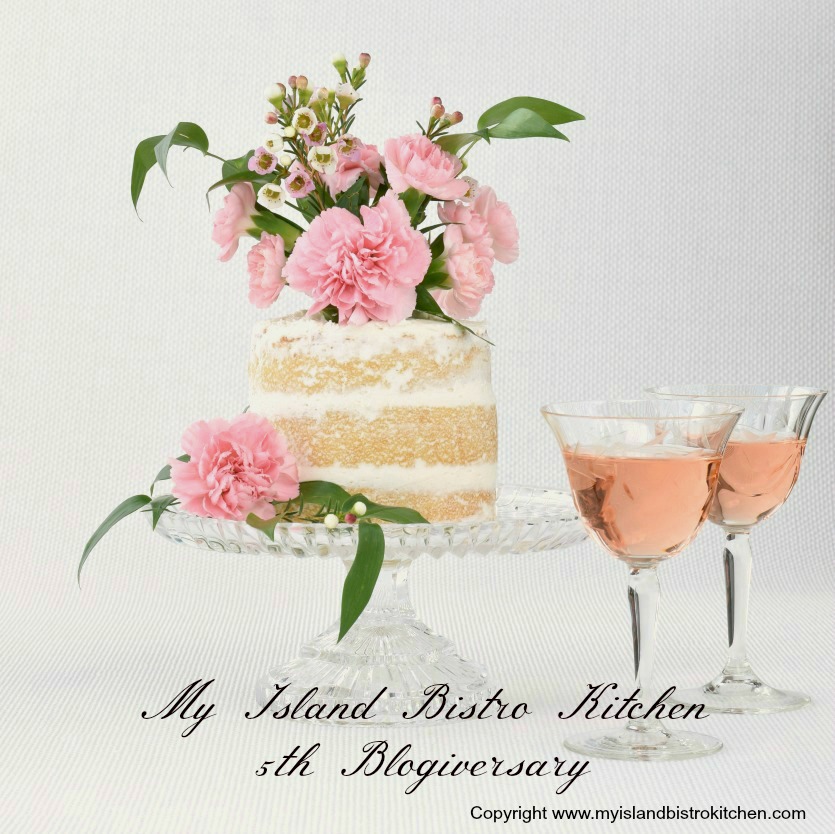
Five years ago today, January 18, 2012, I established my food blog, My Island Bistro Kitchen. Where did those five years go – they have just flown by! Time flies when you’re having fun, they say! So, today, I celebrate my 5th blogiversary!
I attempt to keep the recipes I develop and share real — nothing too wild and wacky. I am mindful of the different levels of culinary skills and food budgets that followers may have. While I do try to provide some newer, upscale recipes, it has been my experience over the past five years that the most popular recipes tend to be the traditional dishes that call for common ingredients and are not overly complicated or time-consuming to make. Where possible, I try to use locally produced food ingredients from right here in Prince Edward Island. And, for added interest, I continue to include stories about Island food producers and local culinary events.
To celebrate my five-year anniversary, I have made a cake and decorated it in the trendy “naked cake” style. Naked cake means that very little, if any, frosting is used on the sides of the cake allowing much of the cake itself to be visible. In fact, even less frosting is used on one of these cakes than I would normally use to crumb coat a cake I would completely cover with frosting! The absence of a lot of frosting allows the texture, color, and filling in the cake to show. This is a style currently favored by many brides, probably for its romantic and casual look and feel. This style also looks very nostalgic and has a vintage air about it.
Naked cakes are very non-pretentious and, in my opinion, do not require a lot of cake decorating skill. If you can spread butter on bread, you can decorate a naked cake! Perfection is not a goal in the application of minimal frosting that characterizes this style of cake! The rustic look allows a cake topper to stand out and be the focal point because there is no fancy frosting or a cake covered in piped roses or frosting ruffles to compete for the limelight. Garnishes for these types of cakes usually involve real or natural elements such as berries, fruit, or as I have done with this cake, fresh flowers. Sometimes, chocolate or caramel is drizzled over the top and down the sides of the cake.
Cakes decorated in this style have a very natural look to them. In fact, with dark-colored cakes and a slim swipe of white frosting, I think they almost look a bit like birch bark. When used on lighter toned cakes, the effect can resemble a white wash look.
This is a good type of decorating to use if the cake is for someone who does not like a lot of frosting that is the hallmark of traditionally-decorated celebratory cakes. In fact, some naked cakes sport only frosting on the top of the cake and in between the layers. Now, those are real naked cakes!
The disadvantage of this style of decorating is that the cake can dry out rather quickly. When completely frosted, the frosting acts as a seal, to help keep the cake moist. Without complete coverage of frosting, care must be taken that the cake does not dry out. I recommend frosting the cake just before serving or, if it must be done in advance, store it in an airtight cake storer/caddy.
The “naked cake” is not a new style as it has been around for a few years now but it is a cake decorating style that has gained traction and this trend shows no signs of disappearing any time soon. While it is not a style for everyone’s taste, it is an option to add variety to cake decorating.
Thank you to those faithful followers of My Island Bistro Kitchen food blog who have been with me from the start. Thanks also to those who have joined along the way. If you are new to “the Bistro”, a hearty warm welcome! I hope all will continue to follow “the Bistro” into the future as I have more great recipes in the hopper and under construction and some stories in the plans!
To view other cakes and cupcakes that have been part of my earlier blogiversaries, click on the links below.
I am a big believer in meal planning and follow it regularly. I recommend meal planning for several reasons:
Eliminates last minute meal planning – that’s when you leave work with no idea what’s for dinner and, suddenly, as you pass a supermarket with a deli or prepared food section or a fast food outlet and, well, you know the story – that becomes dinner.
Saves money and reduces food waste – have a plan in mind for using leftover meat such as ham, turkey, or roast beef. For example, use the leftover meat in sandwiches, casseroles, and/or soups. These are great ways to stretch the food dollar and eliminate food waste.
Healthier way to eat – You will eat less pre-packaged foods that often have way too many preservatives, additives, and other unhealthy ingredients. Meal planning means you are in control, to the extent possible, of what is in your food.
Less stress – Once you have a plan in place for meals for the week, you don’t have to stress each day over what to make for meals.
The keys to good meal planning are:
Make meals with ingredients you know your family will like – doesn’t have to be fancy, new, or creative. Sometimes, the old faithful comfort foods are the best.
Make the meal plan on the weekend and formulate the shopping list BEFORE you go to the supermarket and then stick to the plan, avoiding distractions of already-prepared or frozen entrées that supermarkets display to tempt shoppers.
Make your To-Do list for the meal preparation for the week – for example, if you are making baked beans on Saturday, get those beans soaking overnight on Friday evening.
Read each recipe carefully to ensure you will have all the ingredients and that the method is easy to understand and do-able in the time in which you have to do the food preparation.
Watch the supermarket sales flyers. Know your favorite dishes and buy ingredients for them when they are on sale. You’ll be more likely to stick to a meal plan if you already have most or all of the ingredients for a recipe on hand.
Plan around what’s in season. One of my favorite soups is cream of cauliflower which freezes well (provided whole milk, not fat-reduced, is used). I make several batches of this soup each fall when the locally-grown cauliflower is in season. I would not make it, however, in January with imported cauliflower that has traveled thousands of miles for days and is highly priced. Good meal planning needs to take place, on an ongoing basis, throughout the year.
Here is my suggested meal plan for the upcoming week, focusing primarily on dinners with some suggestions for a couple of lunches making the most of a boiled picnic ham. I’ve provided a list of the main ingredients that, for the most part, would probably involve a shopping trip to the supermarket for most. However, as always, read each recipe thoroughly and carefully to create your own shopping list as I have not listed what I consider to be “staple” items like milk, butter, eggs, spices, etc. Click on the green hotlinks to access the recipes.
MONDAY
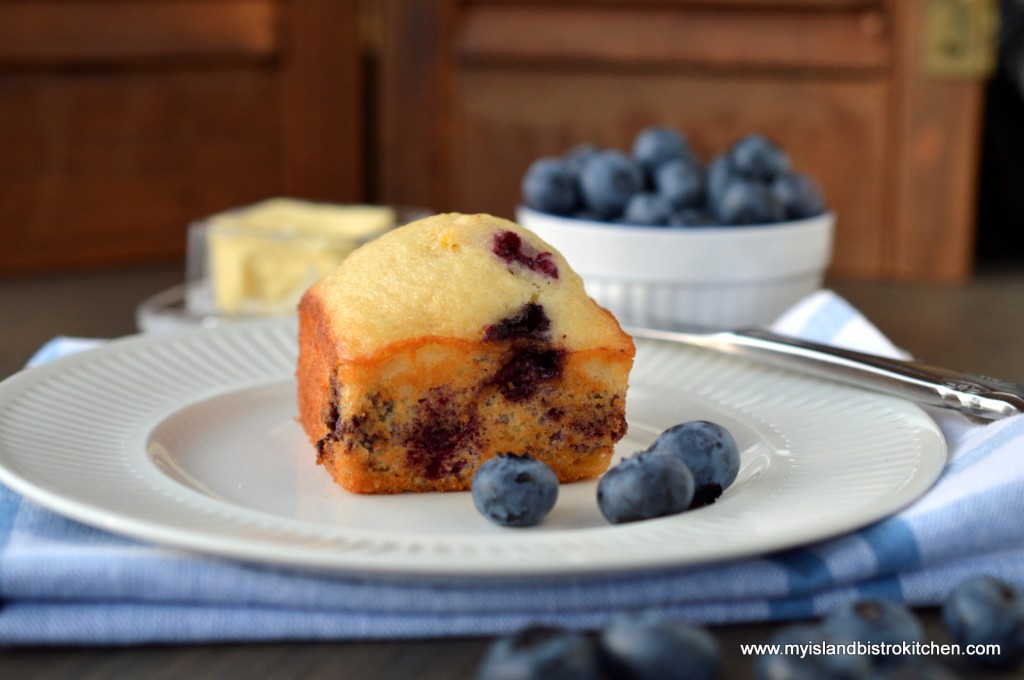
Blueberry Muffins – These are great breakfast or coffee break muffins and they freeze very well. Nice treat to start off the week! Shopping List: Blueberries (fresh or frozen), orange juice, orange rind
Blueberry Muffins
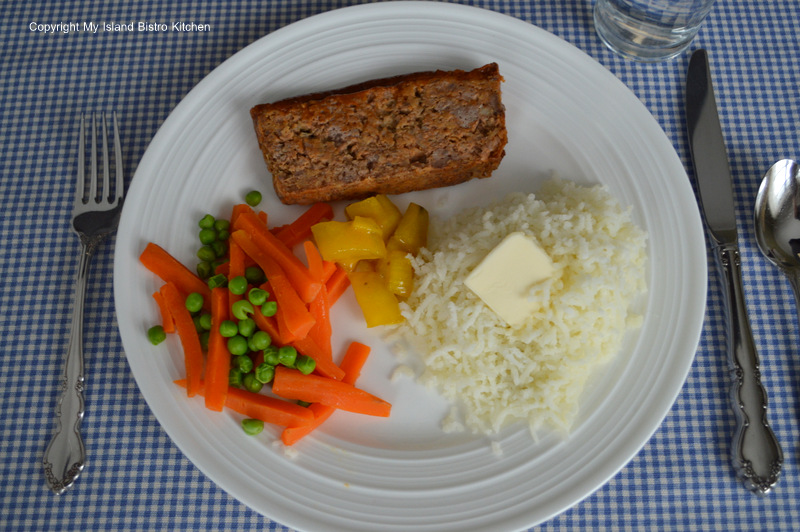
Dinner:Meatloaf
Serve with mashed or riced potatoes and your favorite side of veggies. Homemade mustard pickles go great with meatloaf!
Shopping List: Ground beef, onion, prepared mustard, tomato soup, dry onion soup mix, graham wafer crumbs, fine bread crumbs, garlic powder, vegetables of choice
Meatloaf with Riced Potatoes and Mixed Vegetables
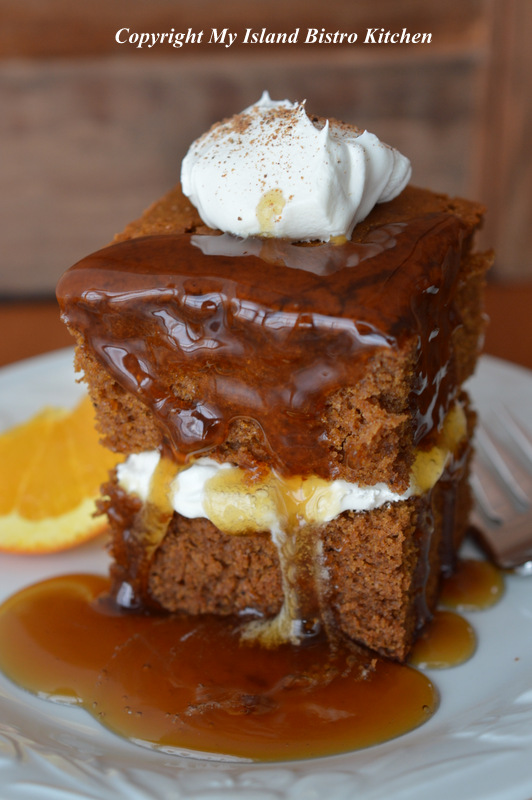
Dessert: Gingerbread
At least once every winter, I have to have a dose of this yummy comfort food! Drizzle with brown sugar sauce for an extra-special treat! Shopping List: Applesauce, molasses, coffee
Gingerbread with Whipped Cream and Brown Sugar Sauce
TUESDAY
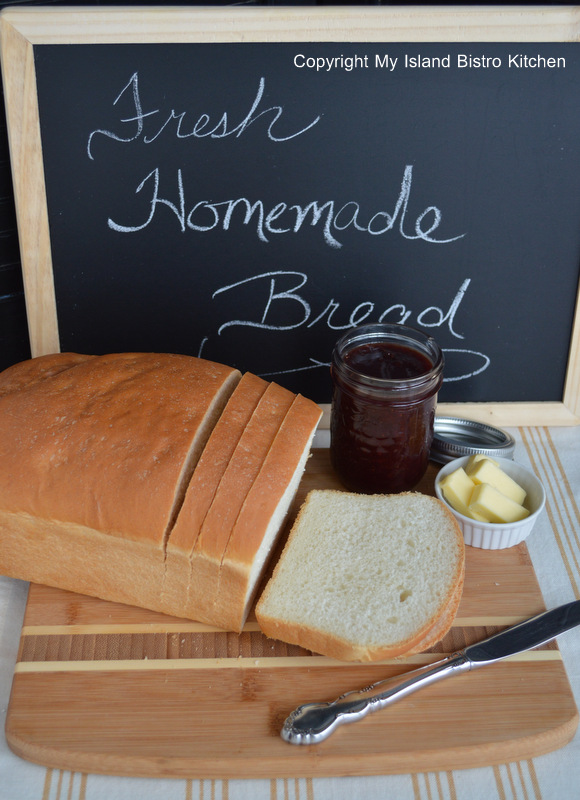
Homemade White Bread – This is always such a treat! This bread will be super good with the ham sandwiches this week! Shopping List: All-purpose flour, dry yeast, milk, butter/shortening
Homemade White Bread
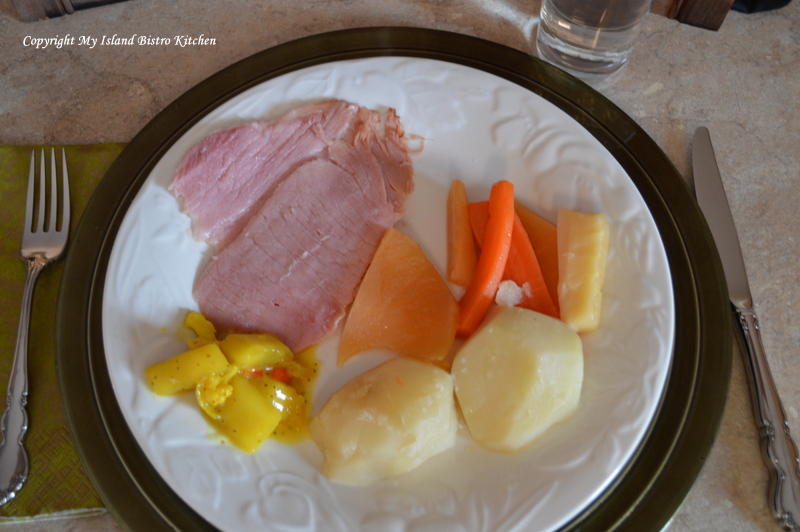
Dinner: Old-fashioned Boiled Ham Dinner – This is truly dinner-in-a-pot and is my definition of “comfort food”! The meat and vegetables are all cooked in the same broth in the same pot. Make sure you cook enough veggies for Wednesday night as this always tastes even better the second day. Easy to heat the vegetables in the microwave and, poof, you have two nights’ meals prepared in one effort. You’ll want those mustard pickles or mustard beans with this dinner! Shopping List: Smoked pork picnic shoulder (ham), parsnips, carrots, rutabaga (turnip), potatoes
Boiled Ham DInner
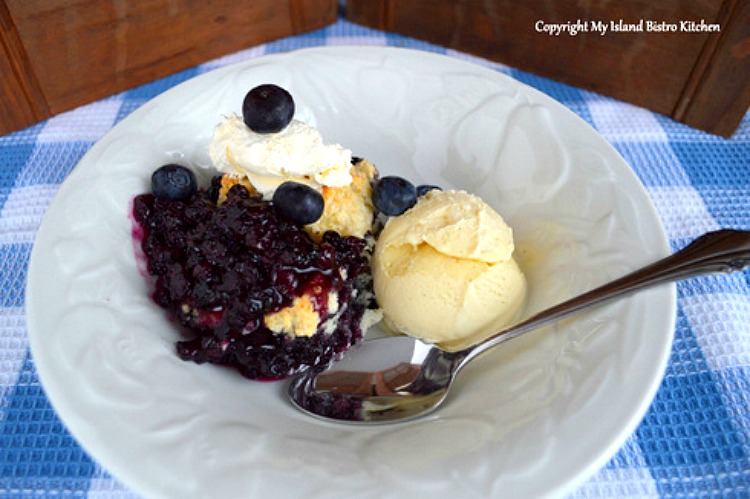
Dessert:Blueberry Grunt
This is such an incredibly yummy dessert – serve it with your favorite vanilla ice cream! Shopping List: Blueberries (fresh or frozen) and lemon rind, vanilla ice cream
Blueberry Grunt
WEDNESDAY
Lunch: Ham Sandwiches made with homemade white bread! Don’t forget the mustard!
Dinner: Leftover boiled ham dinner from Tuesday.
Dessert:Cherry Wink Cookies Shopping List: Dates, cornflake crumbs, maraschino cherries
Shopping List: Sweet pickle relish, Dijon mustard, maple syrup, celery, red pepper, mayonnaise, Havarti cheese
Dinner:Hawaiian Fiesta Casserole – this is a great way to use up left-over cooked ham and stretch its use. Serve these with those tasty biscuits and perhaps a green salad! Shopping List: Rice, cream of celery soup, sour cream, liquid chicken bouillon, broccoli, canned pineapple chunks, Parmesan cheese, fine bread crumbs, leftover cooked ham, and ingredients for a green salad and dressing
Dinner:Mac ‘n Cheese with a green salad and homemade tea biscuits Shopping List: Elbow macaroni, liquid chicken bouillon, cheddar cheese, Parmesan cheese, salad ingredients and dressing
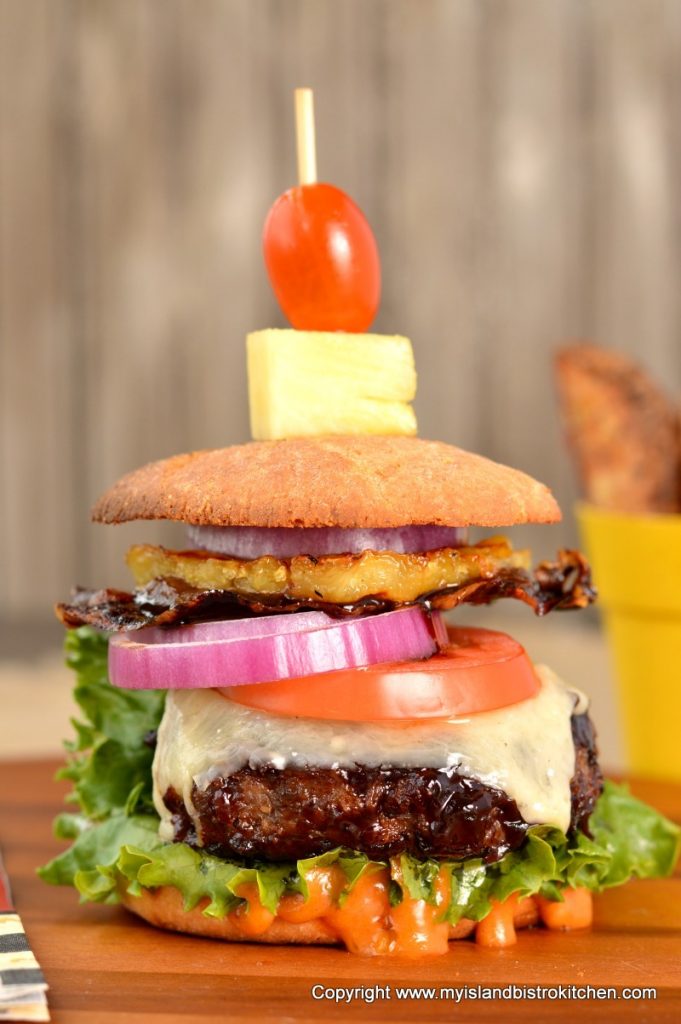
Dinner: Bistro Burgers with Home Fries Shopping List: Ground chuck, mayonnaise, maple syrup, ketchup, rhubarb relish, Dijon mustard, sour cream, onion salt, Parmesan cheese, Blueberry BBQ sauce, dry onion soup mix, bread crumbs, Cheddar cheese slices, red onion, tomato, prosciutto, fresh pineapple, bread and butter pickles, hamburger rolls, potatoes (for home fries)
“The Bistro Burger”
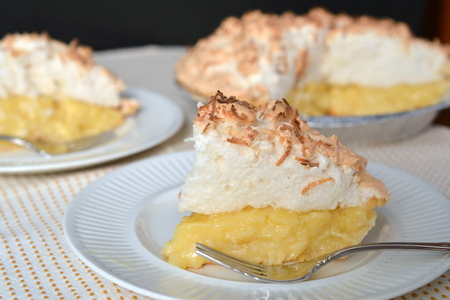
Dessert: Leftover Coconut Cream Pie
Meal planning can be a challenge, especially with high food prices, ingredient availability (particularly in winter for fresh local ingredients) and, of course, for those who are busy and time-challenged. However, with having a plan in place and establishing a routine for meal preparation, it is a way to eat better, save money, reduce food waste, and eliminate the stress of last-minute meal preparation that can sometimes result in unhealthy food choices. For those with children, it’s a good way to help them make good food choices and engage them in meal preparation by assigning them tasks to help with the work of making meals.
For my Week 2 Meal Plan, click here.
For my Week 3 Meal Plan, click here.
For my Week 4 Meal Plan, click here.
For my Week 5 Meal Plan, click here.
For my Week 6 Meal Plan, click here.
When you live in Prince Edward Island, Canada, where potatoes are one of the main agricultural crops, you find lots of ways to serve potatoes. Twice-baked Potatoes, or stuffed baked potatoes, are one of my all-time favorites. I make up big batches of these and freeze them so they are always on hand, ready to be popped in the oven for dinner. Continue reading Twice-baked Potatoes Recipe→
(Mostly) PEI and Maritime Food – Good Food for a Good Life!