If you are a regular follower of my food blog, you will know that I do all I can to maximize the value of food products and reduce food waste. In my view, one of the best buys to extend meals is a turkey. Not only does it generate a wonderful roast turkey dinner but there is tremendous goodness left in the carcass and, often, there is more meat than can be used up as cold turkey and it can be transformed into other dishes. Or, sometimes, one just gets tired of the turkey before it is all used up so a great way to maximize it is to turn it into a delectable Turkey Vegetable Soup.

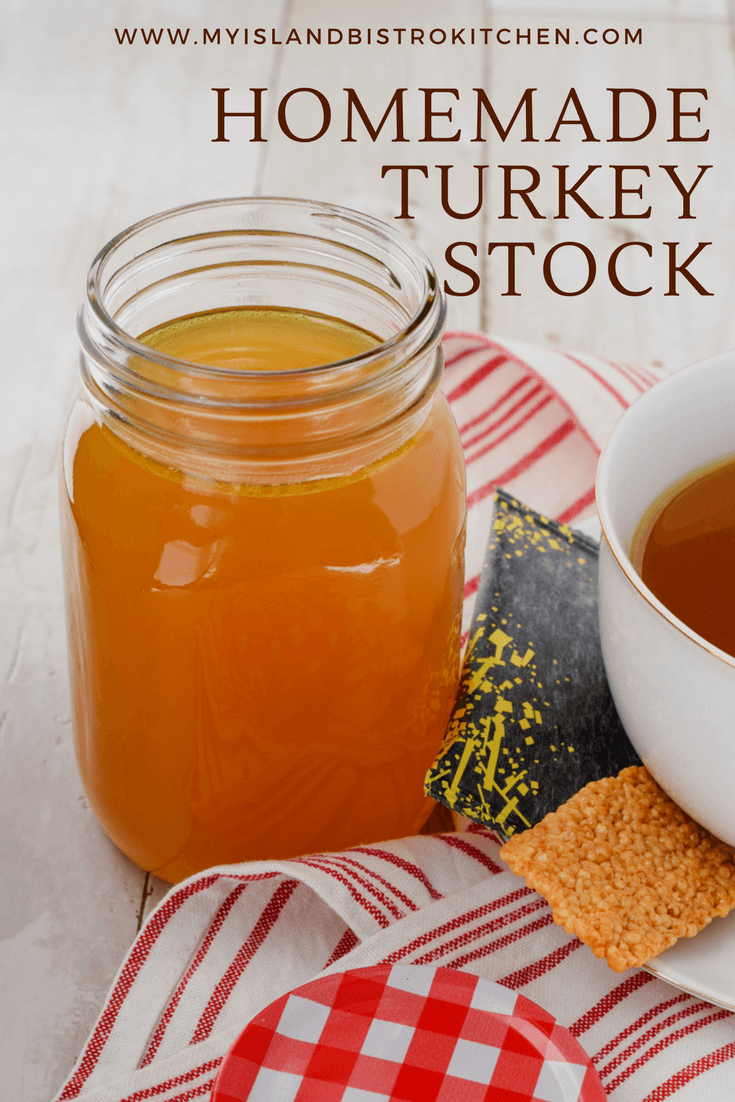
The first thing I do after a roast turkey dinner is strip off all the remaining usable meat from the turkey carcass. I will either immediately make homemade turkey stock with the carcass or freeze it in an airtight freezer bag and make the stock later. You can find my recipe for making turkey stock by clicking here. If the plan is not to make the Turkey Soup right away, I suggest setting aside 3-4 cups of the turkey meat and freezing it in an airtight freezer bag to have ready to drop in to the soup when it is later made.
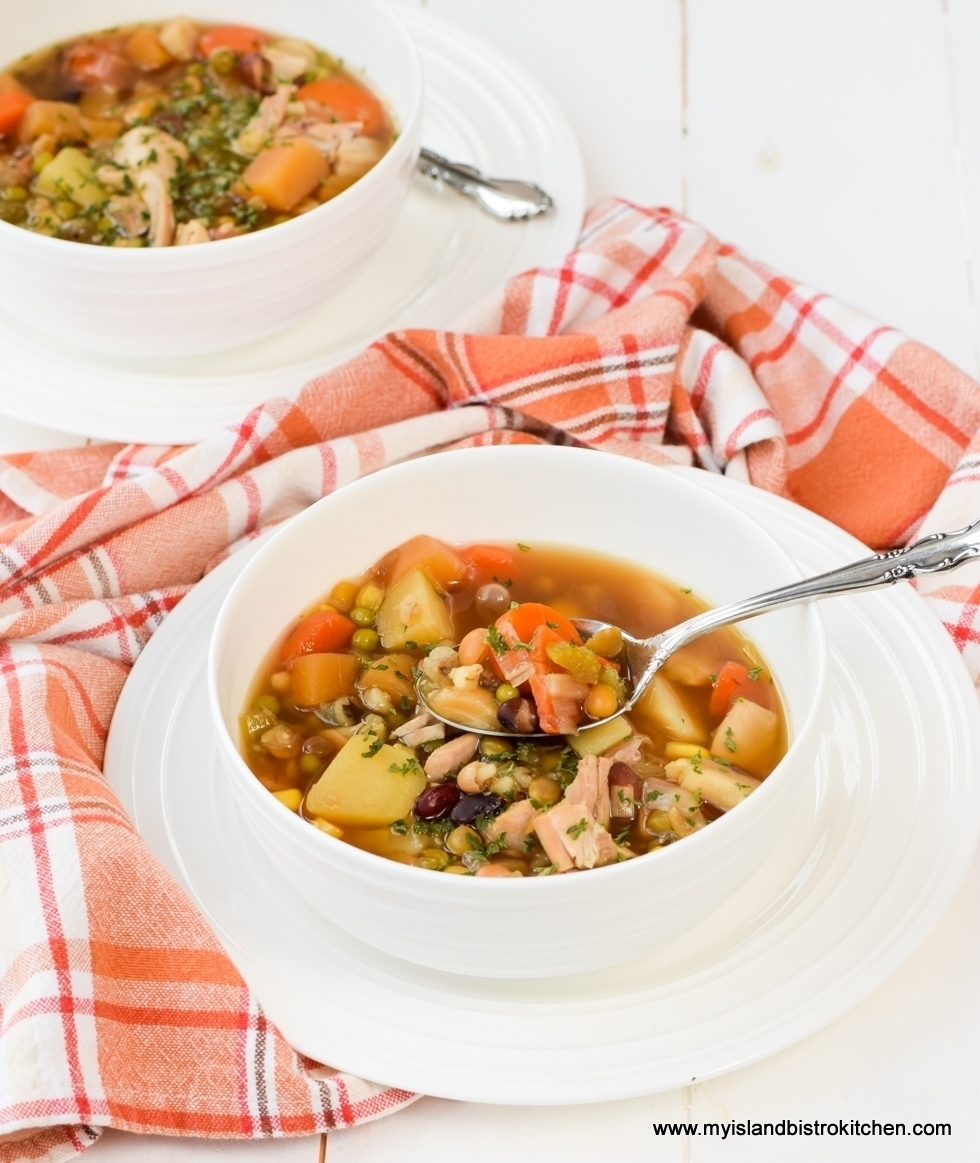
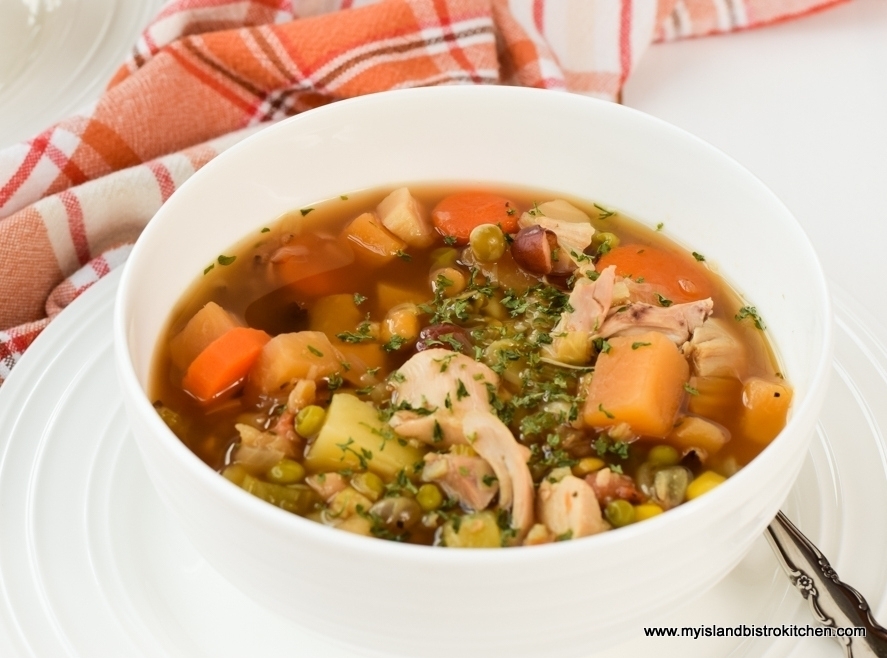
Homemade Turkey Vegetable Soup is both delicious and nutritious and my version of this wholesome soup freezes well. The recipe makes a big batch (about 18-20 servings) though it may be halved. However, if freezer space is available for the soup, it is mighty handy to have on hand for later use.
Now I do, of course, recommend that homemade turkey stock be used as the foundation for this soup because it is wholesome and free of preservatives. However, commercially-made stock/broth may be used in its place.

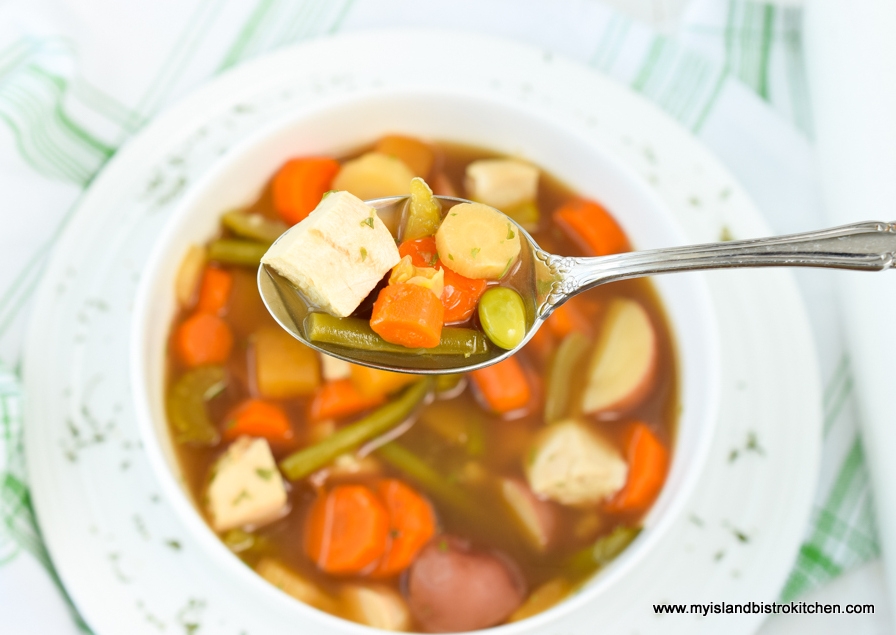
I recommend a careful reading of my recipe for this soup before beginning to make it as there are some steps involved and probably a shopping trip, too. To begin, I typically use a dry soup mix comprised of beans, lentils, split peas, pearl barley, and white rice. I buy this bulk at my local bulk food store and this mix does require a bit of pre-soaking, cooking, and standing time before it is incorporated into the soup pot. Otherwise the contents of the mix will not cook in the amount of time it takes to cook the remaining ingredients of the soup. So, time will need to be allotted for that activity. While using this mix adds fibre and bulk to the soup, the soup may be made without it and several photos in this posting show soup made without the dry soup mix. If making the soup minus the dry soup mix, simply increase slightly the quantity/amount of fresh and/or frozen vegetables called for in the recipe so that the soup is filled with goodness and is not too runny.
For this Turkey Vegetable Soup, I am not starting out with the traditional pure mirepoix because that requires that the aromatic holy trinity of carrots, celery, and onion be chopped really fine. In this soup, I want those ingredients to be left larger, in bite-size chunks. However, I do sauté them, along with the parsnip and leek for 2-3 minutes to start the release of their flavours along with the garlic.
Because I use my own homemade stock which already has some seasonings added, I don’t add huge amounts of seasonings to the soup and this is one soup that I do not like overly spiced or seasoned. One flavour booster I have found that works really well in this Turkey Vegetable Soup is dry onion soup mix so I add a couple of tablespoons along with small amounts of thyme, summer savory, turmeric, paprika, ground coriander, cloves, and nutmeg and, of course, the standard bay leaves. As always, I recommend, when making a recipe for the first time, to make it with the ingredients and amounts called for by the recipe creator. If, after you have tried it as it has been developed, you find it needs more or less of a seasoning to suit your personal taste, the adjustments can be noted and made in the next batch.
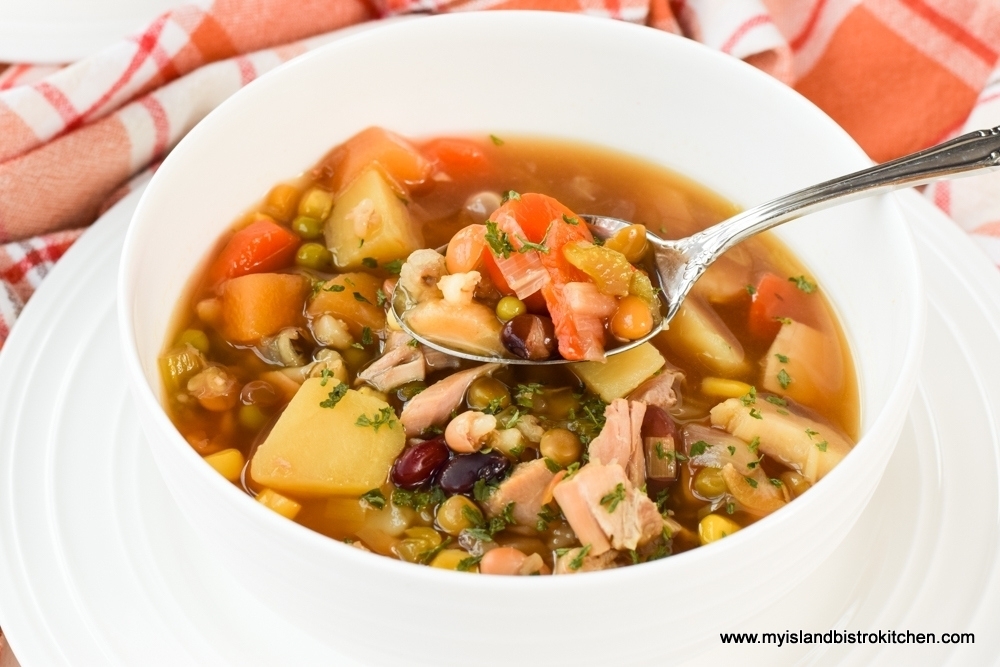
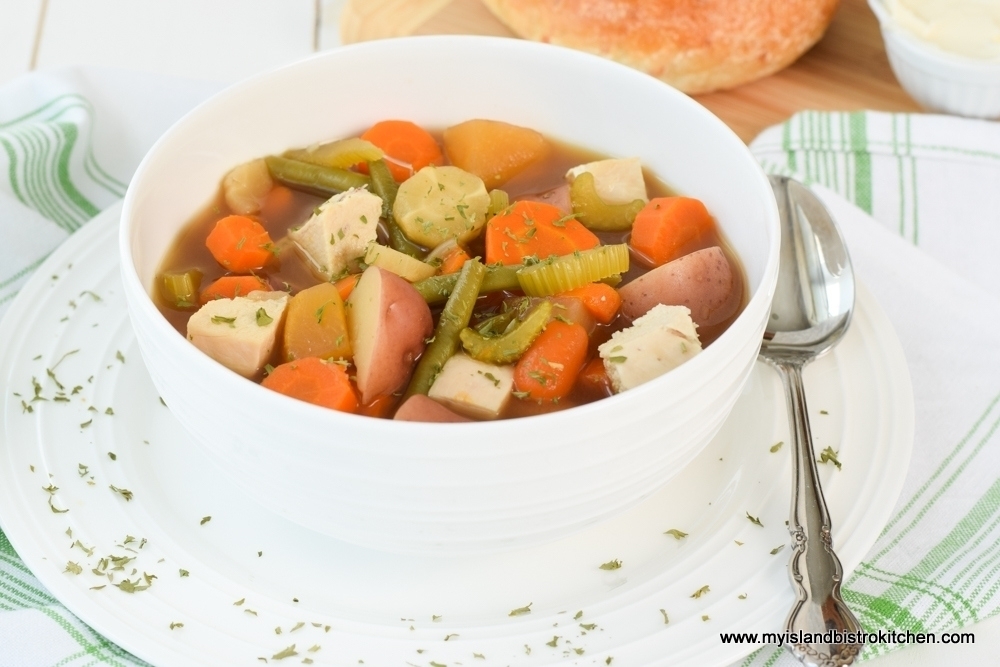
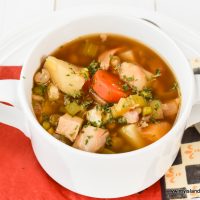
I like rutabaga so add a fair bit of it to the soup. It adds both substance and some sweetness to the soup. Sometimes, I will make this soup with peeled cubed potatoes (seen in photo above) and, other times, I will make it a little more rustic, using the mini red potatoes with their skins on (as shown in photo below). Either works.

Nearer the end of the cooking process, add 1 1/2 cups of frozen vegetables. This can be either corn, peas, or mixed vegetables – any on their own or in any combination to make up 1 1/2 cups. I like the soup well filled! One nice thing about this kind of soup is that if you don’t like, for example, peas, then simply replace them with another vegetable you prefer.
The cooked turkey may either be cubed (as shown in photo above) or coarsely shredded (as seen in photo below) for this soup. Making turkey soup is a great way to use up light and/or dark meat left on the turkey. It only needs about 5 minutes in the soup for it to heat. Don’t re-cook the meat as it will become tough and it will lose its flavour.
Serve this soup piping hot with homemade bread, rolls, white biscuits, whole wheat biscuits, or favorite crackers.
[Printable recipe follows at end of posting]
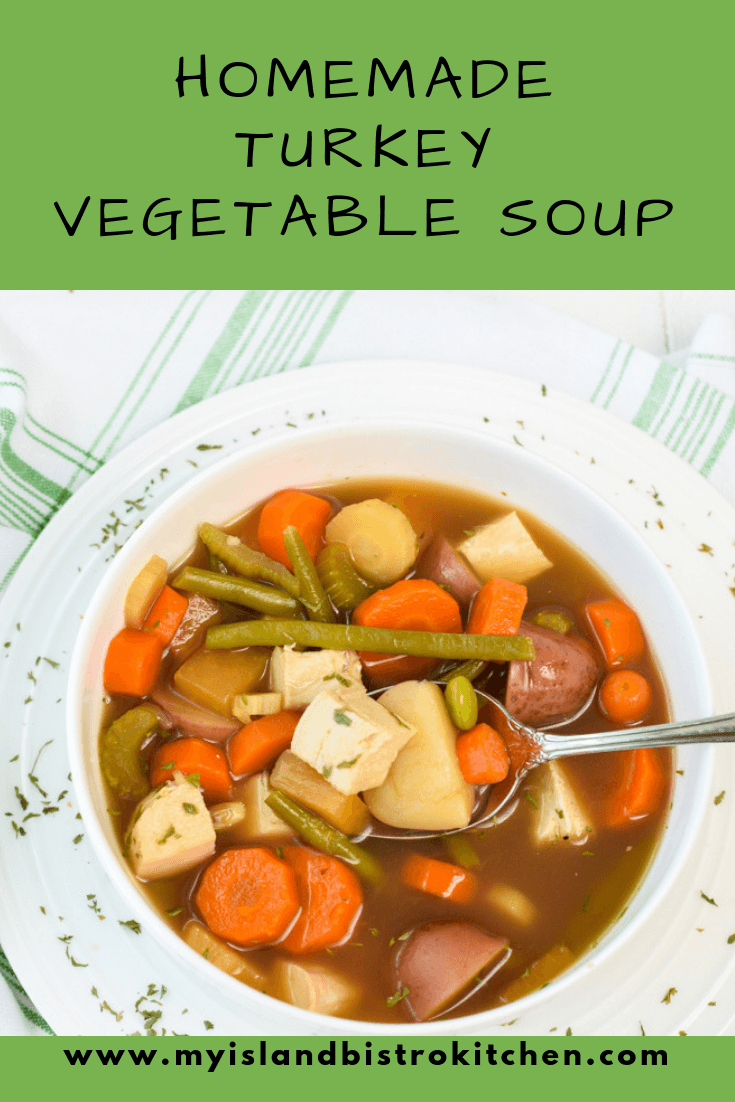
The Bistro’s Homemade Turkey Vegetable Soup
Ingredients:
1 cup dry soup mix of beans, lentils, split peas, pearl barley, and white rice
3 cups cold water
3 – 4 tbsp butter
1 tbsp olive oil
1 cup onion, coarsely chopped
2 cups carrots (about 3 large), cut into bite-sized chunks
1½ cups parsnip (about 2 large), cut into bite-sized pieces
1 cup celery (1 large celery rib), sliced
1 leek (white and green parts only), sliced
5-6 cloves of garlic, minced
12 cups turkey stock
2 tbsp dry onion soup mix
1 tsp dried summer savory
¾ tsp dried thyme
¼ tsp turmeric
¼ tsp paprika
1/8 tsp ground coriander
1/8 tsp cloves
1/8 tsp nutmeg
2 bay leaves
1¾ cups rutabaga, cut into bite-sized chunks
1 lb mini red potatoes (unpeeled), halved or quartered depending on their size or, alternatively, 2 cups peeled potatoes, cubed
1½ cups frozen vegetables (peas, corn, or mixed vegetables)
3 – 4 cups cooked turkey meat, cubed or coarsely shredded
Salt and pepper, to taste
Method:
In large saucepan, soak the dry soup mix in 3 cups of cold water for 2 hours. Bring to a boil, covered, over medium-high heat. Reduce heat to low and boil gently for 2 minutes. Remove from heat and let stand 1 hour. Drain.
In large stockpot, over medium heat, melt the butter then add the olive oil. Add the onions, carrots, parsnip, celery, and leek. Sauté for 2-3 minutes, stirring briskly. Add the garlic and, stirring constantly, cook for 1 minute longer.
Add the turkey stock, cover, and bring just to the boiling point but do not boil. Add the dry onion soup mix and spices along with the bay leaves. Add the rutabaga and drained soup mix of beans, lentils, peas, etc. Cook gently, partially covered, over medium-low heat for about 30 minutes. Season with salt and pepper to taste.
Add the potatoes and cook, partially covered, for about 10-12 minutes before adding the frozen vegetables. Cook for an additional 15-20 minutes, or until vegetables are cooked. Add the cooked turkey and simmer for 5 minutes or so, just until the turkey is heated. Season with salt and pepper to taste.
Remove bay leaves and ladle soup into bowls. Soup freezes well.
Yield: Approximately 18-20 servings (1¼ cup serving size)
You may also like this recipe for My Island Bistro Kitchen’s Homemade Turkey Chowder.
The Bistro’s Homemade Turkey Vegetable Soup
Ingredients
- 1 cup dry soup mix of beans (lentils, split peas, pearl barley, and white rice)
- 3 cups cold water
- 3 – 4 tbsp butter
- 1 tbsp olive oil
- 1 cup onion, coarsely chopped
- 2 cups carrots (about 3 large), cut into bite-sized chunks
- 1½ cups parsnip (about 2 large), cut into bite-sized pieces
- 1 cup celery (1 large celery rib), sliced
- 1 leek, white and green parts only, sliced
- 5-6 cloves of garlic, minced
- 12 cups turkey stock
- 2 tbsp dry onion soup mix
- 1 tsp dried summer savory
- ¾ tsp dried thyme
- ¼ tsp turmeric
- ¼ tsp paprika
- 1/8 tsp ground coriander
- 1/8 tsp cloves
- 1/8 tsp nutmeg
- 2 bay leaves
- 1¾ cups rutabaga, cut into bite-sized chunks
- 1 lb mini red potatoes unpeeled, halved or quartered depending on their size or, alternatively, 2 cups peeled potatoes, cubed
- 1½ cups frozen vegetables (peas, corn, or mixed vegetables)
- 3 - 4 cups cooked turkey meat, cubed or coarsely shredded
- Salt and pepper, to taste
Instructions
-
In large saucepan, soak the dry soup mix in 3 cups of cold water for 2 hours. Bring to a boil, covered, over medium-high heat. Reduce heat to low and boil gently for 2 minutes. Remove from heat and let stand 1 hour. Drain.
-
In large stockpot, over medium heat, melt the butter then add the olive oil. Add the onions, carrots, parsnip, celery, and leek. Sauté for 2-3 minutes, stirring briskly. Add the garlic and, stirring constantly, cook for 1 minute longer.
-
Add the turkey stock, cover, and bring just to the boiling point but do not boil. Add the dry onion soup mix and spices along with the bay leaves. Add the rutabaga and drained soup mix of beans, lentils, peas, etc. Cook gently, partially covered, over medium-low heat for about 30 minutes. Season with salt and pepper to taste.
-
Add the potatoes and cook, partially covered, for about 10-12 minutes before adding the frozen vegetables. Cook for an additional 15-20 minutes, or until vegetables are cooked. Add the cooked turkey and simmer for 5 minutes or so, just until the turkey is heated.
-
Remove bay leaves and ladle soup into bowls. Soup freezes well.
Recipe Notes
Yield: Approximately 18-20 servings (1¼ cup serving size)
[Copyright My Island Bistro Kitchen]
If you have made this recipe and enjoyed it and/or wish to share it with your friends and family, please do so on social media but be sure to share the direct link to this posting from my website.
Connect with My Island Bistro Kitchen on Social Media
Join the Facebook page for My Island Bistro Kitchen: https://www.facebook.com/MyIslandBistroKitchen/
Follow “the Bistro” on “X” (formerly Twitter): https://twitter.com/PEIBistro/
See the drool-worthy gallery of mouth-watering food photos from My Island Bistro Kitchen on Instagram: https://www.instagram.com/peibistro/
Follow “the Bistro” on Pinterest at https://www.pinterest.ca/peibistro/ and pin the Pinterest-ready photos found at the end of this post to your favorite Pinterest boards.
Pin Me To Pinterest!

You may also enjoy these other soup and chowder recipes from My Island Bistro Kitchen:
Turkey Chowder
Chicken Noodle Soup