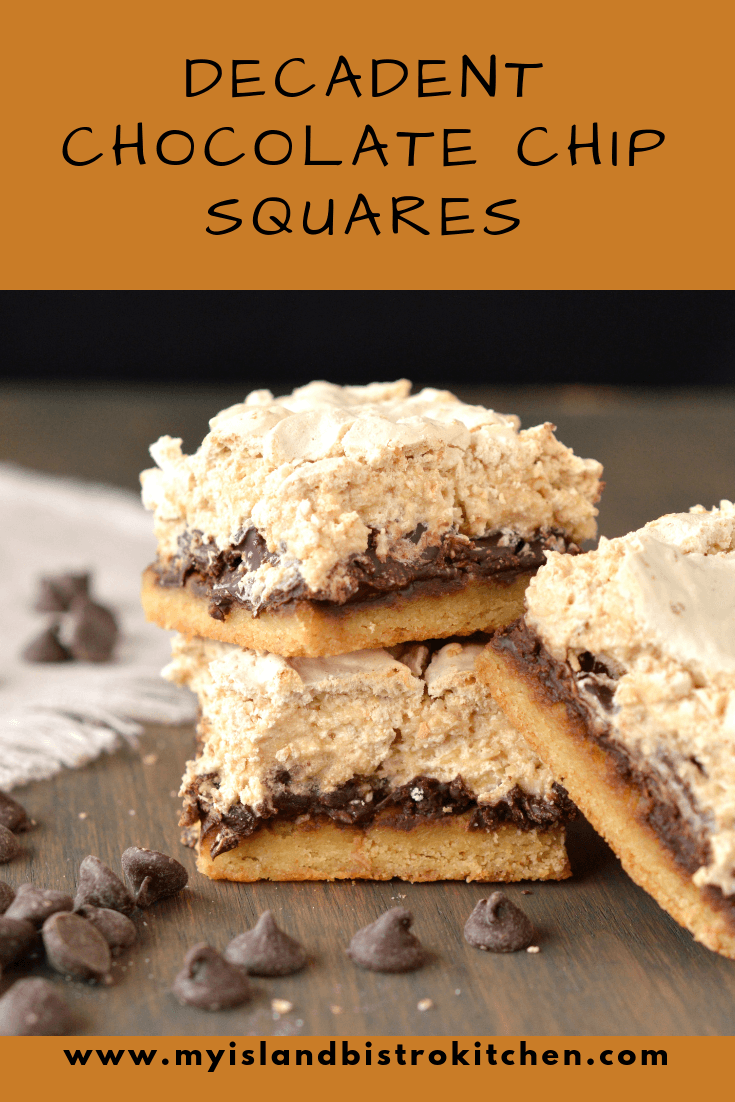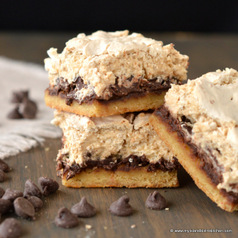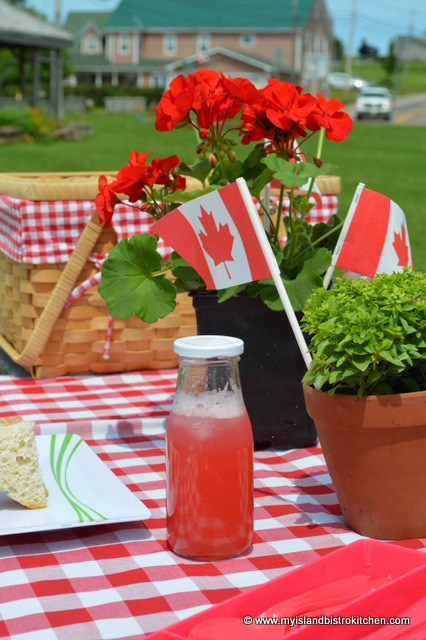
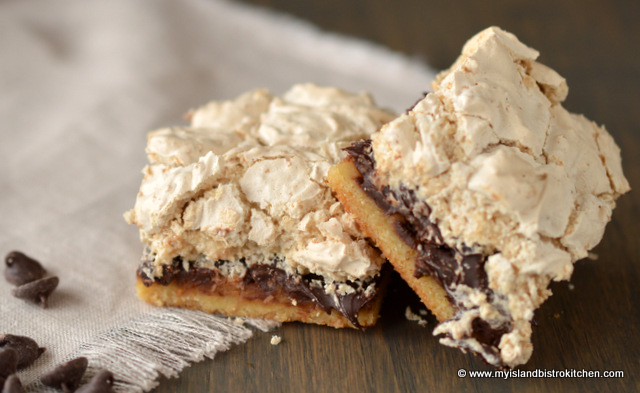
This is one of my most favorite squares! I have been making this recipe for years. It’s good any time of the year and is often found in my summer picnic basket. With its rich, gooey chocolate center and a slightly crunchy topping, it’s a real treat for sure, especially for chocolate lovers.
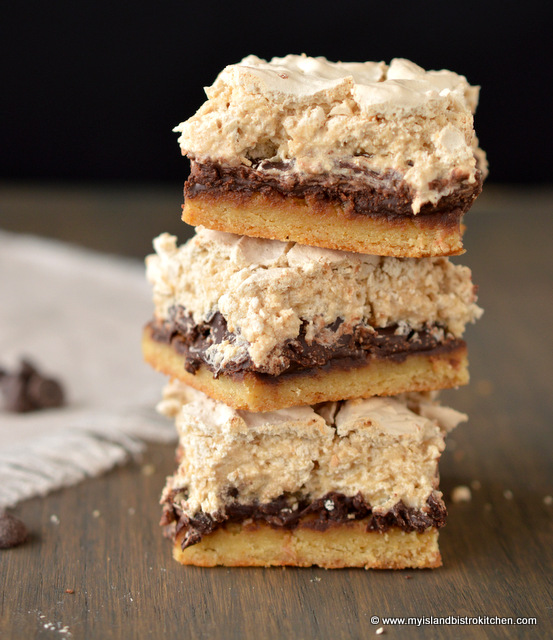
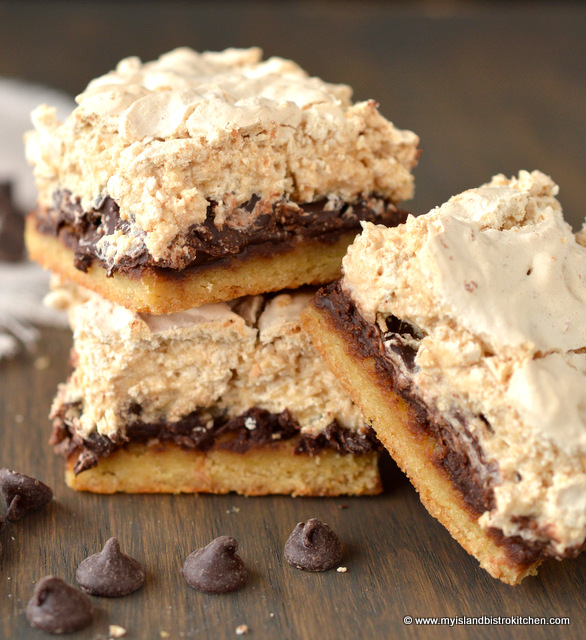
Decadent Chocolate Chip Squares
Ingredients:
Base:
1 cup all-purpose flour
1 tsp baking powder
Pinch salt
⅓ cup butter, softened
⅓ cup brown sugar, packed
2 egg yolks
10 oz. chocolate chips
Topping:
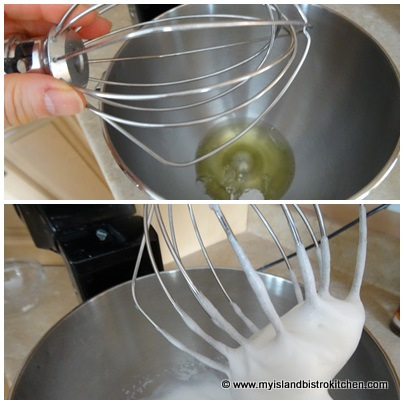
2 egg whites, beaten stiff
⅛ tsp cream of tartar
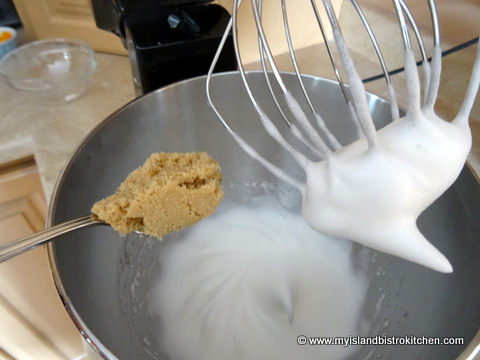
1 cup brown sugar, lightly packed
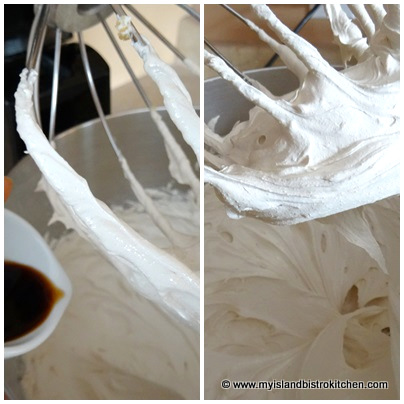
1 tsp vanilla
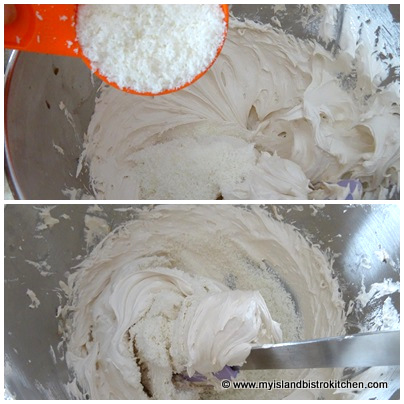
½ cup macaroon coconut
Method:
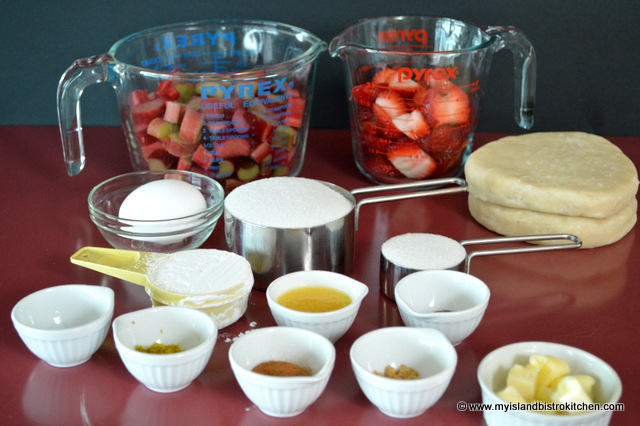
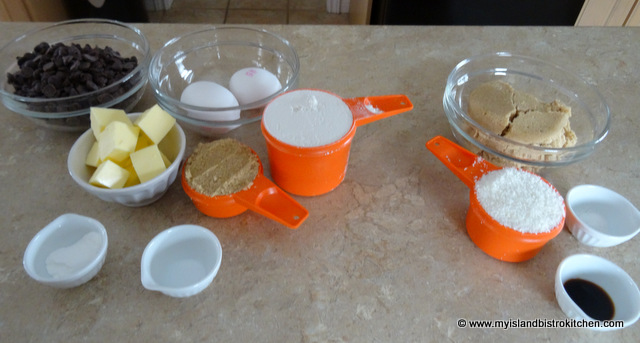
Assemble ingredients.
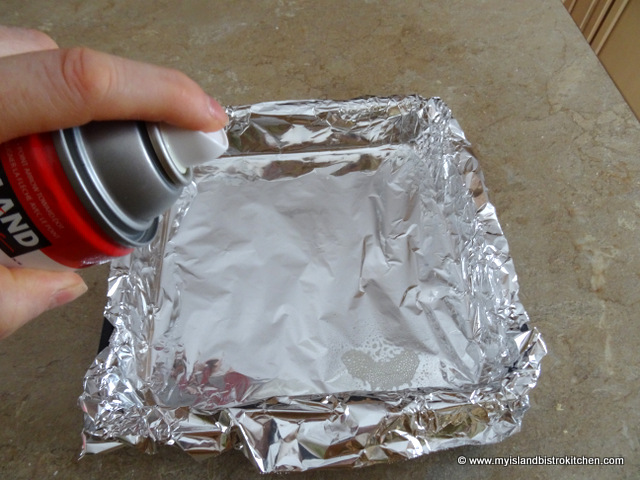
Prepare 9” square pan by lining with tin foil and spraying with cooking oil.
Preheat oven to 350°F.
Base:
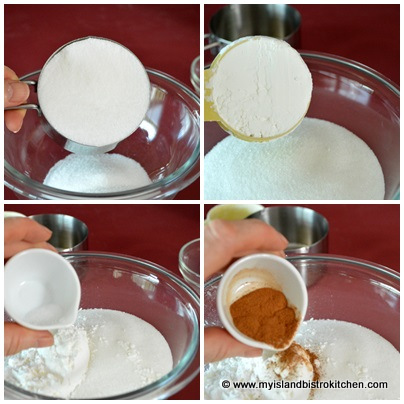
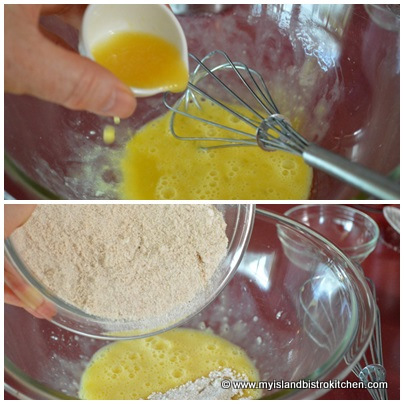
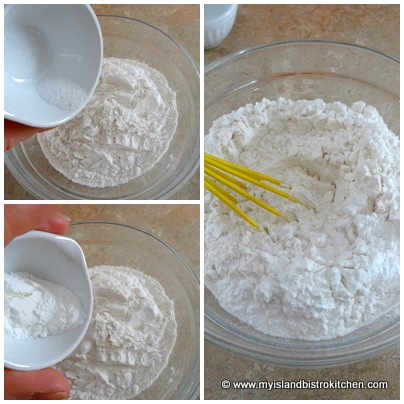
In small bowl, whisk together the flour, baking powder, and salt. Set aside.
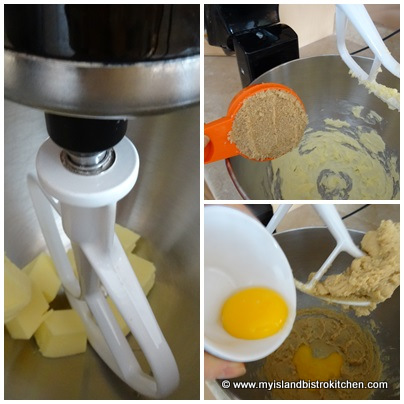
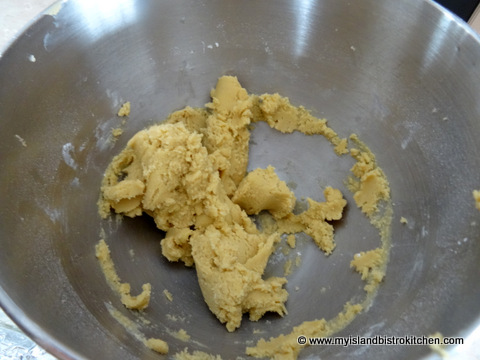
Cream butter and brown sugar together. Add egg yolks, one at a time, beating well after each addition.
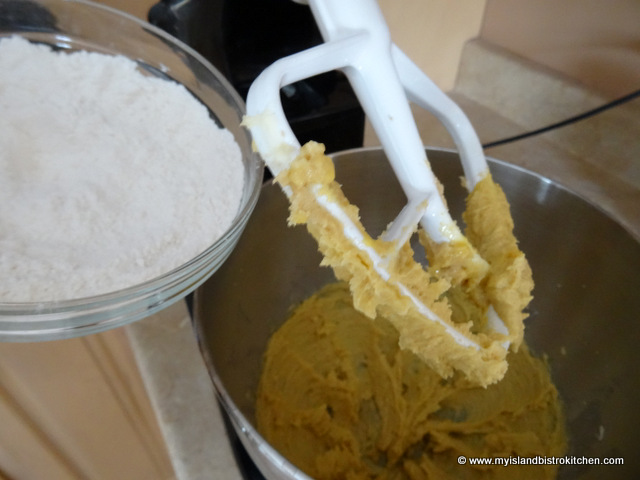
Add dry ingredients and stir just until dry ingredients are incorporated.
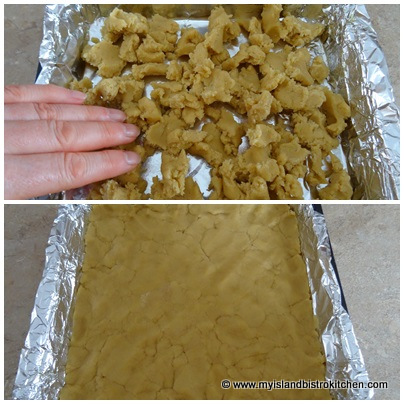
Evenly press dough into prepared pan.
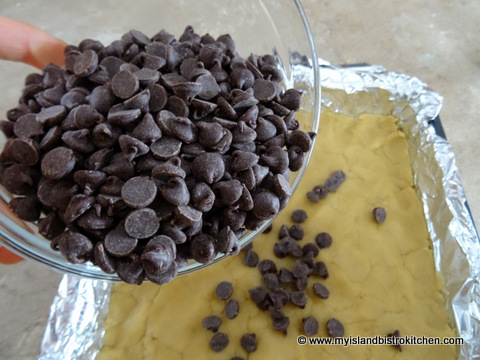
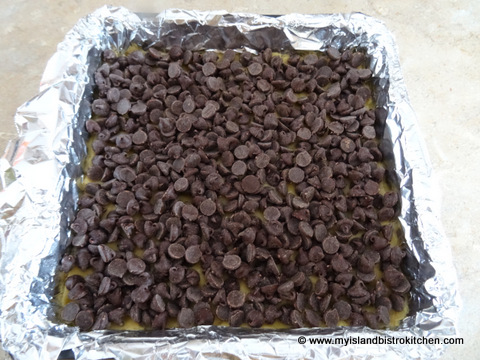
Evenly sprinkle the chocolate chips over the dough. Set aside.
Topping:
In clean mixer bowl, beat the two egg whites with the cream of tartar until soft peaks form.
Beat in the brown sugar, adding a tablespoon at a time.
Add the vanilla.
Fold in the coconut.
Spread the topping evenly over the chocolate chips.

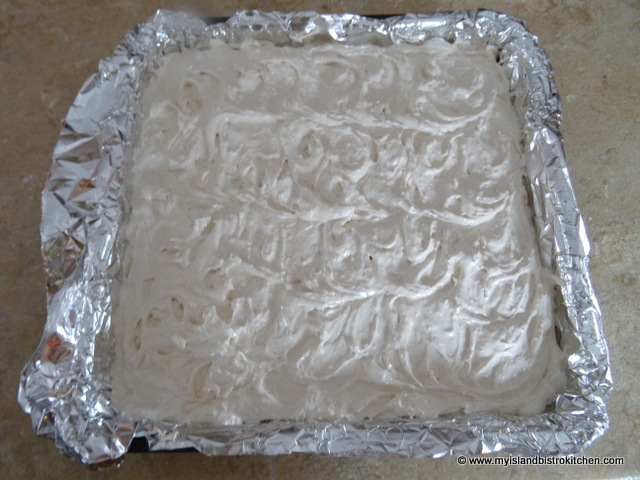
Bake for 30-35 minutes or until topping is browned. Remove from oven and place pan on wire cooling rack. Let cool completely. Lift tin foil and square from the pan and cut into squares.
Ingredients
- Base:
- 1 cup all-purpose flour
- 1 tsp baking powder
- Pinch salt
- 1/3 cup butter, softened
- 1/3 cup brown sugar, packed
- 2 egg yolks
- 10 oz. chocolate chips
- Topping:
- 2 egg whites, beaten stiff
- 1/8 tsp cream of tartar
- 1 cup brown sugar, lightly packed
- 1 tsp vanilla
- ½ cup macaroon coconut
Instructions
- Assemble ingredients.
- Prepare 9” square pan by lining with tin foil and spraying with cooking oil.
- Preheat oven to 350°F.
- Base:
- In small bowl, whisk together the flour, baking powder, and salt. Set aside.
- Cream butter and brown sugar together. Add egg yolks, one at a time, beating well after each addition. Add dry ingredients and stir just until dry ingredients are incorporated.
- Evenly press dough into prepared pan. Evenly sprinkle the chocolate chips over the dough. Set aside.
- Topping:
- In clean mixer bowl, beat the two egg whites with the cream of tartar until soft peaks form. Beat in the brown sugar, adding a tablespoon at a time. Add the vanilla. Fold in the coconut.
- Spread the topping evenly over the chocolate chips.
- Bake for 30-35 minutes or until topping is browned. Remove from oven and place pan on wire cooling rack. Let cool completely. Lift tin foil and square from the pan and cut into squares.

——————————————————————————–
Thank you for visiting “the Bistro” today. If you enjoyed this posting and recipe, please share it on your social media websites.
Connect with “the Bistro” through the following social media:
Join My Island Bistro Kitchen on Facebook
Follow “the Bistro’s” tweets on Twitter
Follow “the Bistro” on Pinterest
Follow “the Bistro” on Instagram
Pin Me To Pinterest!