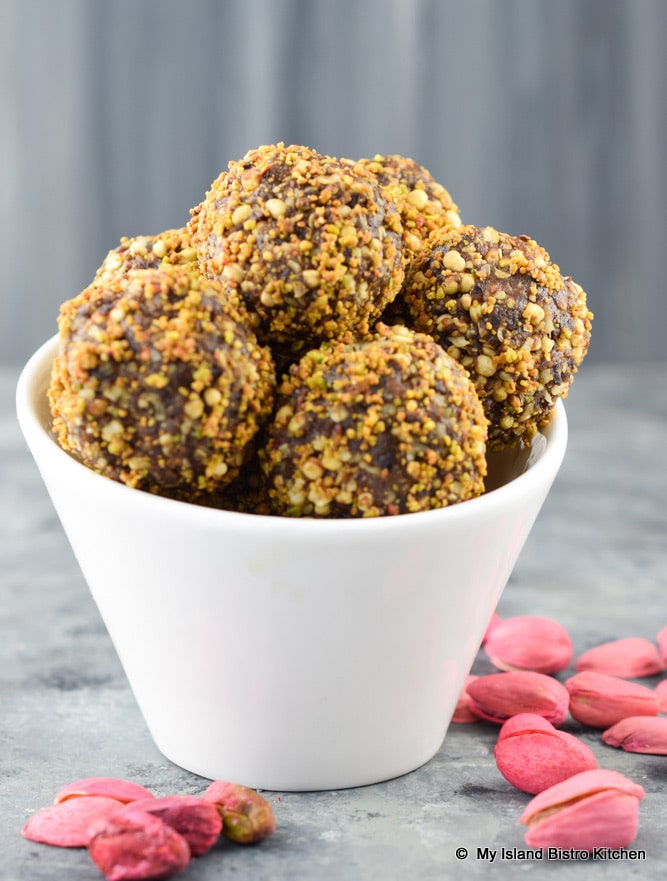
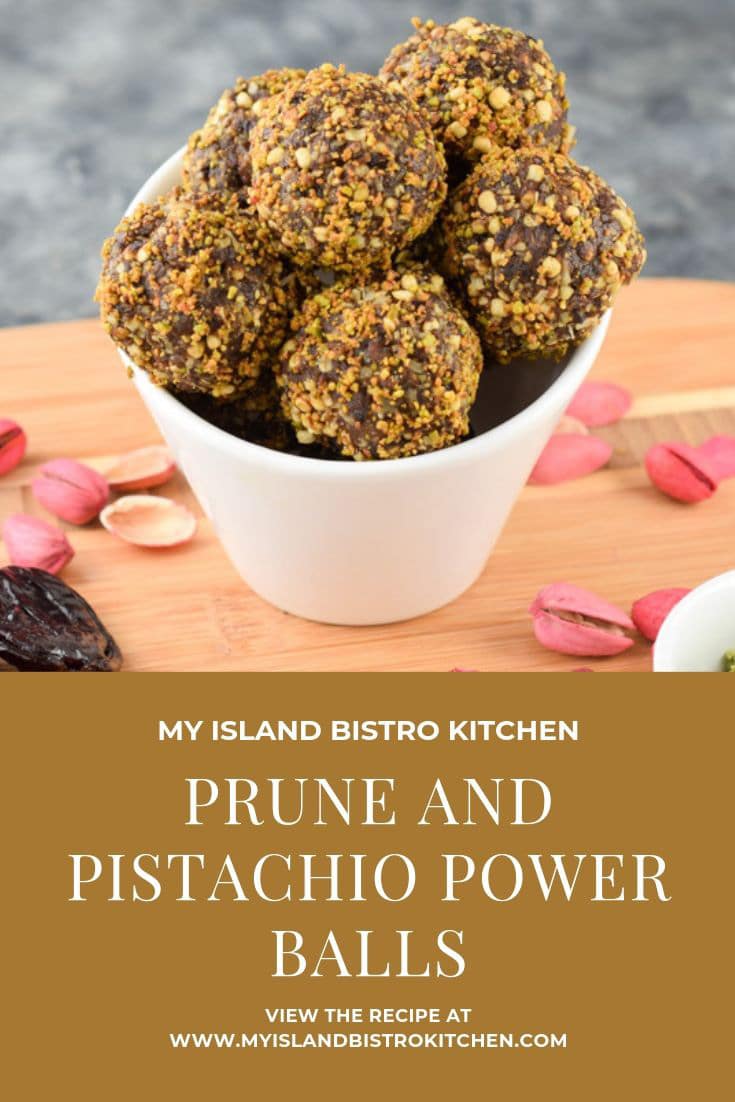
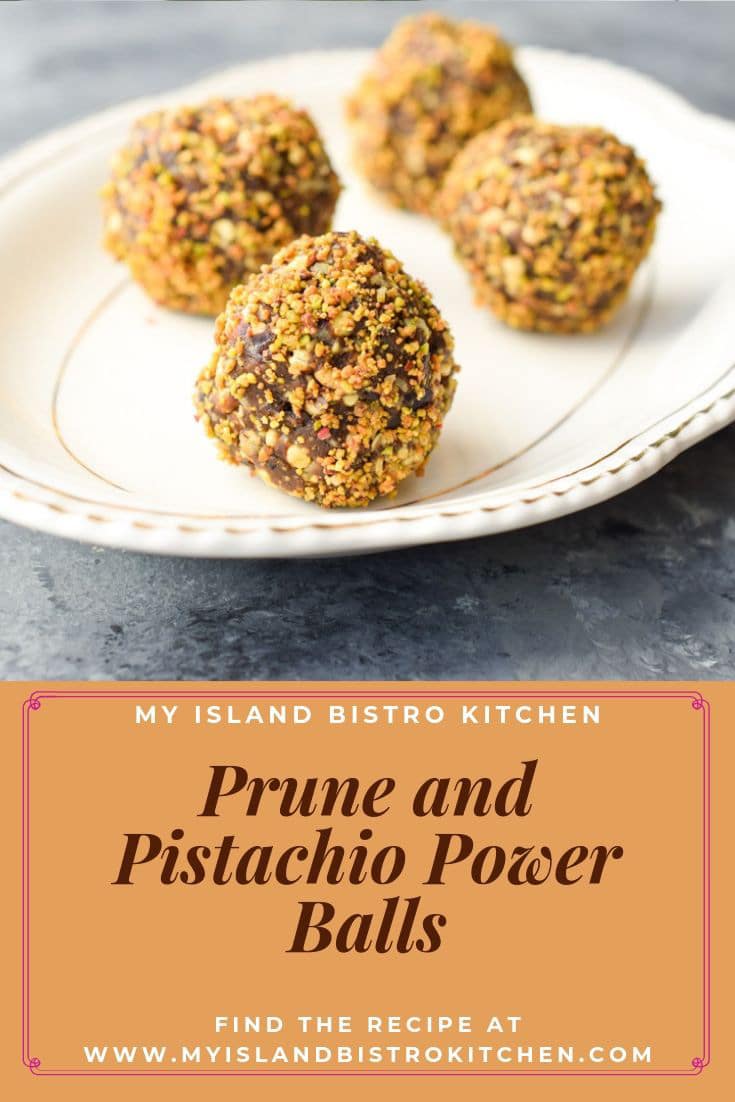
Power balls (sometimes called energy balls, energy bites, or bliss balls) are a super tasty, portable, and convenient on-the-go snack. They are great for the lunch bags and they are the perfect pre- or post-workout snack.
Made with a blend of carefully selected ingredients, these tasty Prune and Pistachio Power Balls provide a great energy boost, particularly during the mid-afternoon slump when energy typically starts to wane for many.
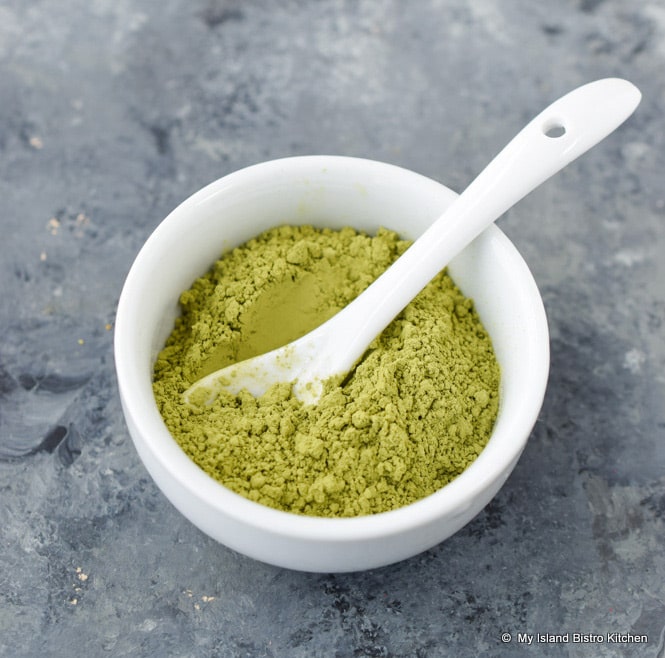
Apart from the usual pantry staples, I bought all of the ingredients for the balls at my local bulk food store. It’s an ideal store for recipes like this one that call for small amounts of ingredients, such as green tea matcha powder, that some people might not have in their cupboards.
It saves money, too, since you only need to buy what the specific recipe calls for and, in some cases, the ingredients might not be ones the home cook would use up if an entire package or bottle had to be purchased.
These power balls freeze well and are great to have in the freezer for on-the-go snacks. Check out my posting for Peanut Butter Coconut Energy Bites for an explanation of the four main sets of ingredients typically found in these types of balls. In that posting, you will also find my tips for making energy balls.
[Printable Recipe Follows at end of Posting]
Prune and Pistachio Power Balls
Ingredients:
6 oz dried prunes, coarsely chopped (apx 1 cup chopped)
½ cup quick rolled oats (gluten-free, if required)
1/3 cup sunflower butter
½ cup pistachios, shelled and finely ground (apx. 4 oz unshelled)
1 tbsp ground chia seeds
1 tbsp cocoa
2 tsp chocolate whey protein powder
1½ tsp green tea matcha powder
pinch fine sea salt
2 tbsp maple syrup
1 tbsp coconut oil
1 tsp vanilla
2/3 cup puffed quinoa cereal
½ cup sweetened shredded coconut
Additional finely chopped pistachios for rolling balls (optional)
Method:
Pulse prunes in food processor until they become paste-like or clump into a ball. Add the rolled oats, sunflower butter, pistachios, ground chia seeds, cocoa, chocolate whey protein powder, green tea matcha powder, salt, maple syrup coconut oil, and vanilla. Pulse mixture until ingredients are completely blended.
Add the puffed quinoa cereal and coconut and pulse just until combined. If mixture seems too dry, two to three teaspoons of water may be blended into ingredients. Place mixture in the refrigerator for about 20 minutes to chill.
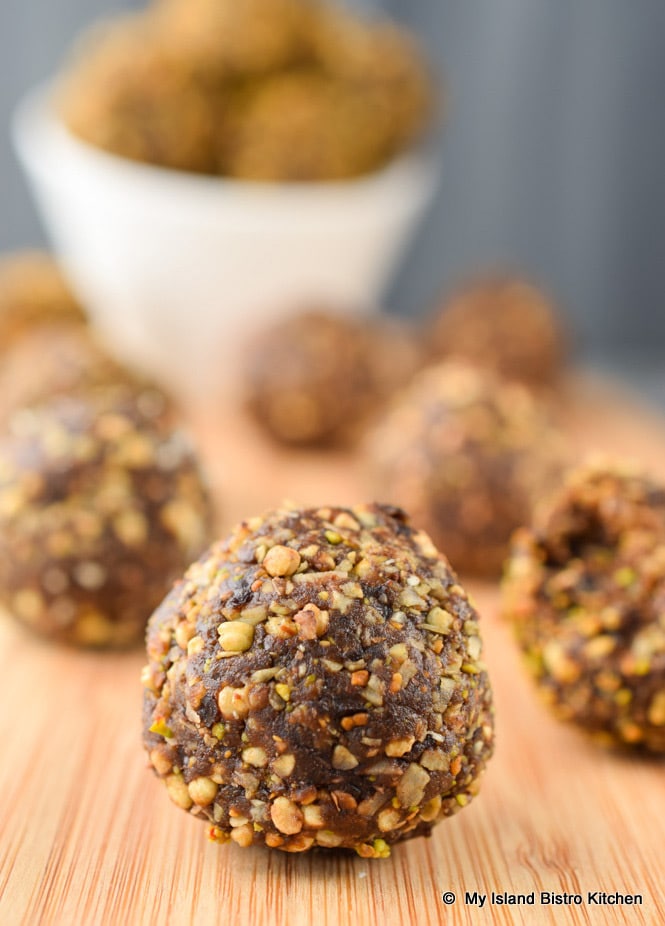
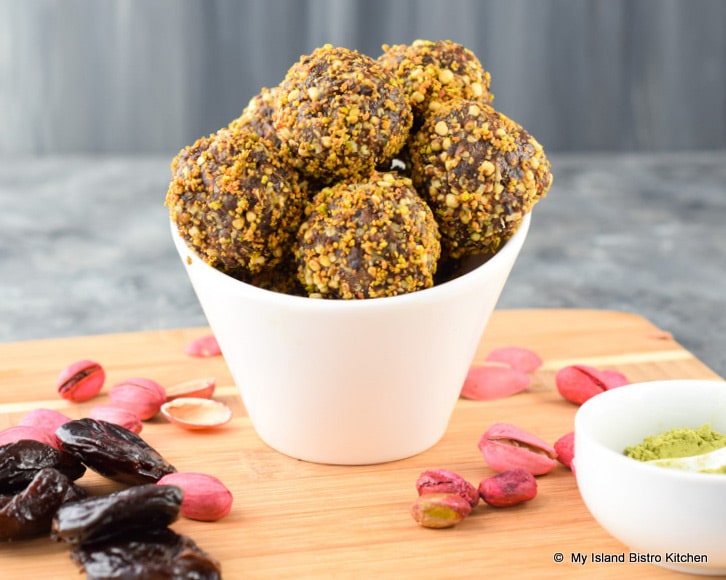
Roll mixture by hand into bite-sized balls. For frame of reference, each ball should weigh approximately 27 grams. Roll balls in finely chopped pistachio nuts, if desired. Place balls on parchment-lined baking sheet and freeze for 20-25 minutes to firmly set. Store balls, in single layers separated by waxed paper, in airtight container for up to five days in the refrigerator or freeze up to three months for longer storage.
Yield: Apx. 18 balls
If you have made this recipe and enjoyed it and/or wish to share it with your friends and family, please do so on social media but be sure to share the direct link to this posting from my website.
Did you Know?
You can join the Facebook page for My Island Bistro Kitchen: https://www.facebook.com/MyIslandBistroKitchen/
Follow “the Bistro” on “X“ (formerlyTwitter): https://twitter.com/PEIBistro/
See the drool-worthy gallery of mouth-watering food photos from My Island Bistro Kitchen on Instagram: https://www.instagram.com/peibistro/
Follow “the Bistro” on Pinterest at https://www.pinterest.ca/peibistro/
(and you can pin any of the Pinterest-ready photos below to your favorite Pinterest boards)
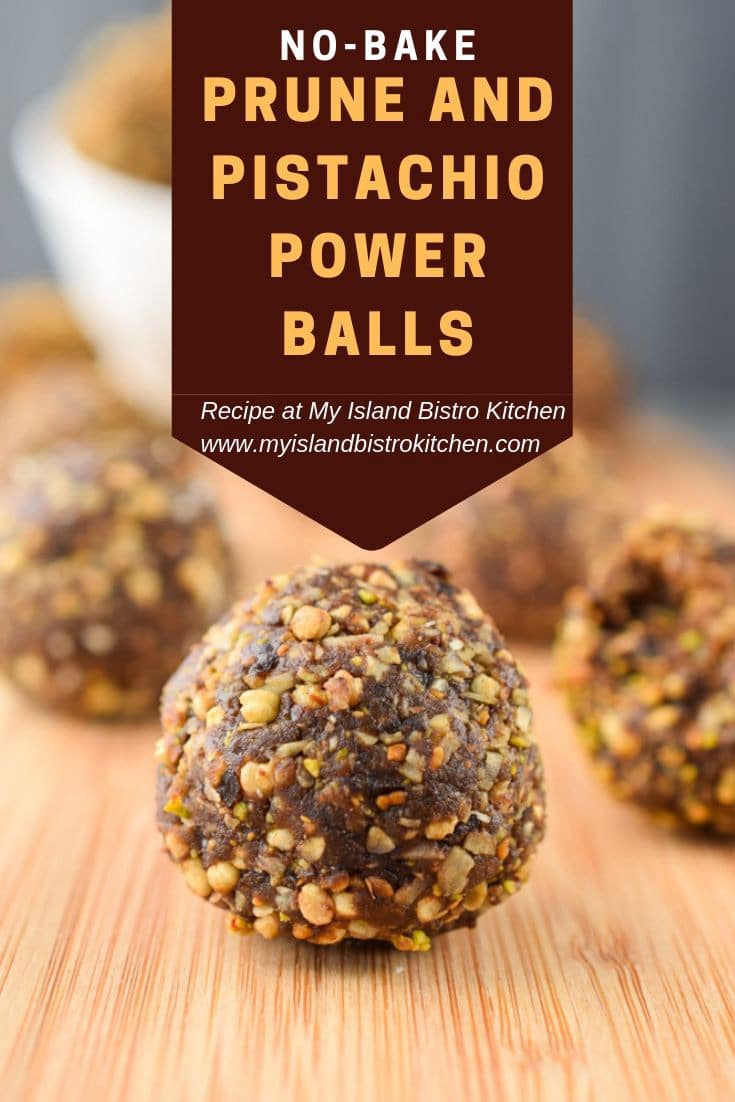
PIN ME TO PINTEREST!
For other energy ball recipes from My Island Bistro Kitchen, click on the links below:
No-bake Chocolate Almond Bliss Balls
Peanut Butter Coconut Energy Bites
Printable Recipe:

Prune and Pistachio Power Balls
Ingredients
- 6 oz dried prunes, coarsely chopped (apx 1 cup chopped)
- ½ cup quick rolled oats (gluten-free, if required)
- 1/3 cup sunflower butter
- ½ cup pistachios, shelled and finely ground (apx. 4 oz unshelled)
- 1 tbsp ground chia seeds
- 1 tbsp cocoa
- 2 tsp chocolate whey protein powder
- 1½ tsp green tea matcha powder
- pinch fine sea salt
- 2 tbsp maple syrup
- 1 tbsp coconut oil
- 1 tsp vanilla
- 2/3 cup puffed quinoa cereal
- ½ cup sweetened shredded coconut
- Additional finely chopped pistachios for rolling balls (optional)
Instructions
-
Pulse prunes in food processor until they become paste-like or clump into a ball. Add the rolled oats, sunflower butter, pistachios, ground chia seeds, cocoa, chocolate whey protein powder, green tea matcha powder, salt, maple syrup coconut oil, and vanilla. Pulse mixture until ingredients are completely blended.
-
Add the puffed quinoa cereal and coconut and pulse just until combined. If mixture seems too dry, two to three teaspoons of water may be blended into ingredients. Place mixture in the refrigerator for about 20 minutes to chill.
-
Roll mixture by hand into bite-sized balls. For frame of reference, each ball should weigh approximately 27 grams. Roll balls in finely chopped pistachio nuts, if desired. Place balls on parchment-lined baking sheet and freeze for 20-25 minutes to firmly set. Store balls, in single layers separated by waxed paper, in airtight container for up to five days in the refrigerator or freeze up to three months for longer storage.
Recipe Notes
Yield: Apx. 18 balls
[Copyright My Island Bistro Kitchen]