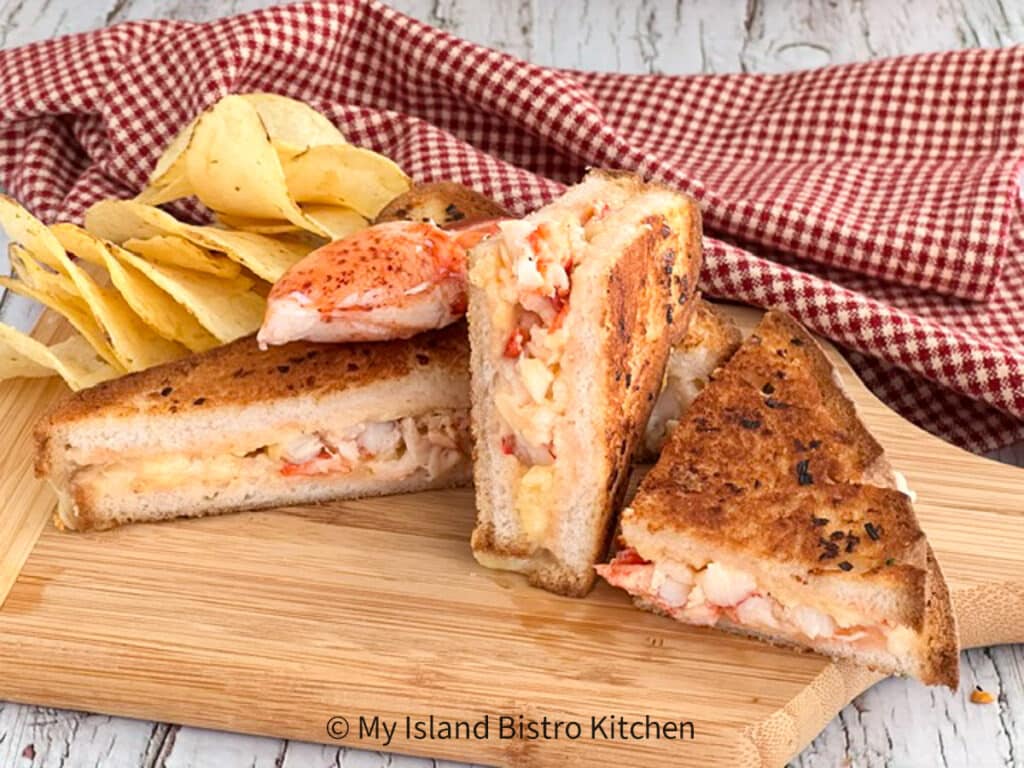
Living in PEI where lobster is one the Island’s primary seafoods, it’s a common food and one I find quite versatile and an easy ingredient with which to create tasty recipes. This Lobster Grilled Cheese Sandwich features tender, succulent chunks of lobster paired with a trio of melting cheeses, all enhanced with a spread made with mayonnaise/salad dressing mixed with red pepper jelly, Dijon mustard, and a dash of Old Bay Seasoning. Garlic and Onion Chive Butter rounds out the flavor notes in this divine gourmet sandwich.
This Roasted Sweet Potato and Leek Soup is a lovely gently seasoned soup. Made with roasted sweet potatoes, a leek, a head of roasted garlic, and some curated seasonings, this is a comforting soup, especially when served with fresh bread (plain, crusty, or garlic), rolls, focaccia, biscuits, or savory crackers. Whether enjoyed for lunch or a light supper, this thick and creamy soup makes for a comforting meal. The soup freezes and reheats well, too, so is handy to have on hand in the freezer for when needed.
On January 25th, we enjoyed an afternoon tea to celebrate the 18th-century Scottish poet, Robert Burns. January 25th is known as Robert (or Robbie) Burns Day so that seemed like a good reason to have a special afternoon tea. If you have been a long time follower of my website and social media channels, you know I have a genuine passion for afternoon teas and any reason at all to enjoy one is just fine with me! Today, our afternoon tea included a nod to some traditional Scottish foods, including Shortbread and Dundee Cake.
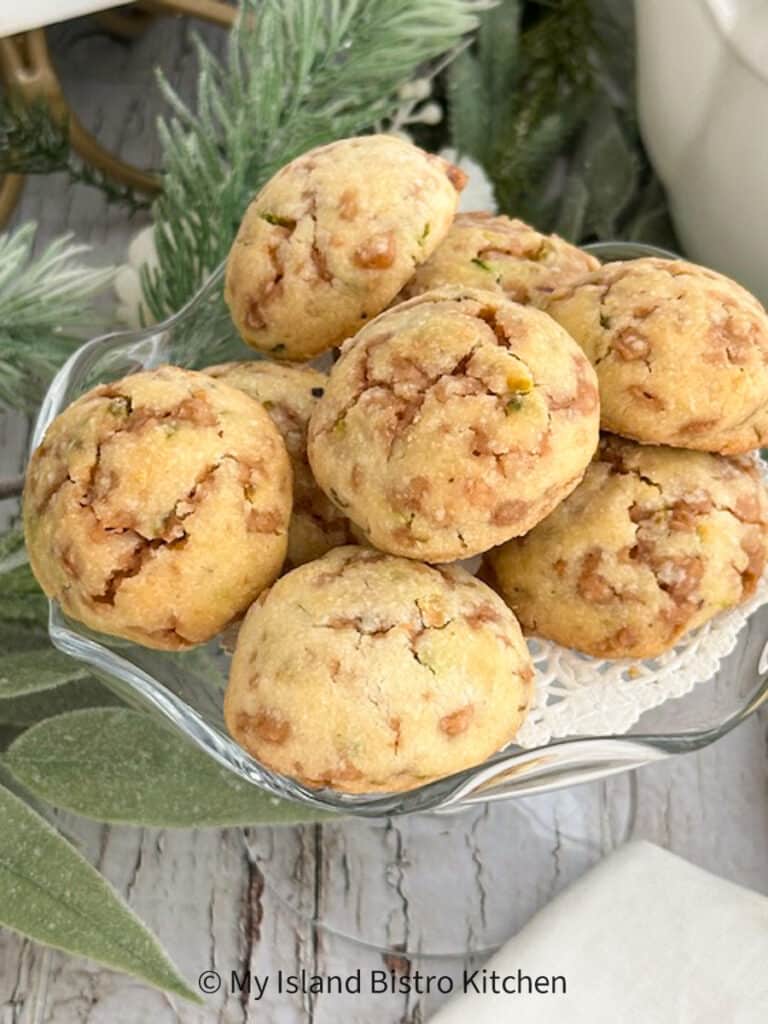
These delightful Toffee Bits and Pistachio Cookies have a short tender texture owing to the cornstarch in the ingredients. Fabulously tasty bites, they are great on cookie trays, packaged in tins or boxes for gifts, and suitable for cookie exchange events. They go very well with a fine cup of tea or coffee, too.
I think Panna Cotta is one of the simplest desserts to make. It’s seriously nothing more complicated than heating cream and sugar and stirring in some “bloomed” gelatine to set the mixture. There are many variations to the basic Panna Cotta and, today, I am sharing my recipe for a divine seasonal Eggnog and Pomegranate Panna Cotta.
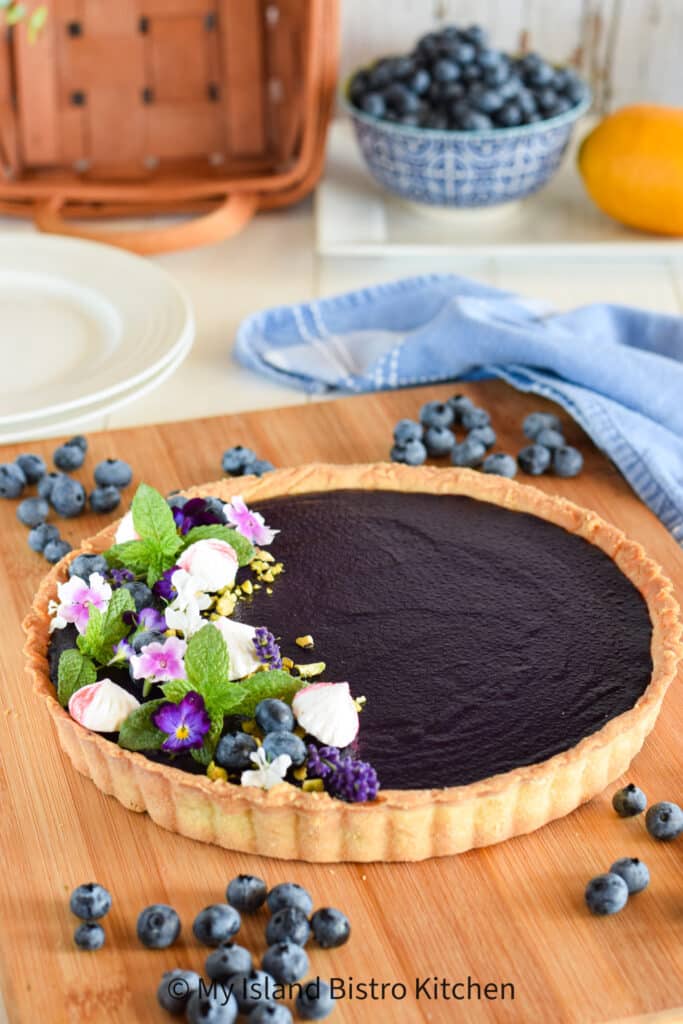
Today’s dessert is the lovely Earl Grey Blueberry and Lemon Tart. This divine tart features highbush blueberries (infused with Earl Grey tea) in a silky-smooth filling which is then placed in a buttery rich and tender Pâte Sucrée shell. Simply, this is a decadent dessert of fine restaurant quality!
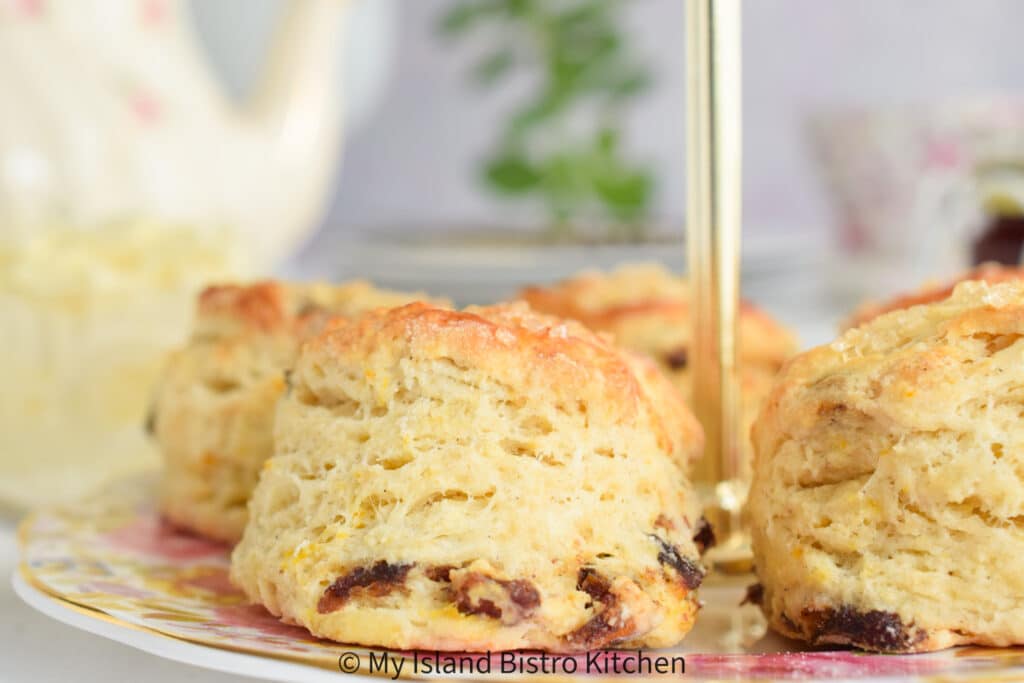
I love scones and am always developing new recipes for them. Today, I am sharing my recipe for Date and Orange Buttermilk Scones. These are a lovely treat served warm from the oven with a favorite jam and/or fruit curd with, of course, some clotted cream or English double cream. That said, they are also tasty with just a good slather of fine butter.
Gooseberries are not altogether common today but some gardeners grow a few gooseberry bushes for their own use. Otherwise, the berries are more likely to be found at local farmers’ markets than in large supermarkets.
Gooseberries
Gooseberry bushes have different varieties that produce berries that range in color from green to almost black. Generally speaking, the darker the color, the sweeter the flavor with the green berries being unripe and very tart. The ones I used in the pie in the photos that accompany this post were mostly a rosy pink color with a few green ones added in for tartness.
I consider it a great privilege to live in Prince Edward Island that boasts fabulous fresh seafood. Lobster fishing is a significant economic driver for the Island with many Islanders working in different aspects of the industry. Having access to fine fresh seafood, such as lobster, means I get to develop all kinds of wonderful tasty recipes for seafood. Today, I am sharing my recipe for Lobster, Asparagus, and Mushroom Quiche. This quiche makes a lovely meal for brunch, lunch, or supper, served with a simple green salad dressed with a light vinaigrette.
Today, I am sharing the recipe for Oh Henry Square from my vintage recipe files. This is a super easy square to make and there is no baking, or baking skills, required. There are many variations in recipes for this retro sweet treat. What follows is mine. Continue reading Oh Henry Square Recipe→
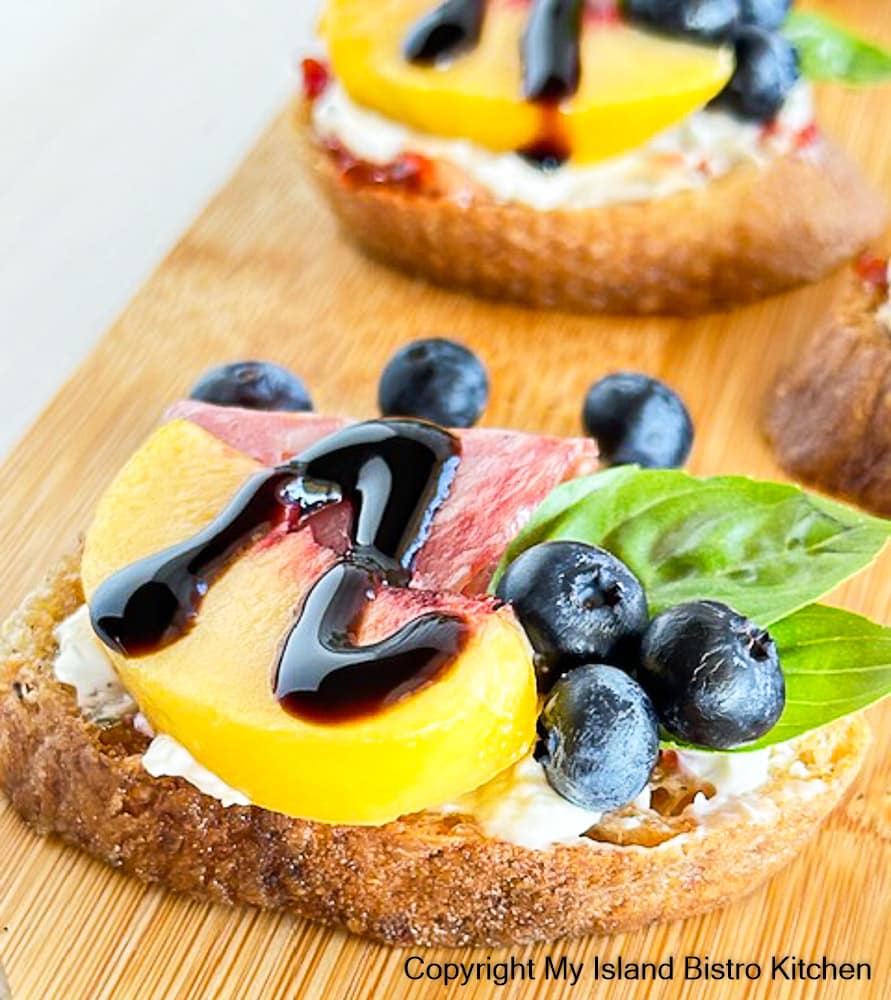
Today, I am sharing a recipe for Peach and Blueberry Crostini with Balsamic Glaze. This is a lovely sweet and savory appetizer, snack, or hors d’oeuvre to serve especially when blueberries and peaches are in season.
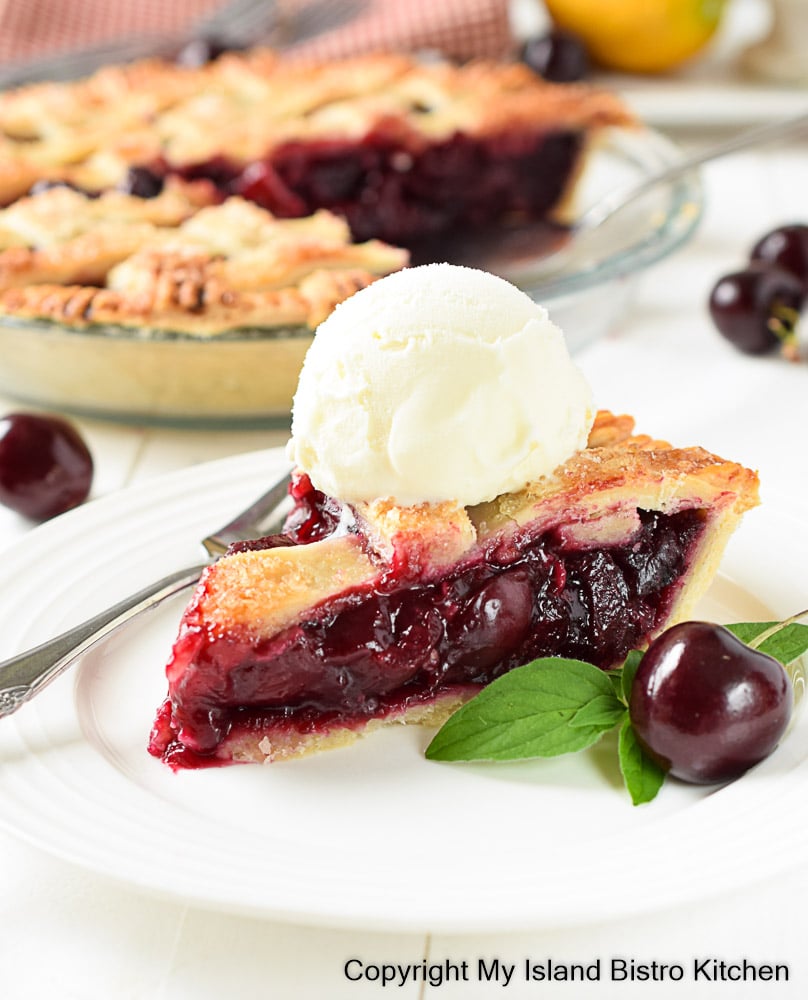
One of the things I most look forward to in summer would have to be the making of pies with fresh summer fruit and berries! Today, I am sharing my recipe for a pie made with homemade cherry pie filling. A traditional double-crusted pie, this Cherry Pie calls for the large sweet cherries. Continue reading Classic Homemade Cherry Pie Recipe→
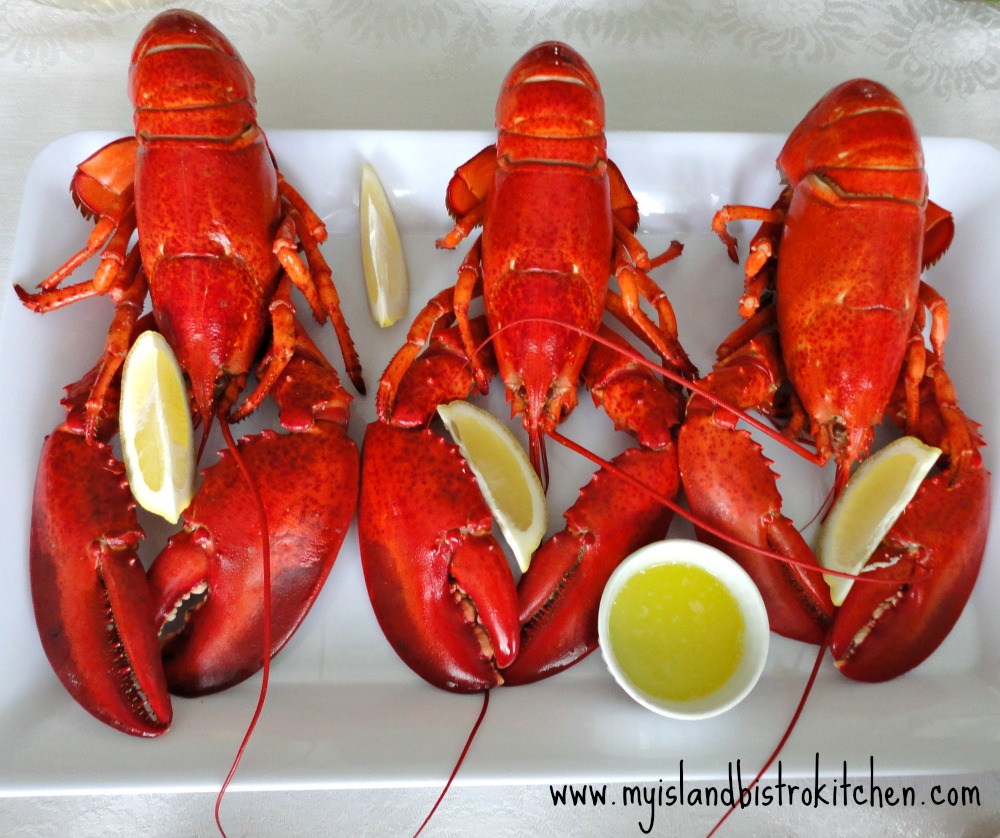
Living in Prince Edward Island on Canada’s east coast offers access to an abundance of fine seafood, not the least of which is lobster. The lobster fishery is a large economic driver for the province.
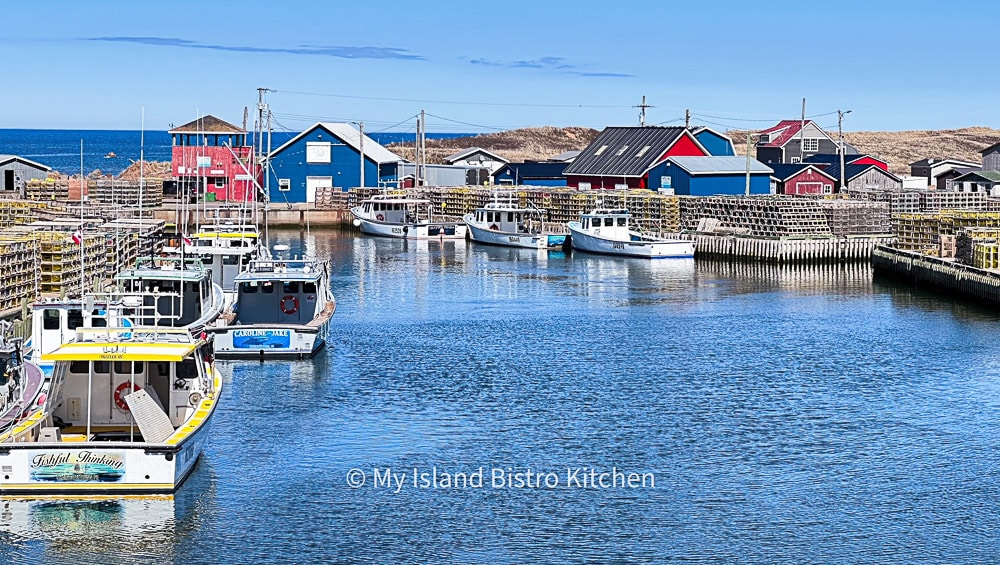
Getting set for Setting Day at North Lake Harbour, PEI
Having access to high quality locally-fished lobster is a real perk for a recipe developer like me! I have created and published a number of recipes that use lobster as the primary ingredient. This posting is a compilation of those fabulous lobster recipes. Continue reading Fabulous Lobster Recipes→
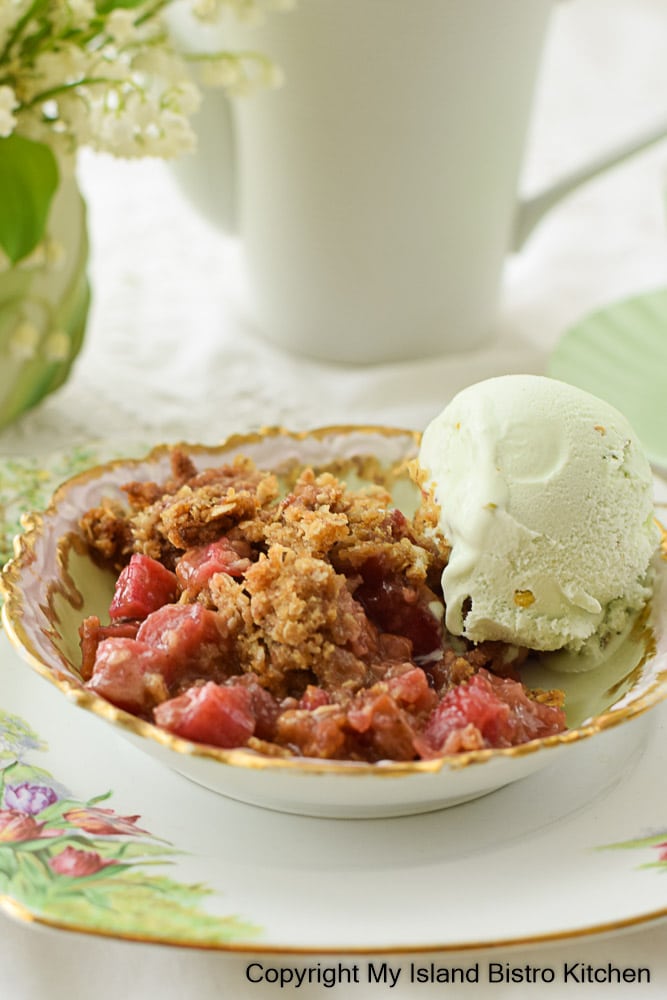
Those of us who love rhubarb eagerly await its appearance in springtime as it is, at least in my zone, the first produce to be harvested from the garden. Today, I am sharing my recipe for Rhubarb Crisp. While this is a lovely springtime treat when the fresh rhubarb is available, it can also be made any time throughout the year using frozen rhubarb. Continue reading Rhubarb Crisp Recipe→
One of the best ways I find to stretch the food budget is to work with leftover meat, especially from a roasted turkey or chicken. Taking that leftover meat and incorporating it into soups, chowders, sandwich fillings, casseroles, etc. means more servings can be gotten from it than would simply plating the cold meat. This is a great way to extend an expensive ingredient (meat) and stretch the food budget. Bonus if extending the meat yields a dish that can be frozen for later enjoyment as this is a great convenience to know there is a meal, or meals, ready in the freezer for cooking or reheating. This post is all about Delicious Ways to Use Leftover Chicken and Turkey. Continue reading Delicious Ways to Use Leftover Chicken and Turkey→
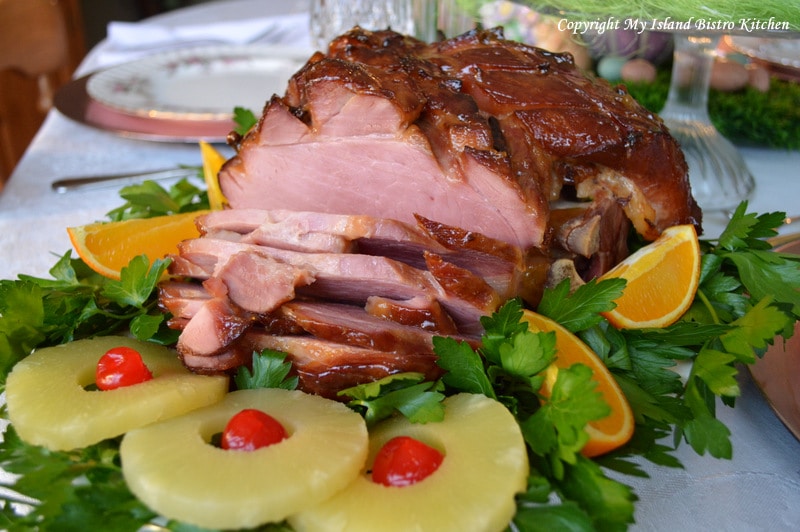
I am a huge fan of taking leftover meat and turning it into other dishes that will yield more servings than would simply plating the cold meat. This is a great way to extend an expensive ingredient (meat) and stretch the food budget. Bonus if extending the meat yields a dish that can be frozen for later enjoyment as this is a great convenience to know there is a meal, or meals, ready in the freezer for cooking or reheating. This post is all about Ways to Use Leftover Ham. Continue reading Ways to Use Leftover Ham→
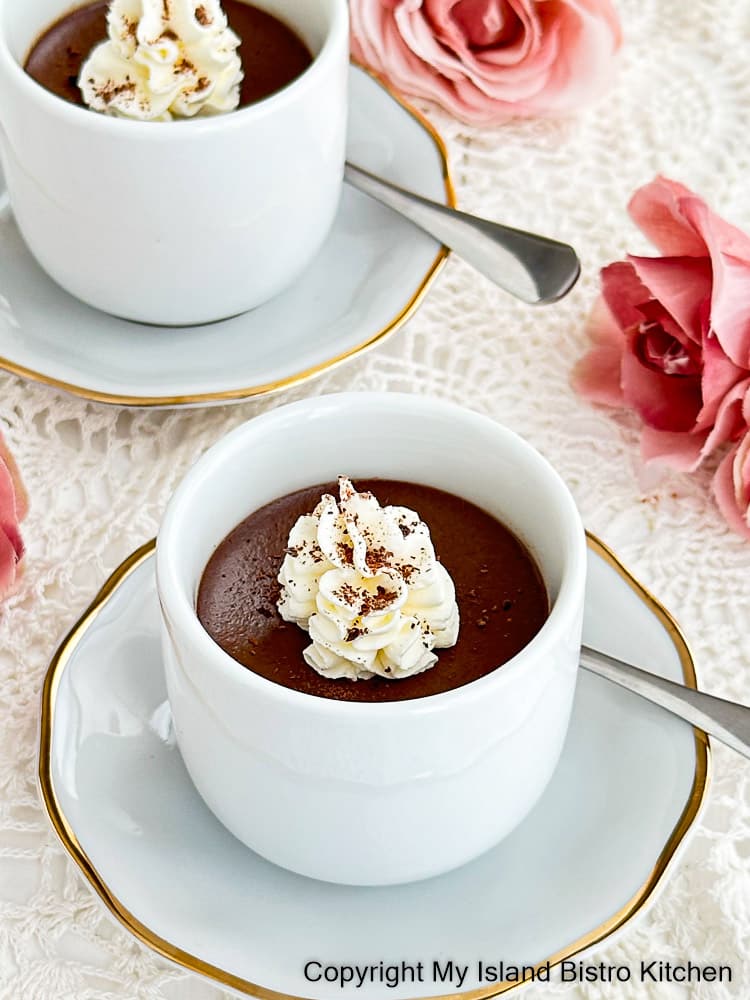
When you want a sublime, velvety smooth, rich chocolate dessert, Chocolate Pots de Crème are always a great option. Made with only seven ingredients, these Pots de Crème will be adored by any chocolate lover. Continue reading Chocolate Pots de Crème Recipe→
(Mostly) PEI and Maritime Food – Good Food for a Good Life!