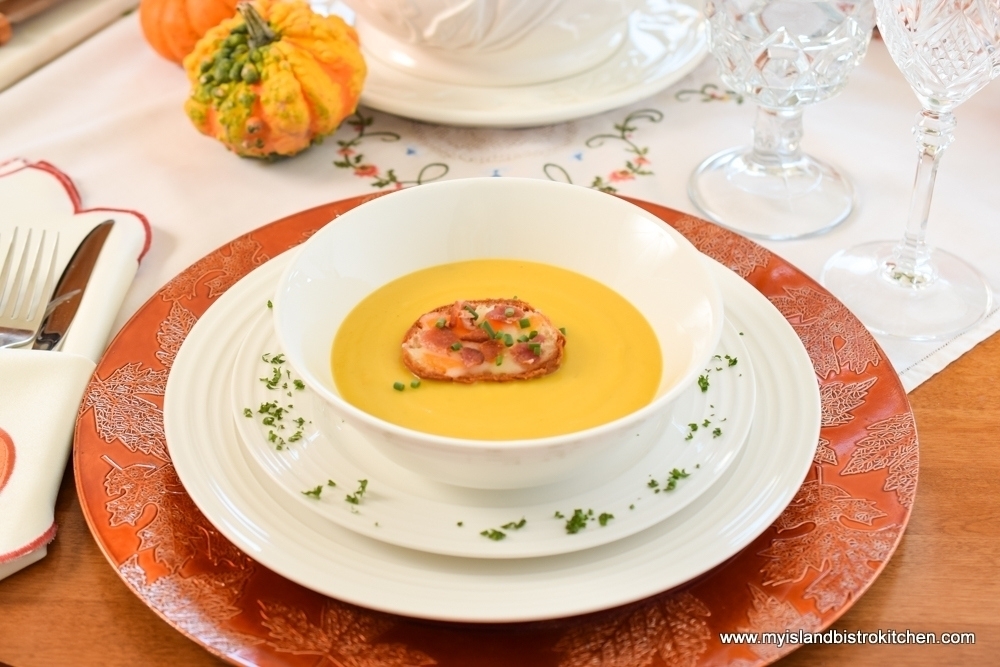
When days are cooler, or downright cold, there is nothing better to warm the tummy than a bowl of comfort soup. One of the soups I place in that category is homemade Roasted Butternut Squash Soup. Full of flavour with a lovely velvety texture, Roasted Butternut Squash Soup has a rich natural golden-yellow color that can’t be beat! This is a showstopper soup on both the taste and appetizing color fronts, the latter of which is drawn from the orange, fleshy pulp of the squash. Continue reading Classic Roasted Butternut Squash Soup→
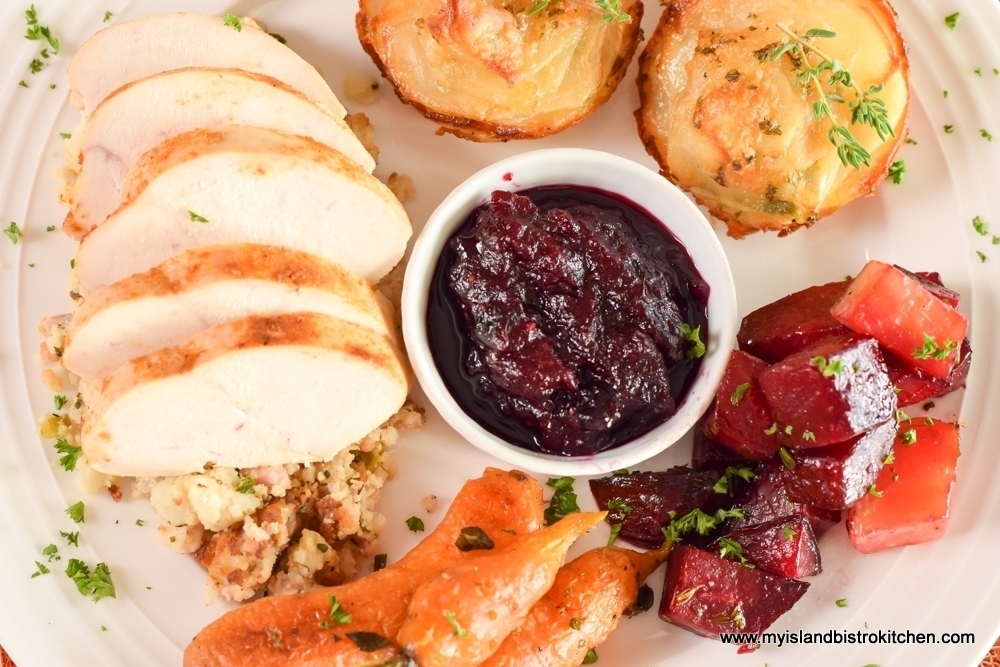
Combining the sweet and tart flavors of blueberries and cranberries makes for a delectable Cranberry Blueberry Sauce. Their flavors play well off of each other. Most will be familiar with the traditional cranberry sauce that, for many, has to be part of a roasted turkey or chicken dinner. Click here for my recipe for classic cranberry sauce. Continue reading Cranberry Blueberry Sauce→
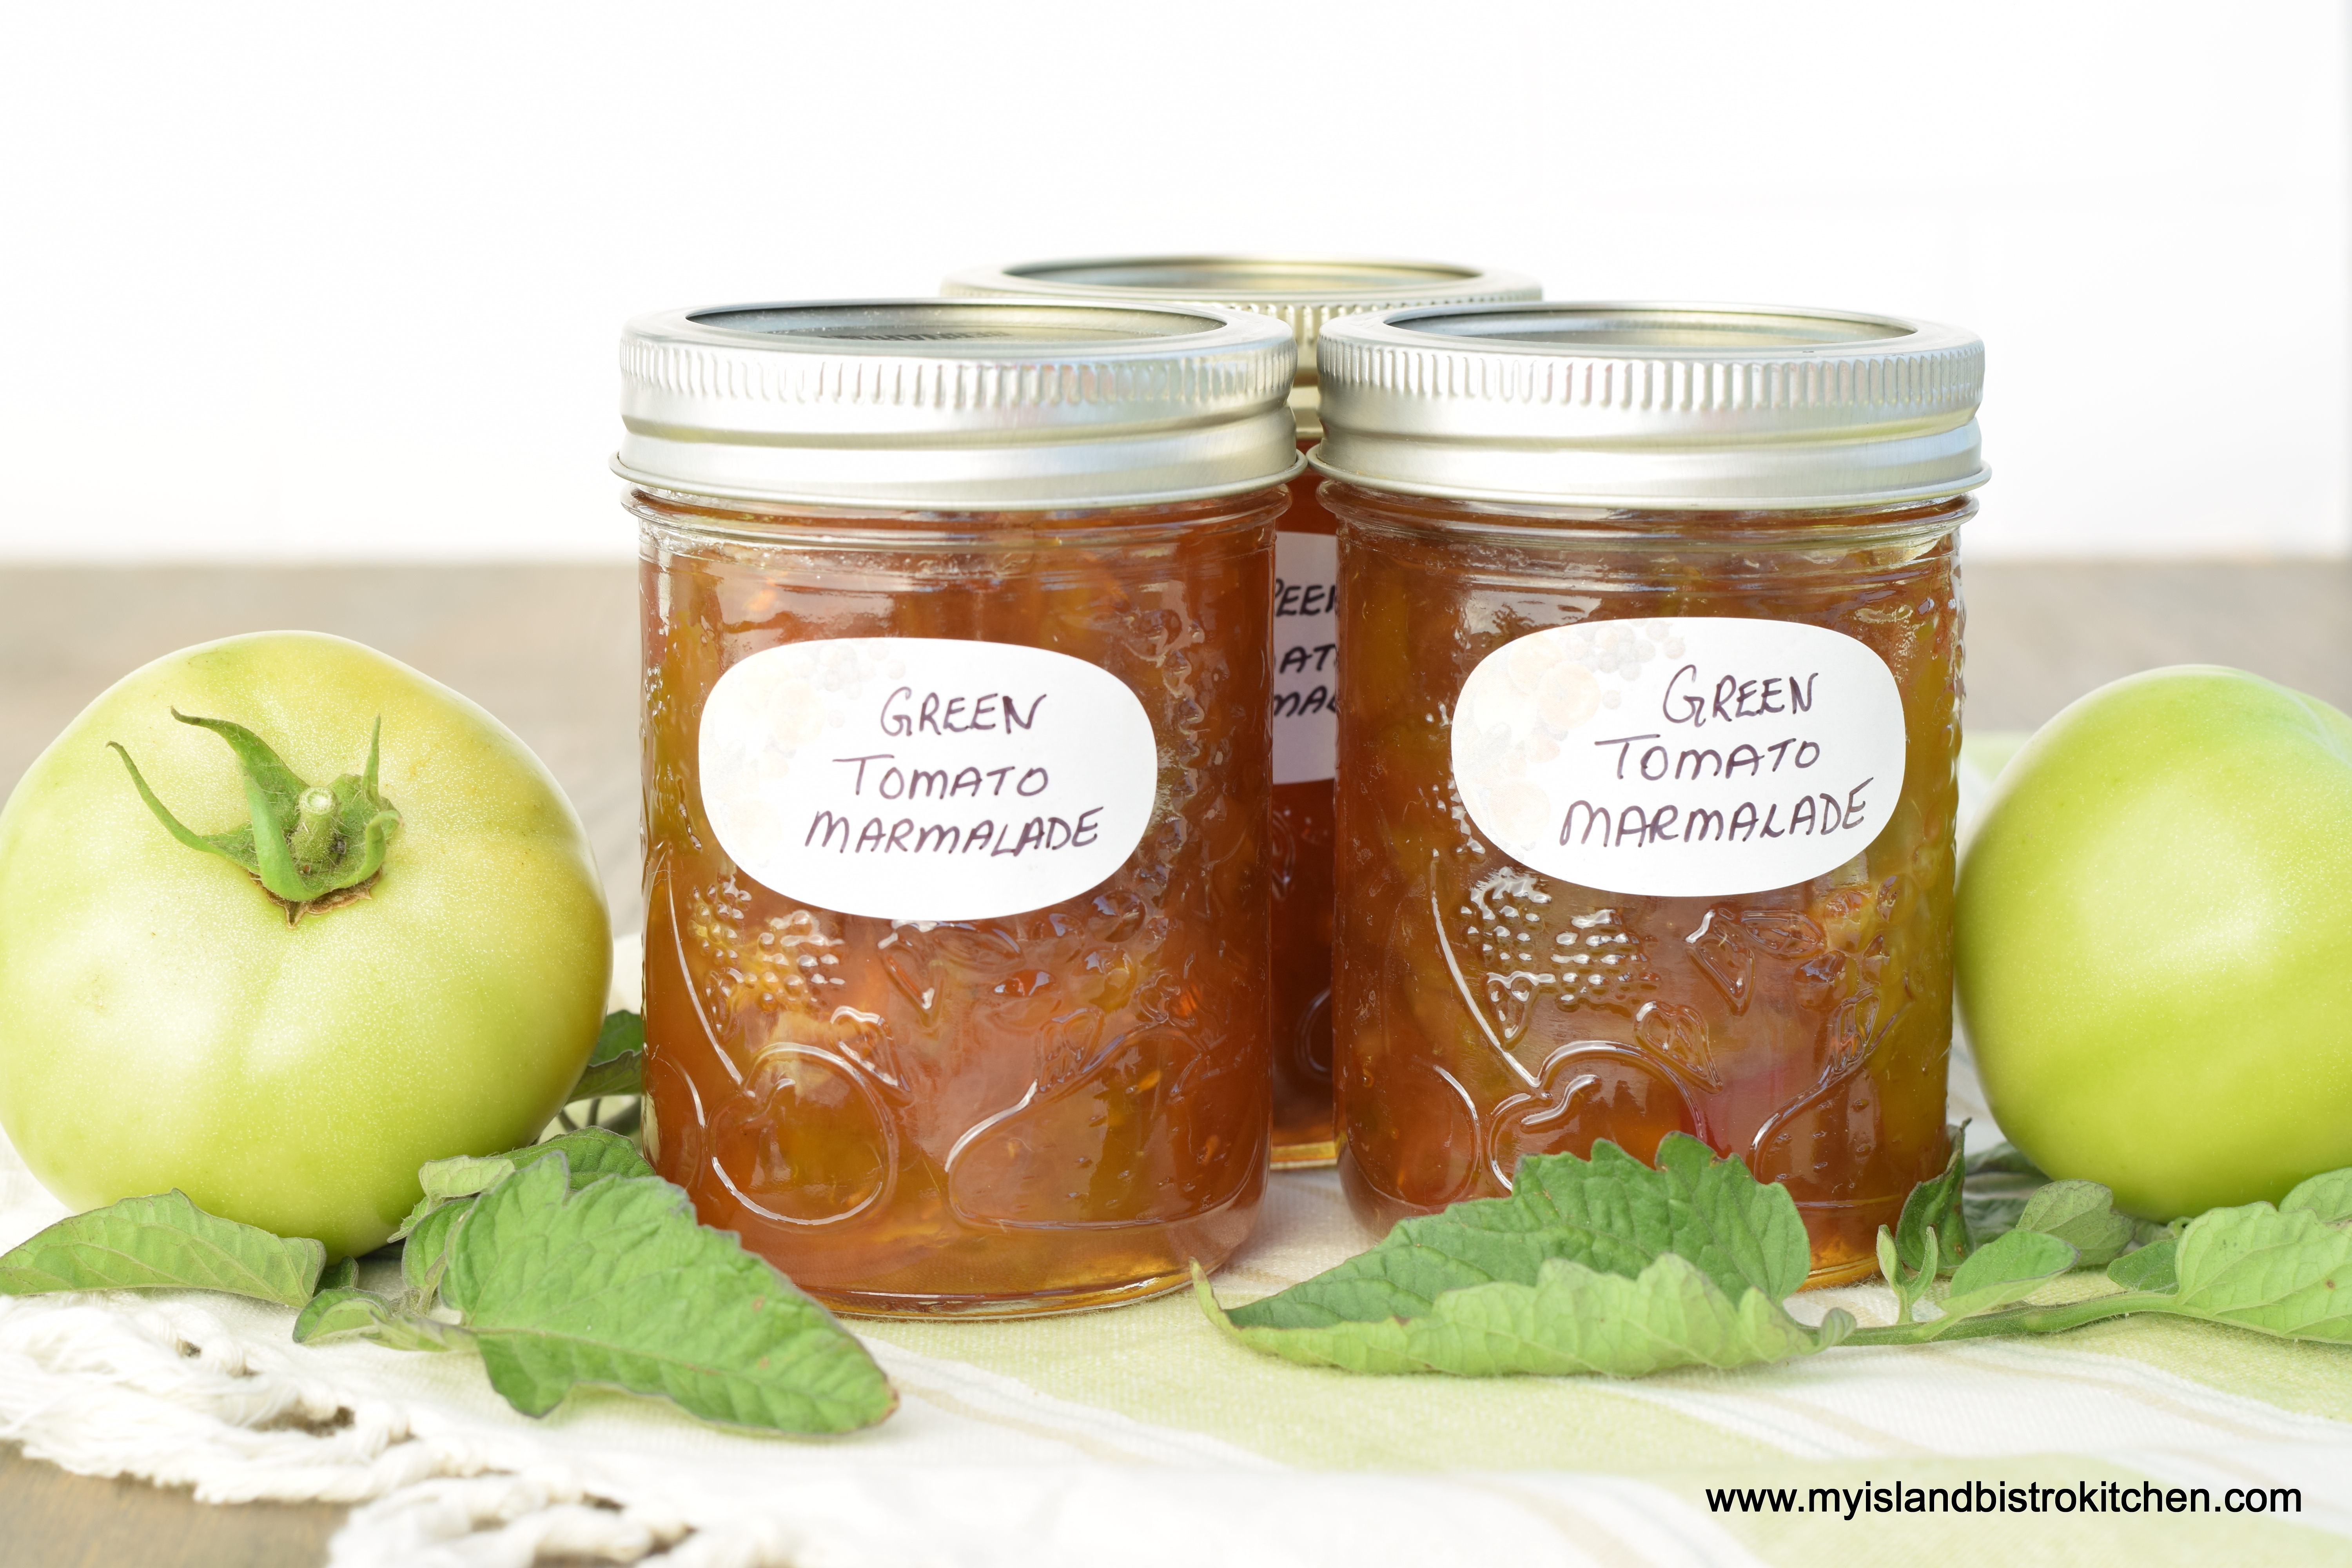
Green Tomato Marmalade is not an altogether common variety of marmalade. It’s not a typical marmalade likely to be found on many, if any, supermarket shelves. That, in my view, makes Green Tomato Marmalade all the more special because it’s more unique and exclusive! That, plus the fact it can be used as either a sweet or savory spread, makes this marmalade a worthwhile addition to your preserve inventory. Continue reading Green Tomato Marmalade Recipe→
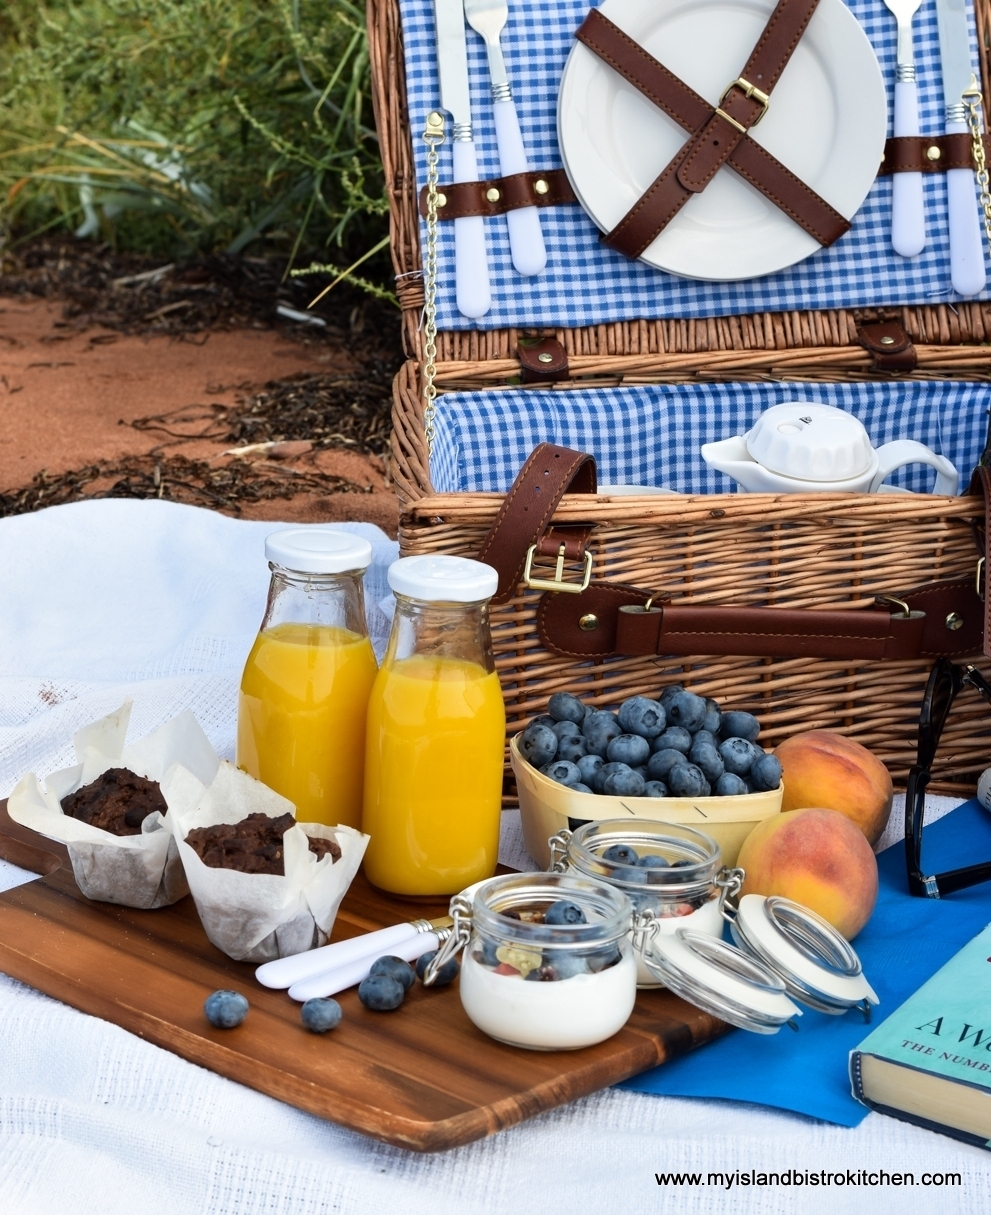
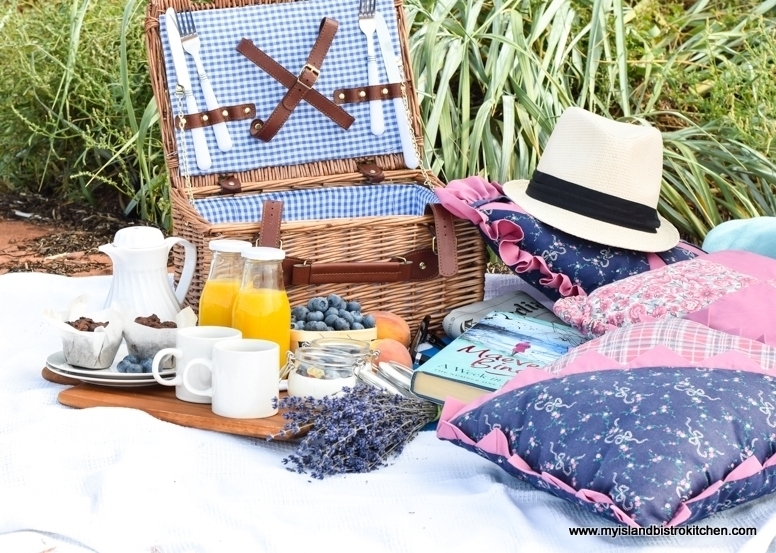
When we think of picnics, we most often think of lunch time or dinner events. Rarely, do we think of a breakfast picnic and yet it’s probably one of the easiest picnic meals to pack!
Breakfast Picnic on the Beach
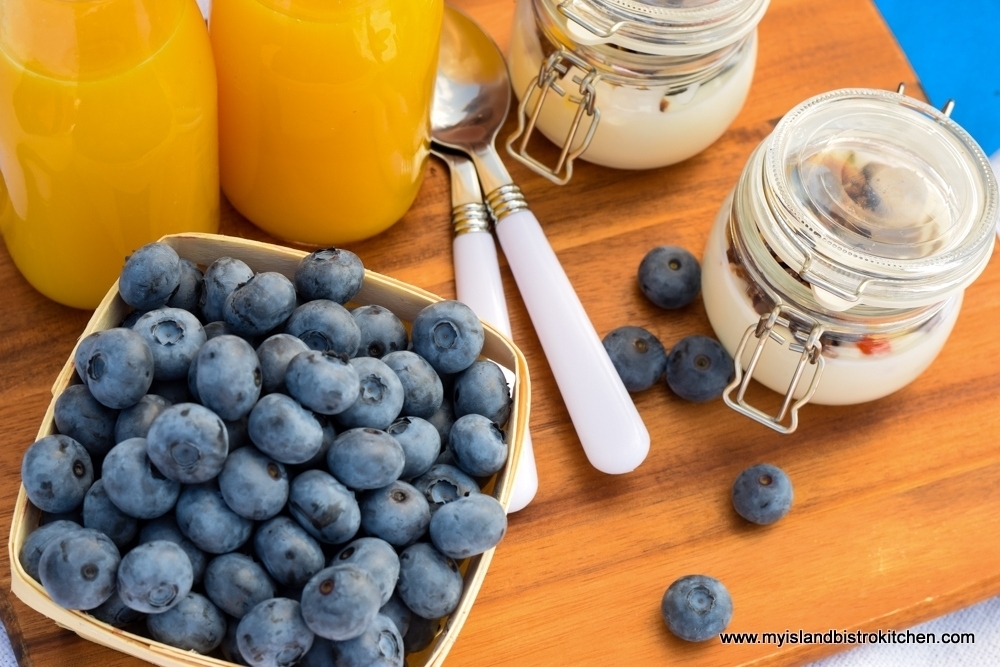
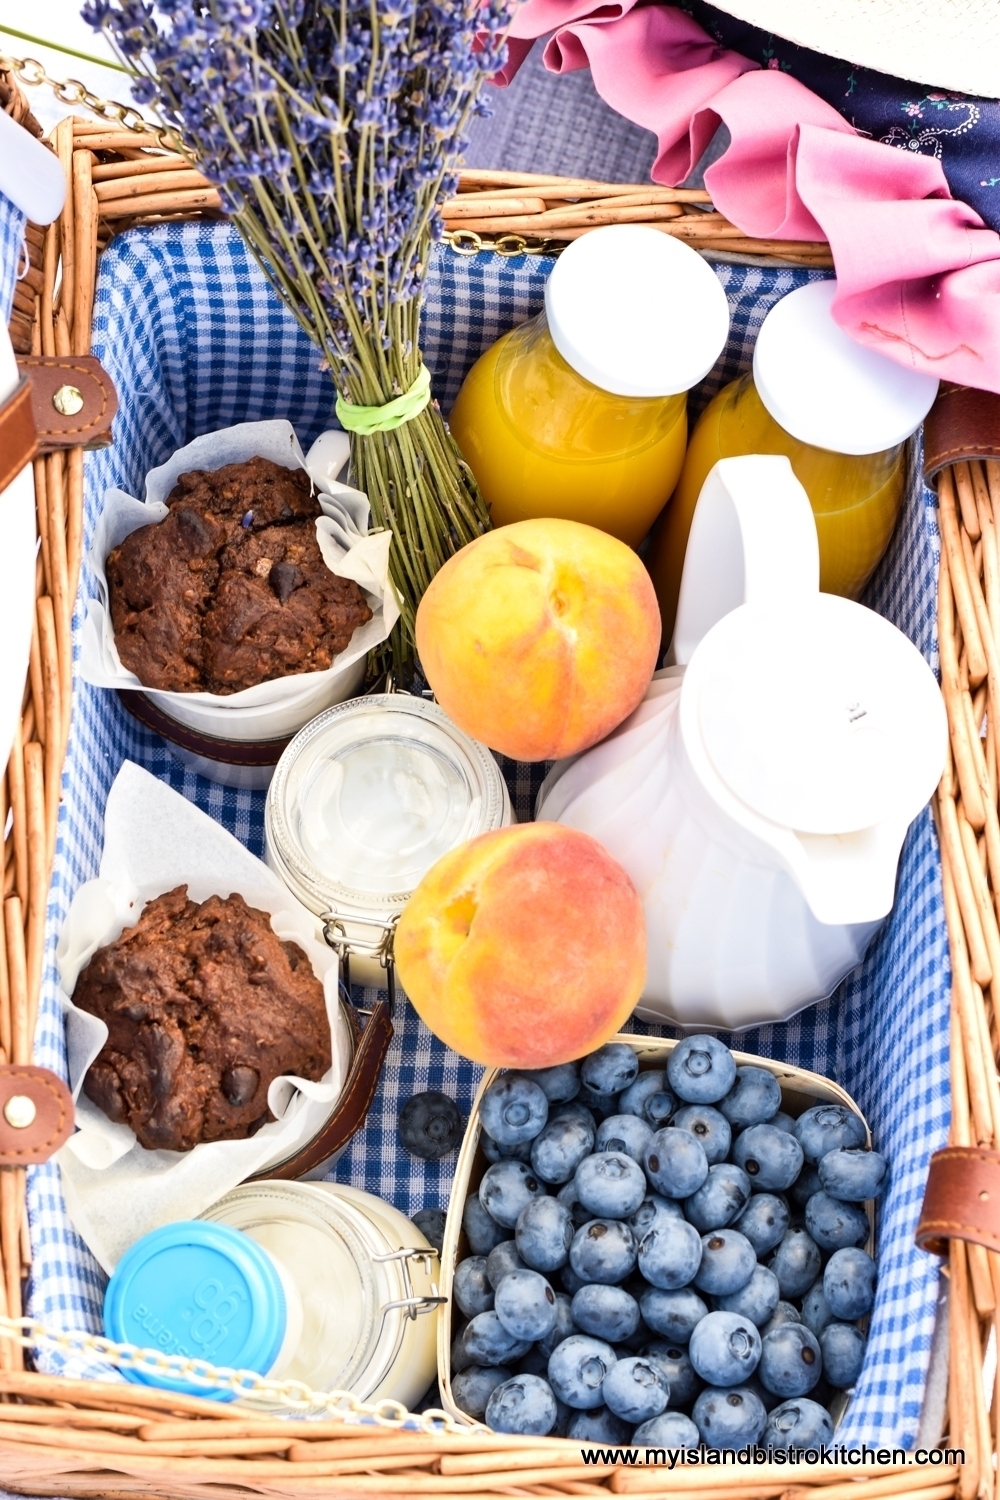
Recently, I suggested we pack up a continental breakfast and head to the beach for a morning picnic. We had just been to a nearby blueberry U-pick so, naturally, blueberries were included in the picnic.
High Bush Blueberries
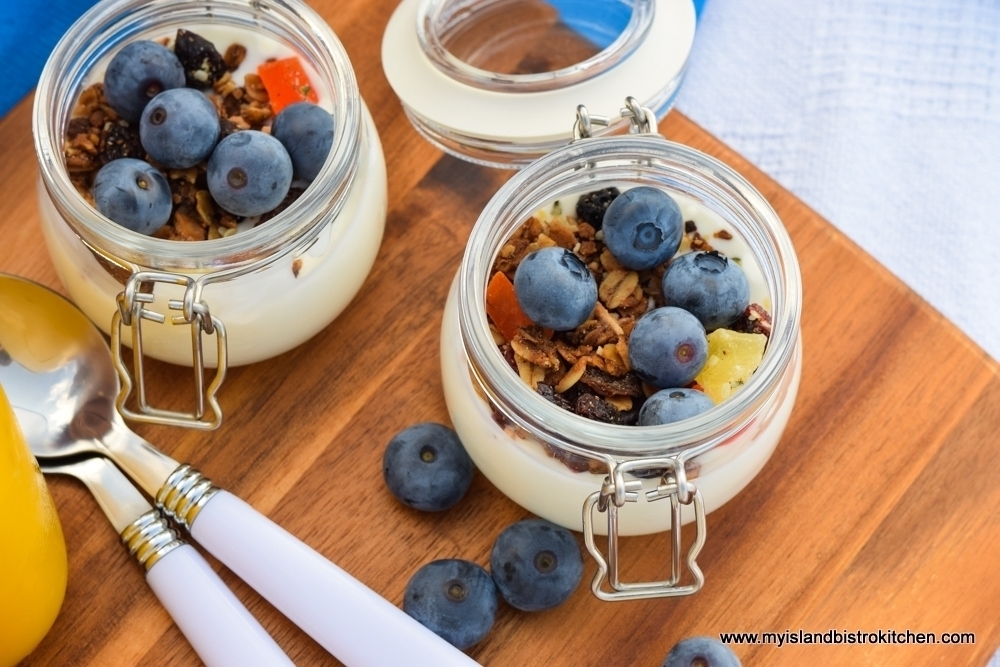
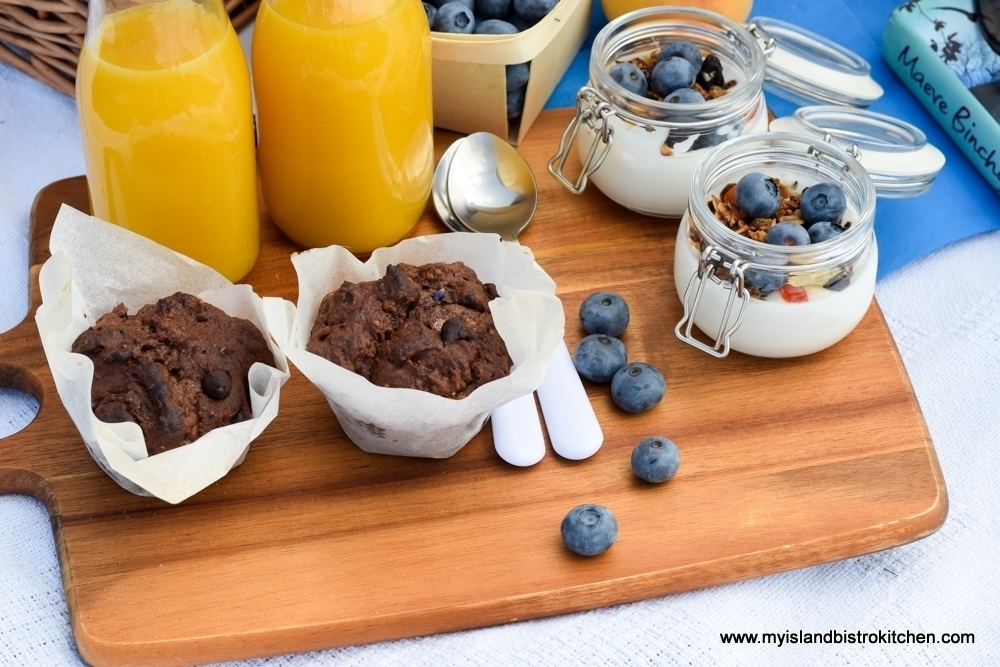
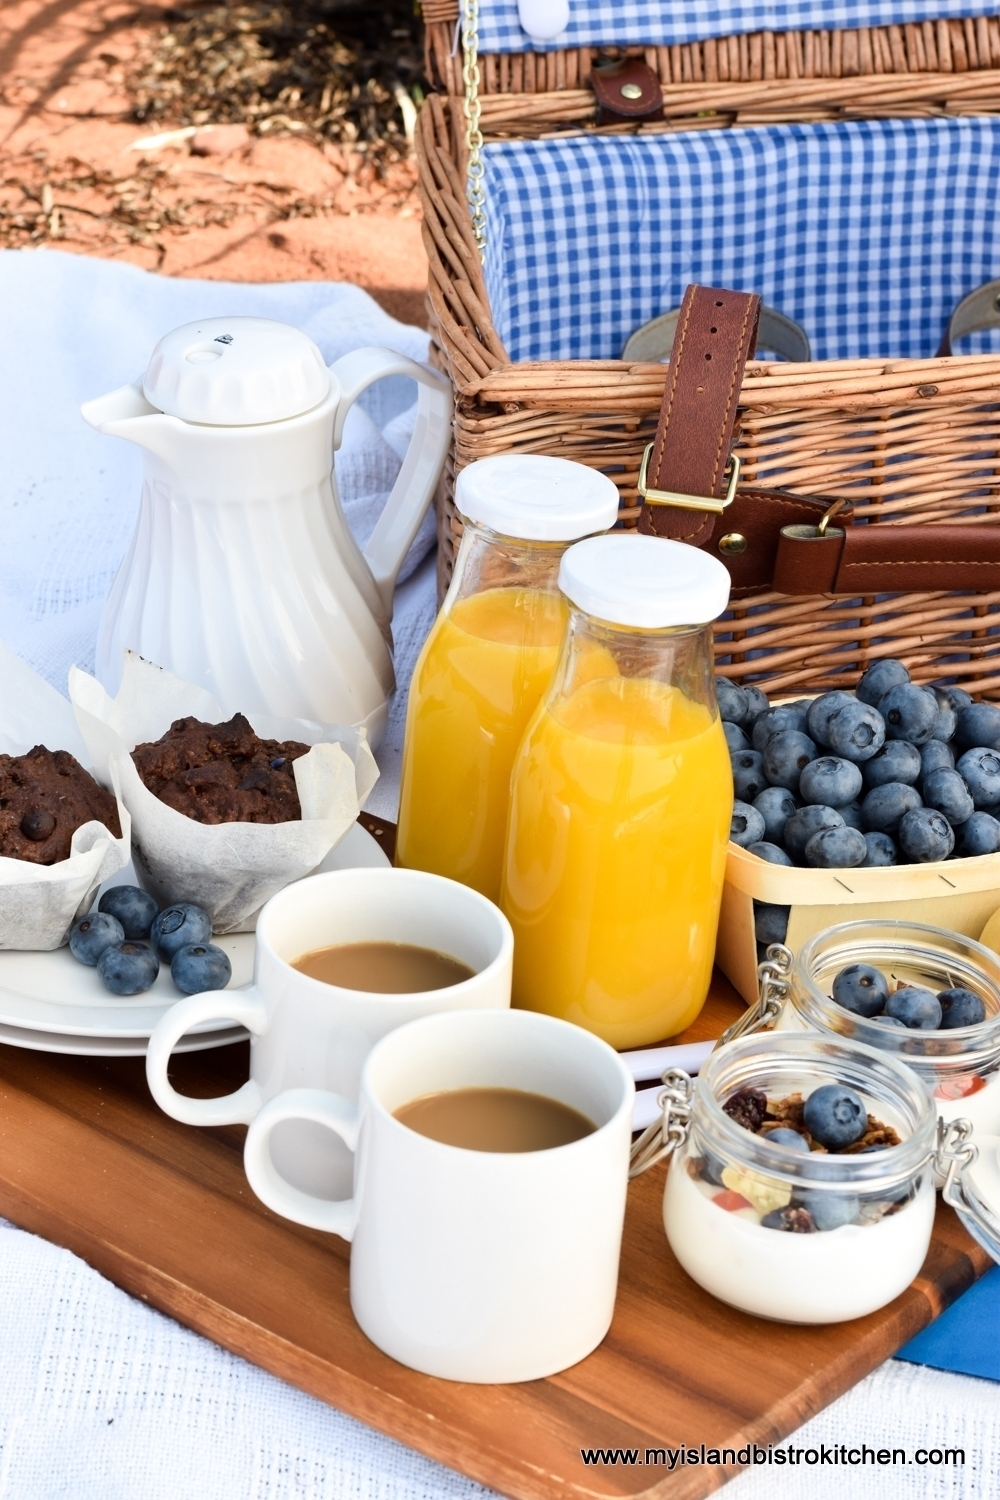
The menu was simple. Orange juice, Greek yogurt topped with homemade granola and fresh blueberries, homemade muffins, peaches, and coffee.
Breakfast Picnic Fare
I love these little multi-purpose jelly jars. They are perfect for yogurt parfaits!
Yogurt Breakfast Parfaits
A breadboard makes an easily transportable platform upon which to set the food. I find, with beach picnics and an uneven sand base, it can be a bit of a challenge to keep the food from tipping over and spilling. However, the breadboard provides a stable, level surface eliminating the problem.
Continental Breakfast at the Beach
All that needs to be added is the quintessential coffee! I have a small thermos/coffee butler that holds exactly two cups of coffee and is great for these types of events.
Breakfast Picnic at the Beach
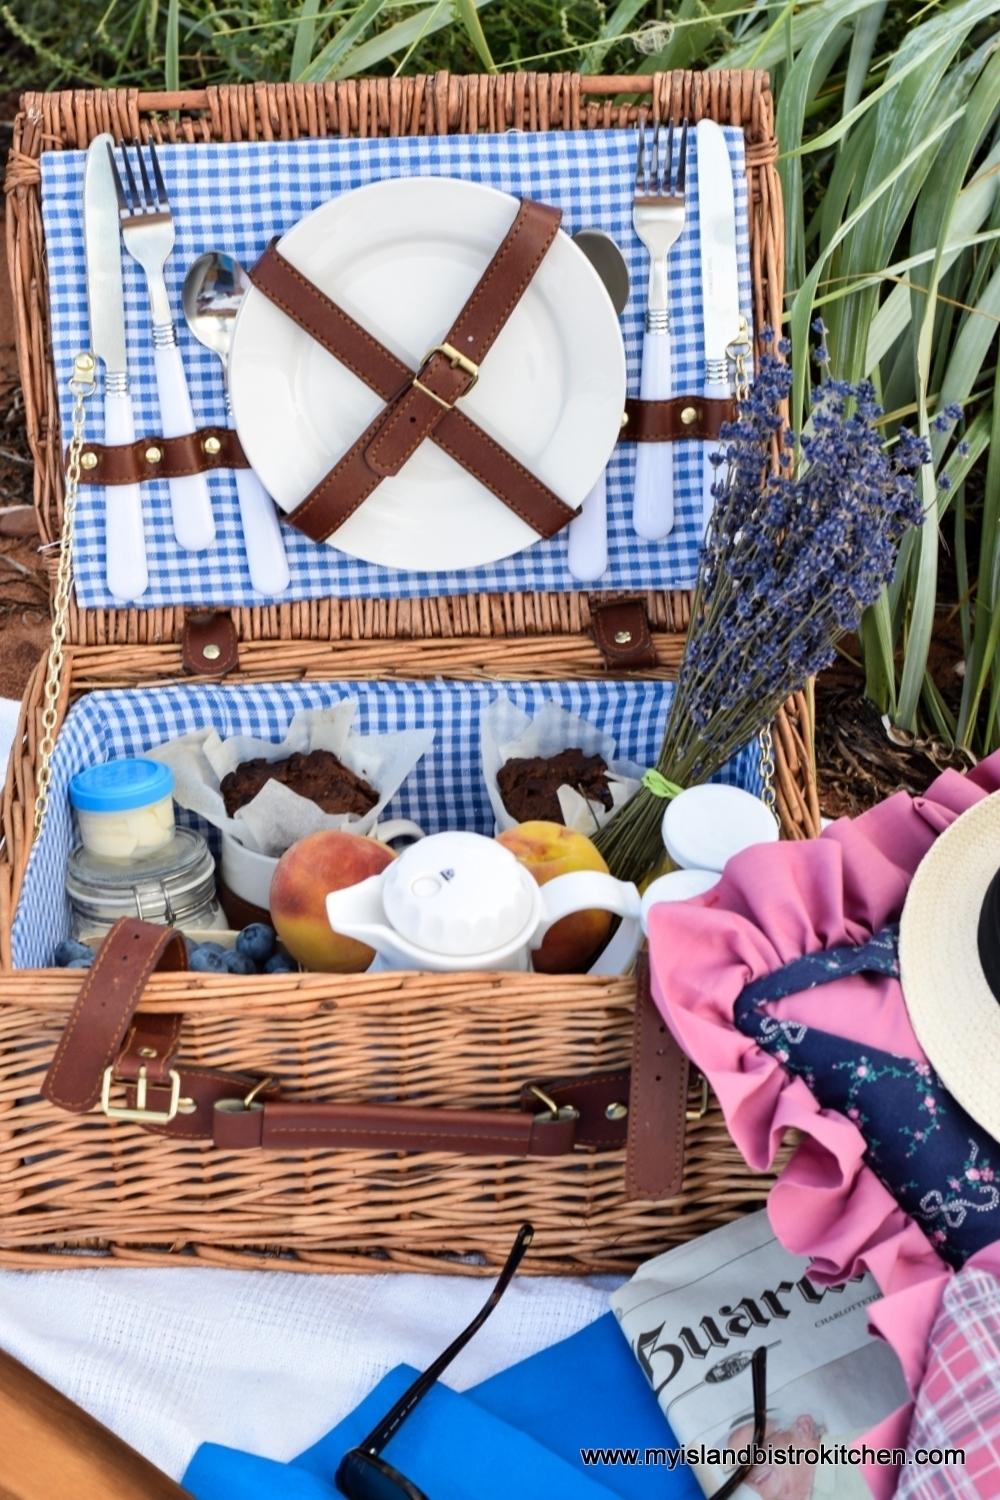
I love my wicker picnic baskets and this one came equipped with the plates, mugs, and cutlery.
Wicker Picnic Basket
Let’s take a peek inside the picnic basket!
Breakfast in a Basket
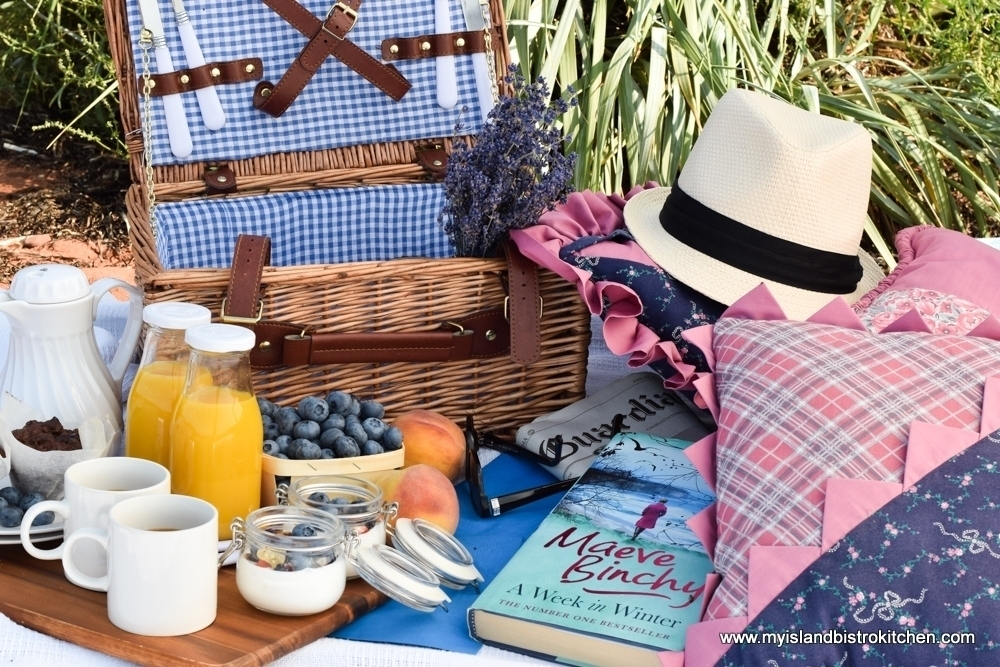
A good book for one and the morning newspaper for the other found their way to the picnic, too! No need to take along lawn chairs – an old blanket and a couple of comfy pillows will suffice.
Breakfast is Read!
Our summers are short here in Prince Edward Island so we make the most of the lovely fine days and our close proximity to the beach. What better way to savour the last days of summer than to pack a breakfast picnic and head to the beach to enjoy breakfast with a view like this! Self-imposed time-outs can be a good thing!
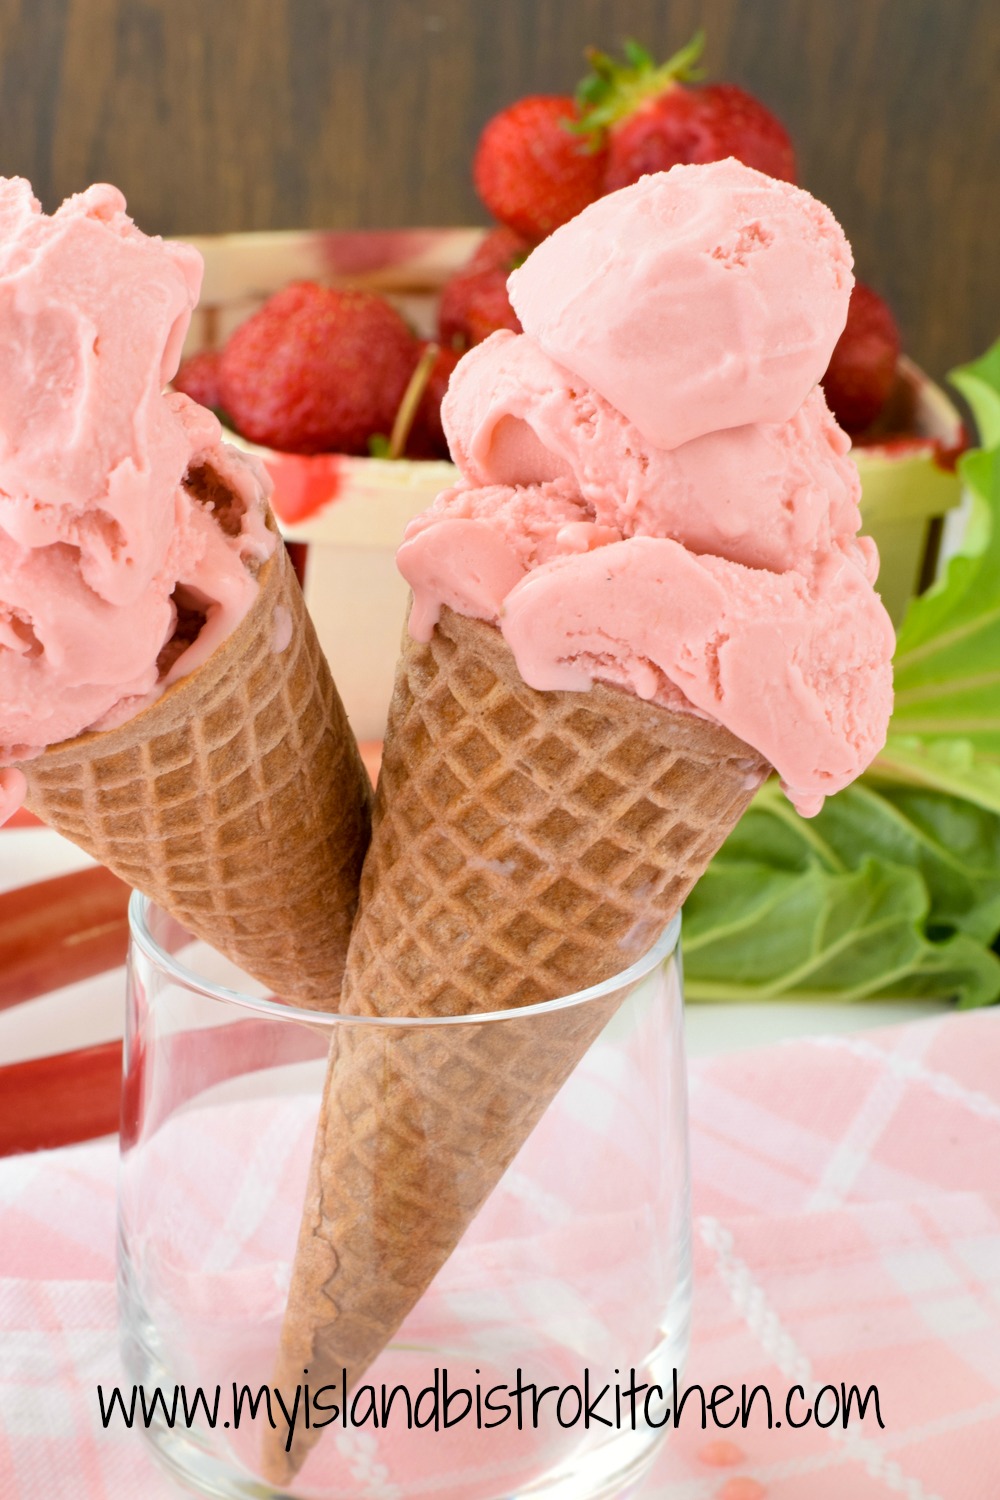
It’s hard to think of summer without thinking of ice cream. Those hot, sultry summer days just seem to beg for an ice cream fix.
Here, on PEI, we have no shortage of ice cream venues to choose from. Whether you are a soft-serve ice cream fan or a hard ice cream aficionado, you’ll find lots to choose from. After a summer of research (full disclosure – the waistline may have been harmed by this initiative!), here’s the scoop on my favorite places on the Island for hard ice cream and for soft-serve ice cream. Readers will note that opinions expressed are my own based on personal experience at all venues mentioned below. None of the establishments knew I was sampling their products for this review. This is not a sponsored post and I received no compensation in any form for my reviews.
My review is broken down into two parts – hard ice cream and soft-serve ice cream. Readers will note that I was not reviewing every product sold by dairy bars and ice cream parlours. Rather I was reviewing two very specific products – hard ice cream and soft-serve ice cream. This to say that, for example, a dairy bar that specializes in, or is most known for, its soft-serve ice cream, may also serve other frozen products such as hard ice cream, too. In that example, if I was reviewing their soft-serve product, that’s all I was reviewing from that particular dairy bar. Likewise, if a business is known primarily for its hard ice cream but also sells, for example, frozen yogurt or sherbet, I only reviewed their hard ice cream product(s). Of those I sampled in 2018, what follows were my top favorites.
For Best Hard Ice Cream
Two locations that specialize in the production of the traditional hard ice cream stood out for me:
COWS Inc.
Creamery Location: 12 Milky Way (397 Capital Drive), Charlottetown, PEI (11 Canadian locations + 1 in Beijing, China)
COWS Creamery, PEI
Churning out delectable flavours since 1983, the flagship creamery is located on the aptly-named “Milky Way” just off of one of the famous roundabouts outside Charlottetown. This venue is open year-round so locals do not have to go through withdrawal due to seasonal closures (phew!). Other COWS locations, however, may be seasonal.
The Truck That Says It All!
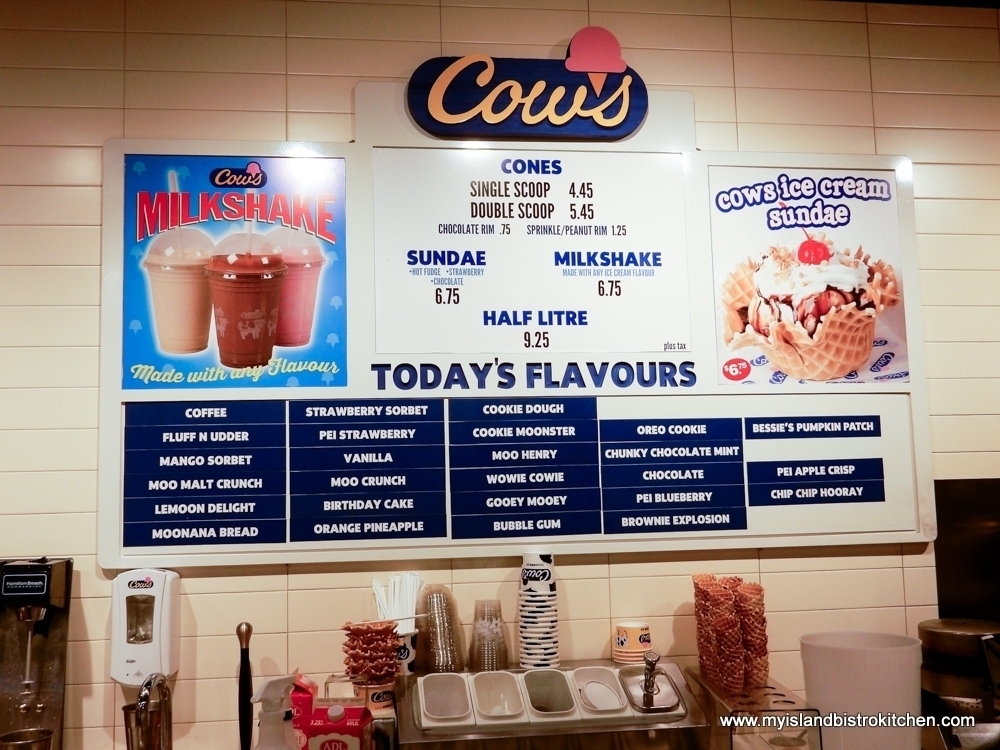
Apart from the high-quality ice cream (yup, 16% butter fat), COWS is legendary for its creative and unique ice cream flavour names often involving a play on words related to anything “cow” – like Cownadian Maple, Fluff ‘n Udder, Messie Bessie, and Moo Crunch, for example.
COWS Ice Cream Flavours
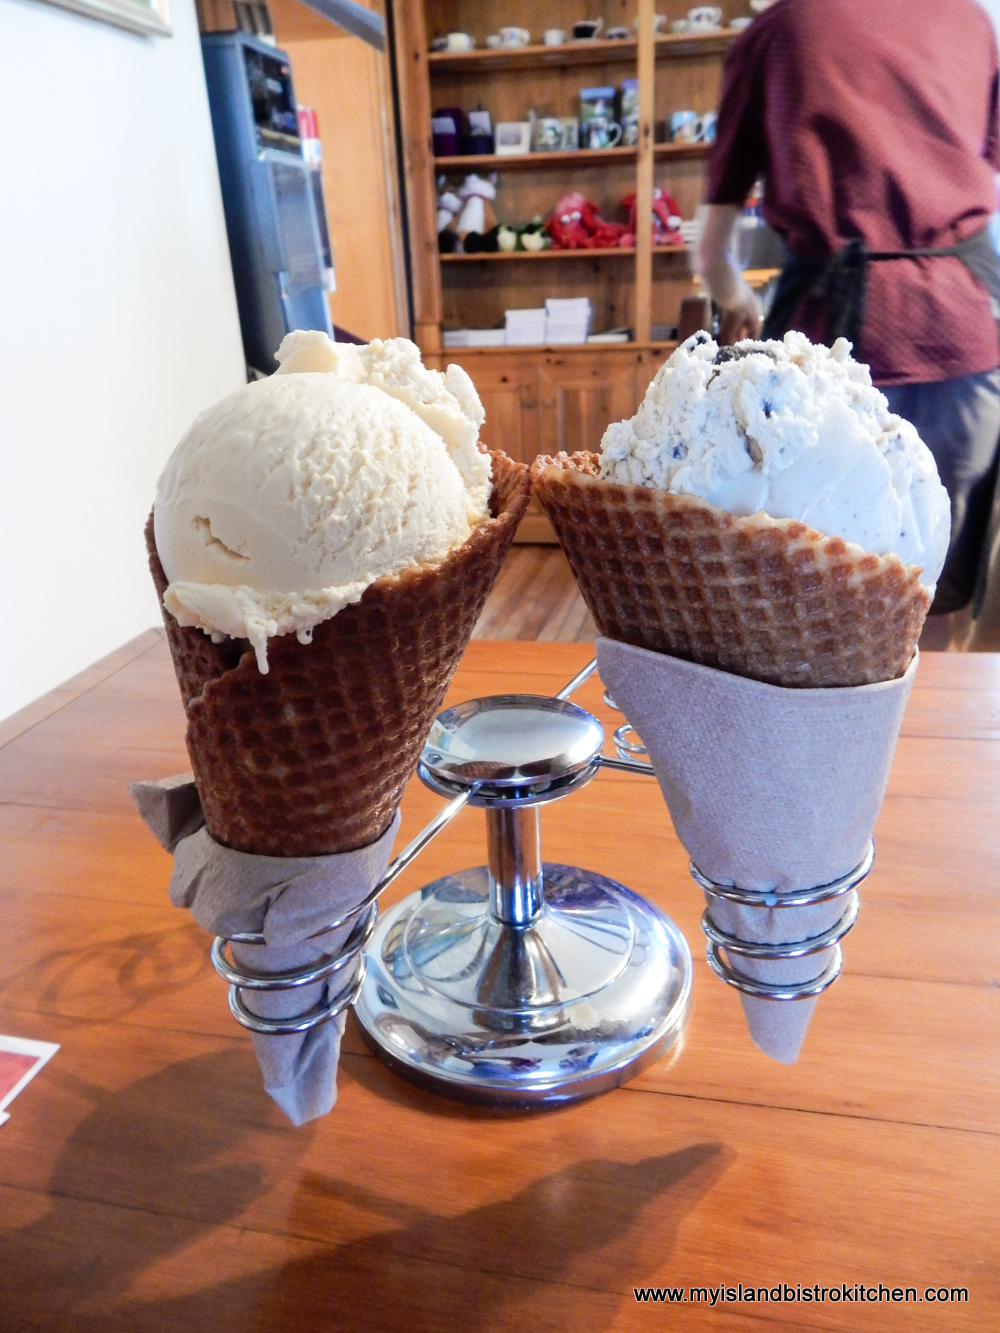
When I visit a COWS location, I go in with the best intentions to try a new flavour but, once I’m standing in front of the display case, I inevitably choose “Wowie Cowie”, a delectable concoction of vanilla ice cream, English toffee marble, chocolate flakes, and Moo Crunch. Ice cream is available in dishes or cones but their handmade waffle cones are hard to pass up! In my view, the cones are part of the “udderly” wonderful COWS ice cream experience!
COWS’ Wowie Cowie Ice Cream
There is no indoor seating at this COWS location though there are some nearby picnic tables outside. Some COWS locations may have indoor seating available. Tours of the creamery at this location are also available.
Scooping COWS Ice Cream
One of the things that makes COWS ice cream extra special is that it is available exclusively at COWS stores so heading to a COWS outlet just makes the experience that much extra special because you know you can’t buy it at the local supermarket. You can check out the story I earlier wrote on COWS here.
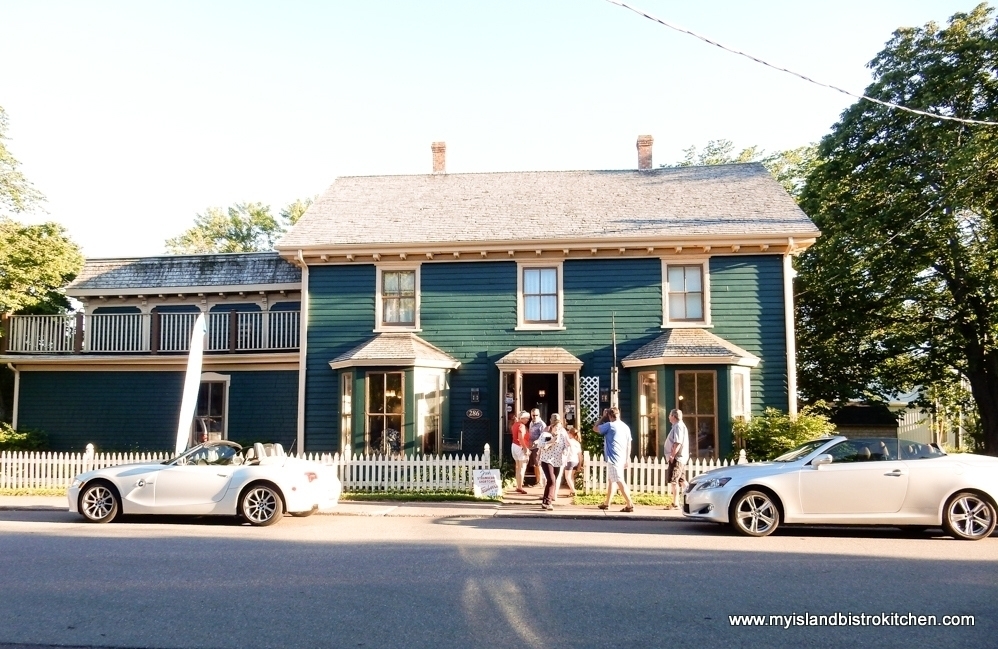
Holman’s Ice Cream Parlour
286 Fitzroy Street, Summerside, PEI
Holman’s Ice Cream Parlour, Summerside, PEI
The newbies on the Island ice cream scene, this family-owned and operated ice cream parlour opened its doors in 2016 and is quickly earning a reputation for high quality homemade ice cream.
Located in a heritage home, known as the Holman Homestead, in Summerside, this ice cream parlour has fast become a favorite stop for ice cream aficionados. Much of the charm of the historical property has been maintained and gives an air of stepping back in time to a vintage ice cream parlour.
Holman’s Ice Cream Parlour, Summerside, PEI
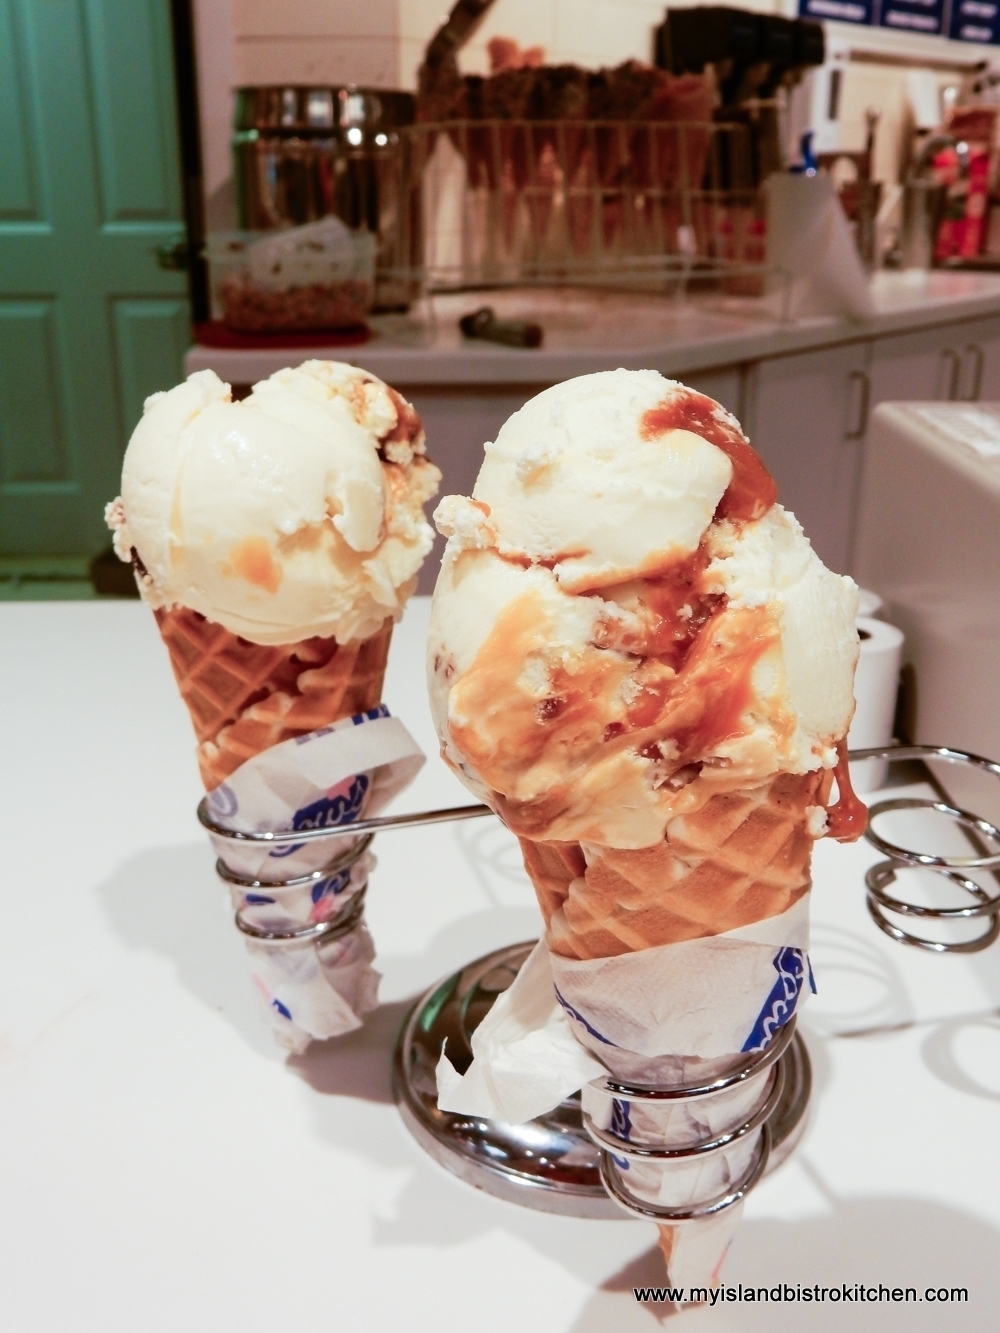
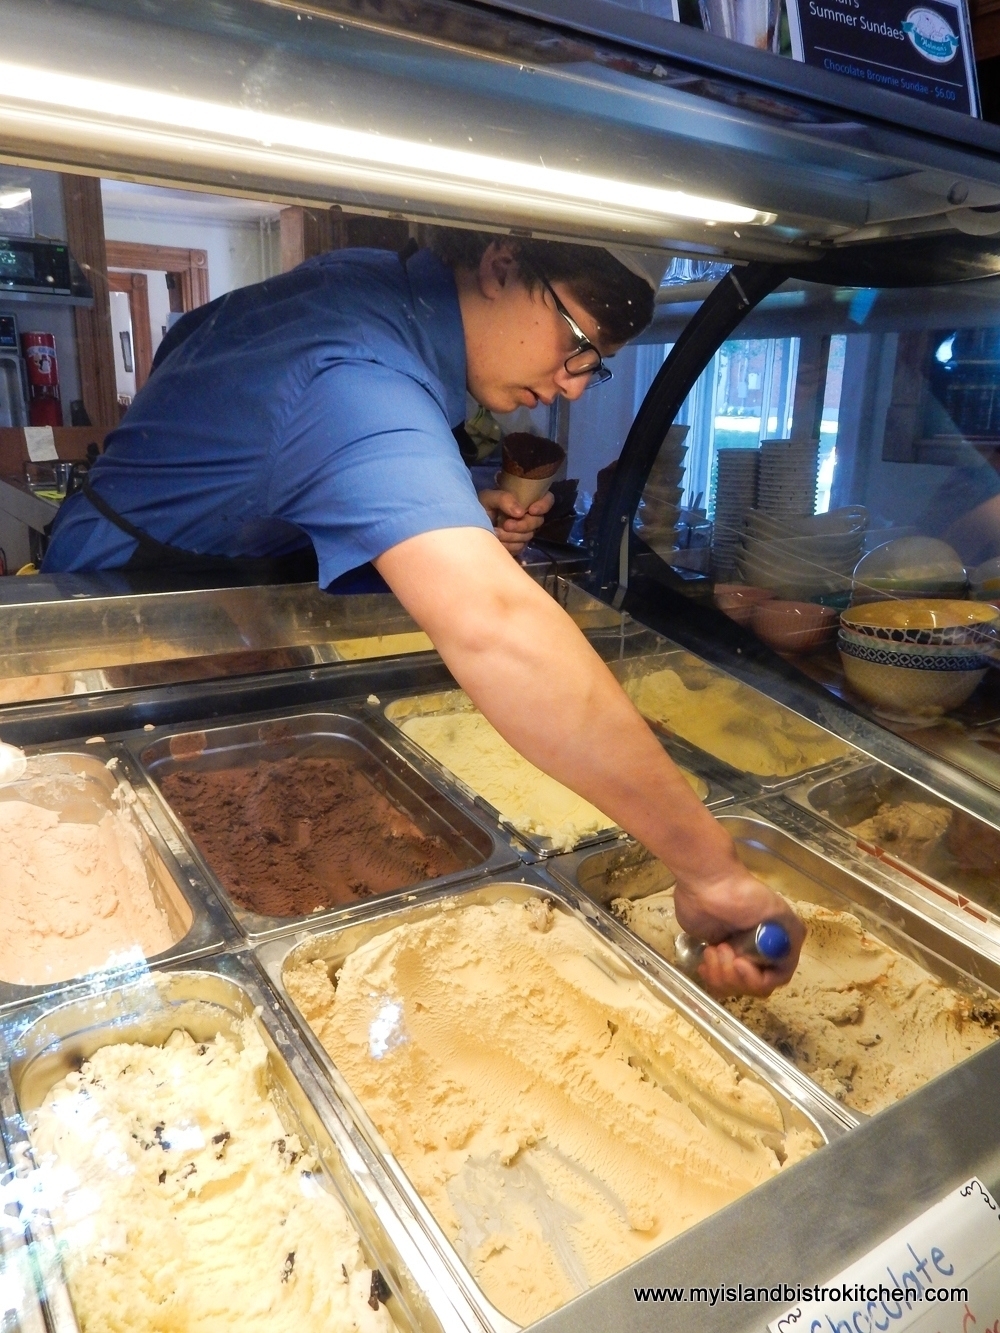
The premium homemade hard ice cream, manufactured on the premises, is made with all-natural ingredients. Several flavours of ice cream are available – my favorite is the Salted Caramel though I have heard rave reviews of their Cookies and Cream variety.
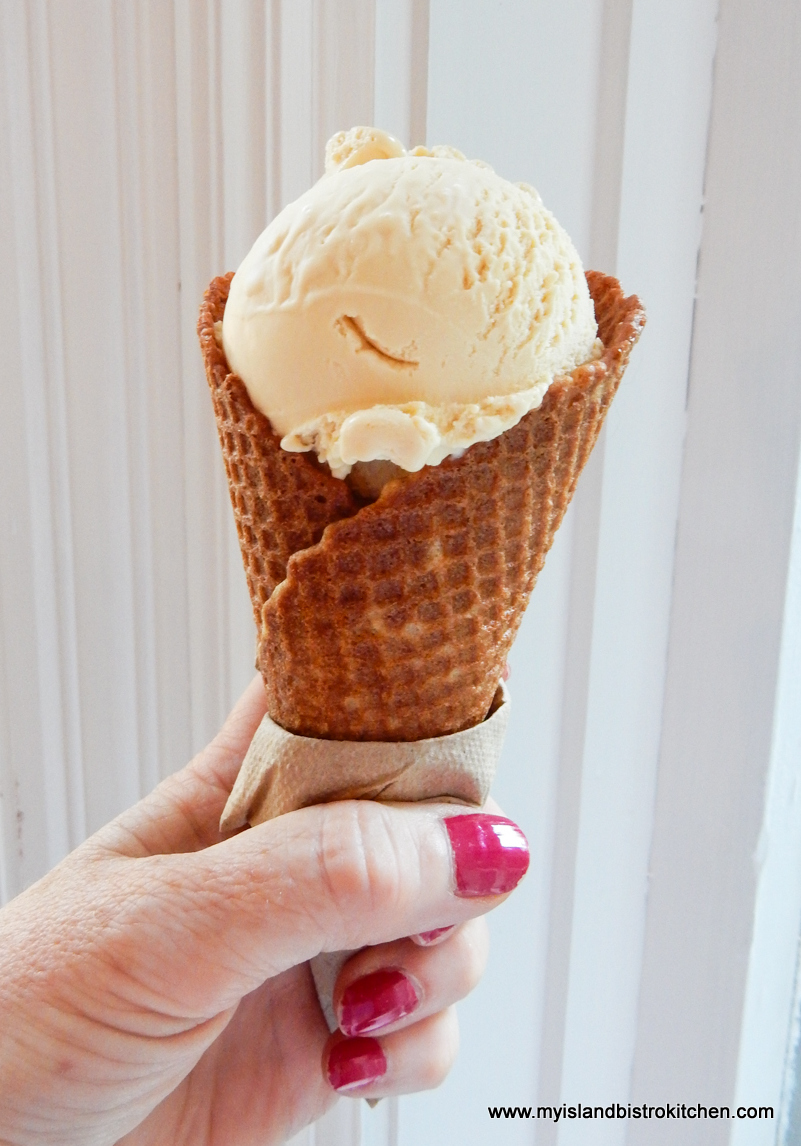
Ice cream is available in cones or dishes but, as you walk up the sidewalk toward the house, you can catch the tantalizing waft of the waffle cones being made – it’s hard not have one of those cones and they don’t disappoint!
At Holman’s Ice Cream Parlour, Summerside, PEI
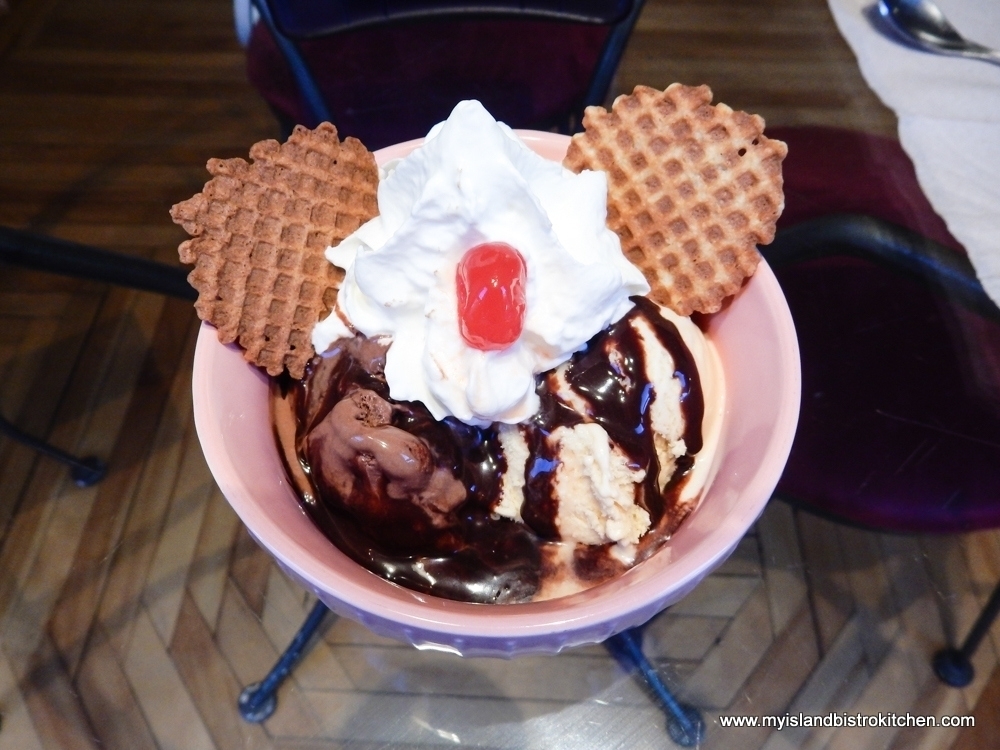
The parlour also offers sundaes, banana splits, and soda fountain floats made with their homemade ice cream.
Ice Cream Sundae at Holman’s Ice Cream Parlour, Summerside, PEI
They also make sherbets and have at least one variety of ice cream made with sheep’s milk. Service is provided by friendly staff. Eat inside or, on lovely weather days, enjoy the ice cream in the garden. The ice cream from Holman’s is made all the more special because it is only available at their Ice Cream Parlour and you won’t find it in the frozen dairy section of any supermarket. Open seasonally. (Hint – In my view, it’s worth the drive to Summerside just to have an ice cream at Holman’s! Just sayin’, this might have happened on more than one occasion….for research purposes, of course, you know….just sayin’…..)
For Best Soft-Serve Ice Cream
Two locations that are known primarily for their soft-serve ice cream particularly caught my attention.
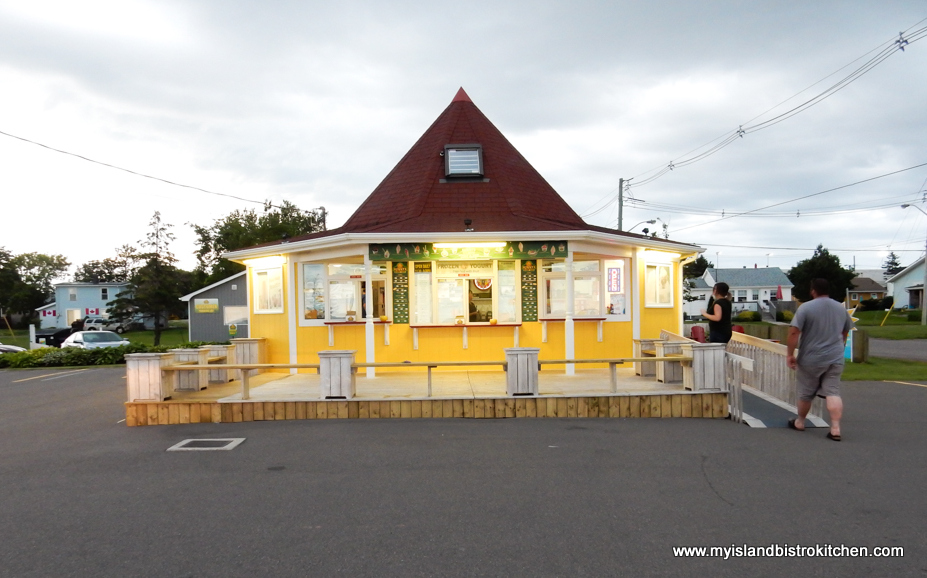
Sunny’s Dairy Bar – New Discovery 2018
559 Water Street, Summerside, PEI
Sunny’s Dairy Bar, Summerside, PEI
This dairy bar came recommended to me by a couple of folks who thought I should check it out. Can soft-serve ice cream really be all that different from one place to another? Yes, it can and Sunny’s proves it!
Opened in 2011, in the west end of Summerside, this is a traditional style dairy bar in that you place your order at the window and take your ice cream back to your vehicle or to the Green Shore Park across the street. There is no indoor seating.
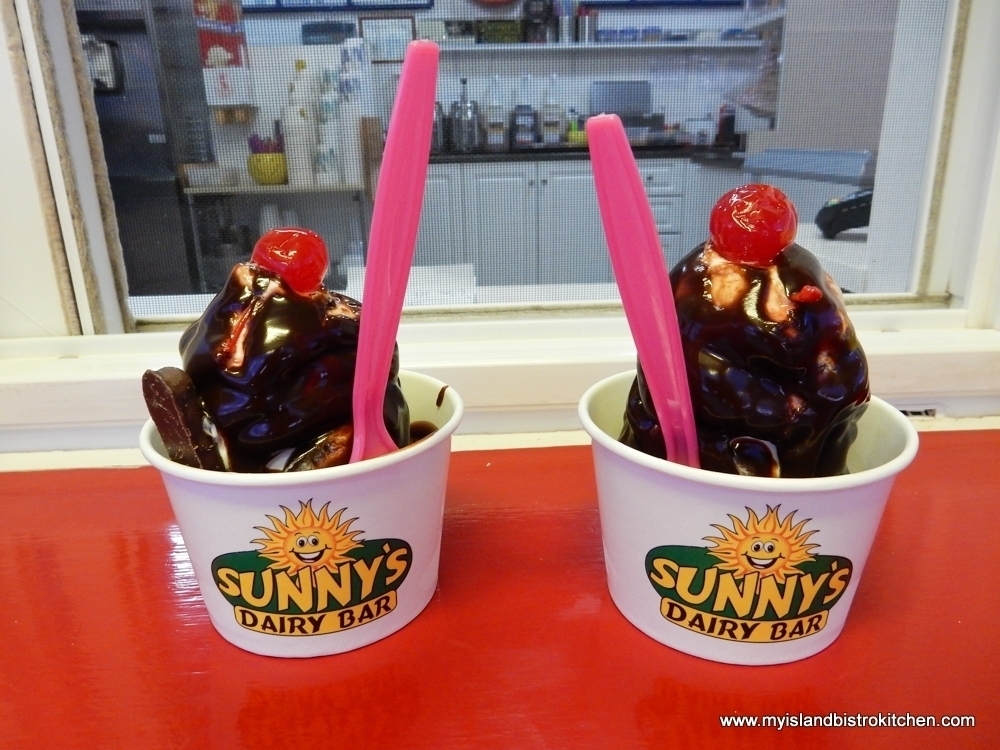
This dairy bar was a new discovery for me this year and I will be back! I opted for a Hot Fudge Sundae, my all-time favorite. The ice cream was the creamiest and richest I have ever had and the hot fudge topping was, well …. sublime!
Hot Fudge Sundae at Sunny’s Dairy Bar, Summerside, PEI
Sunny’s has a long list of ice cream treats on its menu, too numerous to mention here. Portion sizes are very generous. I ordered a small sundae and, as can be seen in the photo, it is a very generous helping! Open seasonally, this is definitely a place to check out for ice cream in Summerside!
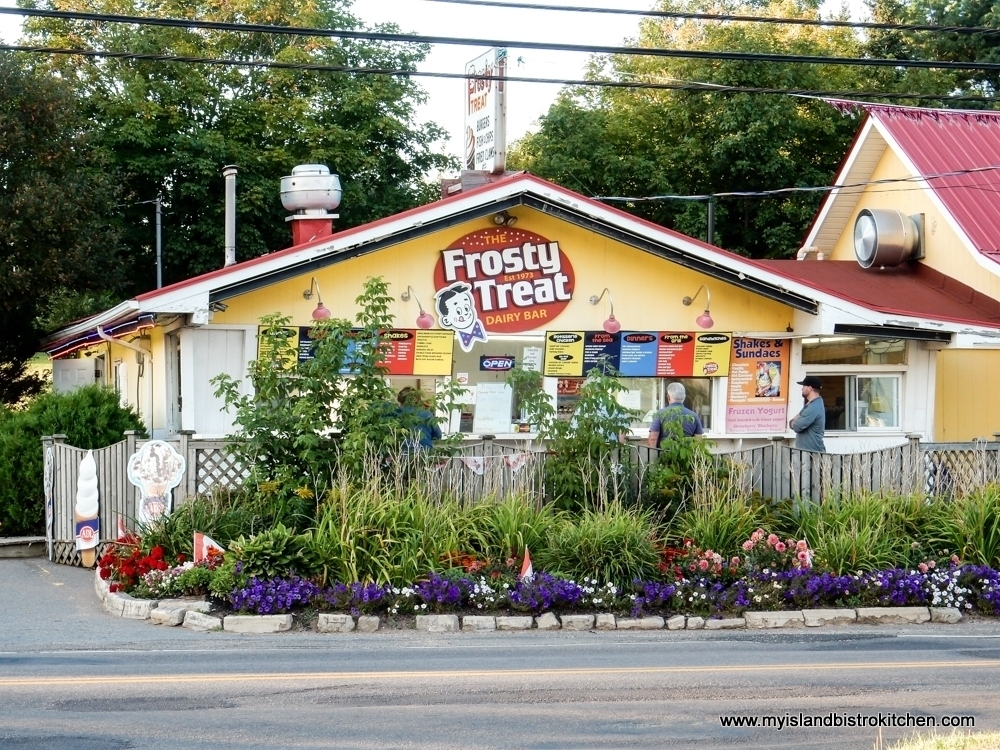
Frosty Treat Dairy Bar
Two (2) locations – Original at 109 Victoria Street West and new one in 2018 at 25010 Veteran’s Memorial Highway, both in Kensington, PEI
Frosty Treat Dairy Bar #1 in Kensington, PEI
A long-time favorite with Islanders, this traditional-style dairy bar is well known for its catchy TV ads “Don’t Drive By! Drive In!” For many Islanders, it will come as no surprise as to why Frosty Treat made my list of “go-to” places for yummy ice cream in PEI. Frosty Treat has been synonymous with great soft-serve ice cream for many years and the frequent line-ups at the dairy bar window on hot summer days and evenings attest to this.
This popular ice cream bar serves up creamy soft-serve ice cream that will satisfy any craving for soft swirly ice cream. Other ice cream treats are also available on Frosty’s menu.
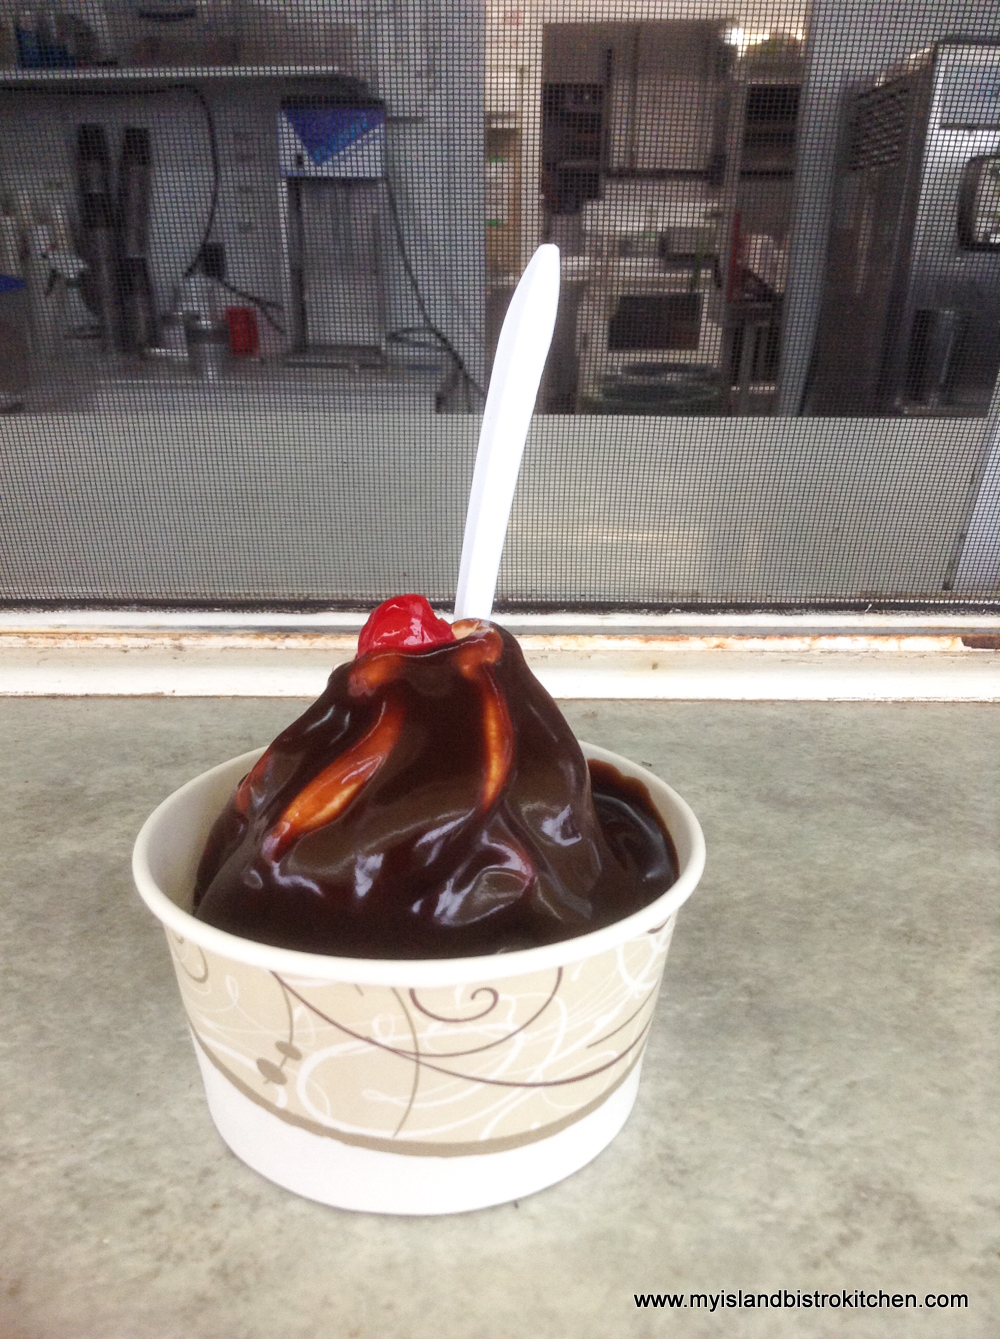
Frosty Treat has been a summer tradition for us for many years. Their Hot Fudge Sundae, in particular, is a perennial favorite. Open seasonally.
Hot Fudge Sundae from Frosty Treat Dairy Bar, Kensington, PEI
If you are in the Kensington area, “don’t drive by, drive in” to one of the Frosty Treat locations for a cool ice cream treat.
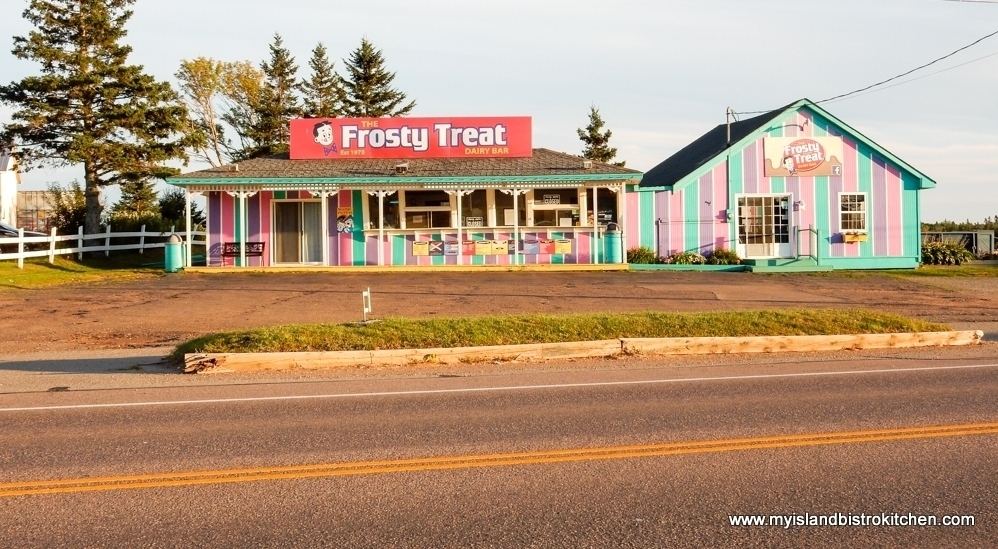
Frosty Treat #2 Location in Kensington, PEI
Special Mention
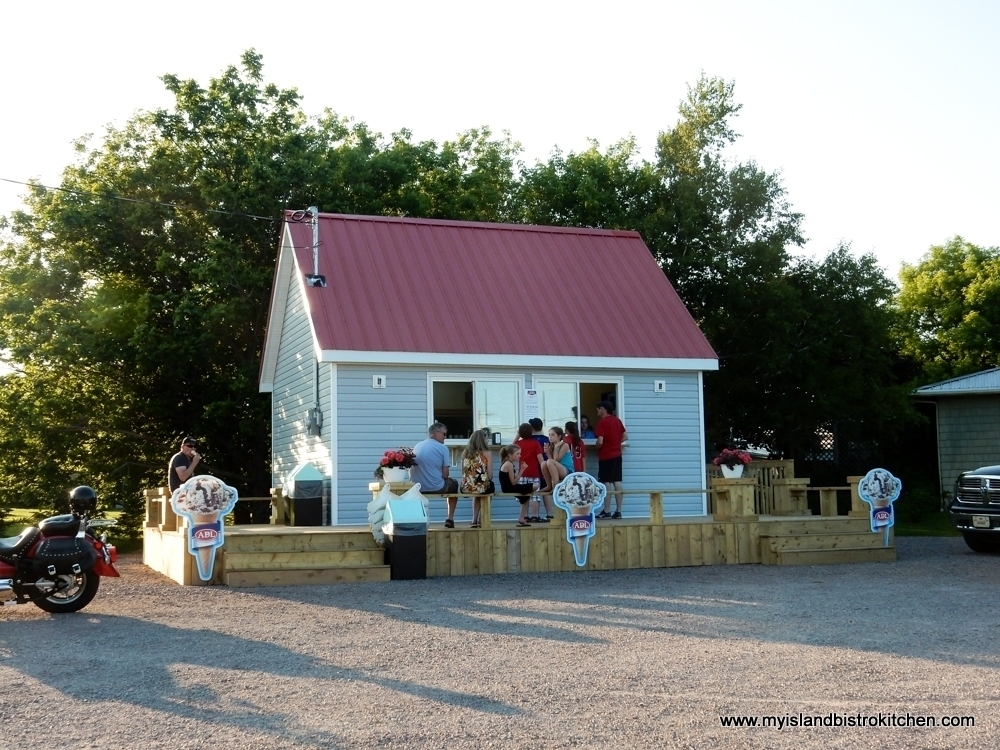
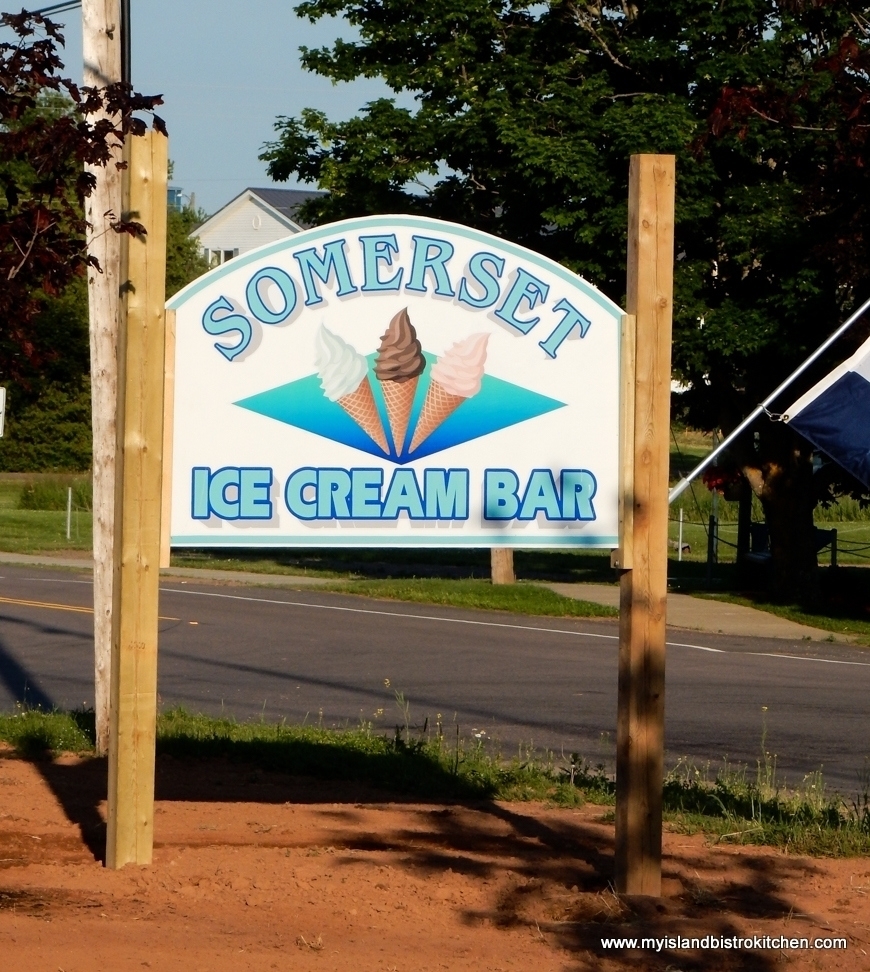
Somerset Ice Cream Bar – New Discovery 2018
2 Somerset Street, Kinkora, PEI
Somerset Dairy Bar, Kinkora, PEI
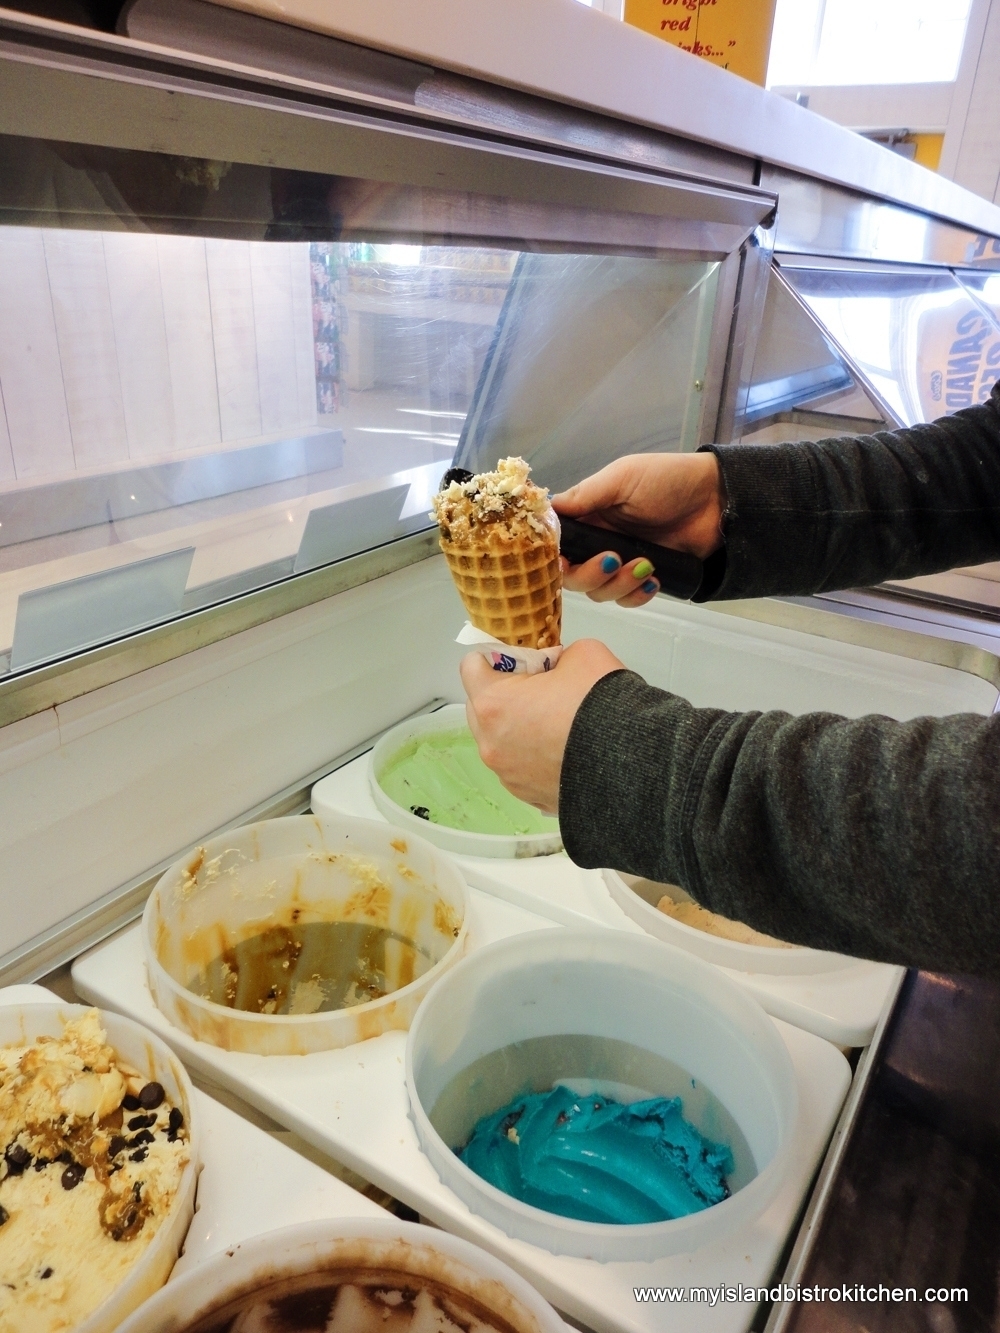
Located in the small rural village of Kinkora, midway between Charlottetown and Summerside, the Somerset Ice Cream Bar opened for business in summer 2018. What makes this ice cream bar unique, and what earned it a special mention in this article, is that its owner and operator is a young entrepreneur, still in high school (yes, you read that right)!
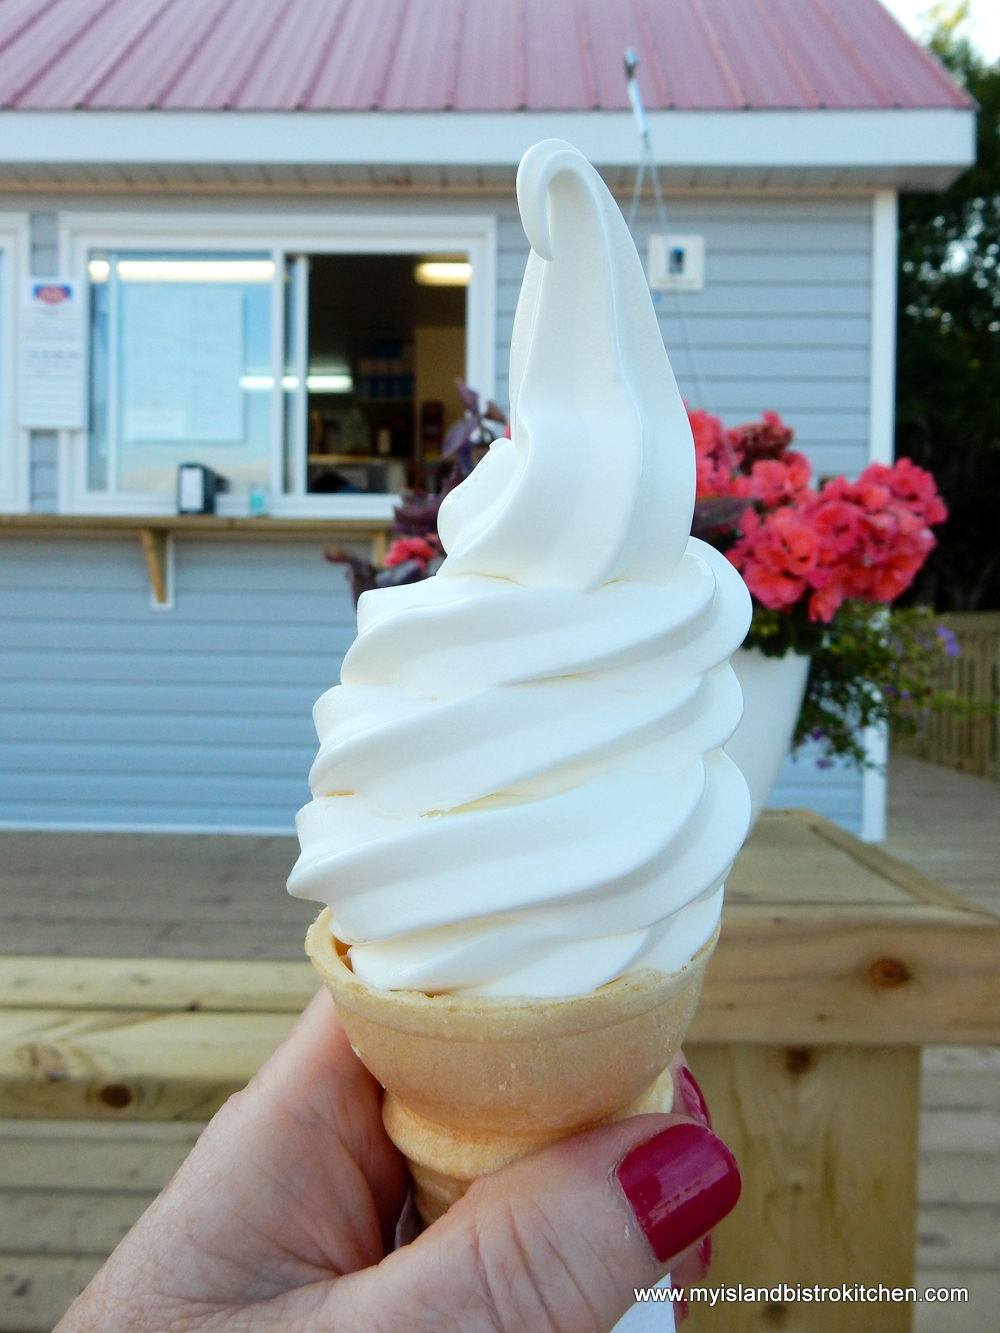
Ice Cream from Somerset Dairy Bar, Kinkora, PEI
Many cones of generous-sized portions of creamy swirled soft-serve ice cream were served out of this new dairy bar this past summer. In traditional dairy bar style, orders are placed at the window. There is no indoor seating but there are benches on the deck around the dairy bar and limited picnic table seating. Open seasonally.
If you are traveling Rte 225 between Summerside and Charlottetown, make it a plan to stop for a tasty treat at this ice cream bar.
So, this is what the waistline could handle this summer! Again readers will note that some of these establishments also serve other types of ice cream and ice cream related treats. However, the purpose of my exercise this summer was to simply find great establishments that specialized in, or were best known for, either hard ice cream or soft-serve ice cream. Others may have differing opinions on my choices but, based on my personal experience on the days I visited the venues, I had great ice cream and service at each of these five (5) venues this year. In my view, you can’t go wrong with an ice cream treat from any of these five (5) venues. All establishments have active social media accounts (and some have websites) that you can check out for more information and hours and season of operation.
Pin Me To Pinterest!
(Mostly) PEI and Maritime Food – Good Food for a Good Life!