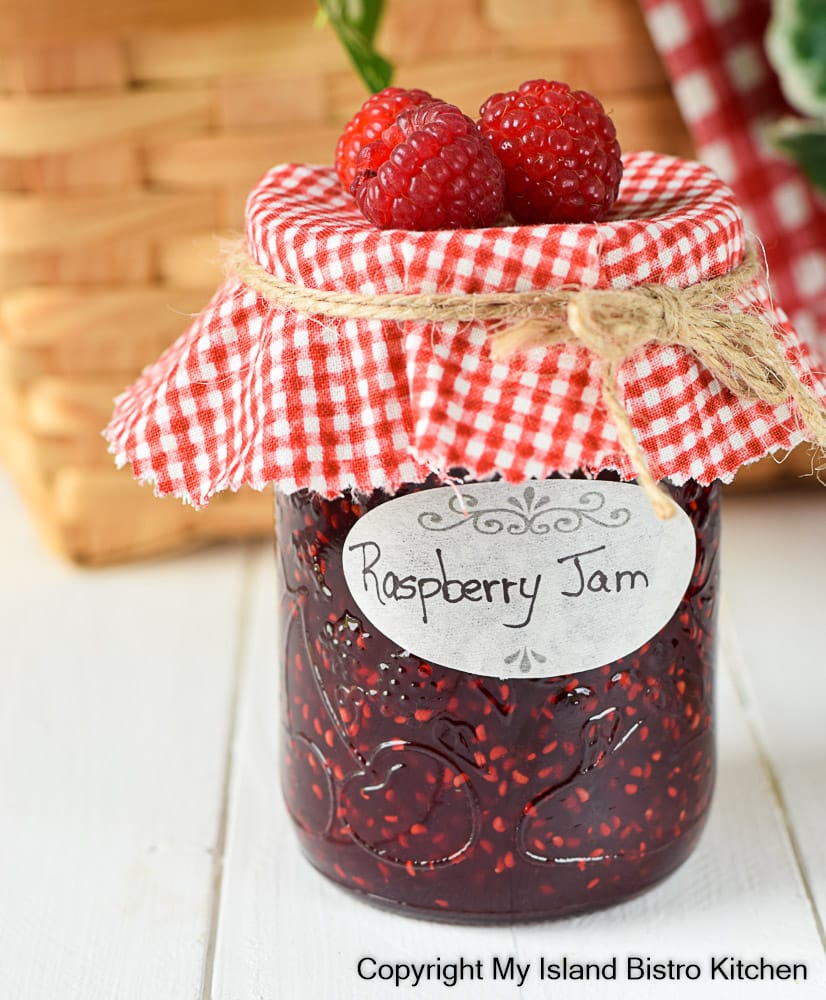
Oh, the treat of homemade Raspberry Jam! This is a traditional cooked Raspberry Jam with no pectin added. This method of jam making is sometimes referred to as “long boil jam” because it is cooked on the stovetop until the jam has cooked down and thickened. Continue reading Traditional Raspberry Jam – no pectin added→
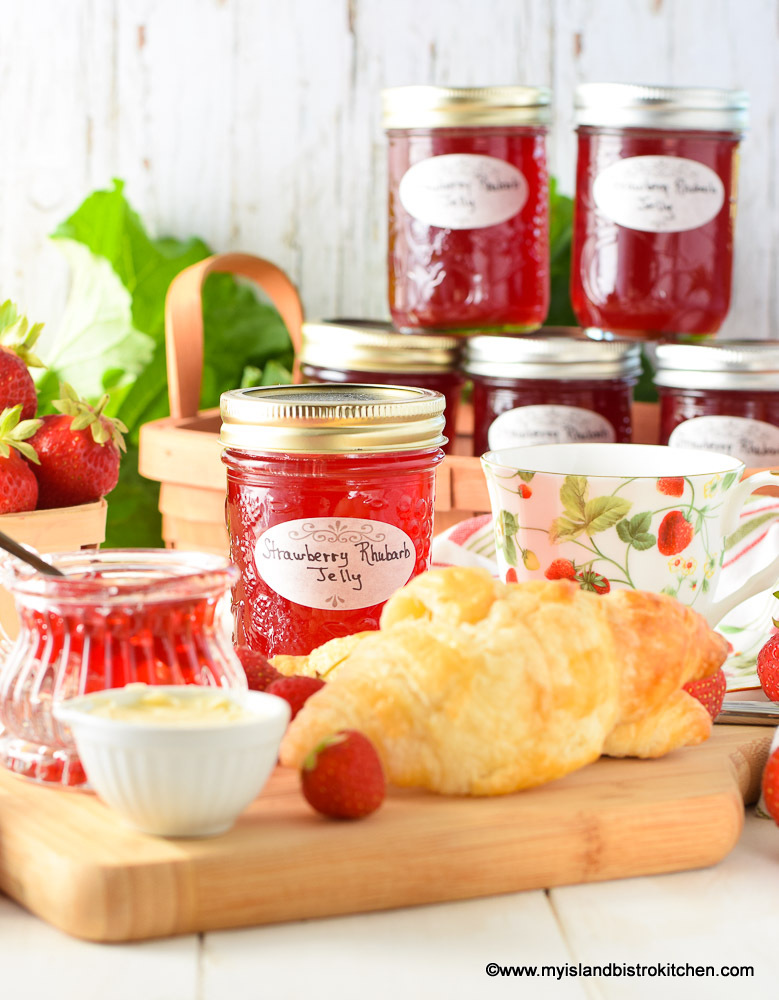
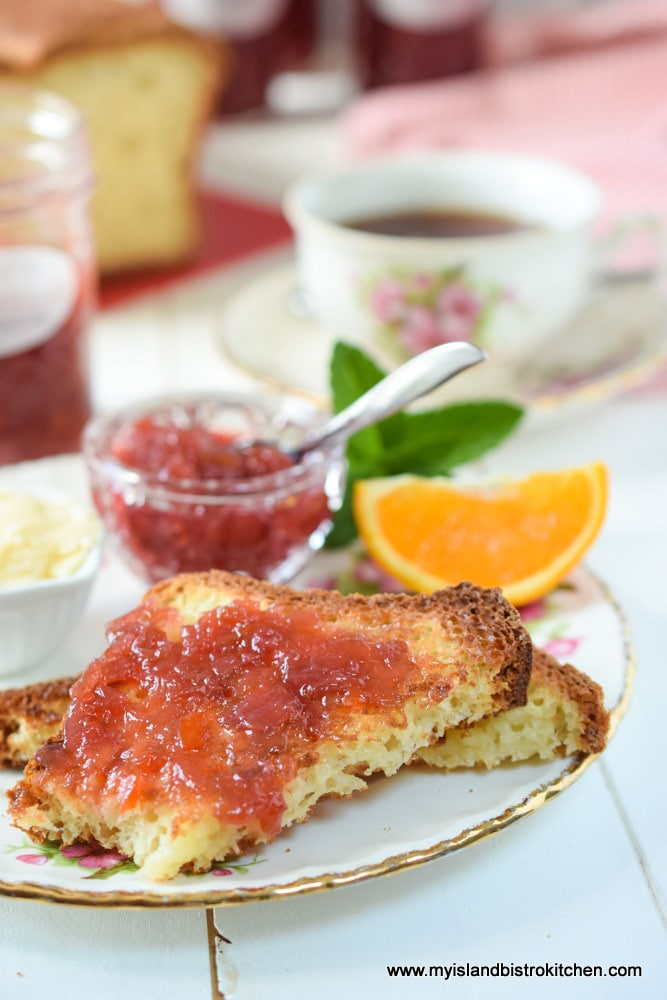
Strawberry and rhubarb are two of my favorite flavor combinations. It should come as no surprise, then, that I would create a Strawberry Rhubarb Jelly recipe. With its stunning color and beautiful flavor, this jelly is sure to become a family favorite. Continue reading Strawberry Rhubarb Jelly Recipe→
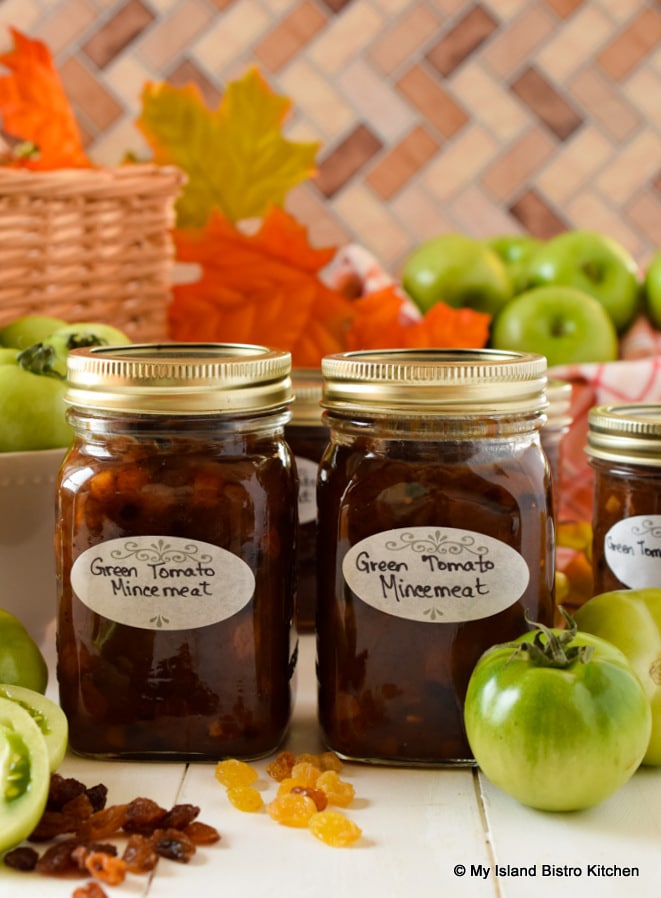
One of the most versatile foods in the garden has to be tomatoes – enjoy the ripe ones fresh or make into into sauce. Use the green tomatoes to make Green Tomato Marmalade, chow, and the list of possibilities for their use is practically endless. Today, I am sharing my recipe for another use of green tomatoes – Green Tomato Mincemeat, the uses for which are extensive. Continue reading Green Tomato Mincemeat Recipe→
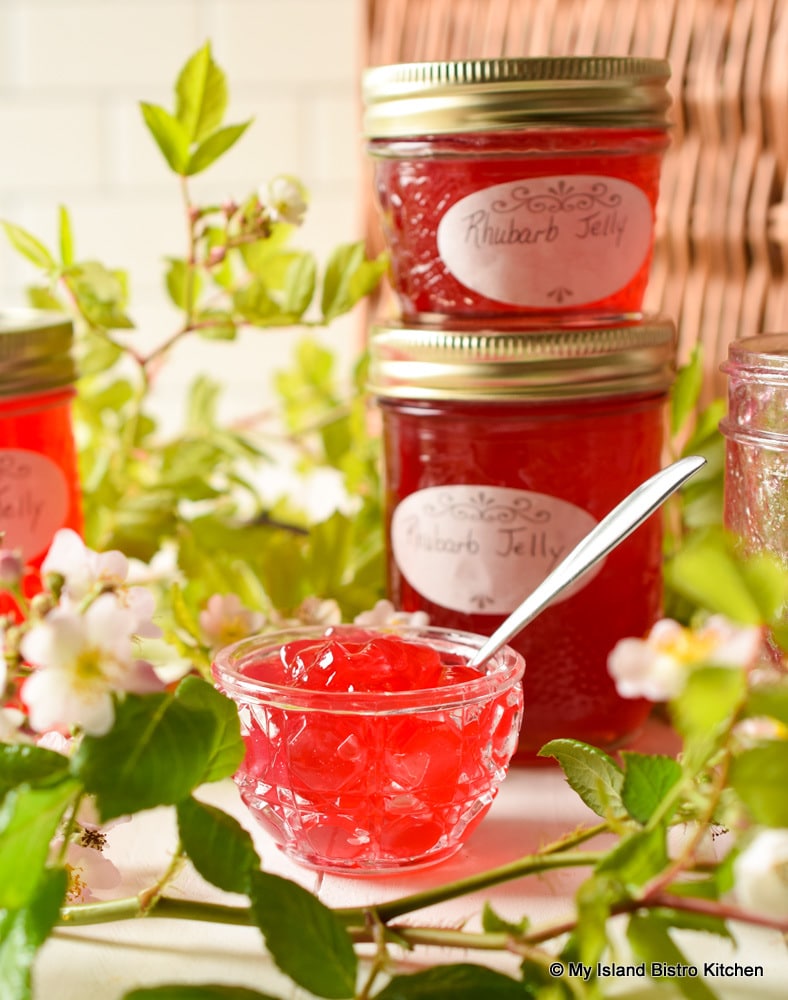
For those of you who are regular followers of my food blog, you know my love of rhubarb! I am always creating new recipes for it and that includes this fabulous beautiful-colored Rosy Rhubarb Jelly made from the strained juice of cooked rhubarb. With the smaller household in mind, I have created this stunning Rhubarb Jelly recipe to be a small batch – it should yield 3 half-pint and 1 quarter-pint jars. Continue reading Rosy Rhubarb Jelly Recipe→
Homemade jam is such a wonderful treat. And, of course, there is the sense of accomplishment seeing the results of processing fruit into tasty jam. Today, I share my recipe for small batch Cherry Jam. Continue reading Small Batch Cherry Jam→
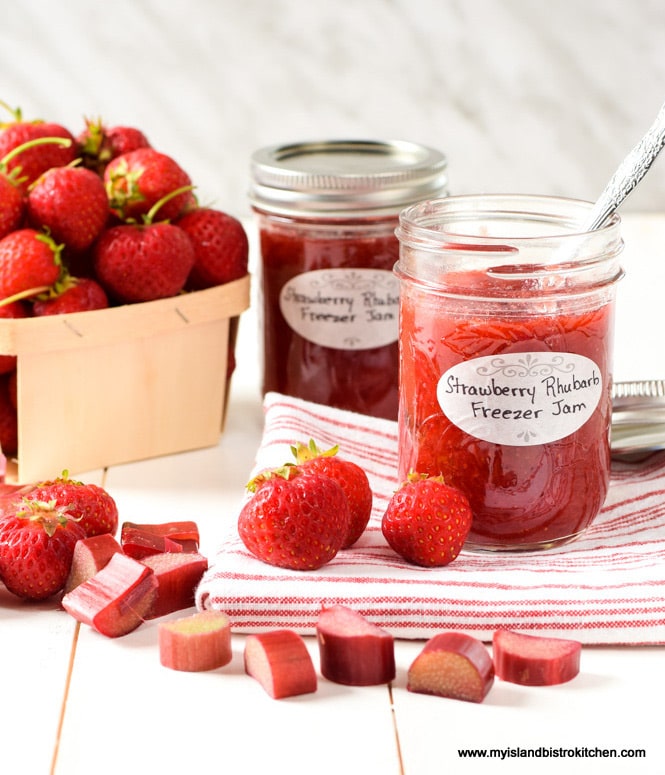
This Strawberry Rhubarb Freezer Jam boasts wonderful flavour and is very quick and easy to make. Because it is to stored in the freezer, it does not require a long cooking time or the hot water canning process. Continue reading Strawberry Rhubarb Freezer Jam Recipe→
Jamming and preserving season here in PEI starts with rhubarb, one of the first treats from the garden. The two crowns of rhubarb in our garden produce lots of rhubarb for use when it is in season and to freeze for later enjoyment.
Rhubarb Patch of Two Crowns
One of the first things I make with rhubarb as soon as it is ready is this wonderful Rhubarb Marmalade I have been making for years. The marmalade only takes five ingredients – rhubarb, granulated sugar, an orange, half a pink grapefruit, and half of a lemon. The color of the rhubarb marmalade is a lovely deep shade and its flavour is fresh and slightly tart. Continue reading Rhubarb Marmalade Recipe→
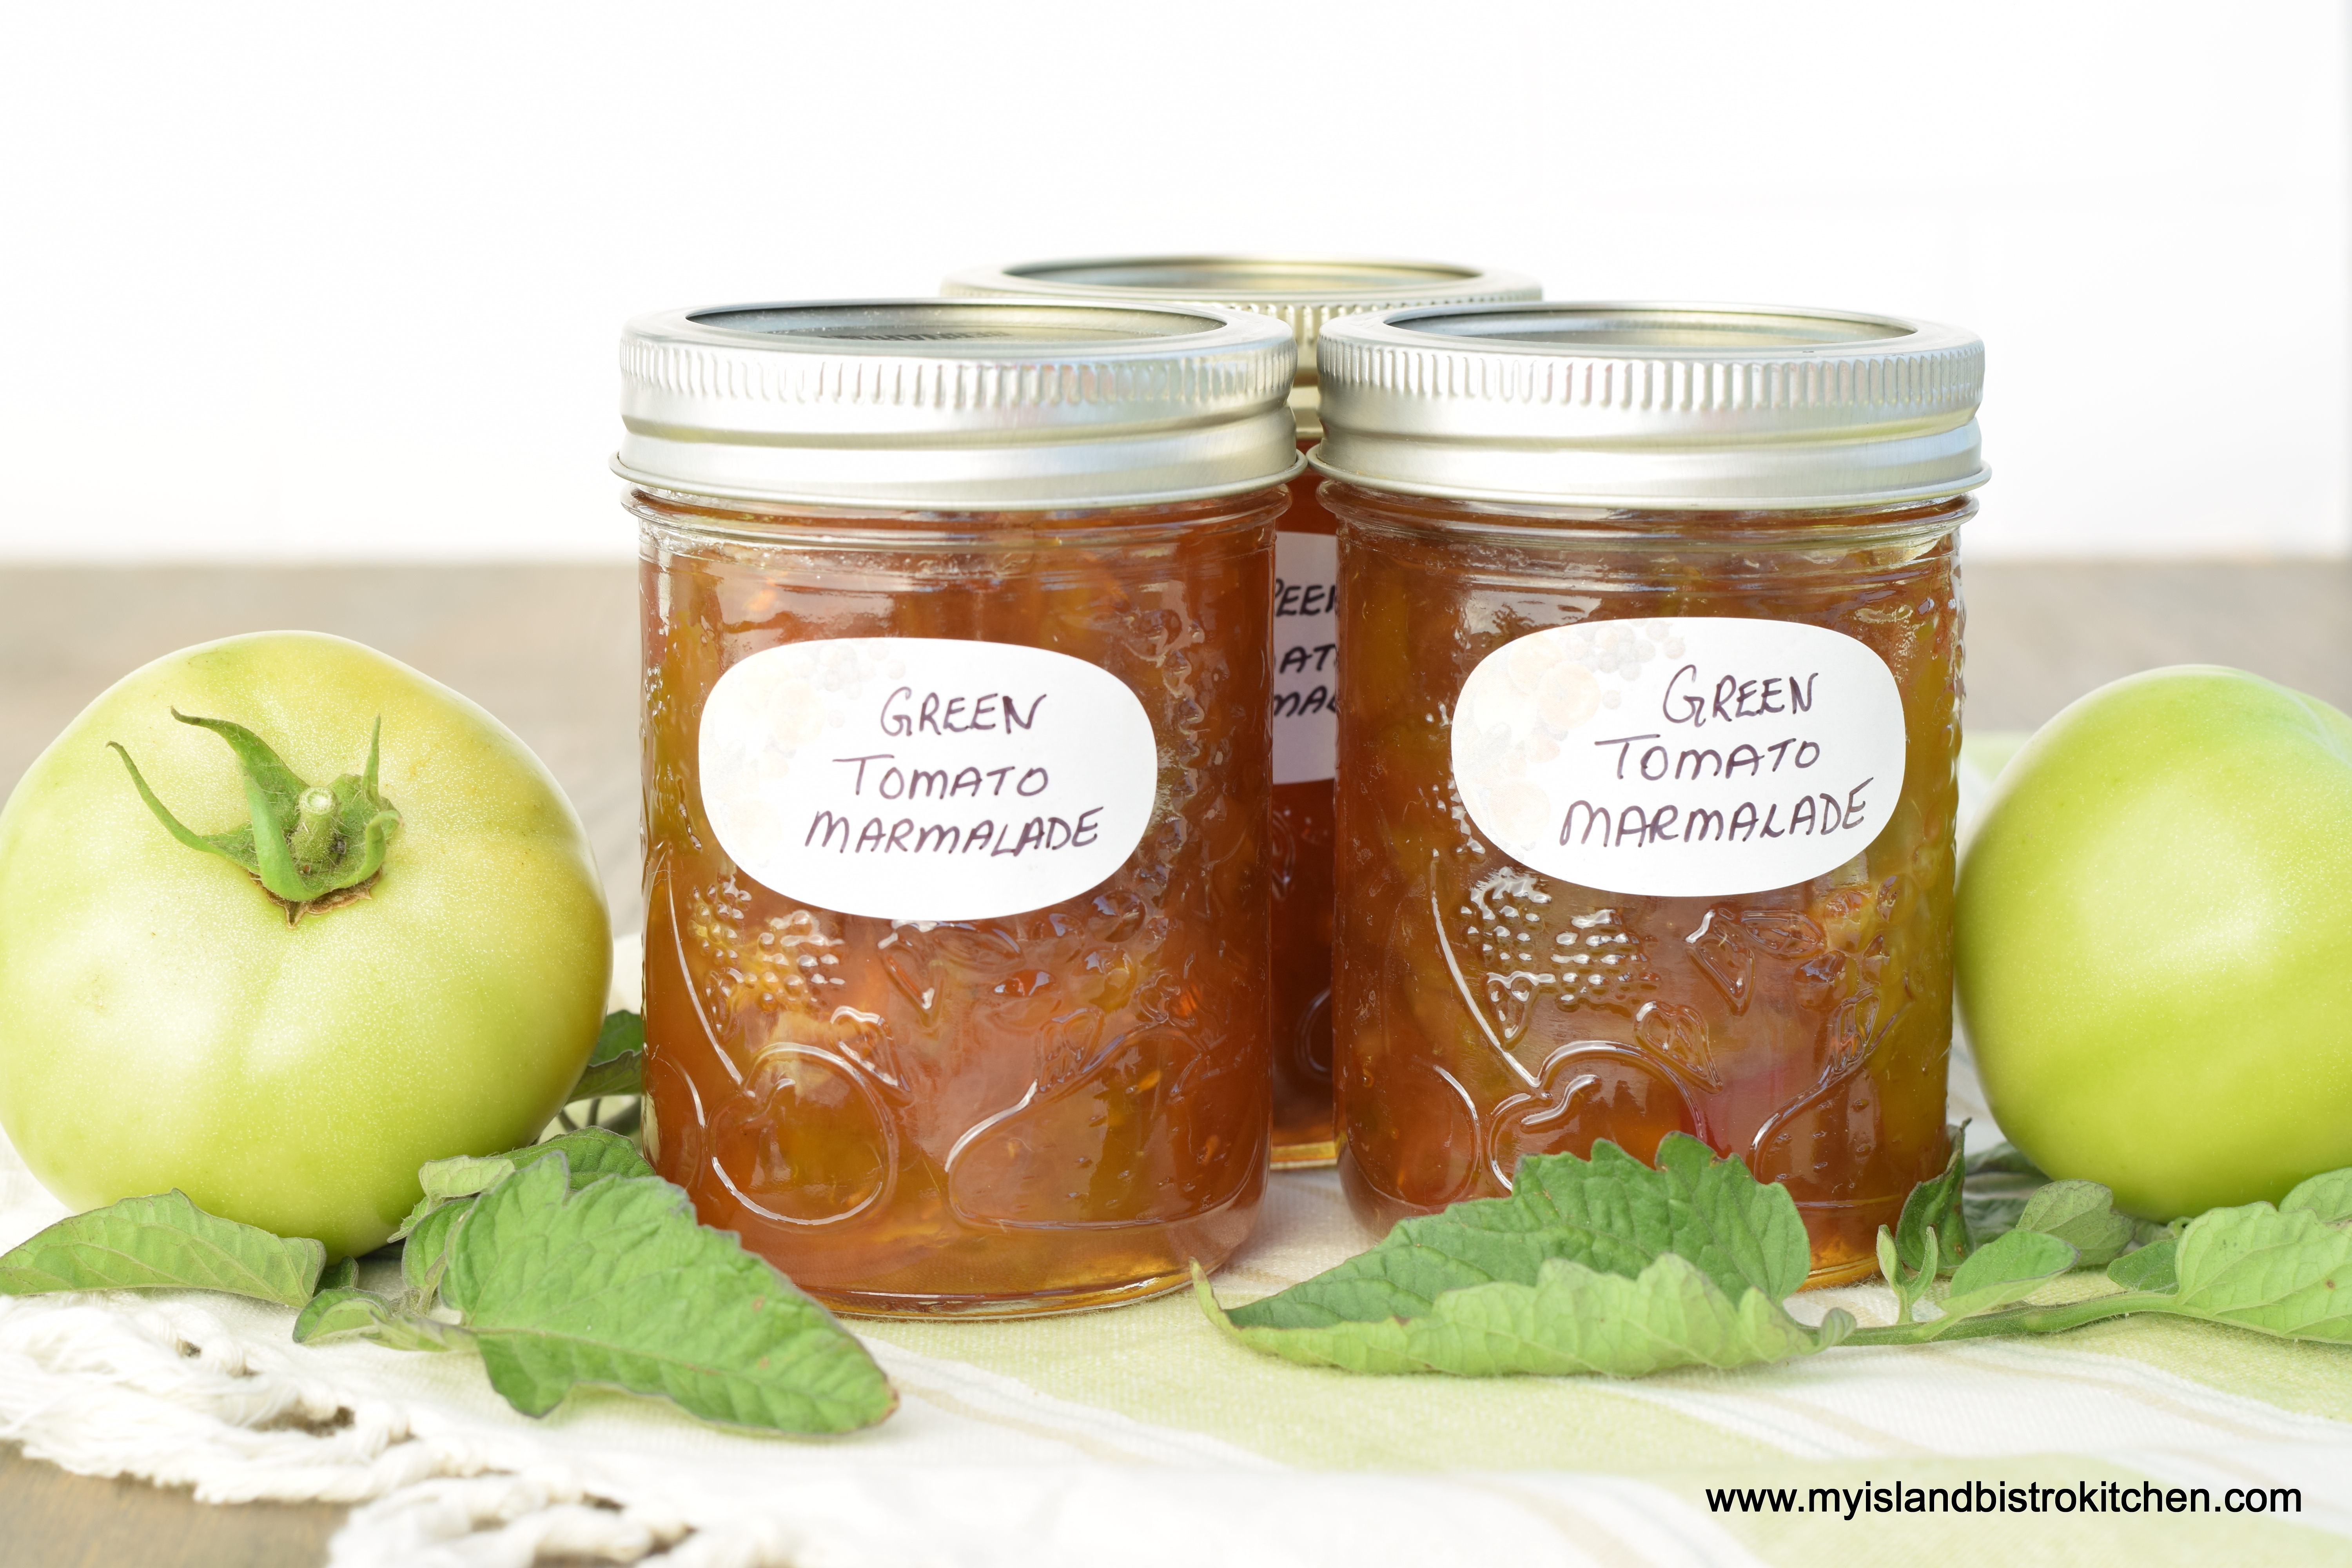
Green Tomato Marmalade is not an altogether common variety of marmalade. It’s not a typical marmalade likely to be found on many, if any, supermarket shelves. That, in my view, makes Green Tomato Marmalade all the more special because it’s more unique and exclusive! That, plus the fact it can be used as either a sweet or savory spread, makes this marmalade a worthwhile addition to your preserve inventory. Continue reading Green Tomato Marmalade Recipe→
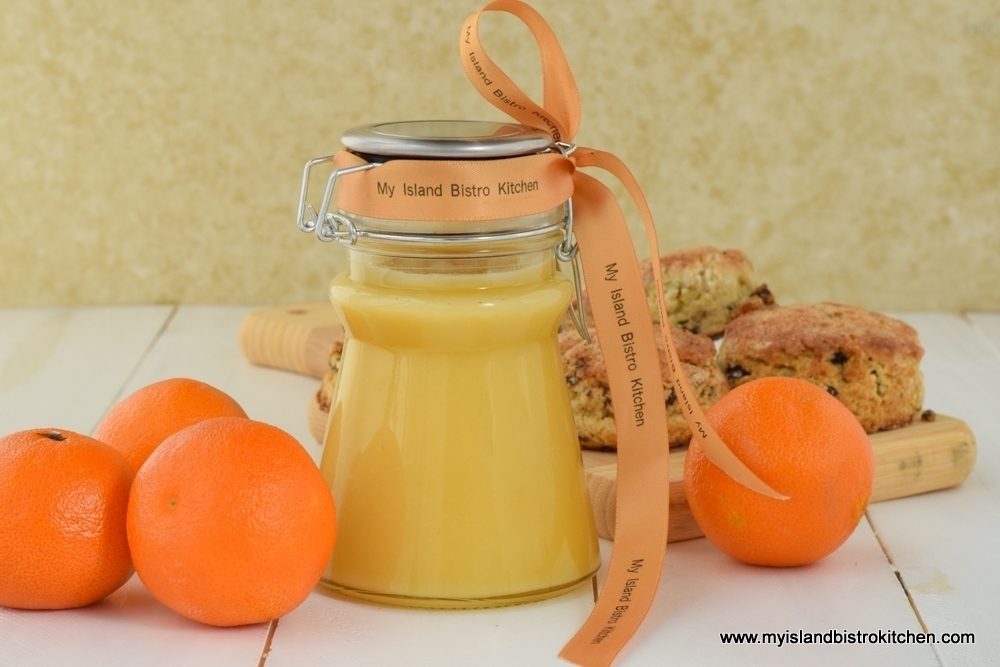
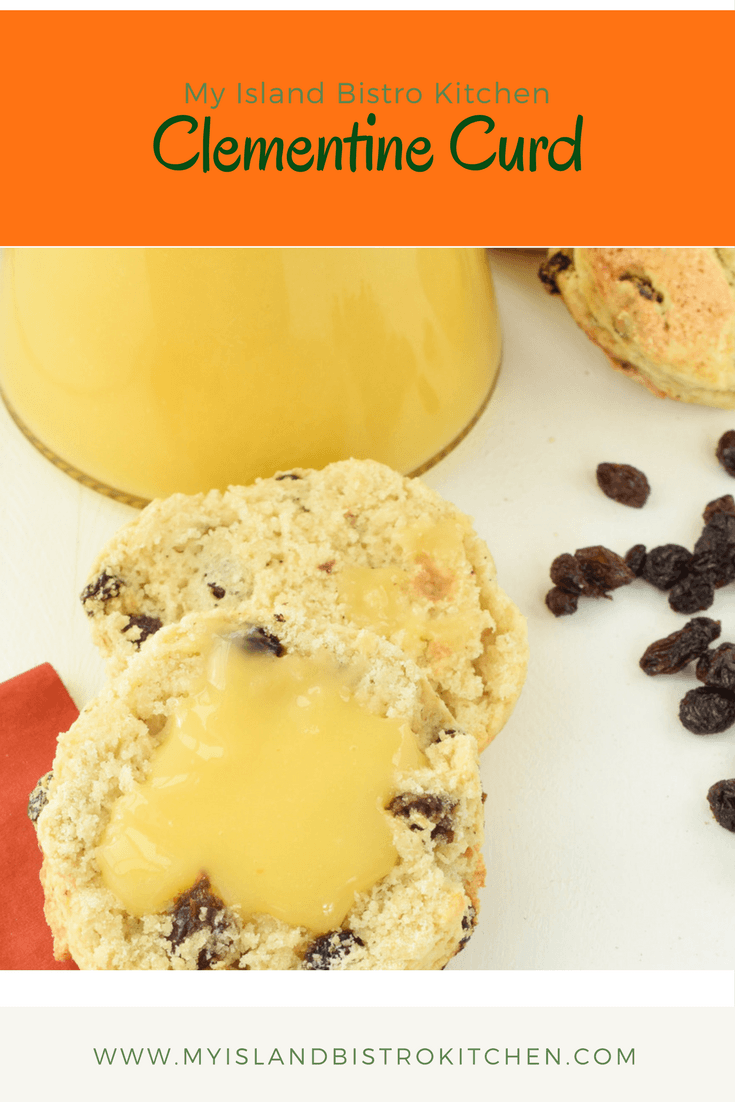
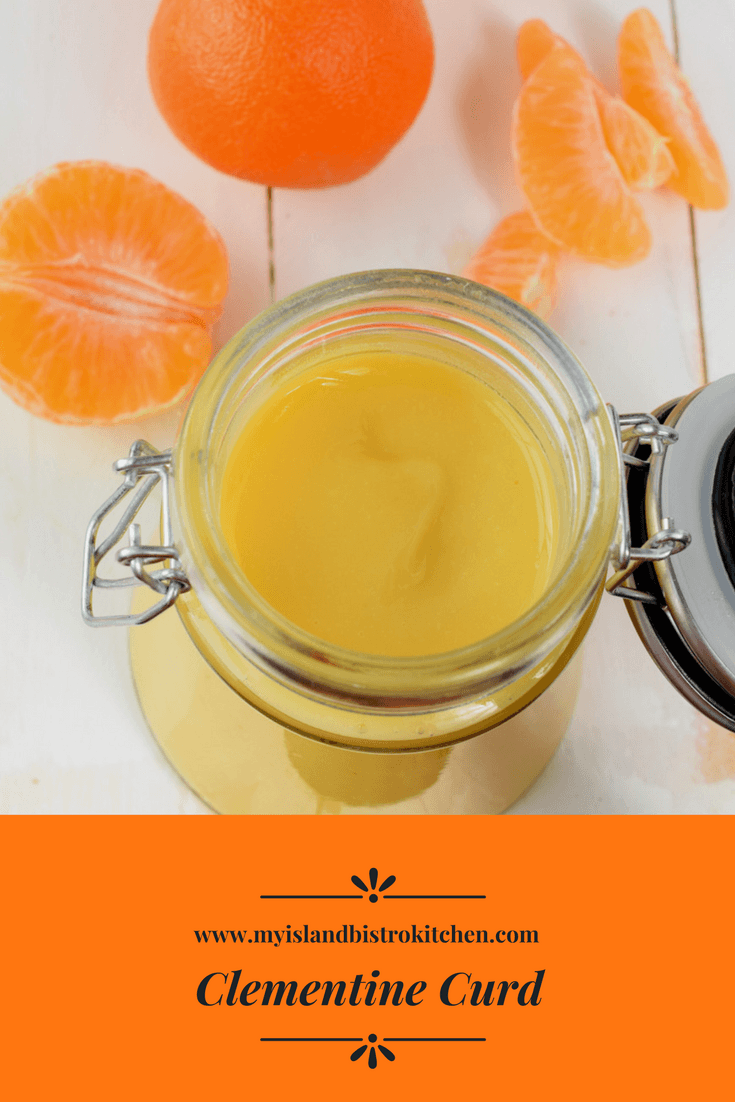
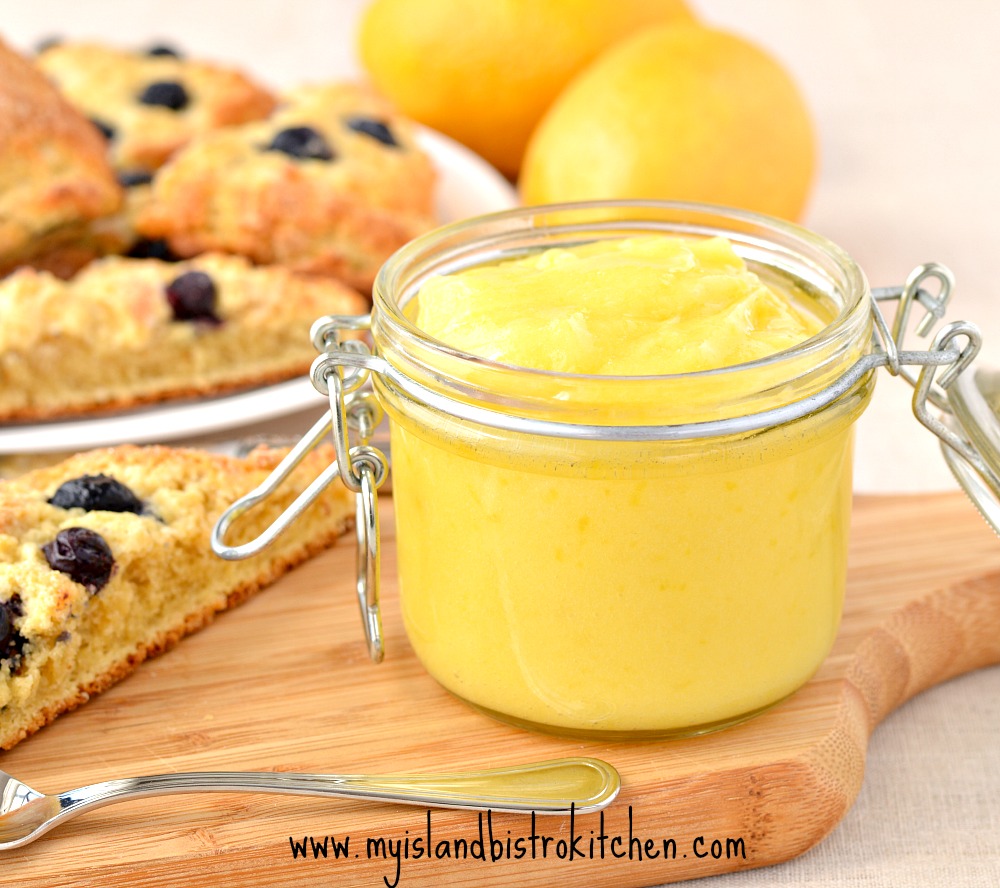
Christmas is an excellent time to make Clementine Curd when fresh clementines are readily available. While certainly lesser known than the traditional Lemon Curd, Clementine Curd is lovely in its own way.
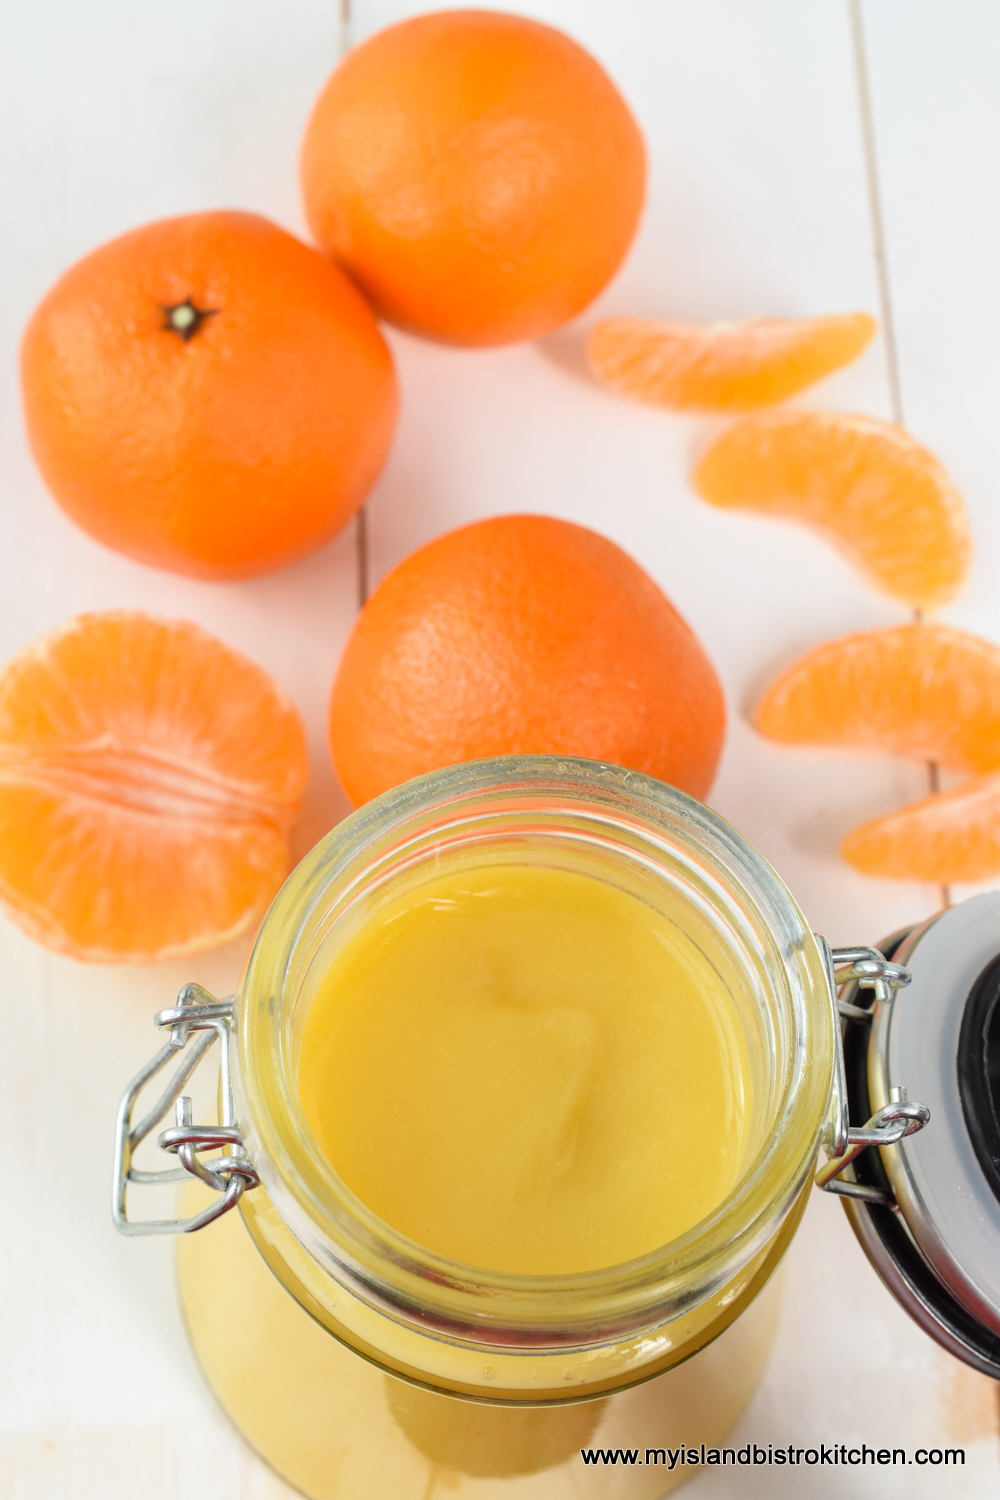
Less sharp and “puckery” than Lemon Curd, Clementine Curd is almost identical in color to lemon curd (perhaps a slight bit paler) and still has a lovely citrus flavour.
Clementine Curd
Be prepared to devote some time and patience to making any curd. It cooks slowly over a pot of simmering (never boiling) water to reach its finished stage (170F on a candy thermometer). You may wish to read my previous postings on making lemon curd and rhubarb curd for hints and tips on make curd as the same techniques apply to the making of Clementine Curd.
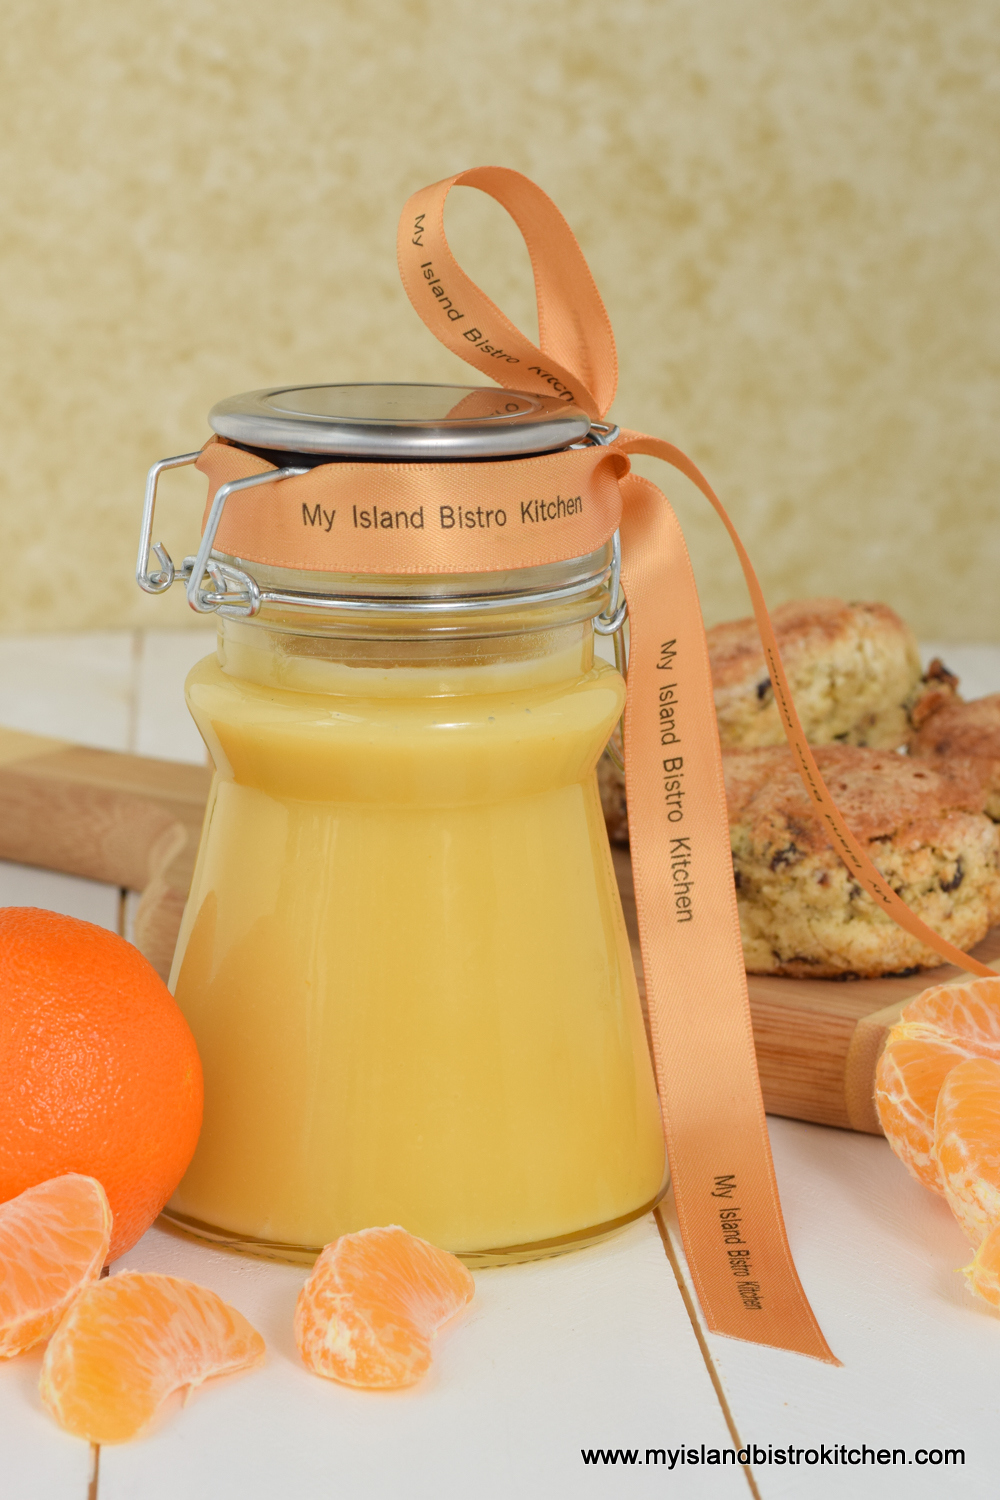
Clementine Curd
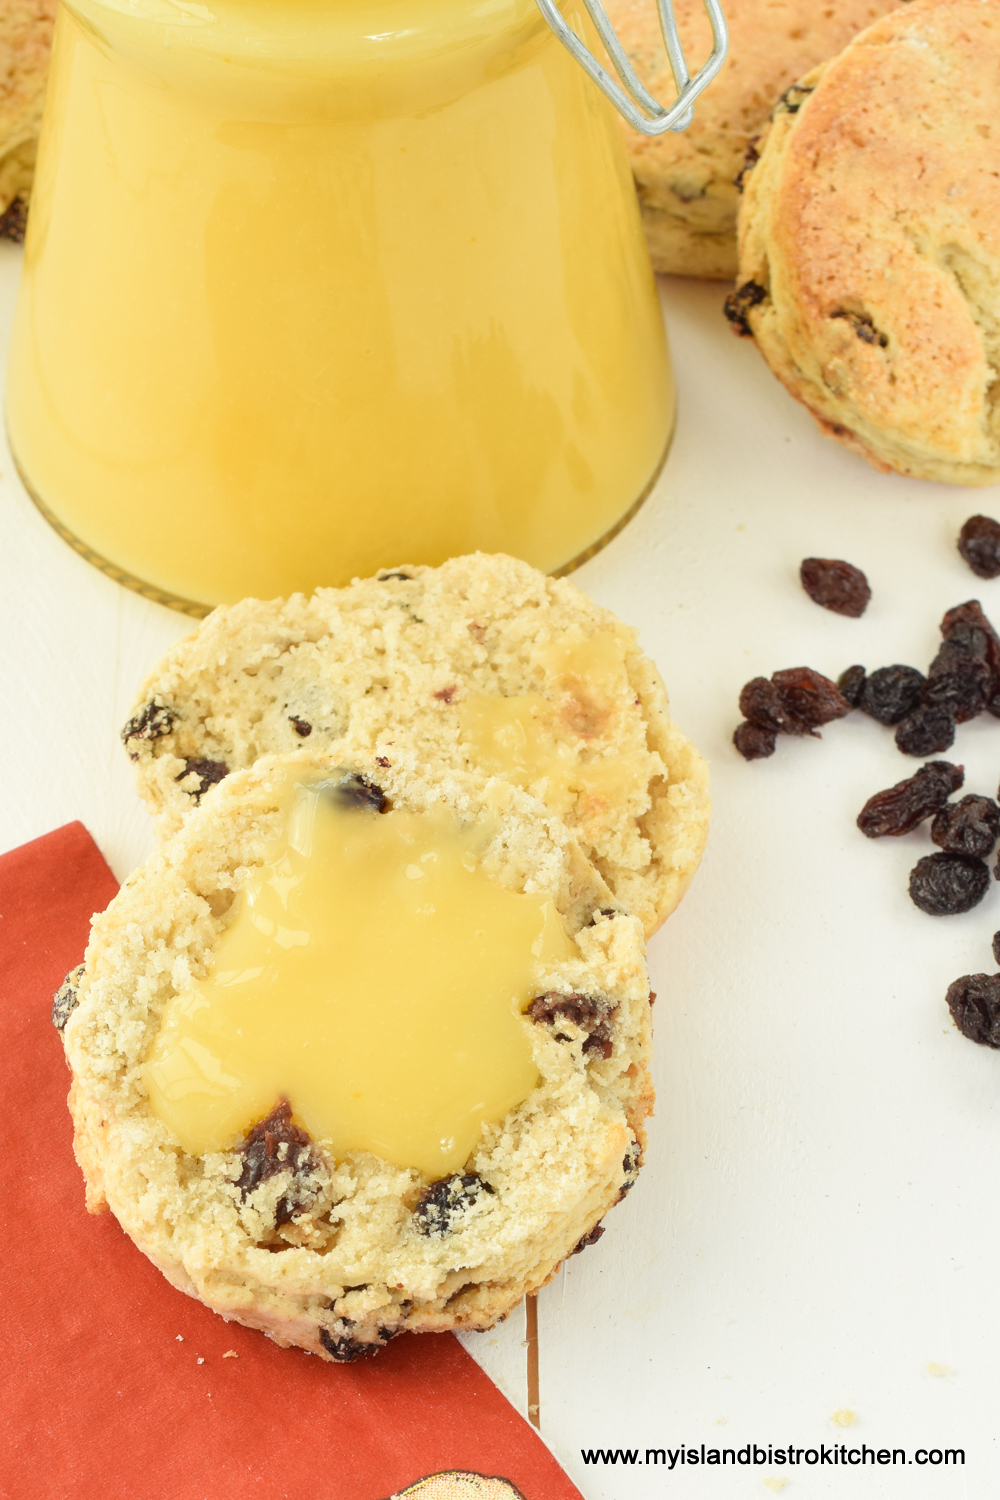
Use this Clementine Curd in the same way in which you would use Lemon Curd — as a spread on biscuits, scones, muffins, or toast; as a filling for cakes; in a parfait with Greek yogurt; or as a filling for tarts and cookies. Bottle the curd in a fancy jar and you have a lovely gift for someone, especially if you include a batch of homemade scones or biscuits with it.
Clementine Curd
[Printable recipe follows at end of posting]
Clementine Curd
Ingredients:
¾ cup caster* sugar or granulated sugar
2½ tsp clementine zest
7 tbsp freshly squeezed clementine juice, strained (apx. 5 clementines, depending on size)
2 extra-large egg yolks
1 large whole egg
3 tbsp unsalted butter at room temperature
Method:
In bottom of double boiler, bring about 2” of water to the simmer point (around 200°F). Maintain the water at this simmer point over medium-low heat. Place sugar in top of double boiler or heat-proof bowl. Mix in the clementine zest. Whisk the clementine juice into sugar.
In small bowl, lightly beat the 2 egg yolks and the whole egg together with a fork, just enough to break up the yolks and blend with the whole egg. Whisk the eggs into the sugar-clementine juice mixture. Add the soft butter. Place this pot or bowl over the simmering water. Stir the mixture continuously as it cooks until it is thickened and the temperature of the mixture registers 170°F on a candy thermometer. Be patient as this will take awhile. Make sure the water in the bottom of the boiler does not boil and stays only at the simmer point.
Remove curd from heat and strain through a mesh strainer to remove any of the egg white that may have coagulated as well as the clementine rind. Pour strained curd into a sterilized bottle. Place a piece of plastic wrap directly on the surface of the curd to prevent it from forming a skin on top. Cool at room temperature. Remove plastic wrap. Cover jar tightly and refrigerate for up to 1 week.
Yield: Apx. 1 cup
*caster sugar may also be known as fruit sugar, berry sugar, super fine sugar, or instant dissolving sugar.
Note: Altitude may affect the temperature at which the water reaches the simmering point. The important thing is that the water in the bottom of the double boiler does not boil or touch the top of the double boiler/heatproof bowl during the cooking of the curd.
In bottom of double boiler, bring about 2” of water to the simmer point (around 200°F). Maintain the water at this simmer point over medium-low heat. Place sugar in top of double boiler or heat-proof bowl. Mix in the clementine zest. Whisk the clementine juice into sugar.
In small bowl, lightly beat the 2 egg yolks and the whole egg together with a fork, just enough to break up the yolks and blend with the whole egg. Whisk the eggs into the sugar-clementine juice mixture. Add the soft butter. Place this pot or bowl over the simmering water. Stir the mixture continuously as it cooks until it is thickened and the temperature of the mixture registers 170°F on a candy thermometer. Be patient as this will take awhile. Make sure the water in the bottom of the boiler does not boil and stays only at the simmer point.
Remove curd from heat and strain through a mesh strainer to remove any of the egg white that may have coagulated as well as the clementine rind. Pour strained curd into a sterilized bottle. Place a piece of plastic wrap directly on the surface of the curd to prevent it from forming a skin on top. Cool at room temperature. Remove plastic wrap. Cover jar tightly and refrigerate for up to 1 week. Yield: Apx. 1 cup
Recipe Notes
*caster sugar may also be known as fruit sugar, berry sugar, super fine sugar, or instant dissolving sugar.
Note: Altitude may affect the temperature at which the water reaches the simmering point. The important thing is that the water in the bottom of the double boiler does not boil or touch the top of the double boiler/heatproof bowl during the cooking of the curd.
[Copyright My Island Bistro Kitchen]
If you have made this recipe and enjoyed it and/or wish to share it with your friends and family, please do so on social media but be sure to share the direct link to this posting from my website.
Connect with My Island Bistro Kitchen on Social Media
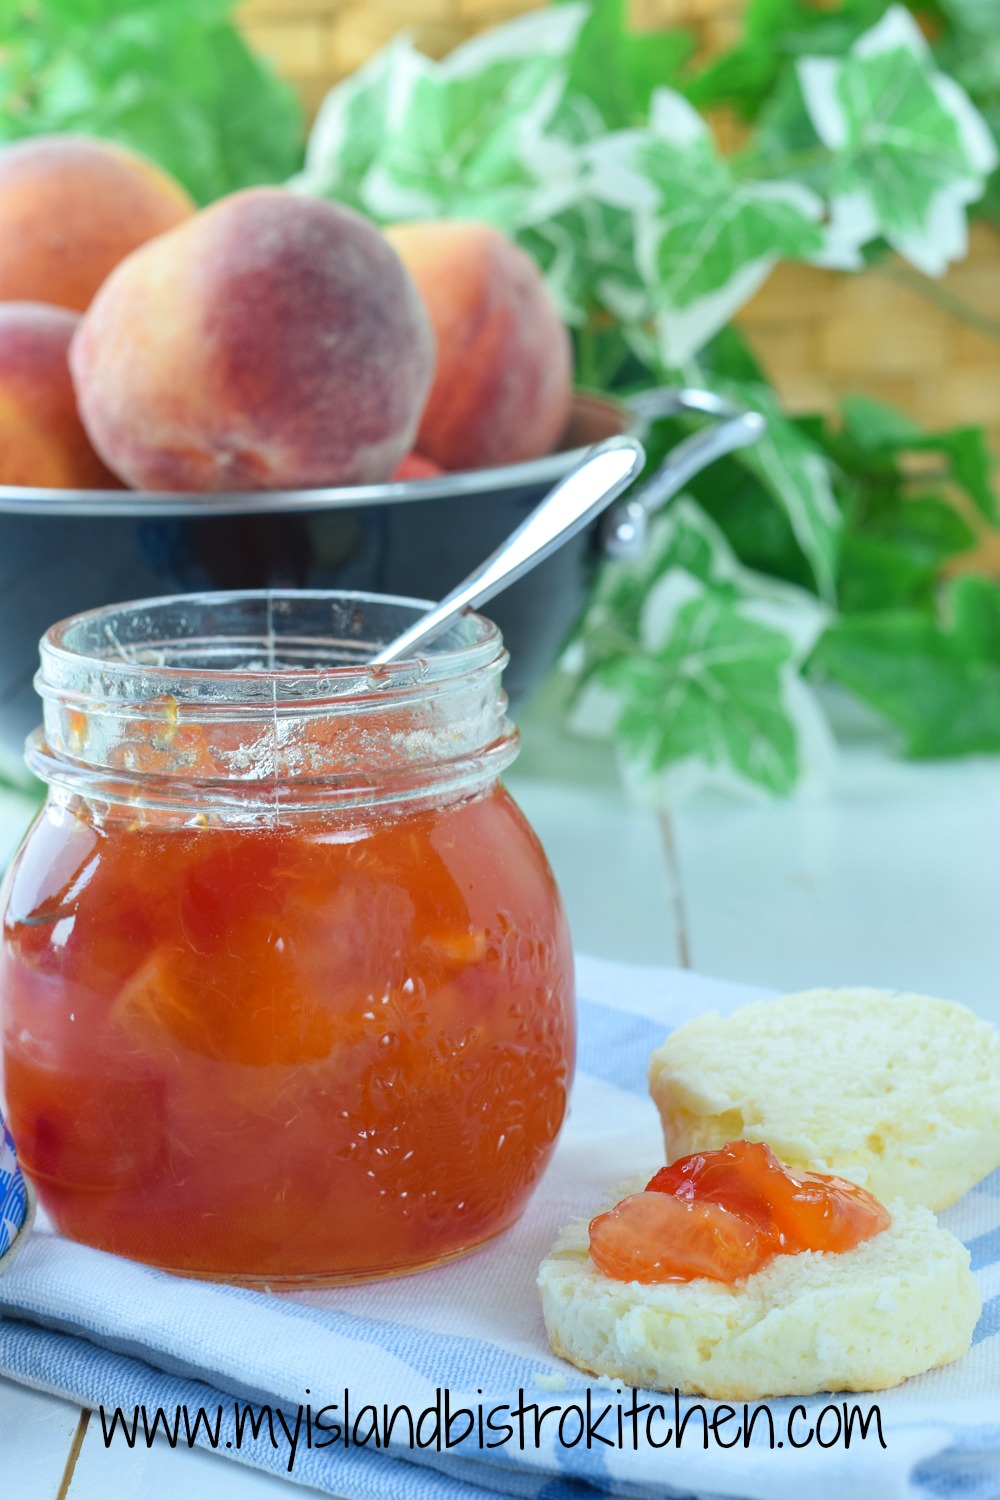
For as long as I can remember, Peach Marmalade has been part of our family’s pantry of preserves. Today, I am sharing my recipe for this delicious marmalade which is lovely on toast, biscuits, and scones. Continue reading Perfect Peach Marmalade Recipe→
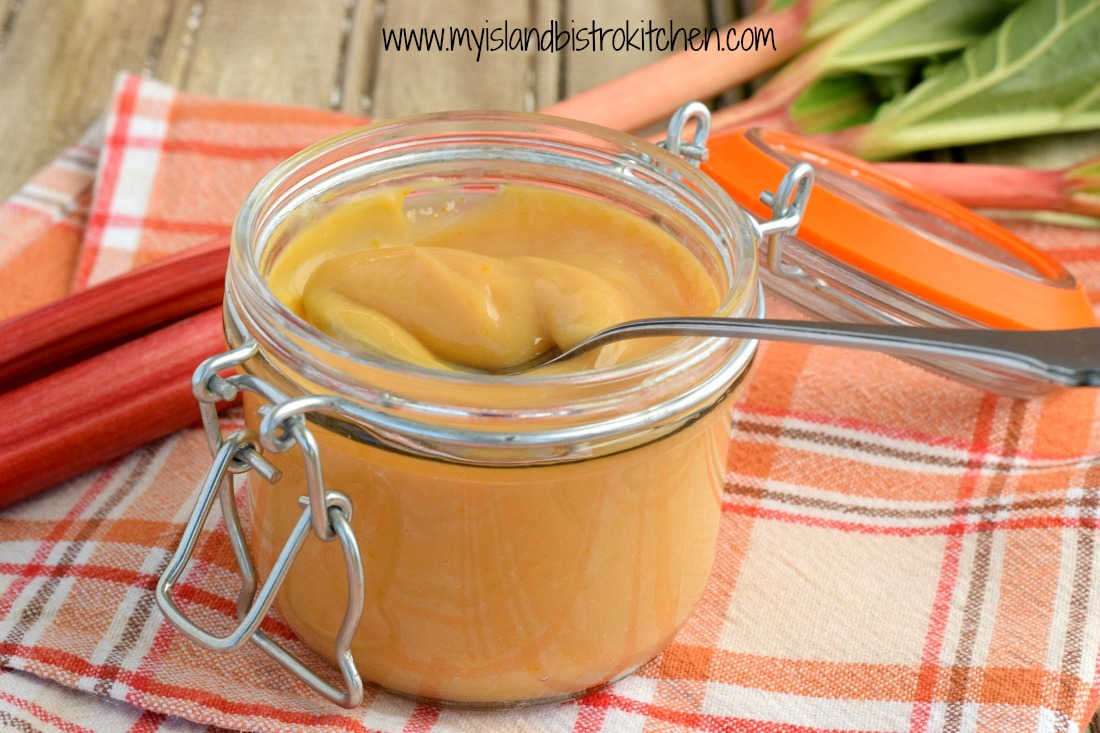
I love rhubarb and use it in a multitude of ways. Being a lover of lemon curd, I figured I would also like rhubarb curd so I set about developing and testing a recipe for it. This delightful creamy curd can be used in the same ways as lemon curd – sandwiching cakes together, spreading on scones, filling cookies, eclairs, macarons, and tarts, stirring into (or topping on) Greek yogurt for quick parfaits, and, well, its uses are only limited by your imagination! Continue reading Rhubarb Curd Recipe→
I adore lemon curd – luscious lemon curd – that wonderful balance of lemon’s acidity and tartness with the sweetness of sugar. I love it so much that it’s a staple in my refrigerator. Continue reading Luscious Lemon Curd→
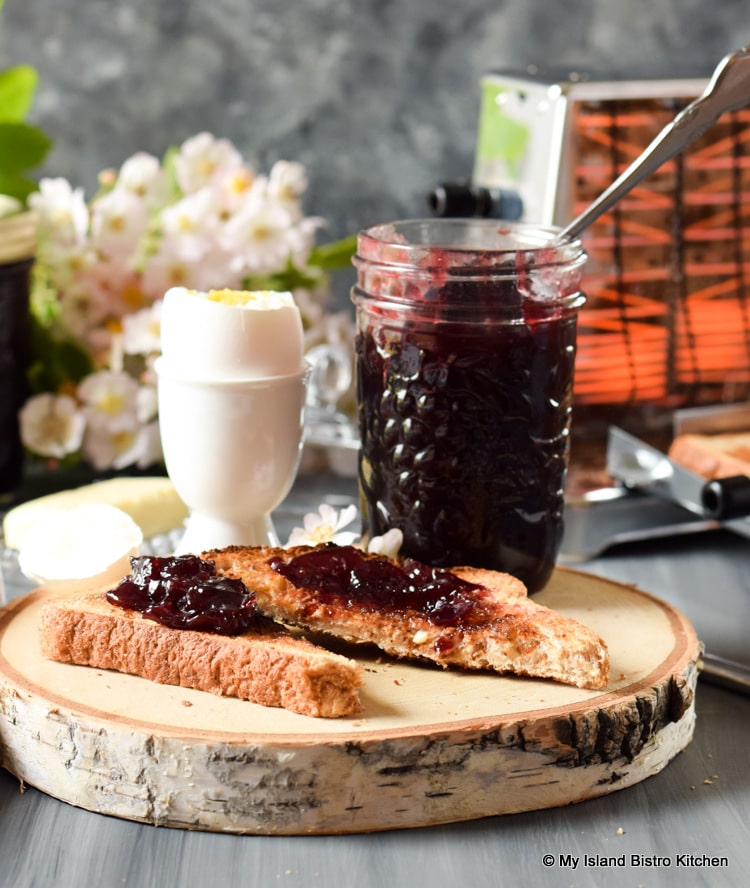
Today, I am sharing my recipe for Blueberry and Grand Marnier Jam! Blueberry and orange are a great flavor combo so why not add a little kick to the jam by adding an orange-flavored liqueur. This does add a level of richness and flavor complexity to the jam. Continue reading Blueberry and Grand Marnier Jam Recipe→
My grandmother had two small fruit-bearing bushes at the edge of her garden – a black current and a gooseberry. Both were good producers despite their relatively small size and age. I remember helping her to stem and tip the berries before they were made into jam. Every year, she would make a small amount of black current jam and the same of gooseberry, both of which would be very judiciously produced at the table throughout the year as these were considered very special jams. One did not eat these jams at the same rate as the more common strawberry and raspberry jams were consumed! I loved her black current and gooseberry jams! Continue reading Gooseberry Jam→
As I write this post, it’s apple season in Prince Edward Island and orchards are filled with trees bearing wonderful apples of so many varieties. There’s nothing like heading to a u-pick orchard to pick your own apples. I typically pick several pecks each fall — in fact, sometimes it’s easy to get carried away and pick too many! However, they do get processed into pies, crisps, sauces, and jellies like this Crabapple Jelly. Continue reading Crabapple Jelly→
Zucchini is one vegetable that seems to grow prolifically. Come fall and many gardeners have an abundance of zucchini they don’t know what to do with. Zucchini, because it doesn’t have a particularly strong flavor, is actually a very versatile veggie that can be used in cakes, cookies, muffins, and jams as it lends itself to pairing well with other flavors like chocolate and citrus flavors, for example.
Another recipe I like to use fresh zucchini in is this one for Zucchini Jam. It is a great spread on toast, biscuits, muffins and scones, or as a dollop on vanilla custard for an easy dessert. Its bright orange color makes it a showy jam. Continue reading Zucchini Jam→
This year seemed to be a particularly good year for growing pumpkins on the Island. Everywhere I looked I saw fields, bins, and wagons full of the bright orange pumpkins which are members of the gourd family.
Trailer Loads of Pumpkins at Kool Breeze Farm in Wilmot Valley, near Summerside, PEI
Bins of Pumpkins at Kool Breeze Farm
Funny how we can’t wait to display them on our doorsteps and in fall displays but, once the end of November arrives, we don’t want to see pumpkins hanging around as thoughts turn to Christmas decorating.
Pumpkins at Compton’s Vegetable Stand, St. Eleanors, near Summerside, PEI
Field of Pumpkins, Marshfield, PEI
So, wondering what to do with those pumpkins instead of throwing them into the compost bin? Why not make a batch of old-fashioned pumpkin jam. This isn’t an altogether common jam you are likely to find on many supermarket shelves. Yet, it is a very tasty, economical, and versatile jam that only takes four ingredients — pumpkin, sugar, crushed pineapple, and jello. This is a jam that my grandmother used to make every fall for her brother yet I don’t recall it ever being on her own pantry shelves and I’m not sure why.
The jam has a wonderful bright orange-yellow color. In fact, I think it is more like a marmalade than a jam. Regardless, it is very tasty on toast, biscuits, as a filling for cookies, and as a dollop on warm vanilla custard.
Pumpkin Jam on Biscuits
Pumpkin Jam as a Filling for Thumbprint Cookies
To make the jam, select a pumpkin that is more oblong than round in shape. I visited my local vegetable stand and they told me these are “jamming” pumpkins.
Pumpkin for Jam
Cut the pumpkin open and remove and discard the seeds and pulp.
Split Pumpkin Ready to be Seeded
Cut the pumpkin flesh into finely diced pieces and place in pot.
Diced Pumpkin
Add the sugar to the diced pumpkin and let the mixture sit overnight. The sugar will draw the juice out of the pumpkin.
Adding Sugar to the Diced Pumpkin
In the morning, drain and reserve the juice from the pumpkin.
Draining the Juice from the Pumpkin
Boil the juice for 20 minutes over medium heat to form a syrup.
Syrup for Pumpkin Jam
Add the drained pumpkin to the hot syrup.
Adding Pumpkin to Hot Syrup
Over medium heat, cook the pumpkin until it starts to become transparent, approximately 20-30 minutes.
Cooking the Jam
Add the can of crushed pineapple and its juice to the jam.
Adding the Crushed Pineapple to the Pumpkin Jam
Add the jello to the jam.
Adding the Jello to the Pumpkin Jam
Bring jam to a boil over medium heat.
Cooked Pumpkin Jam
Meanwhile, sterilize the jars.
Fill the sterilized jars.
Bottling Pumpkin Jam
Place warmed lids on the hot jam bottles to seal and fingertip-tighten the rims to the bottles.
Placing Lids on Jam Jars
Store this jam in the refrigerator for approximately 1 month and enjoy it fresh as a treat when pumpkins are in season.
Pumpkin Jam
Thank you for visiting “the Bistro” today. There are lots of ways to connect with “the Bistro” through social media:
Join My Island Bistro Kitchen on Facebook
Follow the Bistro’s tweets on twitter @PEIBistro
Find the Bistro on Pinterest at “Island Bistro Kitchen”
Follow along on Instagram at “peibistro”
Cut, peel, remove and discard seeds and pulp of pumpkin. Cut pumpkin into small diced pieces.
Place diced pumpkin in large pot. Add sugar. Soak overnight.
Drain pumpkin in colander, reserving juice.
Return reserved juice to pot and boil for 20 minutes over medium heat.
Add the drained pumpkin to the hot syrup. Cook over medium heat until pumpkin pieces start to become translucent, about 20-30 minutes.
Add the crushed pineapple and its juice to the mixture. Stir.
Sprinkle the jello over the mixture. Stir and bring mixture to a boil over medium heat.
Sterilize the jars either by using the sanitizer setting on the dishwasher or by placing the jars in boiling hot water.
Fill sterilized jars, leaving approximately 1/4" head room at jar top. Heat lids and place on jars. Fingertip tighten rims to jars.
Store this jam in the refrigerator for apx. 1 month and enjoy it fresh as a treat when pumpkins are in season.
There is nothing quite like the scent of newly picked strawberries straight from the field! It’s a hallmark of Summer, particularly in climates with short growing seasons such as that on PEI. Some years, we are lucky to get a couple of weeks out of the “strawberry season” but, this year, weather conditions have permitted it to be extended to about a month.
Fresh From the Field PEI Strawberries
I remember when I was growing up, the early morning take-offs to the nearby U-pick berry field so we would be in the line-up for its 6:00am opening for fear of not being in time to get the best “pickings” of berries. Out would come the big, huge plastic bowls, hats, and bug spray and off to the field we’d go to get berries for eating, for jamming and, of course, “to put away” which meant crushing and freezing them for uses throughout the year. There was no such thing as imported strawberries in the Winter from other countries as there is today….although I’ll argue those don’t have the flavour our local ones do! Indeed, there would always be the “reviews” as to the quality of the berries – “they were so large, they had no flavour”, “they were so small, they were “poor” this year and not worth picking”, or “they had too hard a core in the center” – and, of course, the weather was never quite right for their growing no matter the conditions! It seemed there was no “perfect” berry! Yet, people picked pounds and pounds and buckets of them every year. Going to the berry field was somewhat of a social event because that’s where everybody in nearby communities congregated in early July to get those berries!
I don’t freeze a lot of berries and take up freezer space with them but I do purée some for specific recipes I know I am likely to make throughout the year. I freeze them in recipe-specific proportions and label them with the recipe name. I like to make strawberry jam – sometimes I think more for the wonderful scent in the kitchen when it is cooking than for the need to have several bottles of jam available – although that’s a nice side benefit! When I make my jams, I use smaller bottles – i.e., the 1-cup and ½-cup sizes. These are ideal sizes for sharing and gift-giving and, let’s face it, who minds getting a treat of homemade jam. Even if you make your own, isn’t it always nice to taste another cook’s jam?
I like strawberry jam on toast, scones, as a dollop on warm custard and, yes, even in my dark fruitcake that I make in the Fall. But, one of the most marvelous ways to enjoy strawberry jam is on fresh homemade biscuits still warm from the oven. For some reason, the flavour of strawberry jam always seems more true when the jam is served on a plain tea biscuit along with a nice cup of freshly brewed tea. Perhaps this is why, of all the varieties of jams available, strawberry is typically the quintessential variety found on traditional afternoon tea tables.
Strawberry Jam Ingredients
The recipe I used to make strawberry jam this year comes from Anna Olson of the food network. This recipe does not make a large batch of jam – it yields approximately 6 cups. It is a fairly sweet jam and I think the amount of sugar could be reduced by ½ cup to 3½ cups (instead of 4 cups the recipe calls for). However, degree of jam sweetness is one of personal preference and much depends on the variety of strawberries being used and how much natural sugar the berries already contain. This is not a super-thick jam and it does not use pectin. I found I had to boil it longer than the recipe directions said. In fact, I boiled it near an hour to get it thick enough for my liking. The flavour is really good and authentic. One thing I do is use a potato masher to crush up some, but not all, of the berries because I like some chunks of berries in my jam but not so many that it makes it difficult to spread.
Preparing Ingredients for Strawberry Jam
Making Strawberry Jam
Bottles of PEI Strawberry Jam
One of my favourite pastimes is to relax and enjoy an afternoon tea. No better way than with a cuppa, fresh tea biscuits, and newly made strawberry jam. It’s a great way to enjoy the fruits of jam-making labour!
Fresh Strawberry Jam on Tea Biscuits
Thank you for visiting “the Bistro” today. There are lots of ways to connect with “the Bistro” through social media:
Join My Island Bistro Kitchen on Facebook
Follow the Bistro’s tweets on twitter @PEIBistro
Find the Bistro on Pinterest at “Island Bistro Kitchen”
Follow along on Instagram at “peibistro”
Over the years, many Island homes, particularly those in the country (including mine) have had (and many still do) a rhubarb patch. The tiny shoots of the perennial rhubarb plants poking through the earth are always considered a harbinger of Spring and a welcome one at that. After many long Winter months in Northeastern Canada, it’s always good to see this sign of life in the corner of the garden. In fact, some local groups on PEI host fund-raising “Rhubarb Socials” each June at which they serve desserts made with rhubarb so it appears the lowly rhubarb has gained some social status!
Rhubarb Signifies Spring
A number of years ago, I suggested planting a rhubarb crown (rhizomes) in the corner of our cottage garden. The idea was not met with grand enthusiasm but, nonetheless, I went to the garden center and landed home with two rhubarb crowns which did get planted (I knew they would once they were onsite!). Well, now that rhubarb is just the greatest thing ever planted! It grew alright – in fact, we now have more of a rhubarb “bush” than a patch! Some stalks are about 18” tall. Local supermarkets are currently selling rhubarb for $3.99/lb (Cdn $). In fact, I saw some at a local farm stand last Saturday where they were selling for $4.95 and they were not overly fresh either. Sometimes, we take for granted the value of what we have in our backyard gardens. In fact, in Spring 2011, I planted two rhubarb crowns in the backyard of my suburban home. I’m pleased to say they are doing very well – long, strong stalks (ribs) with huge triangular-shaped leaves. I can’t remove any stalks from these plants this year but, next year, I can harvest one-third of the produce and, the following year, as much as is available since the rhubarb will be well established by then.
In PEI, we harvest rhubarb from early-mid May until mid-June. Harvest when stalks are long and still slender as thicker stalks tend to be older and, therefore, tougher and more stringy. To harvest, grasp the rhubarb stalk down close to its root base and give it a good tug to pull it out of the ground. Immediately cut off and discard the bottom whitish part of each stalk. The early Spring stalks are the most tender and yield greater juiciness.
If you are buying rhubarb at a farm market or grocery store, look for stalks that look dry, have crispness to them and are not limp, soft, wilted, or showing signs of turning brown at the ends.
Rhubarb is available in many varieties and shades of color that range from green to stalks that are red-green speckled or graduated in color from red to green, to deep crimson red. When purchasing a rhubarb crown for your garden or when buying rhubarb stalks, I recommend looking for varieties that have a deep red color. They will have the most flavour and give the richest pink color to recipes. Stalks that are primarily green are less flavourful and do not add appealing color to culinary dishes. As a rough, general guideline, 1 pound of raw rhubarb will yield approximately 4 cups chopped.
There has long been a debate over whether rhubarb is a fruit or a vegetable. It is often referred to as the “pie plant” because one of the most common and recognizable uses of it is in rhubarb pie and we tend to think of dessert pies as being made with fruit, not vegetables. Rhubarb is generally considered to be a vegetable notwithstanding that, in 1947, a New York court decided that, since it was primarily used as fruit in the US, rhubarb would be considered a fruit for the purposes of regulations and duties. So, while rhubarb is often treated as a fruit in many culinary dishes, botanically and by general consensus, it appears to be more accepted as a vegetable.
Regardless whether it is a fruit or a vegetable (we’ll leave that to botanists and other scientists to make the definitive call on that), it is a very versatile ingredient in many recipes. From jams, marmalades, sauces, chutneys, and drinks to pies, tortes, puddings, muffins, and ice cream, there are an endless number of recipes in which to use rhubarb. While I don’t fancy it raw, it is not uncommon to find our young glasscutter hopping off the mower to head over to our rhubarb patch to grab a rhubarb stalk to snack on! Guess he must like the sour, tart taste better than I do!
Rhubarb freezes very well and we freeze a number of bags each Spring. Chopped and frozen in recipe-specific portions and labelled accordingly, rhubarb is then available to us year-round to use in our favourite recipes.
From a nutritional standpoint, rhubarb is a source of Vitamin C, calcium, potassium, and dietary fibre. Because rhubarb largely consists of water (one source claims it is 95% water), it has no cholesterol, fat, or sodium. However, because rhubarb is so tart, it needs sweetening so, adding other ingredients such as sugar, or combining it with fruits such as strawberries, apples, etc., will obviously alter the cholesterol, fat, and/or sodium content of the dish you make using rhubarb.
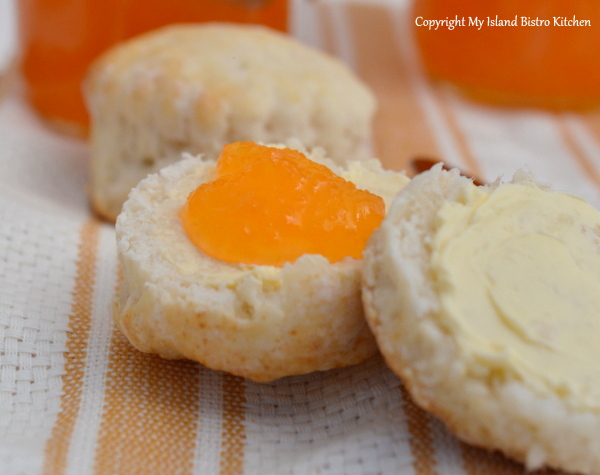
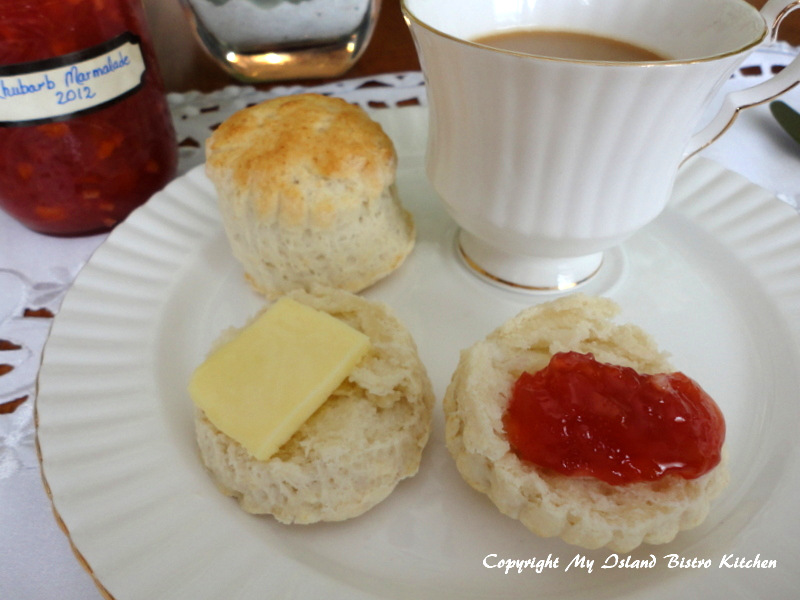
I have a multitude of favourite rhubarb recipes but one of my all-time favourites is this Rhubarb Marmalade (recipe follows). Combined with three citrus fruits, it has a tart, fresh taste and, best of all, it is the first of my jamming and preserving processes of the season. I use this rich-colored and flavourful marmalade on toast, biscuits, scones, and I particularly like a dollop of it on a warm cream custard.
Time to bring out the jam pots and bottles and capture some of this Springtime goodness before the rhubarb gets too old and tough to use. If you do try this recipe, please be sure to leave me a comment about your impressions of it.
Jamming and preserving season is officially underway!
Rhubarb Marmalade
Rhubarb Marmalade
Ingredients:
8 cups rhubarb, thinly sliced into pieces between 1/8″ and 1/4″ thick)
4¼ cups sugar
1 large orange (or 1½ small oranges)
½ pink grapefruit
½ small lemon
Method:
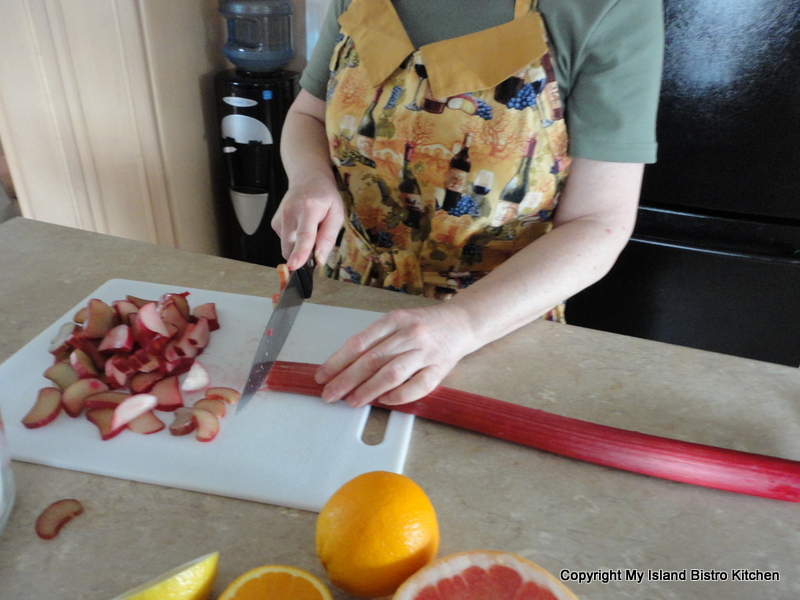
Chop rhubarb into thin slices. Set aside.
Wash the orange, grapefruit, and lemon well.
Peel orange, grapefruit, and lemon. Chop the pulp, remove and discard any seeds, and place pulp in bowl. Scrape the pith from the fruit peelings and discard. Chop the peel into small pieces. Set aside.
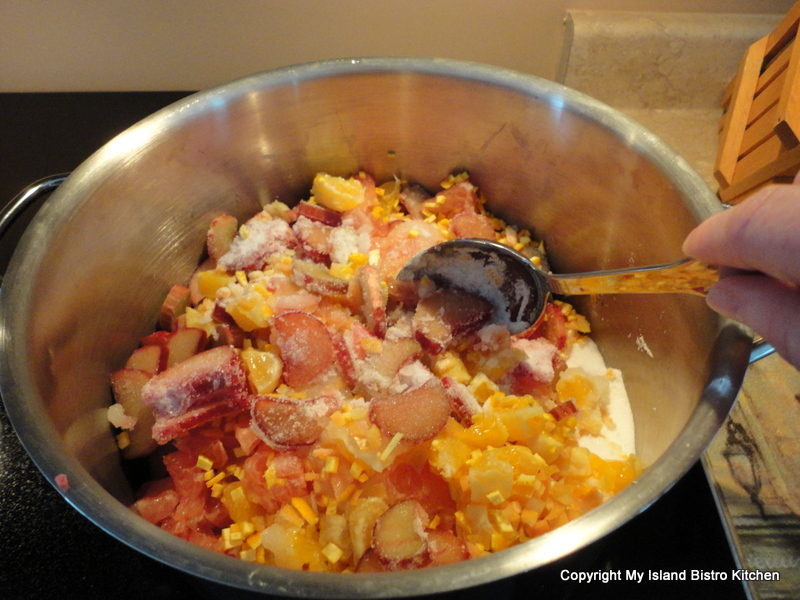
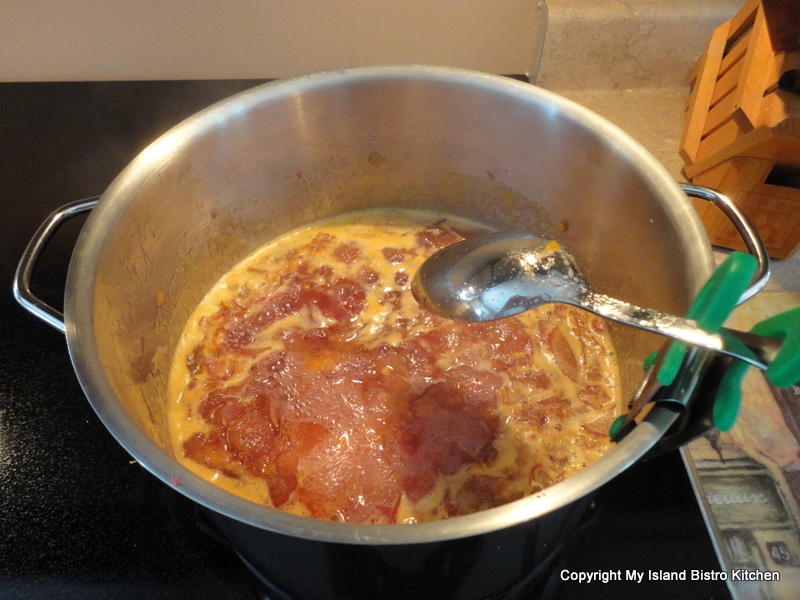
In a large pot, place the rhubarb and sugar. Add the citrus pulp and peel. Bring to a boil over medium high temperature, stirring to prevent scorching. Immediately lower the temperature and cook, uncovered, at a slow gentle boil until mixture thickens and reaches a sustained temperature of 217°F on a candy thermometer (see Note 1 below for alternative testing method). Stir mixture regularly to prevent scorching. Be patient, this can take an hour or so.
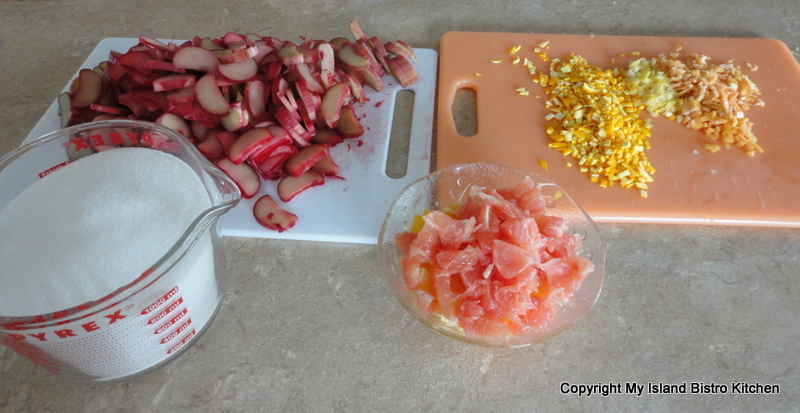
Rhubarb Marmalade Ingredients
While the marmalade is cooking, fill a large pot of water, about ¾ full. Place 7 half-pint jars, upright, into the water. Ensure the jars are fully submerged, each jar filled with water, and that the water is at least an inch over the tops of the jars. Cover, bring to a boil, and boil for 10 minutes. Turn off heat and leave the jars in the hot water while the marmalade finishes cooking.
Meanwhile, fill the canner about one-third to one-half full of water. Cover and bring to a boil to have it ready for the filled jars.
When the marmalade is cooked, use a jar lifter to remove the hot jars from the water. Using a canning funnel, pour marmalade into sterilized jars, leaving about ¼” headroom in each jar. Wipe the jar rims with a clean cloth. Seal jars with heated lids and fingertip-tightened ring bands.
Place jars in hot water bath wire basket, ensuring jars do not touch each other or fall over. Carefully lower basket into canner of hot water. Ensure the water level is at least 1” above the tops of jars, adding more boiling water as necessary. Cover with canner lid. Increase the heat to return the water to a rolling boil then decrease the heat to just keep the water at a rolling boil but not boiling over. Process half-pint jars in the hot water bath for 10 minutes, adjusting time for altitude. Start timing the processing from the point where a full rolling boil is reached after basket of jars has been added to the canner. At the end of the processing time, turn off heat and remove canner lid. Wait 4-5 minutes, until the water stops boiling then, using a jar lifter, carefully remove the jars, one at a time, and transfer them to a wire rack to cool completely. Listen for the “pop” or “ping” sound as the bottles seal over the next few minutes or hours. The lids of properly sealed jars will curve downward. Let jars rest, undisturbed, on wire rack for 12 hours. Store in cool, dark place. Refrigerate marmalade once opened.
Boiling the Marmalade
Yield: Apx. 7 half-pint jars
NOTE 1: If you don’t have a candy thermometer, place 2-3 freezer-safe saucers in freezer. To test for doneness of the marmalade, place a small amount of marmalade on chilled saucer and swirl saucer around. Let marmalade sit, untouched, for about a minute, then gently push your finger through the marmalade. If the marmalade holds its shape (i.e., does not immediately run back together after the finger has been removed from the marmalade), it is set and ready to bottle. If not, continue to cook mixture, repeating the “chill” test about every 3 minutes or so (always removing the pot from the heat while conducting the chill test) until the marmalade passes the “chill” test. Do not overcook as it will result in a very thick marmalade, dark in color.
Note 2: After jars have completely cooled, if there are any on which the lids have not curved downward, refrigerate them and use within one month.
Thank you for visiting “the Bistro” today. There are lots of ways to connect with “the Bistro” through social media:
Join My Island Bistro Kitchen on Facebook
Follow the Bistro’s tweets on twitter @PEIBistro
Find the Bistro on Pinterest at “Island Bistro Kitchen”
Follow along on Instagram at “peibistro”
(Mostly) PEI and Maritime Food – Good Food for a Good Life!