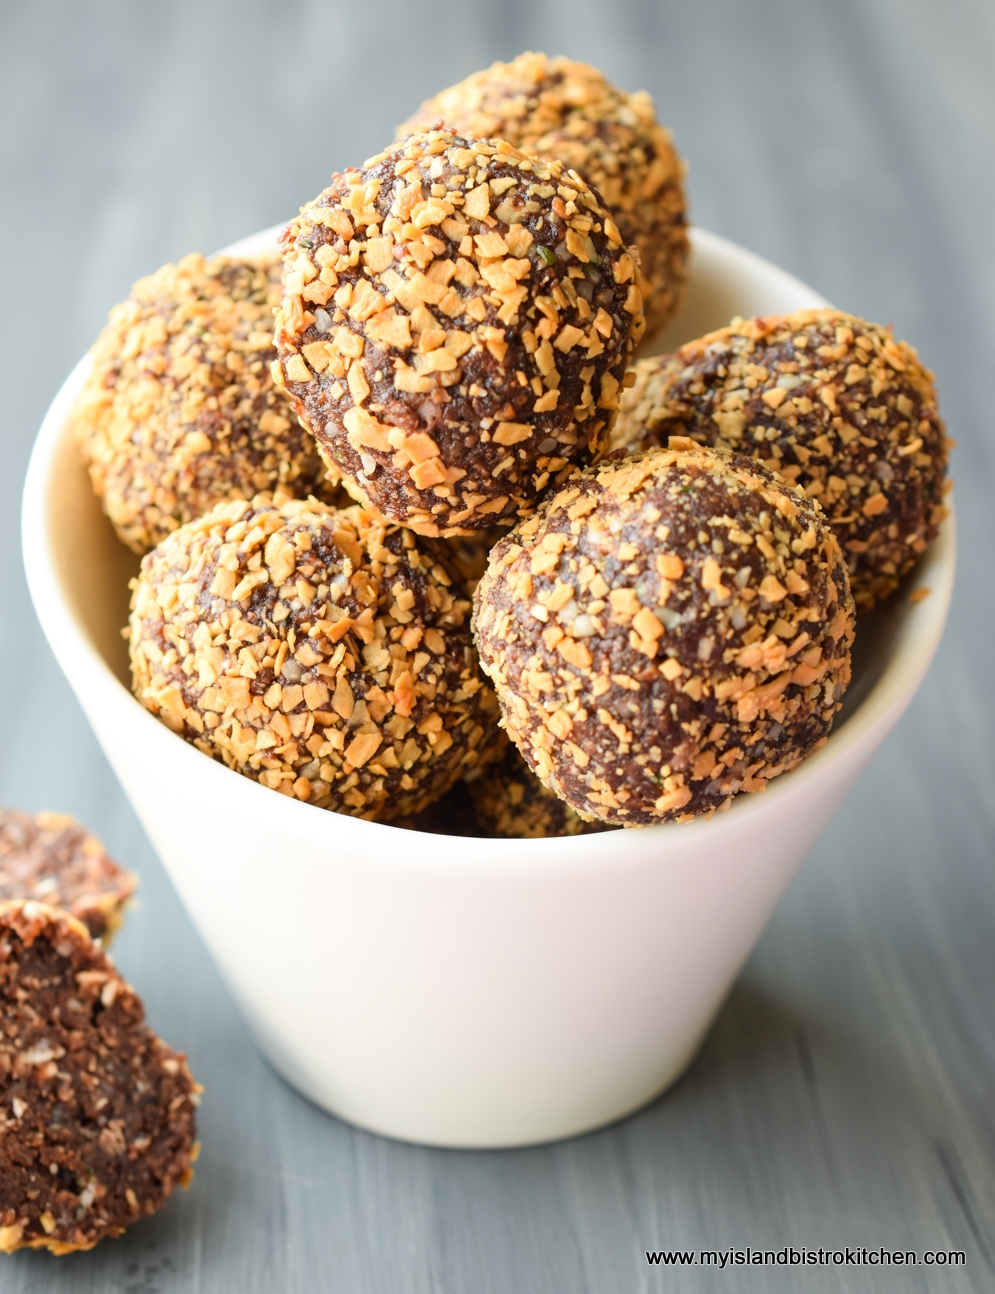
Sometimes called energy balls, power balls, protein balls, or bliss balls, these trendy snacks are tasty little morsels. The recipe I am sharing today is for No-bake Chocolate Almond Bliss Balls, so named because they are, well, blissfully divine! Continue reading No-bake Chocolate Almond Bliss Balls→
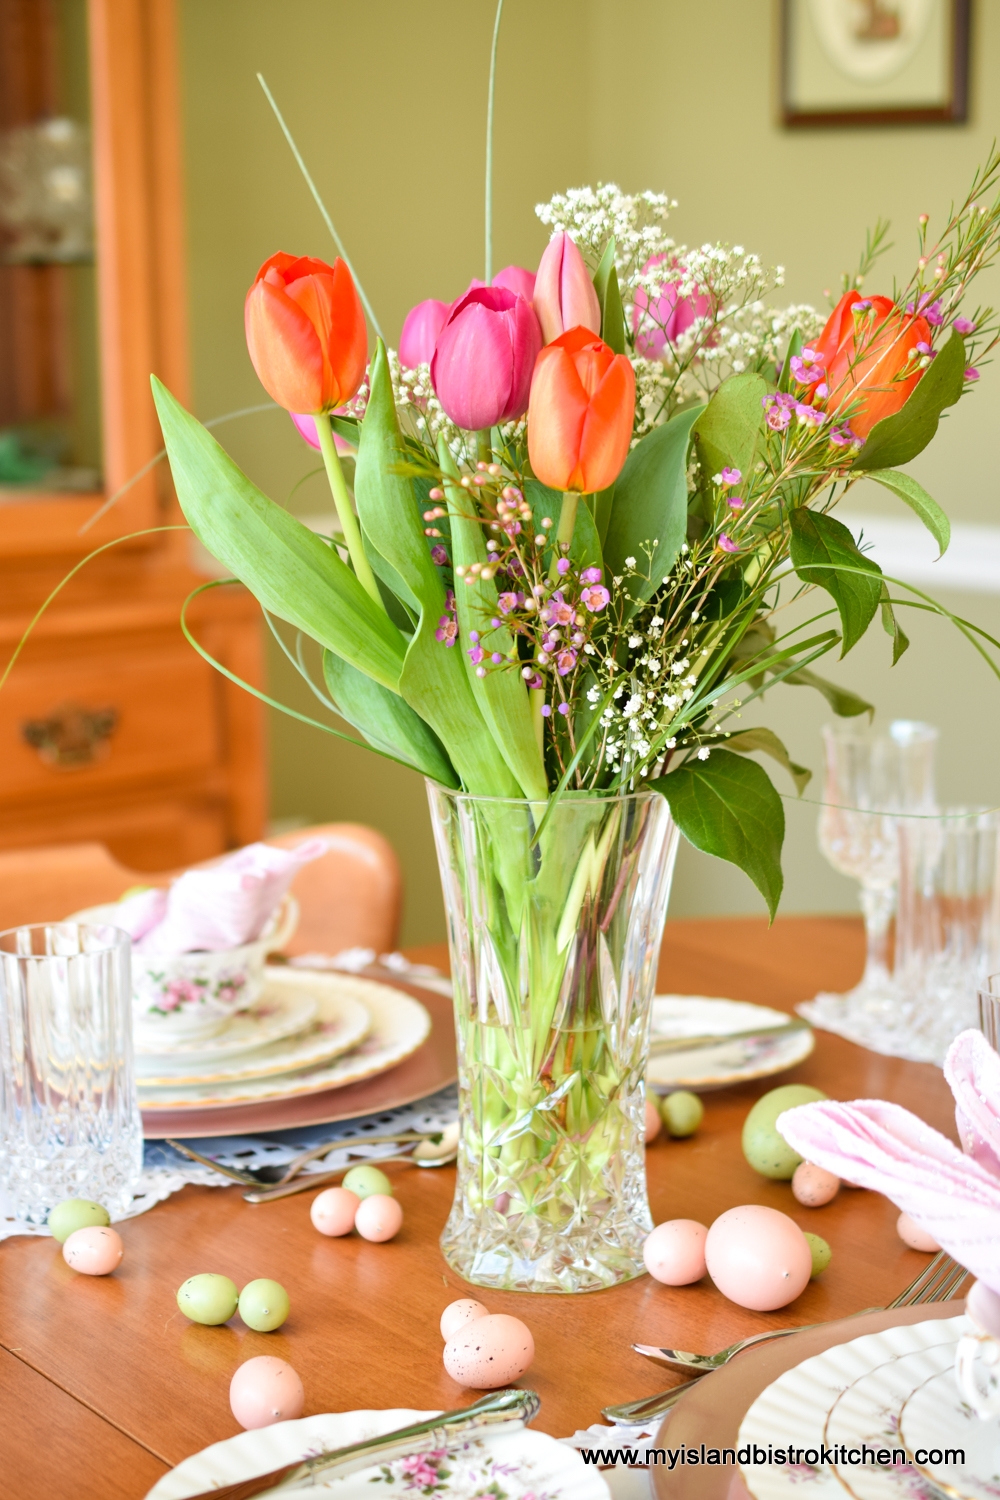
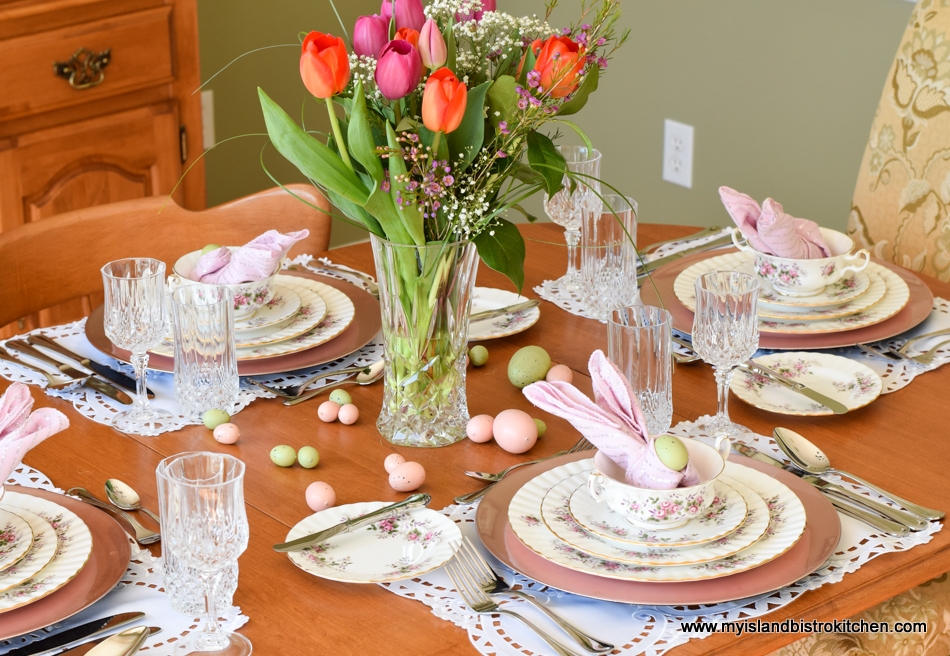
This Easter-themed tablesetting is perfect for the host or hostess who is not overly knacky with arranging flowers. Tulips make a stunning bouquet as they come in such an array of fabulous colors. With their stately long stems, tulips practically arrange themselves!
Tulip Bouquet
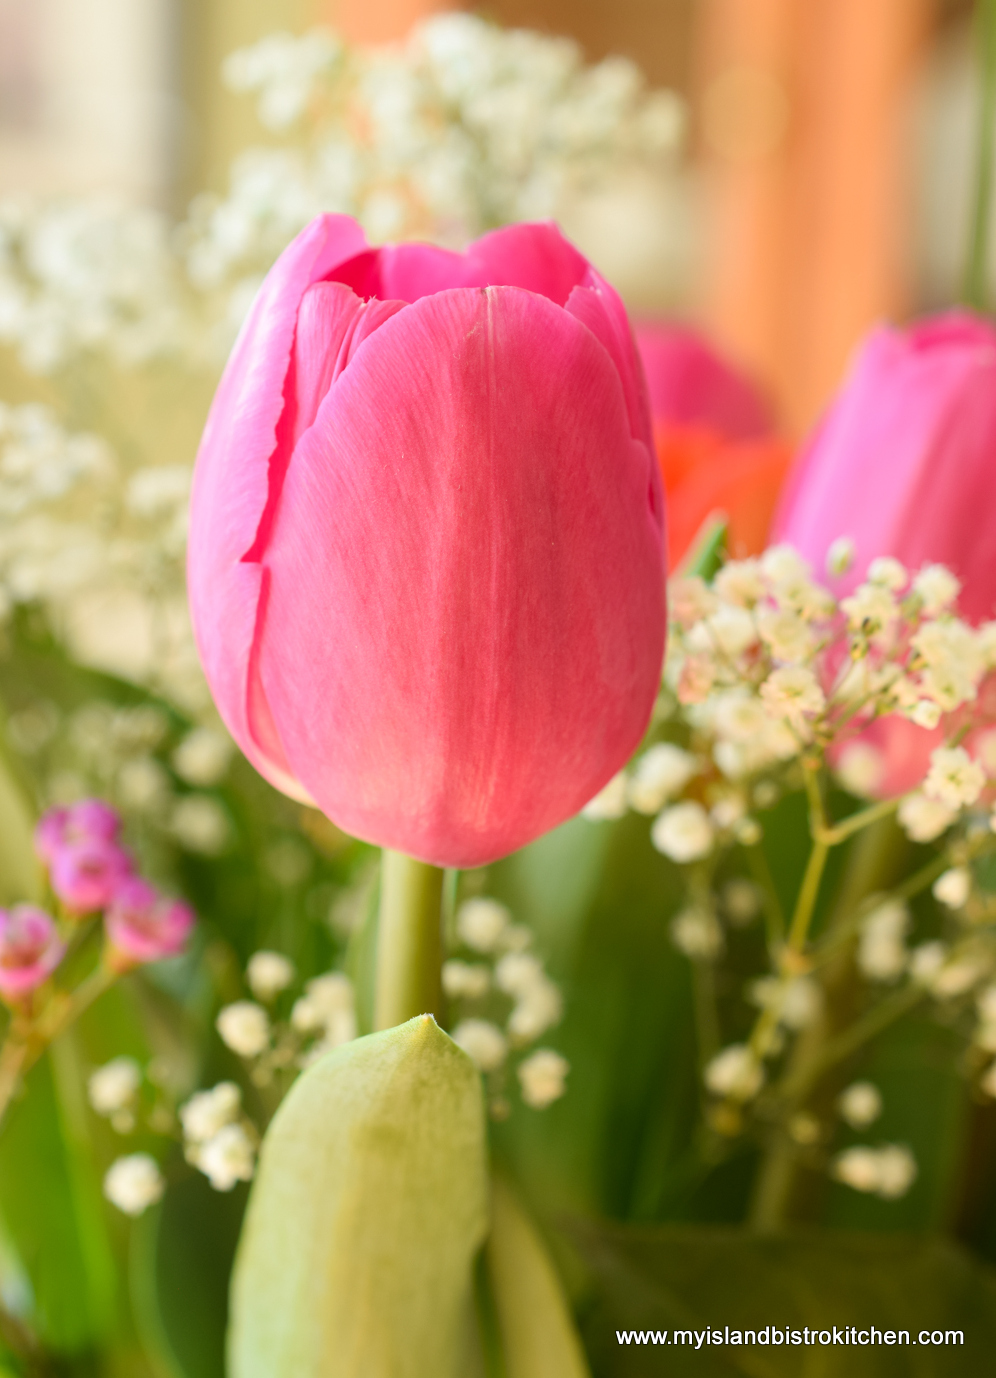
This bouquet came from Bernadette’s Flowers in Stratford PEI and these tulips are greenhouse-grown here on the Island at Vanco Farms in Mount Albion. You can read my story following my visit to Vanco Farms by clicking here. While Vanco Farms, as of January 2019, no longer operate a retail outlet at their greenhouses, their wonderful tulips are available at local florist shops and supermarkets from January through to mid-spring. They also ship off-Island as well. They are a top quality product.
PEI-grown Tulip
What makes this bouquet so easy is that, if you get tulips from a local florist shop, they will arrange the bouquet for you with some filler flowers as accents. Basically, all you need to do is carefully remove them from their packaging and place them, already arranged, into a favorite vase as I have done here. Easy-peasy.
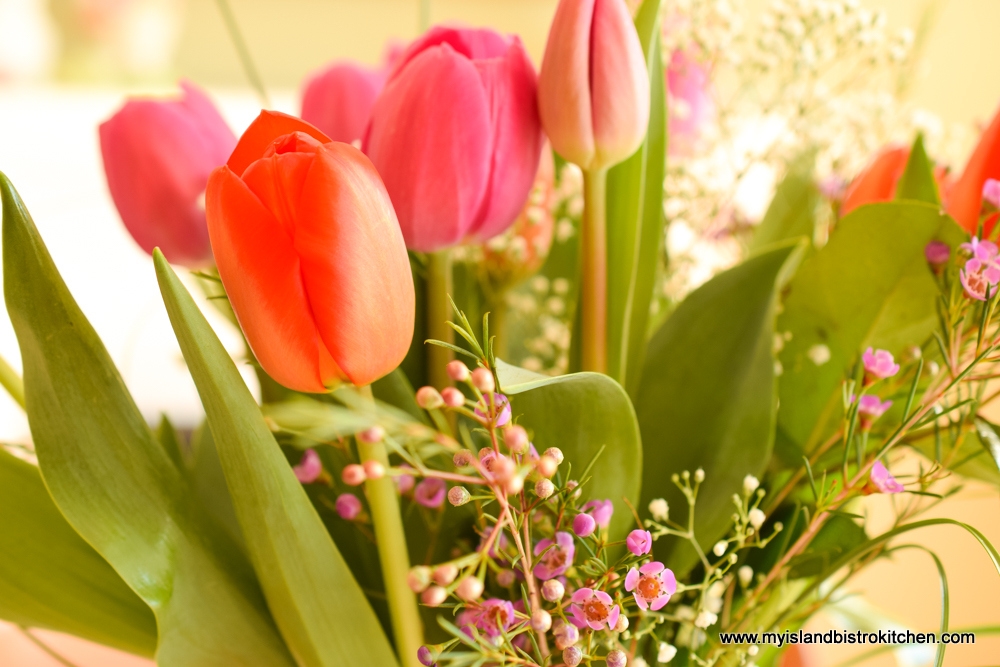
Pink and Orange Tulips
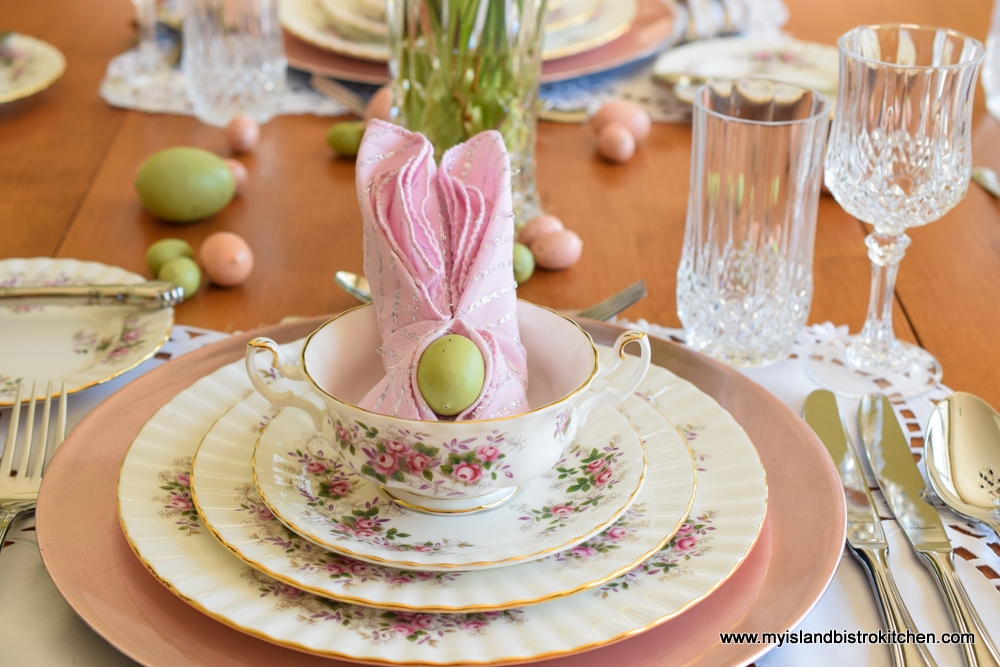
Because it’s Easter, I am bringing out the good Royal Albert china for the occasion. It’s light, bright, and airy and the deep pink in the tulips and the purple filler flowers pick up the floral colors in the Lavender Rose pattern of the dinnerware.
In this tablesetting, I have opted to use white cloth placemats and to expose the wood in my dining table. The charger plates are a soft shade of pink-mauve, in keeping with traditional pastel Easter colors. Charger plates are one of the easiest ways to change out the look of dinnerware. For this pattern, I have about four different colors of chargers I use and each will bring a different look to the table.
Lavender-Rose Pattern – Royal Albert China
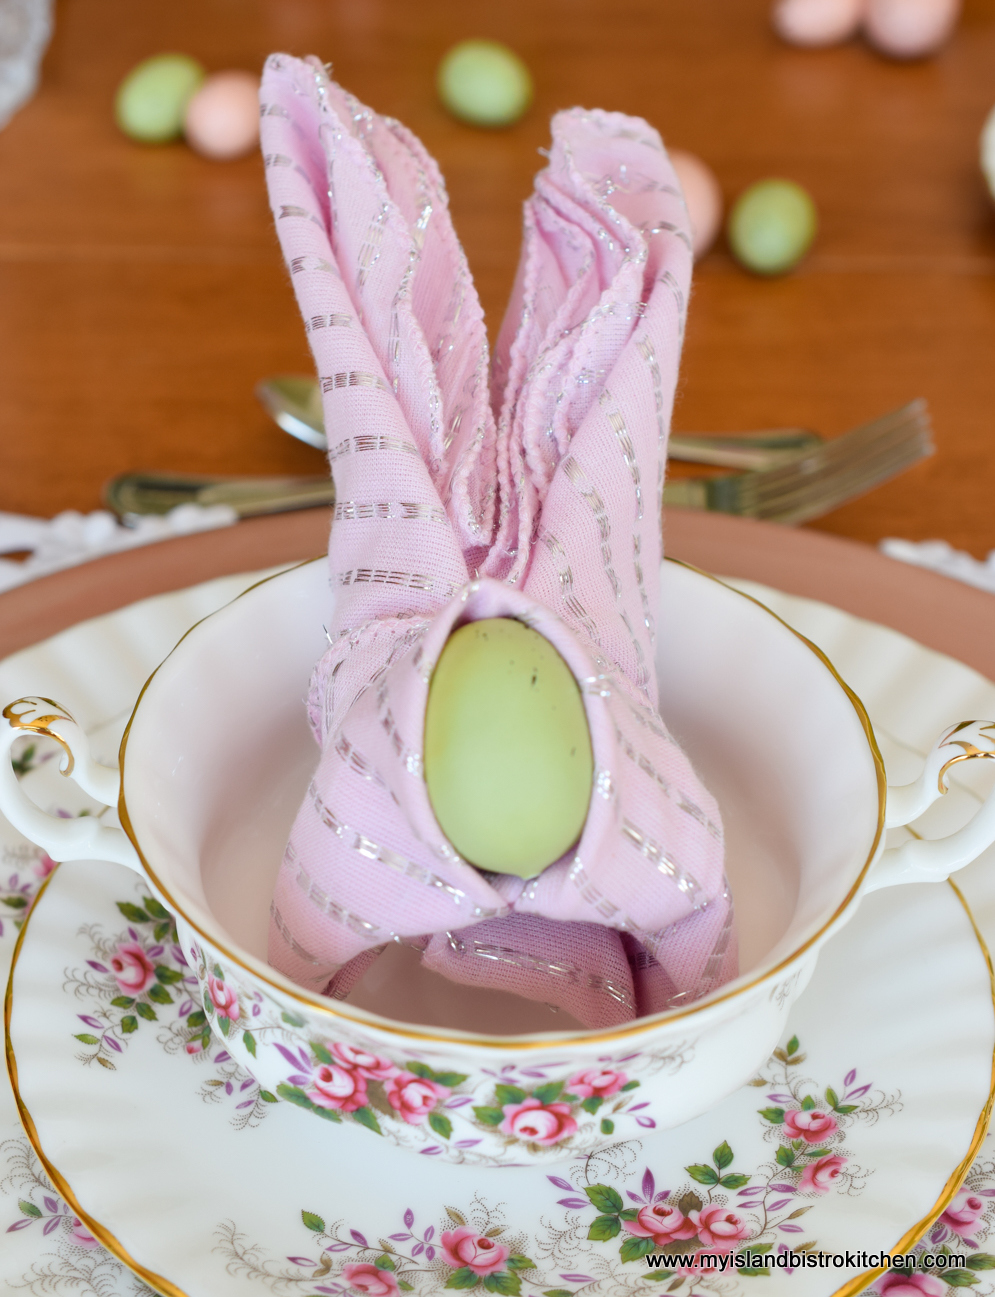
The napkin fold I have selected for this tablesetting is the whimsical bunny ear fold. Easy to do, this adds a touch of whimsy to each placesetting. The design also produces a small cavity in which to tuck a special little treat. These napkins have a sparkly silver thread running through them that gives understated bling to the tablescape.
Bunny Ear Napkin Fold
Scatter a few Easter eggs around the centre of the table and you’re done!
An Easter-themed Tablesetting
I hope you have enjoyed a little glimpse into my Easter-themed tablesetting. Have a wonderful Easter!
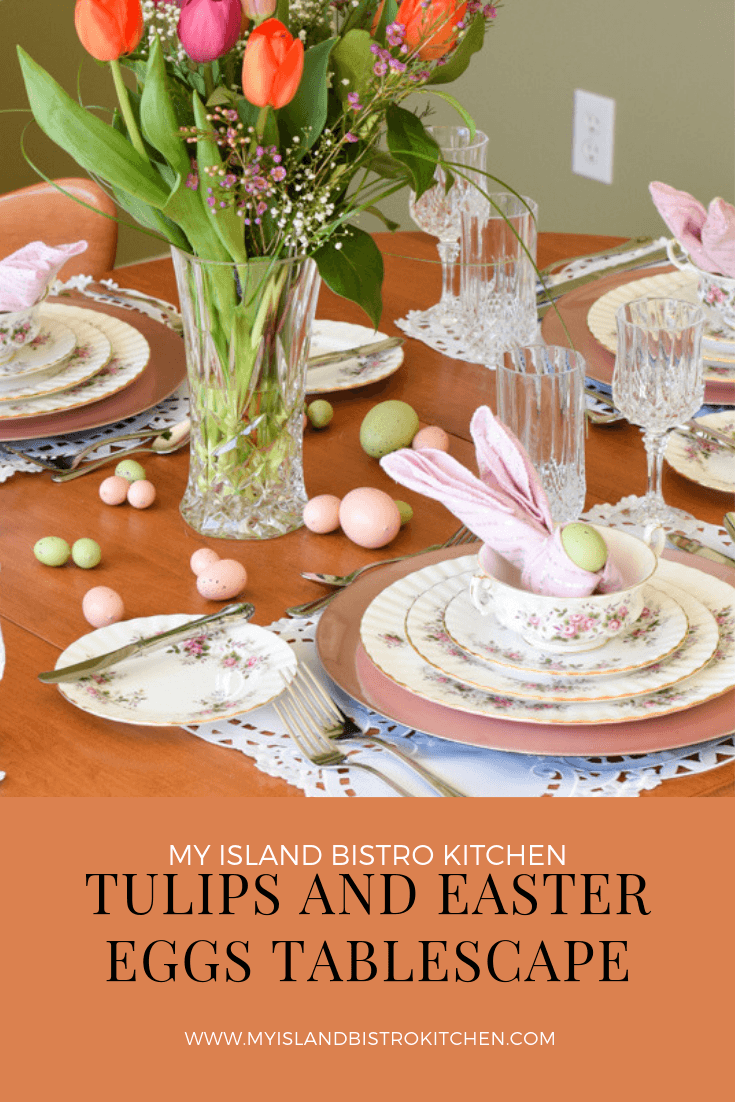
Pin Me To Pinterest!
For other Easter-themed tablesetting inspiration from My Island Bistro Kitchen, click on the links below:
Comfort food has an emotional, nostalgic, and/or sentimental aspect to it. It evokes reactions to the senses of sight, taste, and smell. Think of walking into a kitchen where, for example, a roast chicken or turkey dinner is cooking. Can you visualize the golden roasted chicken or turkey? Recall the aroma? The satisfying taste? The mere sound of someone talking about homemade apple pie can summon both the smell and taste sensation of such a fabulously simple dessert. Maybe you remember the smell of bread baking in the oven at your mother’s or grandmother’s house. Can you recall the heavenly taste of the homemade bread?
These are a few classic examples of traditional comfort foods. They are typically hearty foods (not necessarily devoid of calories) that conjure up great taste sensations and perhaps wonderful memories of special people in your life with whom you associate specific foods or special events.
One of my special memories of comfort food is arriving at my grandmother’s house just as a batch of big, fat, soft molasses cookies was coming out of the oven. This particular grandmother was the epitome of the typical picture of a grandmother – gray hair in a bun, floral pinafore….and you get the picture. Even as I write this, decades later, I can still conjure up the spicy scent of the molasses cookies and the memory picture of my grandmother removing the pan of cookies from the oven of her wood stove and her sheer pleasure, sitting in her Boston rocker beside the stove, watching little hands reaching for a warm cookie and savoring every bite. Sweet memories of simple pleasures.
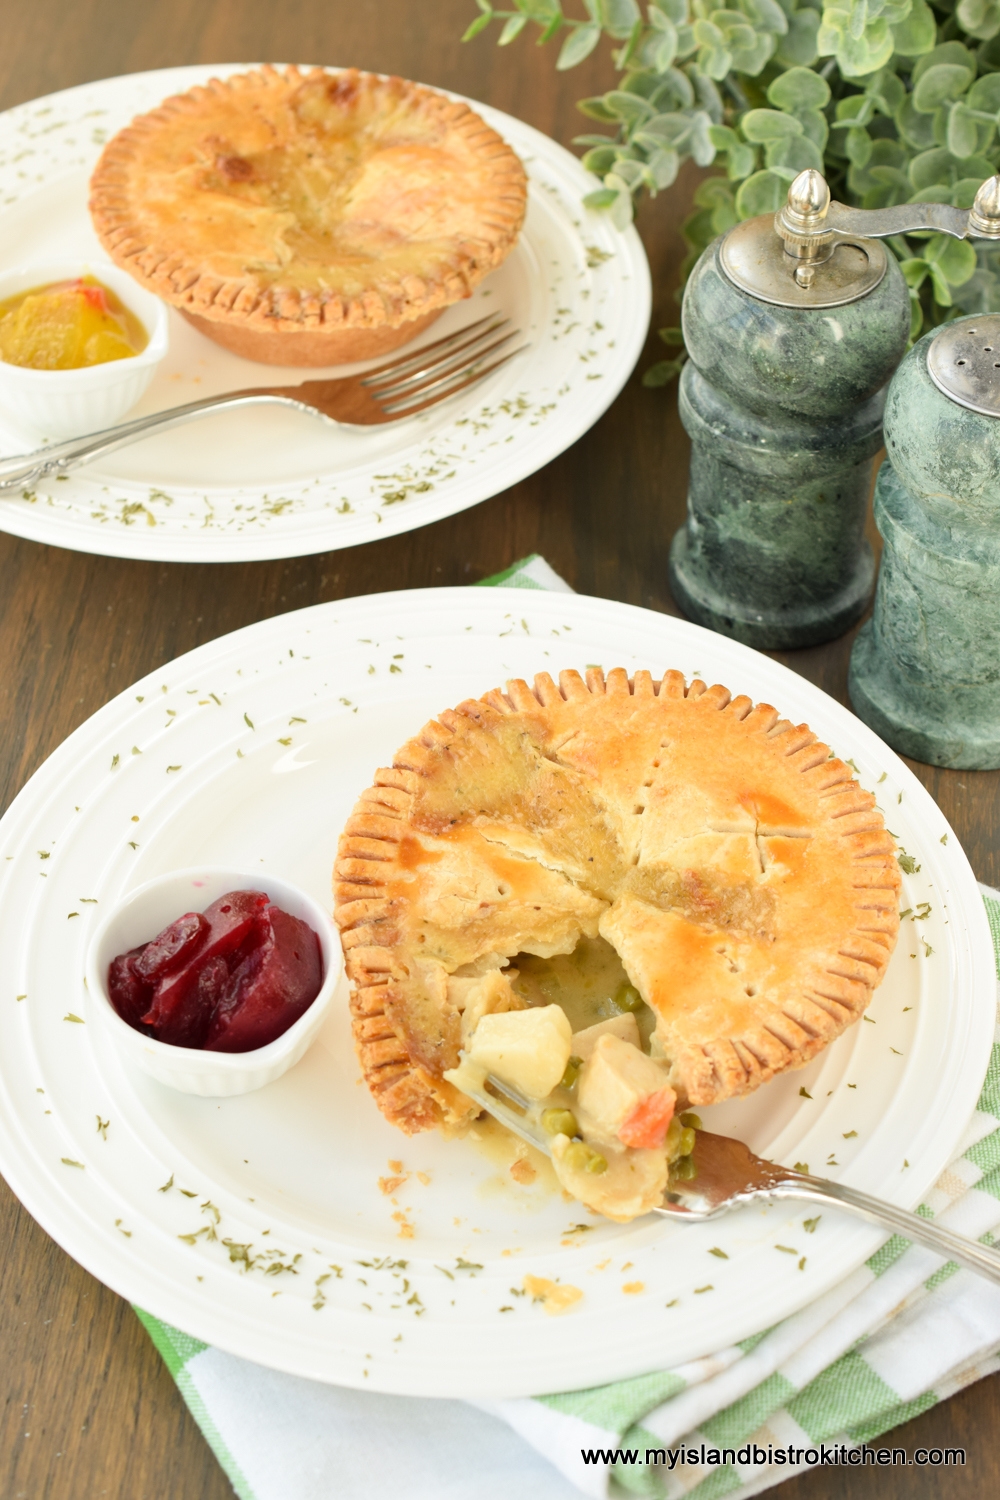
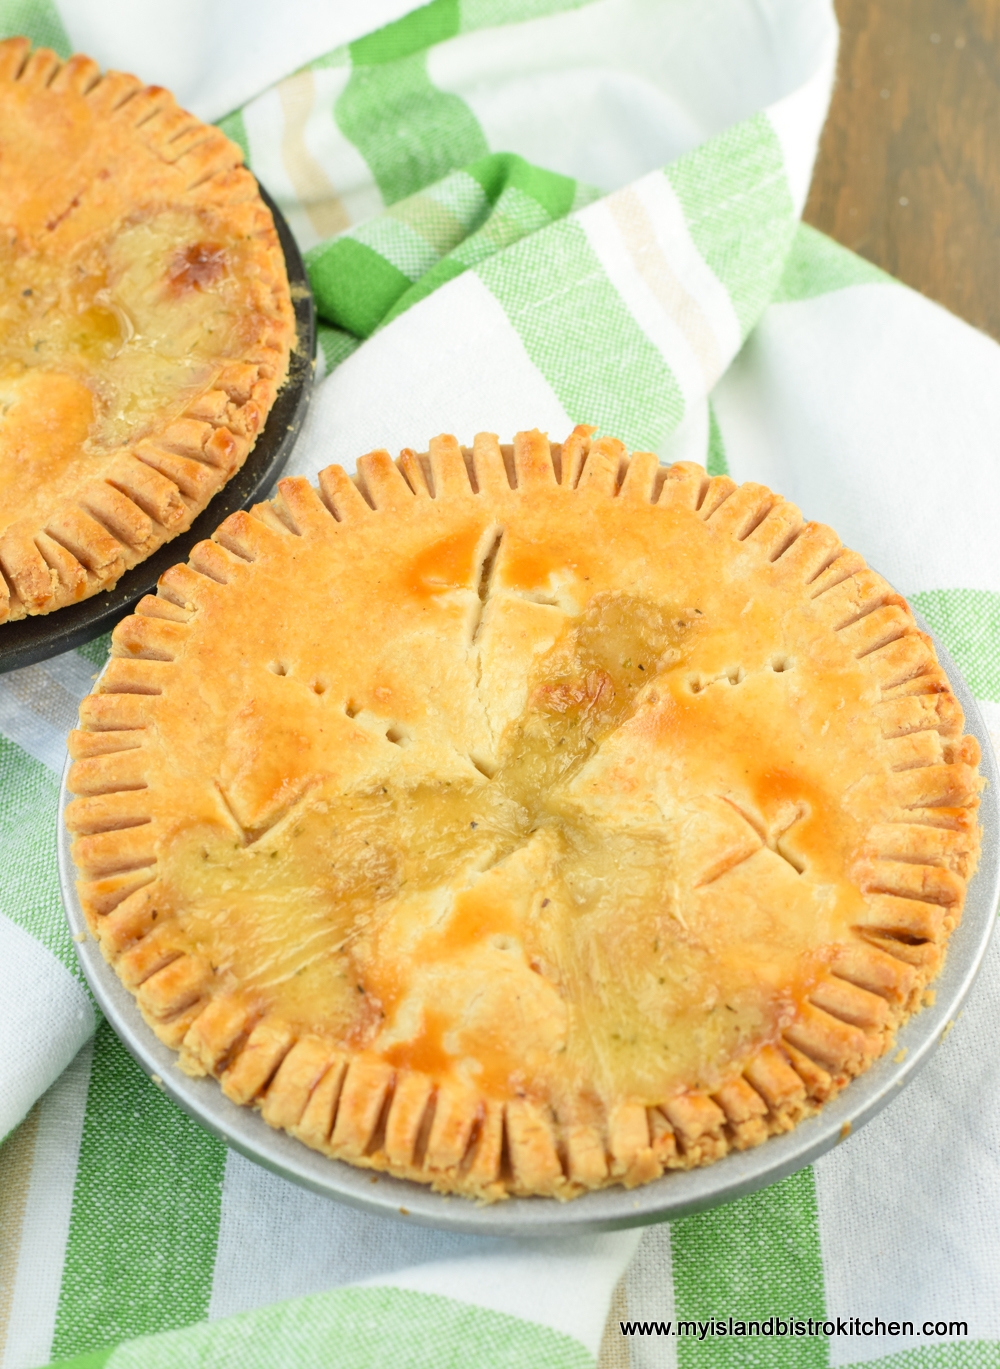
Individual Double-crusted Chicken Pot Pies
Today, I am sharing my recipe for individual-size Chicken Pot Pies that, in my view, fall nicely into the comfort food category. Getting the right seasoning and consistency for the sauce and a flaky pastry in which to encase the filling are the two big aspects of making a tasty and satisfying chicken pot pie. Once you have a good recipe for those, you have a good chicken pot pie. Continue reading Double-crusted Chicken Pot Pies→
(Mostly) PEI and Maritime Food – Good Food for a Good Life!