
Winters are long here in PEI so, when Easter arrives, I am ready for some bright and cheerful colors. This Whimsical Easter Tablesetting is casual and quite simplistic and yet very seasonal and colorful. Continue reading Whimsical Easter Tablesetting
Tag Archives: Easter
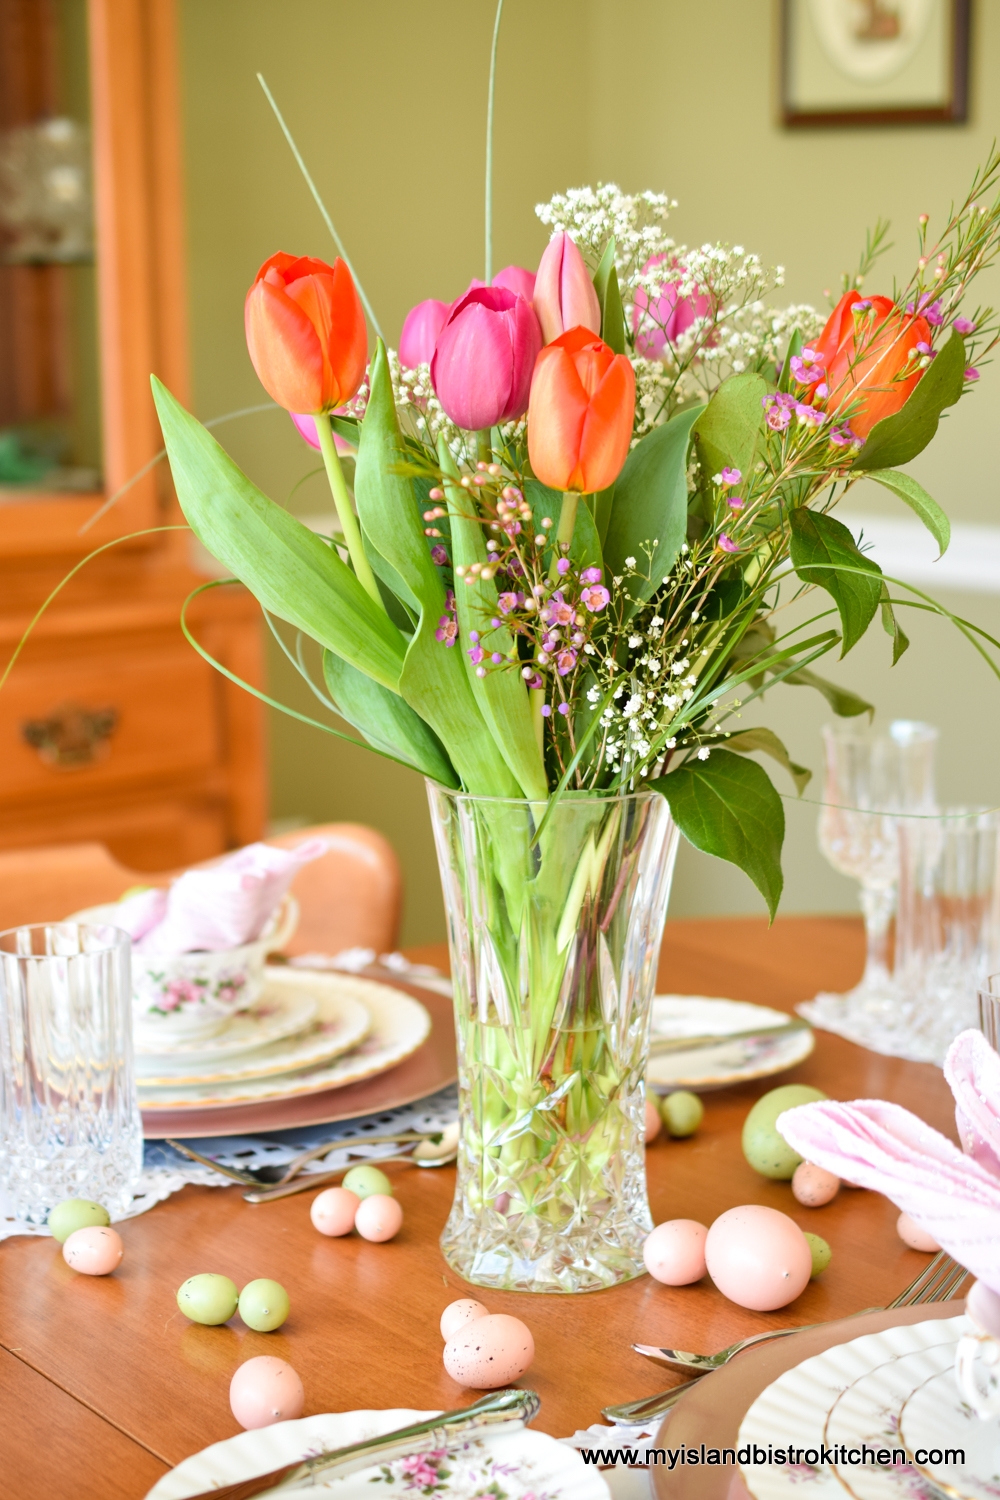
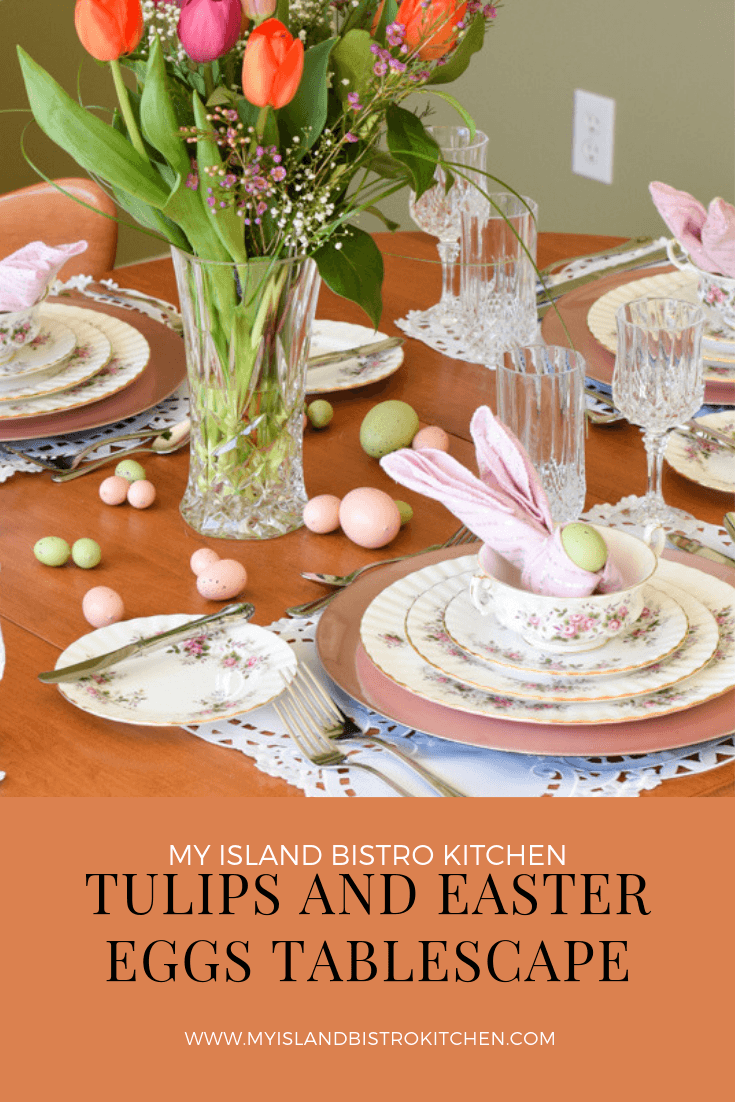
Tulips and Easter Eggs Tablescape

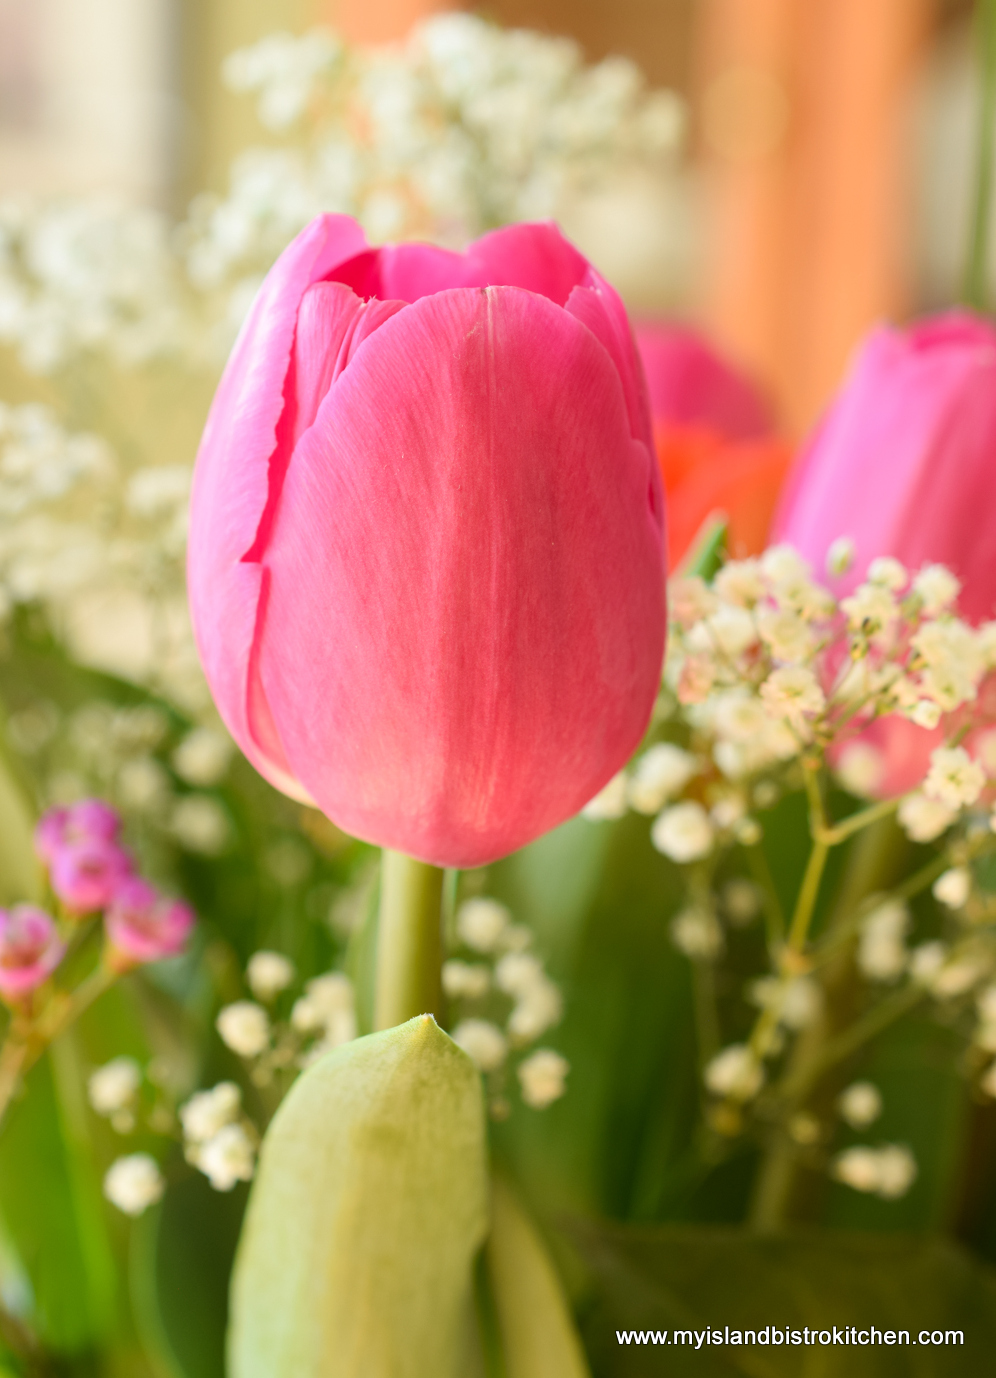
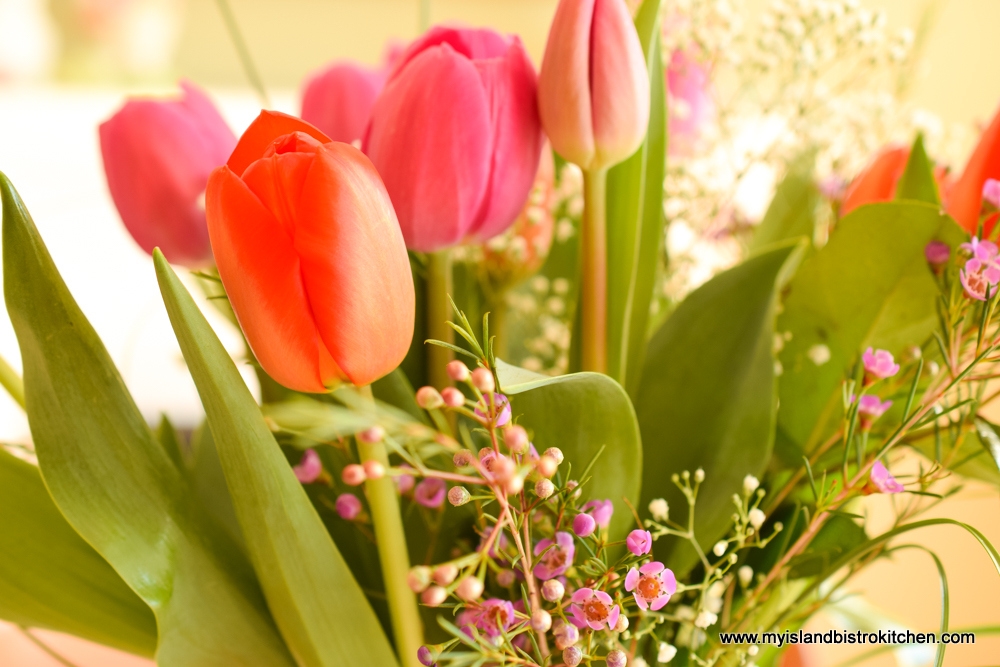
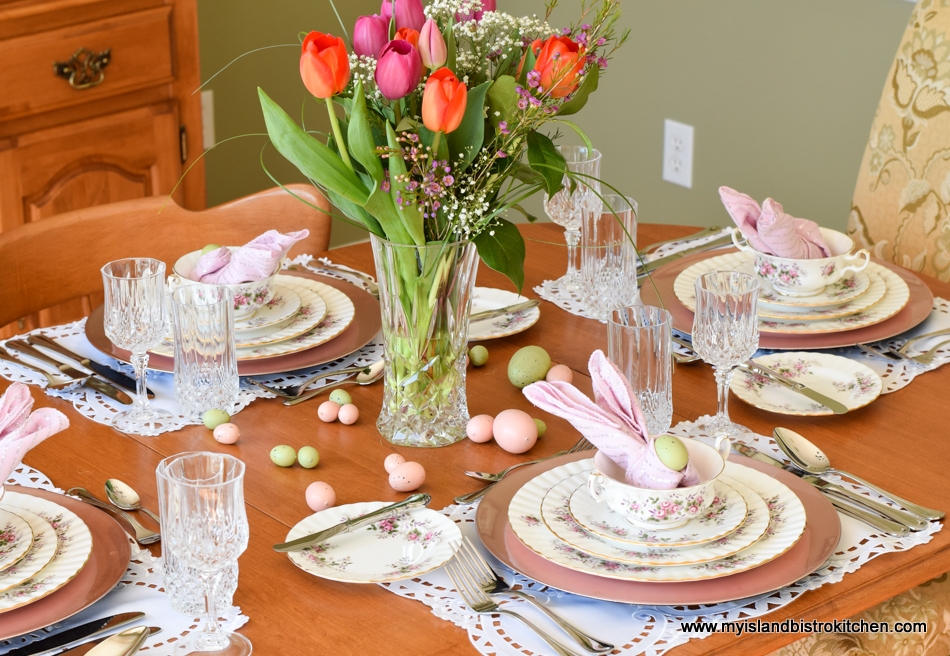
This Easter-themed tablesetting is perfect for the host or hostess who is not overly knacky with arranging flowers. Tulips make a stunning bouquet as they come in such an array of fabulous colors. With their stately long stems, tulips practically arrange themselves!
This bouquet came from Bernadette’s Flowers in Stratford PEI and these tulips are greenhouse-grown here on the Island at Vanco Farms in Mount Albion. You can read my story following my visit to Vanco Farms by clicking here. While Vanco Farms, as of January 2019, no longer operate a retail outlet at their greenhouses, their wonderful tulips are available at local florist shops and supermarkets from January through to mid-spring. They also ship off-Island as well. They are a top quality product.
What makes this bouquet so easy is that, if you get tulips from a local florist shop, they will arrange the bouquet for you with some filler flowers as accents. Basically, all you need to do is carefully remove them from their packaging and place them, already arranged, into a favorite vase as I have done here. Easy-peasy.
Because it’s Easter, I am bringing out the good Royal Albert china for the occasion. It’s light, bright, and airy and the deep pink in the tulips and the purple filler flowers pick up the floral colors in the Lavender Rose pattern of the dinnerware.
In this tablesetting, I have opted to use white cloth placemats and to expose the wood in my dining table. The charger plates are a soft shade of pink-mauve, in keeping with traditional pastel Easter colors. Charger plates are one of the easiest ways to change out the look of dinnerware. For this pattern, I have about four different colors of chargers I use and each will bring a different look to the table.
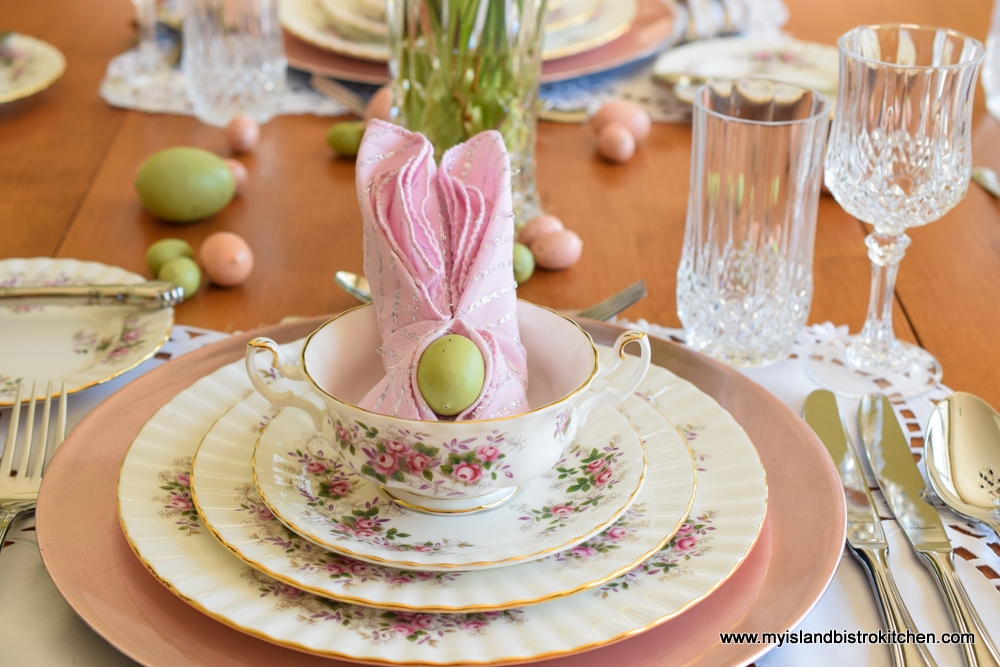
The napkin fold I have selected for this tablesetting is the whimsical bunny ear fold. Easy to do, this adds a touch of whimsy to each placesetting. The design also produces a small cavity in which to tuck a special little treat. These napkins have a sparkly silver thread running through them that gives understated bling to the tablescape.
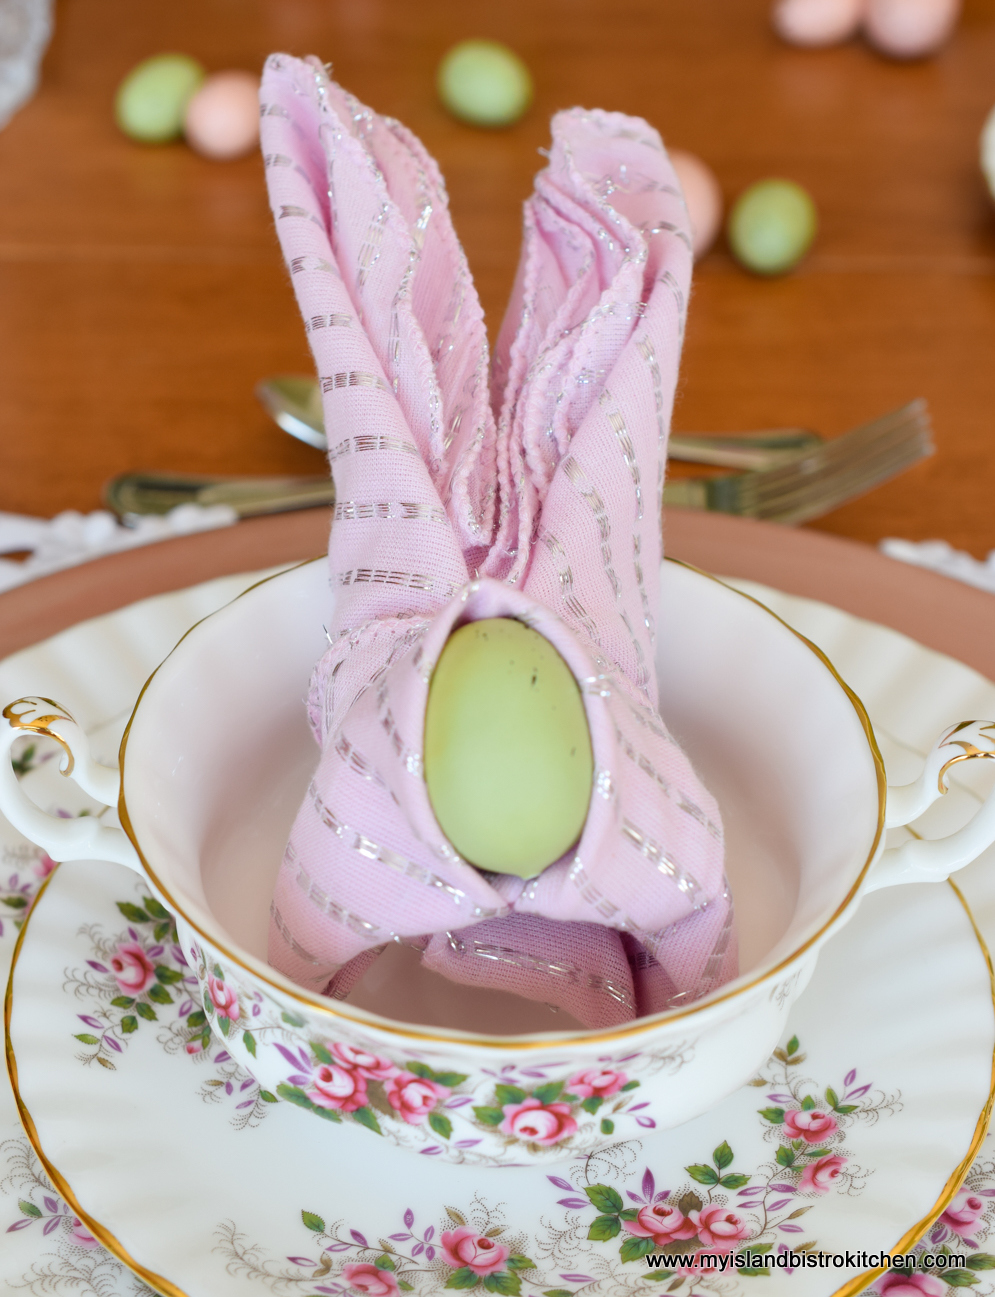
Scatter a few Easter eggs around the centre of the table and you’re done!
I hope you have enjoyed a little glimpse into my Easter-themed tablesetting. Have a wonderful Easter!
Pin Me To Pinterest!
For other Easter-themed tablesetting inspiration from My Island Bistro Kitchen, click on the links below:
Easter Tablesetting
A Casual Tablescape for Easter Brunch
The Bunnies Are Ready for Easter Breakfast Tablesetting
Springtime Yellow Tablescape
Tulip Time Tablescape
Peter Cottontail Tablesetting for Easter
Tulip Clusters Springtime Tablescape
Tip Toe Through the Tulips Easter Tablesetting
The Bunnies Are Ready For Easter Breakfast Tablesetting
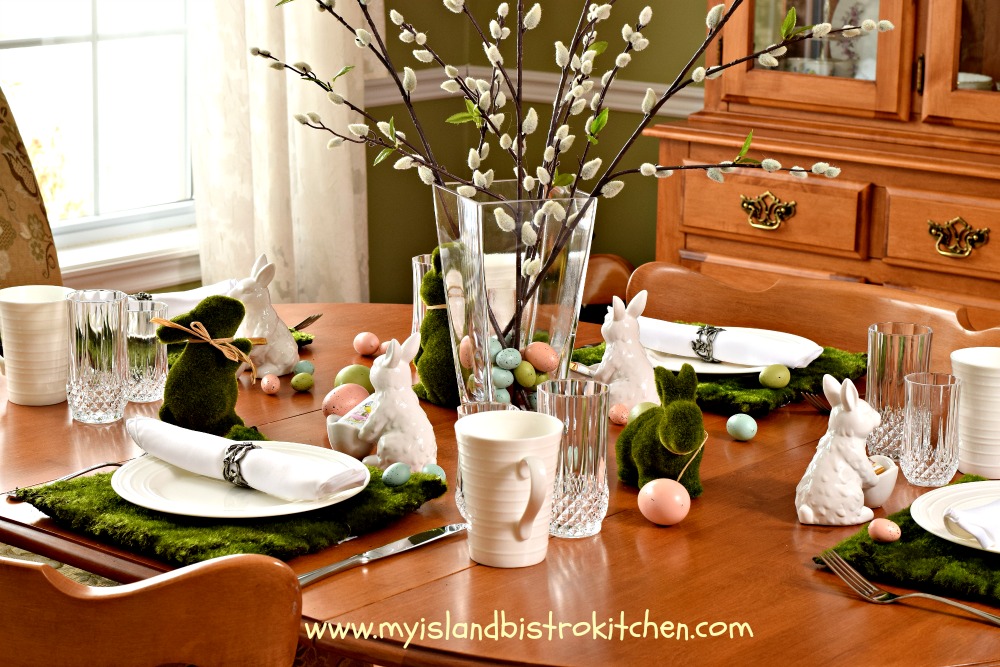
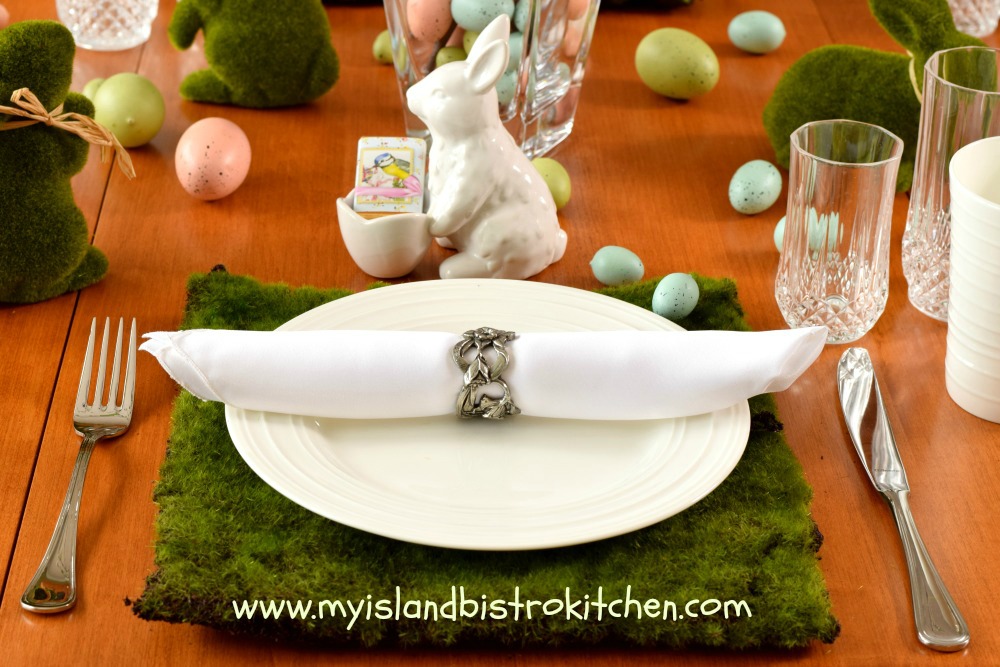
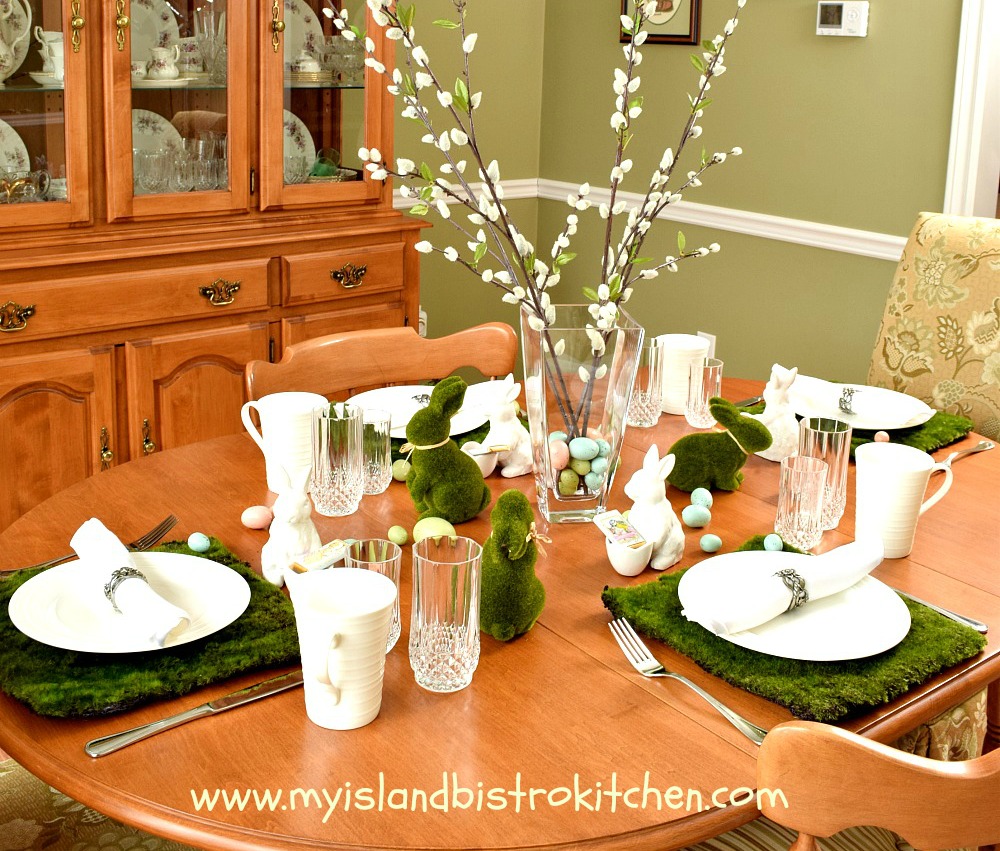
It’s all about whimsy, springtime, and bunnies in this earthy-themed tablesetting for Easter morning breakfast.
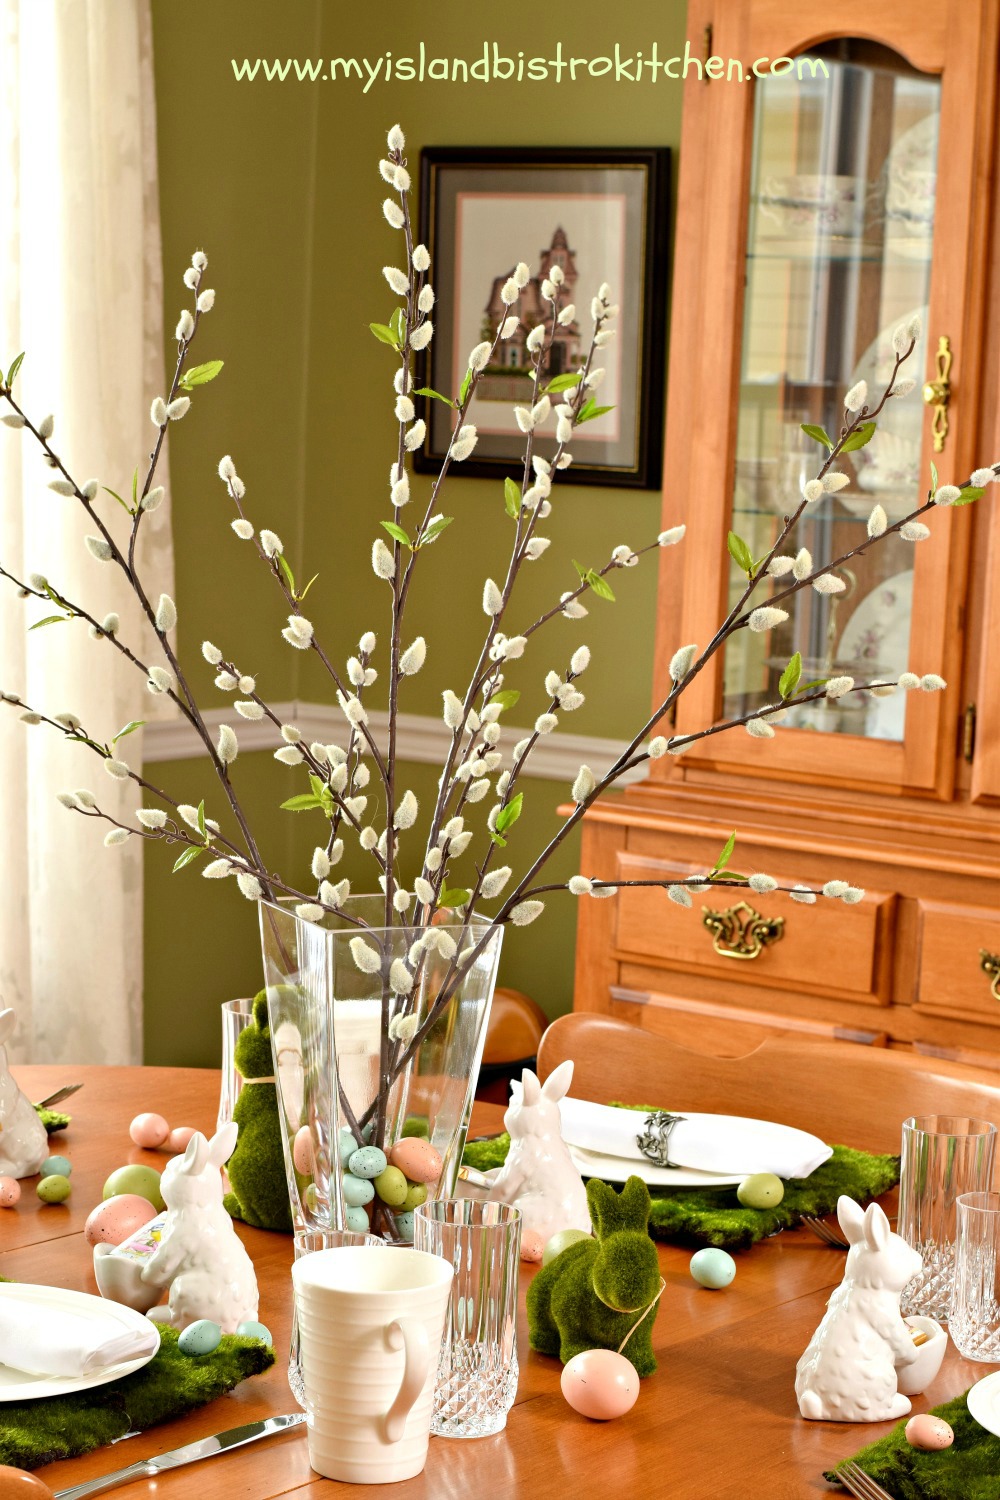
Simple stalks of pussywillows are casually contained in a glass vase and secured by colorful Easter eggs at their base. Easter eggs are strewn about the table in and among whimsical little green moss bunnies. I really think the trio of green bunnies is on an Easter egg hunt!
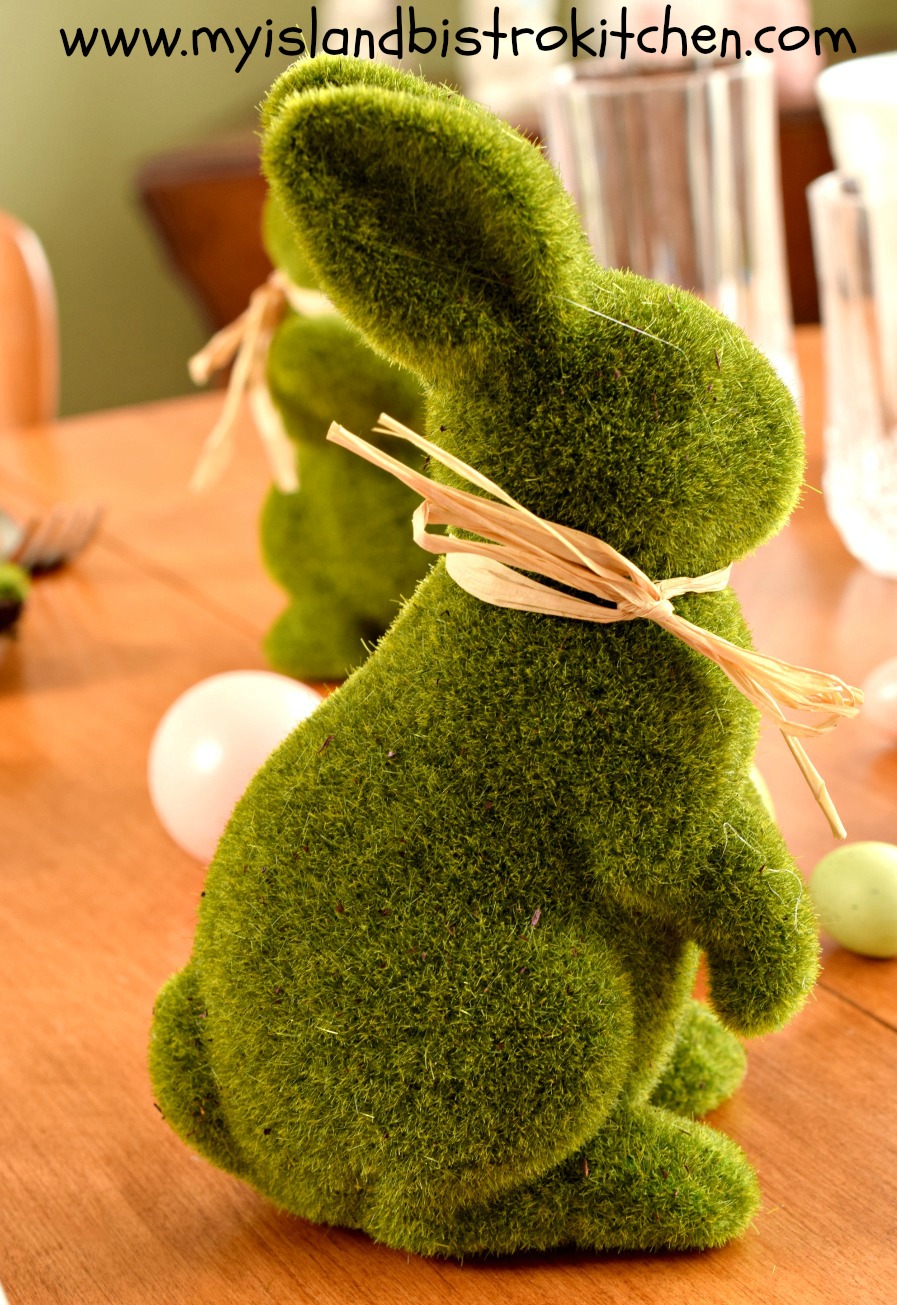
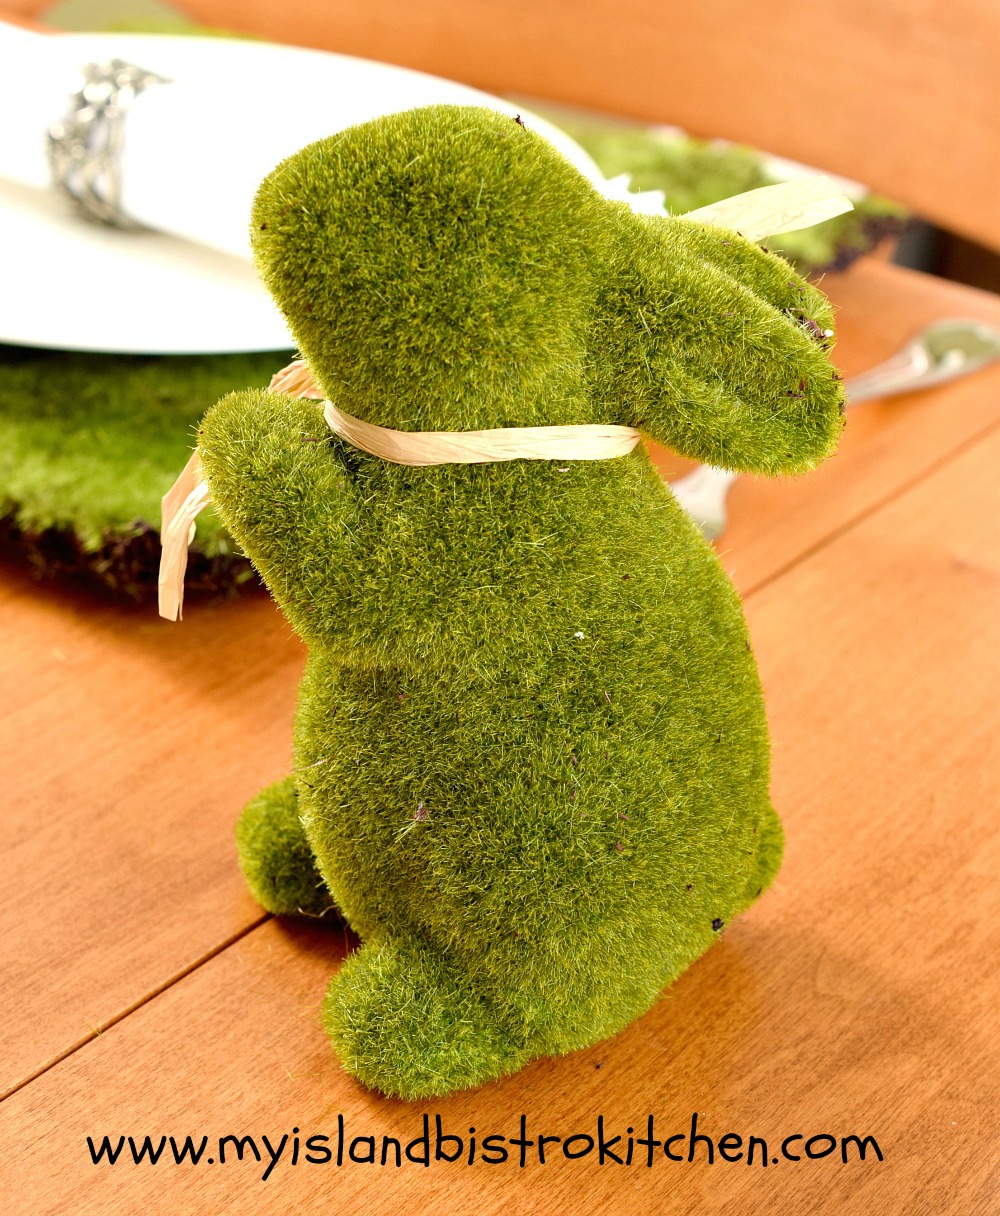
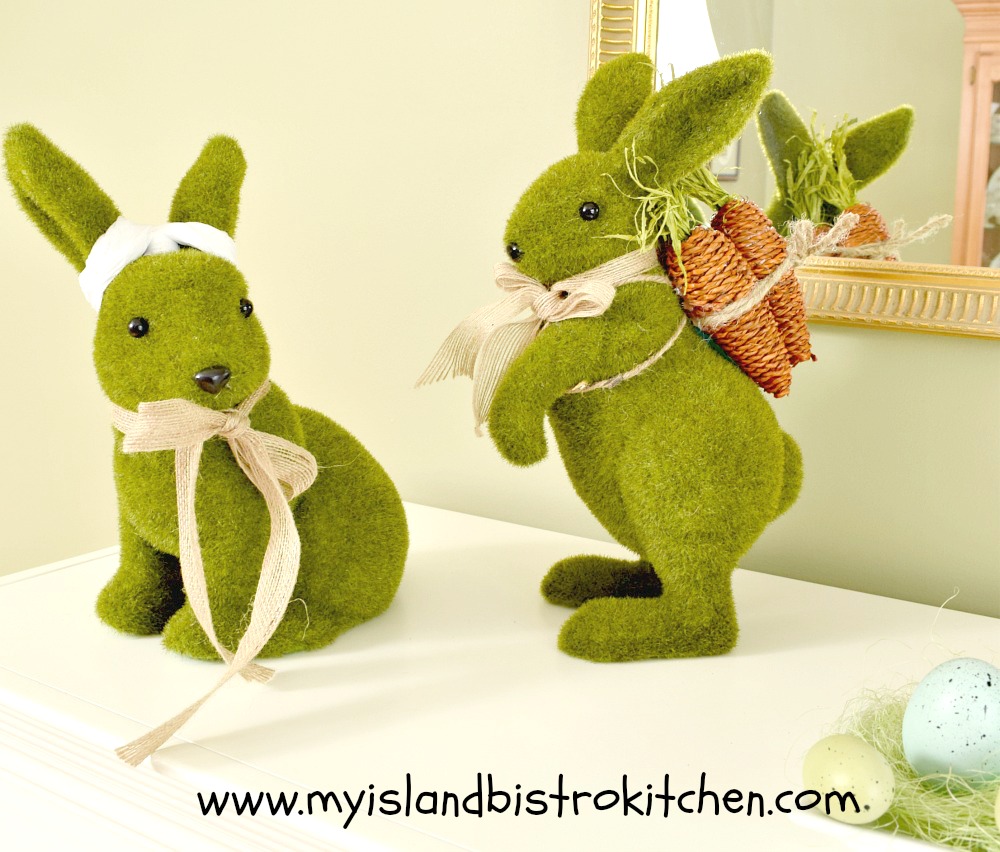
These little fellas are so cute!
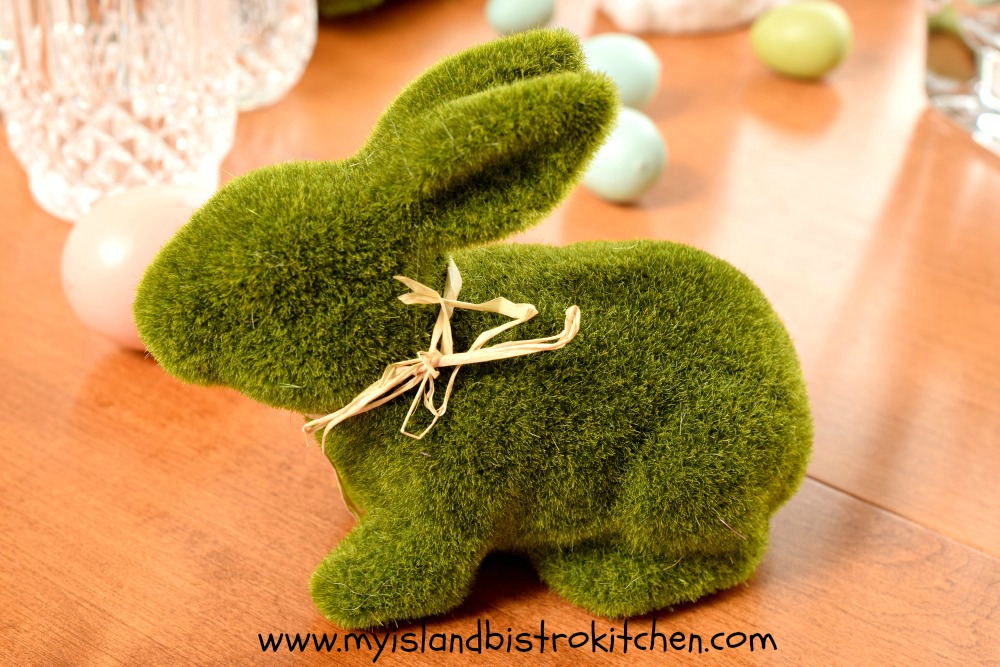
The green faux-moss bunnies are kind of a refreshing change from the traditional pastel colored bunnies.
In a departure from traditional placemats, I have used squares of imitation moss. The white dinnerware pops atop the green moss mats. White dinnerware works for any occasion and really is a good investment. I’ve used very plain flatware in keeping with the informal tablesetting.
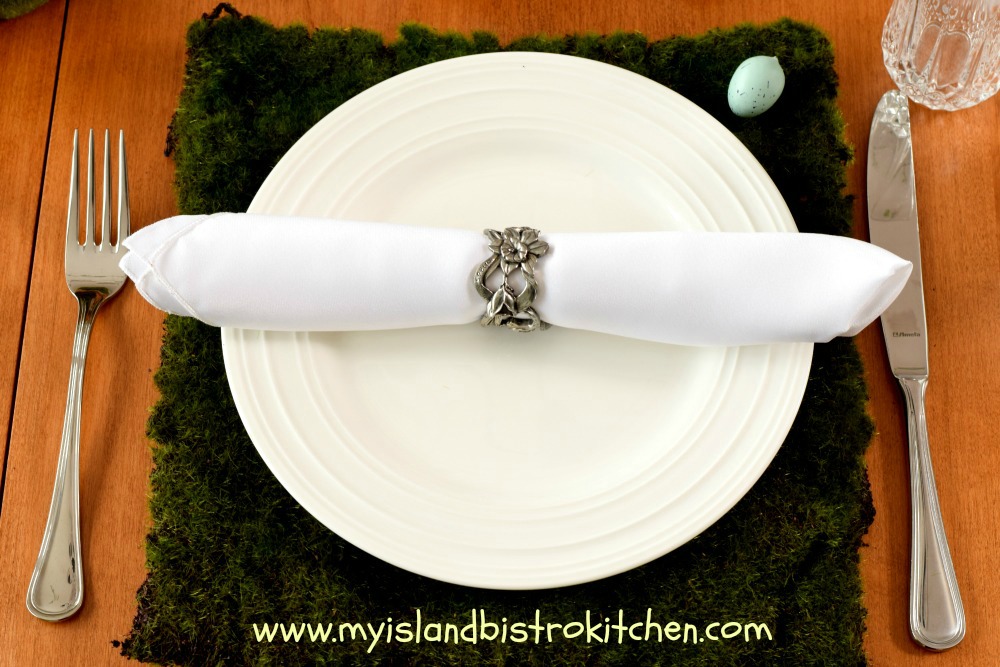
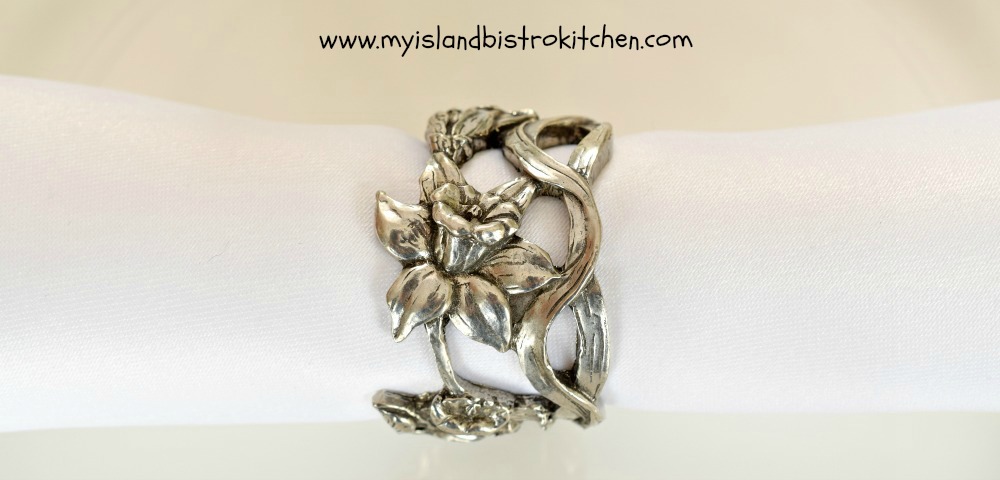
Simple napkin rolls are held in place with pewter napkin rings that feature springtime daffodils. These were made by Seagull Pewter in Pugwash, Nova Scotia.
This setting is meant to be fun and informal.
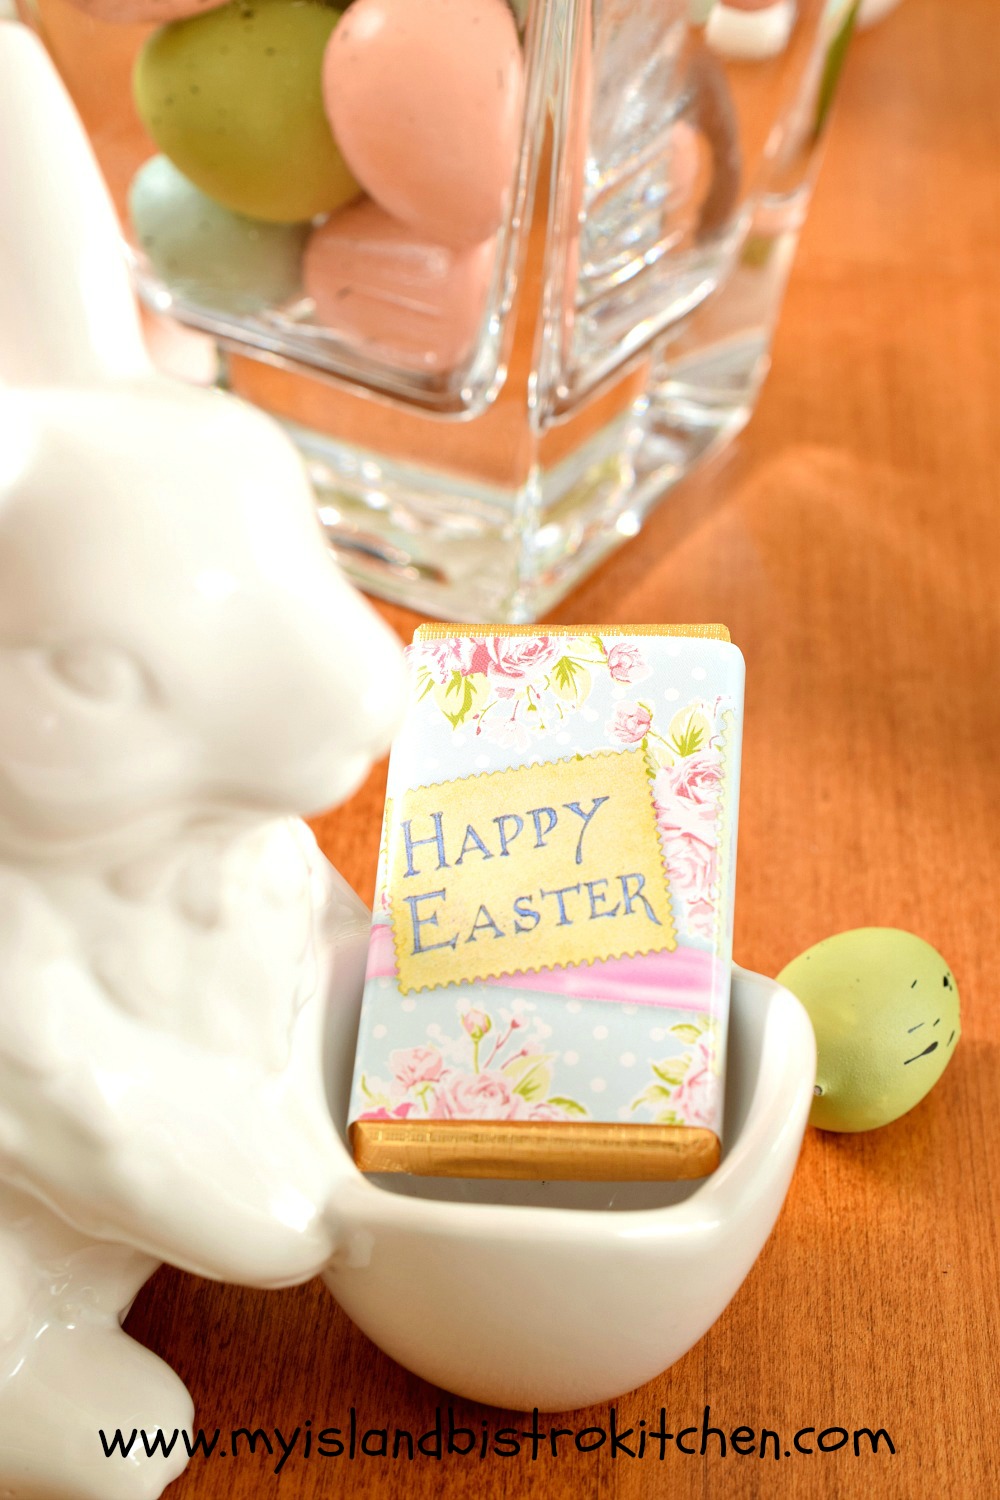
The bunny eggcups keep the bunny theme going.
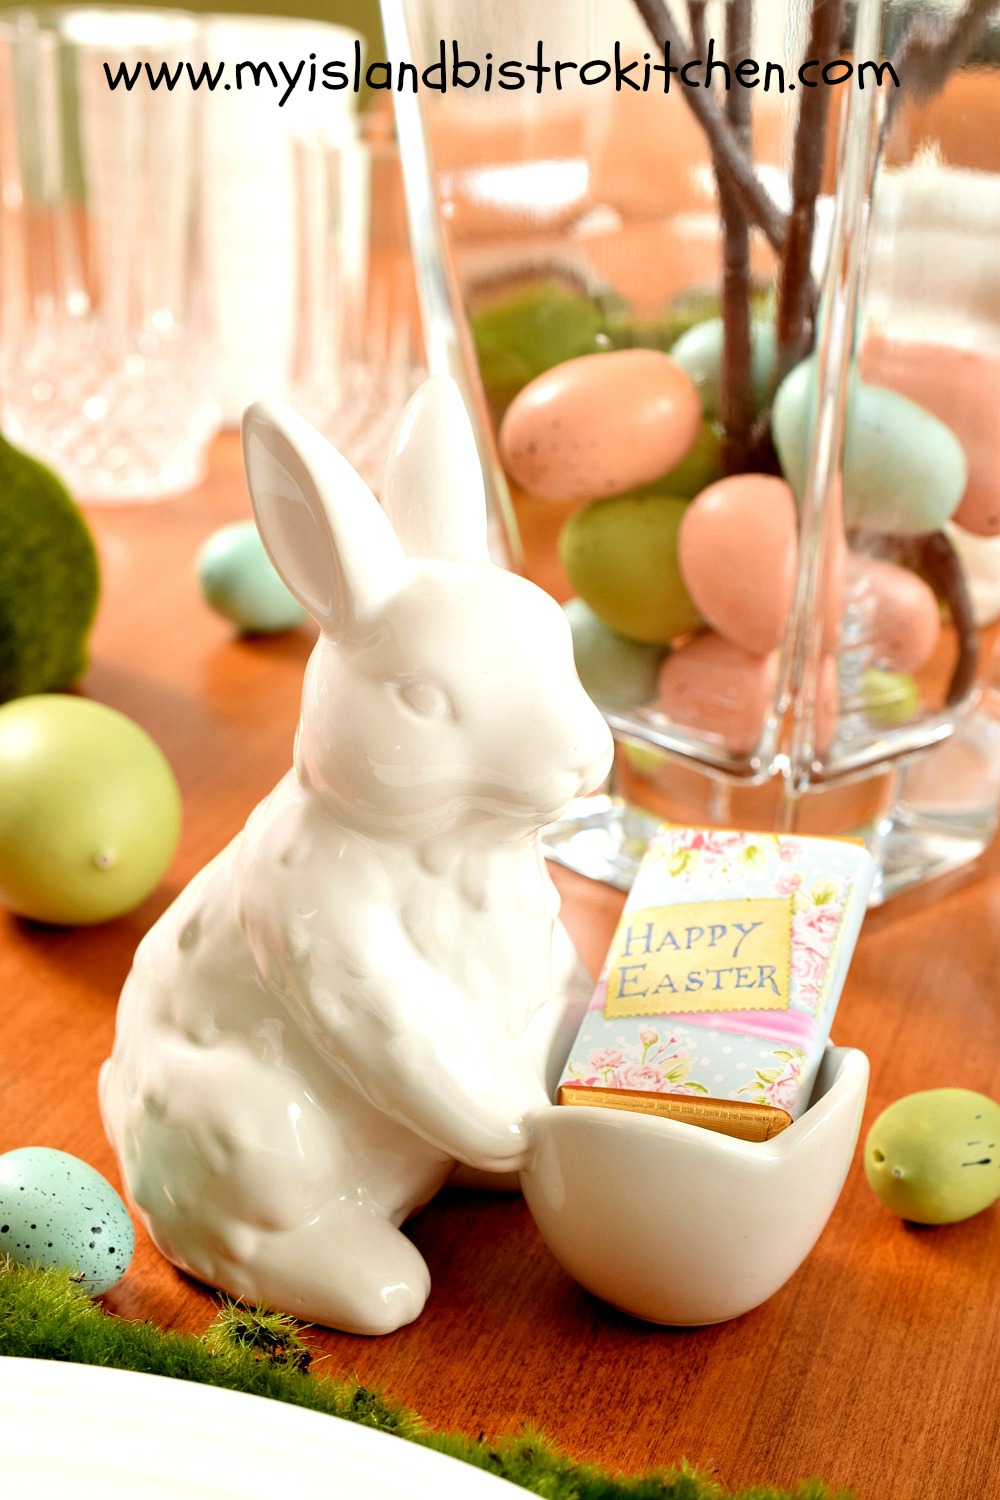
Little Easter chocolate bars adorn each cup but are easily set aside and replaced with a boiled egg, if desired, at breakfast. Who says you can’t have chocolate for a breakfast treat!
I have added a couple of larger faux moss-covered whimsical bunnies to my dining room mantle to coordinate the theme throughout the room.
Joyeous Easter!
For more Easter-themed tablesetting inspiration, click on the links below:
Tulip Time Tablescape
Tulip Clusters Springtime Tablescape
Tip Toe Through the Tulips Easter Tablesetting
Springtime Yellow Tablescape
Peter Cottontail Tablesetting for Easter
Easter Tablesetting
A Casual Tablescape for Easter Brunch
Easter Breakfast Tablesetting
The Bistro’s Best Deviled Eggs Recipe
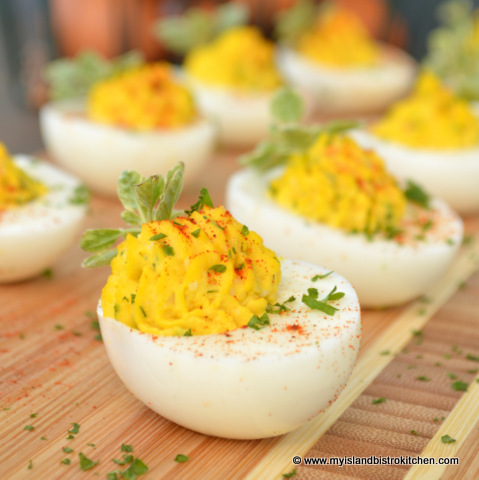
Deviled Eggs are so tasty and easy to make. They are perfect for potlucks, picnics, snacks, and even appetizers or hors d’oeuvres. And, of course, they are often found at many Easter gatherings. To top it off, Deviled Eggs are showy, too. I have never taken a plate of these to any function and had any left over! Continue reading The Bistro’s Best Deviled Eggs Recipe
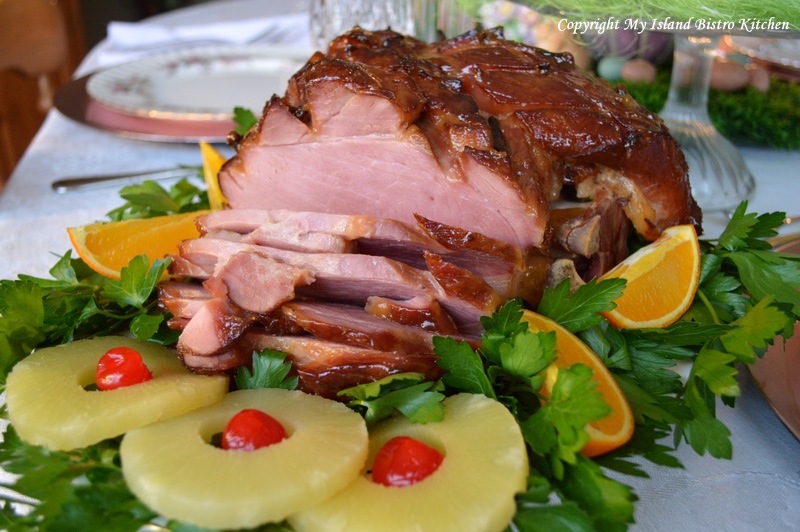
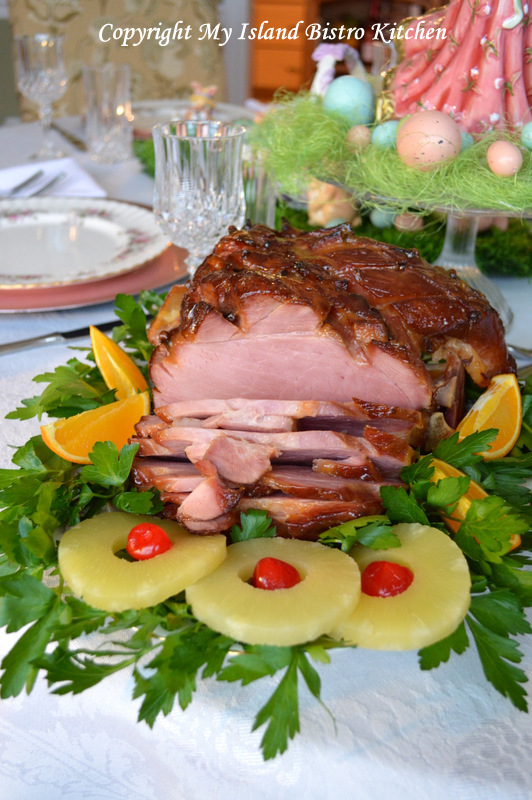
Baked Glazed Ham
When I have ham, I traditionally boil it and add all the veggies to the same pot in the last 30-40 minutes and let them cook in the broth. You can find my recipe for this comfort food meal here.

However, sometimes, I like to make it a bit more special by baking and glazing the ham. Hams are very economical when bought on sale and they yield a good amount of meat if you are serving a crowd or wanting leftovers — I love leftovers because it means a few days of little meal prep!
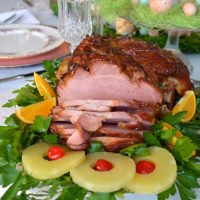
For this baked glazed ham, I started out with a cured ham (bone in). I scored the surface of the ham in a diamond pattern, cutting in between 1/8″ and 1/4″. At the intersection of each diamond, I inserted a whole clove.
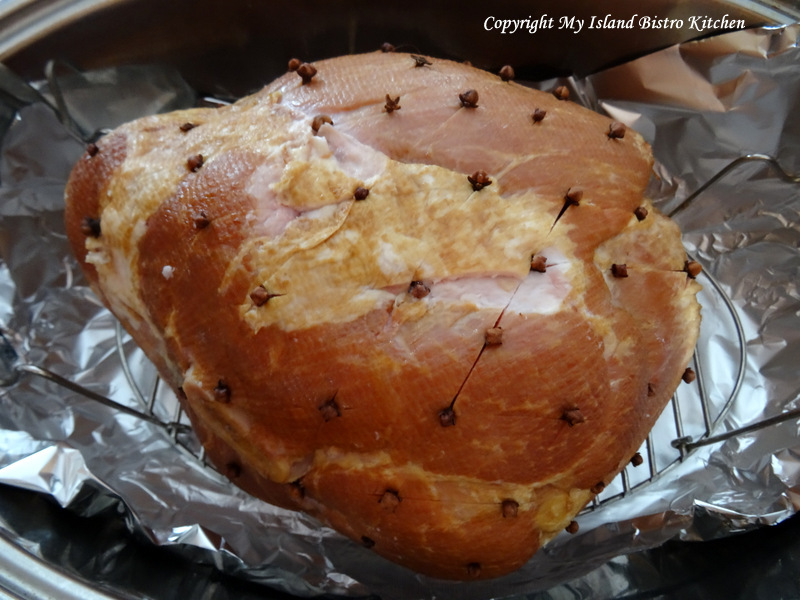
The oven was preheated to 325F and the large roaster was lined with tin foil to make clean up easier. The ham was placed on the roaster’s wire rack. I then poured 1 1/2 cups of root beer into the roaster, ensuring that the ham was not sitting in the root beer.

I brushed a very thin, light coating of the sweet and tasty glaze on the ham (recipe follows).
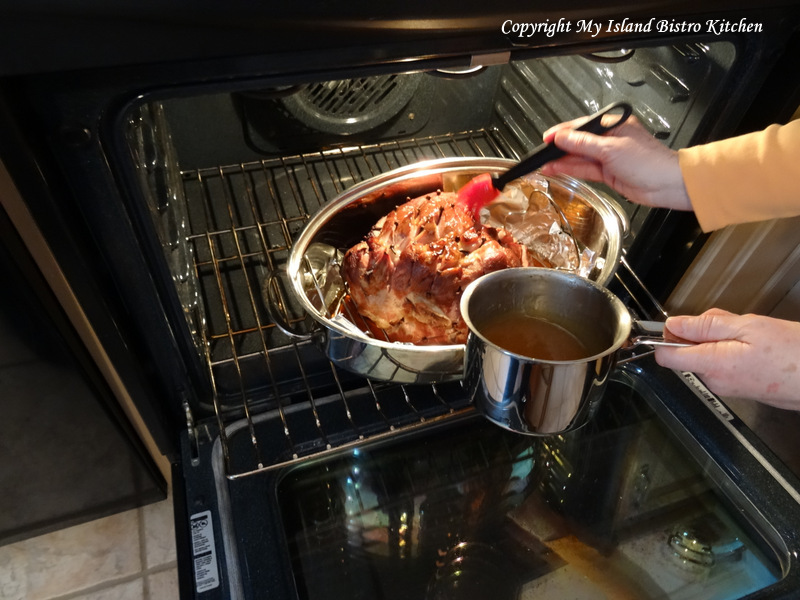
The cover was placed on the roaster and the baking began as the steam from the root beer infused the ham with additional flavor as it baked. About 50 minutes before I estimated the ham to be baked, I applied a thicker coating of the glaze, making sure it penetrated into the ham meat through the scored lines and I returned the ham to the oven to continue baking. About 25 minutes later, I reapplied the glaze. When the ham was cooked, I removed it from the oven and let it rest about 15 minutes before carving it. This makes it much easier to carve clean slices that stay whole.
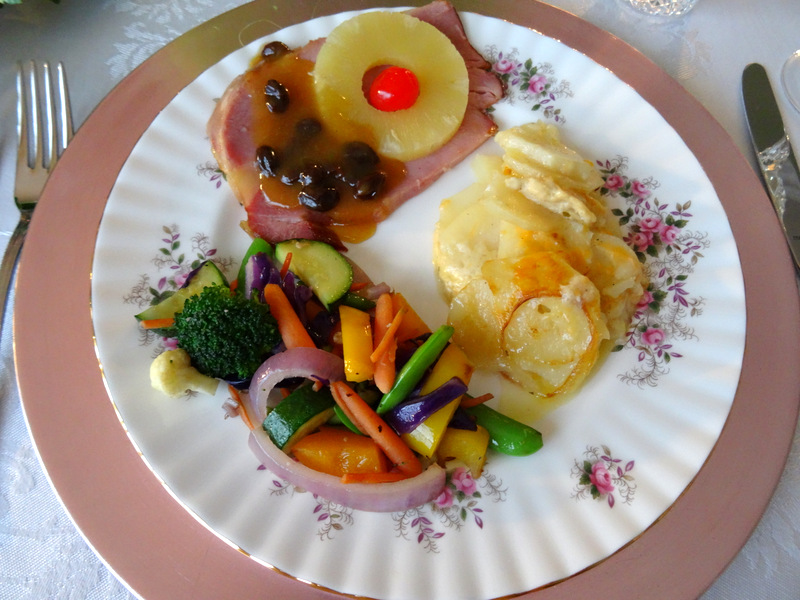
The ham was served with scalloped potatoes and a medley of stir-fried colorful vegetables.
[Printable recipe follows at end of posting]
Glaze for Baked Ham
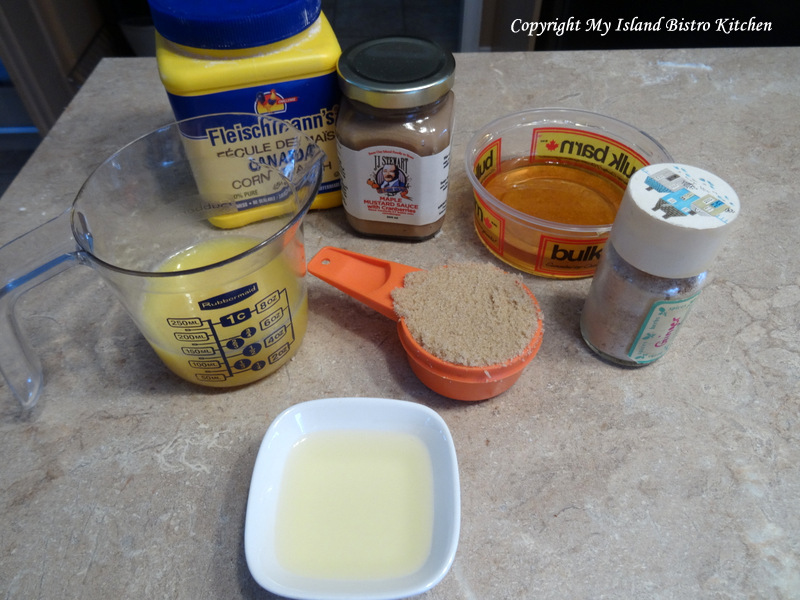
Ingredients:
1/4 cup orange juice
1 tbsp honey
3/4 tbsp mustard
1 tbsp pineapple juice
2 1/2 tbsp brown sugar
1/2 tbsp cornstarch
1/4 tsp ginger
Method:
Assemble ingredients.
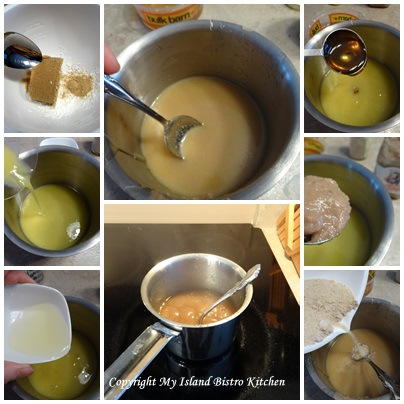
Combine brown sugar and cornstarch together. Add all remaining ingredients into a small saucepan. Stir in the brown sugar-cornstarch mixture. Bring to a boil over medium heat, stirring constantly until slightly thickened.
Brush very lightly over uncooked ham. About 50 minutes before ham is estimated to be baked, apply a thicker coat of the glaze to the ham, ensuring it penetrates into the diagonal cuts in the surface of the ham. About 25 minutes later, apply another coat of the glaze and return to oven to finish baking. Allow ham to rest for about 15 minutes before carving.

Pin Me To Pinterest!

Glaze for Baked Ham
Take your baked ham to the next level with this easy-to-make sweet glaze
Ingredients
- ¼ cup orange juice
- 1 tbsp honey
- ¾ tbsp mustard
- 1 tbsp pineapple juice
- 2½ tbsp brown sugar
- ½ tbsp cornstarch
- ¼ tsp ginger
Instructions
-
Assemble ingredients.
-
Combine brown sugar and cornstarch together. Add all remaining ingredients into a small saucepan. Stir in the brown sugar-cornstarch mixture. Bring to a boil over medium heat, stirring constantly until slightly thickened.
-
Brush very lightly over uncooked ham. About 50 minutes before ham is estimated to be baked, apply a thicker coat of the glaze to the ham, ensuring it penetrates into the diagonal cuts in the surface of the ham. About 25 minutes later, apply another coat of the glaze and return to oven to finish baking. Allow ham to rest for about 15 minutes before carving.