Cranberry-Banana Eggnog Muffins

Cranberry-Banana Eggnog Muffin

Early last October, I traveled to Farmington, near Souris, PEI, to watch the wet harvesting of cranberries at Mikita Farms.  With other commitments, I did not have a chance to get this posting published to my food blog until now.

One of the recipes I developed with the Mikita Farm cranberries is for Cranberry-Banana Eggnog Muffins.  With eggnog now being available locally year-round (at least on PEI), there is no need to save these tasty muffins just for the Christmas holiday season.  If you can’t find eggnog in your locale, homemade eggnog can also be used in the recipe that follows this post.

Cranberry-Banana Eggnog Muffin

But, first, let’s take a look at where the cranberries came from.

Here, before it was flooded with water, is a photo of the cranberry bog where the berries grow.

Cranberry Bog

We continued on to Souris for lunch and, when we came back a few hours later, the bog had been flooded and this is what it looked like.

Flooded Cranberry Bog

We didn’t see the machine (in the photo below) at work churning up water and dislodging the cranberries from their vine so they could float to the top of the water but it certainly is an interesting looking machine.

The cranberries grow with little pockets of air in them that allows them to float when a bog is flooded.

The photo below shows cranberries dislodged from their vines floating on top of the flooded bog.

Floating Cranberries

Workers prepare the booms around the perimeter of the bog.  These will be used to gather up the floating cranberries.

Preparing the Booms to Corral the Cranberries

In the photo below, you can see the boom is in place around the perimeter of the bog.

Drivers on four-wheelers slowly pull the booms along the bog, moving the cranberries with them.

Corralling the Cranberries

A worker guides the booms along the route.

Coralled, crimson cranberries!

Corralled Cranberries

The pump truck in the photo below sucks up the corralled berries from the bog.

Workers make adjustments to the booms so that as many cranberries as possible are ready for transfer to the waiting truck.

Just as we were leaving the farm, a load of freshly-harvested cranberries arrived at the farm gate stand which was particularly busy on the Canadian Thanksgiving weekend when we visited.

From here, the cranberries are bagged and ready for sale.

In addition to selling the raw product, Mikita Farms also produces cold-pressed cranberry juice from cranberries grown on their farm.

I love cranberries and always have a big bag of them frozen for use over the winter.  I also make and freeze a lot of cranberry sauce.

Cranberries and bananas are a great flavour combination.  Eggnog also goes particularly well with cranberries so I combined all three flavours in muffins and covered them with a tasty streusel topping.

Cranberry-Banana Eggnog Muffins

These bistro-style muffins pack a rich flavour punch and are a treat for sure!  They also freeze very well.

Cranberry-Banana and Eggnog Muffin
Cranberry-Banana Eggnog Muffin
Cranberry-Banana Eggnog Muffins

Ingredients:

1 cup cranberries (fresh or frozen), coarsely chopped
1½ tbsp sugar

1 cup all-purpose flour
1 cup whole wheat flour
¼ cup rolled oats
4 tsp baking powder
½ tsp soda
½ tsp salt
½ tsp cinnamon
¼ tsp nutmeg
⅛ tsp allspice
1 tbsp grated orange rind
⅔ cup brown sugar, lightly packed

1 extra-large egg, lightly beaten
¾ cup eggnog
½ cup + 1 tbsp cooking oil
¼ cup orange juice
1½ tsp vanilla
2 tbsp maple syrup
⅓ cup mashed banana

Streusel

Ingredients:

¼ cup + 2 tbsp all-purpose flour
3 tbsp brown sugar
2 tbsp chopped pecans
½ tsp cinnamon
3 tbsp butter

Method:

Preheat oven to 450°F.

Coarsely chop the cranberries, leaving some of the tiny ones whole.

In small bowl, sprinkle cranberries with 1½ tbsp sugar. Toss lightly to coat cranberries with the sugar. Set aside.

In medium-sized bowl, combine the dry ingredients for the streusel. Mix well.

Using a pastry blender, cut in the butter until mixture resembles coarse oatmeal. Stir in chopped pecans. Set aside.

Prepare muffin tins by greasing or spraying with cooking oil, ensuring the top of the muffin tins are also well-greased.

In large bowl, combine dry ingredients and orange rind and mix well.

Make a well in the middle of the dry ingredients. Set aside.

In separate bowl or large mixing cup, add the lightly beaten egg, oil, banana, eggnog, maple syrup, orange juice, and vanilla. Whisk together well.

Pour wet ingredients into well in dry ingredients.

Combine just until dry ingredients are barely incorporated. Do not overmix.  It’s okay to still see a little bit of flour in the batter.

Gently fold in the sugared cranberries.

Ladle or spoon batter into prepared muffin tins filling almost to the muffin tin rim.

Sprinkle with streusel mixture.

Transfer muffins to oven and immediately reduce heat to 400ºF. Bake 20-22 minutes or until muffins are just firm to the touch and a cake tester inserted into the center of a muffin comes out clean.

Let muffins rest in muffin tins for about 5 minutes then carefully  transfer to wire rack to finish cooling.

Yield: 12-14 standard-sized muffins

Cranberry-Banana and Eggnog Muffin
Cranberry-Banana Eggnog Muffin

The photo below shows the texture of the muffins.

Texture of Cranberry-Banana and Eggnog Muffins
Texture of Cranberry-Banana Eggnog Muffins


Cranberry-Banana Eggnog Muffins

These delectable Cranberry-Banana Eggnog Muffins combine three wonderful flavours to make muffins that are perfect for Christmas breakfast, brunch, or an anytime treat.
Course Breakfast
Cuisine American
My Island Bistro Kitchen My Island Bistro Kitchen

Ingredients

  • 1 cup cranberries fresh or frozen, coarsely chopped
  • tbsp sugar
  • 1 cup all-purpose flour
  • 1 cup whole wheat flour
  • ¼ cup rolled oats
  • 4 tsp baking powder
  • ½ tsp soda
  • ½ tsp salt
  • ½ tsp cinnamon
  • ¼ tsp nutmeg
  • tsp allspice
  • cup brown sugar lightly packed
  • 1 tbsp grated orange rind
  • 1 extra-large egg lightly beaten
  • ¾ cup eggnog
  • ½ cup + 1 tbsp cooking oil
  • ¼ cup orange juice
  • tsp vanilla
  • 2 tbsp maple syrup
  • cup mashed banana

Streusel

  • Ingredients:
  • ¼ cup + 2 tbsp all-purpose flour
  • 3 tbsp brown sugar
  • ½ tsp cinnamon
  • 3 tbsp butter
  • 2 tbsp chopped pecans

Instructions

  1. Preheat oven to 450°F.
  2. In small bowl, sprinkle chopped cranberries with 1½ tbsp sugar. Toss lightly to coat cranberries with the sugar. Set aside.
  3. In medium-sized bowl, combine the dry ingredients for the streusel. Mix well. Using a pastry blender, cut in the butter until mixture resembles coarse oatmeal. Stir in pecans. Set aside.
  4. Prepare muffin tins by greasing or spraying with cooking oil, ensuring the top of the muffin tins are also well-greased.
  5. In large bowl, combine dry ingredients and orange rind for muffins and mix well. Make a well in the middle of the ingredients. Set aside.
  6. In separate bowl or large mixing cup, add the lightly beaten egg, eggnog, oil, orange juice, vanilla, maple syrup, and mashed banana. Whisk together well.
  7. Pour wet ingredients into well in dry ingredients. Combine just until dry ingredients are barely incorporated. Do not overmix. Gently fold in the sugared cranberries.
  8. Spoon batter into prepared muffin tins filling almost to the muffin tin rim. Sprinkle with streusel mixture.
  9. Transfer muffins to oven and immediately reduce heat to 400º. Bake 20-22 minutes or until muffins are just firm to the touch and a cake tester inserted into the center of a muffin comes out clean.
  10. Let muffins rest in muffin tins for about 5 minutes then transfer to wire rack to finish cooling.

Recipe Notes

Yield:  Apx. 12-14 standard-sized muffins


Pin Me To Pinterest!

Muffins
Cranberry Banana Eggnog Muffins

For other great muffin recipes from My Island Bistro Kitchen, click on the links below:

Best Zucchini Granola Muffins
Blueberry Muffins
Rhubarb and Orange Muffins
The Bistro’s Bran Muffins

Thank you for visiting “the Bistro” today. There are lots of ways to connect with “the Bistro” through social media:

Join My Island Bistro Kitchen on Facebook
Follow the Bistro’s tweets on twitter @PEIBistro
Find the Bistro on Pinterest at “Island Bistro Kitchen
Follow along on Instagram at “peibistro

Individual Baked Alaskas with Raspberry Coulis

Baked Alaska with Raspberry Coulis

One of my all-time favorite desserts is Baked Alaska. I first had Baked Alaska on a cruise many, many years ago and I have loved it ever since. Many people think Baked Alaska is difficult to make but I don’t find it is. It does, however, take a little planning and time since it is prepared in stages.  Baked Alaska can be made as a large dessert to serve several or it can be tailored down to serve one or two.  My recipe is for two individual servings, perfect for a special intimate dinner such as Valentine’s Day, or anytime as a nice treat.

There are options for the cake base of a Baked Alaska. Brownies or pound cake are my preferences and they can be either bought or homemade. I like brownies because the dark contrast is eye-appealing with a light-colored ice cream. Whatever base is used, it needs to be cut out with a 2” cookie cutter and it should have a depth of about ½” to ¾ “. Now, at first glance, this might appear to be a rather miniscule dessert but, as you’ll soon discover, the meringue adds a lot of volume to the Baked Alaska.

Choice of ice cream is important for the Baked Alaska. Choose a high quality ice cream with a high percentage cream content for this dessert because it will freeze hard. Some of the lower fat or cheaper ice creams tend to be softer and, because this ice cream is going into a 475° oven, it needs to be able to stand up for itself! Any flavour of ice cream of your choosing will work. My favorites are vanilla, coffee, or strawberry. Let the ice cream soften slightly at room temperature for 5-7 minutes before scooping it out.  You want to try and get as perfectly a round scoop as you can because this is what will give the Alaska its dome shape.

It’s important that both the cake base and the scoop of ice cream be frozen super hard so plan ahead to have them frozen for at least two hours or longer before serving time.  I use a couple of small pieces of wooden boards covered with tin foil on which to bake the Alaskas because the boards don’t heat as fast as a metal cookie sheet would which could cause the Alaskas to start to melt down too quickly in the oven.  The idea is to keep the Baked Alaskas as cold as possible.  The Alaskas are only put in the oven for 2-3 minutes solely to tan the meringue.

The Raspberry Coulis can be made a day or two ahead and kept refrigerated.

I find I have greater success with whipping egg whites for the meringue when they are at room temperature.  Allow the separated egg whites to come to room temperature for about 30-40 minutes before whipping.

It’s super important to completely cover the ice cream and base with the meringue as, otherwise, heat will reach the ice cream which will simply melt and ooze out of the Alaska when placed in the oven.  The meringue acts as an insulator of sorts which prevents the ice cream from melting for the 2-3 minutes it is in the oven.  I have found that even the smallest gap in the meringue will cause the ice cream to melt in even the short time it is in the oven.  Work as quickly as you can to apply the meringue so that the ice cream does not soften and melt.

Individual Baked Alaskas with Raspberry Coulis

Raspberry Coulis:

1¼ cups raspberries, fresh or frozen
⅓ cup sugar
¾ tsp lemon juice
1 tsp water

In medium-sized saucepan, combine all ingredients.

DSC08489

page 1

Cook over medium heat, stirring constantly until raspberries have broken down and released their juices.

Remove from heat and pour mixture into a fine sieve over a bowl.

Press mixture with the back of a spoon to extract as much juice as possible. Discard raspberry seeds left in the sieve.

Cover coulis tightly with plastic wrap and refrigerate until well chilled.

Yield: ½ cup

Baked Alaskas:

2 pieces of brownie cut into 2” circles and sliced ½“ – ¾” thick.
2 round scoops of ice cream, your favourite flavour

Meringue:

2 large egg whites, room temperature
⅛ tsp salt
⅛ tsp cream of tartar
¼ cup sugar
½ tsp almond flavouring

Line a small rimmed baking sheet with tin foil. Using the rimmed baked sheet allows for easy transport to and from the freezer and keeps the Alaska bases from accidentally sliding off.  Place the brownie circles on the baking sheet and top each with a scoop of ice cream. Place in freezer for at least 2 hours, until very firm.

At the same time, cover two small boards with tin foil and place in freezer.

When ready to prepare the dessert, place oven rack about 8” from broiler and preheat oven to 475°F.

In bowl of stand mixer, beat egg whites just until frothy then add the salt and cream of tartar.

While beating the egg whites, add the sugar slowly, about a teaspoon at a time.

Continue to beat the egg whites until stiff peaks form when wire whisk is lifted from the egg whites.

Add the almond flavoring and beat for 10-15 seconds longer.

Remove brownie and ice cream rounds along with the foil-covered boards from the freezer. Transfer the brownie and ice cream rounds to the foil-covered boards.  Quickly cover the ice cream and brownie completely with the meringue.

With the tip of a knife, twirl the meringue into decorate tips.

Place the Alaskas on a rimmed baking sheet for ease of transfer to and from oven.  Bake in the pre-heated oven until the meringue browns, about 2-3 minutes.

Remove from oven and plate. Drizzle with Raspberry Coulis and garnish with fresh raspberries. Serve immediately.

Serves: 2

——————

Thank you for visiting “the Bistro” today. There are lots of ways to connect with “the Bistro” through social media:

Join My Island Bistro Kitchen on Facebook
Follow the Bistro’s tweets on twitter @PEIBistro
Find the Bistro on Pinterest at “Island Bistro Kitchen
Follow along on Instagram at “peibistro

Cookbook Review: Easy Everyday Slow Cooker Recipes

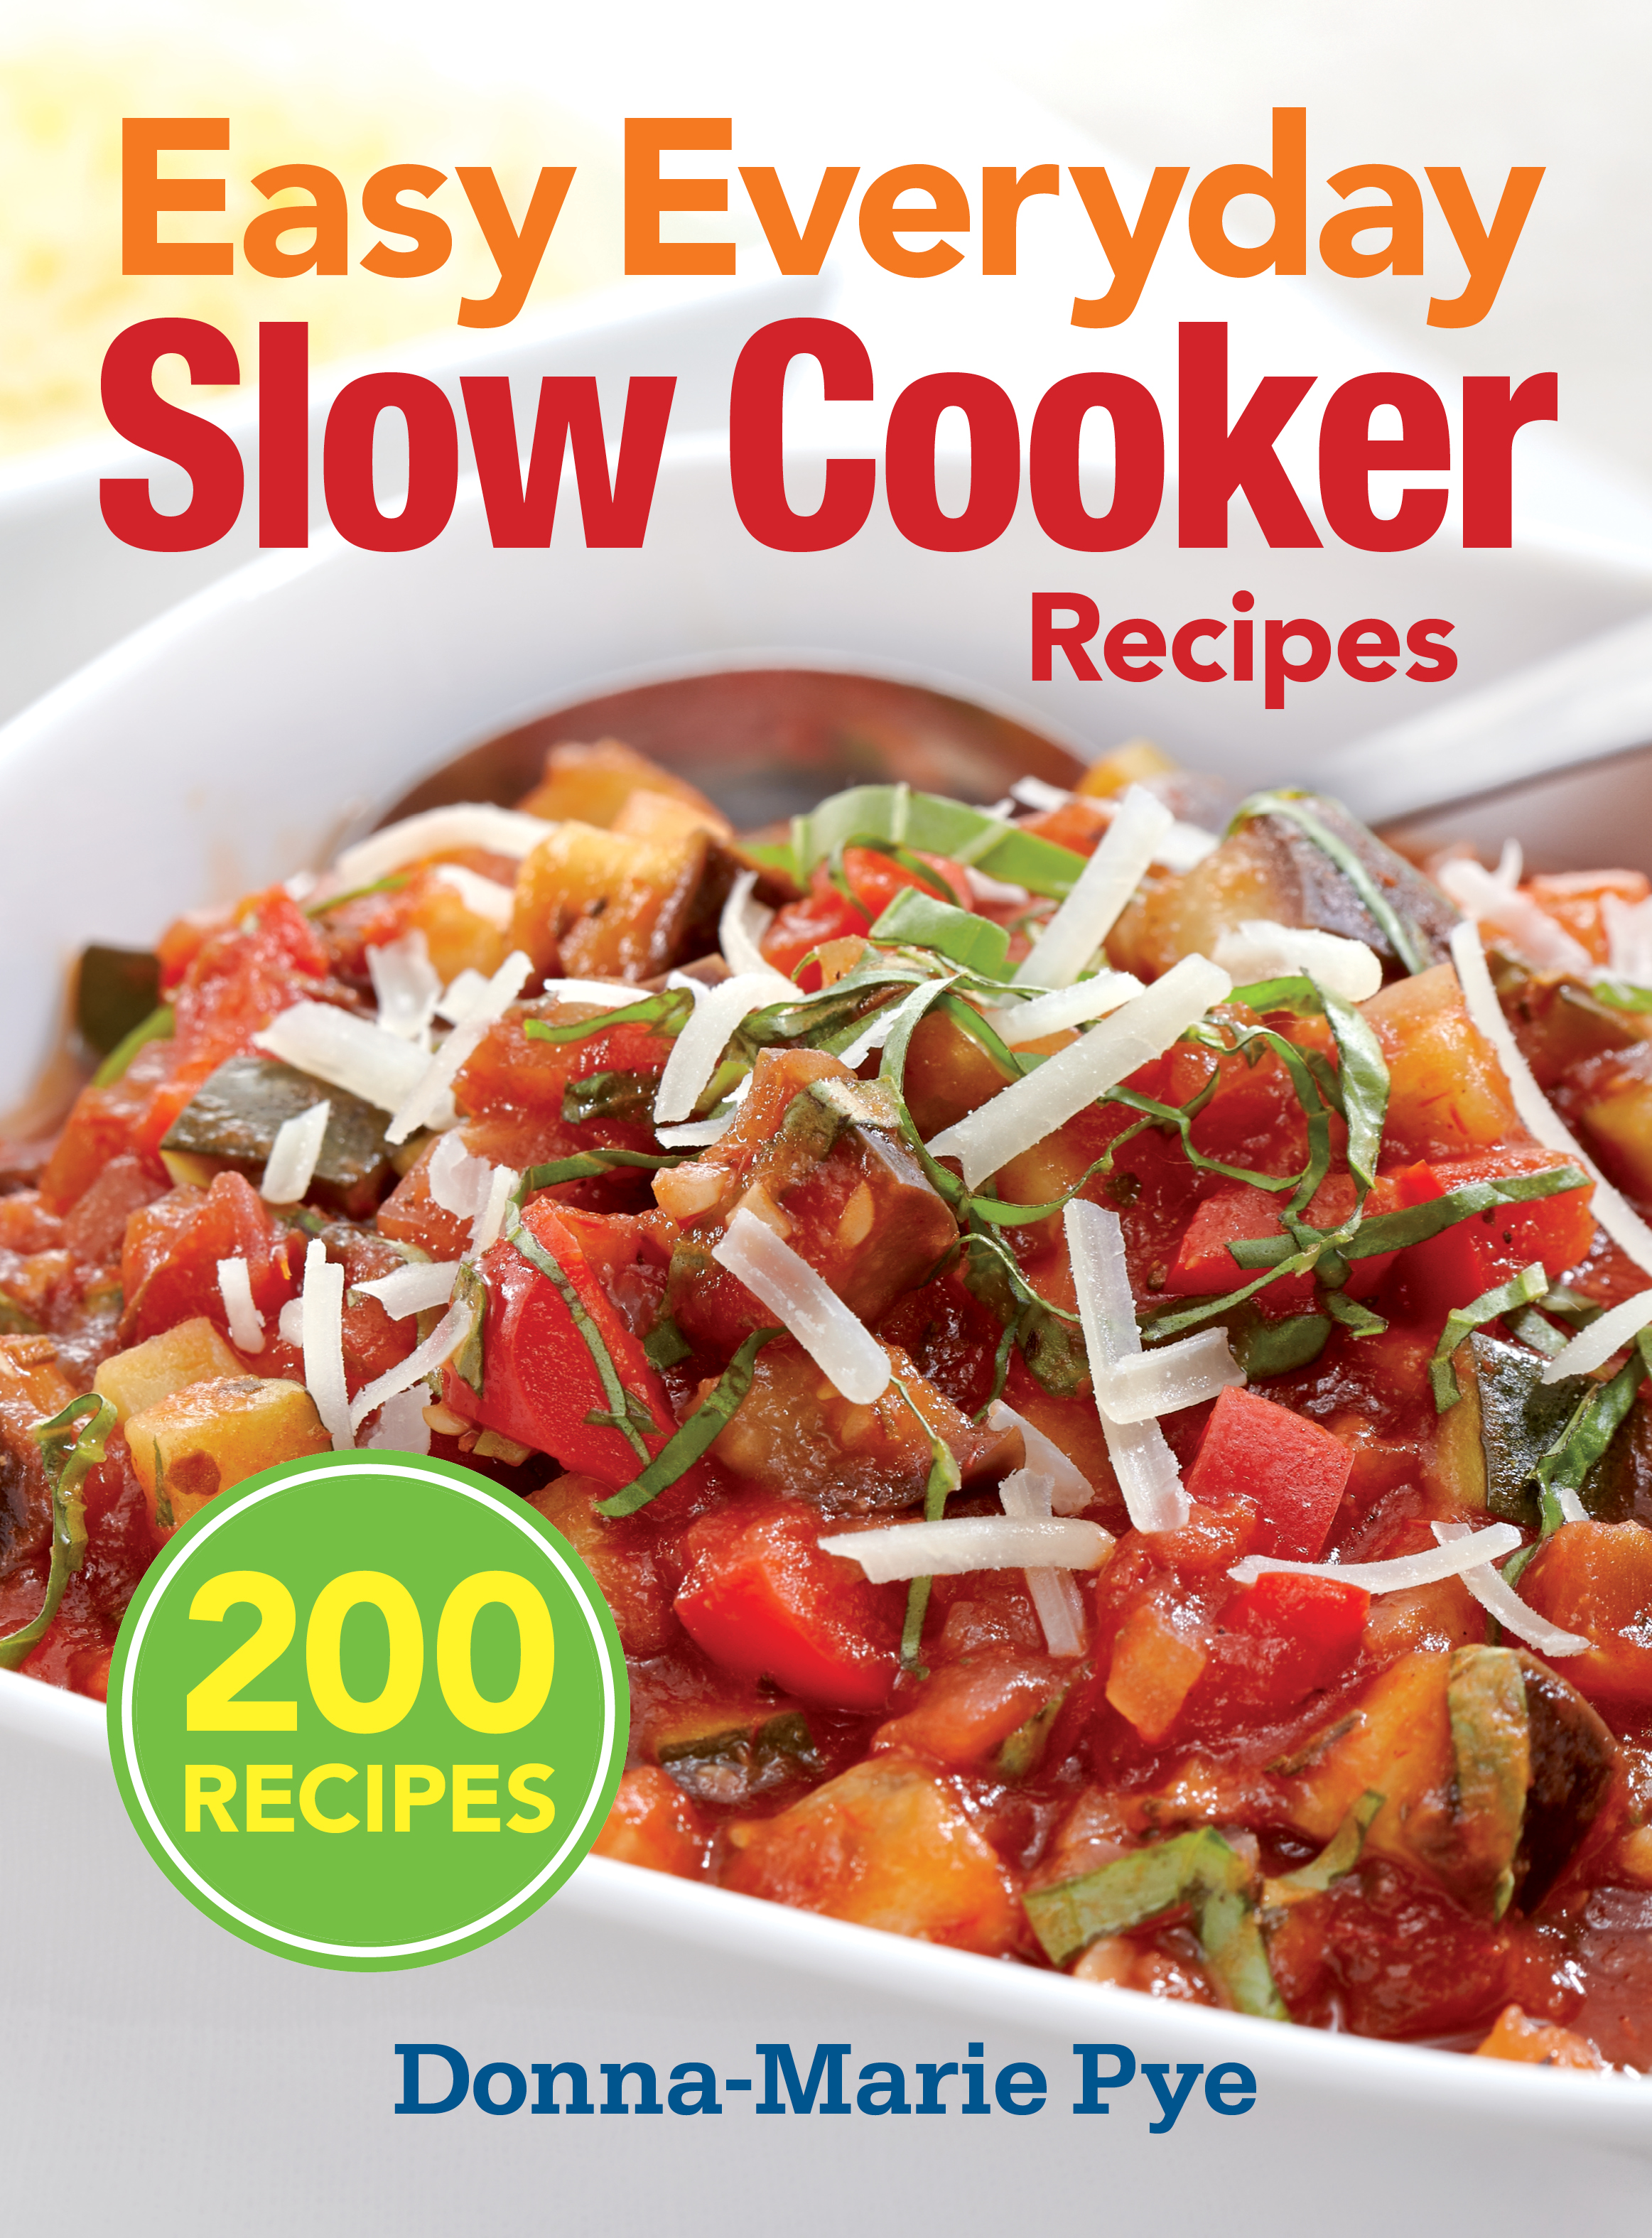
Title: Easy Everyday Slow Cooker Recipes   
Author: Donna-Marie Pye
Publication Date: 2014
Publisher: Robert Rose Inc.
Cover: Softcover
Price: $24.95 (US$)/$27.95 (CDN$)
Pages: 352

I recently received a complimentary review copy of Donna-Marie Pye’s “Easy Everyday Slow Cooker Recipes” from publisher, Robert Rose. This compendium of 200 recipes is, in my view, really the only slow cooker recipe book the home cook needs as it contains a vast variety of taste-tempting recipes.

Divided into 10 chapters, the recipes are conveniently and logically grouped: Soups; Stews: Chilis and Beans; Poultry; Beef and Veal; Pork and Lamb, Big-Batch Dinners for a Crowd; Meals for Two, Double-Duty Dinners; and Desserts. There is also a complete index of recipes in the back of the book. While there aren’t photos to accompany every recipe, there are over 75 full-page, color photographs and they are well-executed and of high quality.

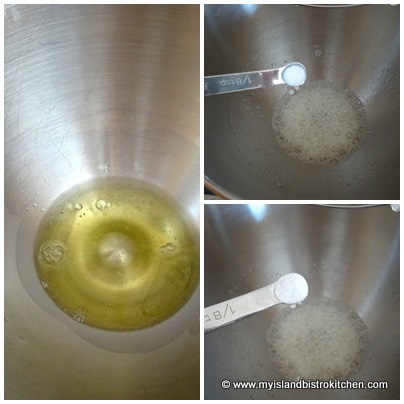
The first 21 pages of the book are dedicated to explaining the construction of the slow cooker along with handy and useful tips on cooking with the counter top appliance, adapting conventional recipes for use in slow cookers, and information on food safety. Undoubtedly of use to even seasoned home cooks, this segment of the book would be particularly useful for those unfamiliar with slow cookers. I recommend reading these pages before starting to make any recipe from the book as they contain some great “meat”.

Each recipe is well laid out with print font that is easy to read. Ingredients are listed in the order in which the directions call for them which facilitates preparation. Ingredient amounts are given in both imperial and metric measurements. Directions are described in easy-to-follow, step-by-step method. Each recipe is accompanied by a friendly lead-in paragraph. As well, each recipe also has a “Tip” box on the page so the book becomes a self-teaching tool for the home cook. Look for tips on serving suggestions, liquids to tenderize meats, ingredient substitutions, and other useful hints for cooking with a slow cooker. In addition, with many of the recipes, there is also an explanation of any special ingredients the recipe may use. For example, this might include a description of fennel and how to prepare it for use or what certain foods, like tamari, are used for. Each recipe also gives its yield in terms of number of servings the recipe is expected to generate.

In terms of ingredients, I found most recipes call for easy-to-find ingredients that are likely to be available in most large supermarkets. However, there are a few recipes that call for ingredients that are unfamiliar to me – for example, sambal oelek or edamame – but these recipes are the minority in the book. For the most part, ingredients are inexpensive with the exception of the meat called for in any recipe. As with any recipe, I recommend pre-reading each recipe carefully before beginning preparation to ensure you have all the necessary ingredients and/or that they are ones you can source in your area. Some recipes do incorporate more contemporary/trendy ingredients such as balsamic vinegars, roasted red peppers, fennel, and salsa. In my view, the quantity of ingredients (particularly spices and flavourings) called for in the recipes is reasonable and the instructions are clear in terms of explaining if an item is to be finely or coarsely chopped or minced, whether to include liquid with contents of a canned ingredient, and the size of pieces into which the meat or vegetables are to be cut.

One of the things I like most about this book is the section on meals for two as not many recipe books include scaled-down recipes for the smaller household.

Test-driving Recipes

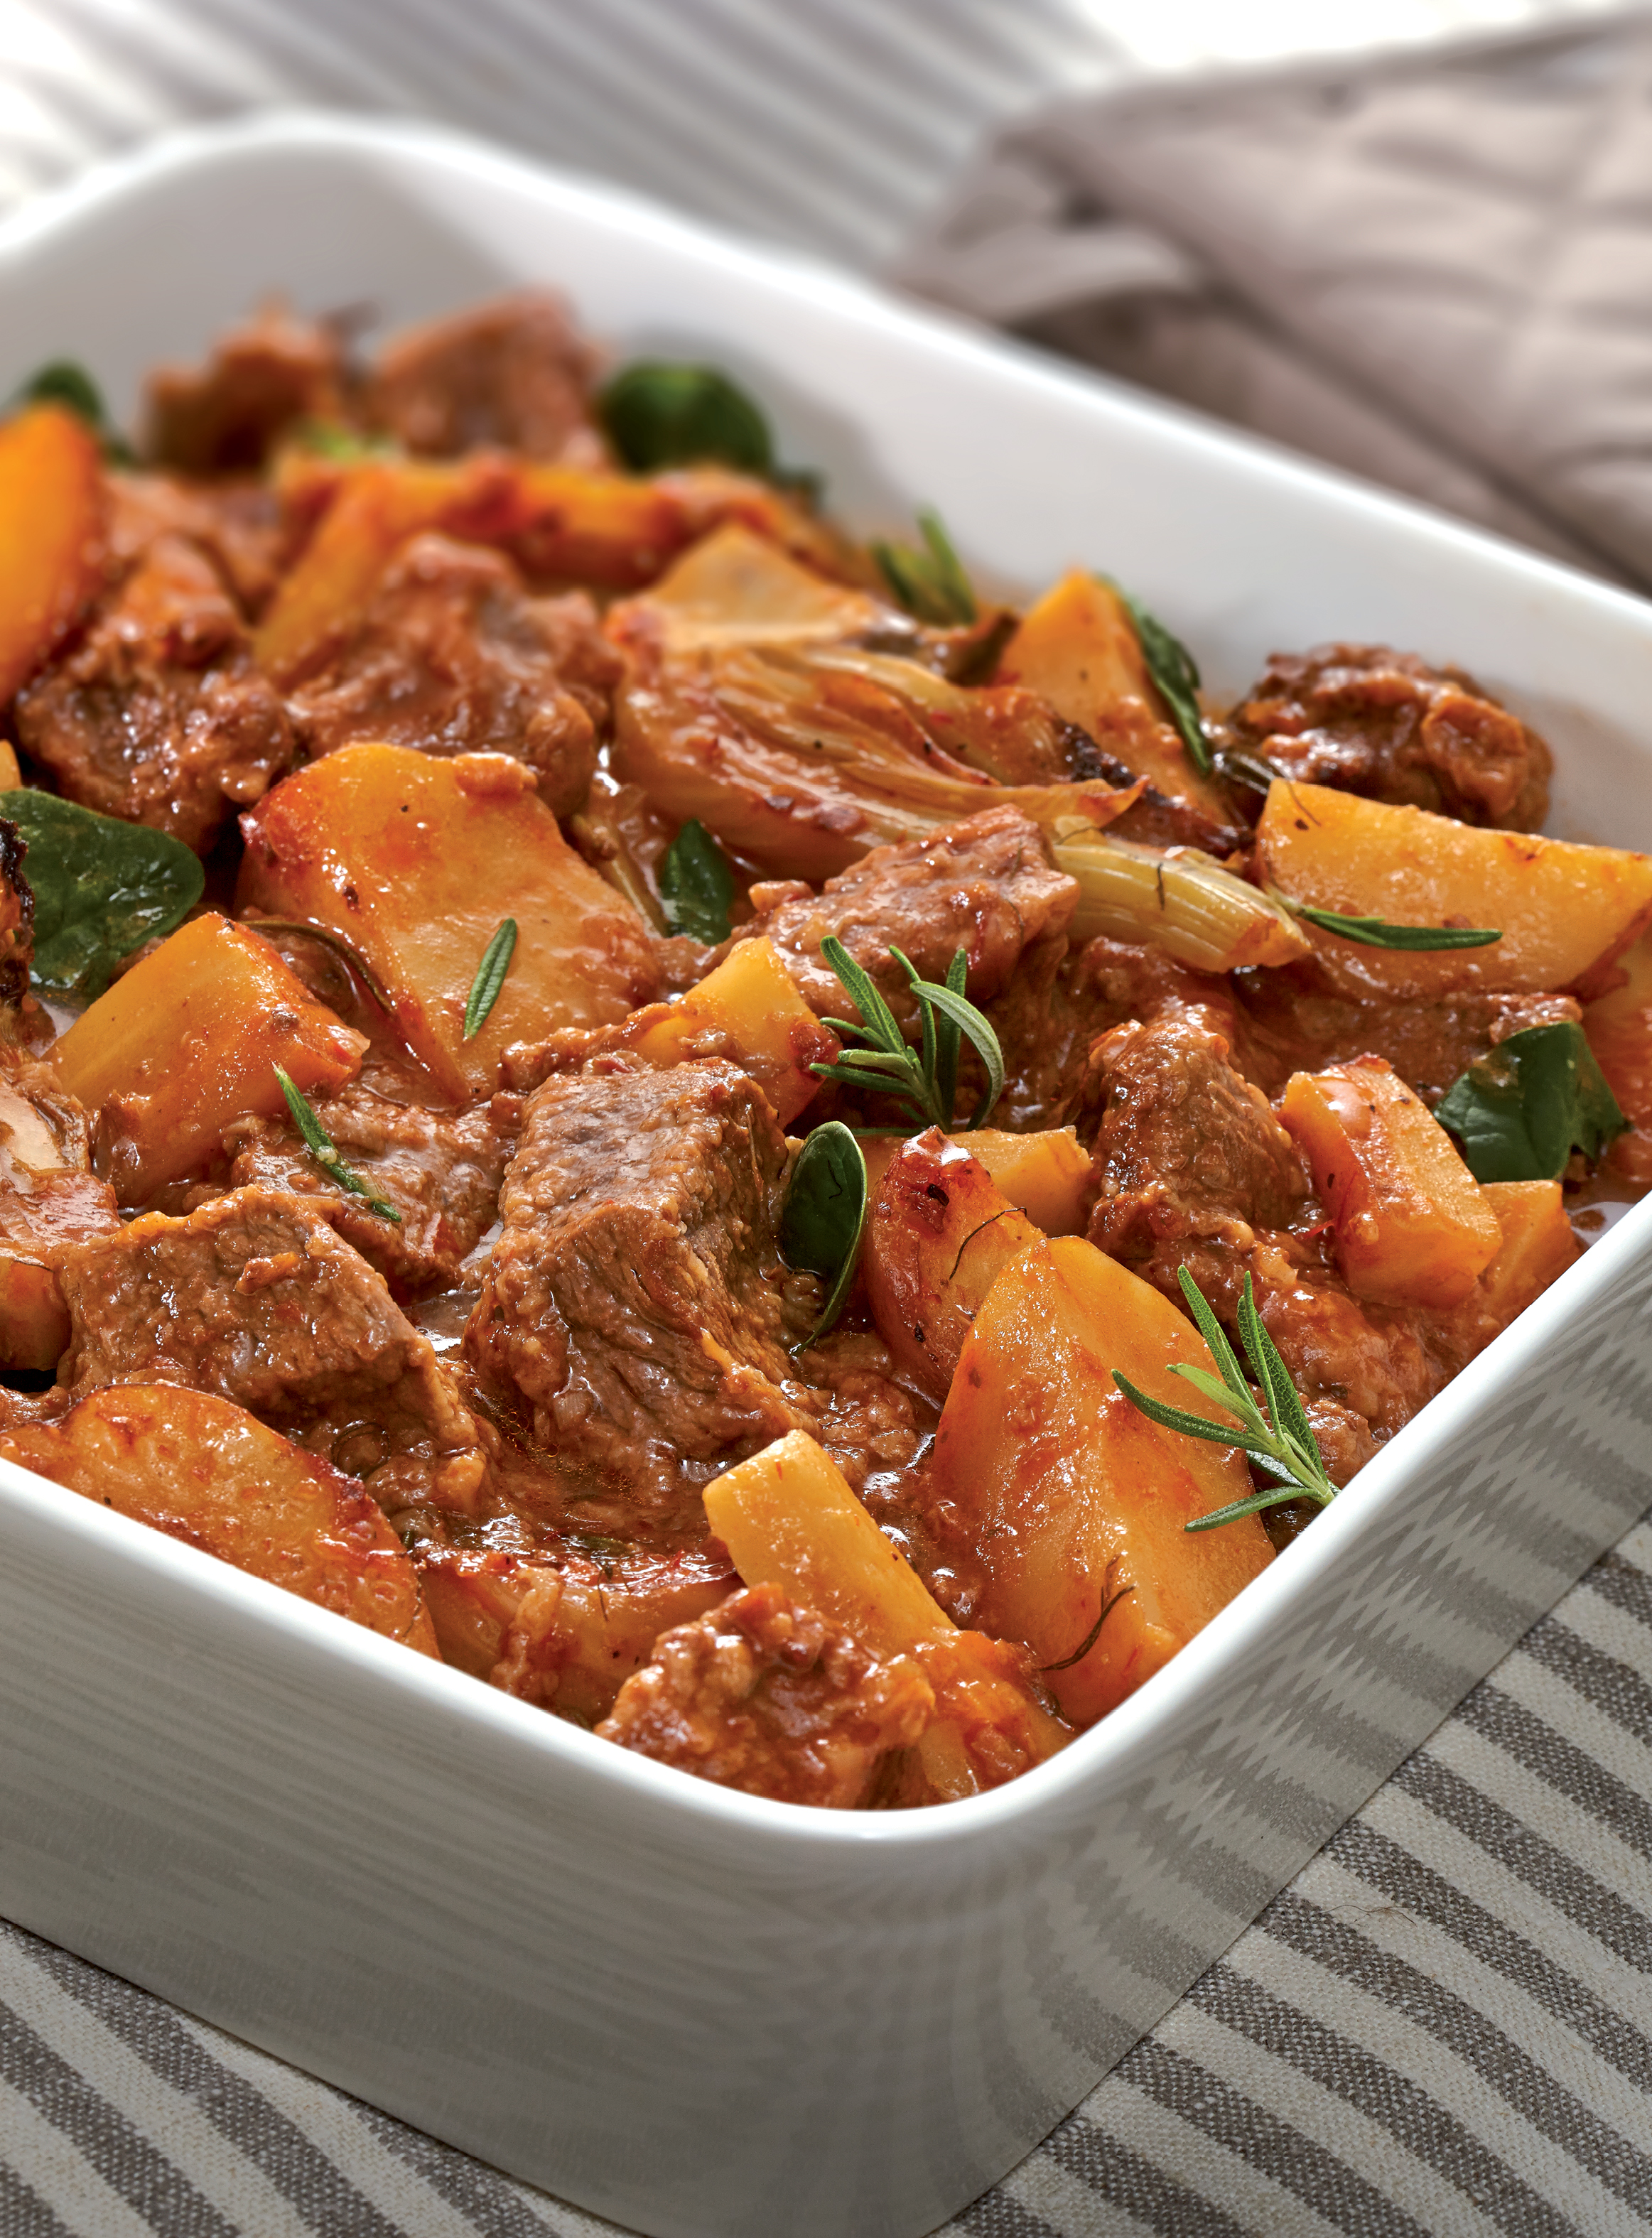
I recently made the Country Italian Beef Stew for which the publisher is allowing me to share the recipe and photo along with my review (recipe follow below review). This is a yummy stew with a delicious brown sauce/gravy and is one I will definitely make again. This was also the first time that I cooked with a fennel bulb. Not being familiar with whether all fennel bulbs are the same size or not (the recipe called for one fennel bulb), I erred on the side of caution and used only a good half of the bulb in case I didn’t like it. However, I loved it – it has a subtle but not overpowering fennel flavour. This stew has good flavour and texture and reheats well, too.

Concluding Thoughts

I like this book. Very much, in fact, and it will make its way on to my crowded, and now premium-spaced, recipe bookcase and I will use the book as it contains many taste-tempting recipes. Retailing for $24.95 (US$)/$27.95 (CDN$), I feel this book is reasonably priced for its content and quality. If you are a committed slow cooker user, I think you’ll find this a wonderful inspiration for many meals and, if you are new to slow cookers, I believe you will find a number of new recipes to add to your meal preparation.

Disclosure: I received a complimentary copy of Easy Everyday Slow Cooker Recipes from Robert Rose Inc for the purposes of conducting a review of the cookbook. I received no compensation for this review and was under no obligation to provide a positive review. All opinions expressed are purely my own.
The following recipe is courtesy of Easy Everyday Slow Cooker Recipes by Donna-Marie Pye, 2014 © www.robertrose.ca Reprinted with publisher permission. Available where books are sold.

Country Italian Beef Stew (page 66, beef, international)
Makes 6 to 8 servings CountryBeefItalianStewEESC

This stew features the wonderful flavors of the Mediterranean — fennel, basil and rosemary. Fennel has a distinctive mild licorice flavor, but even if you are not a licorice fan, you will enjoy the bold flavors of this beef stew.
• Minimum 4-quart slow cooker
3 tbsp all-purpose flour (45 mL)
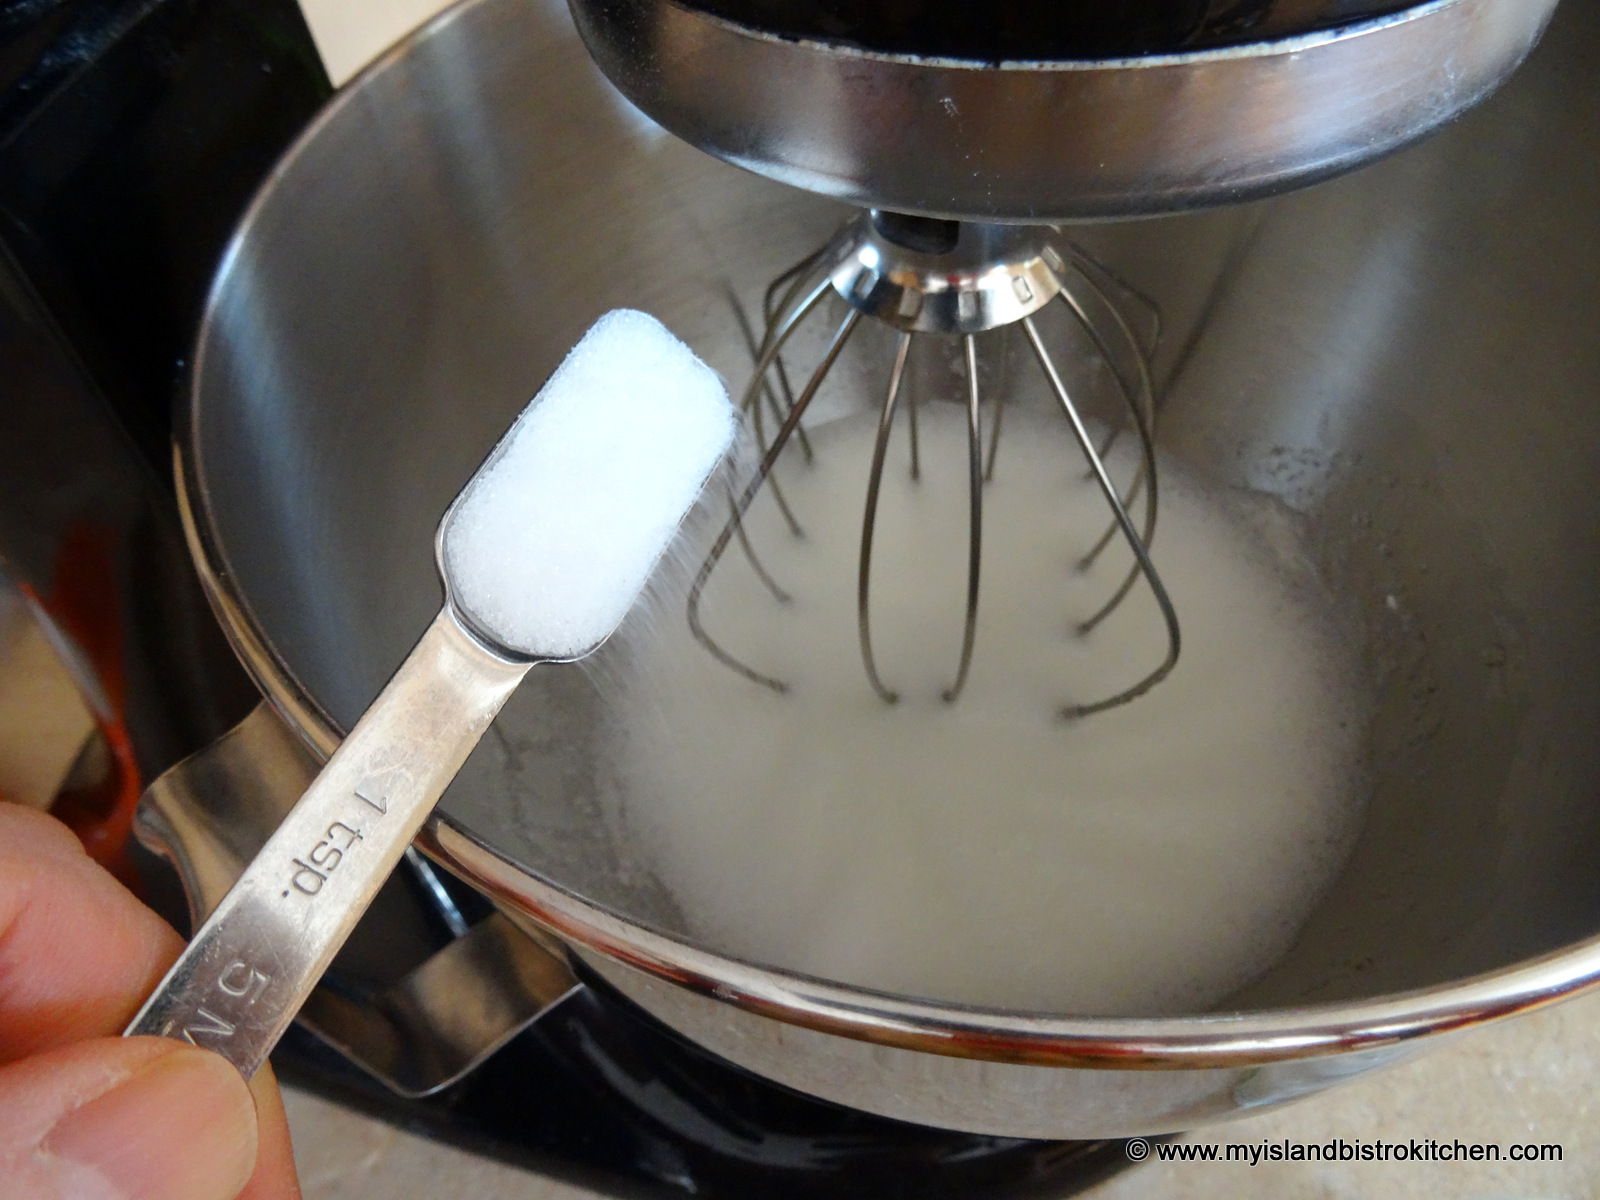
1 tsp salt (5 mL)
1 tsp freshly ground black pepper, divided (5 mL)
2 lbs stewing beef, cut into 1-inch (2.5 cm) (1 kg)
cubes
2 tbsp vegetable oil (approx.) (30 mL)
6 tiny new potatoes, halved or quartered (6)
2 parsnips, cut into 1- to 2-inch (2.5 to 5 cm) (2)
pieces
1 fennel bulb, trimmed and cut into 1
1⁄2-inch (1 cm) wedges
1 cup chopped onion (250 mL)
1 cup beef broth (250 mL)
1⁄2 cup dry red wine (125 mL)
1 can (71⁄2 oz/213 mL) pizza sauce (1)
4 cloves garlic, minced (4)
1 tsp dried rosemary, crumbled (5 mL)
1 cup fresh baby spinach leaves (250 mL)

1. In a heavy plastic bag, combine flour, salt and 1⁄2 tsp (2 mL) of the pepper. In batches, add beef to bag and toss to coat with flour mixture. Discard excess flour mixture.
2. In a large nonstick skillet, heat half the oil over medium-high heat. Cook beef in batches, adding more oil as needed, for 5 minutes or until browned all over. Using a slotted spoon, transfer to slow cooker stoneware. Stir in potatoes, parsnips, fennel and onion.
3. In a 2-cup (500 mL) measuring cup, combine broth, wine, pizza sauce, garlic, rosemary and the remaining pepper. Pour over beef mixture.
4. Cover and cook on Low for 8 to 10 hours or on High for 4 to 5 hours, until bubbling. Just before serving, stir in spinach until wilted.

Tip: Crush dried rosemary between your thumb and fingers before adding it to a dish. This helps release the full aromatic flavor of the herb.