Holiday Afternoon Tea

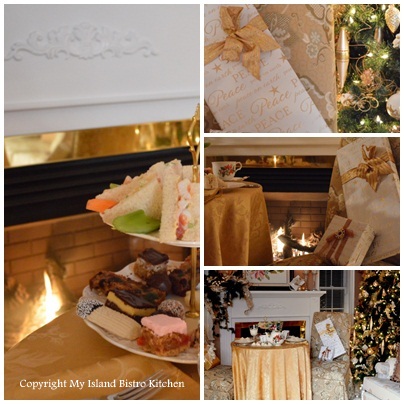
One of the most relaxing ways to spend an afternoon over the Christmas holiday season is with an afternoon tea.  As someone who loves to bake, I always seem to “over-do” it on the baking front at Christmas!

Holiday Afternoon Tea Setting

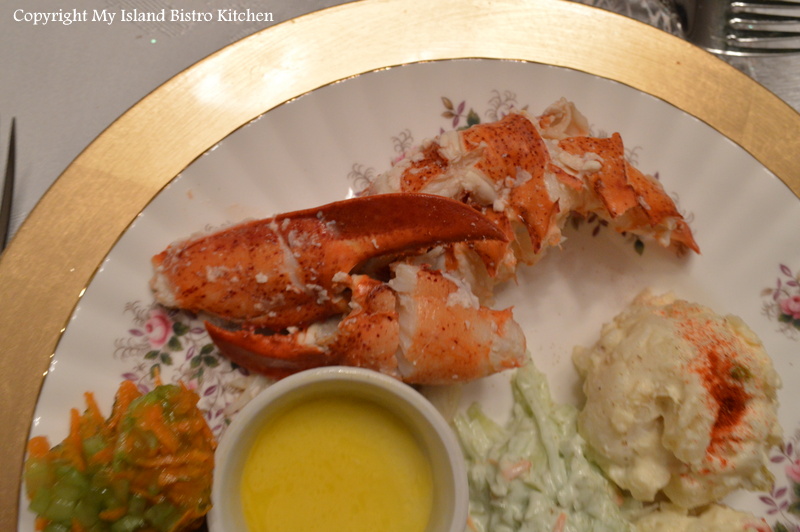
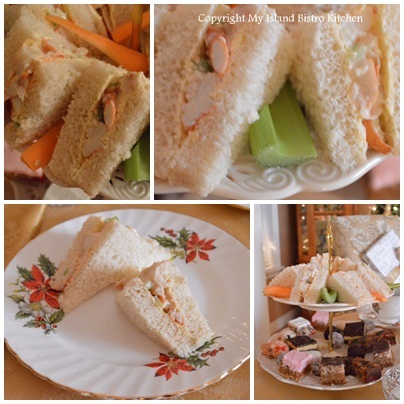
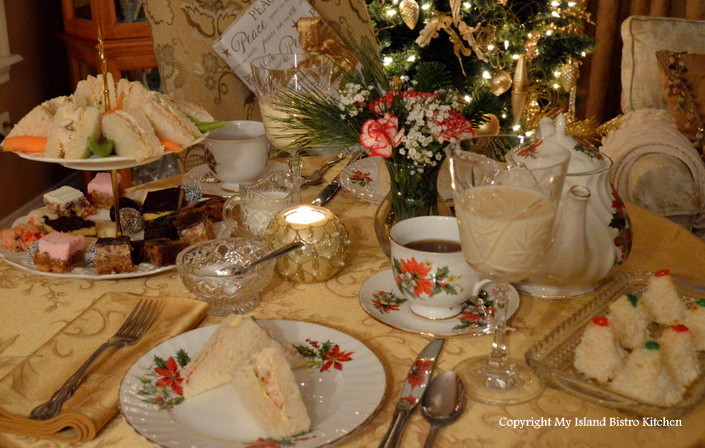
Living on an Island on Canada’s East Coast, we have ready access to lobster.  I maintain there is no comparison to our fine quality lobster that comes out of the cold Atlantic waters.  Lobster at Christmas is one of our traditions.  This year, the prices have been particularly good for consumers (CD$4.99/lb, uncooked; $5.99/lb, cooked) but not so much for the lobster fishers.  Naturally, I chose lobster sandwiches for my holiday tea!

Lobster Sandwiches


The filling for the lobster sandwiches was nothing more than the lobster, finely chopped celery, mayonnaise, a squirt or two of lemon juice, and a bit of Dijon mustard.  I don’t like to add any ingredients that will detract from the fresh taste of the lobster itself.


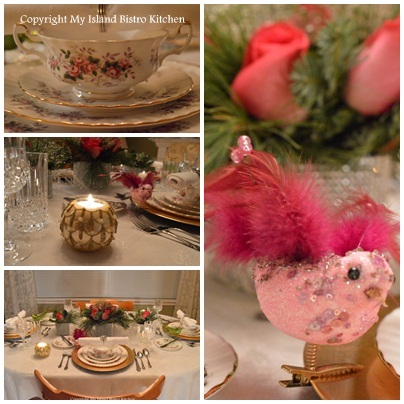
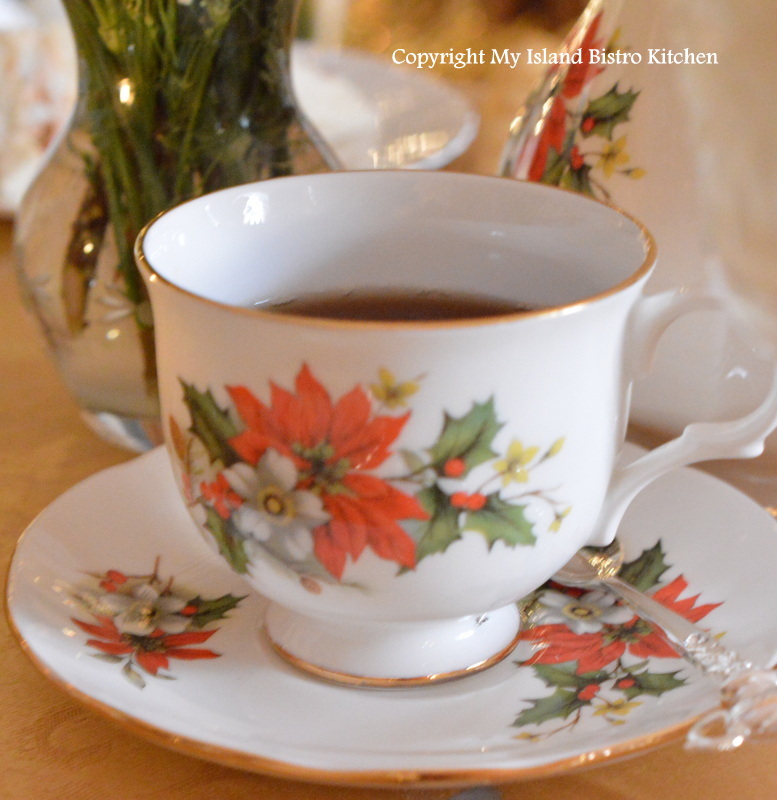
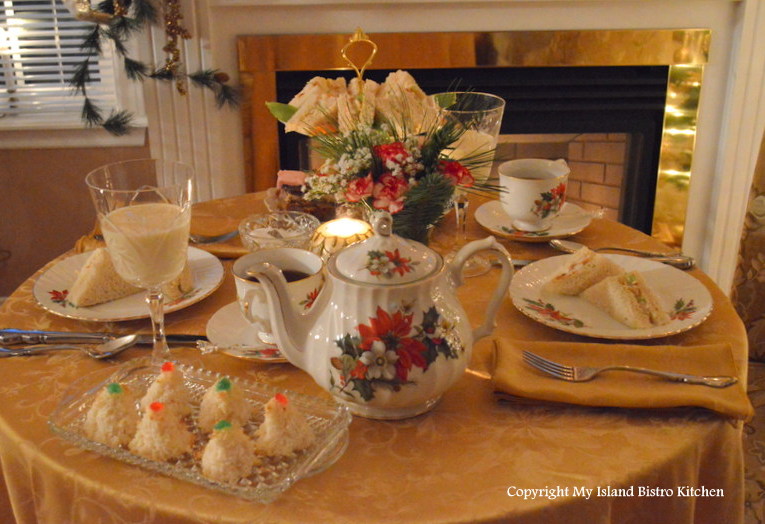
I served locally-made Eggnog from Charlottetown’s Purity Dairy.  With a sprinkle of nutmeg, this seasonal beverage was very tasty!  And, of course, freshly brewed tea served in my newly-acquired Sadler Christmas teapot and matching cups and saucers, rounded out the beverage menu.


Sadler Christmas Teapot


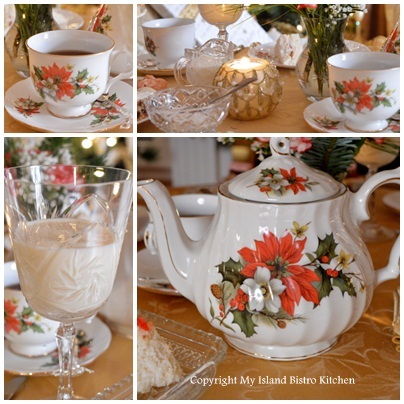
I also included my new miniature teaspoons adorned with little teapots.


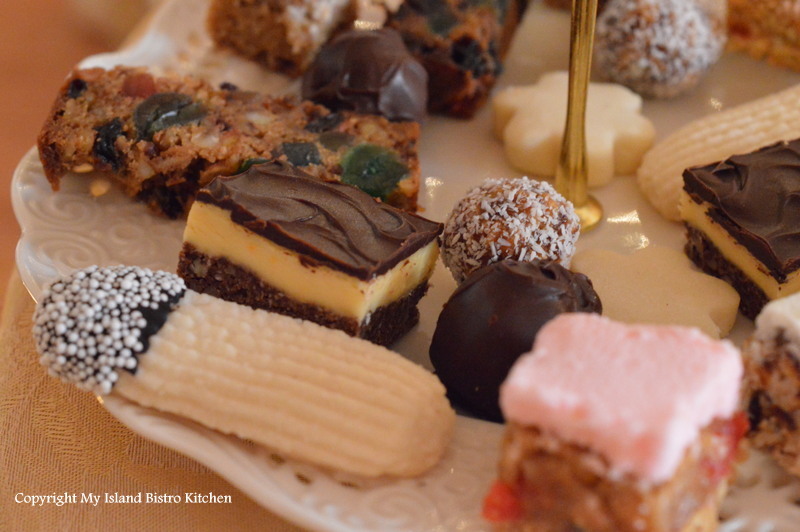
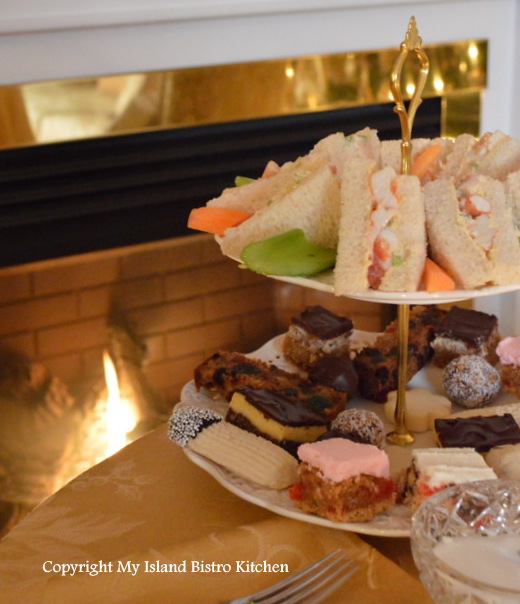
In addition to my fruit cake, I always try to ensure my Christmas baking includes a mix of squares, cookies, balls, and shortbread.  I also try to ensure a mix of colors and textures on my sweet trays.  Yes, I know that the traditional way to serve is to have the sandwiches on the bottom tier and the sweet treats on the top tier.  However, as you can see, I had lots of different varieties of sweets so needed the bigger plate for them given my tea table was small and had limited room for additional trays!  Therefore, I reversed what is served on the two trays of the server.

Christmas Sweets!


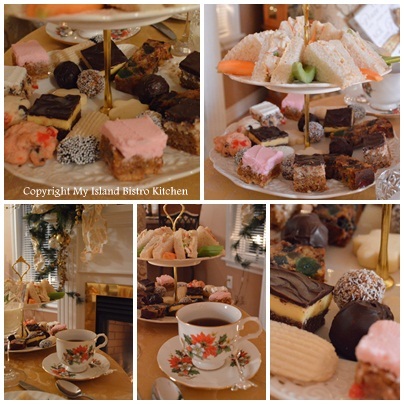
I shaped the macaroons into miniature tree shapes and presented them on their own separate tray.

Macaroon Trees

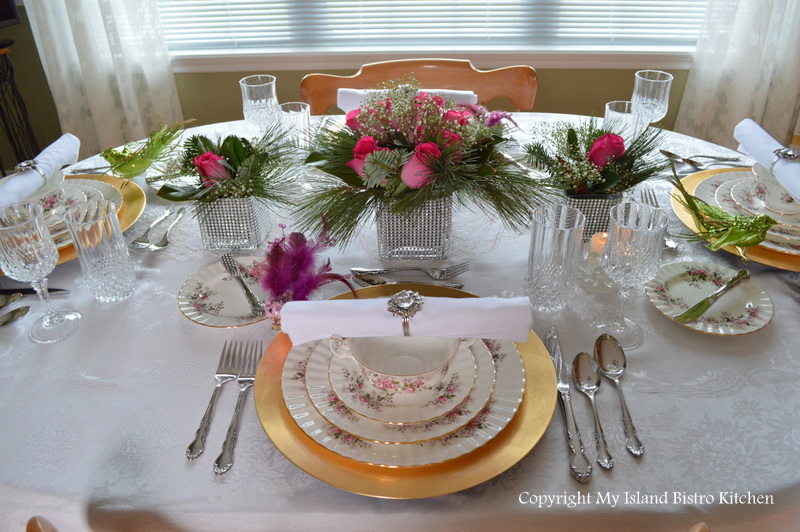
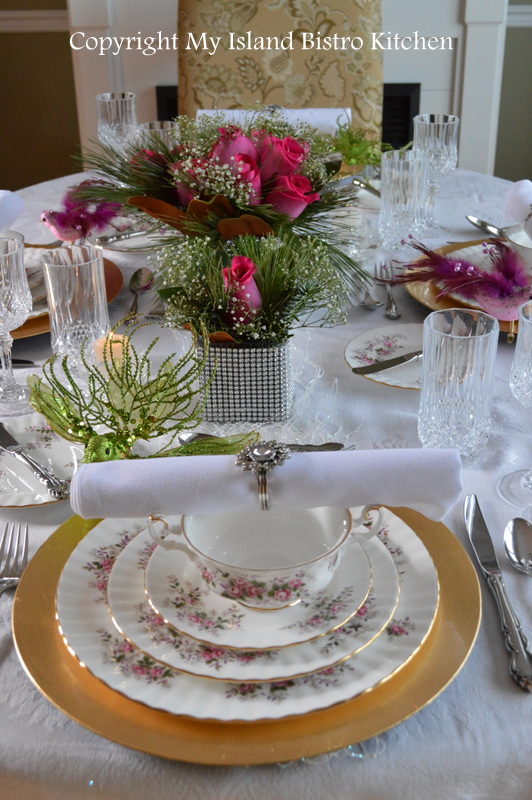
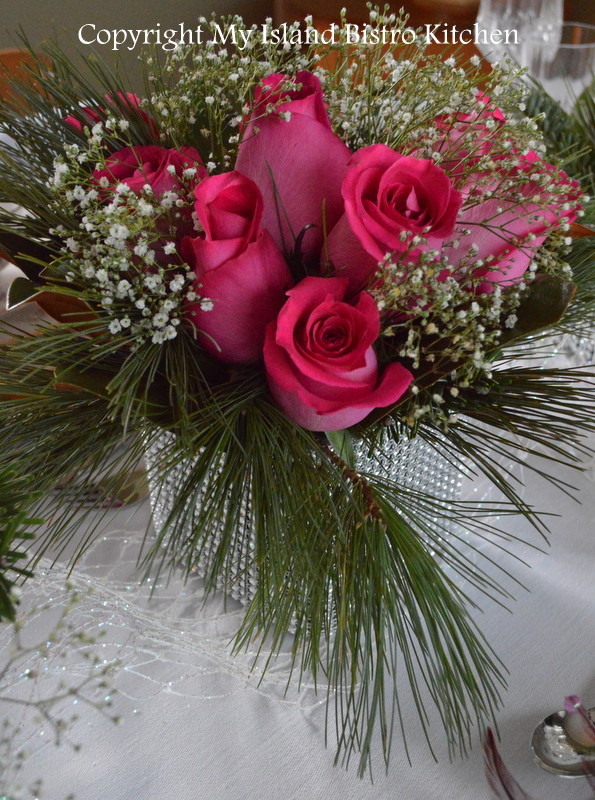
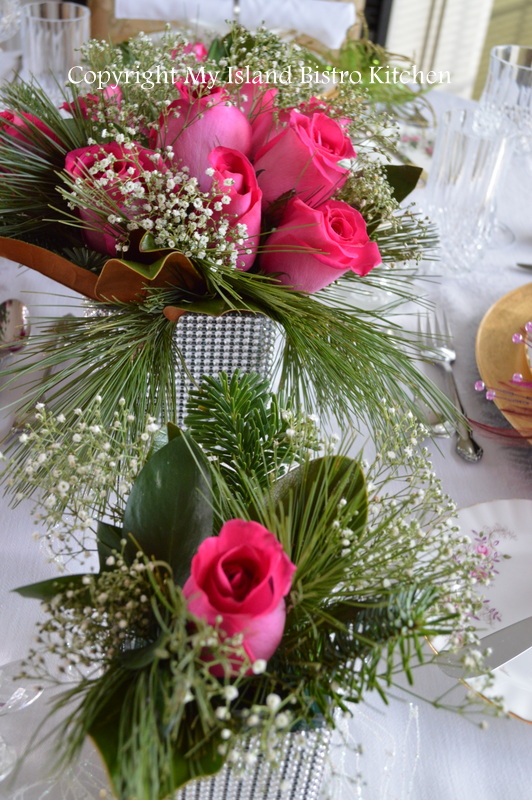
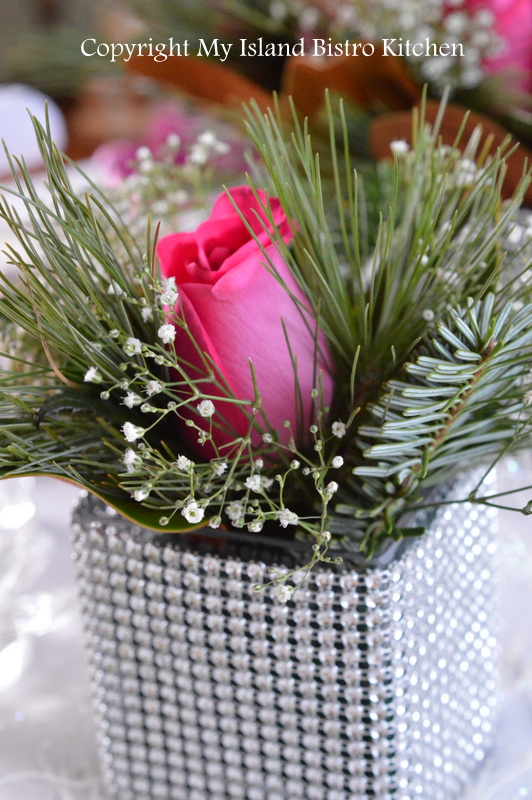
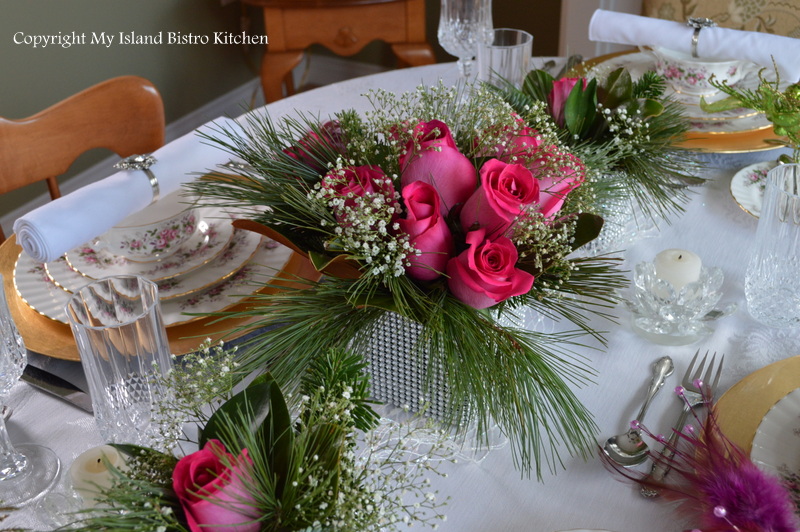
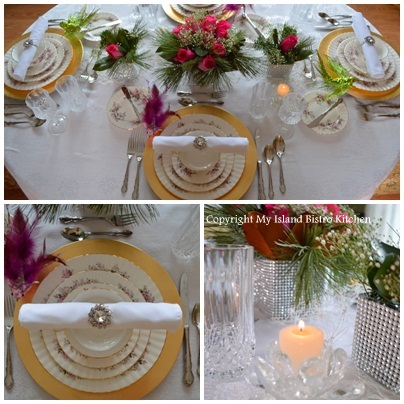
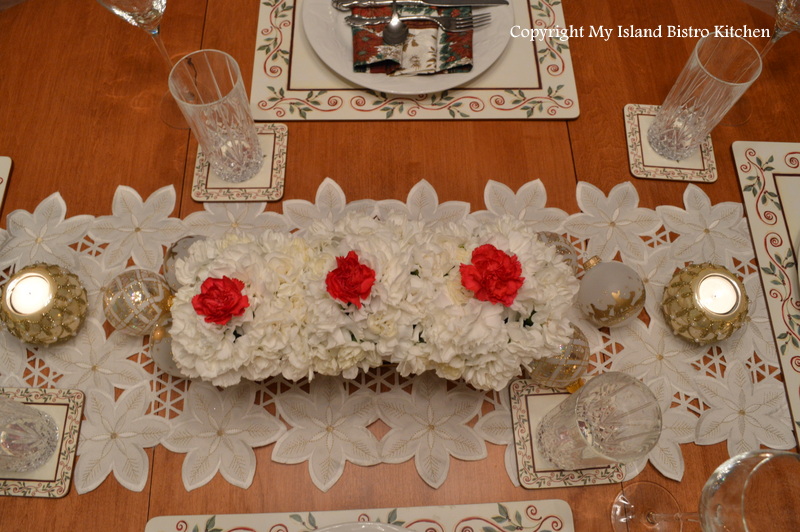
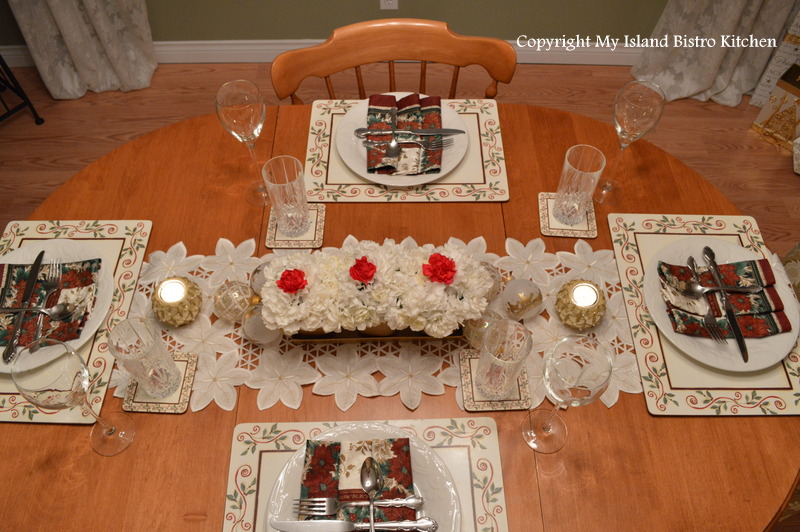
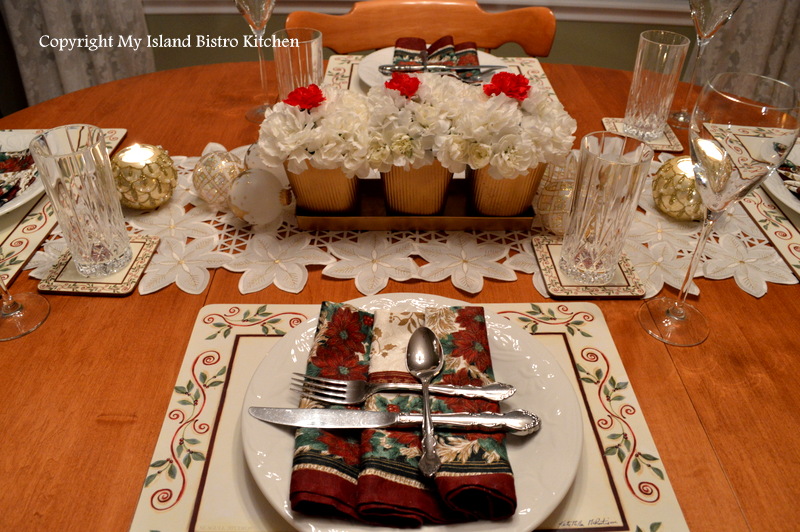
My tea table is not large so I chose a small floral centerpiece of red and white miniature carnations mixed with seasonal greenery and accented with frothy baby’s breath.

The Tea Table


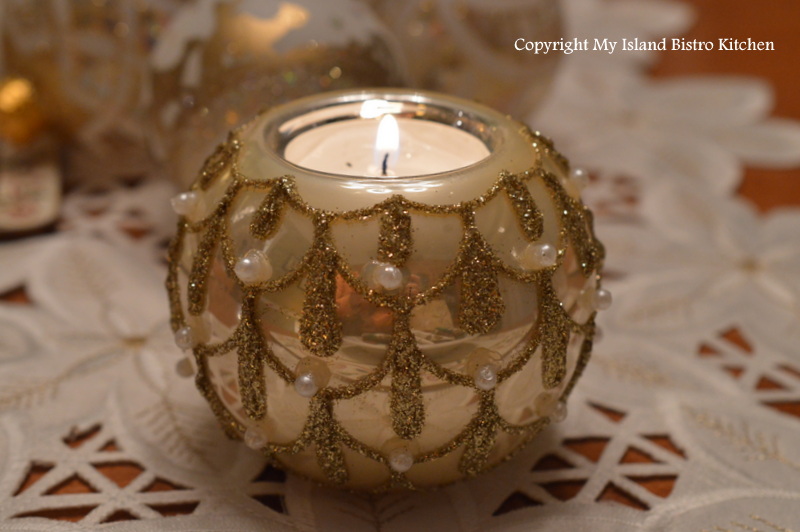
I love winter afternoon teas by the fireplace!


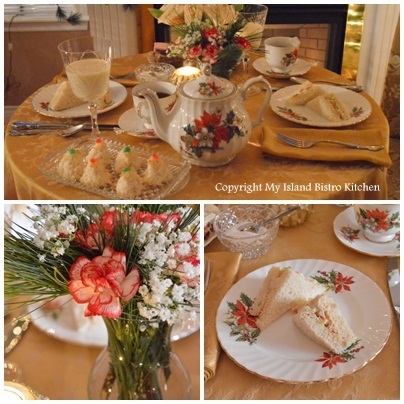
These tea plates are new this year, too.

Place Setting


Fireside Tea

Must eat these up before they melt by the fire!


I hope you take some well-earned relaxation time over this holiday season and that a nice cuppa tea with some delectable sweet treats are part of your celebration.

Best wishes for a wonderful new year!

Barbara

I will be sharing this posting with Sandi at her Tea Time Tuesday event at Rose Chintz Cottage.

Christmas Eve Tablesetting and Dinner

Sometimes, I like to glitz up my Christmas Eve tablesetting and I thought you might like to have a look.

Christmas Eve Table Setting

My dining table is not large but comfortably seats four and can accommodate six guests.  To give an air of formality to the setting, I started out with an antique Irish linen tablecloth and chose simple gold charger plates to frame each place setting.  And, of course, I used my fine china for the occasion.

For the central tablescape, I opted to go with one main floral arrangement flanked by two smaller matching satellites.  Additional satellites can be added if the length of the table is greater. It’s a great way to extend the floral centerpiece down the entire length of a dining room table. The color scheme is deep rose that draws that particular color out of the darker flowers in the Royal Albert “Lavender Rose” china pattern.

Small glass cubes are very versatile standbys to have in a collection of vases.  Here, I have covered them in a sparkling ribbon that shines like rhinestones.  This, of course, covers up the mechanics of the arrangement (i.e., the oasis used to hold the flowers in place) and also lends an air of elegance to the table.  I used lots of magnolia leaves and seasonal greens as the base for each arrangement, then the roses, and finally the frothy baby’s breath was added.  Magnolia leaves are wonderful because they are deep green on one side and a velvety rusty-brown on the underside.  So, you’re getting two colors and texture with one leaf!

Roses on a bed of magnolia leaves and seasonal greenery

One of the easiest ways to present napkins is in a napkin ring.  Here, I have chosen a very simple napkin roll because the flowers form the focal point of the table and an extravagant napkin fold is not necessary.  I found these “blingy” napkin rings a while back at our local Winners store.

Place Setting

I love these wonderful little clip-on birds.  I use them on trees, in mantle sprays and garlands, and even work them into place settings.  So it wouldn’t appear too “matchy-matchy”, I selected two green and two pink, again to bring out the colors in the china.

Birds Adorn Each Place Setting

The color of these roses is just extraordinary.  It’s amazing how well the rusty-brown of the magnolia leaves works with the deep rose color of the flowers.

Deep Rose Roses

Here is an overhead view of the table.  I usually line up the cutlery but, for this setting, opted to stagger the height of the flatwear.

Festive Holiday Table

For safety reasons, I am not a big fan of using tall taper candles in tablescapes, particularly those (like this one) that will actually be used.  One jerk of a knee on a table leg and a tall burning candle is easily knocked over.  Generally, if my tablescape involves candles, I will choose to use low votive candles.  There are many beautiful and decorative votive holders on the market and they will still give the soft glow and ambiance of candlelight and I find them safer options.


One of the things to keep in mind with any table setting is the time of day it will be used.  Colors change in different lights.  Some colors look great in daylight but don’t show well at night.  Some will work well no matter the lighting.  Here is a photo of my same table setting at night.  The colors of the roses change and get a little deeper shade and everything has a warmer golden glow.  I particularly like how the ribbon surrounding the glass cubes really sparkles in the glow of the evening candle light.  When you are selecting the color scheme for your table setting, it’s a good idea to make sure that the colors can transition well from daytime to evening, if you are planning to use it for both.

In the Evening Light


Roses and Birds

Our Christmas Eve dinner tradition is very seafood-oriented.  We start with seafood chowder, then fresh Atlantic lobster with salads and, for dessert, finish with cherry cheesecake.  This year, our wine pairing was Matos Chardonnay, produced from locally-grown grapes from vineyards in St. Catherine’s, PEI.  You can check out my October 22, 2012, story on Matos Winery by clicking here.

Matos Chardonnay

The seafood chowder recipe I used is Jeff McCourt’s PEI Seafood Chowder.  You can find this recipe included in the story I wrote on September 16, 2012, following my participation in one of the culinary boot camps at which Chef McCourt taught at the Culinary Institute of Canada in Charlottetown, PEI.

Seafood Chowder

How appetizing does that great Atlantic lobster look!

Traditional PEI Lobster Dinner


And, for anyone who still has room left, a piece of cherry cheesecake as a finale to Christmas Eve dinner.

Cherry Cheesecake

Setting a beautiful table adds to the festive mood of the holiday.  Thank you for visiting my blog today and enjoy this holiday season.

To view my other Christmas and New Year’s tablesettings, click on the links below:

Glitz ‘n Glamour New Year’s Eve Tablesetting
Twas the Night Before Christmas
The Warmth of the Christmas Light Tablesetting
A Tartan Holiday Tablesetting
Pretty Poinsettia Tablesetting
Poinsettia Trio Tablesetting
The Holiday Table
The Pink and Green Holiday Table
Christmas at My Island Bistro Kitchen
Purple Tablesetting for the Holidays
Evergreens and Reindeer Christmas Tablesetting
Cupcake Tablescape

Cupcake Tablescape

Cupcakes, anyone?

Cupcake Tablescape

For this, my second tablescape of the Christmas season, I have opted to go with a more casual look, using everyday plain white dinnerware because it is not always necessary to have fine china in order to set a festive table.  This setting would be quite suitable for weekday family dinners over the holidays or for casual dinner parties where you don’t want the look to be too fussy and overstated.

Cupcakes with Cherries on Top!

The centerpiece consists of three separate arrangements of carnations to look like iced cupcakes with a red cherry carnation on top.  I have left the three arrangements together because my dining table is not large.  They can, however, be separated and dispersed down the length of the table.  To complete the look, I simply added some of my favorite Christmas balls and a couple of decorative votives and, voila, a simple yet attractive centerpiece.

I like these little votives for tealights.  They are very versatile.

These are some of the Christmas decorations that hang on my living room tree and, of course, I always buy extras to place here and there throughout the house to tie the look together.  I often use them in my holiday tablesettings.

 Below is a top view of the cupcake tablescape.

 
For this setting, I decided to just use a runner down the center of the table instead of a full tablecloth.  Keeping the wood of the table exposed lends itself to a casual setting.  For each place setting, I used Christmas poinsettia placemats that work well with the poincettia-themed napkins.  These hard placemats are great because they can easily be wiped off and they protect the table from hot plates.  This is particularly important to consider when opting not to use a full tablecloth with a protective table pad underneath.  If you are going to be serving a hot meal, I recommend these ‘board’ placemats.


Typically, I tend to use plain-colored napkins.  However, because I was setting this table with plain white dinnerware, I chose napkins with a seasonal pattern of burgundy and green because there was nothing on the table that they would clash with and I thought they would add a splash of color to each white place setting.  If I had used plain white napkins on a white plate that sat on a mostly off-white placemat, the placesetting would have gotten lost.  The napkin fold I used is called the “wave”.  It is a simple fold in keeping with the simplistic setting.  It also works well with the entire tablescape which is low.  I then placed the cutlery on top of the napkin, giving the setting a more informal and relaxed look.

The “Wave” Napkin Fold


This is a great setting to use when the event calls for understated, more casual dining.
 

Evergreens and Reindeer Christmas Tablescape

It’s no secret that I love setting beautiful tables!  I genuinely believe it enhances a wonderful meal by providing the ambiance and it shows your guests that you put some thought and care into the dinner party. Today, I am sharing photos and a description of my Evergreens and Reindeer Christmas Tablescape.
Continue reading Evergreens and Reindeer Christmas Tablescape

Pumpkin Jam

Pumpkin Jam

This year seemed to be a particularly good year for growing pumpkins on the Island.  Everywhere I looked I saw fields, bins, and wagons full of the bright orange pumpkins which are members of the gourd family.

Trailer Loads of Pumpkins at Kool Breeze Farm in Wilmot Valley, near Summerside, PEI


Bins of Pumpkins at Kool Breeze Farm

Funny how we can’t wait to display them on our doorsteps and in fall displays but, once the end of November arrives, we don’t want to see pumpkins hanging around as thoughts turn to Christmas decorating.

Pumpkins at Compton’s Vegetable Stand, St. Eleanors, near Summerside, PEI


Field of Pumpkins, Marshfield, PEI

So, wondering what to do with those pumpkins instead of throwing them into the compost bin?  Why not make a batch of old-fashioned pumpkin jam.  This isn’t an altogether common jam you are likely to find on many supermarket shelves.  Yet, it is a very tasty, economical, and versatile jam that only takes four ingredients — pumpkin, sugar, crushed pineapple, and jello.  This is a jam that my grandmother used to make every fall for her brother yet I don’t recall it ever being on her own pantry shelves and I’m not sure why.

The jam has a wonderful bright orange-yellow color.  In fact, I think it is more like a marmalade than a jam.  Regardless, it is very tasty on toast, biscuits, as a filling for cookies, and as a dollop on warm vanilla custard.

Pumpkin Jam on Biscuits


Pumpkin Jam as a Filling for Thumbprint Cookies

To make the jam, select a pumpkin that is more oblong than round in shape.  I visited my local vegetable stand and they told me these are “jamming” pumpkins.

Pumpkin for Jam

Cut the pumpkin open and remove and discard the seeds and pulp.

Split Pumpkin Ready to be Seeded

Cut the pumpkin flesh into finely diced pieces and place in pot.

Diced Pumpkin

Add the sugar to the diced pumpkin and let the mixture sit overnight.  The sugar will draw the juice out of the pumpkin.

Adding Sugar to the Diced Pumpkin

In the morning, drain and reserve the juice from the pumpkin.

Draining the Juice from the Pumpkin

Boil the juice for 20 minutes over medium heat to form a syrup.

Syrup for Pumpkin Jam

Add the drained pumpkin to the hot syrup.

Adding Pumpkin to Hot Syrup

Over medium heat, cook the pumpkin until it starts to become transparent, approximately 20-30 minutes.

Cooking the Jam

Add the can of crushed pineapple and its juice to the jam.

Adding the Crushed Pineapple to the Pumpkin Jam

Add the jello to the jam.

Adding the Jello to the Pumpkin Jam

Bring jam to a boil over medium heat.

Cooked Pumpkin Jam

 Meanwhile, sterilize the jars.

Fill the sterilized jars.

Bottling Pumpkin Jam

 Place warmed lids on the hot jam bottles to seal and fingertip-tighten the rims to the bottles.

Placing Lids on Jam Jars

Store this jam in the refrigerator for approximately 1 month and enjoy it fresh as a treat when pumpkins are in season.

Pumpkin Jam


Thank you for visiting “the Bistro” today. There are lots of ways to connect with “the Bistro” through social media:

Join My Island Bistro Kitchen on Facebook
Follow the Bistro’s tweets on twitter @PEIBistro
Find the Bistro on Pinterest at “Island Bistro Kitchen”
Follow along on Instagram at “peibistro”

Pumpkin Jam

By Barbara99 Published: December 1, 2012

  • Yield: Apx. 6 1/2 cups

A colorful, moderately sweet, versatile jam.

Ingredients

Instructions

  1. Cut, peel, remove and discard seeds and pulp of pumpkin. Cut pumpkin into small diced pieces.
  2. Place diced pumpkin in large pot. Add sugar. Soak overnight.
  3. Drain pumpkin in colander, reserving juice.
  4. Return reserved juice to pot and boil for 20 minutes over medium heat.
  5. Add the drained pumpkin to the hot syrup. Cook over medium heat until pumpkin pieces start to become translucent, about 20-30 minutes.
  6. Add the crushed pineapple and its juice to the mixture. Stir.
  7. Sprinkle the jello over the mixture. Stir and bring mixture to a boil over medium heat.
  8. Sterilize the jars either by using the sanitizer setting on the dishwasher or by placing the jars in boiling hot water.
  9. Fill sterilized jars, leaving approximately 1/4" head room at jar top. Heat lids and place on jars. Fingertip tighten rims to jars. Store this jam in the refrigerator for apx. 1 month and enjoy it fresh as a treat when pumpkins are in season.

WordPress Recipe Plugin by ReciPress