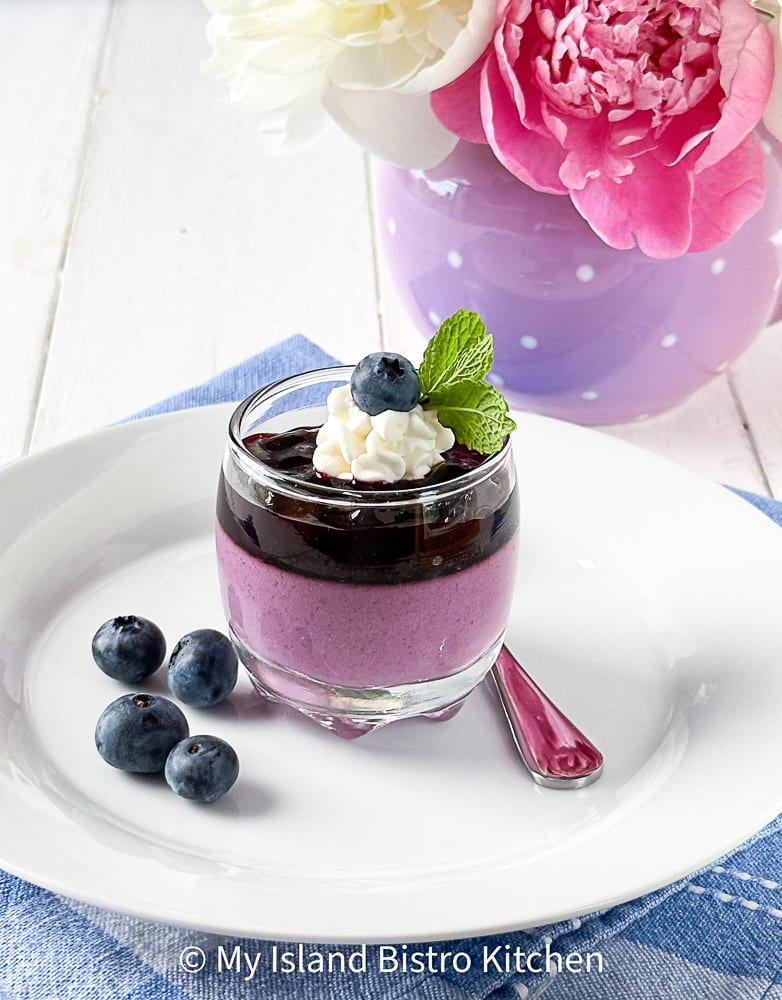
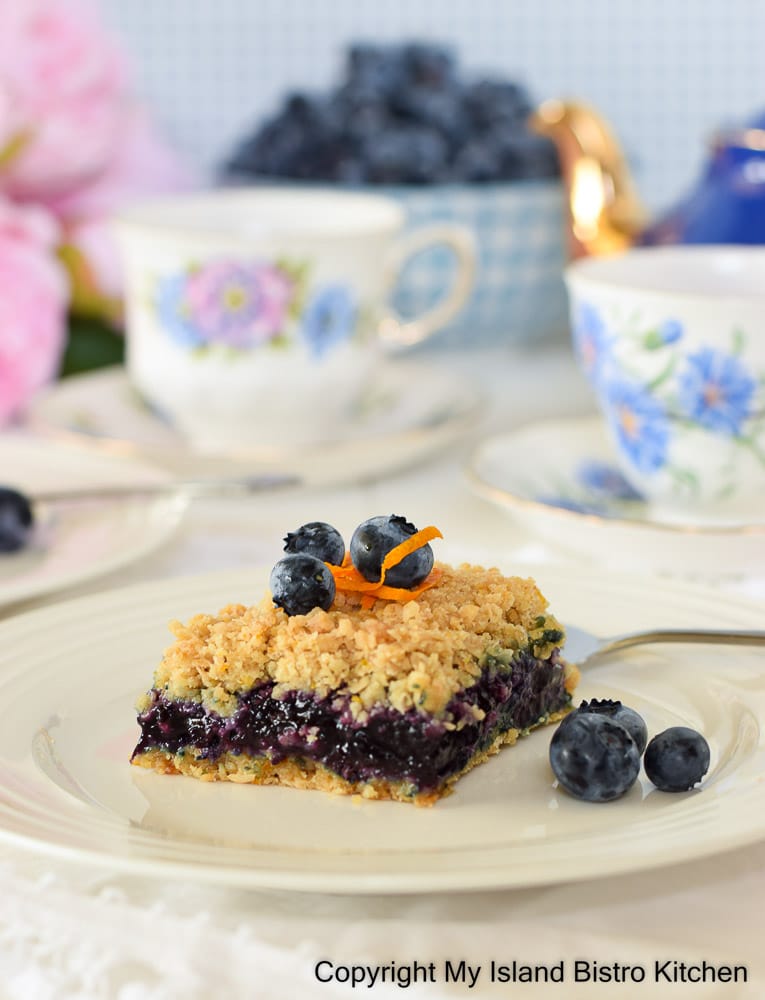
This Blueberry Cobbler is a dessert I place in the comfort food category and makes a lovely finale to a meal.
Read more: Blueberry Cobbler Recipe
This recipe has been developed using the large highbush blueberries. In the cobbler for the photos that accompany this post, I had two varieties of blueberries on hand – Patriots and Burlingtons — so I used a mixture of both but any variety of highbush blueberries can be used.
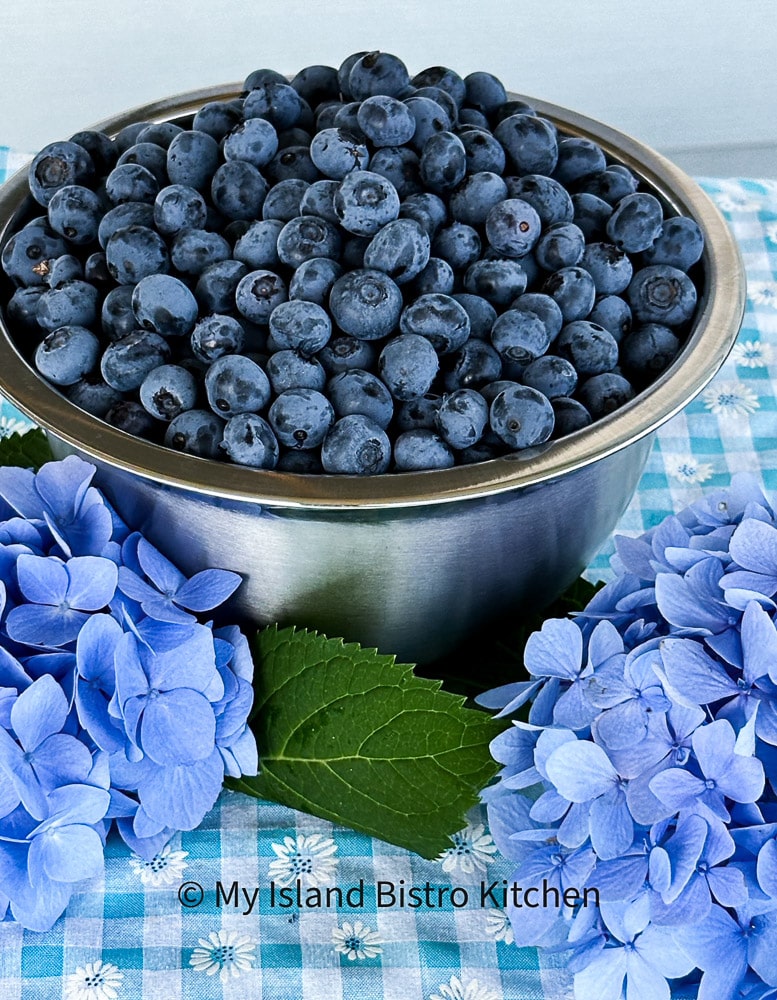
Frozen blueberries can be used instead of fresh ones. Do note, however, that additional thickener may be required due to the extra moisture found in berries that have been frozen. Start with perhaps adding one-half to one additional tablespoon of cornstarch, depending on how much water is in the frozen berries.
I use my 1-quart/1-litre rectangular-shaped baking dish for this dessert as I find the dessert portions out well from that shape of dish. However, if you don’t have one of these dishes but have a square or round baking dish, either of those would work, too.

The cobbler topping calls for buttermilk. However, if you don’t have any on hand, an equal amount of whole milk may be substituted. I do not recommend fat-reduced milk in the cobbler topping.
The recipe can be expected to yield four generous servings. Smaller appetites may see 1-2 additional servings. Vanilla ice cream is always a good choice to dress up this dessert but other flavors will work, too.

Blueberry Cobbler
Ingredients:
Blueberry Base:
1 lb/454g highbush blueberries
1¾ tbsp orange juice
½ tsp pure vanilla extract
2 tsp finely grated orange rind
2 tbsp butter, diced into small cubes
3 tbsp granulated sugar
2½ tbsp cornstarch
¼ tsp cinnamon
¼ tsp nutmeg
1/8 tsp cardamom
Pinch salt
Cobbler Topping:
¾ cup all-purpose flour
¼ cup granulated sugar
1¾ tsp baking powder
¼ tsp baking soda
1/8 tsp nutmeg
pinch salt
1½ tsp finely grated orange rind
3½ tbsp cold butter
¼ cup buttermilk
1 tbsp buttermilk for brushing cobbler top
1½ – 2 tsp turbinado or granulated sugar for sprinkling on top of cobbler (optional)
Method:
Position oven rack in center of oven and preheat oven to 375°F. Lightly grease a 1-quart/1-litre rectangular-shaped baking dish.
To make Blueberry Base:
Mix the sugar, cornstarch, spices, and salt together in a small bowl. Set aside.
Place blueberries in large bowl. Drizzle with the orange juice and pure vanilla extract. Add the finely grated orange rind and stir. Mix in the sugar-cornstarch-spice dry ingredient mixture. Transfer mixture into prepared baking dish. Dot with cubed butter.
To make the cobbler topping:
In small bowl, whisk flour, sugar, baking powder, baking soda, nutmeg, and salt together. Stir in the grated orange rind. Cut in the cold butter using a small pastry cutter. Stir in the buttermilk and incorporate ingredients to make a shaggy dough. Do not overwork dough. Pat dough into ½“ thickness, and shape into a rough rectangular shape the size to fit the baking dish. Cut dough into 6-8 equal-sized pieces and place on top of blueberry base, leaving a small amount of space between each square. Using a pastry brush, lightly brush the cobbler topping with buttermilk. Sprinkle turbinado sugar over cobbler topping, if desired.
Place baking dish on a foil-lined baking sheet (in case of any boil-overs) and transfer cobbler to oven. Bake for approximately 35-40 minutes or until blueberry base is bubbling and cobbler topping is golden tanned. Let cobbler sit for about 15-20 minutes to allow it to set before serving. Serve plain or with a scoop of ice cream or a dob of whipped cream.
Yield: Apx. 4+ servings
NOTES:
- Frozen blueberries (unthawed) may be used in this recipe; however, additional thickener may be required due to the increased moisture in frozen berries.
- The cobbler topping calls for buttermilk; however, whole milk, in an equal amount, may be substituted.
- To make the recipe gluten-free, use an equal amount of a cup-for-cup all-purpose gluten-free flour instead of the wheat-based all-purpose flour called for in the recipe.
- Any 1-quart/1-litre baking dish will work for this dessert; the rectangular-shaped baking dish (shown in the photos) is a very easy dish from which to portion out the dessert.
If you have made this recipe and enjoyed it and/or wish to share it with your friends and family, please do so on social media but be sure to share the direct link to this posting from my website.

Blueberry Cobbler
Ingredients
Blueberry Base:
- 1 lb/454g highbush blueberries
- 1¾ tbsp orange juice
- ½ tsp pure vanilla extract
- 2 tsp finely grated orange rind
- 2 tbsp butter, diced into small cubes
- 3 tbsp granulated sugar
- 2½ tbsp cornstarch
- ¼ tsp cinnamon
- ¼ tsp nutmeg
- 1/8 tsp cardamom
- Pinch salt
Cobbler Topping:
- ¾ cup all-purpose flour
- ¼ cup granulated sugar
- 1¾ tsp baking powder
- ¼ tsp baking soda
- 1/8 tsp nutmeg
- pinch salt
- 1½ tsp finely grated orange rind
- 3½ tbsp cold butter
- ¼ cup buttermilk
- 1 tbsp buttermilk for brushing cobbler top
- 1½ – 2 tsp turbinado or granulated sugar for sprinkling on top of cobbler (optional)
Instructions
-
Position oven rack in center of oven and preheat oven to 375°F. Lightly grease a 1-quart/1-litre rectangular-shaped baking dish.
To make Blueberry Base:
-
Mix the sugar, cornstarch, spices, and salt together in a small bowl. Set aside.
-
Place blueberries in large bowl. Drizzle with the orange juice and pure vanilla extract. Add the finely grated orange rind and stir. Mix in the sugar-cornstarch-spice dry ingredient mixture. Transfer mixture into prepared baking dish. Dot with cubed butter.
To make the cobbler topping:
-
In small bowl, whisk flour, sugar, baking powder, baking soda, nutmeg, and salt together. Stir in the grated orange rind. Cut in the cold butter using a small pastry cutter. Stir in the buttermilk and incorporate ingredients to make a shaggy dough. Transfer dough to lightly floured work surface. Pat dough into ½“ thickness, and shape into a rough rectangular shape the size to fit the baking dish. Do not overwork dough. Cut dough into 6-8 equal-sized pieces and place on top of blueberry base, leaving a small amount of space between each square. Using a pastry brush, lightly brush the cobbler topping with buttermilk. Sprinkle turbinado sugar over cobbler topping, if desired.
-
Place baking dish on a foil-lined baking sheet (in case of any boil-overs) and transfer cobbler to oven. Bake for approximately 35-40 minutes or until blueberry base is bubbling and cobbler topping is golden tanned. Let cobbler sit for about 15-20 minutes to allow it to set before serving. Serve plain or with a scoop of ice cream or a dob of whipped cream.
Recipe Notes
Yield: Apx. 4+ servings
[Copyright My Island Bistro Kitchen]
NOTES:
1. Frozen blueberries (unthawed) may be used in this recipe; however, additional thickener may be required due to the increased moisture in frozen berries.
2. The cobbler topping calls for buttermilk; however, whole milk, in an equal amount, may be substituted.
3. To make the recipe gluten-free, use an equal amount of a cup-for-cup all-purpose gluten-free flour instead of the wheat-based all-purpose flour called for in the recipe.
4. Any 1-quart/1-litre baking dish will work for this dessert; the rectangular-shaped baking dish (shown in the photos) is a very easy dish from which to portion out the dessert.
Connect with My Island Bistro Kitchen on Social Media
Join the Facebook page for My Island Bistro Kitchen: https://www.facebook.com/MyIslandBistroKitchen/
Follow “the Bistro” on “X” (formerly Twitter): https://twitter.com/PEIBistro/
See the drool-worthy gallery of mouth-watering food photos from My Island Bistro Kitchen on Instagram: https://www.instagram.com/peibistro/
Follow “the Bistro” on Pinterest at https://www.pinterest.ca/peibistro/ and pin one of the Pinterest-ready photos at the end of this posting to your favorite Pinterest boards!
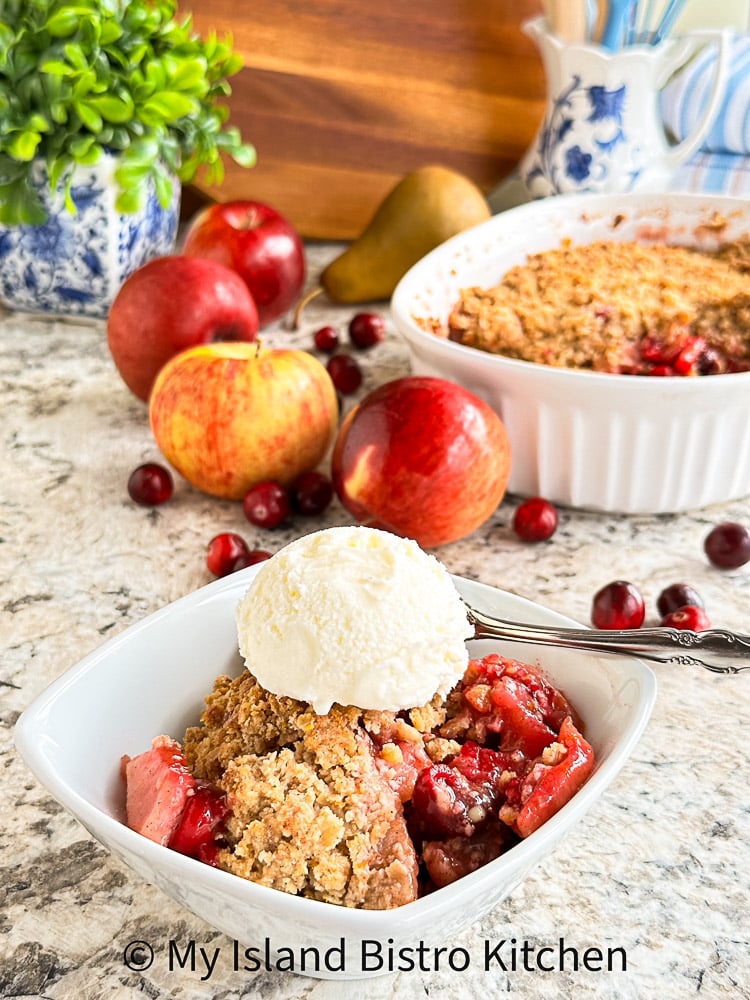
You May Also Enjoy These Other Cobbler Dessert Recipes from My Island Bistro Kitchen:
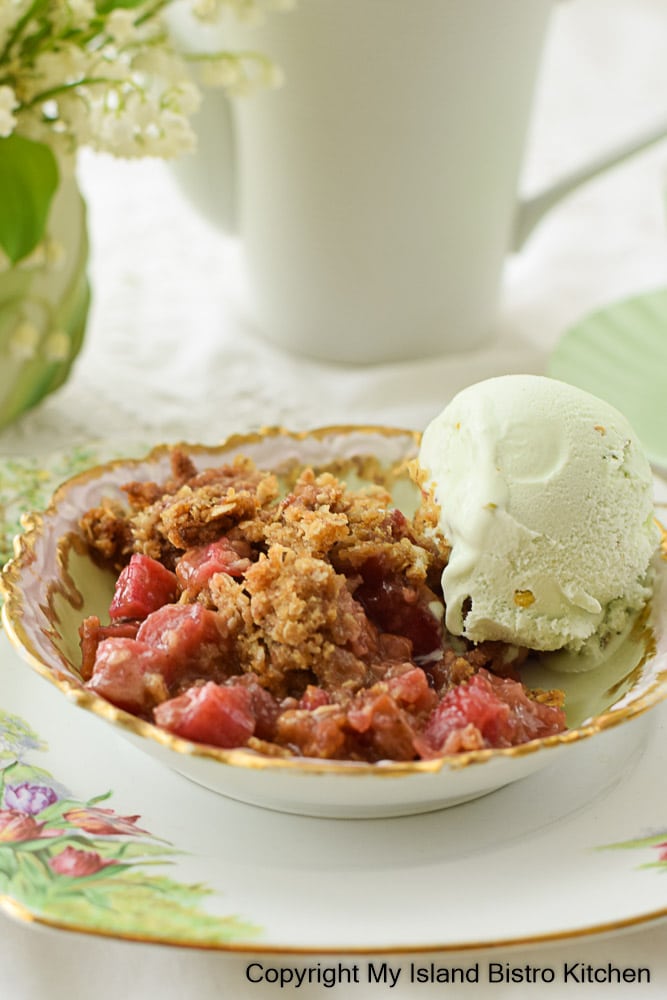
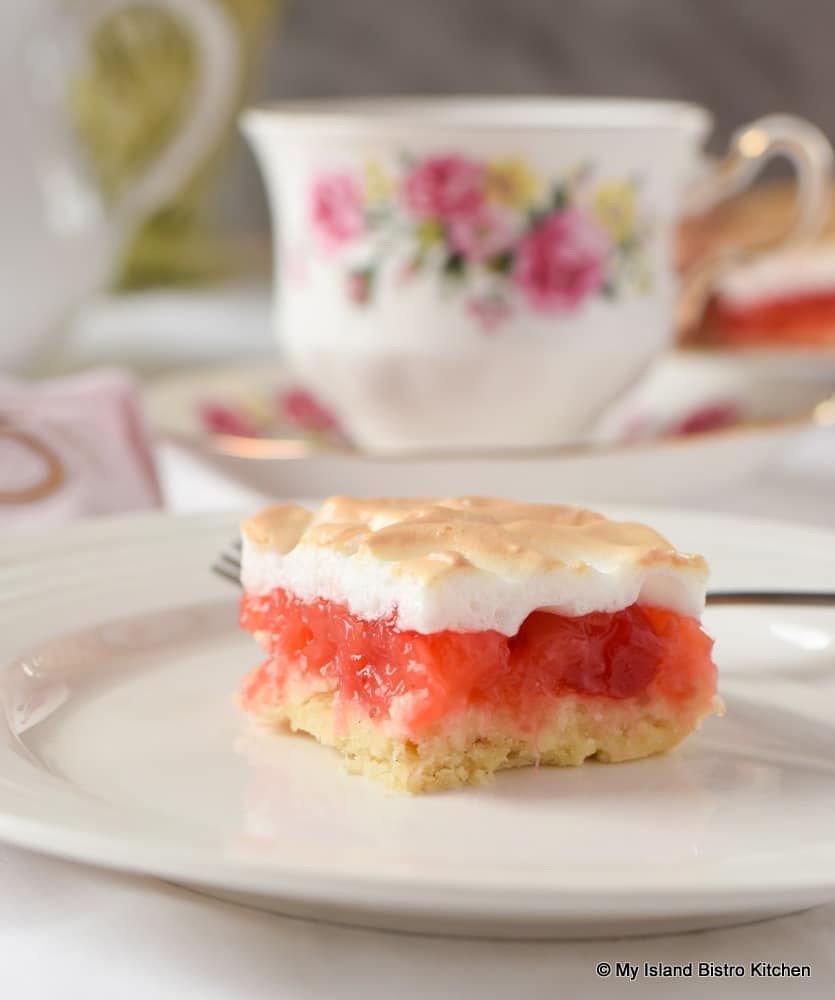
Rhubarb Cobbler for Two
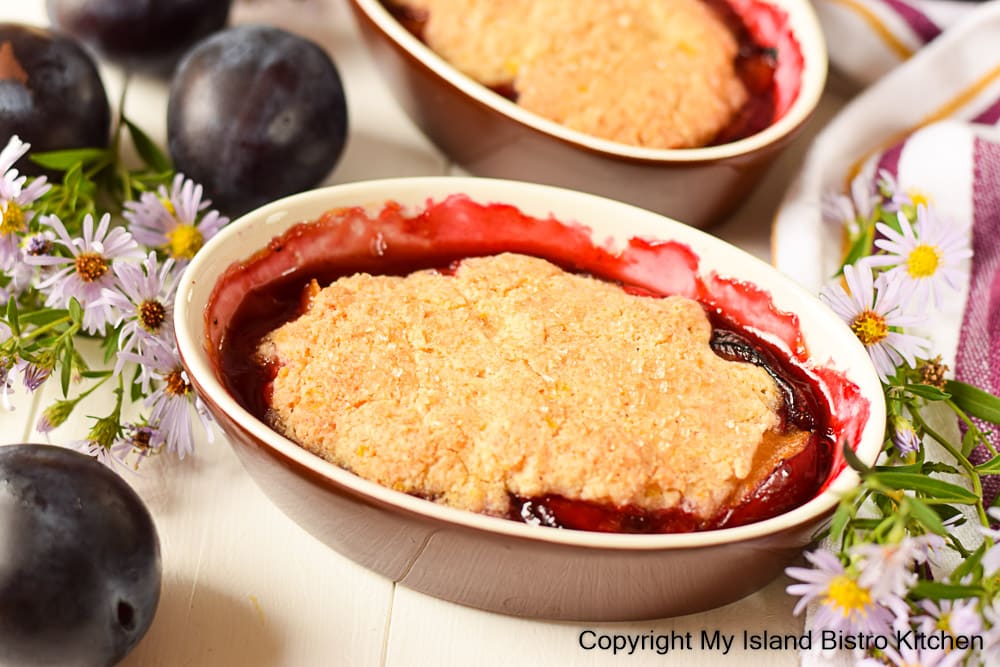
Plum Cobbler
PIN ME TO YOUR FAVORITE PINTEREST BOARDS!