
There are so many ways to use blueberries, including an endless stream of desserts.
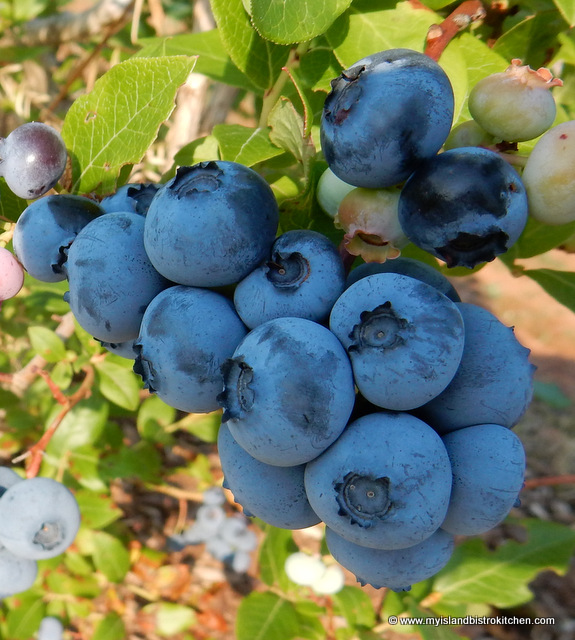
Today, I am featuring Blueberry Buckle using high bush blueberries that I picked at the Tryon Blueberries U-Pick in North Tryon, PEI.
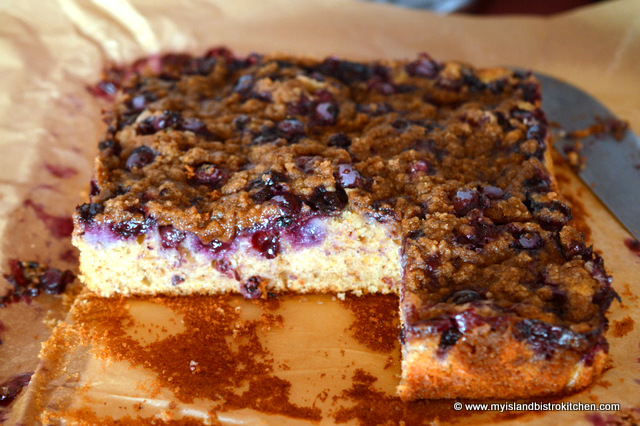
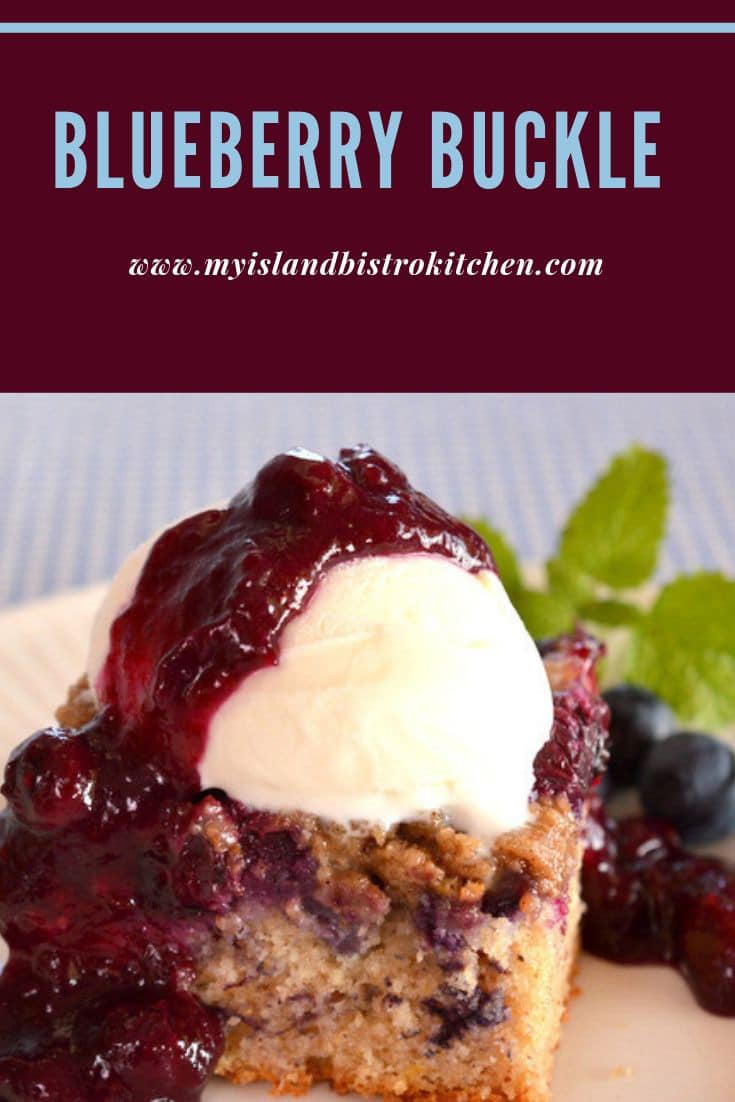
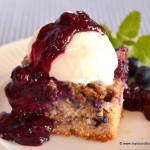
Blueberry Buckle consists of three parts: A cake base, a sprinkle of fruit, and a streusel topping. The origin of the name “Blueberry Buckle” is not definitively known. However, it seems it may have something to do with the cake base rising up around the blueberries and meeting with the streusel ingredients that, together, form a crumpled or buckled looking appearance on the dessert top. Whether that’s truth or fiction, this is a tasty dessert!
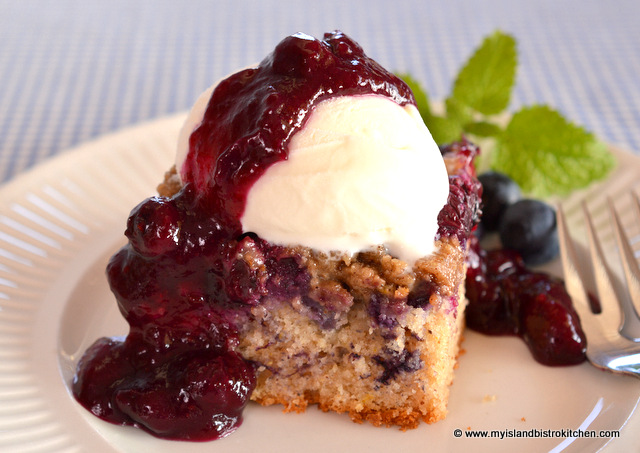
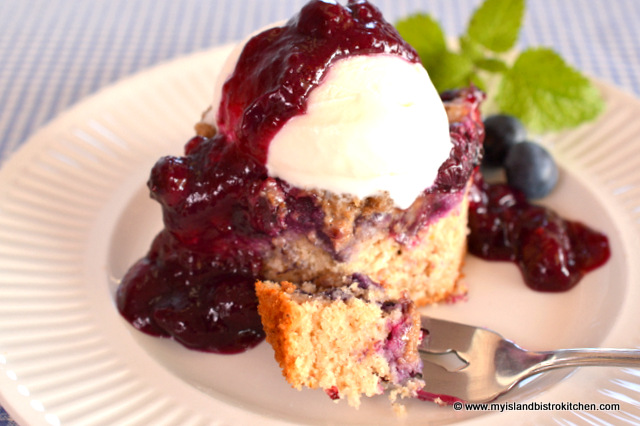
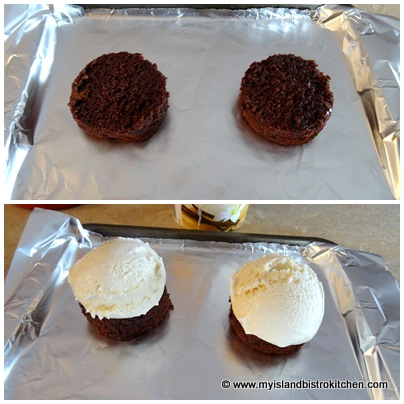
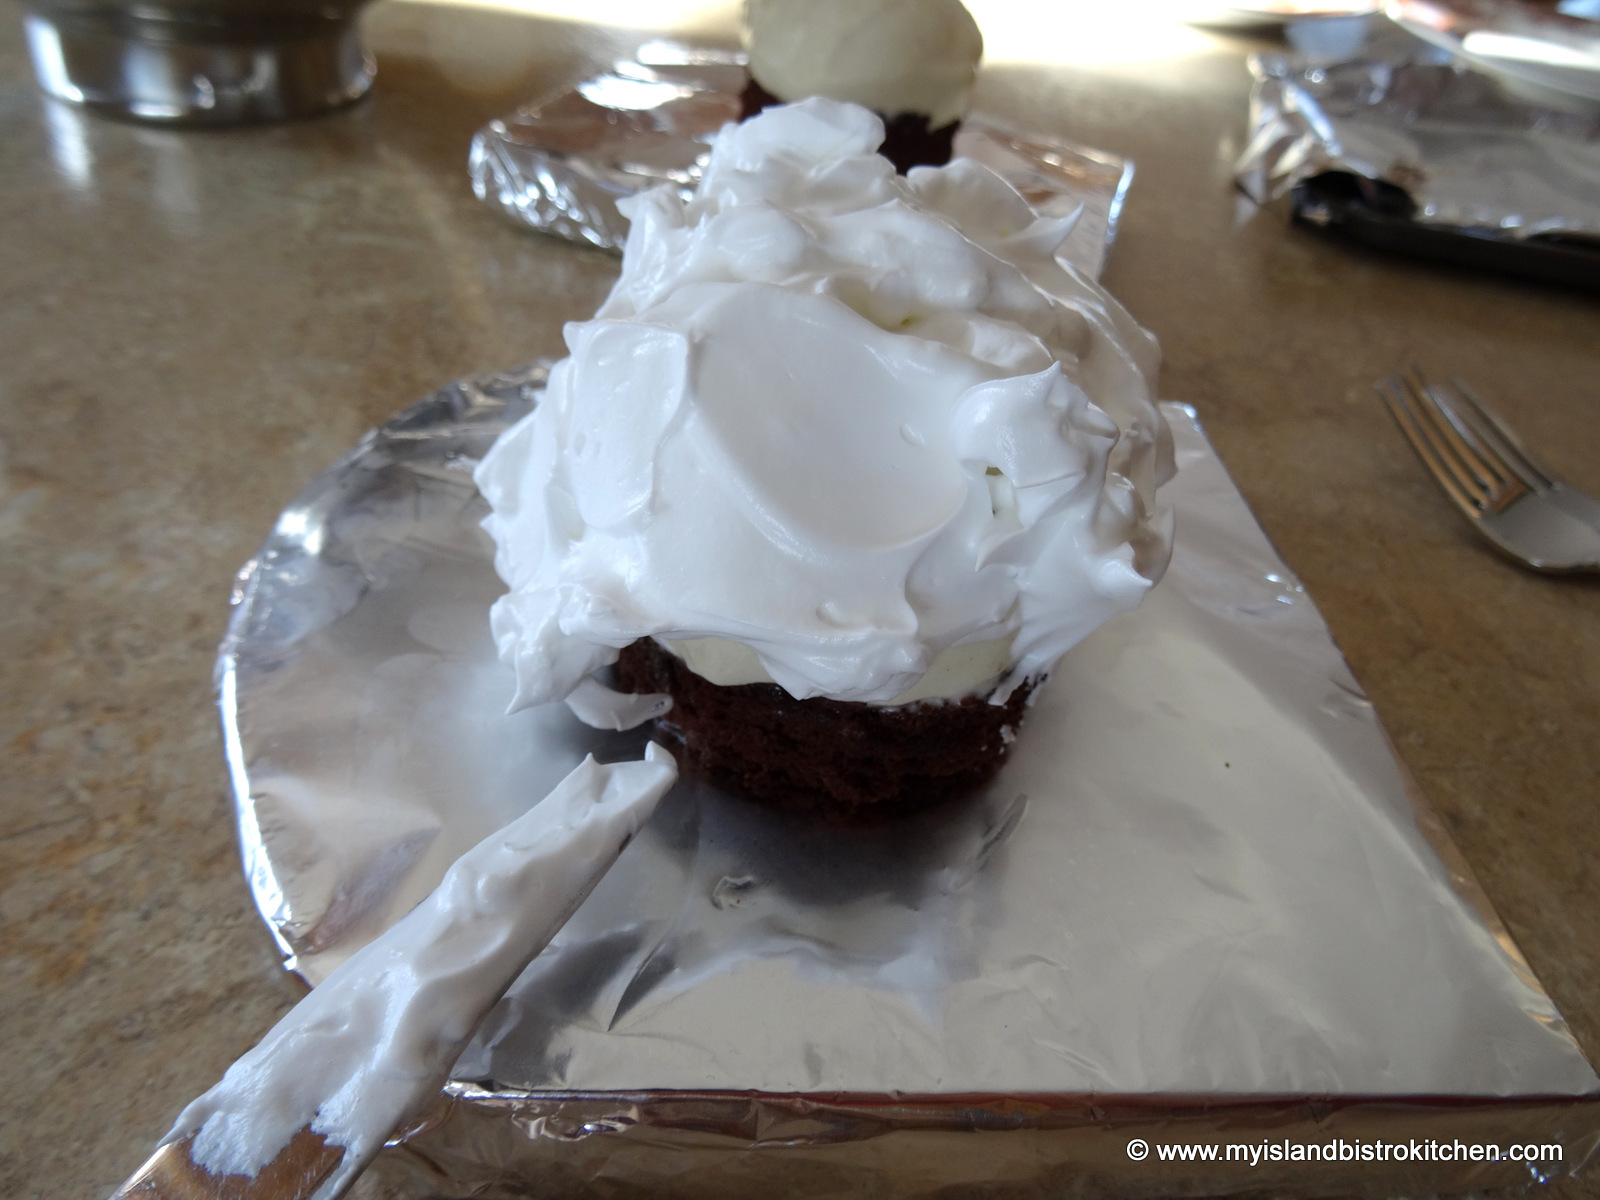
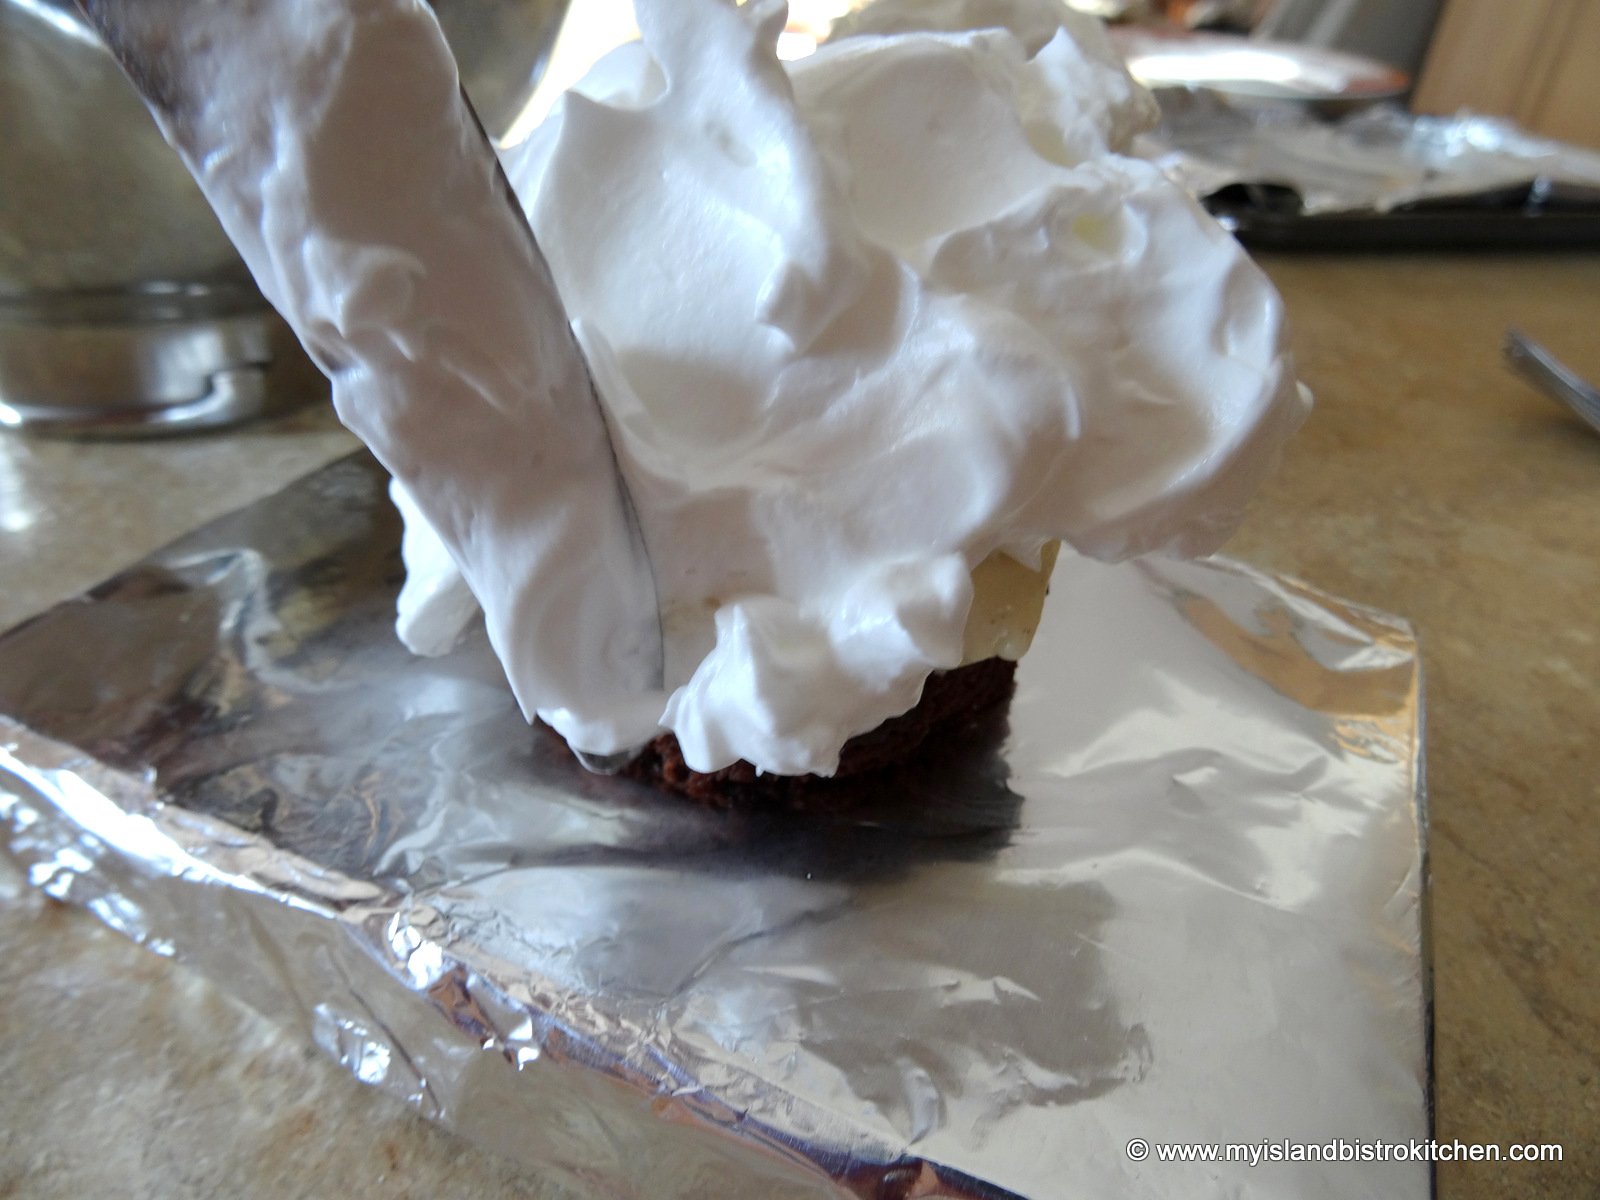
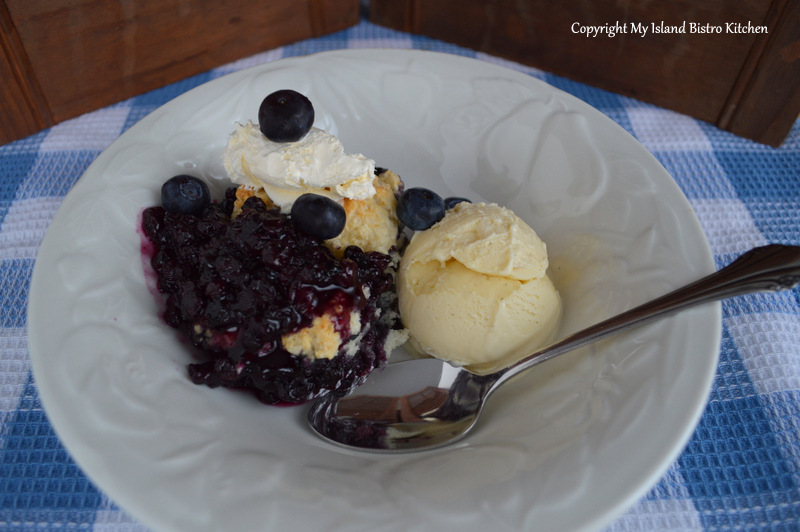
A Blueberry Buckle is very similar to a coffeecake. It is a dense cake with a moist crumb that can be served either warm or cool (i.e., at room temperature). It can also be served plain, just as it is, with its streusel topping or, alternatively, dressed up with ice cream, whipped cream, and/or drizzled with a sauce. I often serve it with brown sugar sauce or sometimes with vanilla ice cream and drizzled with blueberry sauce, as I have today. I call this blueberry overload! I maximize the use of fresh local blueberries when they are available.
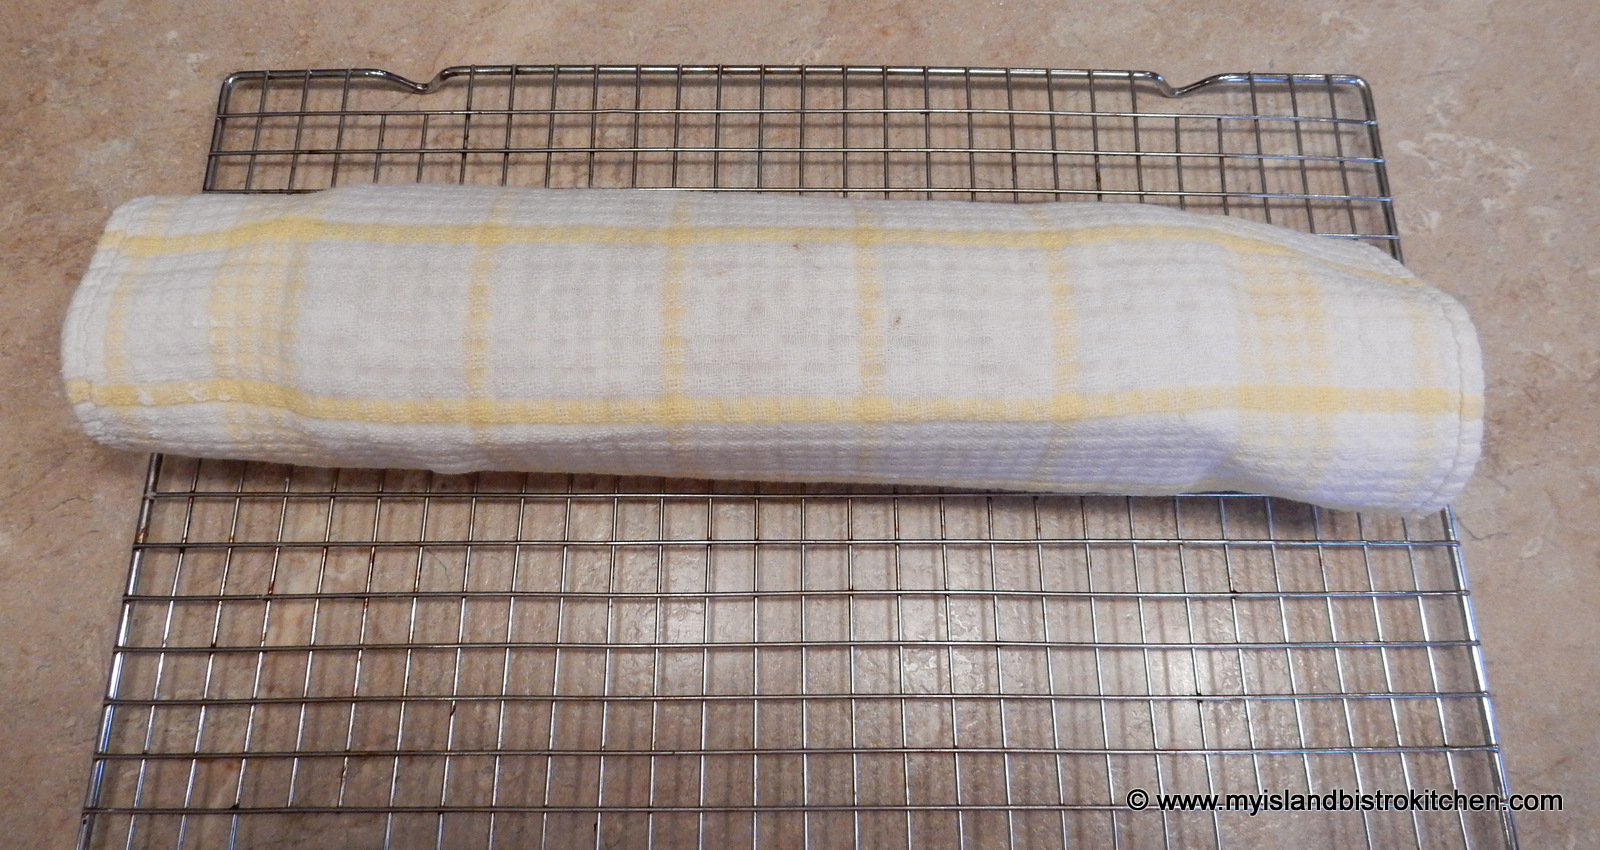
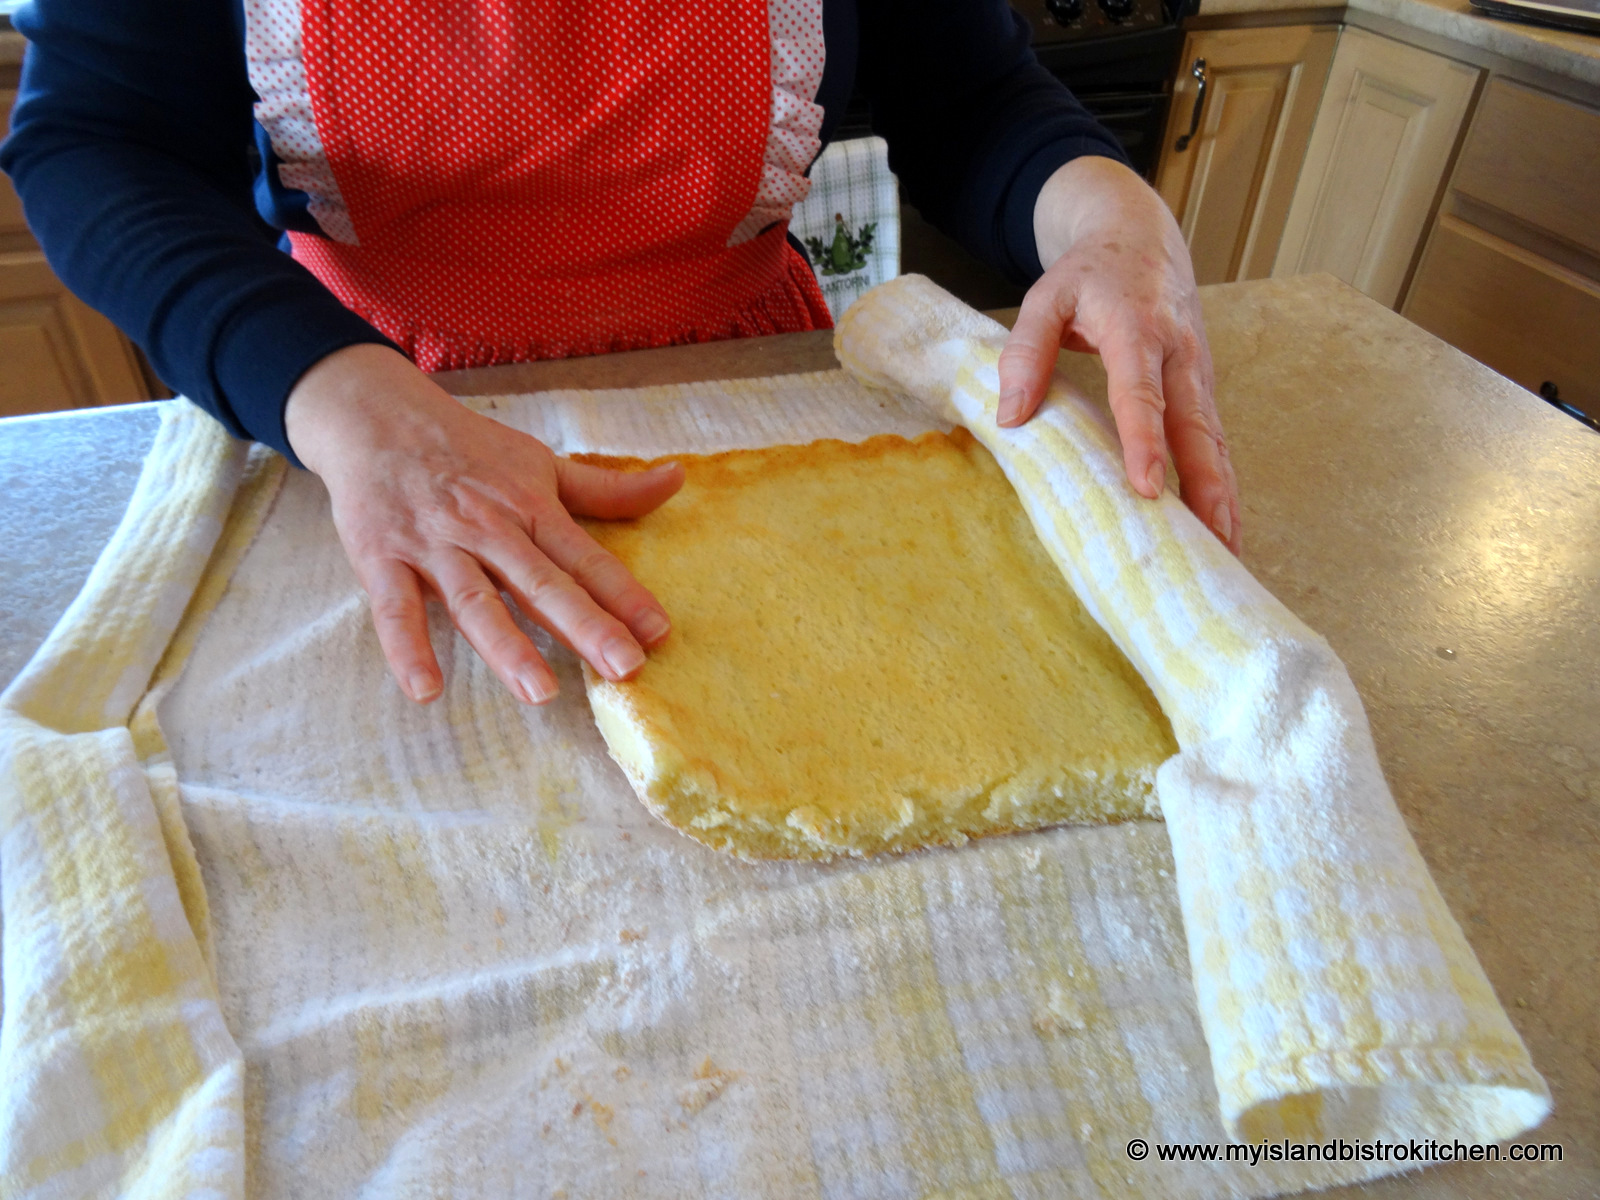
While Buckles can be made with other fruits, the most common one is made with blueberries. This dessert also freezes well so it’s a handy one to have on hand in the freezer. When I am using it from its frozen state, I take the buckle out of the freezer and allow it to thaw at room temperature, then heat it for just a few seconds in the microwave. Tastes like it is fresh from the oven!
[Printable recipe follows at end of posting]
Blueberry Buckle
Streusel Topping:
1/3 cup brown sugar, packed
¼ cup flour
½ tsp cinnamon
3 tbsp butter
Cake Batter:
½ cup butter, softened
½ cup granulated sugar
1 extra-large egg
2 tbsp orange juice
¾ tsp vanilla
1½ cup all-purpose flour
2¼ tsp baking powder
¼ tsp salt
¼ tsp cloves
½ tsp nutmeg
1½ tsp grated orange rind
½ cup milk
2 cups high-bush blueberries
Method:
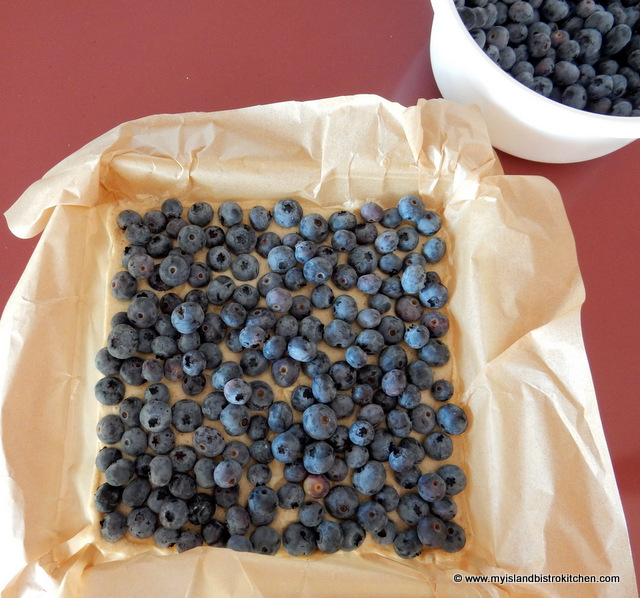
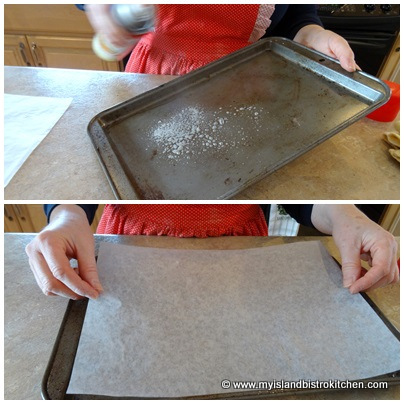
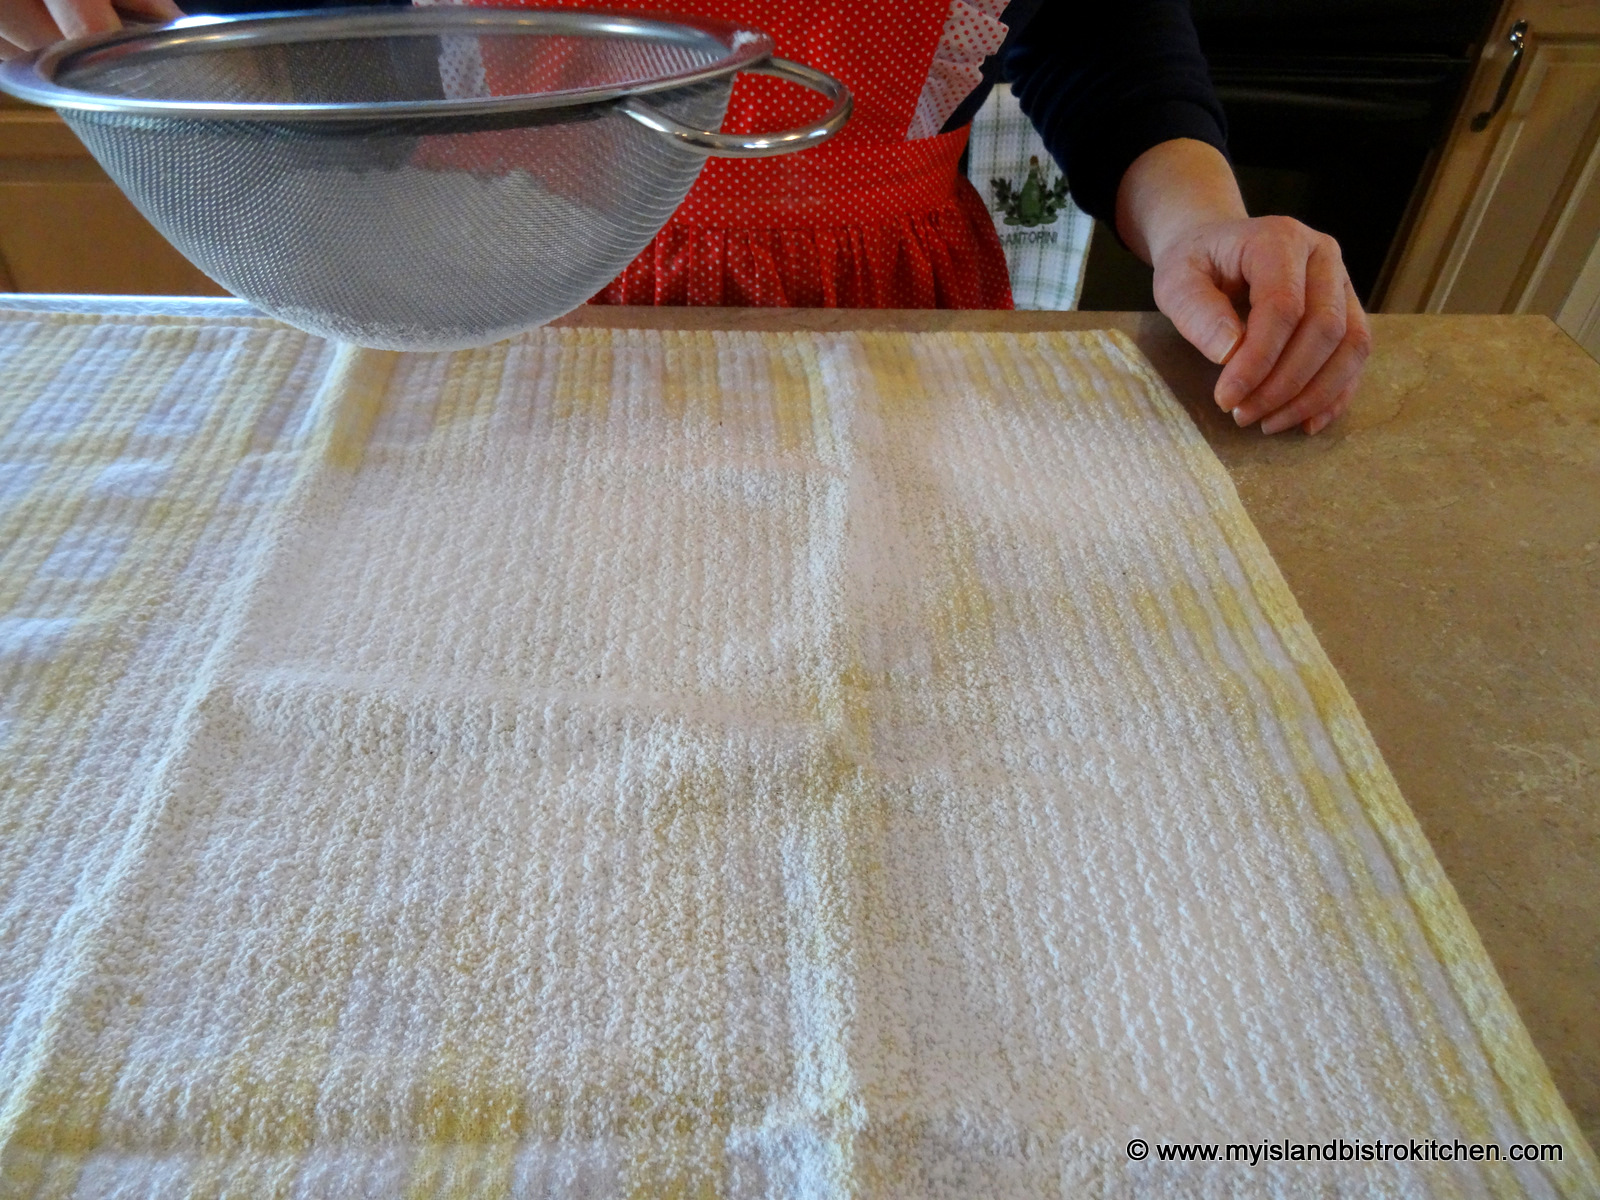
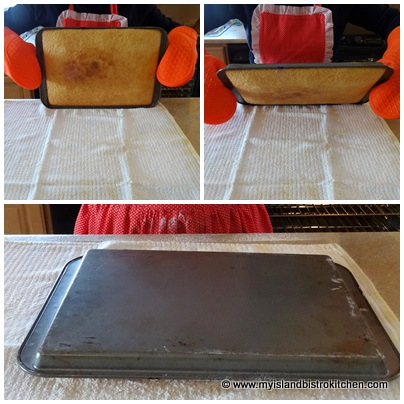
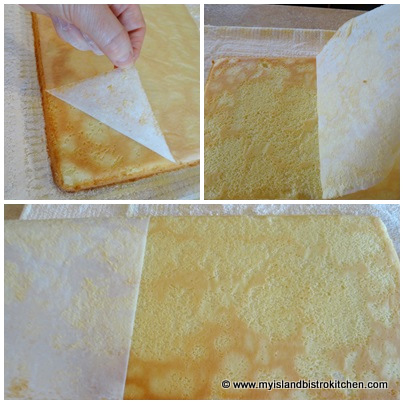
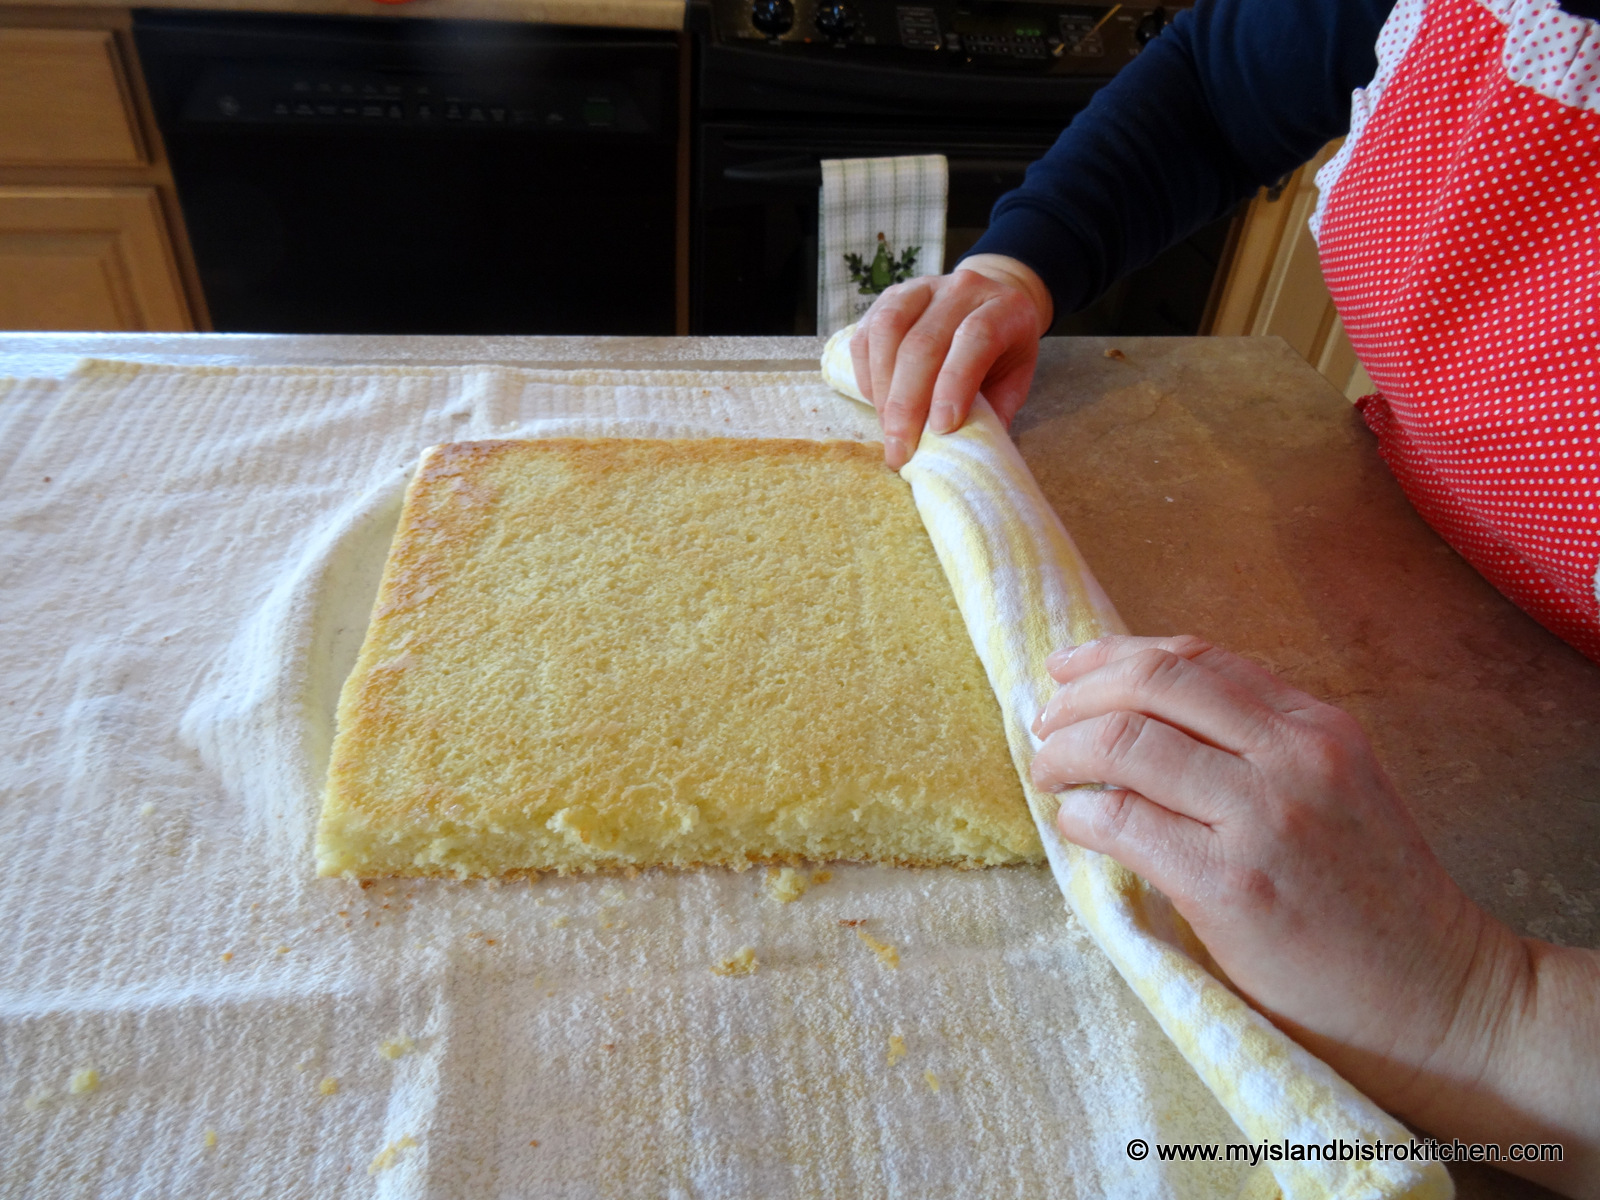
Grease or line an 8” square pan with parchment paper. Preheat oven to 350°F.
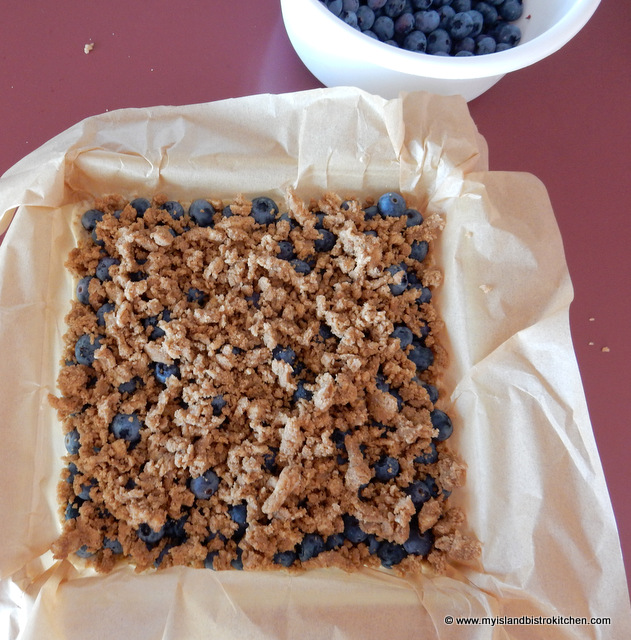
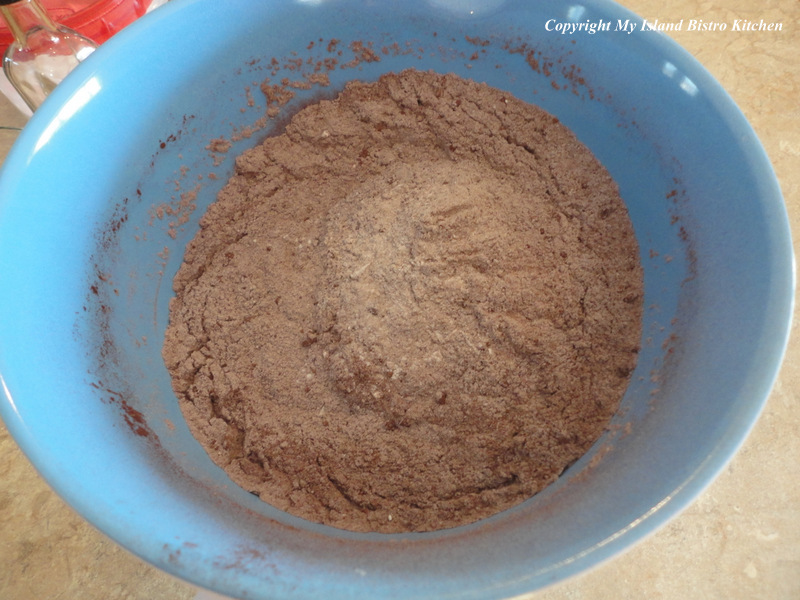
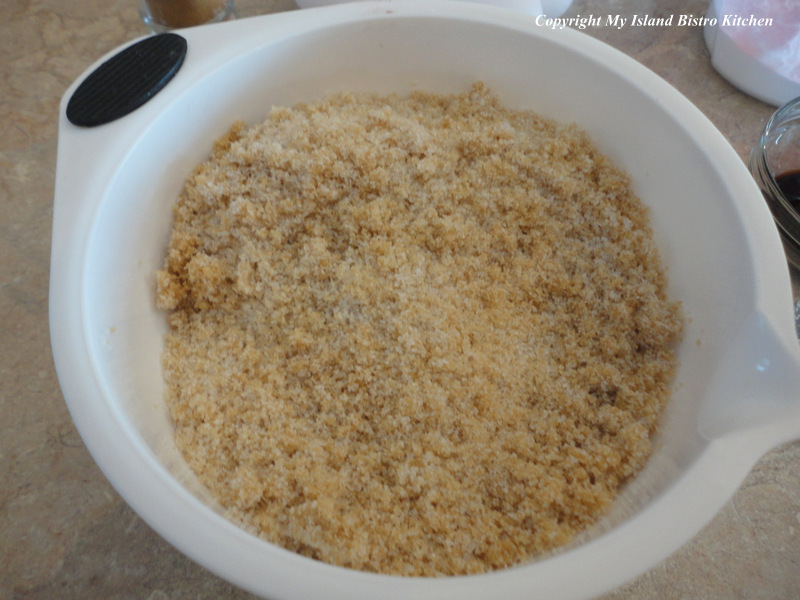
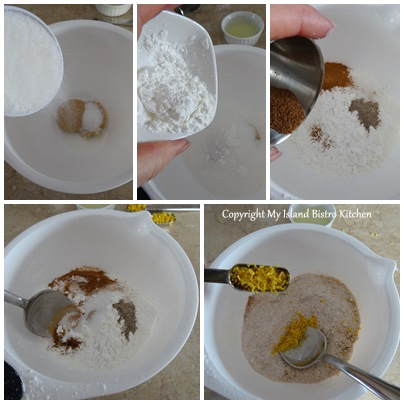
Prepare the streusel topping by mixing the brown sugar, flour, and cinnamon together. Using a pastry blender, cut in the butter until mixture resembles coarse oatmeal. Set aside.
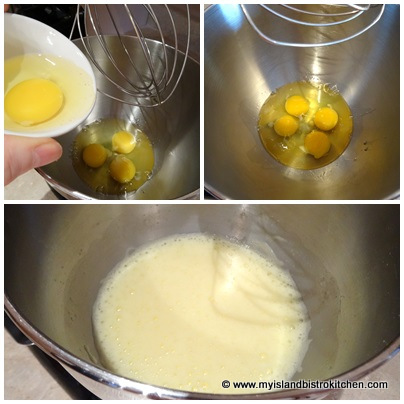
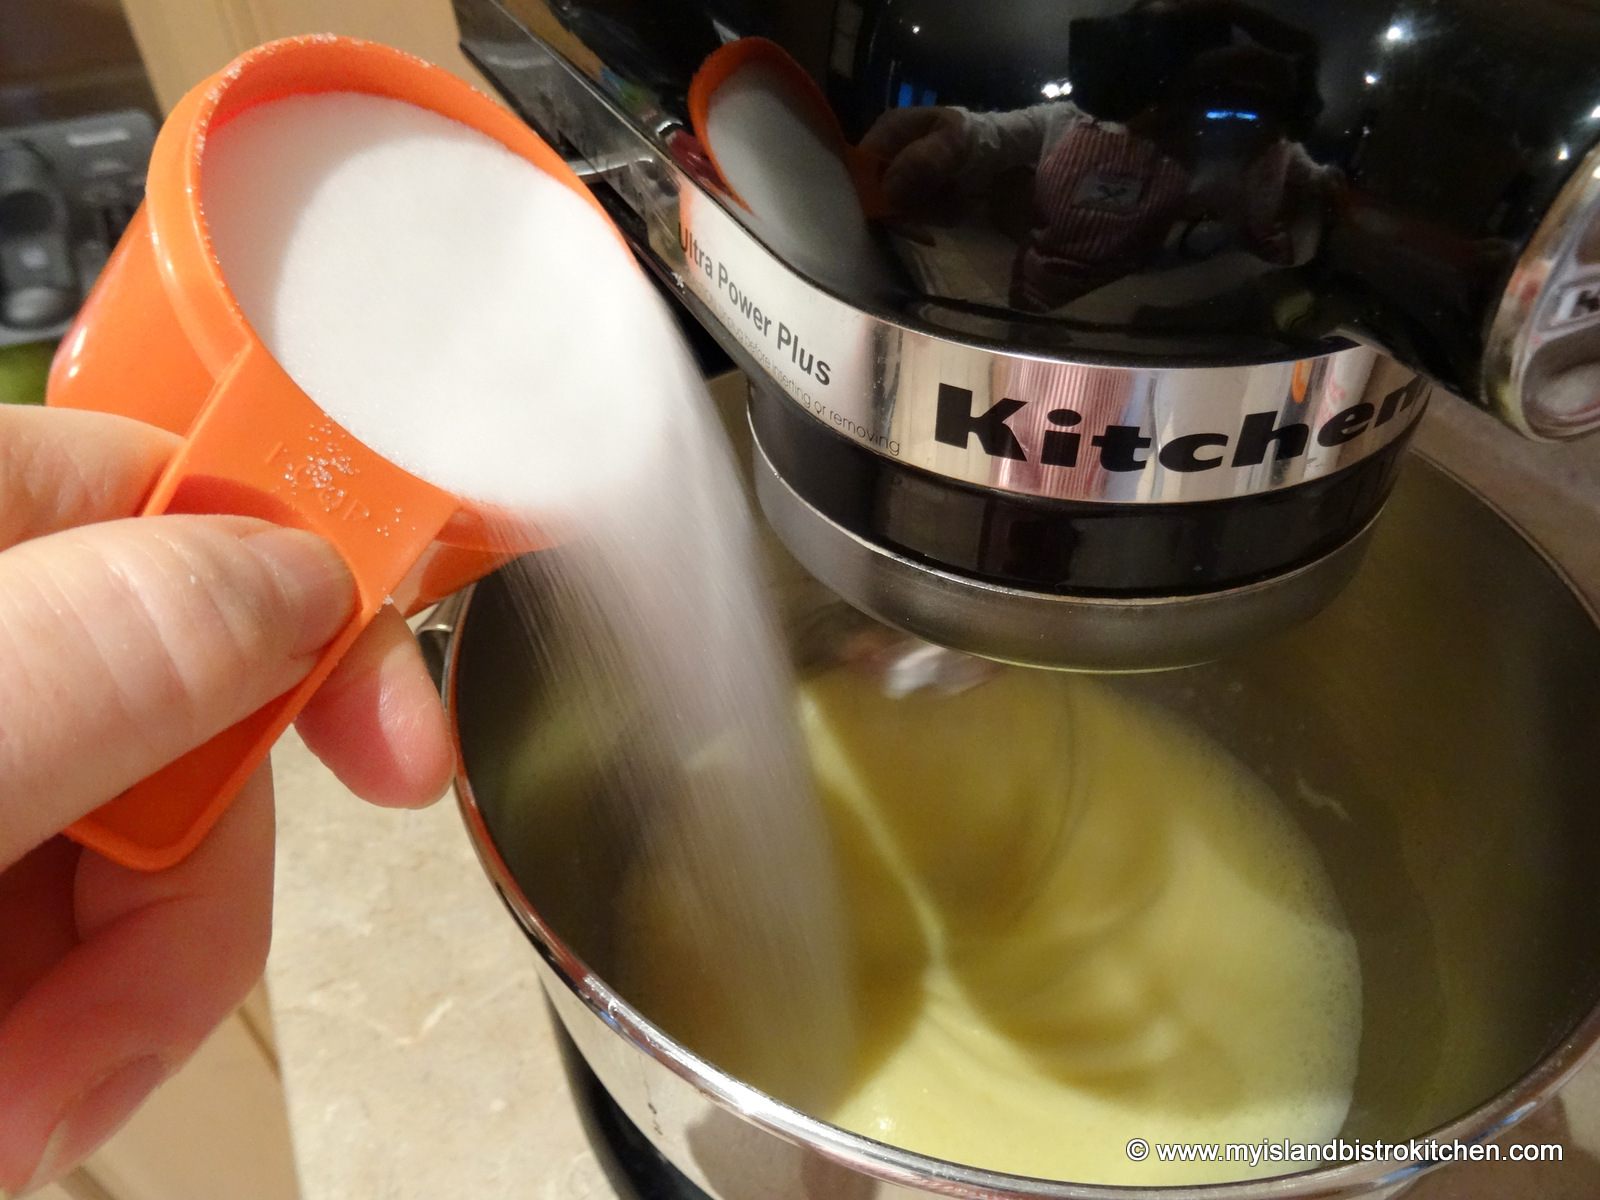
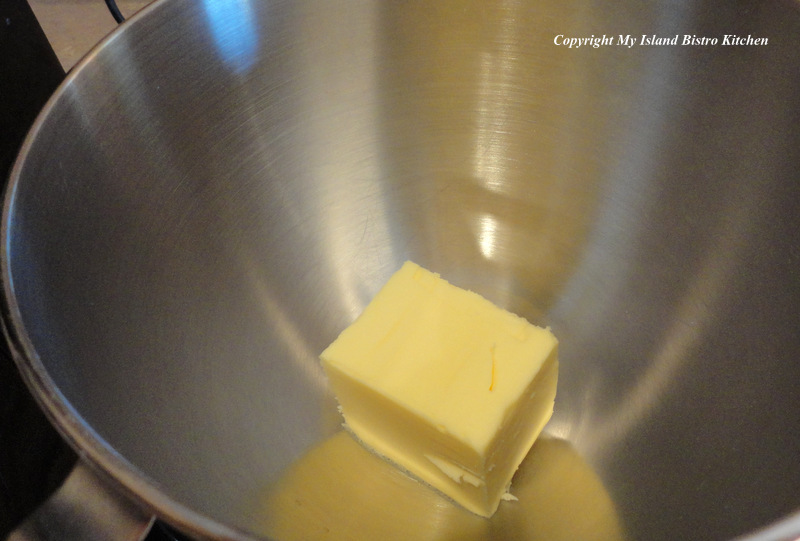
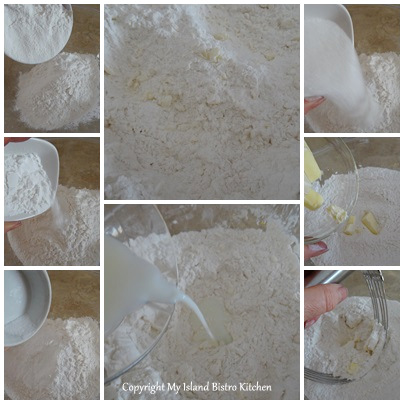
In large bowl, cream the butter and add the sugar. Beat until mixture is smooth.
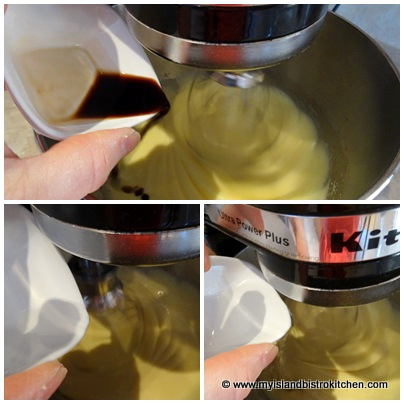
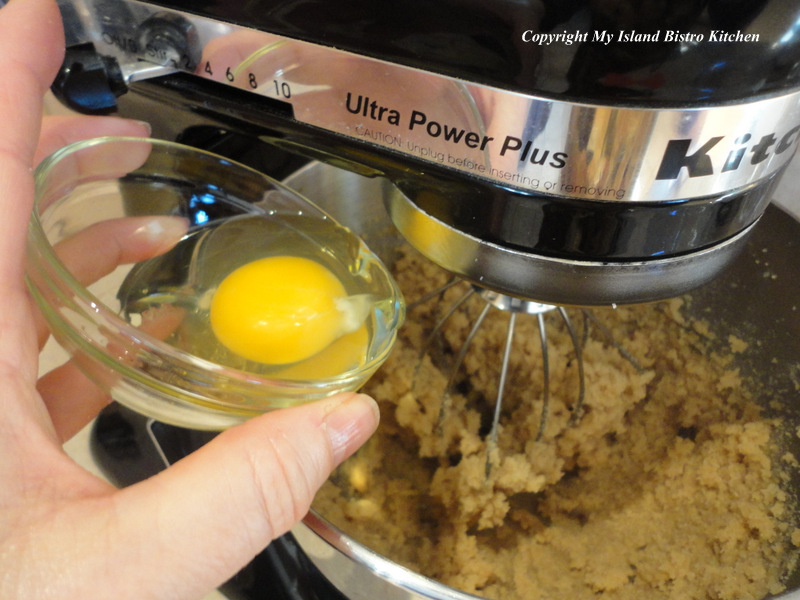
Add the egg, orange juice, and vanilla. Beat until smooth.
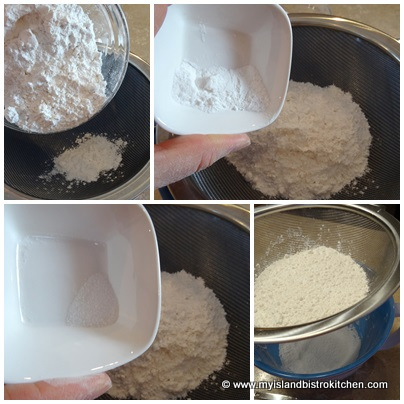
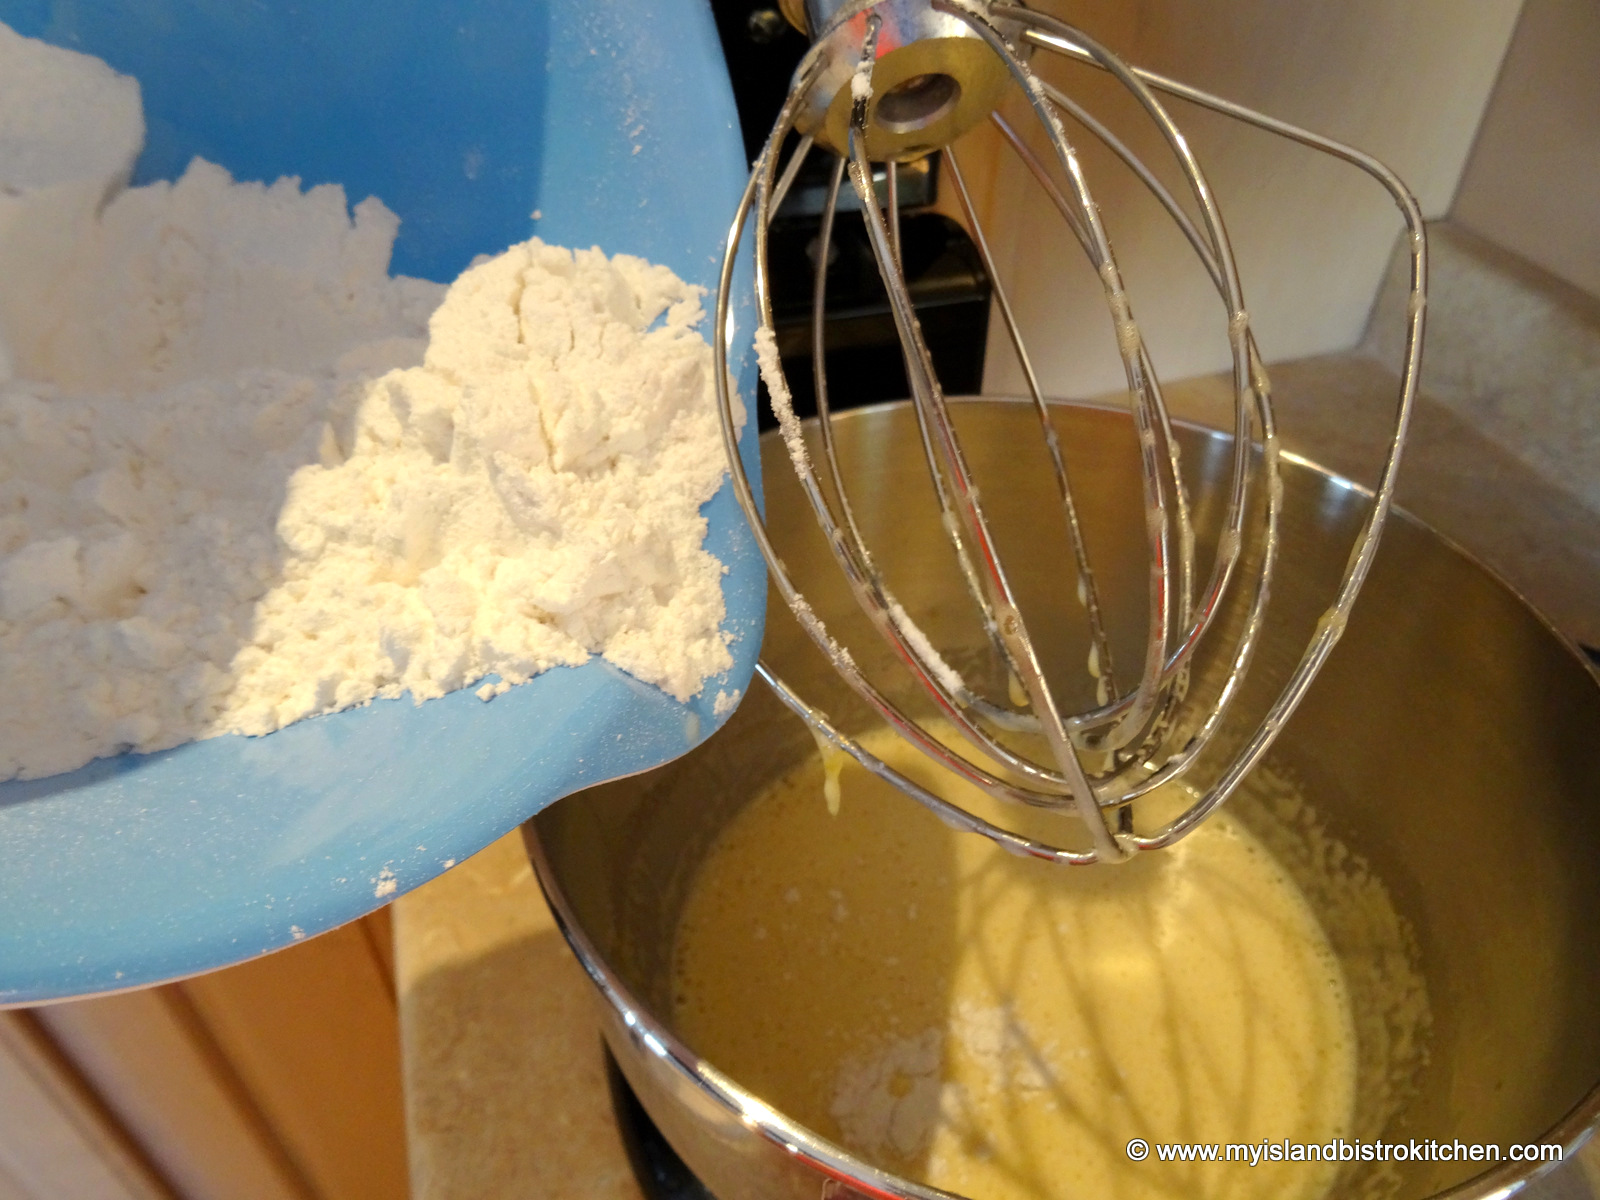
In separate bowl, whisk together the flour, baking powder, salt, cloves, nutmeg, and grated orange rind. Add the dry ingredients to the liquid mixture along with the milk in three parts, starting and ending with the dry ingredients (i.e., three additions of the dry ingredients alternated with two additions of milk).
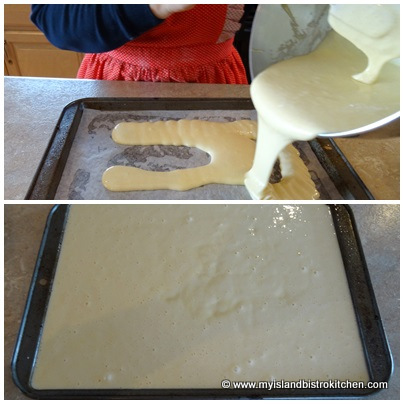
Spread batter in prepared pan.
Sprinkle mixture evening with the blueberries.
Sprinkle the streusel topping over entire mixture.
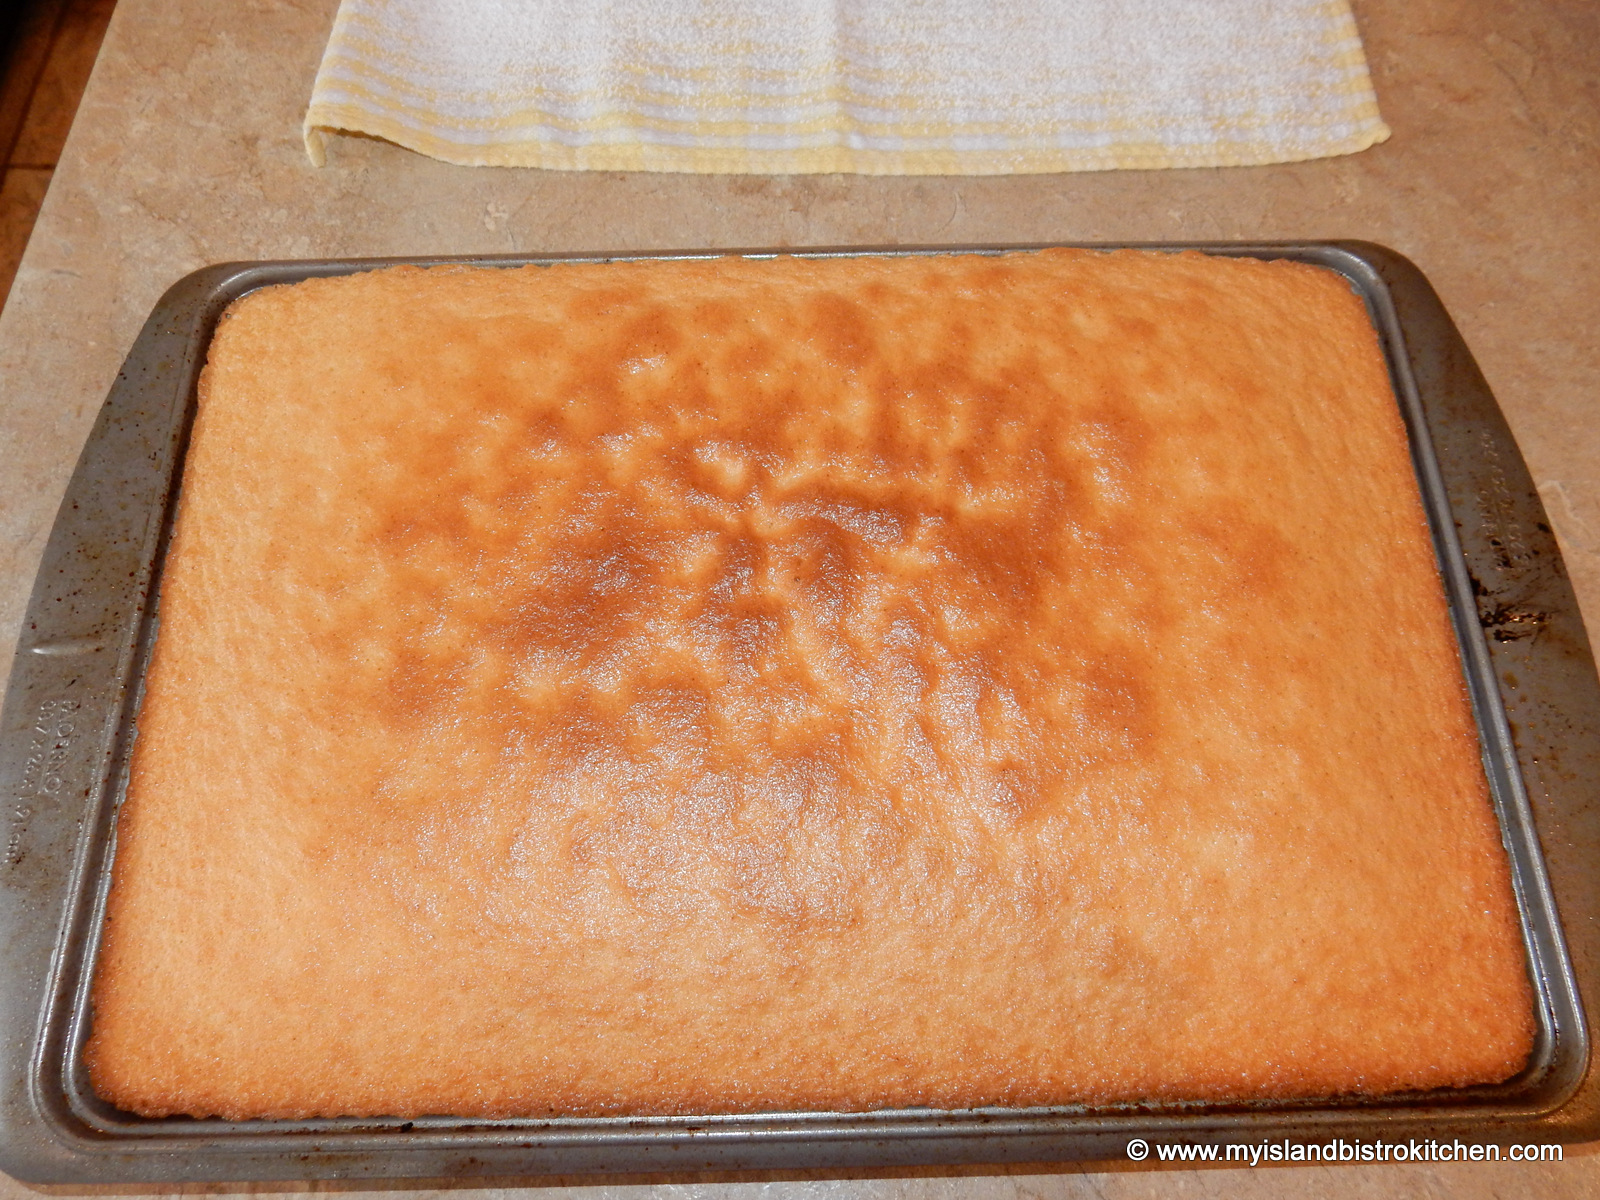
Bake for 40-45 minutes or until cake tester inserted into center of cake comes out clean. Do not overbake as cake will become dry.
Serve plain or add a dollop of ice cream and, if desired, drizzle with blueberry sauce.
Yield: 9 servings
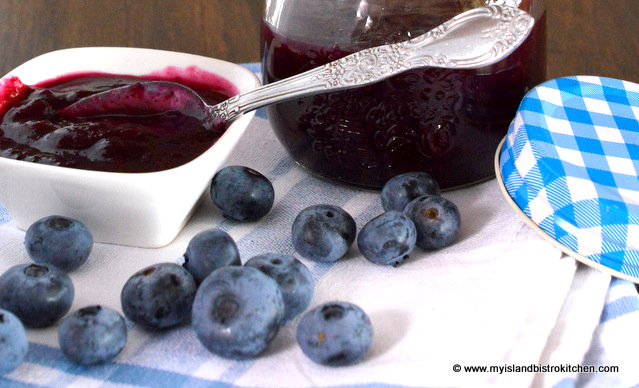
Here is my recipe for the blueberry sauce I used over this Blueberry Buckle.
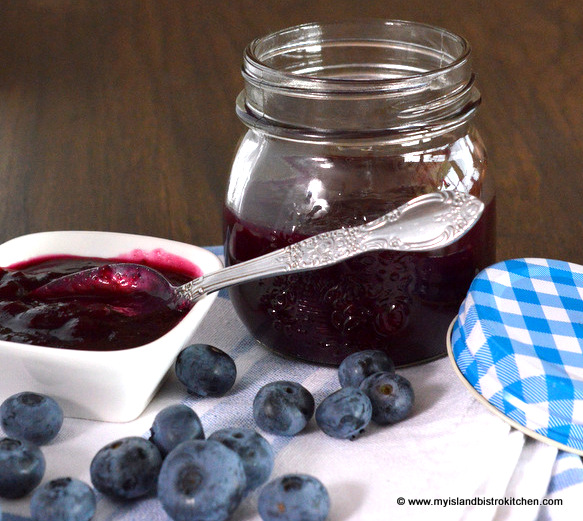
Blueberry Sauce
Ingredients:
¾ cup granulated sugar
1 tbsp cornstarch
Pinch salt
1/8 tsp nutmeg
1/8 tsp cinnamon
1 tsp grated orange rind
2 tbsp orange juice
1/3 cup water
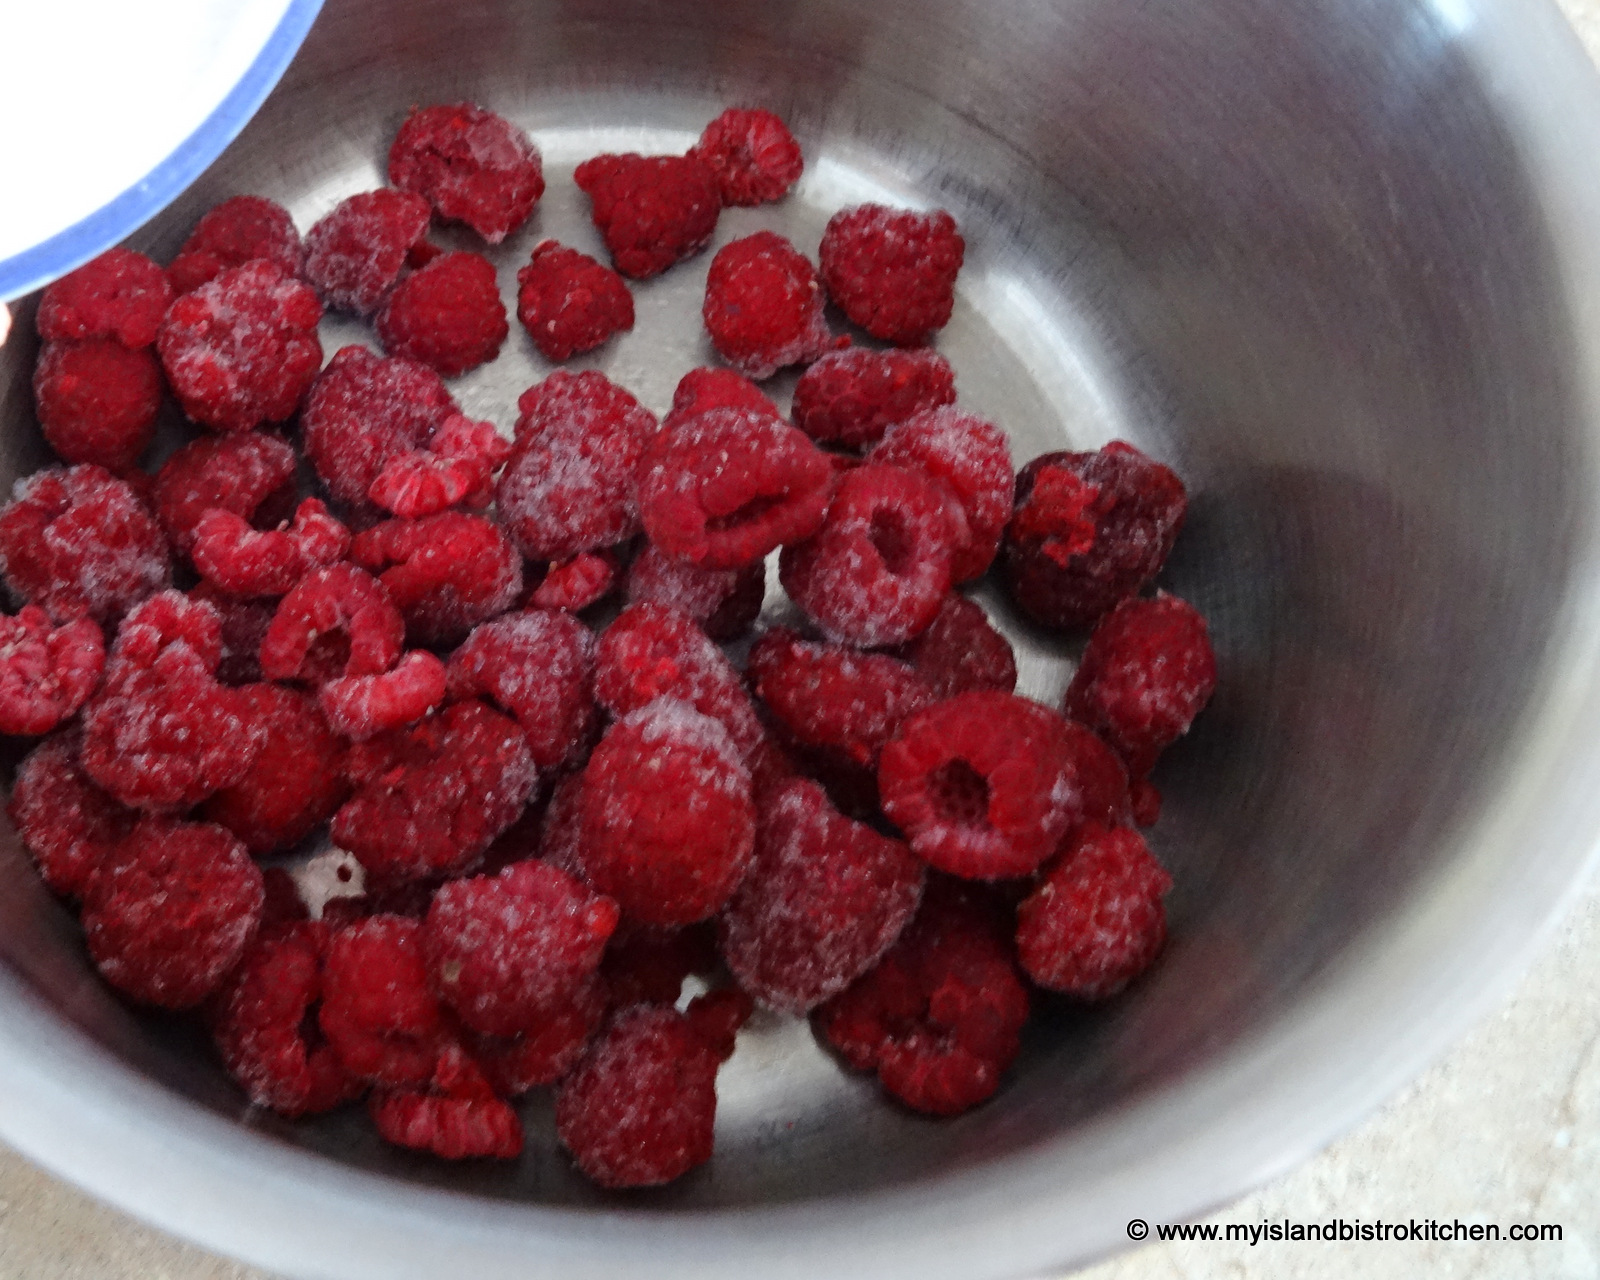
2 cups high bush blueberries
1½ tbsp butter
¼ tsp vanilla
Method:
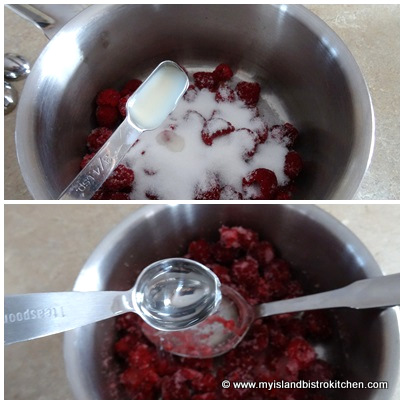
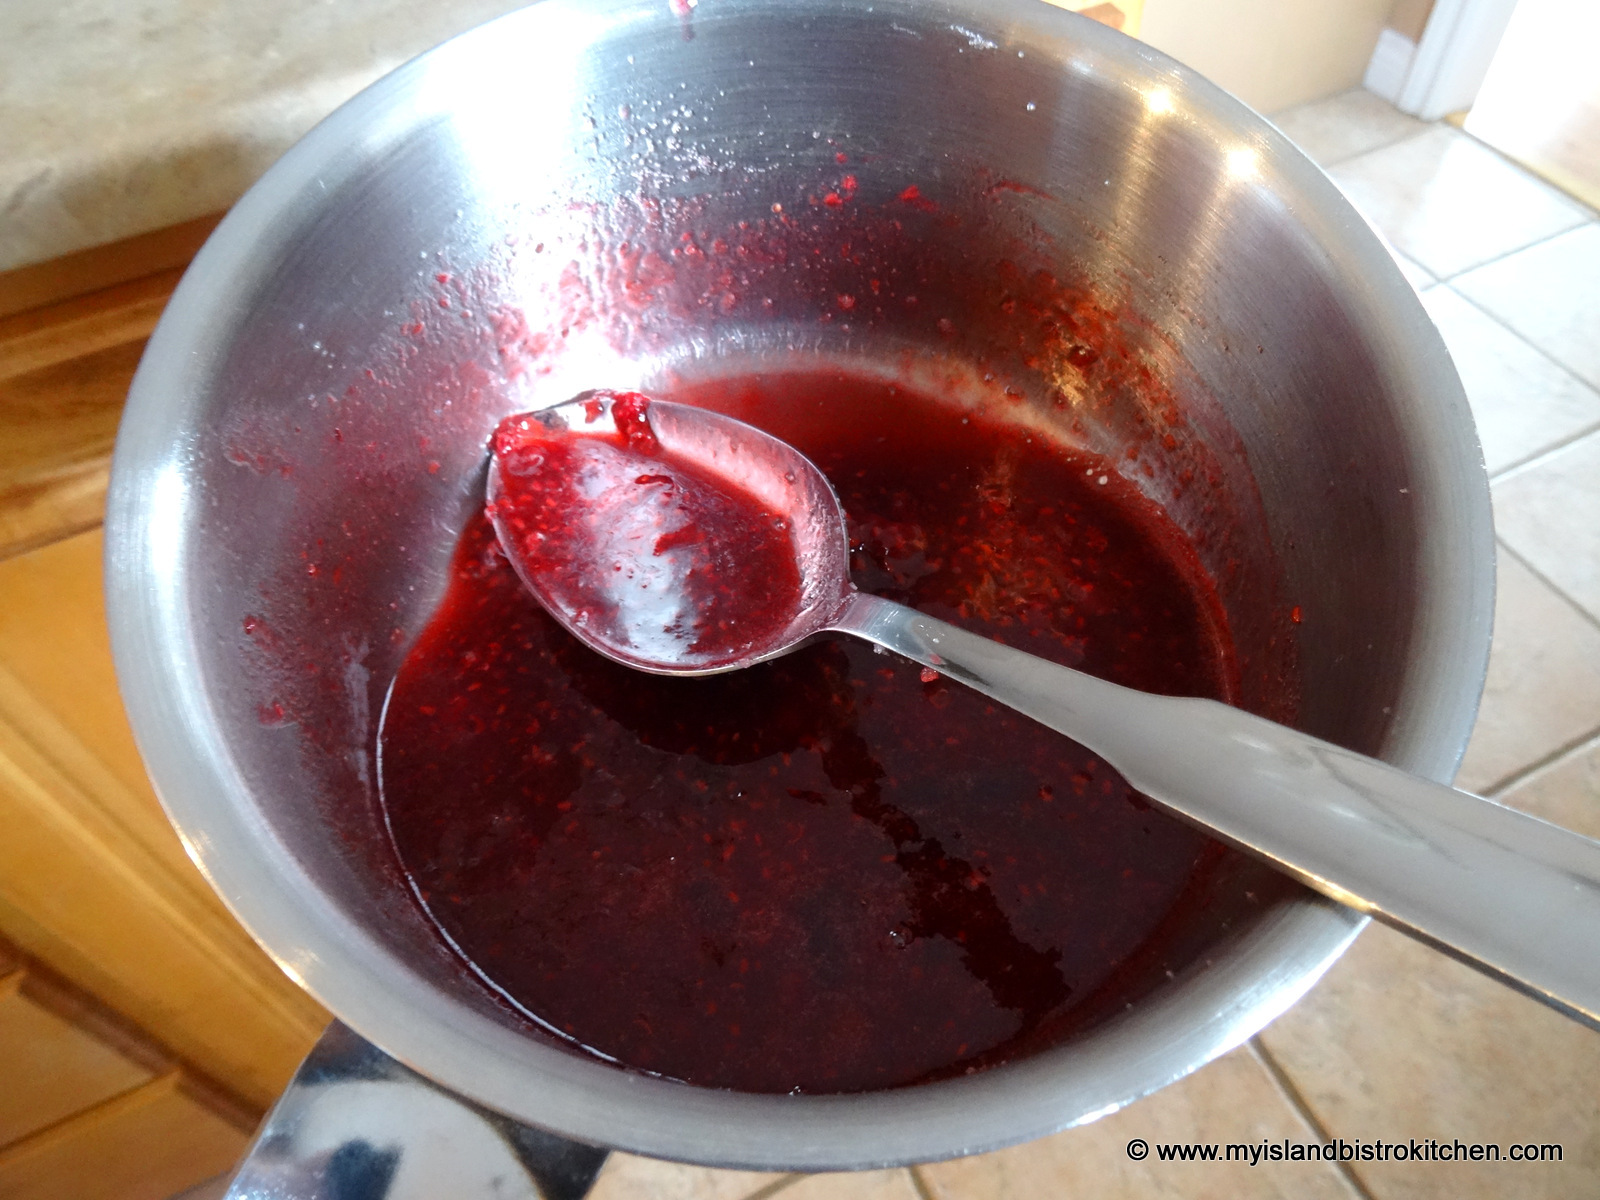
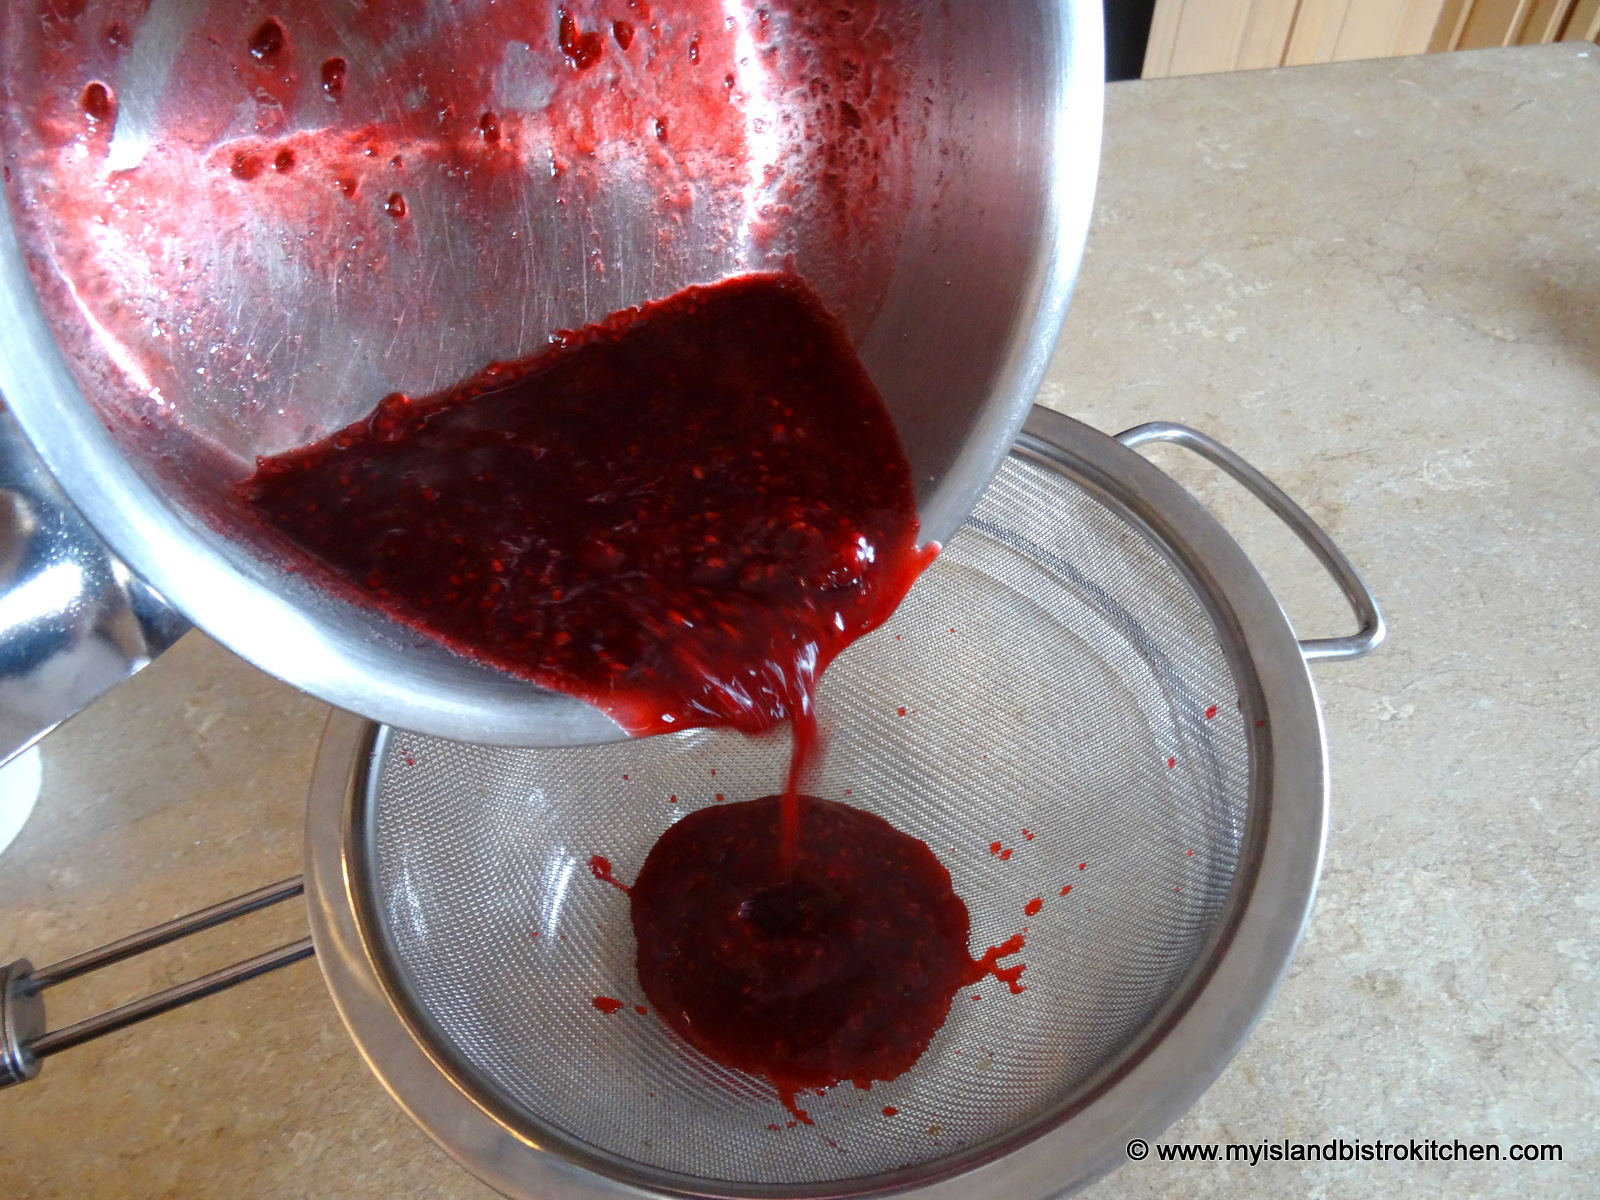
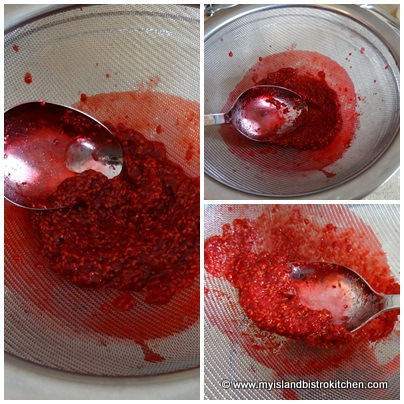
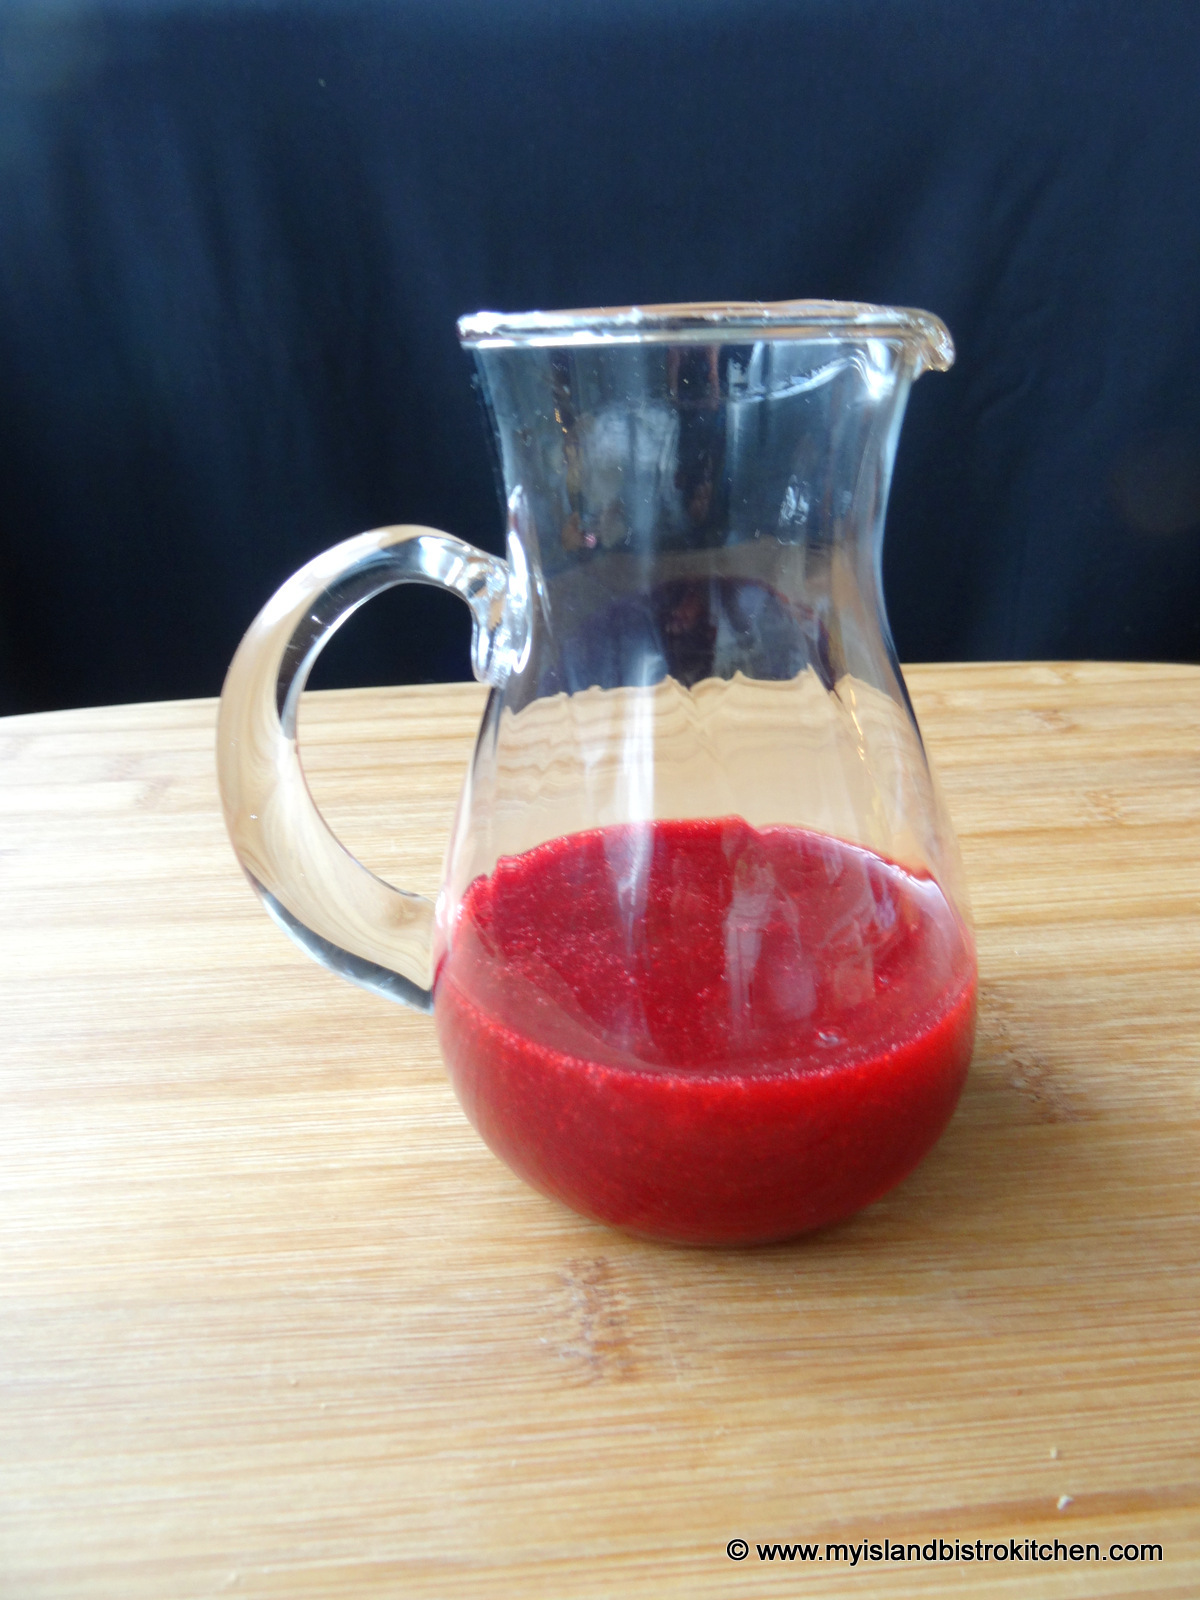
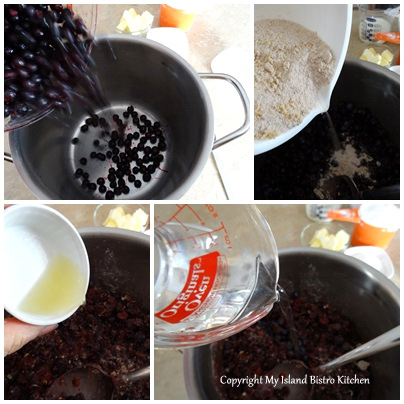
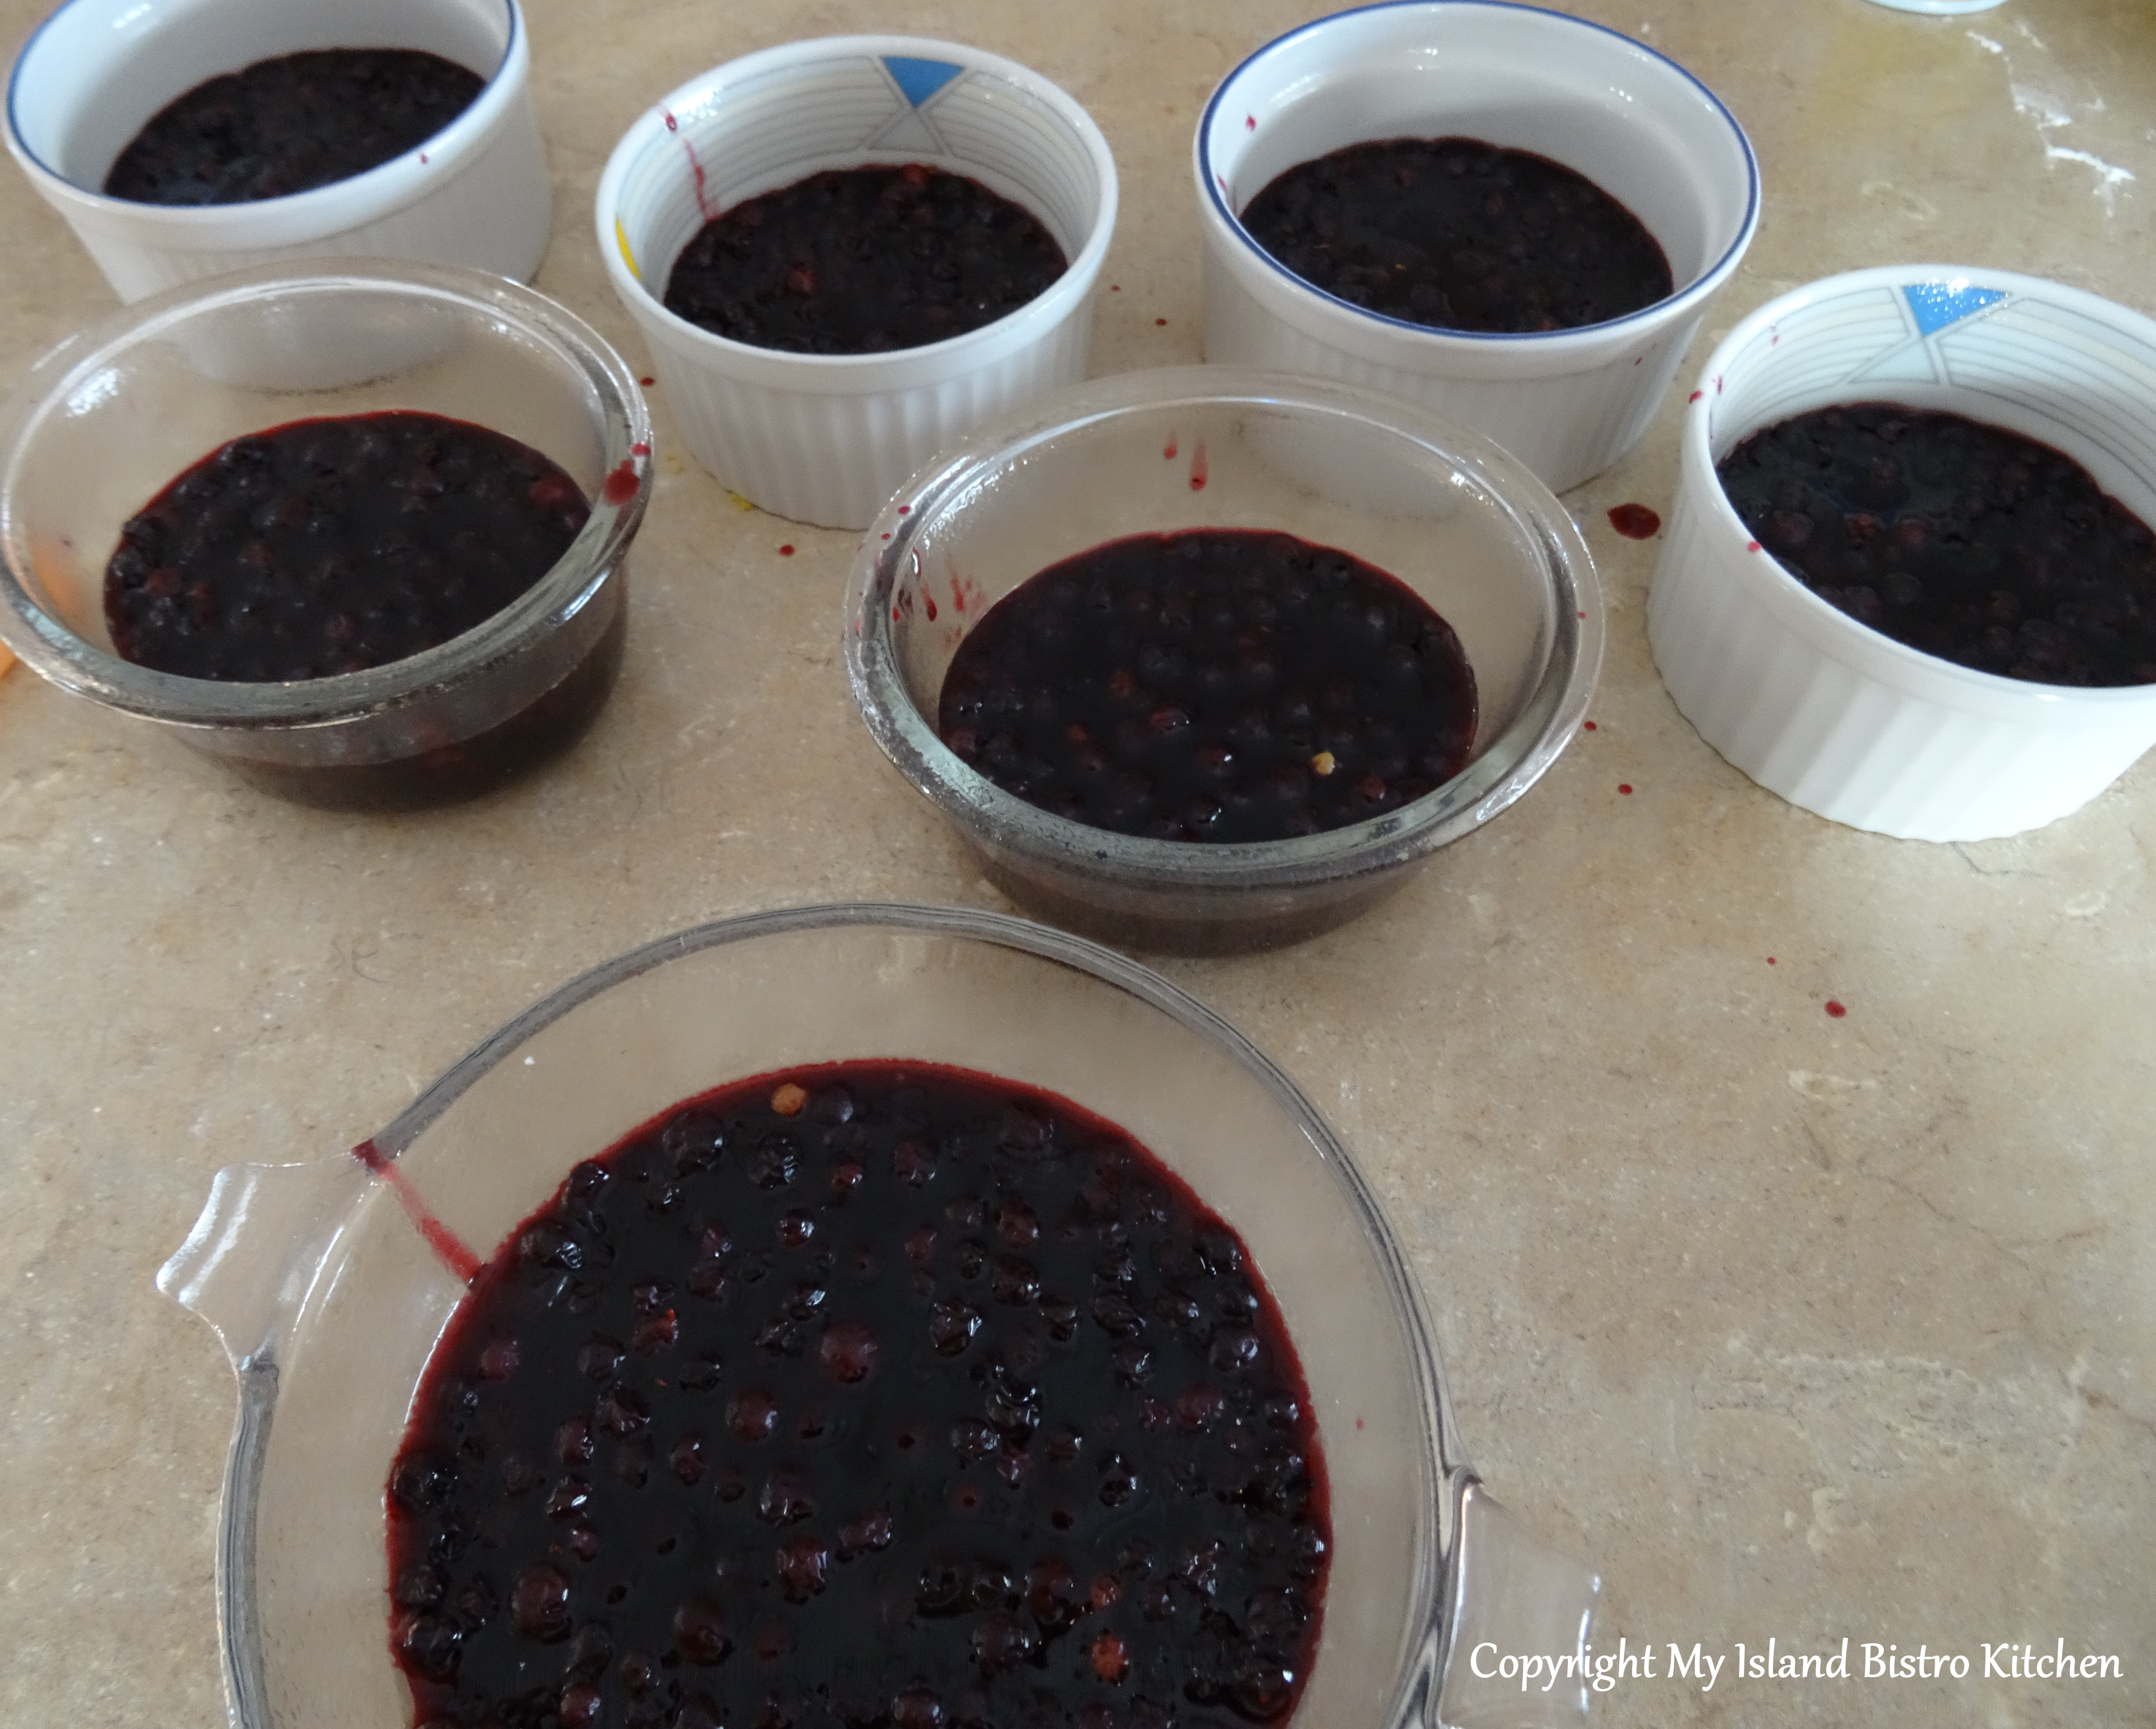
Combine sugar, cornstarch, salt, nutmeg, cinnamon, orange rind, orange juice, and water in medium-sized saucepan. Heat to boiling point then add blueberries and reduce heat to medium low. Cook mixture, stirring regularly, until thickened to desired consistency. Remove from heat and stir in butter and vanilla. Serve warm over ice cream or pudding. Refrigerate unused sauce.
Yield: Apx. 1¾ cups
If you have made this recipe and enjoyed it and/or wish to share it with your friends and family, please do so on social media but be sure to share the direct link to this posting from my website.
Connect with My Island Bistro Kitchen on Social Media
Join the Facebook page for My Island Bistro Kitchen: https://www.facebook.com/MyIslandBistroKitchen/
Follow “the Bistro” on “X” (formerly Twitter): https://twitter.com/PEIBistro/
See the drool-worthy gallery of mouth-watering food photos from My Island Bistro Kitchen on Instagram: https://www.instagram.com/peibistro/
Follow “the Bistro” on Pinterest at https://www.pinterest.ca/peibistro/ and pin the Pinterest-ready photo found at the end of this post to your favorite Pinterest boards.
PIN ME TO PINTEREST!
For other great blueberry desserts from My Island Bistro Kitchen, click on the links below.
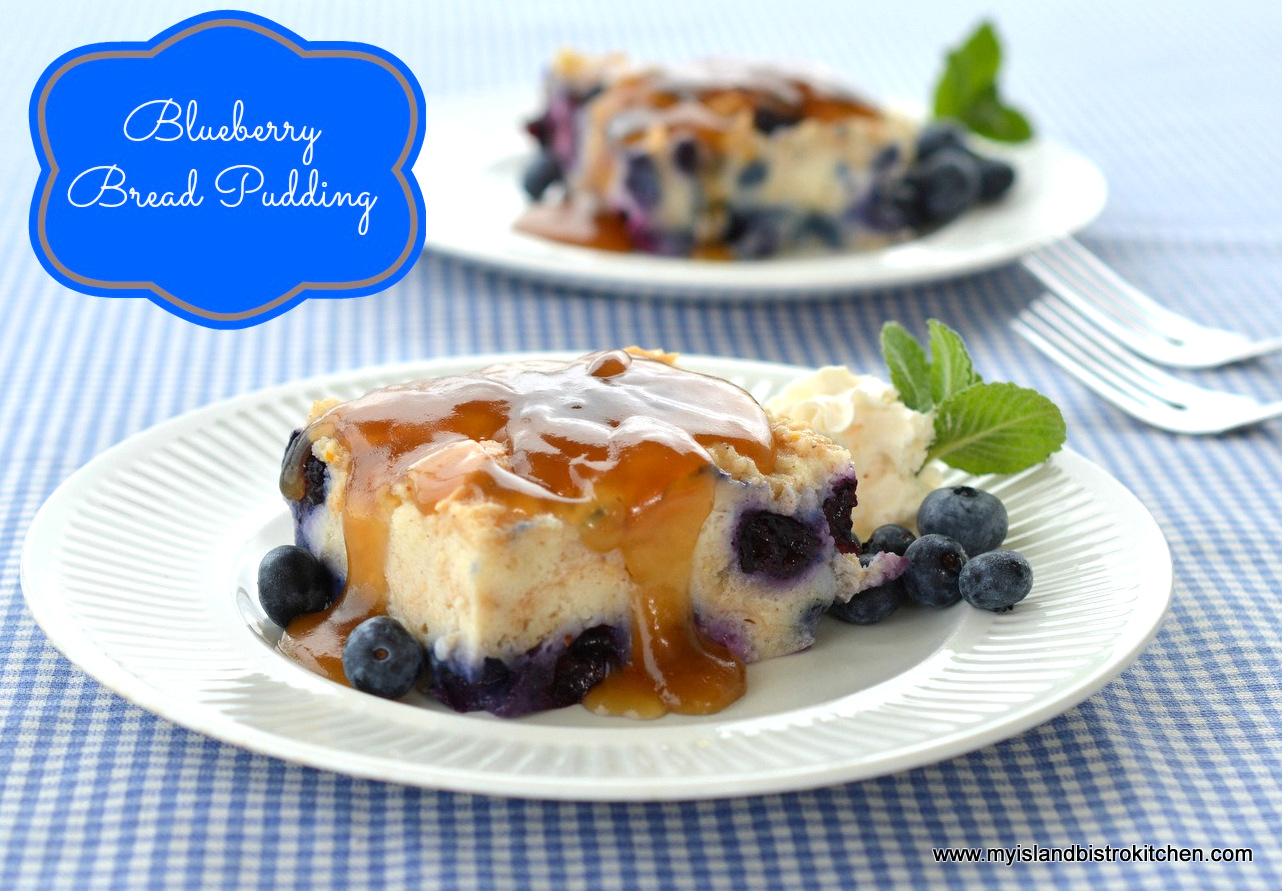
Blueberry Bread Pudding
Blueberry Cream Cheese Pie
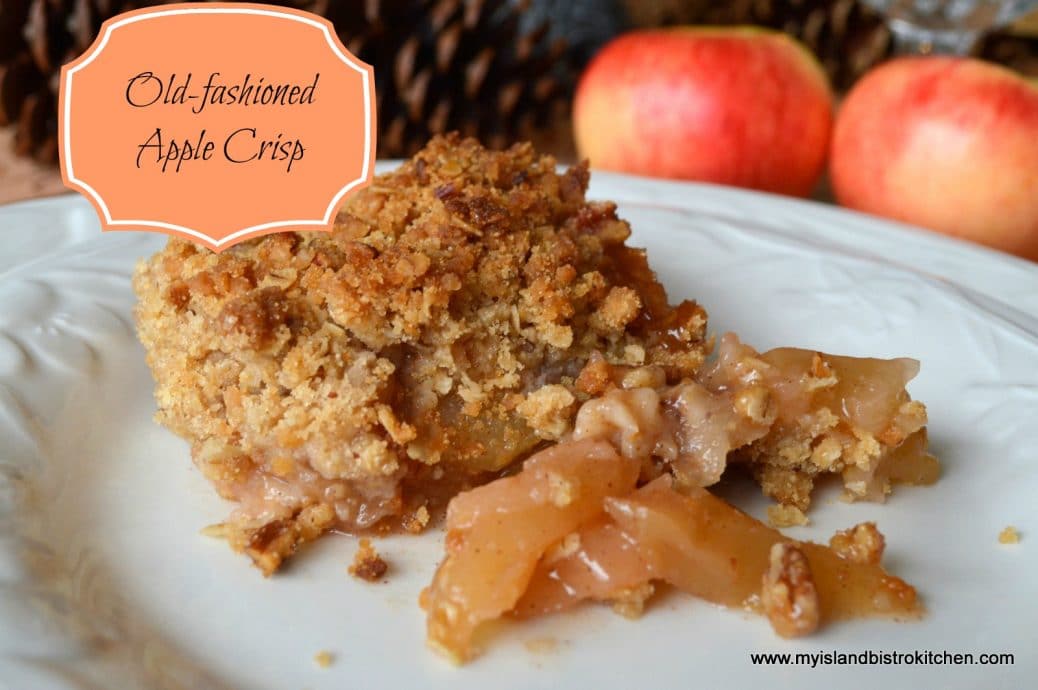
Peach Blueberry Crisp
Mini Blueberry Bundt Cakes
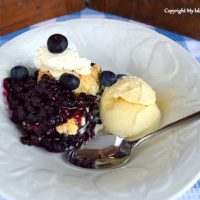
Blueberry Grunt
Blueberry Buckle
Ingredients
Streusel Topping
- 1/3 cup brown sugar, packed
- ¼ cup flour
- ½ tsp cinnamon
- 3 tbsp butter
Cake Batter
- ½ cup butter, softened
- ½ cup granulated sugar
- 1 extra-large egg
- 2 tbsp orange juice
- ¾ tsp vanilla
- 1½ cup all-purpose flour
- 2¼ tsp baking powder
- ¼ tsp salt
- ¼ tsp cloves
- ½ tsp nutmeg
- 1½ tsp grated orange rind
- ½ cup milk
- 2 cups high-bush blueberries
Blueberry Sauce
- ¾ cup granulated sugar
- 1 tbsp cornstarch
- Pinch salt
- 1/8 tsp nutmeg
- 1/8 tsp cinnamon
- 1 tsp grated orange rind
- 2 tbsp orange juice
- 1/3 cup water
- 2 cups high bush blueberries
- 1½ tbsp butter
- ¼ tsp vanilla
Instructions
-
Grease or line an 8” square pan with parchment paper. Preheat oven to 350°F.
Streusel Topping:
-
Prepare the streusel topping by mixing the brown sugar, flour, and cinnamon together. Using a pastry blender, cut in the butter until mixture resembles coarse oatmeal. Set aside.
Cake Batter:
-
In large bowl, cream the butter and add the sugar. Beat until mixture is smooth.
-
Add the egg, orange juice, and vanilla. Beat until smooth.
-
In separate bowl, whisk together the flour, baking powder, salt, cloves, nutmeg, and grated orange rind. Add the dry ingredients to the liquid mixture along with the milk in three parts, starting and ending with the dry ingredients (i.e., three additions of the dry ingredients alternated with two additions of milk).
-
Spread batter in prepared pan.
-
Sprinkle mixture evening with the blueberries.
-
Sprinkle the streusel topping over entire mixture.
-
Bake for 40-45 minutes or until cake tester inserted into center of cake comes out clean. Do not overbake as cake will become dry.
-
Serve plain or add a dollop of ice cream and, if desired, drizzle with blueberry sauce.
Blueberry Sauce:
-
Combine sugar, cornstarch, salt, nutmeg, cinnamon, orange rind, orange juice, and water in medium-sized saucepan. Heat to boiling point then add blueberries and reduce heat to medium low. Cook mixture, stirring regularly, until thickened to desired consistency. Remove from heat and stir in butter and vanilla. Serve warm over ice cream or pudding. Refrigerate unused sauce.
Recipe Notes
Yield: 9 servings and apx. 1¾ cups blueberry sauce.
[Copyright My Island Bistro Kitchen]


 In double boiler, over medium heat, heat the whipping cream, half-and-half, milk, honey, sugar, lavender, and vanilla beans and pod. Stir occasionally and heat mixture until small bubbles start to appear around edge of mixture, about 10-12 minutes.
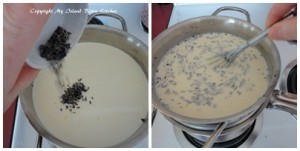 Remove from heat, cover, and let steep for 30 minutes to allow the lavender flavour to infuse the warm milk mixture.
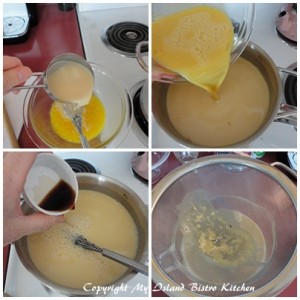 Strain mixture through a fine mesh sieve into a clean bowl. Discard remains in sieve and return strained mixture to a clean double boiler and heat to the scalding point, stirring to prevent the mixture from curdling or sticking to the bottom of the pot.
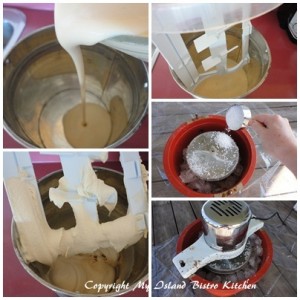 In a medium-sized bowl, whisk egg yolks and salt together. Whisk in vanilla. Add ¾ cup of the hot milk mixture to the eggs and whisk to blend. Pour this mixture into the custard in the double boiler. Cook over medium heat, stirring constantly until mixture thickens to consistency that it will coat the back of a wooden spoon. Do not boil. Be patient as this takes time.
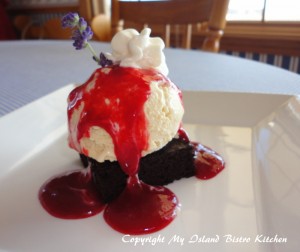 Strain mixture through sieve into a clean bowl. Cool completely then chill, covered, in refrigerator for at least 3 hours or more (can be chilled up to 24 hours). Freeze custard in ice cream maker according to manufacturer’s directions. Transfer ice cream to an airtight container and place plastic wrap directly on the surface of the ice cream. Cover and place in freezer for at least 4-6 hours to harden completely.