This Roasted Sweet Potato and Leek Soup is a lovely gently seasoned soup. Made with roasted sweet potatoes, a leek, a head of roasted garlic, and some curated seasonings, this is a comforting soup, especially when served with fresh bread (plain, crusty, or garlic), rolls, focaccia, biscuits, or savory crackers. Whether enjoyed for lunch or a light supper, this thick and creamy soup makes for a comforting meal. The soup freezes and reheats well, too, so is handy to have on hand in the freezer for when needed.
A tummy-warming chowder is always welcome on the table, especially on cool fall and cold winter days. I am a big fan of devising ways to use leftover meat to extend its use and number of servings possible. Today, I am sharing my recipe for Ham and Potato Chowder that makes great use of leftover cooked ham. Continue reading Creamy Ham and Potato Chowder→
While many cast French Onion Soup as fine dining restaurant fare, it really is easy enough to make this soup at home. Read on for my recipe, hints, and tips for making this Classic French Onion Soup in your own kitchen. Yes, you really can make fine restaurant-quality food at home and your kitchen will have the intoxicating aroma of a French bistro! Continue reading Classic French Onion Soup Recipe→
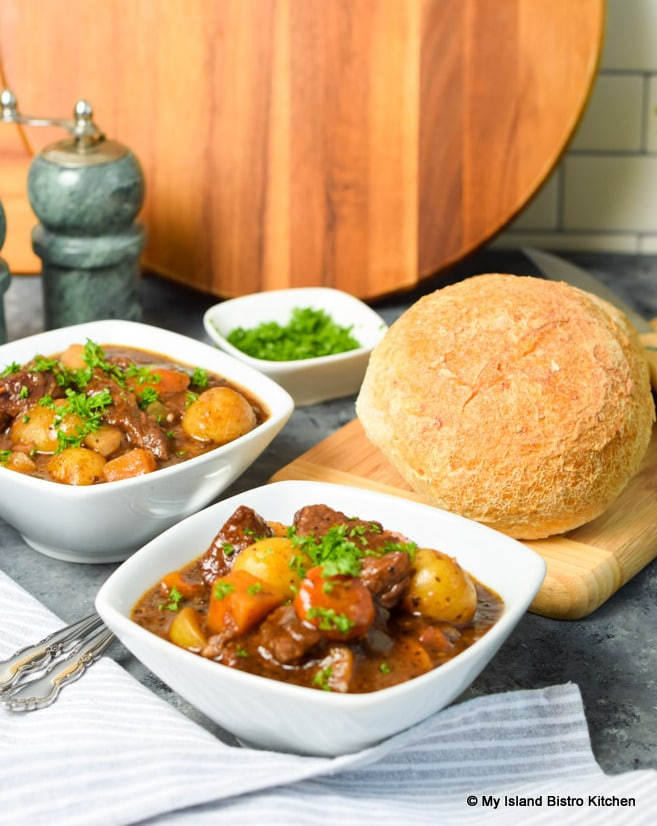
A hearty Beef Stew is a soul-satisfying and tummy-filling meal. It’s pure stick-to-the-ribs comfort food, especially on cool autumn or cold winter days. Made with basic ingredients, what makes this hearty Rustic Homestyle Beef Stew so wonderfully tasty (in addition to the Beef Seasoning Mix) is the long, slow, moist heat method of cooking a tougher cut of meat in a small amount of flavorful liquid to tenderize the meat. I believe this is what makes the difference between a bland, lacklustre beef stew and a super flavorful one. Continue reading Rustic Homestyle Beef Stew→
The humble carrot, often the last of the vegetables to be harvested from the garden in autumn, makes a fabulous base for a smooth Cream of Carrot Soup. With its superb flavor, color, and luxuriously smooth texture, this soup is a winning combination and can be made year-round. Continue reading Cream of Carrot Soup→
Late summer brings some wonderful flavors and that includes corn. After a few “feeds” of corn-on-the-cob, I am ready to have the veggie served in other ways, like in this Creamy Homestyle Corn Chowder. Pure comfort food at its finest and nothing compares to the homemade version! Continue reading Creamy Homestyle Corn Chowder Recipe→
Today’s featured recipe from my kitchen is Roasted Parsnip and Pear Soup. The combination of the somewhat nutty flavor of the parsnips pairs well with the sweetness of the Bosc Pears. They balance each other well in this savory soup. Continue reading Roasted Parsnip and Pear Soup Recipe→
Eve of Setting Day in the Fishing Village of North Rustico, PEI, Canada
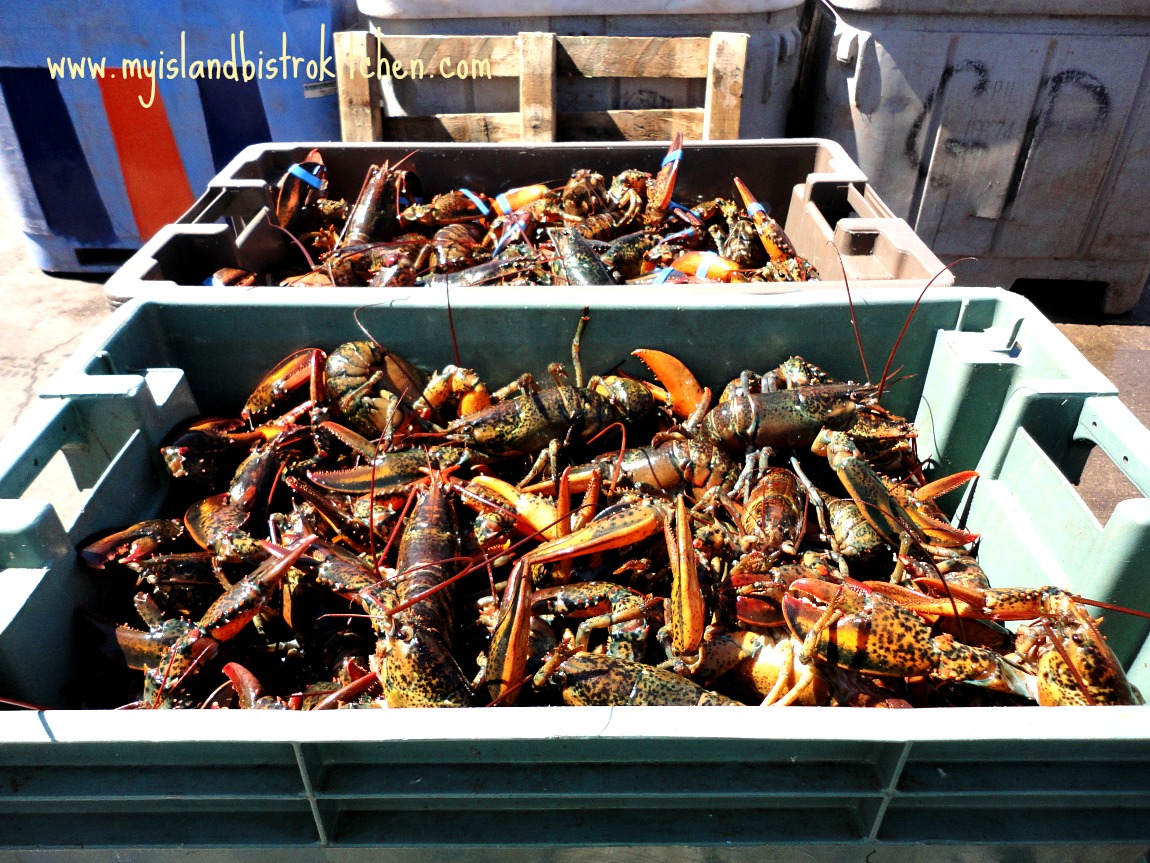
Living where we do, here in PEI, we have access to fresh local lobster and we make the most of it! The lobster fishery plays a major part in PEI’s economy and many people work in one of the many facets of this industry.
Fresh Catch of the Day – PEI Lobsters
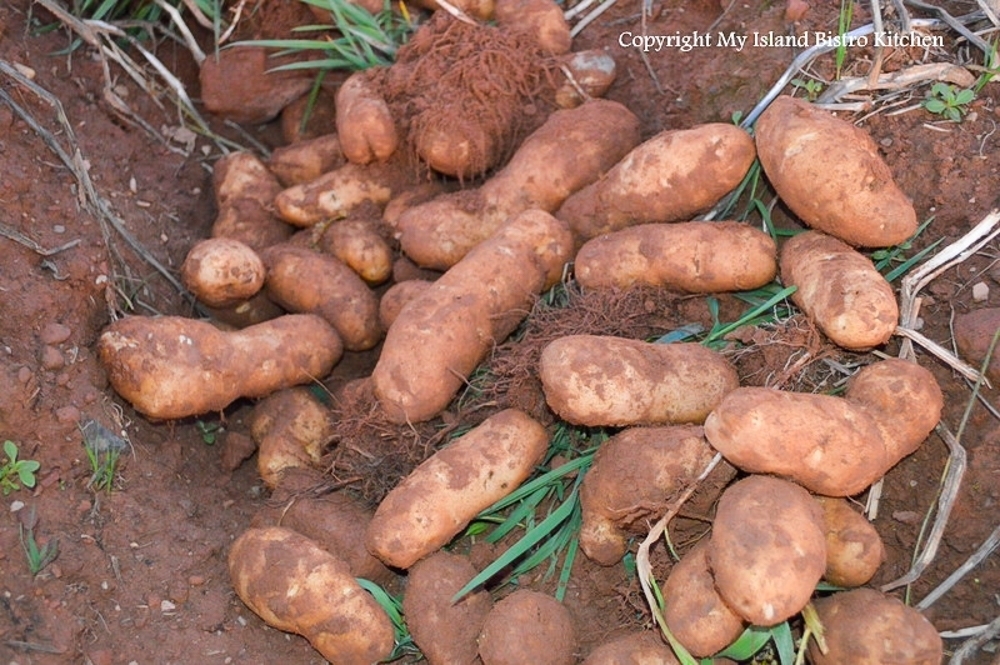
We are blessed on the Island with great food from the waters that surround our Island and from the rich red soil of our fertile land.
PEI Potatoes
Combining foods from the sea and land, my recipe for Lobster Chowder features fresh lobster and potatoes, both foods for which PEI is known. Some creamed corn, milk, cream, and a flavorful lobster stock make this a rich, decadent, and delectable chowder. Follow the step-by-step preparation and cooking directions to create a lobster chowder feast. Continue reading PEI Lobster Chowder Recipe→
I love a bowl of chili, especially on a cold fall or winter day. I also like the chili to have lots of texture and flavour and to be well-filled, hearty, and not be too watery. This recipe for Chicken and Pumpkin Chili has a lovely flavour profile owing to the selection of ingredients and a curated blend of spices to complement the core ingredients. Continue reading Chicken and Pumpkin Chili→
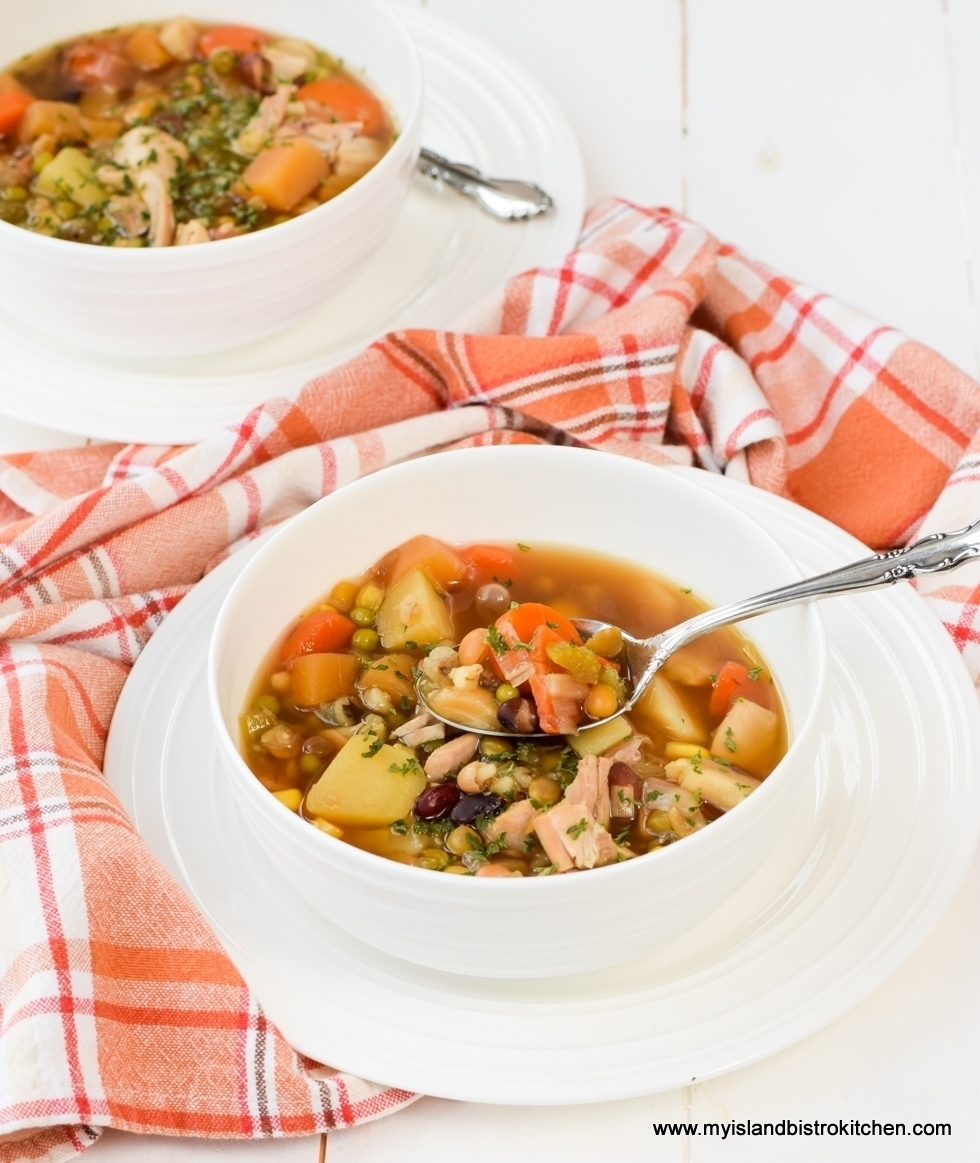
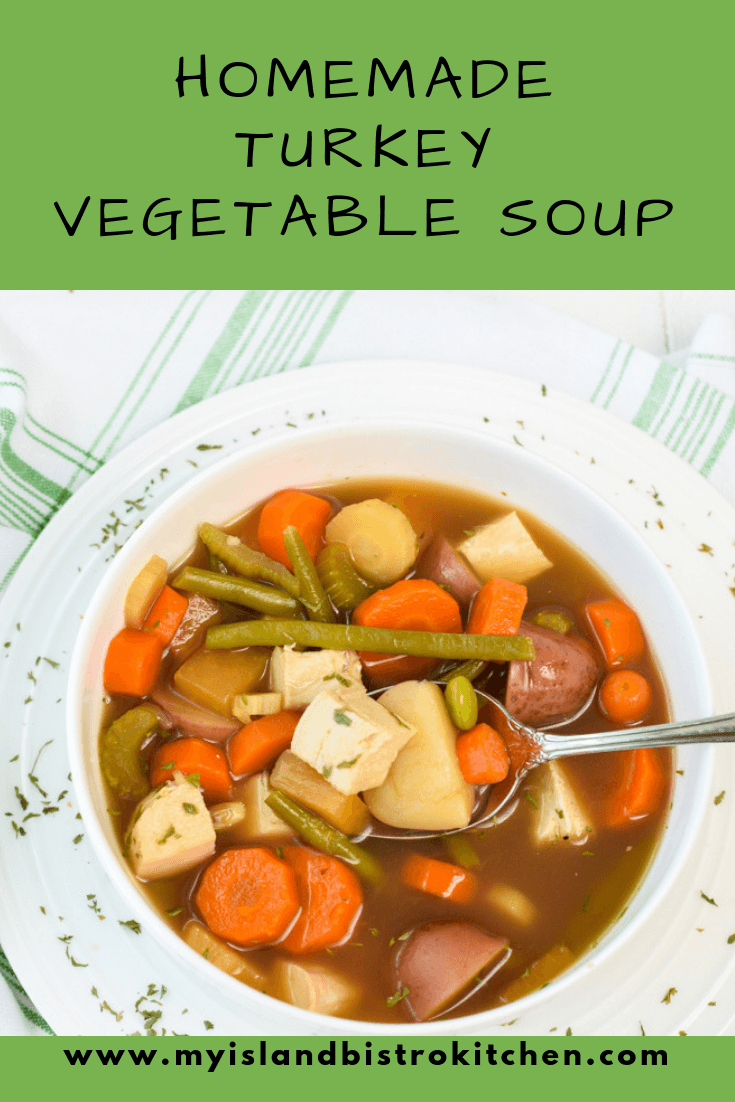
If you are a regular follower of my food blog, you will know that I do all I can to maximize the value of food products and reduce food waste. In my view, one of the best buys to extend meals is a turkey. Not only does it generate a wonderful roast turkey dinner but there is tremendous goodness left in the carcass and, often, there is more meat than can be used up as cold turkey and it can be transformed into other dishes. Or, sometimes, one just gets tired of the turkey before it is all used up so a great way to maximize it is to turn it into a delectable Turkey Vegetable Soup.
Homemade Turkey Vegetable Soup
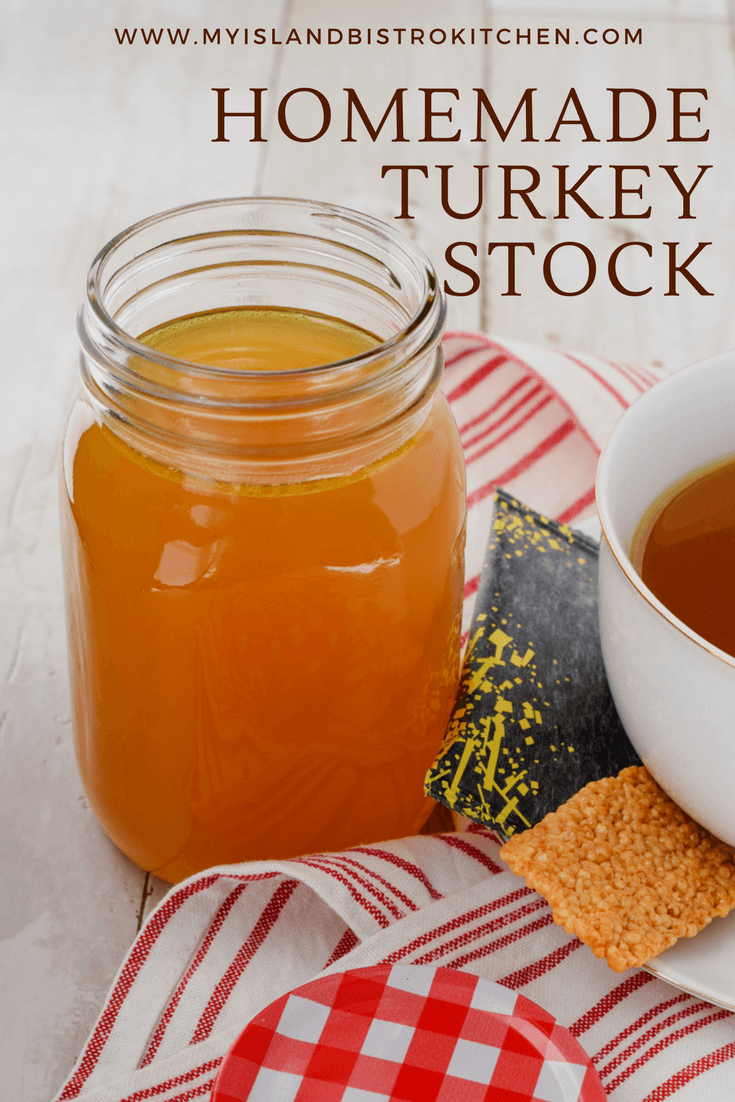
The first thing I do after a roast turkey dinner is strip off all the remaining usable meat from the turkey carcass. I will either immediately make homemade turkey stock with the carcass or freeze it in an airtight freezer bag and make the stock later. You can find my recipe for making turkey stock by clicking here. If the plan is not to make the Turkey Soup right away, I suggest setting aside 3-4 cups of the turkey meat and freezing it in an airtight freezer bag to have ready to drop in to the soup when it is later made.
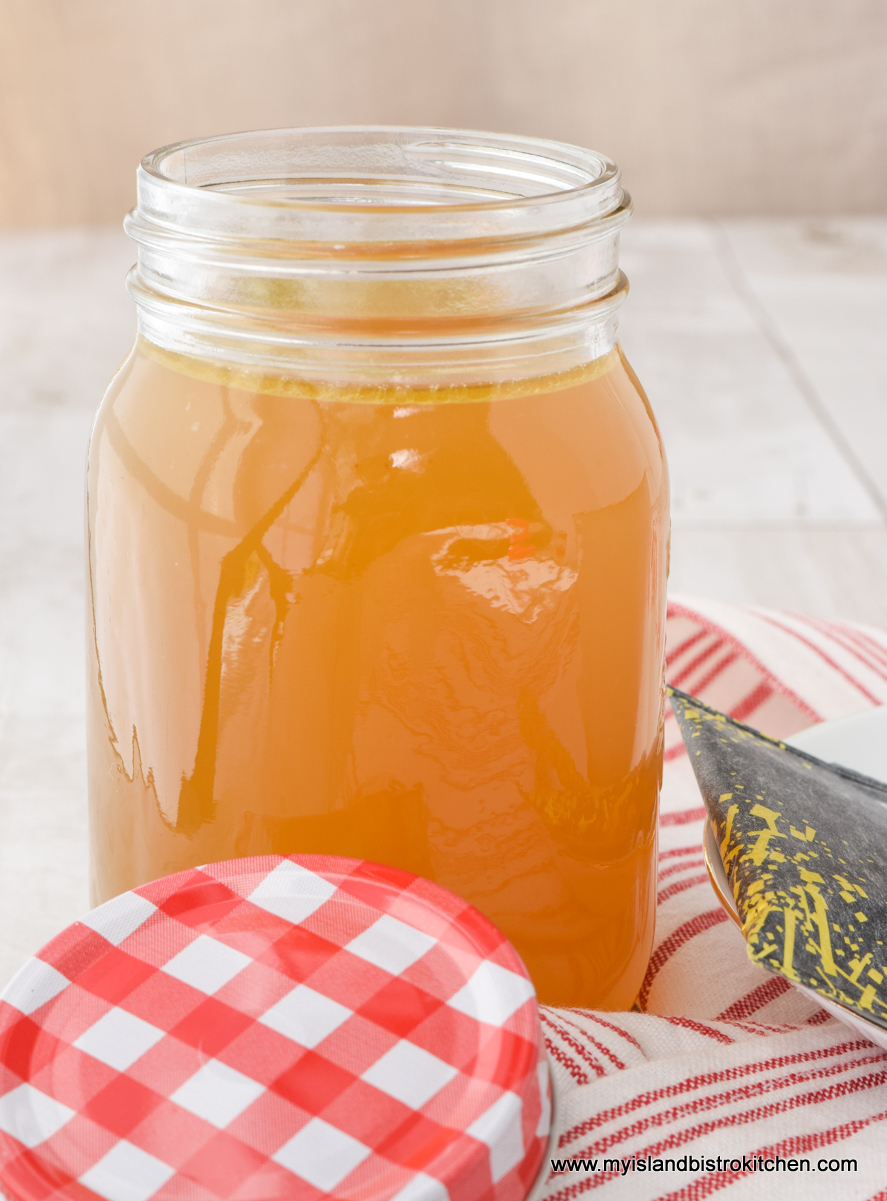
Homemade Turkey Stock
Homemade Turkey Vegetable Soup is both delicious and nutritious and my version of this wholesome soup freezes well. The recipe makes a big batch (about 18-20 servings) though it may be halved. However, if freezer space is available for the soup, it is mighty handy to have on hand for later use.
Now I do, of course, recommend that homemade turkey stock be used as the foundation for this soup because it is wholesome and free of preservatives. However, commercially-made stock/broth may be used in its place.
Homemade Turkey Vegetable Soup
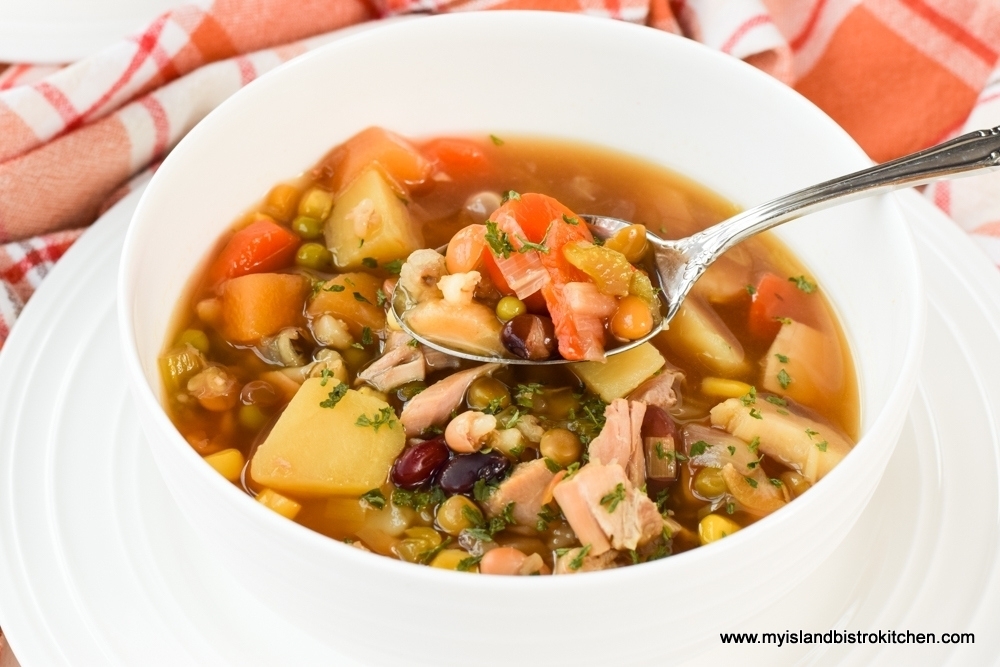
I recommend a careful reading of my recipe for this soup before beginning to make it as there are some steps involved and probably a shopping trip, too. To begin, I typically use a dry soup mix comprised of beans, lentils, split peas, pearl barley, and white rice. I buy this bulk at my local bulk food store and this mix does require a bit of pre-soaking, cooking, and standing time before it is incorporated into the soup pot. Otherwise the contents of the mix will not cook in the amount of time it takes to cook the remaining ingredients of the soup. So, time will need to be allotted for that activity. While using this mix adds fibre and bulk to the soup, the soup may be made without it and several photos in this posting show soup made without the dry soup mix. If making the soup minus the dry soup mix, simply increase slightly the quantity/amount of fresh and/or frozen vegetables called for in the recipe so that the soup is filled with goodness and is not too runny.
For this Turkey Vegetable Soup, I am not starting out with the traditional pure mirepoix because that requires that the aromatic holy trinity of carrots, celery, and onion be chopped really fine. In this soup, I want those ingredients to be left larger, in bite-size chunks. However, I do sauté them, along with the parsnip and leek for 2-3 minutes to start the release of their flavours along with the garlic.
Homemade Turkey Vegetable Soup
Because I use my own homemade stock which already has some seasonings added, I don’t add huge amounts of seasonings to the soup and this is one soup that I do not like overly spiced or seasoned. One flavour booster I have found that works really well in this Turkey Vegetable Soup is dry onion soup mix so I add a couple of tablespoons along with small amounts of thyme, summer savory, turmeric, paprika, ground coriander, cloves, and nutmeg and, of course, the standard bay leaves. As always, I recommend, when making a recipe for the first time, to make it with the ingredients and amounts called for by the recipe creator. If, after you have tried it as it has been developed, you find it needs more or less of a seasoning to suit your personal taste, the adjustments can be noted and made in the next batch.
Homemade Turkey Vegetable Soup
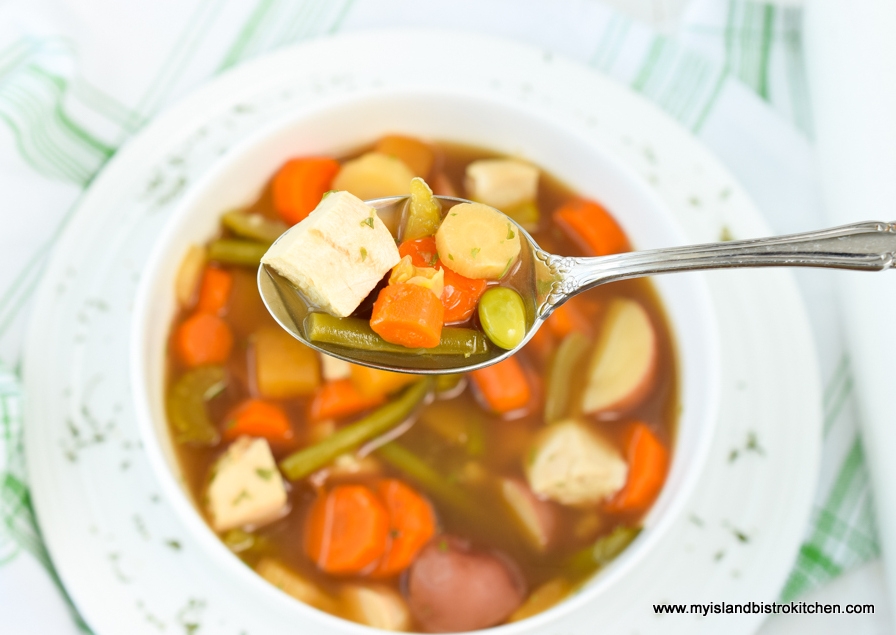
I like rutabaga so add a fair bit of it to the soup. It adds both substance and some sweetness to the soup. Sometimes, I will make this soup with peeled cubed potatoes (seen in photo above) and, other times, I will make it a little more rustic, using the mini red potatoes with their skins on (as shown in photo below). Either works.
Turkey Vegetable Soup
Nearer the end of the cooking process, add 1 1/2 cups of frozen vegetables. This can be either corn, peas, or mixed vegetables – any on their own or in any combination to make up 1 1/2 cups. I like the soup well filled! One nice thing about this kind of soup is that if you don’t like, for example, peas, then simply replace them with another vegetable you prefer.
The cooked turkey may either be cubed (as shown in photo above) or coarsely shredded (as seen in photo below) for this soup. Making turkey soup is a great way to use up light and/or dark meat left on the turkey. It only needs about 5 minutes in the soup for it to heat. Don’t re-cook the meat as it will become tough and it will lose its flavour.
In large saucepan, soak the dry soup mix in 3 cups of cold water for 2 hours. Bring to a boil, covered, over medium-high heat. Reduce heat to low and boil gently for 2 minutes. Remove from heat and let stand 1 hour. Drain.
In large stockpot, over medium heat, melt the butter then add the olive oil. Add the onions, carrots, parsnip, celery, and leek. Sauté for 2-3 minutes, stirring briskly. Add the garlic and, stirring constantly, cook for 1 minute longer.
Add the turkey stock, cover, and bring just to the boiling point but do not boil. Add the dry onion soup mix and spices along with the bay leaves. Add the rutabaga and drained soup mix of beans, lentils, peas, etc. Cook gently, partially covered, over medium-low heat for about 30 minutes. Season with salt and pepper to taste.
Add the potatoes and cook, partially covered, for about 10-12 minutes before adding the frozen vegetables. Cook for an additional 15-20 minutes, or until vegetables are cooked. Add the cooked turkey and simmer for 5 minutes or so, just until the turkey is heated. Season with salt and pepper to taste.
Remove bay leaves and ladle soup into bowls. Soup freezes well.
Yield: Approximately 18-20 servings (1¼ cup serving size)
You may also like this recipe for My Island Bistro Kitchen’s Homemade Turkey Chowder.
Homemade turkey stock, leftover turkey, and loads of vegetables combine with light seasoning to make a delicious and nutritious turkey vegetable soup.
Course
Soup
Cuisine
American
Keyword
Turkey Soup
Servings18
My Island Bistro KitchenMy Island Bistro Kitchen
Ingredients
1cupdry soup mix of beans(lentils, split peas, pearl barley, and white rice)
3cupscold water
3– 4 tbsp butter
1tbspolive oil
1cuponion,coarsely chopped
2cupscarrots(about 3 large), cut into bite-sized chunks
1½cupsparsnip(about 2 large), cut into bite-sized pieces
1cupcelery(1 large celery rib), sliced
1leek,white and green parts only, sliced
5-6clovesof garlic,minced
12cupsturkey stock
2tbspdry onion soup mix
1tspdried summer savory
¾tspdried thyme
¼tspturmeric
¼tsppaprika
1/8tspground coriander
1/8tspcloves
1/8tspnutmeg
2bay leaves
1¾cupsrutabaga,cut into bite-sized chunks
1lbmini red potatoesunpeeled, halved or quartered depending on their size or, alternatively, 2 cups peeled potatoes, cubed
1½cupsfrozen vegetables(peas, corn, or mixed vegetables)
3 - 4cupscooked turkey meat,cubed or coarsely shredded
Salt and pepper,to taste
Instructions
In large saucepan, soak the dry soup mix in 3 cups of cold water for 2 hours. Bring to a boil, covered, over medium-high heat. Reduce heat to low and boil gently for 2 minutes. Remove from heat and let stand 1 hour. Drain.
In large stockpot, over medium heat, melt the butter then add the olive oil. Add the onions, carrots, parsnip, celery, and leek. Sauté for 2-3 minutes, stirring briskly. Add the garlic and, stirring constantly, cook for 1 minute longer.
Add the turkey stock, cover, and bring just to the boiling point but do not boil. Add the dry onion soup mix and spices along with the bay leaves. Add the rutabaga and drained soup mix of beans, lentils, peas, etc. Cook gently, partially covered, over medium-low heat for about 30 minutes. Season with salt and pepper to taste.
Add the potatoes and cook, partially covered, for about 10-12 minutes before adding the frozen vegetables. Cook for an additional 15-20 minutes, or until vegetables are cooked. Add the cooked turkey and simmer for 5 minutes or so, just until the turkey is heated.
Remove bay leaves and ladle soup into bowls. Soup freezes well.
Recipe Notes
Yield: Approximately 18-20 servings (1¼ cup serving size)
[Copyright My Island Bistro Kitchen]
If you have made this recipe and enjoyed it and/or wish to share it with your friends and family, please do so on social media but be sure to share the direct link to this posting from my website.
Connect with My Island Bistro Kitchen on Social Media
Follow “the Bistro” on Pinterest at https://www.pinterest.ca/peibistro/ and pin the Pinterest-ready photos found at the end of this post to your favorite Pinterest boards.
Pin Me To Pinterest!
Homemade Turkey Vegetable Soup
You may also enjoy these other soup and chowder recipes from My Island Bistro Kitchen:
Nothing beats homemade soup! True comfort food – a bowl of hot soup, especially on a cool fall or cold winter day, warms the tummy and the soul. This Cream of Broccoli and Cheese Soup fits that bill nicely. Continue reading Classic Cream of Broccoli and Cheese Soup→
When days are cooler, or downright cold, there is nothing better to warm the tummy than a bowl of comfort soup. One of the soups I place in that category is homemade Roasted Butternut Squash Soup. Full of flavour with a lovely velvety texture, Roasted Butternut Squash Soup has a rich natural golden-yellow color that can’t be beat! This is a showstopper soup on both the taste and appetizing color fronts, the latter of which is drawn from the orange, fleshy pulp of the squash. Continue reading Classic Roasted Butternut Squash Soup→
I love a bowl of rich Irish Stew any time of the year but, for certain, I will make it around St. Patrick’s Day! It’s a filling and tummy-warming stew that is always a welcome sight on the dinner table. Continue reading My Island Bistro Kitchen’s Irish Stew→
I am always dismayed (and disheartened) at how many people toss a turkey carcass after the turkey dinner. To me, that is such a waste as there is a lot of goodness in that turkey carcass and it makes great homemade turkey stock that can be used in many recipes. Continue reading Homemade Turkey Stock Recipe→
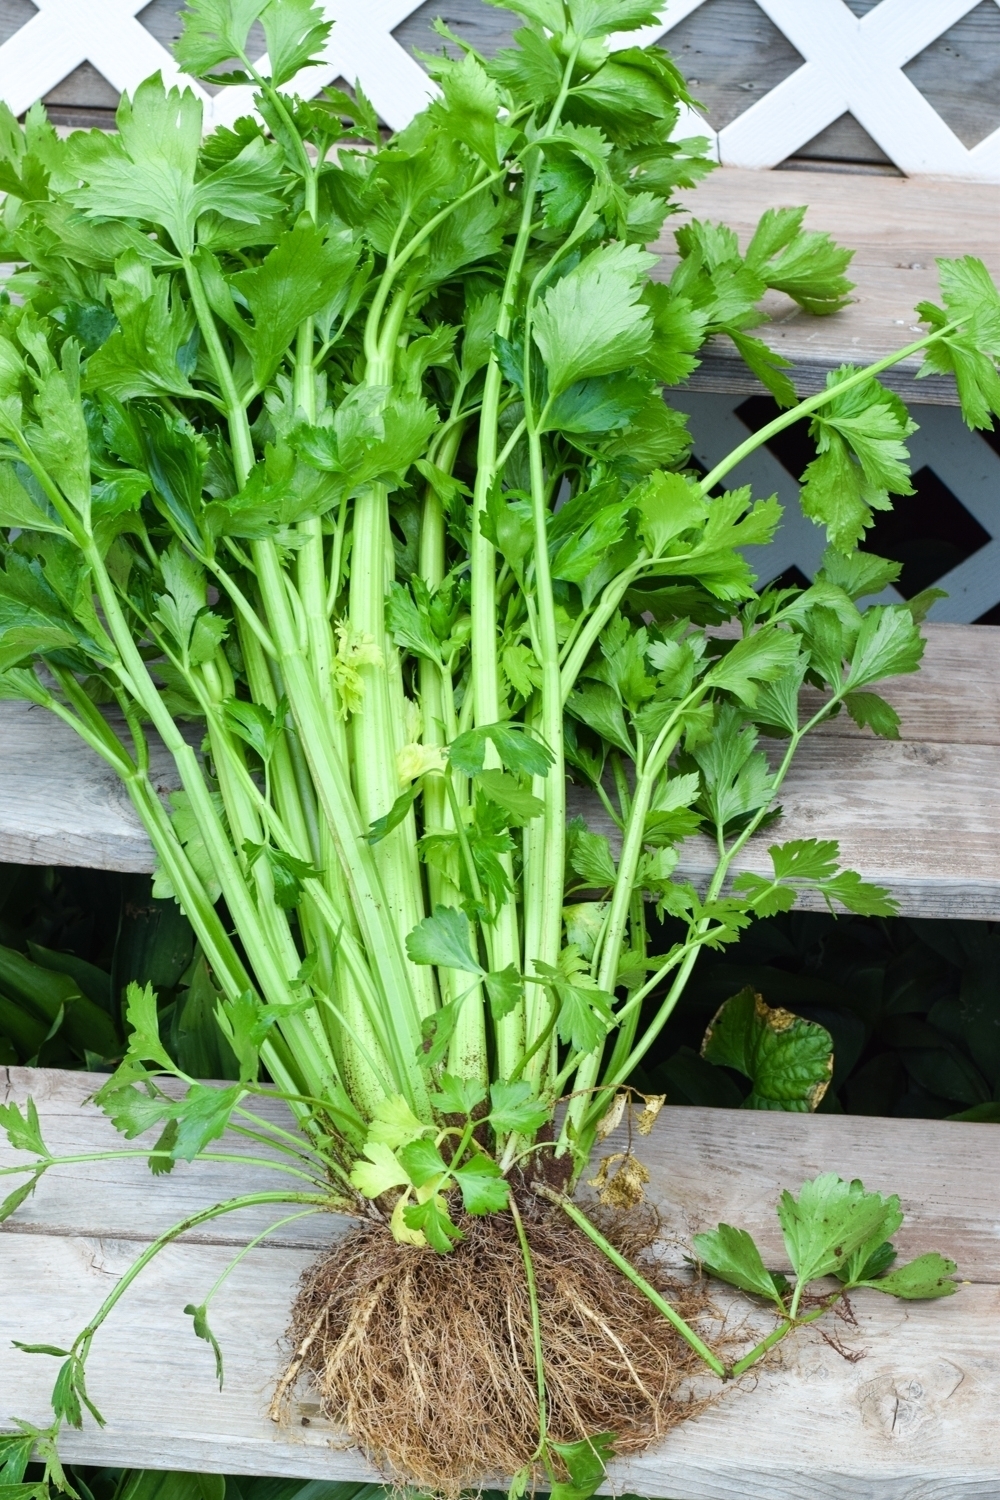
Every year we try to grow two or three new vegetables in our garden. Here, on PEI, we have a very short growing season and so, whatever we grow, must be suitable to that climate. One day, in late June, I was at John’s Greenhouses in Summerside and they had trays of very healthy looking celery starter plants. On a lark, I bought a tray of six plants and transplanted them. Never, in my wildest imagination, could I have contemplated how well they would grow! With leaves on stalks intact, they grew to be 30″ tall. The celery had a nice crisp bite to it but, seriously, how much celery could we eat raw?
Celery
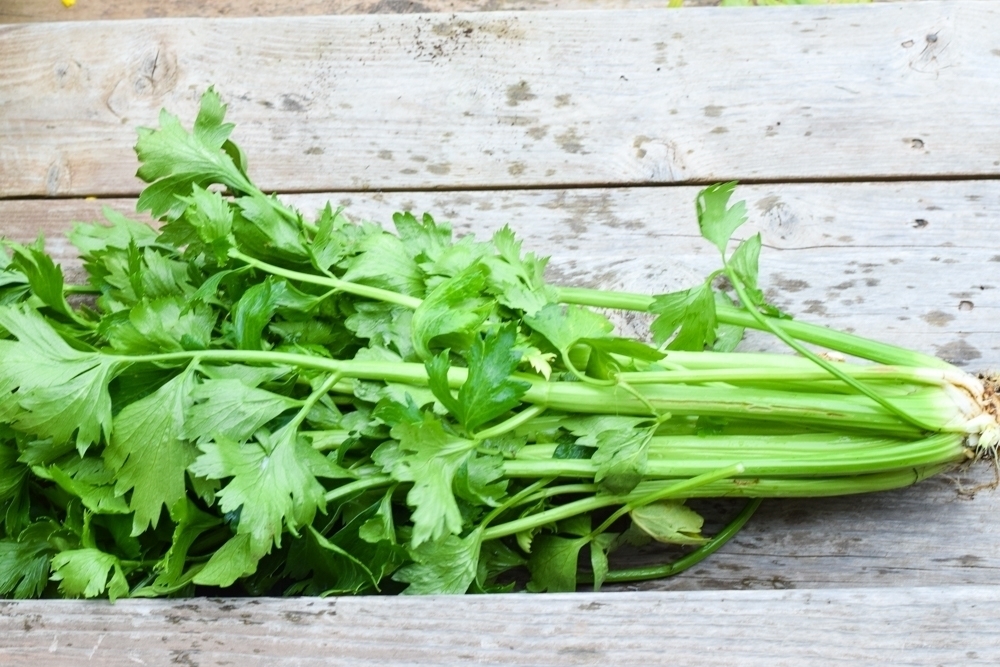
Celery
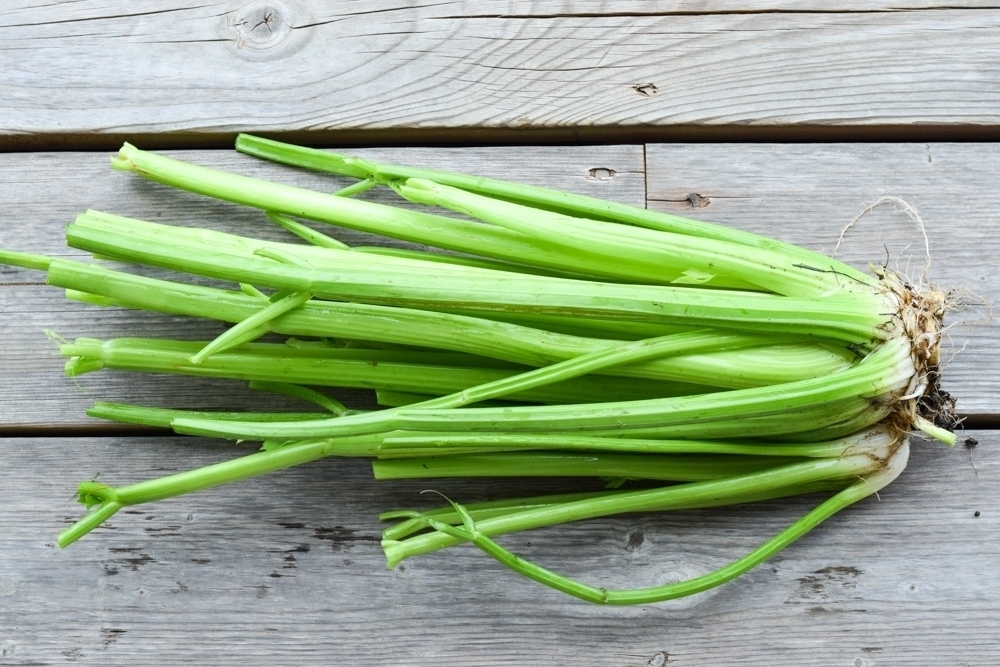
Celery
I began thinking about what I could do with the celery and how I could process it into something else. Thus was born my recipe for Cream of Celery Soup which has now elevated itself to one of my favorite cream-based soups.
Cream of Celery Soup
I have made and tested this recipe several times (well, you know, we did have a lot of celery in the garden!), adjusting the ingredient amounts and perfecting the method. This process results in me publishing a recipe for a tasty soup I am delighted with. It also enables me to share my lessons learned and tips for successfully making this soup.
Ingredients
Use the freshest celery you can find for this recipe. Chop it finely because celery takes a long time to soften during cooking – the smaller the pieces, the faster it will cook. I use both onions and leeks in this recipe as they each contribute their own unique flavor to the soup. They may come from the same family but their unique flavour qualities add levels of complexity and depth to the celery soup. Always use freshly minced garlic in this recipe – it will have more flavour than a bottled version. Either chicken or vegetable stock may be used as a base in this soup. I typically use chicken stock.
To get that silky smooth texture for which great cream soups are known, use a combination of whole milk and cream (18% MF). Fat-reduced and skim milks do not do well in this soup. This soup can be made entirely with whole milk but using cream for a portion of the dairy content in the soup will yield a richer and smoother soup. Also, this soup will freeze well if whole milk and cream are used. In fact, I make this soup as part of my batch-cooking menu and freeze it in individual portions. It’s great for work lunches.
I add shredded cheddar cheese to this soup. Celery and cheese have long been great partners so why not pair them in a soup. I also add a couple of tablespoons of grated Parmesan cheese to the soup as well.
I love my herb garden and make good use of it. It’s important to choose herbs for this soup that will pair well with the other ingredients. I have chosen dill, parsley, and either rosemary or thyme. Only add these to the late stage reheating of the soup, after it has been puréed, and the milk and cream added. Softer stemmed herbs such as dill and parsley tend to wilt and become discolored if they are overcooked. While the more woody rosemary or thyme can withstand a bit more heat, I tend to add them all at the same time, near the end of the cooking process. The amount of seasoning is always a personal preference. My strategy in herb usage is that they should enhance, not overpower, the dish. I recommend using the amounts I have indicated in the recipe the first time you make the soup – the herb quantities indicated are considered modest amounts. Then, the next time you make the soup, adjust the quantities of the herbs according to your personal preference.
Method
Celery takes a long time to soften during cooking. Melt the butter in the saucepan and give the celery the benefit of a head start of about 5 minutes cooking before adding the onions, leeks, potato, and garlic. Cook the vegetables until they are softened – about 15 minutes. Then, add the thickener (regular or gluten-free flour) followed by the liquid stock (chicken or vegetable) and continue to cook the mixture for 30-35 minutes. The goal is to ensure the vegetables are thoroughly cooked and softened and that time has been allotted for the flavors to blend.
The mixture needs to be puréed until smooth, either in a blender or food processor or, alternatively, via an immersion blender. I typically use the blender for this and I let the soup cool for about 30-40 minutes or so before putting the hot mixture into the jar of the blender. I have learned the importance of blending part of the mixture first and then adding the remainder of the mixture while continuing to purée it as, otherwise, it is very difficult to get a smooth soup. Because celery has a “stringy” component to it and because, sometimes, no matter how much blending, there can always be little bits of the vegetables that have not puréed completely smooth, I recommend straining the puréed mixture through a medium mesh wire sieve into a clean stockpot to get rid of any unpuréed residue. This will result in a smoother textured soup.
Once the puréed mixture is transferred to a clean stock pot and the milk/cream blended in and heated, the cheeses and fresh herbs can be added.
Never boil a cream soup; instead, gently heat it just until the cheeses have melted.
Serving
This soup should be served hot. It can be garnished with croutons, slivered almonds, croutons, fresh herbs, or a sprig of celery leaves. Serve it in small quantities as a starter to a meal or in larger bowls as a tasty lunch or light supper. The soup is great served with homemade biscuits, rolls, or bread.
Making this cream-based soup is a great way to make use of fresh celery.
[Printable recipe follows at end of posting]
Cream of Celery Soup
Homemade Cream of Celery Soup
Ingredients:
¼ cup + 1 tbsp butter
8 oz celery, chopped fine (apx 2 cups)
2½ oz leek (white and green parts only), sliced thin (apx. 1 cup)
2 oz onion, finely chopped (apx. ½ cup)
4 oz potato, peeled and diced
3 cloves of garlic, minced
1/3 cup flour (to make it gluten-free, use 1/3 cup of 1-to-1 gluten-free flour)
2 cups warm chicken stock
2/3 cup whole milk
2/3 cup 18% cream
Salt and pepper, to taste
Celery leaf, croutons, or slivered almonds for garnish (optional)
Sprinkle of nutmeg for garnish (optional)
Method:
Melt butter in saucepan over medium heat. Add the celery and cook for 5 minutes, stirring frequently. Reduce heat to just below medium and add the leek, onion, potato, and garlic. Cook until vegetables are soft, about 15 minutes, stirring often.
Sprinkle flour onto vegetables and stir for approximately 1 minute. Add chicken stock. Cover. Bring to a boil. Add the bay leaf. Cover and reduce heat to simmer and cook for 30-35 minutes, stirring frequently to prevent scorching. Cool for 30-40 minutes. Remove bay leaf. Transfer mixture to blender or food processor, starting with a good half of the mixture, puréeing, and then adding in the remainder and continuing to purée until smooth. Strain puréed mixture through medium mesh wire sieve, into clean stock pot, to remove any bits of ingredients that have not completely puréed.
Add milk, cream, salt, and pepper to the mixture. Heat over medium heat. Do not boil. Add the grated cheddar and parmesan cheeses along with the fresh herbs. Stir until cheese melts. Ladle into soup bowls and garnish with a sprig of celery leaf, croutons, or slivered almonds and a sprinkle of nutmeg.
Yield: 5 cups, approximately 4-5 servings (1 to 1¼ cup/serving)
Delicious homemade Cream of Celery Soup with layers of flavor. Perfect as a starter to a meal or for a light lunch or supper.
Ingredients
¼ cup + 1 tbsp butter
8 oz celery, chopped fine (apx 2 cups)
2½ oz leek (white and green parts only), sliced thin (apx. 1 cup)
2 oz onion, finely chopped (apx. ½ cup)
4 oz potato, peeled and diced
3 cloves of garlic, minced
1/3 cup flour (to make it gluten-free, use 1/3 cup of 1-to-1 gluten-free flour)
2 cups warm chicken stock
2/3 cup whole milk
2/3 cup 18% cream
Salt and pepper, to taste
1 cup grated cheddar cheese
2 tbsp finely grated Parmesan cheese
¾ tsp fresh dill, minced
1 tsp fresh parsley, finely chopped
¼ tsp thyme or rosemary, finely chopped
Celery leaf, croutons, or slivered almonds for garnish (optional)
Sprinkle of nutmeg for garnish (optional)
Instructions
Melt butter in saucepan over medium heat. Add the celery and cook for 5 minutes, stirring frequently. Reduce heat to just below medium and add the leek, onion, potato, and garlic. Cook until vegetables are soft, about 15 minutes, stirring often.
Sprinkle flour onto vegetables and stir for approximately 1 minute. Add chicken stock. Cover. Bring to a boil. Add the bay leaf. Cover and reduce heat to simmer and cook for 30-35 minutes, stirring frequently to prevent scorching. Cool for 30-40 minutes. Remove bay leaf. Transfer mixture to blender or food processor, starting with a good half of the mixture, puréeing, and then adding in the remainder and continuing to purée until smooth. Strain puréed mixture through medium mesh wire sieve, into clean stock pot, to remove any bits of ingredients that have not completely puréed.
Add milk, cream, salt, and pepper to the mixture. Heat over medium heat. Do not boil. Add the grated cheddar and parmesan cheeses along with the fresh herbs. Stir until cheese melts. Ladle into soup bowls and garnish with a sprig of celery leaf, croutons, or slivered almonds and a sprinkle of nutmeg.
If you have made this recipe and enjoyed it and/or wish to share it with your friends and family, please do so on social media but be sure to share the direct link to this posting from my website.
Connect with My Island Bistro Kitchen on Social Media
Mussels are a favorite shellfish of mine and, while I love them steamed in various different broths, today I am presenting them in the form of Mussel Chowder and I’m sharing my own personal recipe. Continue reading My Island Bistro Kitchen’s PEI Mussel Chowder→
Today, I am sharing my newly-developed recipe for Ham Lentil Soup that is made from a leftover ham bone, broth, and ham. Continue reading Ham Lentil Soup Recipe→
Turkey Chowder is the perfect way to use up leftover turkey. It’s a welcome tummy-warming and tasty chowder for cold winter days and is a real treat after skiing, a long winter walk, snowshoeing, or coasting on the snow-covered hills. Serve with warm rolls or biscuits straight from the oven for an extra special treat. Continue reading Turkey Chowder Recipe→
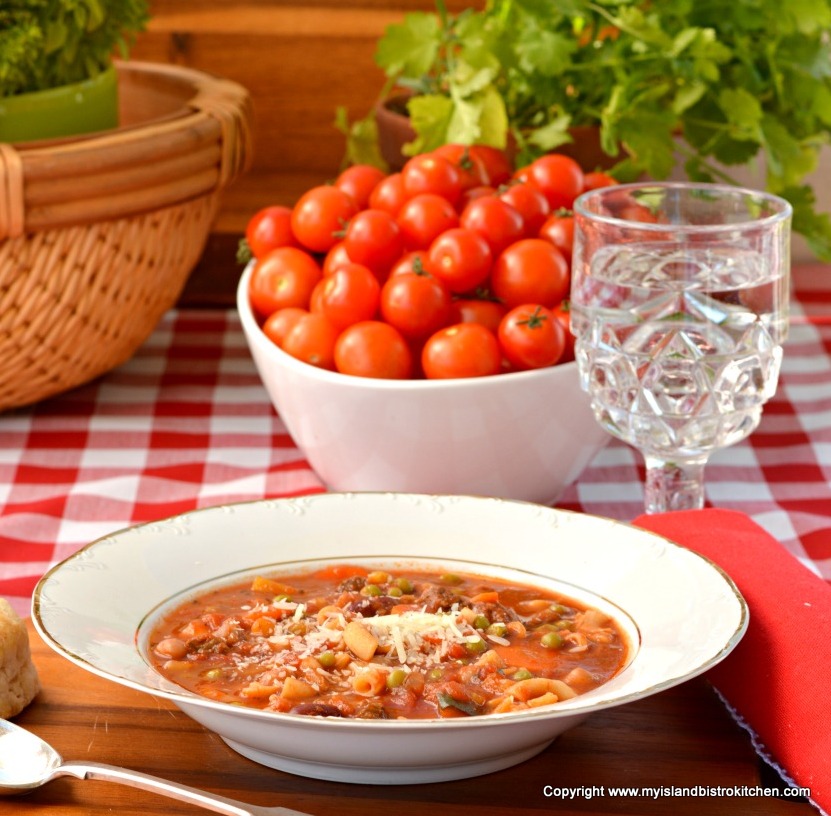
Over the years, I have spent some time in Italy and, of course, that always motivates me to do more Italian-inspired cooking like this Minestrone Soup, for example. It’s very easy to get inspired when travelling to beautiful parts of the world, especially those known for fine cuisine and wines! Continue reading The Bistro’s Beefy Minestrone→
(Mostly) PEI and Maritime Food – Good Food for a Good Life!