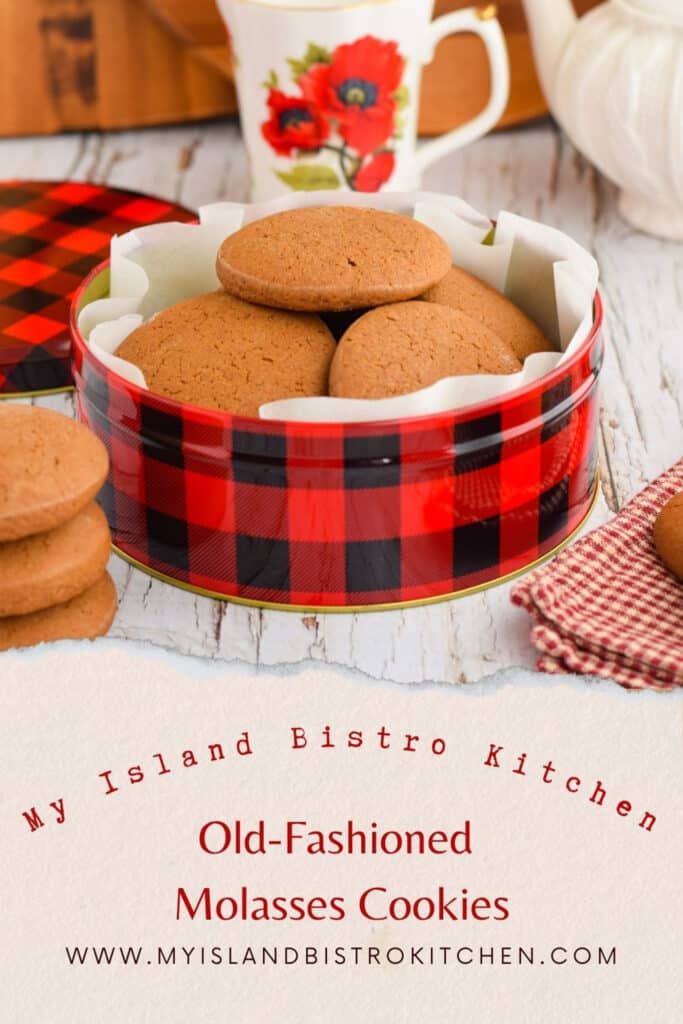
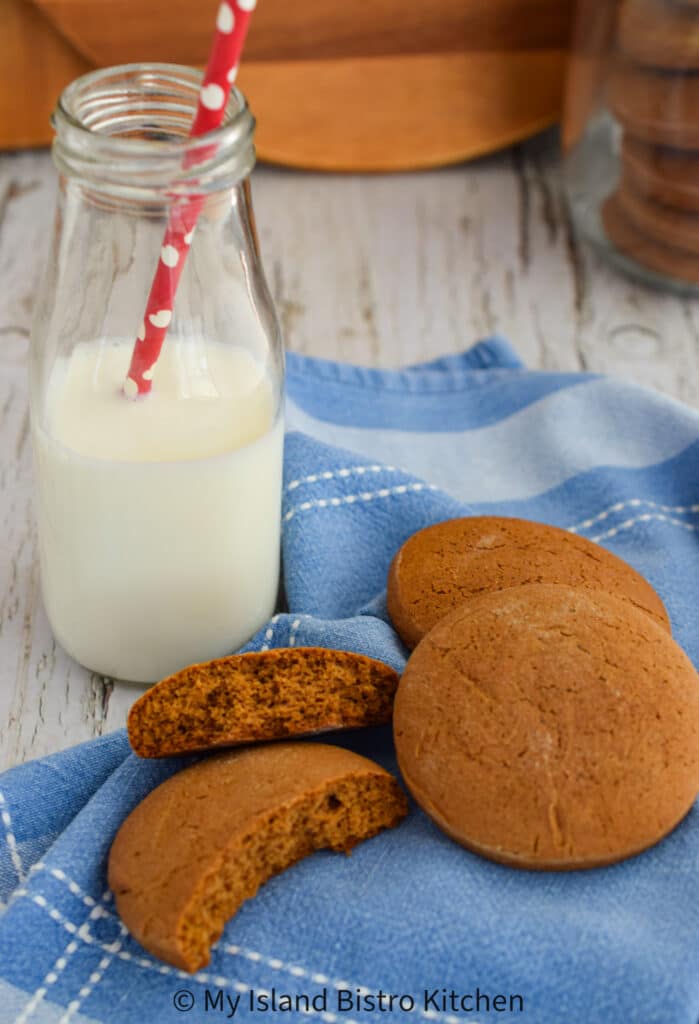
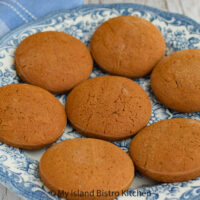
Old-fashioned Molasses Cookies have been a cookie jar favorite for generations. They are one cookie that just never goes out of style or favor.
Made with basic pantry ingredients, these cookies, cut from rolled out dough, are not difficult to make. They are lovely thick cookies owing to the activated baking soda used as the leavening. The brown sugar, vinegar, and cream of tartar will work their magic to activate the baking soda that gives the desired rise to the cookies.
In this Molasses Cookie recipe, we are keeping with the old tradition and method of using shortening as the fat component in this particular type of cookie. Some cookies, like these Molasses Cookies, simply turn out better when shortening is used instead of butter. There are many advantages to using shortening versus butter in Molasses Cookies. Let’s examine them.
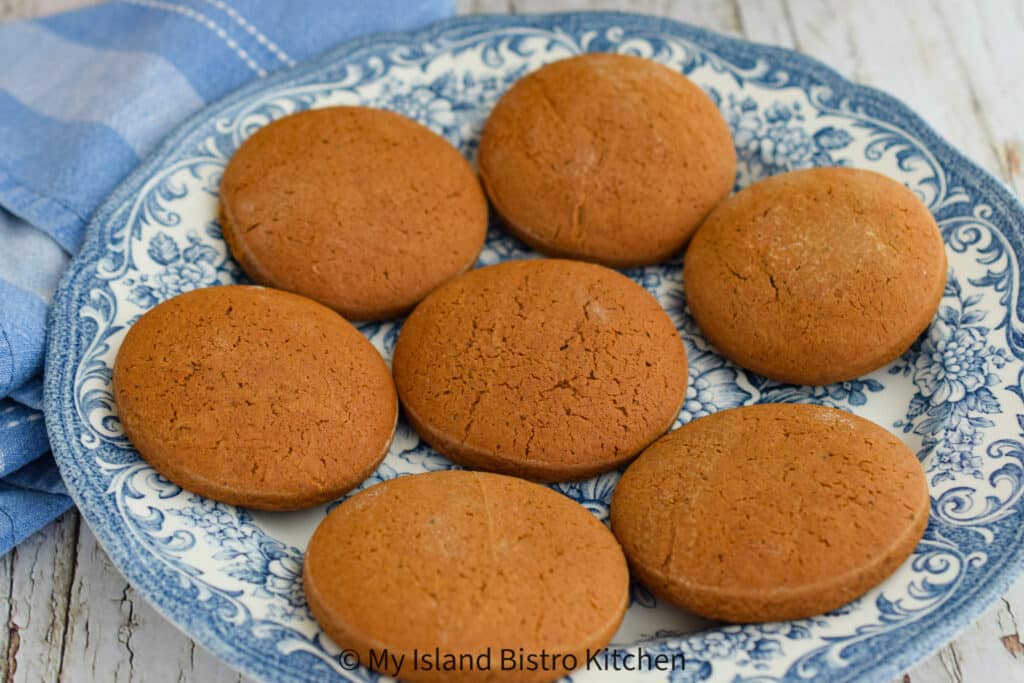
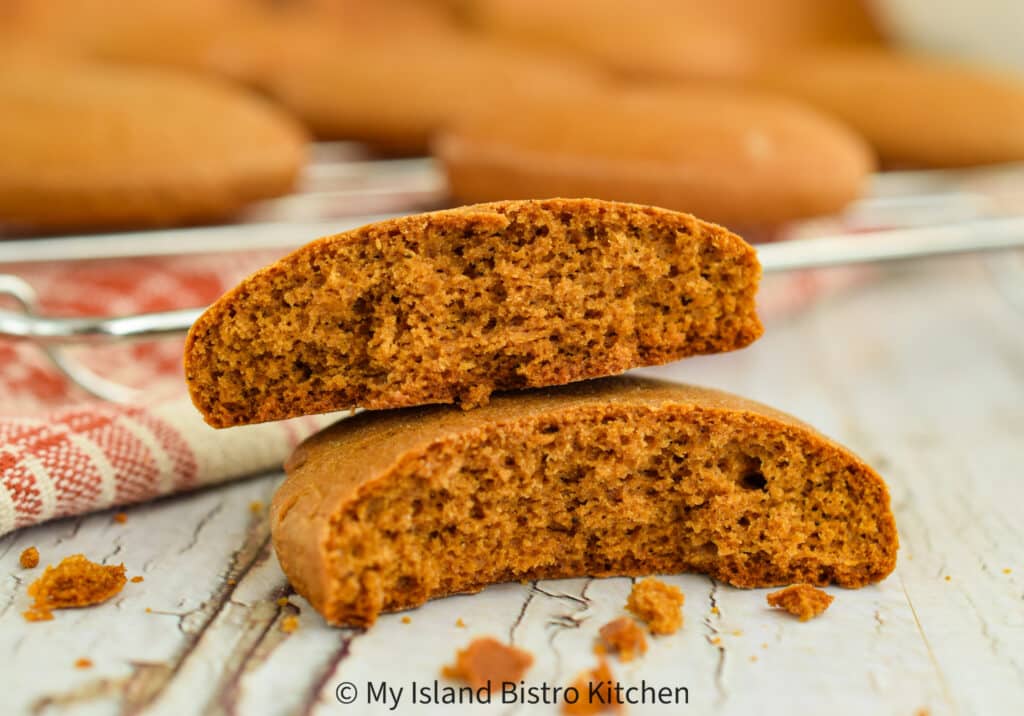
While butter is often the preferred fat in baked goods for the rich buttery flavor it gives (think shortbread, for example), it can also be the cause of some types of cookies spreading and losing their intended shape while they bake and becoming somewhat flat and hard. We want these Molasses Cookies to be thick, soft textured, and of consistent shape and size and we are going to achieve that goal by using shortening.
Butter contains a percentage of water and, as we know, water, when heated, produces steam. When liquid/steam is combined with flour, gluten is produced. While gluten strands are desired in some recipes (yeast bread, for example), they aren’t always desirable in all baked goods. The reason for this is that overproduced gluten can lead to a tough textured baked good. In the case of cookies made with only butter (which also has liquid content in addition to its fat content), the crumb texture may not be as soft, tender, and slightly chewy as could be the case if another fat option was chosen.
Butter has a low melting point meaning it starts to melt quickly once the cookies are placed in the preheated oven, before they have the opportunity to set, rise, and develop their shape. This causes the cookie dough to immediately spread out flat instead of rising into lovely, slightly rounded, thick cookies. A flat, spread out cookie will bake harder/more crispy, particularly on the edges. This is not the shape or texture we are aiming for with this Molasses Cookies recipe.
Conversely, shortening is a solid flavorless vegetable oil fat containing no water content. With no water to create steam, less gluten will be formed and the cookies can be expected to have a softer, more tender texture. Because shortening has a higher melting point than butter (meaning it will stay solid longer and melt more slowly), it gives the dough, once it goes into the hot oven, a longer chance to set and establish its structure and shape before the fat melts and spreads the cookies out. This delayed reaction, then, helps to create cookies with a better, more defined consistent shape, and which have a higher rise and the characteristic softer and more tender texture than if baked with butter. Shortening, which has no flavor, will not affect the flavor profile of these Molasses Cookies because it is the medley of warm spices and molasses that will comprise the flavor profile and they would over-ride the butter flavor anyway.
When it comes to dry ingredients, there are a number of spices in this recipe and, to ensure even disbursement of them throughout the cookie dough, it is recommended that the flour, cream of tartar, spices, and salt be sifted or sieved together before being incorporated into the dough.
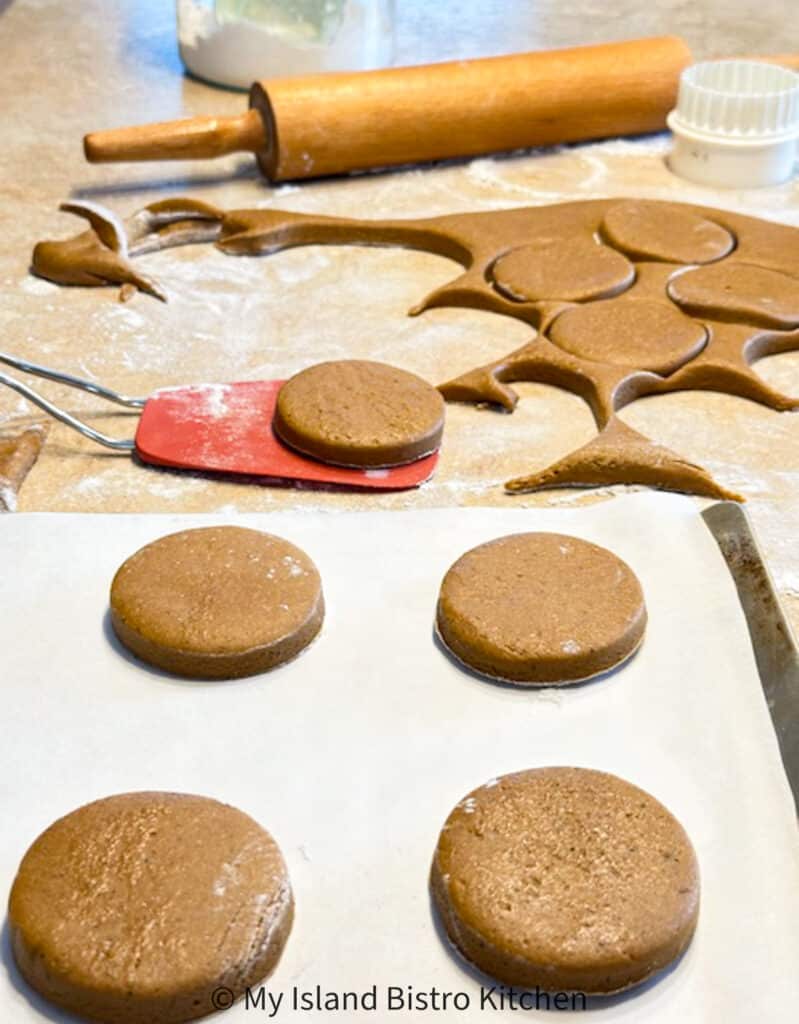
These cookies are cut from a rolled out dough (as opposed to being drop cookies). When the dough is mixed, it will appear very soft and sticky, too much so to be able to successfully roll out and cut shapes from the dough. Do not add more flour to stiffen the dough as doing so will result in hard, tough-textured cookies.
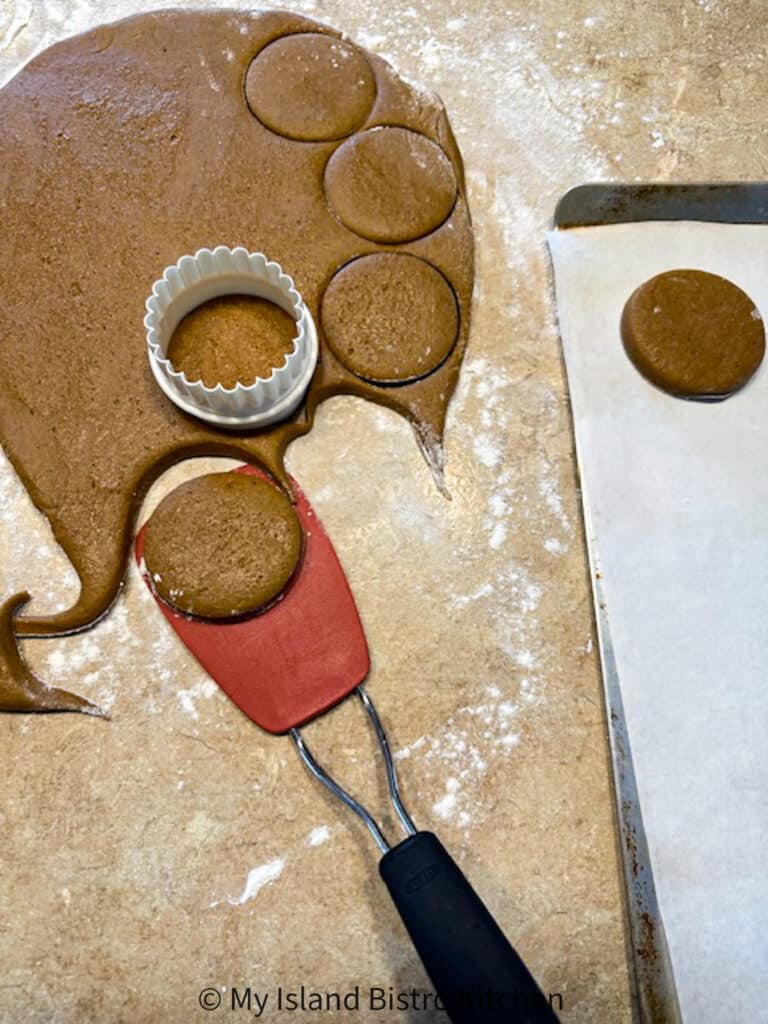
Refrigerate the dough for about 4 hours to allow it to set and chill. The dough will still seem a bit soft but can be rolled out. Roll the dough out, approximately ¼” thick, on a floured surface, cut the cookies out with a 2” floured cutter, and use a thin-edged offset spatula to transfer the cookies to parchment-lined baking sheets for baking.
As a guide, bake the cookies for about 13-16 minutes, or until they appear set. Note this is just a time guideline as various ovens tend to run differently so adjust the baking time, as necessary, in accordance with how your own oven heats.
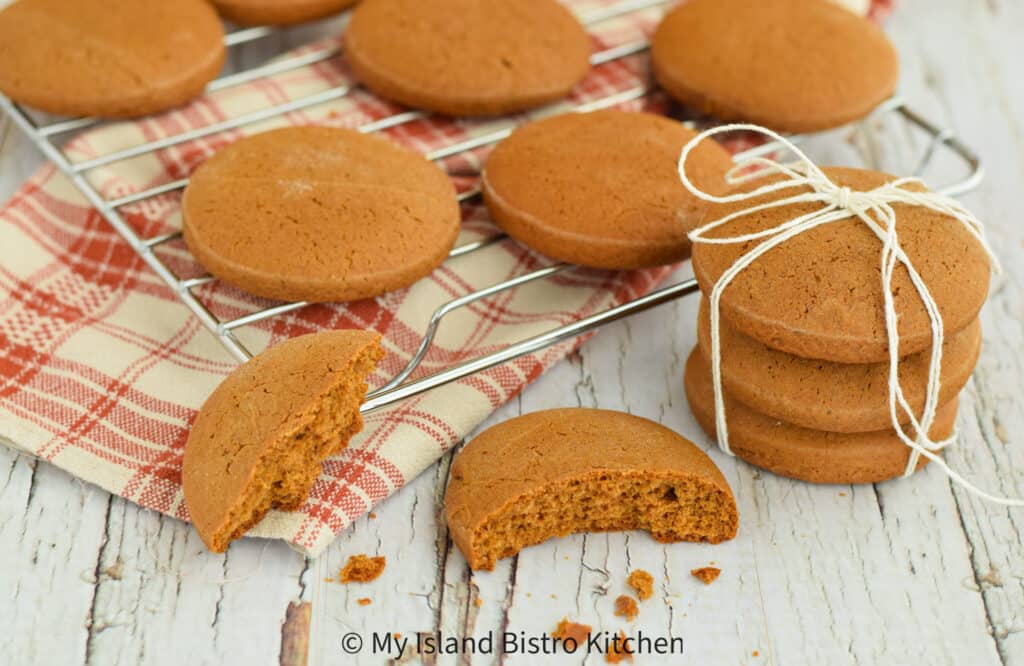
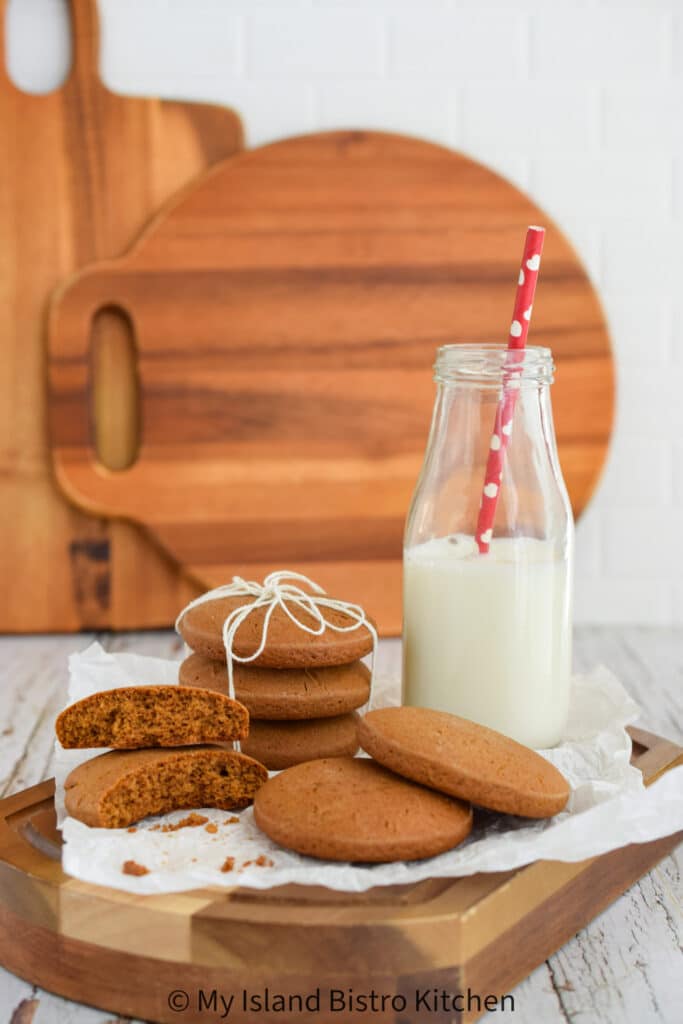
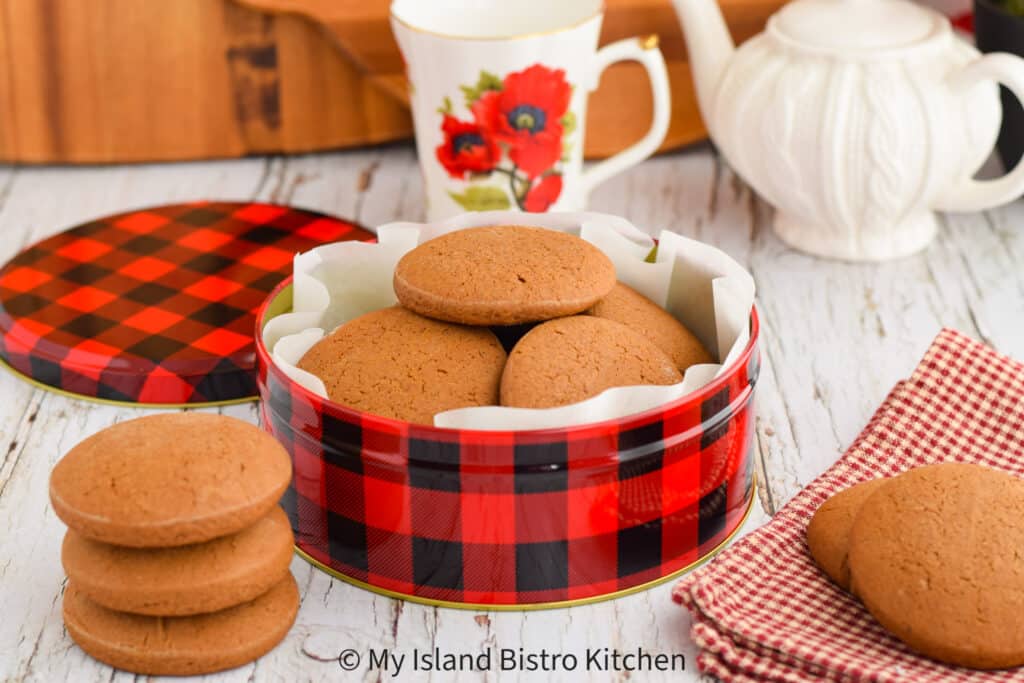
These cookies can be stored at room temperature in an airtight container to keep the cookies soft and prevent them from drying out. For longer storage, freeze cookies between layers of waxed paper or parchment paper in an airtight freezer container. A tin of these tasty cookies also makes a lovely gift … just sayin’!
My Island Bistro Kitchen’s Old-fashioned Molasses Cookies
Ingredients:
½ cup shortening (room temperature) [no substitutions]
¼ cup granulated sugar
¼ cup brown sugar
½ cup molasses
1 tsp pure vanilla extract
1 large egg, fork beaten (room temperature)
1/3 cup hot water
2 tsp baking soda
½ tsp white vinegar
2¾ cups all-purpose flour
½ tsp cream of tartar
½ tsp cinnamon
½ tsp cloves
½ tsp ginger
¼ tsp allspice
¼ tsp salt
Method:
In stand mixer fitted with paddle attachment, cream the shortening and sugars together at medium-high speed until well combined, stopping as necessary to scrape down sides of bowl. With mixer set at medium speed, blend in the lightly beaten egg followed by the molasses and vanilla.
Mix the baking soda into the hot water in a measuring cup. Add the vinegar and, with mixer set to low speed, transfer the liquid mixture to the batter. Once incorporated, increase mixer speed to medium and beat mixture for just a few seconds until ingredients are fully blended.
Sift or sieve the flour, cream of tartar, spices, and salt together into a bowl. With mixer set to lowest speed, add the dry ingredients, about ¾ cup at a time, mixing well after each addition and stopping to scrape down sides of bowl, when necessary. Increase mixer speed to medium and mix batter for a few seconds to ensure all ingredients are blended in. Dough will be sticky but do not add any extra flour which would make the cookies, dense, dry, and hard.
Cover bowl tightly with cling wrap (or transfer to bowl with airtight cover) and refrigerate dough for about 4 hours.
When ready to bake cookies, position oven rack in center of oven and preheat oven to 350°F. Line cookie sheet(s) with parchment paper. Remove cookie dough from refrigerator and turn out onto a floured work surface. Roll dough to ¼“ thickness. Using a 2” lightly floured cookie cutter, cut out cookies and, using a thin-edged offset spatula, carefully transfer them to the prepared baking sheet(s), spacing cookies about 2½“ apart. Lightly re-flour cutter before cutting out each cookie. Gather dough scraps and re-roll to cut out remaining cookies. Bake for approximately 13-16 minutes, or until cookies appear set and show signs of starting to crack on tops. Turn cookie sheet(s) partway through baking. Adjust baking time according to how your oven heats but do not overbake which will result in hard cookies.
Remove cookies from oven and allow them to rest on cookie sheet(s) for 5 minutes before transferring them to wire cooling racks to cool completely. Store at room temperature in airtight container to keep the cookies soft and prevent them from drying out. Cookies also freeze well for longer storage.
Yield: Apx. 24 – 2” cookies cut from ¼“ thick dough
Note1: These cookies may be made gluten-free by substituting an equal amount of gluten-free 1-to-1/cup-for-cup flour for the all-purpose flour called for in the recipe and, of course, ensuring all other ingredients are gluten free.
Connect with My Island Bistro Kitchen on Social Media
Join the Facebook page for My Island Bistro Kitchen: https://www.facebook.com/MyIslandBistroKitchen/
Follow “the Bistro” on “X” (formerly Twitter): https://twitter.com/PEIBistro/
See the drool-worthy gallery of mouth-watering food photos from My Island Bistro Kitchen on Instagram: https://www.instagram.com/peibistro/
Follow “the Bistro” on Pinterest at https://www.pinterest.ca/peibistro/ and pin one of the Pinterest-ready photos at the end of this posting to your favorite Pinterest boards!
You May Also Enjoy This Other Rolled-out Cookie Recipes from My Island Bistro Kitchen:
Old-fashioned Sugar Cookies
Classic Raspberry Linzer Cookies
My Island Bistro Kitchen’s Old-fashioned Molasses Cookies
Ingredients
- ½ cup shortening (room temperature) [no substitutions]
- ¼ cup granulated sugar
- ¼ cup brown sugar
- ½ cup molasses
- 1 tsp pure vanilla extract
- 1 large egg, fork beaten (room temperature)
- 1/3 cup hot water
- 2 tsp baking soda
- ½ tsp white vinegar
- 2¾ cups all-purpose flour
- ½ tsp cream of tartar
- ½ tsp cinnamon
- ½ tsp cloves
- ½ tsp ginger
- ¼ tsp allspice
- ¼ tsp salt
Instructions
-
In stand mixer fitted with paddle attachment, cream the shortening and sugars together at medium-high speed until well combined, stopping as necessary to scrape down sides of bowl. With mixer set at medium speed, blend in the lightly beaten egg followed by the molasses and vanilla.
-
Mix the baking soda into the hot water in a measuring cup. Add the vinegar and, with mixer set to low speed, transfer the liquid mixture to the batter. Once incorporated, increase mixer speed to medium and beat mixture for just a few seconds until ingredients are fully blended.
-
Sift or sieve the flour, cream of tartar, spices, and salt together into a bowl. With mixer set to lowest speed, add the dry ingredients, about ¾ cup at a time, mixing well after each addition and stopping to scrape down sides of bowl, when necessary. Increase mixer speed to medium and mix batter for a few seconds to ensure all ingredients are blended in. Dough will be sticky but do not add any extra flour which would make the cookies, dense, dry, and hard.
-
Cover bowl tightly with cling wrap (or transfer to bowl with airtight cover) and refrigerate dough for about 4 hours.
-
When ready to bake cookies, position oven rack in center of oven and preheat oven to 350°F. Line cookie sheet(s) with parchment paper. Remove cookie dough from refrigerator and turn out onto a floured work surface. Roll dough to ¼“ thickness. Using a 2” lightly floured cookie cutter, cut out cookies and, using a thin-edged offset spatula, carefully transfer them to the prepared baking sheet(s), spacing cookies about 2½“ apart. Lightly re-flour cutter before cutting out each cookie. Gather dough scraps and re-roll to cut out remaining cookies. Bake for approximately 13-16 minutes, or until cookies appear set and show signs of starting to crack on tops. Turn cookie sheet(s) partway through baking. Adjust baking time according to how your oven heats but do not overbake which will result in hard cookies.
-
Remove cookies from oven and allow them to rest on cookie sheet(s) for 5 minutes before transferring them to wire cooling racks to cool completely. Store at room temperature in airtight container to keep the cookies soft and prevent them from drying out. Cookies also freeze well for longer storage.
Recipe Notes
Yield: Apx. 24 – 2” cookies cut from ¼“ thick dough
[Copyright My Island Bistro Kitchen]
Note1: These cookies may be made gluten-free by substituting an equal amount of gluten-free 1-to-1/cup-for-cup flour for the all-purpose flour called for in the recipe and, of course, ensuring all other ingredients are gluten free.
Pin Me To Your Favorite Pinterest Boards!