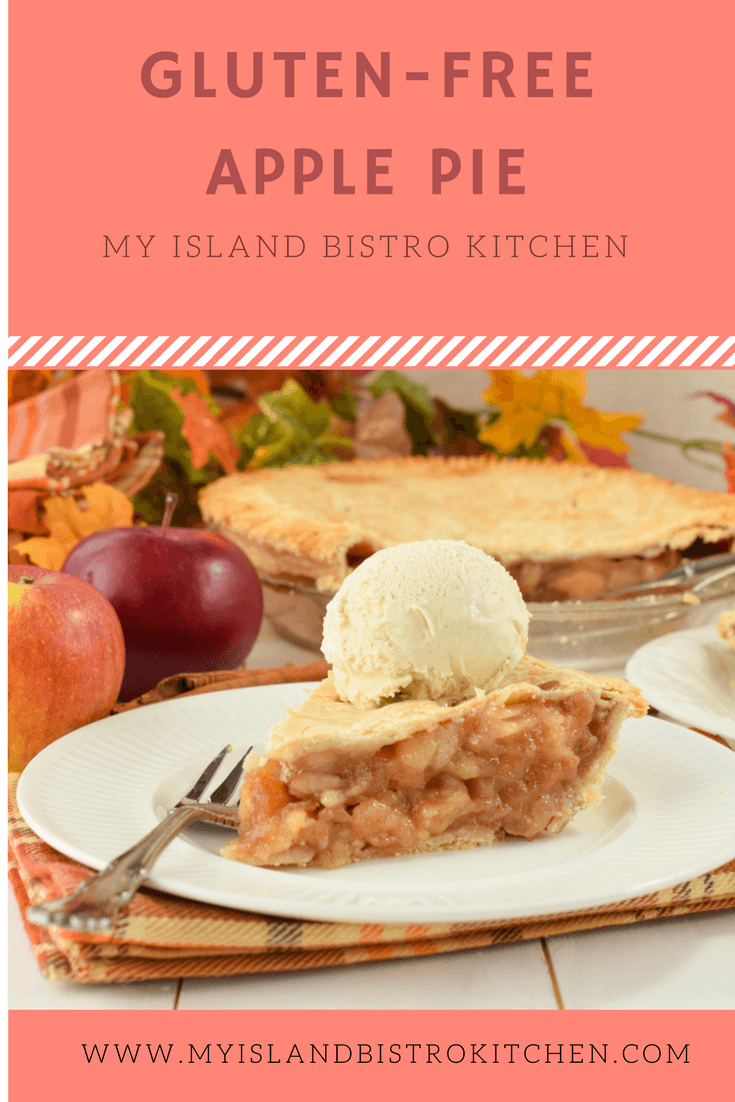
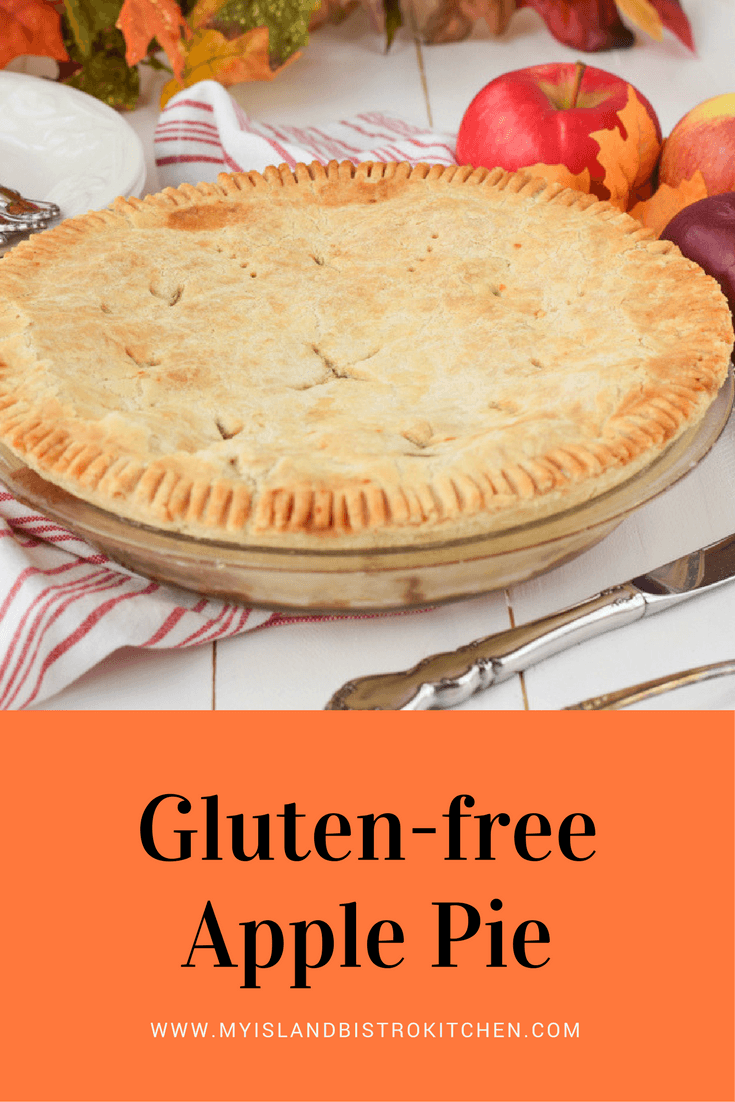
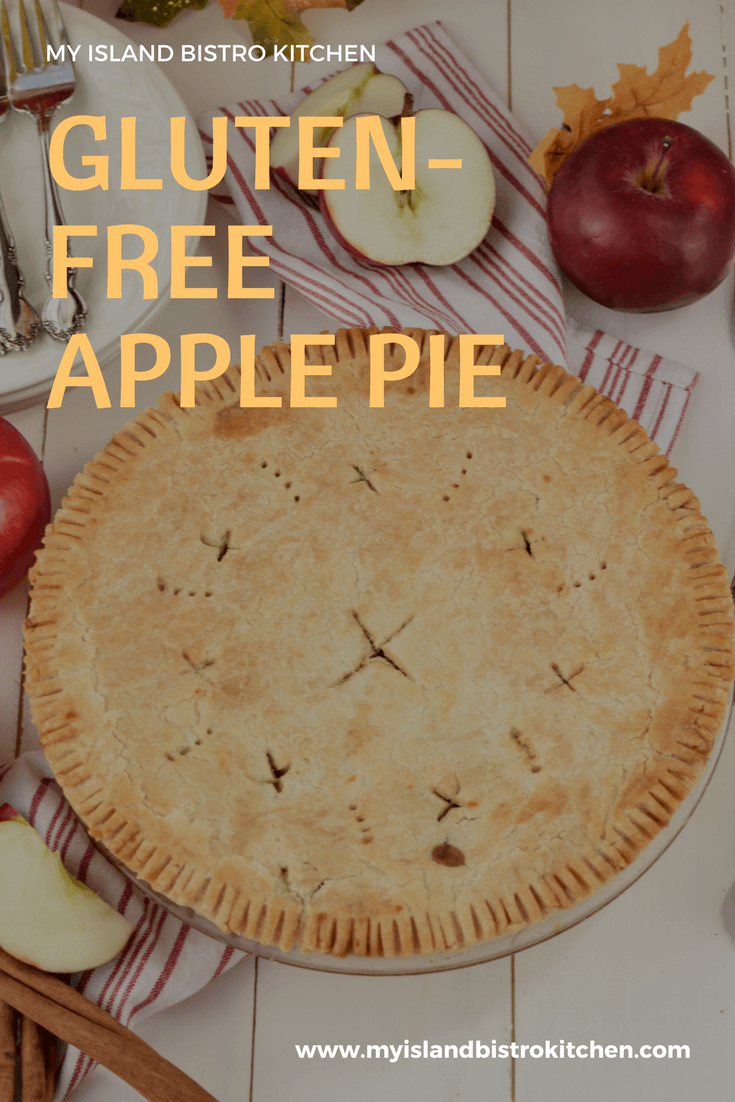
I earlier posted my recipe for Rustic Apple Pie. This apple pie recipe differs from that one in two ways. First, this one is gluten free. Yes, even the lovely tender, flaky crust is gluten free. Second, the filling is pre-cooked before being added to the pie.

For those following a gluten-free diet, they know how difficult it can sometimes be to find a pie pastry that closely resembles a wheat flour version. I love making pastry and enjoy a lot of quiches and pies. It pains me that those on a gluten-free diet cannot enjoy the same foods simply because they don’t have a good gluten-free pastry recipe. So, I have developed this pie pastry recipe that, in my opinion, rivals any gluten version (and, in fact, is better than many I have been served). When I first started developing gluten-free pastry, I figured it would not roll out, would crumble into bits, be hard as a rock, and/or would not transfer, in one piece, to the pie plate. However, I have adapted the basic pastry recipe I have been using for years and I could not be more pleased with it. Serve this pastry to someone not on a gluten-free diet and I think they would be hard-pressed to know it’s gluten free!
So, let’s start with some hints and tips on making the pastry, many of which apply to any pastry, gluten or gluten free.
The Pastry
First, all ingredients must be cold – super cold. Yes, even the flour should be chilled for 30-40 minutes in the refrigerator. I use a one-to-one gluten-free flour in this recipe. I have been having great success with Bob’s Red Mills 1-to-1 gluten-free flour in my baking and find it has better flavor than gluten-free all-purpose flour and has the texture in baked goods more closely resembling a wheat-based flour.
There are various schools of thought on the type of fat to use in pastry — butter, lard, or shortening. Using all butter in pastry will give a wonderful flavor and a lovely tanned crust. It can, however, be a bit finnicky to work with because it softens very easy and can quickly be over-blended with the flour. If overworked, a tough crust is likely. While lard is easy to work with and will give layers of flakiness in the pastry, it lacks the flavour that butter gives. Using shortening will yield a nice tender crust but, like lard, has little flavor. As with butter, shortening softens extremely easy as it is being worked with so, if the dough is overworked, it will yield a tough crust.
I find the best combination of fats to provide flakiness, tenderness, flavour, and structure to pastry is to use one part lard and one part butter. I coarsely chop/cube the butter and lard into the flour then take my pastry cutter and blend the fats to the consistency of large peas. There is no need to mash it or blend it finely.
For liquid, I combine vinegar, egg, and water to equal 2/3 cup – all ingredients to be super cold. Not all of this liquid may be required. It’s important to use only enough of the liquid that the dry ingredients are incorporated and will cling together and the dough forms a ball. Don’t add too much liquid or you will end up with a gummy mess that will yield a tough pastry. I don’t use a food processor to make the pastry as I find it is too easy to overprocess the dough. Mixing the pastry by hand gives more control and, I find, a flakier crust.
Gluten-free pastry has a different texture and consistency than wheat-based pastry. The most noticeable difference is the lack of elasticity that wheat-based pastry has from the gluten in it. To ensure the safe transferal of pastry from counter to pie plate in one piece, I recommend rolling out the pastry between two sheets of parchment paper. Once the pastry has been rolled to the desired thickness, generally somewhere between 1/16” about 1/8” thickness, simply remove the top sheet of parchment, slide your hand under the bottom sheet and carefully lift the pastry, flip it over into the pie plate, and peel off the parchment paper. A tip is to lightly flour the bottom piece of parchment and the top of the pastry. This will make the task of peeling off the parchment paper easier. Fit the dough snugly into the plate and trim pastry flush with pie plate edge. I don’t like thick pie crusts so you’ll notice, from the photos, that I roll my pastry quite thin. That’s a matter of personal preference so, if you like a thicker crust, by all means, go ahead and roll the pastry a little bit thicker.
Roll the pastry for the top crust the same as for the bottom crust but make sure there is no wrinkle in the parchment paper as this will form a wrinkle imprint in the pastry as the pastry is being rolled out. This is less of a concern for the bottom pastry crust but, for presentation purposes, is an issue for the top crust. For this reason, I recommend starting with a new piece of parchment when rolling out the top crust pastry.
Don’t forget to dampen the outside rim of the bottom pie pastry before placing the top pastry over the filling. The pastry edge needs to be dampened lightly with water which will seal the two crusts together.
The Filling
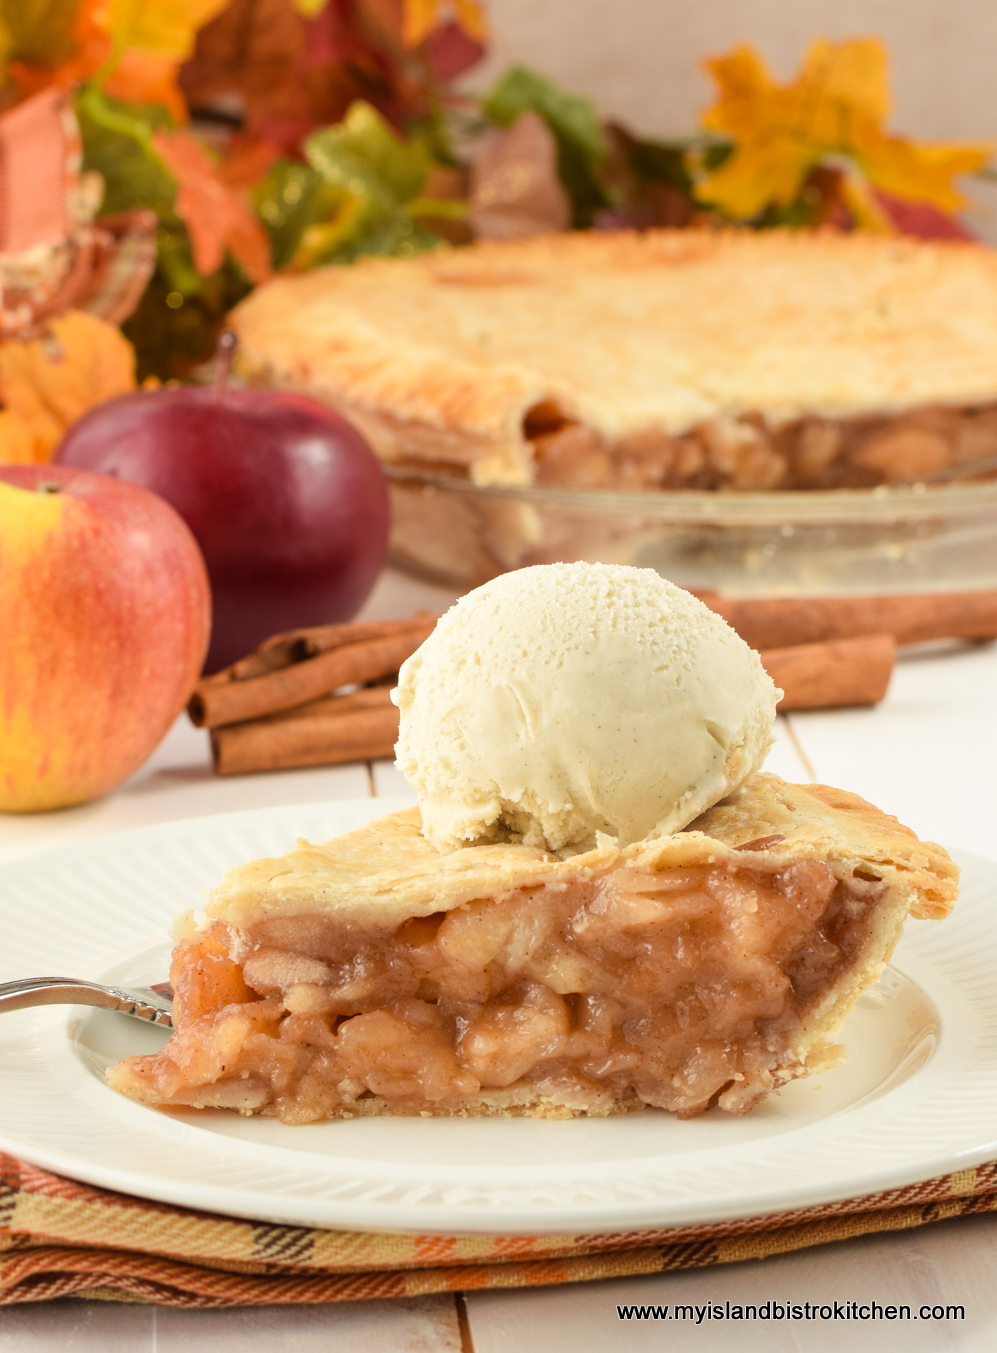
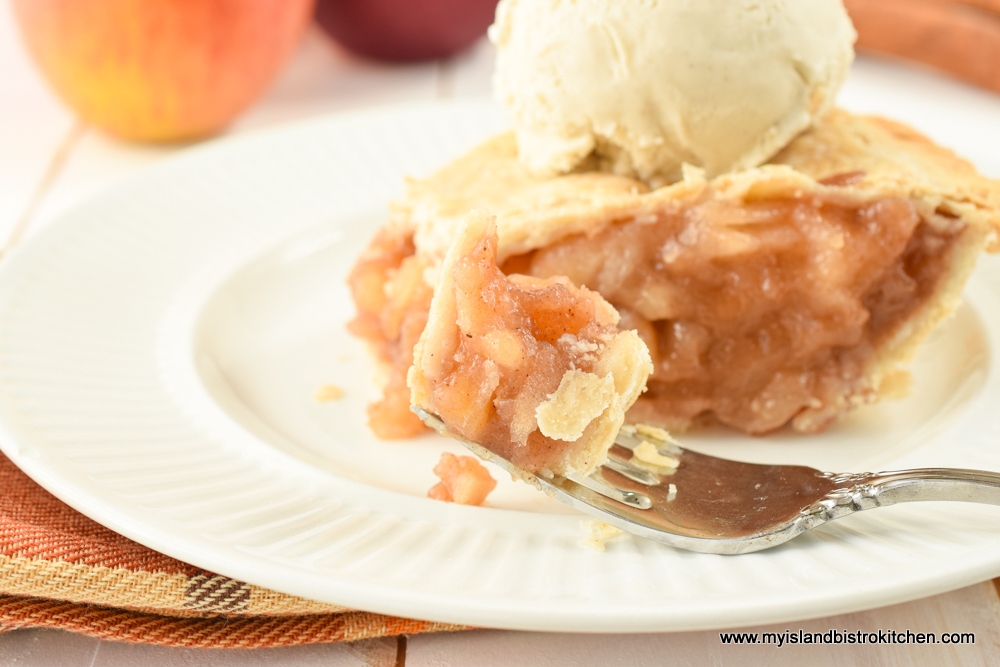
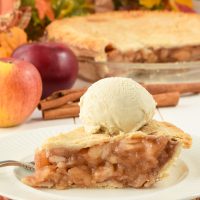
My traditional apple pie recipe calls for uncooked apples mixed with spices and sugar. That version will yield a pie where the layers of apples stay intact and totally visible once the pie is baked and sliced. For this apple pie recipe, however, I am pre-cooking the apples by sautéing them in butter, then mixing in the sugar, spices, and cornstarch while they sauté. The result is a filling that resembles the consistency of a can of apple pie filling (only this homemade version is, in my opinion, much better!).
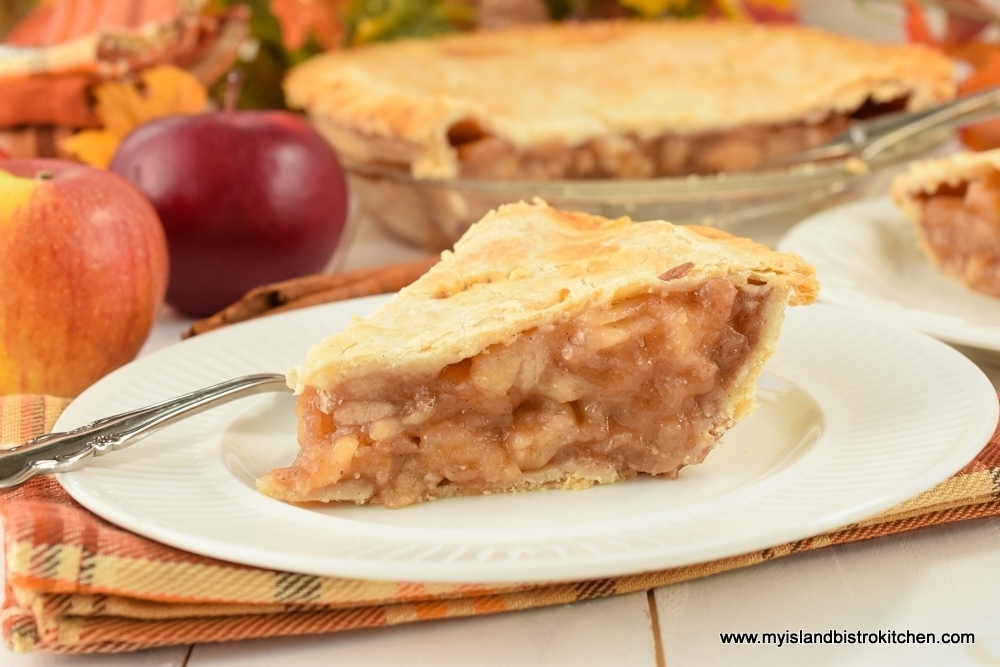
There are advantages to this method of making the filling. First, juices from the apples are released during the sautéing process and are thickened before going in to the pie. I find there is less chance of the pie boiling out significantly because the juices have already been released and thickened before going into the pie. Second, it is easier to arrange the filling in the pie because the apples have softened a bit. Whereas for raw apples there can be gaps in the filling, there are generally none with a pre-cooked filling.
The trick to this method is to not overcook the apples because, remember, they will continue to cook as the pie bakes. You still want to be able to see the apples (not applesauce) in the filling. For this reason, it’s important to use apples that have a crisp, firm texture so they can stand up to the sautéing and baking and still hold shape when the pie is sliced. My favorites are Spartans, Cortland, Pippins, Honeycrisp, and Lobo. I usually use a combination of at least three (and sometimes more) different varieties. Using a mix of apple varieties will give better flavor, especially if a blend of tart and sweet apples is used. Slice the apples at least ¼” thick for this filling.
I use mostly brown sugar combined with a small amount of granulated sugar for this recipe. Brown sugar will give a richer flavor and deeper color to the filling. Choosing spices for an apple pie filling is always subjective. Some use just cinnamon while others will add nutmeg. I like a blend of spices in my apple pies so have chosen cinnamon, nutmeg, and allspice for this recipe. A splash of brandy (optional) will also enhance the flavor of the pie but, note, just a small splash! Either flour or cornstarch can be used to thicken the filling. Cornstarch, however, will tend to yield a more clear filling than will flour.
Preparing the Pie for the Oven
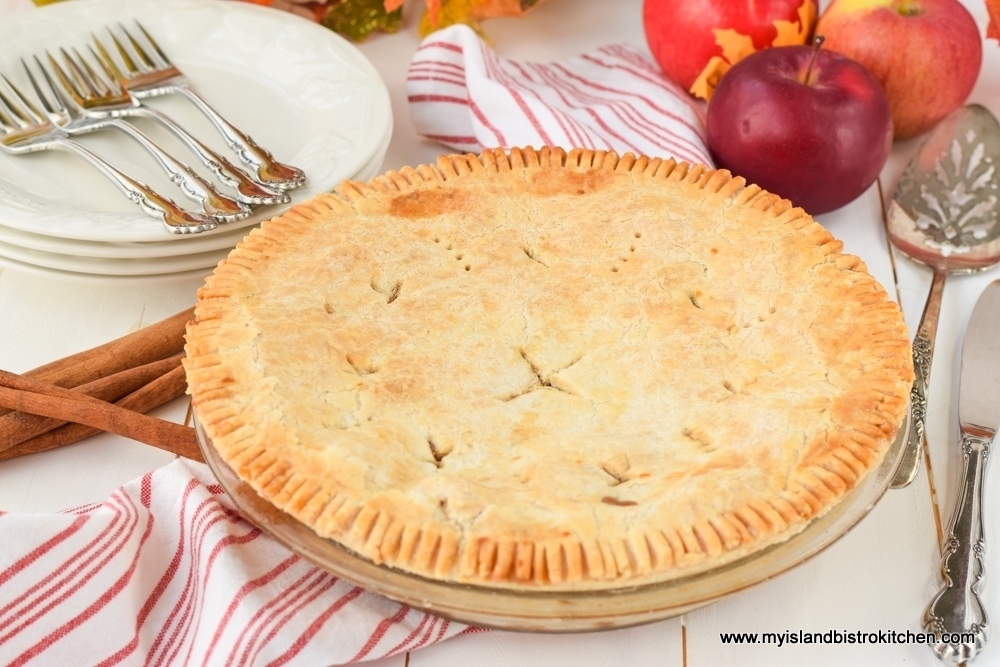
After the top pie pastry has been placed over the filling, the edges of the top and bottom pastries need to be pressed together to seal in the filling. There are various ways the pie edges can be joined. I tend to go with the simple pressing of the bottom and top pastry with the tines of a fork. I think this is also the easiest method to ensure the pie cuts out with the edges intact. Other methods, such as crimping, are raised up and can burn more quickly during baking and are also at risk of breaking off as the pie is cut.
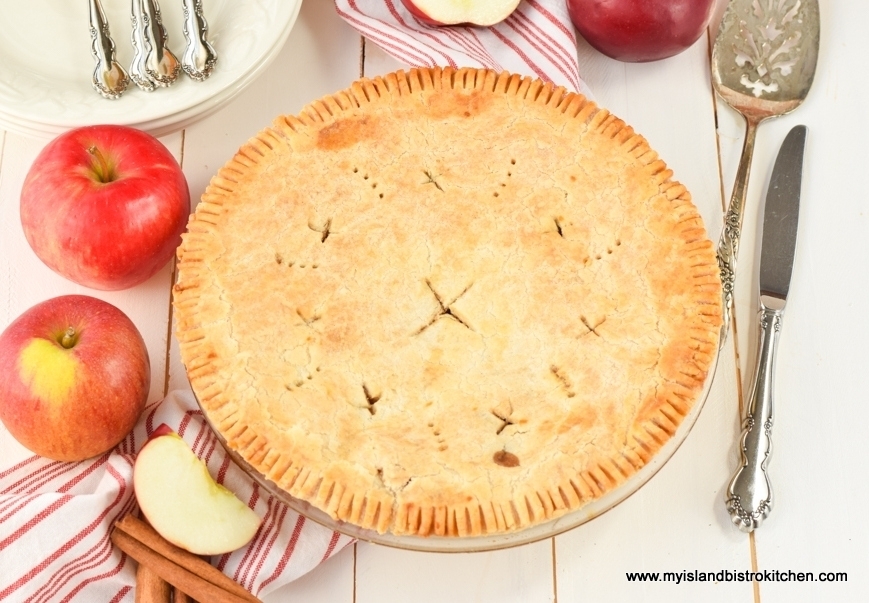
It’s important that the top pie pastry be vented for baking. Otherwise, the crusts may be soggy from too much steam trapped in the pie. It may also cause the top crust to leave the filling and puff up, leaving a hollow space between crust and filling. This will cause the crust to break when the pie is sliced and, for presentation purposes, the pie slice will not be visually pleasing when plated.
Use a sharp-tipped paring knife to cut criss-crosses in the pie pastry starting in the center with a slightly large “X” and then adding smaller ones all around the circumference of the pie. I also use the tines of a fork to prick the pie pastry in various places in the top crust pastry for added venting.
Brushing a very light coating of an egg-milk wash on the top crust will yield a crust with more “tan”. A sprinkle of granulated sugar may also be added but note this may cause the top crust to brown fast and before the pie is baked. If this happens, tent the pie loosely with tin foil.
I recommend placing the pie in the refrigerator for approximately 30 minutes or so before baking. This will chill the pastry and reduce chance of it shrinking significantly while baking.
Fruit pies have a tendency to boil out during baking, even if they are well vented and the filling pre-cooked, so I recommend placing the pie on a tinfoil-lined rimmed baking sheet. If the pie does boil out, you won’t be faced with an oven cleaning job.
Baking the Pie
Preheat the oven to 425°F and bake the pie at this temperature for 10 minutes then reduce the heat to 375°F and bake for approximately 40 minutes or until the crust is lightly tanned and juice from the pie is bubbling slightly through vented holes.
Transfer the pie to a cooling rack and allow it cool completely before cutting. This allows the filling to settle so it stays intact (instead of running) when the pie is cut.
Serving the Pie
This pie benefits from a few hours of refrigeration after it has cooled completely at room temperature. The chilled pie is easier to cut and the filling stays in place.
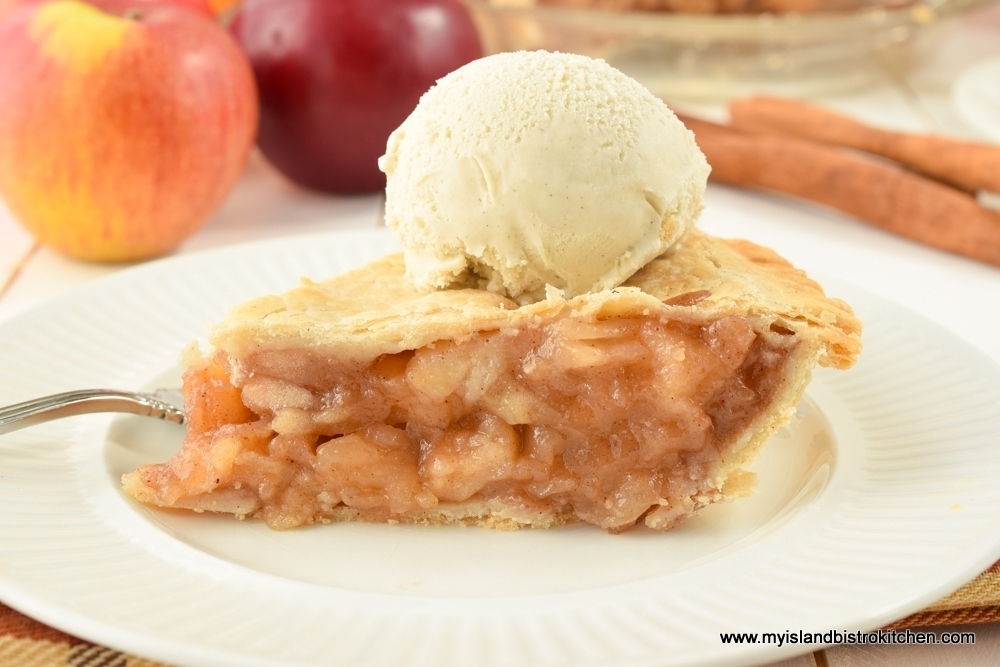
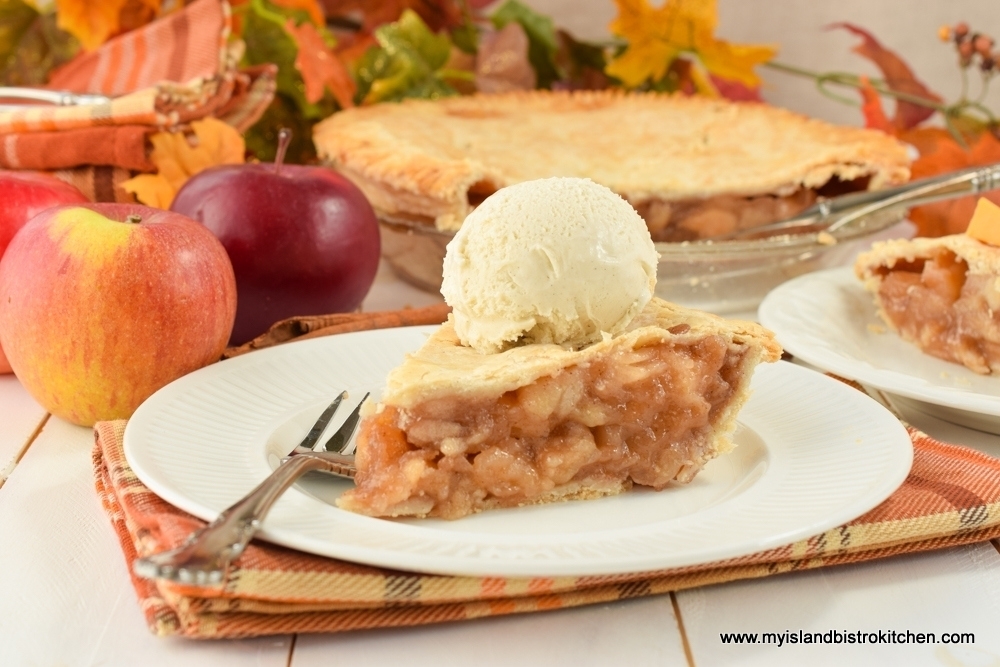
The most common ways to serve apple pie are plain, with cheddar cheese, or with vanilla ice cream.
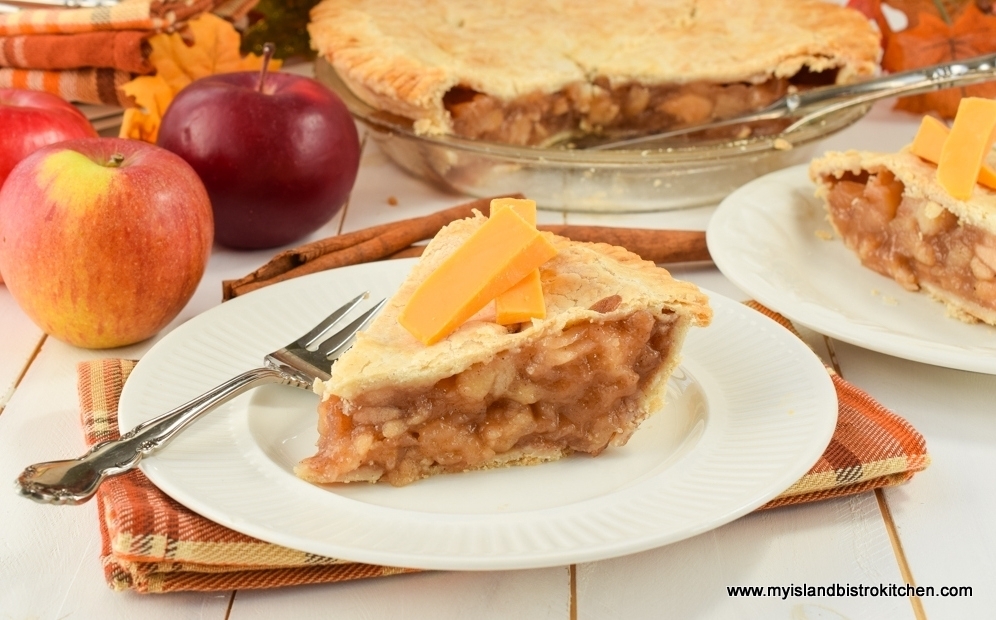
This gluten-free apple pie is a tasty treat indeed!
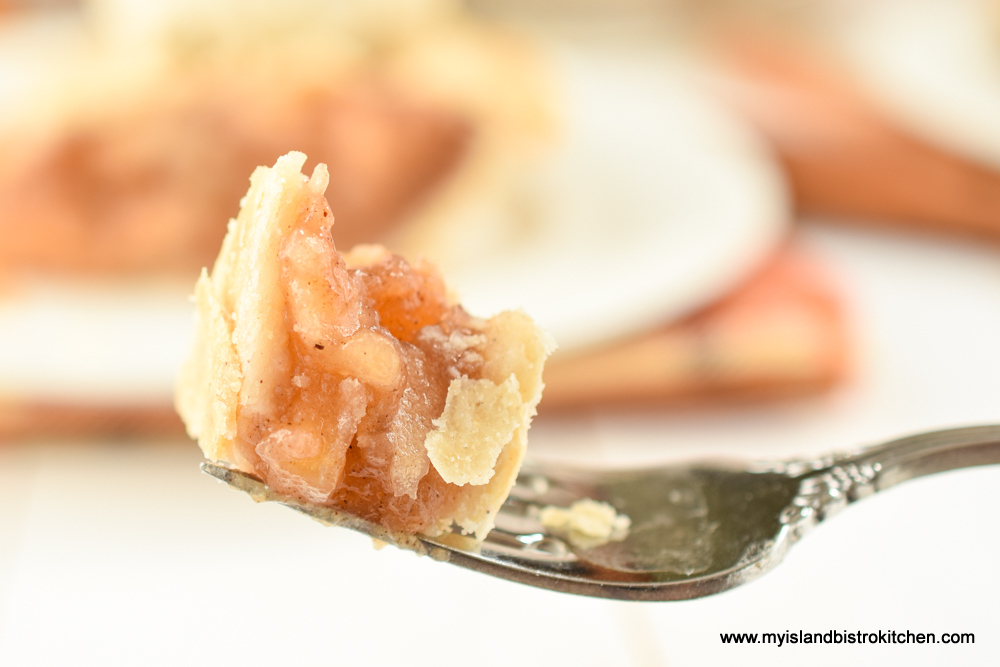
Gluten-free Apple Pie
[Printable recipe follows at end of posting]
Gluten-free Apple Pie
Filling
Ingredients:
2/3 cup brown sugar, lightly packed
¼ cup granulated sugar
1 tsp cinnamon
½ tsp nutmeg
1/8 tsp allspice
1/8 tsp salt
3 tbsp cornstarch
2-3 tbsp butter
2½ lbs apples, peeled, cored, and sliced into ¼” thick slices (about 8 medium-large sized apples)
1 tbsp lemon juice
1 tbsp brandy (optional)
Method:
In small bowl, whisk together the brown and white sugars, spices, salt, and cornstarch. Set aside.
Prepare apples and sprinkle with lemon juice and brandy (optional). With large wooden spoon, gently toss apples to coat with the lemon juice and brandy.
In large saucepan, melt butter over medium-high heat. Reduce heat to medium low and add the apples. Sauté for 5 minutes, stirring gently and frequently.
Stir in the sugar-spice-cornstarch mixture. Cook for 4 minutes, stirring gently and frequently. Remove from heat and cool filling completely.
While filling is cooling, prepare the pastry.
Pastry for 1 double-crusted 9” pie
2 cups (276g) gluten-free 1-to-1 flour
½ tsp salt
1½ tsp sugar
¼ cup cold butter (76g)
¼ cup cold lard (76g)
1 large egg (reserve apx 1 tsp of the yolk for the egg wash)
1 tsp white vinegar
Enough water to make 2/3 cup liquid
1-2 tsp milk
Method:
In medium-sized bowl, whisk the flour, salt, and sugar together. Cut the butter and lard into chunks and add to the flour. With a pastry cutter, cut the butter and lard into the flour until the fats resemble the size of large peas.
In a measuring cup, whisk the egg and vinegar together. Add enough cold water to measure 2/3 cup. Add the egg-vinegar-water mixture to the flour, small amounts at a time, and mix with a fork. Add only enough water that the dough clings together and can be formed into a ball.
Divide the dough in half. Form disk shapes with each piece. Place disks in the refrigerator for about 10-12 minutes to chill. Remove one disk from the refrigerator and place between two sheets of parchment paper. Roll pastry to desired thickness, generally between 1/16”and 1/8” thickness. Peel the top piece of parchment from the rolled out pastry. Slide hand under parchment that has the rolled pastry and carefully flip it into a 9” pie plate that has been lightly sprayed with cooking spray or greased. Cut off excess dough so pastry is flush with the pie plate edge. Place pie shell in refrigerator for 15-20 minutes to chill. Remove second disk of pastry from refrigerator.
Prepare pastry for the top crust in the same manner as for the bottom crust. Remove pie shell from refrigerator and arrange cooled pie filling in prepared cold shell. Brush edges of bottom crust along pie plate edge with a bit of water to moisten. Transfer pastry to the top of pie filling. Trim excess pastry from the pie plate edge. Press the edge of the pastry all around the pie plate rim with tines of fork to adhere top crust to bottom crust. Cut slits in top of pie pastry to allow steam to escape as pie bakes. For additional venting, prick the pie in several places with tines of a fork.
In small bowl, lightly beat the reserved egg yolk with 1-2 tsp milk. With a pastry brush, lightly brush the pie with the egg-milk mixture. Sprinkle with granulated sugar.
Place pie in refrigerator for 30 minutes to allow filling to settle and to chill pastry to reduce shrinkage while it bakes.
Preheat oven to 425°F.
Transfer pie to oven. Bake at 425°F for 10 minutes then reduce heat to 375°F. Bake for another 40 minutes then test with fork inserted into slit in center of pie to determine if apples are cooked. Apples should be fork-tender when pie is done. If not done, return pie to oven and check every 5 minutes until apples are fork tender. If pie browns too quickly before it is cooked, loosely tent pie with tin foil. Remove pie from oven and transfer to cooling rack.
Yield: 1 – 9” pie (apx. 6 servings)
Gluten-free Apple Pie
A lightly spiced cooked apple pie filling sandwiched between a tender, flaky, and flavorful gluten-free pie crust.
Ingredients
- 2/3 cup brown sugar, lightly packed
- 1/4 cup granulated sugar
- 1 tsp cinnamon
- 1/2 tsp nutmeg
- 1/8 tsp allspice
- 1/8 tsp salt
- 3 tbsp cornstarch
- 2-3 tbsp butter
- 2 1/2 lbs apples, peeled, cored, and sliced into 1/4" thick slices (about 8 medium-large sized apples)
- 1 tbsp lemon juice
- 1 tbsp brandy (optional)
Gluten-Free Pastry for 1 double-crusted 9" pie
- 2 cups (276g) gluten-free 1-to-1 flour
- 1/2 tsp salt
- 1 1/2 tsp granulated sugar
- 1/4 cup (76g) cold butter
- 1/4 cup (76g) cold lard
- 1 large egg (reserve apx 1 tsp of the yolk for the egg wash)
- 1 tsp white vinegar
- Enough cold water to make 2/3 cup liquid
- 1-2 tsp milk
Instructions
Filling: In small bowl, whisk together the brown and white sugars, spices, salt, and cornstarch. Set aside.
- Prepare apples and sprinkle with lemon juice and brandy (optional). With large wooden spoon, gently toss apples to coat with the lemon juice and brandy.
- In large saucepan, melt butter over medium-high heat. Reduce heat to medium low and add the apples. Sauté for 5 minutes, stirring gently and frequently.
Stir in the sugar-spice-cornstarch mixture. Cook for 4 minutes, stirring gently and frequently. Remove from heat and cool filling completely.
- While filling is cooling, prepare the pastry.
Gluten-free Pastry for 1 Double-crusted Pie
- In medium-sized bowl, whisk the flour, salt, and sugar together. Cut the butter and lard into chunks and add to the flour. With a pastry cutter, cut the butter and lard into the flour until the fats resemble the size of large peas.
- In a measuring cup, whisk the egg and vinegar together. Add enough cold water to measure 2/3 cup. Add the egg-vinegar-water mixture to the flour, small amounts at a time, and mix with a fork. Add only enough water that the dough clings together and can be formed into a ball.
- Divide the dough in half. Form disk shapes with each piece. Place disks in the refrigerator for about 10-12 minutes to chill. Remove one disk from the refrigerator and place between two sheets of parchment paper. Roll pastry to desired thickness, generally between 1/16”and 1/8” thickness. Peel the top piece of parchment from the rolled out pastry. Slide hand under parchment that has the rolled pastry and carefully flip it into a 9” pie plate that has been lightly sprayed with cooking spray or greased. Cut off excess dough so pastry is flush with the pie plate edge. Place pie shell in refrigerator for 15-20 minutes to chill. Remove second disk of pastry from refrigerator.
- Prepare pastry for the top crust in the same manner as for the bottom crust. Remove pie shell from refrigerator and arrange cooled pie filling in prepared cold shell. Brush edges of bottom crust along pie plate edge with a bit of water to moisten. Transfer pastry to the top of pie filling. Trim excess pastry from the pie plate edge. Press the edge of the pastry all around the pie plate rim with tines of fork to adhere top crust to bottom crust. Cut slits in top of pie pastry to allow steam to escape as pie bakes. For additional venting, prick the pie in several places with tines of a fork.
- In small bowl, lightly beat the reserved egg yolk with 1-2 tsp milk. With a pastry brush, lightly brush the pie with the egg-milk mixture. Sprinkle with granulated sugar.
- Place pie in refrigerator for 30 minutes to allow filling to settle and to chill pastry to reduce shrinkage while it bakes.
- Preheat oven to 425°F.
- Transfer pie to oven. Bake at 425°F for 10 minutes then reduce heat to 375°F. Bake for another 40 minutes then test with fork inserted into slit in center of pie to determine if apples are cooked. Apples should be fork-tender when pie is done. If not done, return pie to oven and check every 5 minutes until apples are fork tender. If pie browns too quickly before it is cooked, loosely tent pie with tin foil. Remove pie from oven and transfer to cooling rack.
Recipe Notes
[Copyright My Island Bistro Kitchen]
If you have made this recipe and enjoyed it and/or wish to share it with your friends and family, please do so on social media but be sure to share the direct link to this posting from my website.
Connect with My Island Bistro Kitchen on Social Media
Join the Facebook page for My Island Bistro Kitchen: https://www.facebook.com/MyIslandBistroKitchen/
Follow “the Bistro” on “X” (formerly Twitter): https://twitter.com/PEIBistro/
See the drool-worthy gallery of mouth-watering food photos from My Island Bistro Kitchen on Instagram: https://www.instagram.com/peibistro/
Follow “the Bistro” on Pinterest at https://www.pinterest.ca/peibistro/ and pin the Pinterest-ready photo found at the end of this post to your favorite Pinterest boards.
For my Rustic Apple Pie recipe, click here.
PIN THESE PHOTOS TO YOUR FAVORITE PINTEREST BOARDS!
