Over the years, many Island homes, particularly those in the country (including mine) have had (and many still do) a rhubarb patch. The tiny shoots of the perennial rhubarb plants poking through the earth are always considered a harbinger of Spring and a welcome one at that. After many long Winter months in Northeastern Canada, it’s always good to see this sign of life in the corner of the garden. In fact, some local groups on PEI host fund-raising “Rhubarb Socials” each June at which they serve desserts made with rhubarb so it appears the lowly rhubarb has gained some social status!
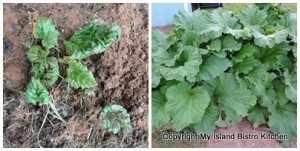
A number of years ago, I suggested planting a rhubarb crown (rhizomes) in the corner of our cottage garden. The idea was not met with grand enthusiasm but, nonetheless, I went to the garden center and landed home with two rhubarb crowns which did get planted (I knew they would once they were onsite!). Well, now that rhubarb is just the greatest thing ever planted! It grew alright – in fact, we now have more of a rhubarb “bush” than a patch! Some stalks are about 18” tall. Local supermarkets are currently selling rhubarb for $3.99/lb (Cdn $). In fact, I saw some at a local farm stand last Saturday where they were selling for $4.95 and they were not overly fresh either. Sometimes, we take for granted the value of what we have in our backyard gardens. In fact, in Spring 2011, I planted two rhubarb crowns in the backyard of my suburban home. I’m pleased to say they are doing very well – long, strong stalks (ribs) with huge triangular-shaped leaves. I can’t remove any stalks from these plants this year but, next year, I can harvest one-third of the produce and, the following year, as much as is available since the rhubarb will be well established by then.
In PEI, we harvest rhubarb from early-mid May until mid-June. Harvest when stalks are long and still slender as thicker stalks tend to be older and, therefore, tougher and more stringy. To harvest, grasp the rhubarb stalk down close to its root base and give it a good tug to pull it out of the ground. Immediately cut off and discard the bottom whitish part of each stalk. The early Spring stalks are the most tender and yield greater juiciness.
If you are buying rhubarb at a farm market or grocery store, look for stalks that look dry, have crispness to them and are not limp, soft, wilted, or showing signs of turning brown at the ends.
Rhubarb is available in many varieties and shades of color that range from green to stalks that are red-green speckled or graduated in color from red to green, to deep crimson red. When purchasing a rhubarb crown for your garden or when buying rhubarb stalks, I recommend looking for varieties that have a deep red color. They will have the most flavour and give the richest pink color to recipes. Stalks that are primarily green are less flavourful and do not add appealing color to culinary dishes. As a rough, general guideline, 1 pound of raw rhubarb will yield approximately 4 cups chopped.
There has long been a debate over whether rhubarb is a fruit or a vegetable. It is often referred to as the “pie plant” because one of the most common and recognizable uses of it is in rhubarb pie and we tend to think of dessert pies as being made with fruit, not vegetables. Rhubarb is generally considered to be a vegetable notwithstanding that, in 1947, a New York court decided that, since it was primarily used as fruit in the US, rhubarb would be considered a fruit for the purposes of regulations and duties. So, while rhubarb is often treated as a fruit in many culinary dishes, botanically and by general consensus, it appears to be more accepted as a vegetable.
Regardless whether it is a fruit or a vegetable (we’ll leave that to botanists and other scientists to make the definitive call on that), it is a very versatile ingredient in many recipes. From jams, marmalades, sauces, chutneys, and drinks to pies, tortes, puddings, muffins, and ice cream, there are an endless number of recipes in which to use rhubarb. While I don’t fancy it raw, it is not uncommon to find our young glasscutter hopping off the mower to head over to our rhubarb patch to grab a rhubarb stalk to snack on! Guess he must like the sour, tart taste better than I do!
Rhubarb freezes very well and we freeze a number of bags each Spring. Chopped and frozen in recipe-specific portions and labelled accordingly, rhubarb is then available to us year-round to use in our favourite recipes.
From a nutritional standpoint, rhubarb is a source of Vitamin C, calcium, potassium, and dietary fibre. Because rhubarb largely consists of water (one source claims it is 95% water), it has no cholesterol, fat, or sodium. However, because rhubarb is so tart, it needs sweetening so, adding other ingredients such as sugar, or combining it with fruits such as strawberries, apples, etc., will obviously alter the cholesterol, fat, and/or sodium content of the dish you make using rhubarb.
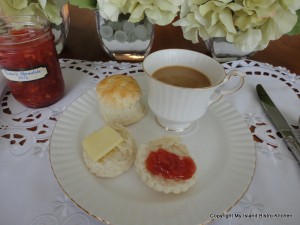
I have a multitude of favourite rhubarb recipes but one of my all-time favourites is this Rhubarb Marmalade (recipe follows). Combined with three citrus fruits, it has a tart, fresh taste and, best of all, it is the first of my jamming and preserving processes of the season. I use this rich-colored and flavourful marmalade on toast, biscuits, scones, and I particularly like a dollop of it on a warm cream custard.
Time to bring out the jam pots and bottles and capture some of this Springtime goodness before the rhubarb gets too old and tough to use. If you do try this recipe, please be sure to leave me a comment about your impressions of it.
Jamming and preserving season is officially underway!
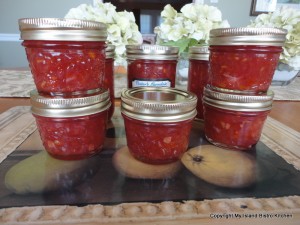
Rhubarb Marmalade
Ingredients:
8 cups rhubarb, thinly sliced into pieces between 1/8″ and 1/4″ thick)
4¼ cups sugar
1 large orange (or 1½ small oranges)
½ pink grapefruit
½ small lemon
Method:
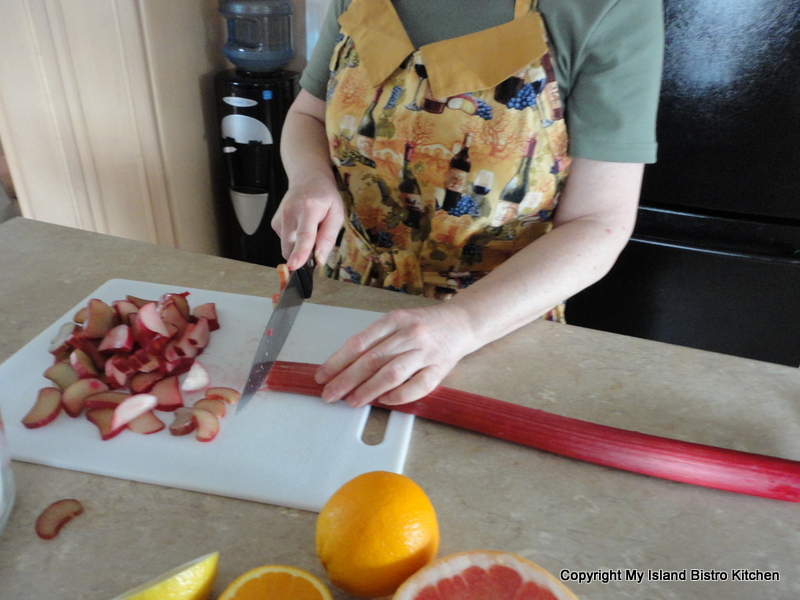
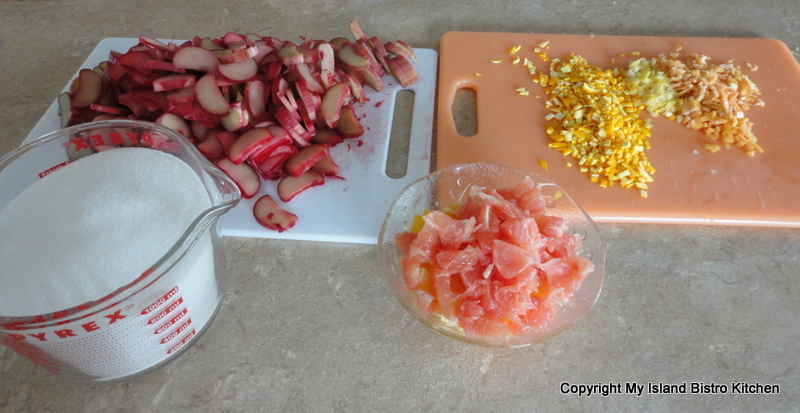
Chop rhubarb into thin slices. Set aside.
Wash the orange, grapefruit, and lemon well.
Peel orange, grapefruit, and lemon. Chop the pulp, remove and discard any seeds, and place pulp in bowl. Scrape the pith from the fruit peelings and discard. Chop the peel into small pieces. Set aside.
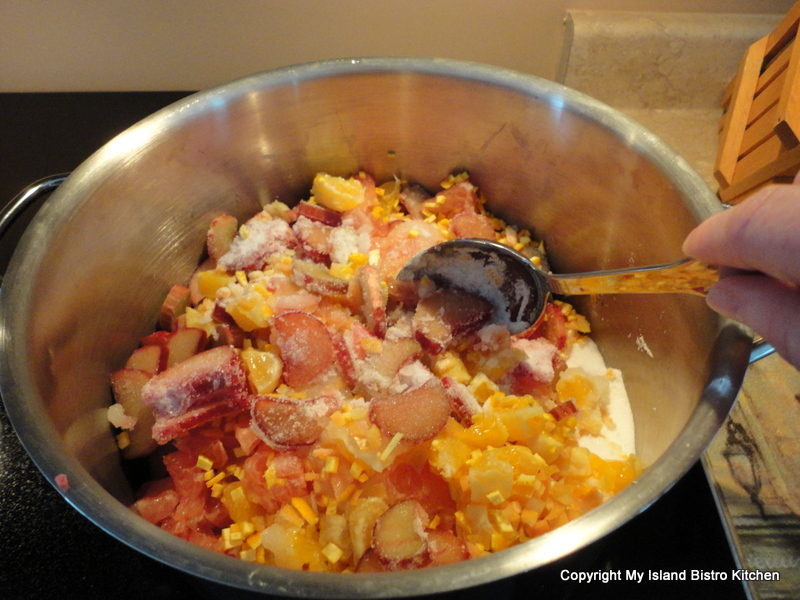
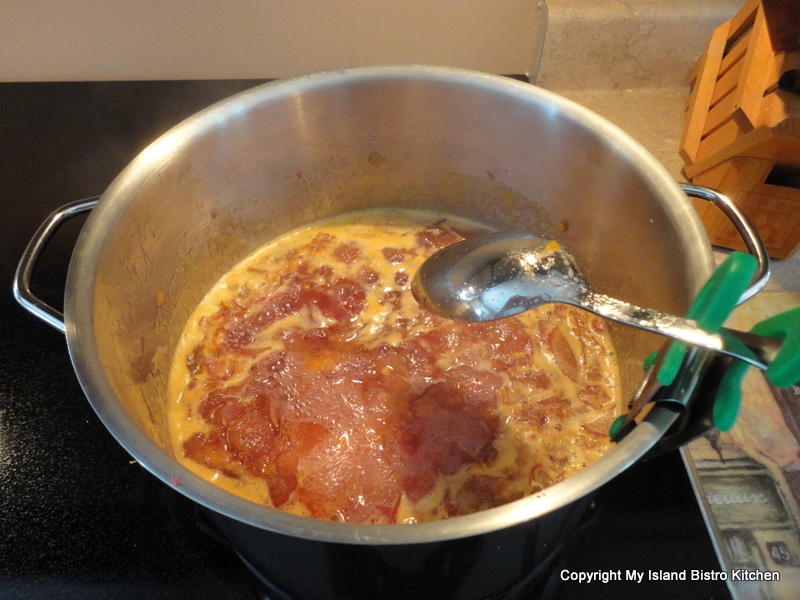
In a large pot, place the rhubarb and sugar. Add the citrus pulp and peel. Bring to a boil over medium high temperature, stirring to prevent scorching. Immediately lower the temperature and cook, uncovered, at a slow gentle boil until mixture thickens and reaches a sustained temperature of 217°F on a candy thermometer (see Note 1 below for alternative testing method). Stir mixture regularly to prevent scorching. Be patient, this can take an hour or so.
While the marmalade is cooking, fill a large pot of water, about ¾ full. Place 7 half-pint jars, upright, into the water. Ensure the jars are fully submerged, each jar filled with water, and that the water is at least an inch over the tops of the jars. Cover, bring to a boil, and boil for 10 minutes. Turn off heat and leave the jars in the hot water while the marmalade finishes cooking.
Meanwhile, fill the canner about one-third to one-half full of water. Cover and bring to a boil to have it ready for the filled jars.
When the marmalade is cooked, use a jar lifter to remove the hot jars from the water. Using a canning funnel, pour marmalade into sterilized jars, leaving about ¼” headroom in each jar. Wipe the jar rims with a clean cloth. Seal jars with heated lids and fingertip-tightened ring bands.
Place jars in hot water bath wire basket, ensuring jars do not touch each other or fall over. Carefully lower basket into canner of hot water. Ensure the water level is at least 1” above the tops of jars, adding more boiling water as necessary. Cover with canner lid. Increase the heat to return the water to a rolling boil then decrease the heat to just keep the water at a rolling boil but not boiling over. Process half-pint jars in the hot water bath for 10 minutes, adjusting time for altitude. Start timing the processing from the point where a full rolling boil is reached after basket of jars has been added to the canner. At the end of the processing time, turn off heat and remove canner lid. Wait 4-5 minutes, until the water stops boiling then, using a jar lifter, carefully remove the jars, one at a time, and transfer them to a wire rack to cool completely. Listen for the “pop” or “ping” sound as the bottles seal over the next few minutes or hours. The lids of properly sealed jars will curve downward. Let jars rest, undisturbed, on wire rack for 12 hours. Store in cool, dark place. Refrigerate marmalade once opened.
Yield: Apx. 7 half-pint jars
NOTE 1: If you don’t have a candy thermometer, place 2-3 freezer-safe saucers in freezer. To test for doneness of the marmalade, place a small amount of marmalade on chilled saucer and swirl saucer around. Let marmalade sit, untouched, for about a minute, then gently push your finger through the marmalade. If the marmalade holds its shape (i.e., does not immediately run back together after the finger has been removed from the marmalade), it is set and ready to bottle. If not, continue to cook mixture, repeating the “chill” test about every 3 minutes or so (always removing the pot from the heat while conducting the chill test) until the marmalade passes the “chill” test. Do not overcook as it will result in a very thick marmalade, dark in color.
Note 2: After jars have completely cooled, if there are any on which the lids have not curved downward, refrigerate them and use within one month.
Thank you for visiting “the Bistro” today. There are lots of ways to connect with “the Bistro” through social media:
Join My Island Bistro Kitchen on Facebook
Follow the Bistro’s tweets on twitter @PEIBistro
Find the Bistro on Pinterest at “Island Bistro Kitchen”
Follow along on Instagram at “peibistro”


