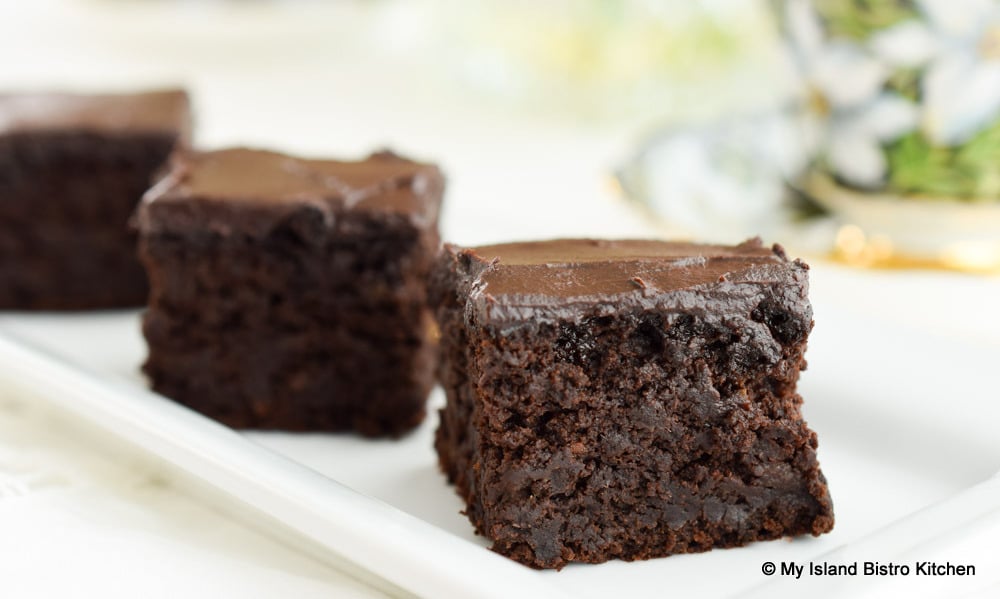
Who would ever think that the lowly black beans, known for their fibre and protein content, could be transformed into moist, fudgy, decadent, and super tasty brownies! But, it’s true and these Black Bean Mocha Brownies (now my new favorite) do not have the slightest taste of beans! Serve the brownies to folks and don’t tell them there are black beans in them and I seriously doubt they’d ever guess as much. With maple syrup, cocoa powder, coffee, and vanilla as flavor enhancers along with almond flour, you’d be hard pressed to find a hint of bean flavor in these brownies.
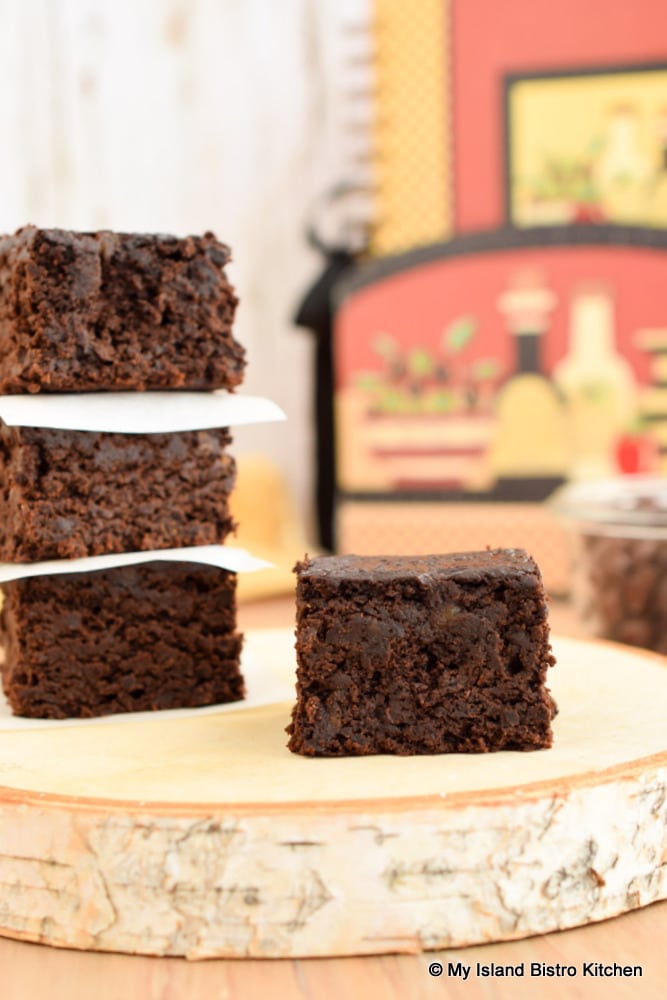
There are many recipes for Black Bean Brownies. What follows is my version and it’s gluten-free (though you certainly do not have to be on a gluten-free diet to enjoy them).
These brownies are easy to make using a food processor. It takes 1½ cups canned black beans for this recipe. This is, essentially, a 15 oz can of beans that sometimes can be hard to find and is often more expensive than the more commonly found (at least in my area) 19-oz can. I usually buy a 19-oz can and use the remaining ½ cup of beans in a quinoa salad. Make sure the beans are well rinsed and drained in a colander. Medjool dates add bulk to the batter as well as a natural sweetness.
Many Black Bean Brownie recipes don’t call for any flour at all. However, I find the addition of ½ cup superfine almond flour gives the brownie better structure and helps to keep it from sinking in the middle as it bakes and thus becoming too soggy. There is a difference between a fudgy texture and a soggy one.
Almond flour also adds lovely flavor so be sure to use superfine almond flour, not almond meal, in this recipe as the flour has a much finer consistency, more suitable for baked goods. Almond flour is very commonly available now under several different brand names. The flour will have almost a powdery texture and be very light and pale in color. It’s one of my “go-to” flours for gluten-free baking for the flavor and texture it imparts to baked products.
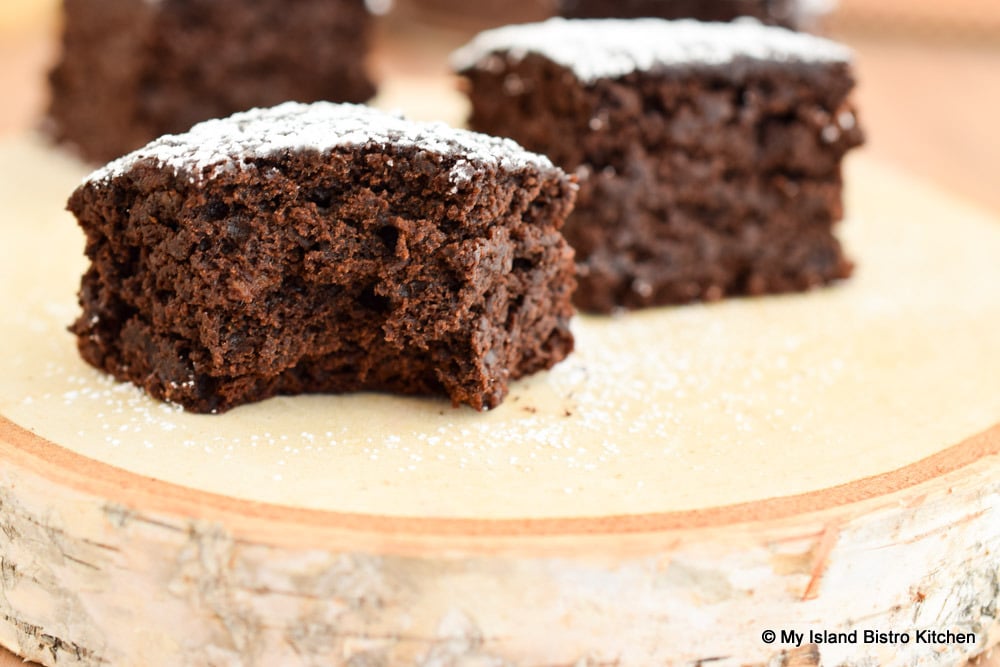
Essentially, the black beans are combined with the dates, oil, coffee, maple syrup, and vanilla and blended well in the food processor. This mixture does not need to be super smooth but the beans need to be broken down and the dates blended in. Including the liquid ingredients with the beans and dates facilitates this process. Lightly beaten eggs and brown sugar are then blended in followed by the dry ingredients. These brownies rise up nicely and stay risen.
I always recommend lining baking pans with either parchment paper or tinfoil. Leave about a 2” overhang of the paper or foil which can be used to lift and remove the cooled baked brownie or square from the pan for easier cutting. This also protects the pans from being on the receiving end of harsh knife cuts that destroy the pan’s finish. It also makes clean-up easier.
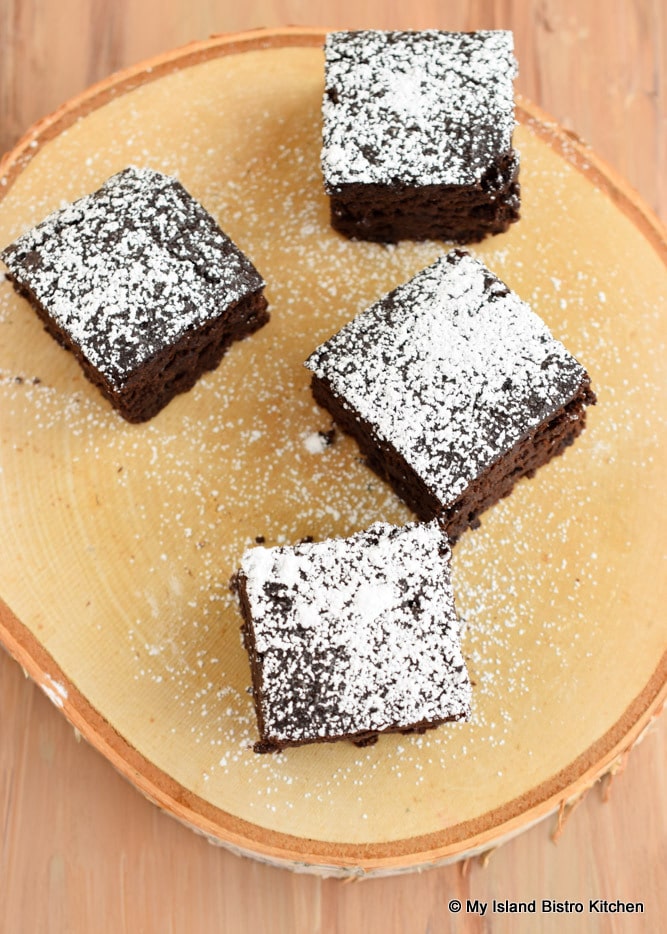
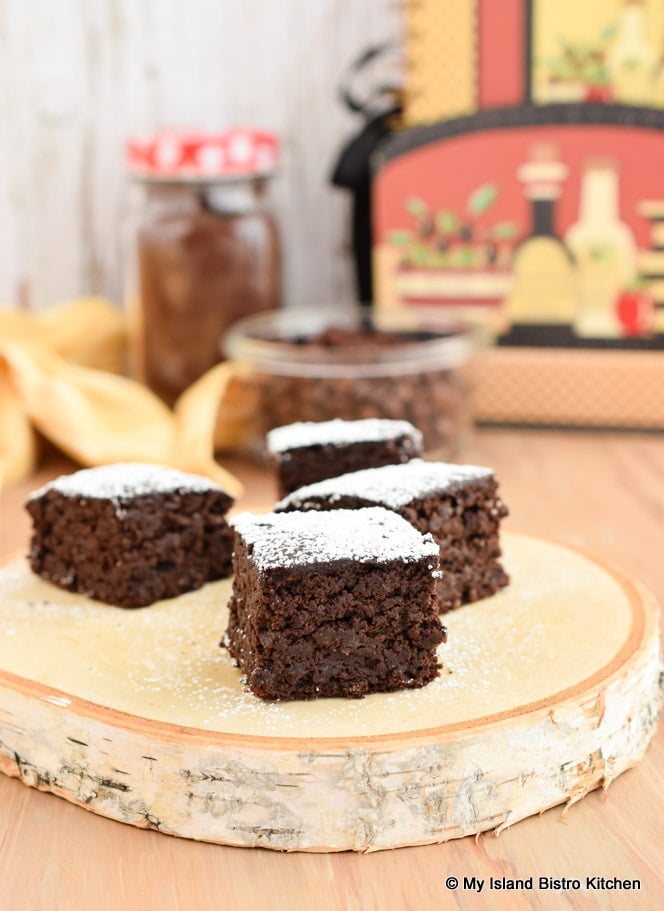
These brownies are lovely served plain or simply dusted with icing sugar (aka powdered sugar or confectioner’s sugar). However, the addition of Chocolate Mocha Icing takes them up a notch! And, if you really want to go all out, top a brownie with vanilla ice cream and drizzle with hot fudge, chocolate, or caramel sauce.
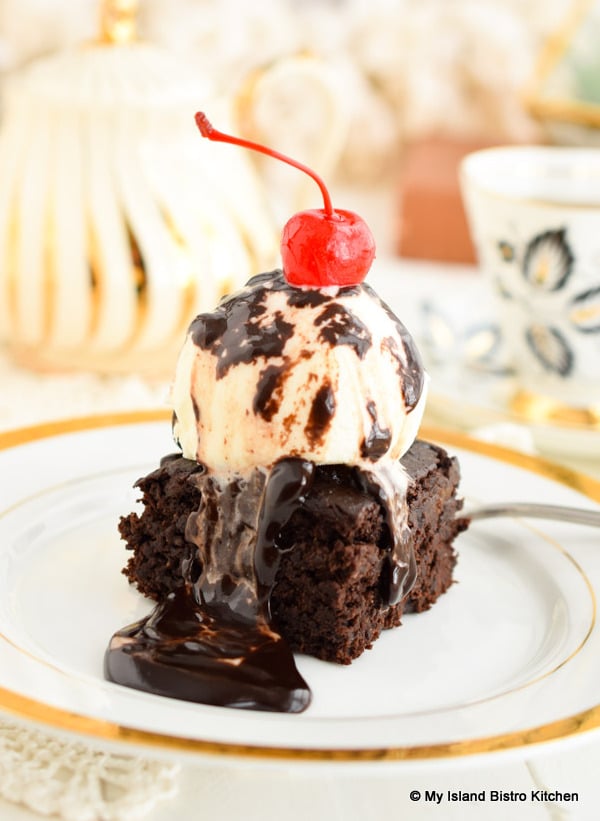
I hope you will try these decadent fudgy brownies (and, no, you absolutely don’t have to be on a gluten-free diet to enjoy them).
Black Bean Mocha Brownies
Ingredients:
1½ cups canned black beans, rinsed and drained (15 oz can) [no substitute]
2 oz Medjool dates, coarsely chopped and lightly packed (apx. 1/3 cup, chopped)
3 tbsp vegetable oil
2 tbsp strong brewed coffee
2 tbsp pure maple syrup
1½ tsp pure vanilla extract
2 large eggs, room temperature, lightly fork beaten
2/3 cup brown sugar, lightly packed
½ cup superfine almond flour
½ cup cocoa powder
1 tsp baking powder
¼ tsp salt
1 tbsp ground flax
Method:
Position oven rack in center of oven and preheat oven to 350°F. Line 8”x8” baking pan with parchment paper or tinfoil, leaving a 2” overhang with which to lift and remove cooled brownie from pan for ease of cutting. Spray lined pan lightly with non-sticking cooking oil.
Rinse and drain black beans well in a colander.
In bowl, sift or sieve the almond flour, cocoa powder, baking powder, and salt together. Stir in the ground flax. Set aside.
Place black beans, dates, vegetable oil, coffee, maple syrup, and vanilla in food processor. Process until ingredients are well blended, stopping as necessary to scrape down sides of processor bowl to ensure ingredients are well combined. Mixture does not need to be super smooth but the beans do need to be broken down and blended with the other ingredients. Add the eggs and pulse processor to blend then add the brown sugar and pulse until mixed in with ingredients. Add the dry ingredients in two additions, processing until the dry ingredients are incorporated into the wet mixture, scraping the sides of the bowl with each addition and as necessary to ensure all ingredients are combined.
Transfer batter to prepared pan and spread batter evenly with an offset spatula. Bake in pre-heated oven for approximately 30 minutes or until a cake tester inserted into center of brownies comes out clean and the brownie edges are starting to pull away from the sides of the pan. Transfer pan to wire cooling rack to cool completely.
Using the parchment paper or tinfoil overhang, lift brownie from pan and transfer to cutting board. Peel away the parchment paper or tinfoil. If icing brownie, spread icing (recipe below) evenly over cooled brownie. Refrigerate for about 30-45 minutes to set icing then remove from refrigerator and cut brownie into squares of desired size. Store in airtight container in refrigerator for up to 3 days. For longer storage, freeze brownies in airtight freezer container.
In lieu of icing, brownies may be served plain, dusted with icing sugar (aka powdered or confectioner’s sugar), or topped with a scoop of vanilla ice cream and drizzled with hot fudge, chocolate, or caramel sauce.
Yield: 1 – 8” pan of brownies
Chocolate Mocha Icing
Ingredients:
1 1/3 cups sifted icing sugar (aka powdered or confectioner’s sugar)
¼ cup cocoa powder
3 tbsp butter, room temperature
½ tsp pure vanilla extract
2+ tbsp strong brewed coffee*
Method:
Sift or sieve icing sugar and cocoa powder together into a bowl. Set aside.
In bowl of stand mixer fitted with paddle attachment, beat butter at medium speed. Reduce mixer speed to low and blend in the vanilla extract. Gradually add the sifted icing sugar and cocoa, about one-half cup at a time. Add the coffee, a couple of teaspoons at a time as the icing sugar and cocoa are being blended in with the butter. Increase speed to medium-low to blend ingredients then increase speed to high and beat an additional minute to ensure ingredients are well combined and icing is smooth. Additional coffee may be required to make icing of desired spreading consistency. If adding additional liquid, add by ½ teaspoon at a time. Icing should be of spreading consistency but not “soupy”.
Spread on cooled brownies. Refrigerate for 30-45 minutes to allow icing to set before cutting brownies into desired size pieces.
*In lieu of coffee, water or milk may be substituted as the liquid for the icing.
If you have made this recipe and enjoyed it and/or wish to share it with your friends and family, please do so on social media but be sure to share the direct link to this posting from my website.
You may also enjoy these other Brownie recipes from My Island Bistro Kitchen:
Double Decker Chocolate and Coconut Brownies
Old-fashioned Brownies
Connect with My Island Bistro Kitchen by:
Joining the Facebook page for My Island Bistro Kitchen: https://www.facebook.com/MyIslandBistroKitchen/
Following “the Bistro” on “X” (formerly Twitter): https://twitter.com/PEIBistro/
Seeing the drool-worthy gallery of mouth-watering food photos from My Island Bistro Kitchen on Instagram: https://www.instagram.com/peibistro/
Following “the Bistro” on Pinterest at https://www.pinterest.ca/peibistro/
(and you can pin the Pinterest-ready photo below to your favorite Pinterest boards)
PIN ME TO PINTEREST FOR LATER!
If you have made this recipe and enjoyed it and/or wish to share it with your friends, please do so on social media and share the direct link to the Black Bean Mocha Brownies recipe on my website.
Black Bean Mocha Brownies
Ingredients
For Brownies:
- 1½ cups canned black beans, rinsed and drained (15 oz can) [no substitute]
- 2 oz Medjool dates, coarsely chopped and lightly packed (apx. 1/3 cup, chopped)
- 3 tbsp vegetable oil
- 2 tbsp strong brewed coffee
- 2 tbsp pure maple syrup
- 1½ tsp pure vanilla extract
- 2 large eggs, room temperature, lightly fork beaten
- 2/3 cup brown sugar, lightly packed
- ½ cup superfine almond flour
- ½ cup cocoa powder
- 1 tsp baking powder
- ¼ tsp salt
- 1 tbsp ground flax
Chocolate Mocha Icing
For Icing:
- 1 1/3 cups sifted icing sugar (aka powdered or confectioner’s sugar)
- ¼ cup cocoa powder
- 3 tbsp butter, room temperature
- ½ tsp pure vanilla extract
- 2 + tbsp strong brewed coffee*
Instructions
For Brownies:
- Position oven rack in center of oven and preheat oven to 350°F. Line 8”x8” baking pan with parchment paper or tinfoil, leaving a 2” overhang with which to lift and remove cooled brownie from pan for ease of cutting. Spray lined pan lightly with non-sticking cooking oil.
- Rinse and drain black beans well in a colander.
- In bowl, sift or sieve the almond flour, cocoa powder, baking powder, and salt together. Stir in the ground flax. Set aside.
- Place black beans, dates, vegetable oil, coffee, maple syrup, and vanilla in food processor. Process until ingredients are well blended, stopping as necessary to scrape down sides of processor bowl to ensure ingredients are well combined. Mixture does not need to be super smooth but the beans do need to be broken down and blended with the other ingredients. Add the eggs and pulse processor to blend then add the brown sugar and pulse until mixed in with ingredients. Add the dry ingredients in two additions, processing until the dry ingredients are incorporated into the wet mixture, scraping the sides of the bowl with each addition and as necessary to ensure all ingredients are combined.
- Transfer batter to prepared pan and spread batter evenly with an offset spatula. Bake in pre-heated oven for approximately 30 minutes or until a cake tester inserted into center of brownies comes out clean and the brownie edges are starting to pull away from the sides of the pan. Transfer pan to wire cooling rack to cool completely.
- Using the parchment paper or tinfoil overhang, lift brownie from pan and transfer to cutting board. Peel away the parchment paper or tinfoil. If icing brownie, spread icing (recipe below) evenly over cooled brownie. Refrigerate for about 30-45 minutes to set icing then remove from refrigerator and cut brownie into squares of desired size. Store in airtight container in refrigerator for up to 3 days. For longer storage, freeze brownies in airtight freezer container.
- In lieu of icing, brownies may be served plain, dusted with icing sugar (aka powdered or confectioner’s sugar), or topped with a scoop of vanilla ice cream and drizzled with hot fudge, chocolate, or caramel sauce.
For Icing:
- Sift or sieve icing sugar and cocoa powder together into a bowl. Set aside.
- In bowl of stand mixer fitted with paddle attachment, beat butter at medium speed. Reduce mixer speed to low and blend in the vanilla extract. Gradually add the sifted icing sugar and cocoa, about one-half cup at a time. Add the coffee, a couple of teaspoons at a time as the icing sugar and cocoa are being blended in with the butter. Increase speed to medium-low to blend ingredients then increase speed to high and beat an additional minute to ensure ingredients are well combined and icing is smooth. Additional coffee may be required to make icing of desired spreading consistency. If adding additional liquid, add by ½ teaspoon at a time. Icing should be of spreading consistency but not “soupy”.
- Spread on cooled brownies. Refrigerate for 30-45 minutes to allow icing to set before cutting brownies into desired size pieces.
Recipe Notes
Yield: 1 – 8” pan of brownies
*In lieu of coffee, water or milk may be substituted as the liquid for the icing.
[Copyright My Island Bistro Kitchen]


