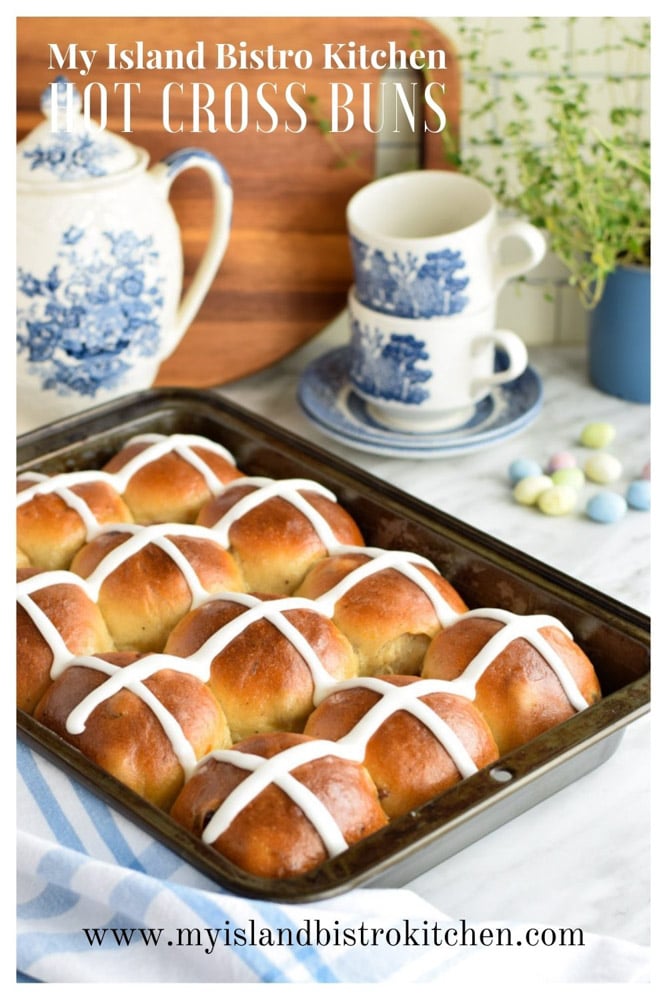
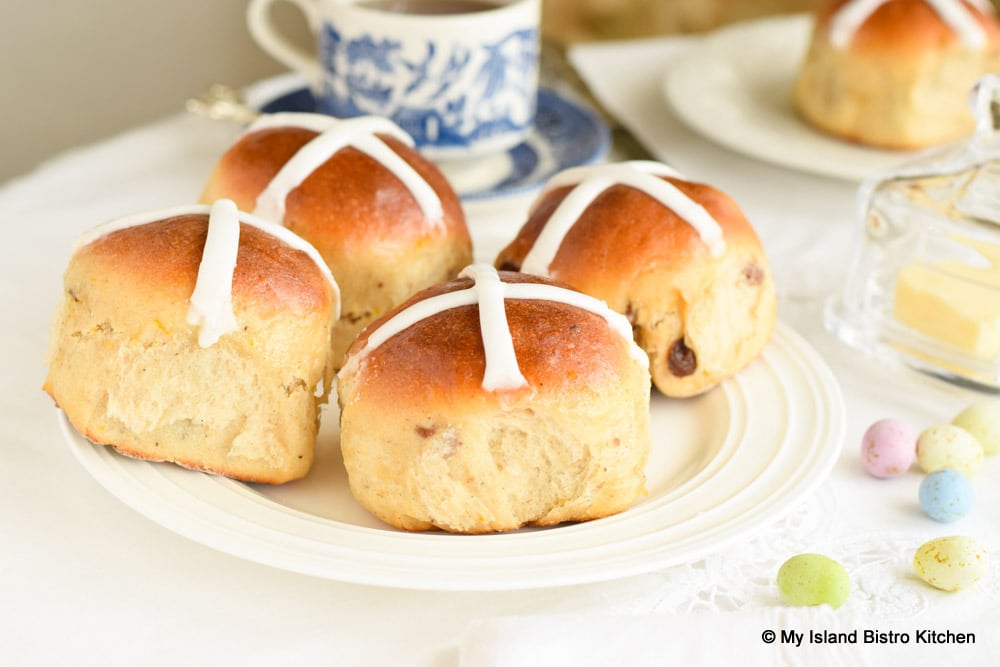
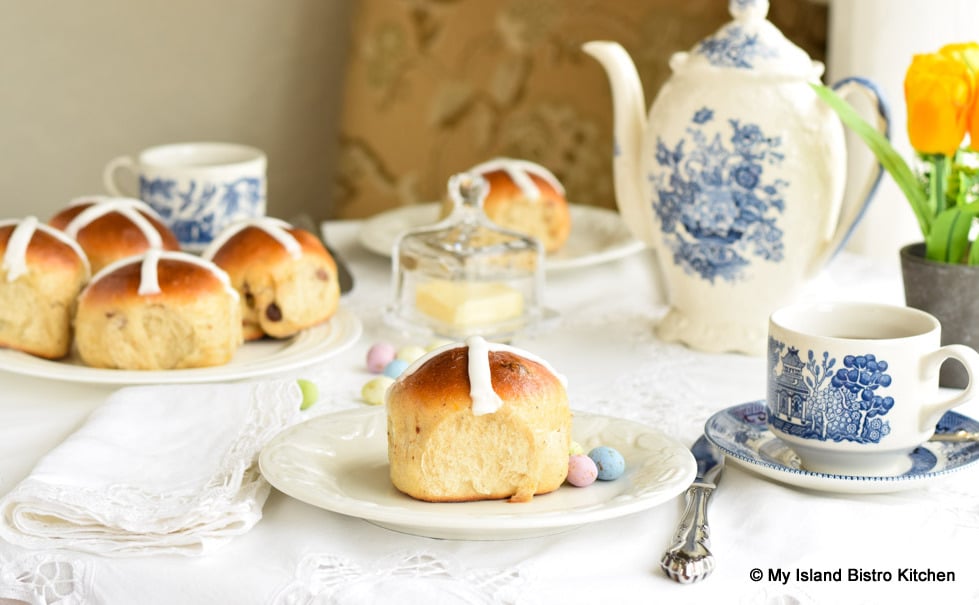
Hot Cross Buns are made with a yeasted enriched dough that is fragrant with warm spices. Usually, dried fruit is added. These buns are an Easter tradition in many homes. Traditionally eaten on Good Friday, and marking the end of Lent, Hot Cross Buns, with their signature cross on the top, carry the symbolism of the crucifixion of Jesus.
There are many legends, lots of folklore, and a host of superstitions associated with Hot Cross Buns. These span the gamut from warding off evil spirits to strengthening friendships, and having magic medicinal powers to preventing shipwrecks if the Hot Cross Buns were on board, and everything in between! Then, of course, there is the old English nursery rhyme that references “Hot Cross buns! Hot Cross buns! One ha’ penny, two ha’ penny, Hot Cross buns”!
Alas, the focus of my post today is not to delve into the history of these sweet yeasted buns but rather to share my recipe and tips for making these special Easter treats in your own kitchen. There are any number of recipes and methods for making Hot Cross Buns. What follows is my version.
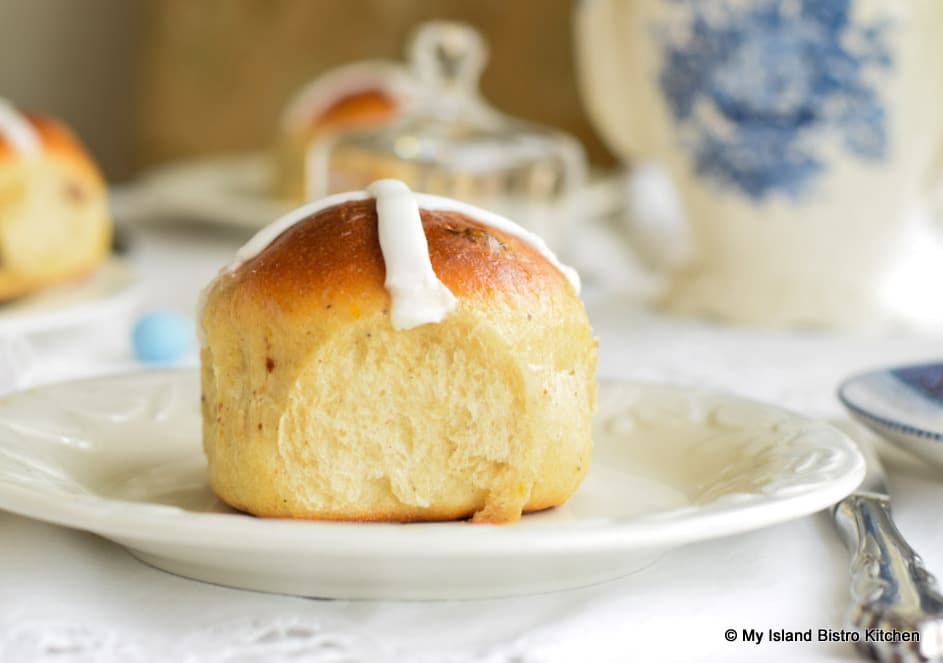
These billowy, soft puffy buns have a soft interior with a tender crumb. They are made with what is referred to as an enriched dough. This differs from a typical bread dough in that the enriched dough typically contains more fat, sugar, and dairy that a basic, standard bread dough will. This enrichment is what gives the buns their flavor and texture.
Time will be a big ingredient in making Hot Cross Buns because they are made from a yeasted dough which means there are steps and a couple of dough rising times involved. So, make these on a day when there are no other competing demands or distractions. Much of the time, the process is hands off but it does require ongoing attention.
Assemble and Measure Ingredients
The first step is to assemble all the ingredients and measure them out. Take the eggs out of the refrigerator to bring them to room temperature so they will blend well with the warm yeast and milk mixture.
Scald the Milk and Mix Wet Ingredients
The second step is to scald the milk and stir in the sugars and salt. Let the mixture cool a bit then stir in the vegetable oil and finely grated orange zest which will add a lovely subtle citrus note to the dough. I use vegetable oil (versus butter) in this recipe because I find the oil yields a softer, more tender crumb in these buns.
Prepping the Dried Fruit
The third step is to prepare whatever fruit is being added to the buns. Hot Cross Buns typically contain some kind of dried fruit – usually either currants or raisins – and sometimes mixed peel. I don’t include the latter in my recipe (though, approximately ¼ cup of mixed peel could certainly be added) and I prefer raisins in the Hot Cross Buns. Currants can be substituted though in a lesser amount than what the recipe calls for raisins.
Raisins, of course, can be hard nuggets if they are not hydrated. I, therefore, pour either boiling orange juice or water over them and let them soak for about 15 minutes. A couple of stirs to redistribute the raisins in the hot liquid is useful. Orange juice will obviously add a bit more flavor than the water but either will hydrate the raisins. Be sure to drain the raisins well in a colander or strainer and blot them with a paper towel to remove excess moisture before adding them to the dough. Discard the soaking liquid used.
Activate the Yeast
The next step is to activate the yeast so, while the milk mixture is cooling, mix the yeast with warm milk and a bit of sugar. By the time the yeast is foamy and bubbly (approximately 10-12 minutes), the milk mixture should be cooled sufficiently that it can be combined with the yeast and not kill it.

Creating the Bun Dough
Now it is time to create the dough for the buns. This is a soft, sticky dough. Start with 3½ cups of all-purpose flour mixed with the spices. Have an additional 1/3 cup of flour available in case it is needed. You may not need it all but some will certainly be needed for dusting the work surface when it comes to hand kneading and incorporating the raisins.
As for spices to add to the dough, it really is a matter of personal taste. I use my favorite blend of warm spices – cinnamon, cardamom, allspice, nutmeg, and cloves. I use conservative amounts of each but the amounts can be adjusted according to taste preference. Additionally, if there is a spice you do not like in the recipe, substitute it for one you prefer, leave the amount of it out altogether or, alternatively, proportionately increase the amount of one of the other spices.
Because this dough is quite a soft sticky dough, I find the best method for kneading it is to use a heavy-duty mixer. This recipe makes 12 lovely-sized buns and the amount of flour called for in the recipe should be able to be capably handled by a sturdy stand mixer, such as a Kitchen Aid Classic or similar “workhorse” mixer of another brand. Having a mixer fitted with a dough hook handle almost all of the kneading is certainly a real help! I let the mixer knead this dough for approximately 7 minutes on the low setting (i.e., #2 setting on Kitchen Aid Classic), just until the dough is smooth and elastic. The dough will be quite sticky at this stage and will not completely leave the sides of the bowl and that’s okay because the dough will be kneaded a wee bit more by hand.
Dust the work surface with some of the additional 1/3 cup of flour called for in the recipe and turn the dough out onto the surface. This is where I add the raisins and knead the dough for a couple of minutes by hand to incorporate the raisins. If the moistened raisins were to be added to the dough while in the mixer, they would likely get smooshed and mangled. There is more control if they are added by hand. Don’t add all the raisins at once. Rather, add a few with each turn of the dough as you knead it. This will give a better distribution of the raisins throughout the dough.
If the dough is sticky to the point of sticking to the fingers or to the work surface and peeling off and staying on the work surface, add a small amount more flour and work it into the dough while kneading. The dough should still have some stickiness and be a bit tacky as it is meant to be a soft dough. For this reason, exercise caution in how much additional flour is added to it. Adding too much flour is likely to result in dry, heavy, hard Hot Cross Buns. A couple of minutes or so of kneading by hand should suffice to achieve a dough that is smooth, elastic, and pliable.
Initial Rise of Dough
The next step is to create a warm, cozy environment for the dough’s initial rise. While this dough is unlikely to rise to quite double its volume in the initial rise, to be on the safe side, grease a bowl that is large enough to accommodate it doubling in size. Using vegetable oil, grease the dough all over so it does not dry out as it rises. Cover the bowl with greased plastic wrap and a tea towel and a lightweight blanket and place in a warm, draft-free place to rise. The dough may not rise to double its size but it can be expected to have at least a 75% increase in volume. This is not a fast-rising dough so will likely take about 1½ – 1¾ hours. This is a guide only as the actual rising time will depend on how warm the environment is. Warmer temperatures will likely see the dough rise a bit faster than will cooler room temperatures.
Forming the Buns and Second Rise of Dough
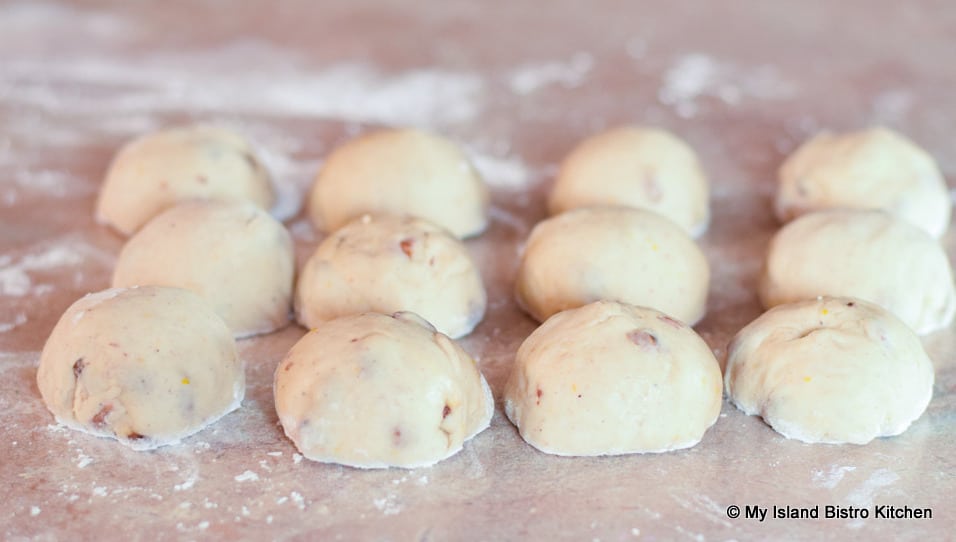
Finally! Time to form and shape the buns and let them rise! Punch down the center of the dough with a fist to deflate it (this does not need to be done with great force!). This will remove the pockets of air that will have formed during the initial rise. Knead the dough two to three times after deflating it to redistribute the yeast throughout the dough. This action will result in rolls with a more tender texture and fine crumb. Now, it’s time to divide the dough into 12 equal pieces.
I like my Hot Cross Buns to be fairly equal and consistent in size so I use my faithful, trusty digital scale. My dough weighed in at 44 ounces so, divided by 12, each piece of dough needs to weigh about 3.6 – 3.7 ounces, plus or minus. Having the buns all the same size not only looks professional but it allows them to bake evenly. So, weigh your dough and divide its weight by 12 to get the weight each piece of dough should be then simply use a sharp knife to cut off chunks of dough and weigh them. There are various methods for dividing the dough up into equal portions but I find the most accurate method is to weigh them. I literally could not operate efficiently and accurately in my kitchen without my digital scale and I recommend every serious cook/baker invest in a digital scale.
To form the lovely round bun shape, simply pull all the edges of a weighed piece of dough into the center point as if you were making a small sack or money bag and pinch edges together. Tuck the pinched edge into the bun center. Flip the bun over, pinched/seam side down, onto a lightly flour-dusted work surface. Ensure no raisins are exposed as, if they have made their way through the surface of the bun, they will become hard nuggets when baked. Cup your hand loosely over the bun to form a “cage” and, using the outside edge of your hand as a guide, start swirling and moving the dough in a circular motion until a smooth and tidy round shape is achieved.
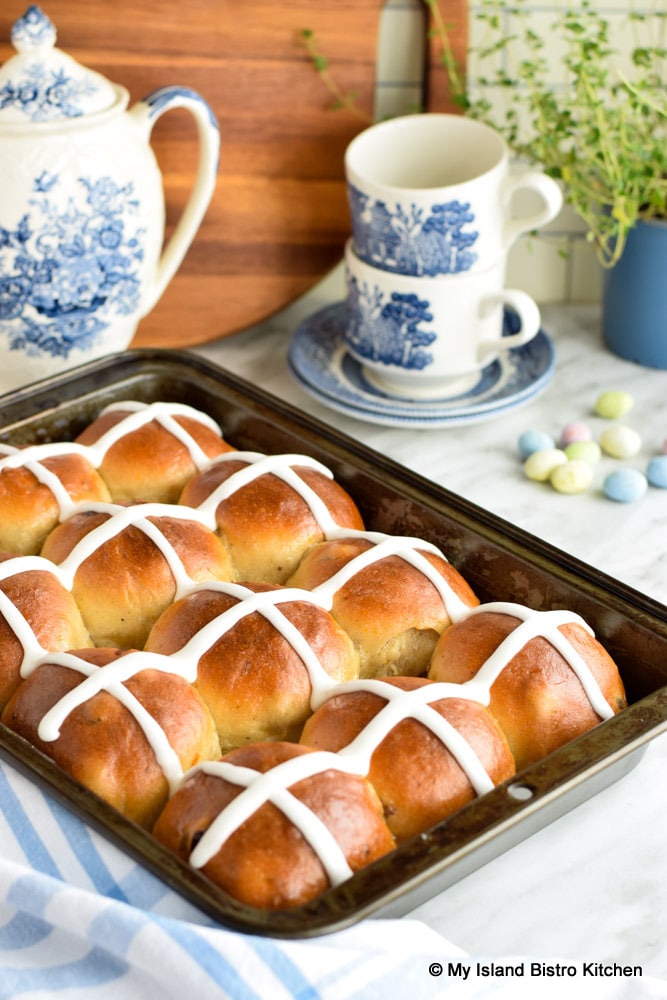
These buns are typically baked in a 9”x13” baking pan which means they “grow” together as they rise during the dough’s second rise period and, as a result, they will have soft sides when baked. Space the buns about ½” apart in the greased pan. If a crustier edge is preferred, the buns can, of course, be baked on a baking sheet where they would be placed about 2” apart. Either way, the buns will need a second period of rising. This will probably take about 1¼ – 1½ hours in a warm, draft-free environment. The actual time for this rise will depend, of course, on the temperature of the room. The buns should be puffy but may not necessarily exactly double in size. They will rise a bit more in the oven.
Baking the Buns
Into the oven they go! The buns will bake in the center of a preheated 375° oven for about 22-27 minutes, or until they are lightly browned on top and sound hollow when lightly tapped with fingers. Use this baking time as a guide as each oven heats differently. Rotate the baking pan once partway through the baking.
Glazing the Buns
About 5 minutes before the buns are due to come out of the oven, prepare the glaze that will be applied to the hot buns. Either apricot or orange jam can be used for this. I used orange jam on the buns in the photos as the orange flavor ties in with the orange notes in the dough. To make the glaze, it is simply a matter of melting the jam (minus any large chunks of fruit) with a bit of water. This can be done in the microwave or on the stovetop. I recommend straining the melted mixture to remove any bits of fruit that may be present. As soon as the buns come out of the oven, use a soft pastry brush to apply the hot glaze to the buns. This will give them their characteristic glossy and sticky tops. Let buns cool completely in the pan.
Forming Cross Pattern on Bun Tops
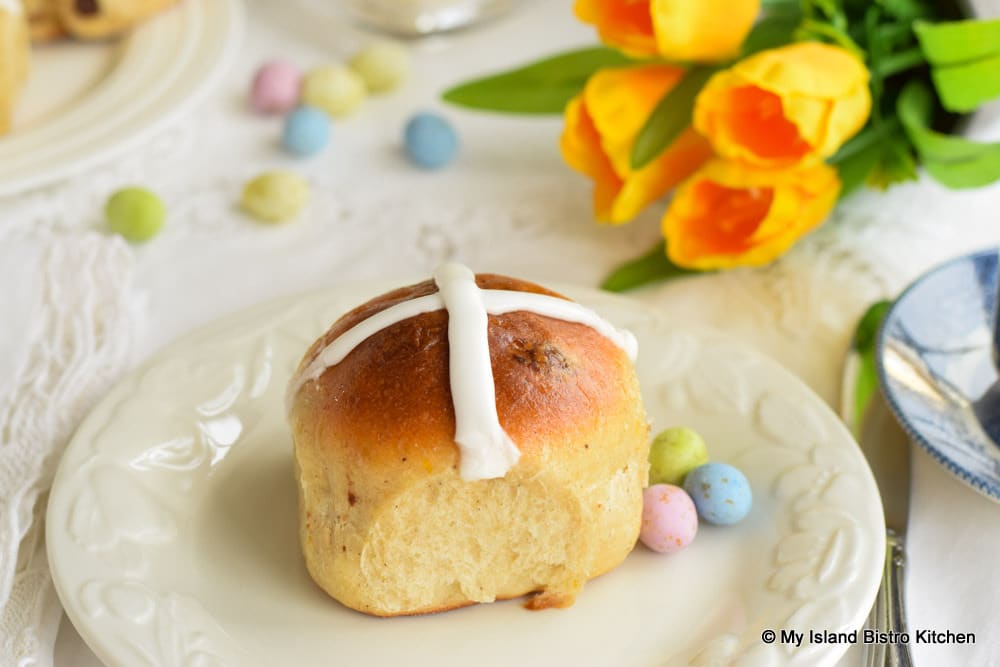
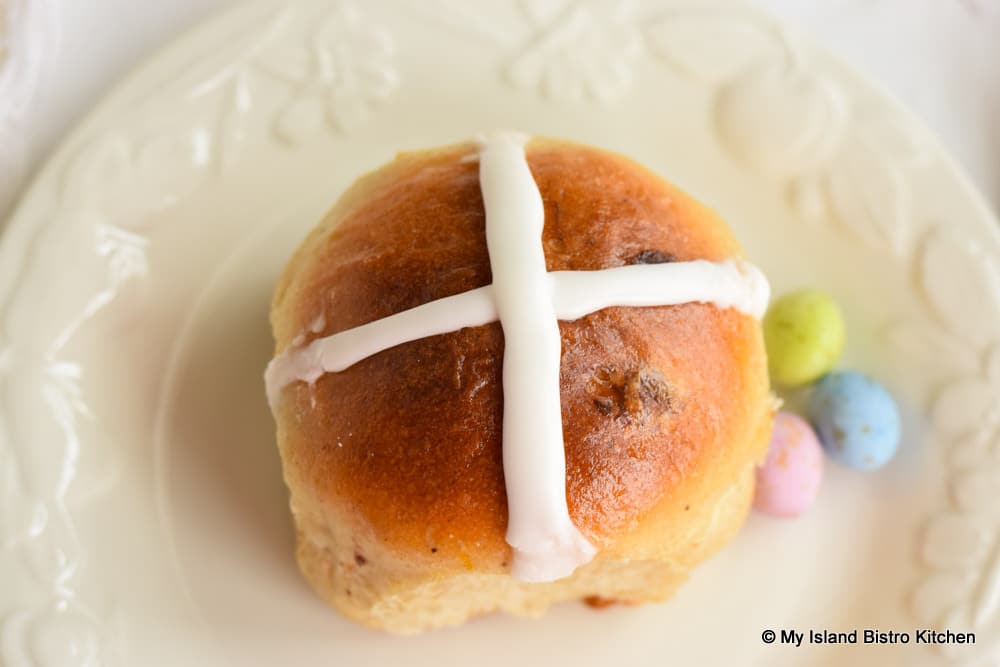
There are many ways to make the cross shape on the tops of the Hot Cross Buns. Some make a flour paste and pipe that in a cross shape on to the unbaked buns; others use scissors to snip a cross shape in the tops of the unbaked buns. I take the easy route and make a thick, piping icing which I pipe onto the buns after they are baked and about an hour after the glaze was applied. Piping the icing on while the buns are still hot will result in the icing melting and becoming messy so, be patient and let them cool.
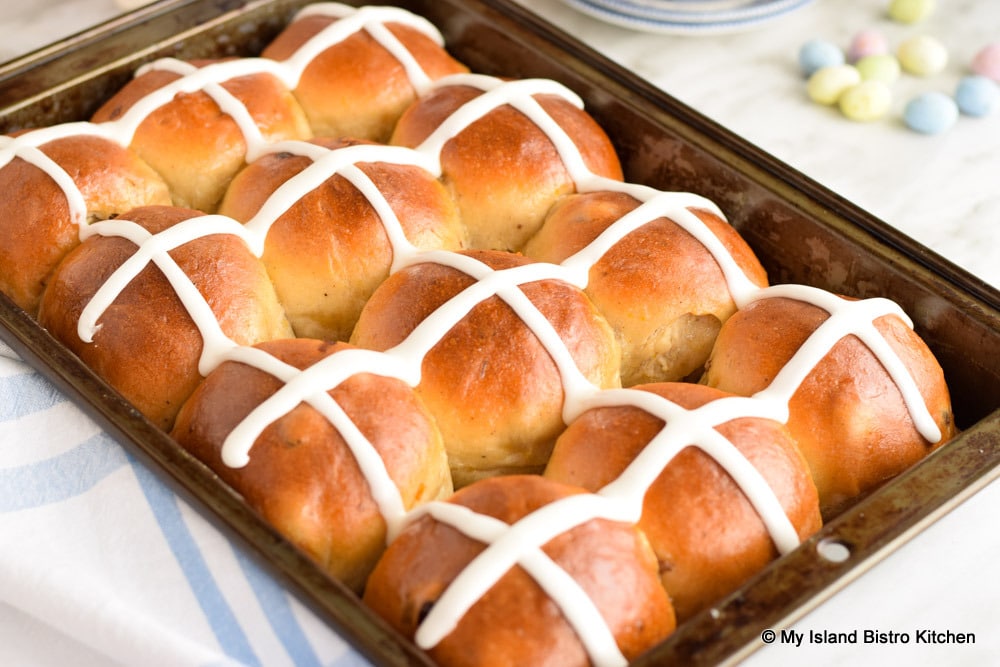
I have cake decorating equipment so I spoon the icing into a piping bag fitted with a Wilton #9 decorating tip (round tip). However, if you don’t have this equipment, simply transfer the icing to a small plastic bag and snip off the end of a corner of the bag and pipe the cross shape on the buns. Instead of trying to pipe an individual cross on each bun separately, I find it easier to pipe one long strip of icing along the length of each row of buns and then do the same thing crosswise, across each row. Let the buns set for about 30 minutes after applying the crosses to allow the icing to set before serving.
Carefully lift the buns, in one consolidated piece, out of the pan and gently pull them apart. Have the butter ready!
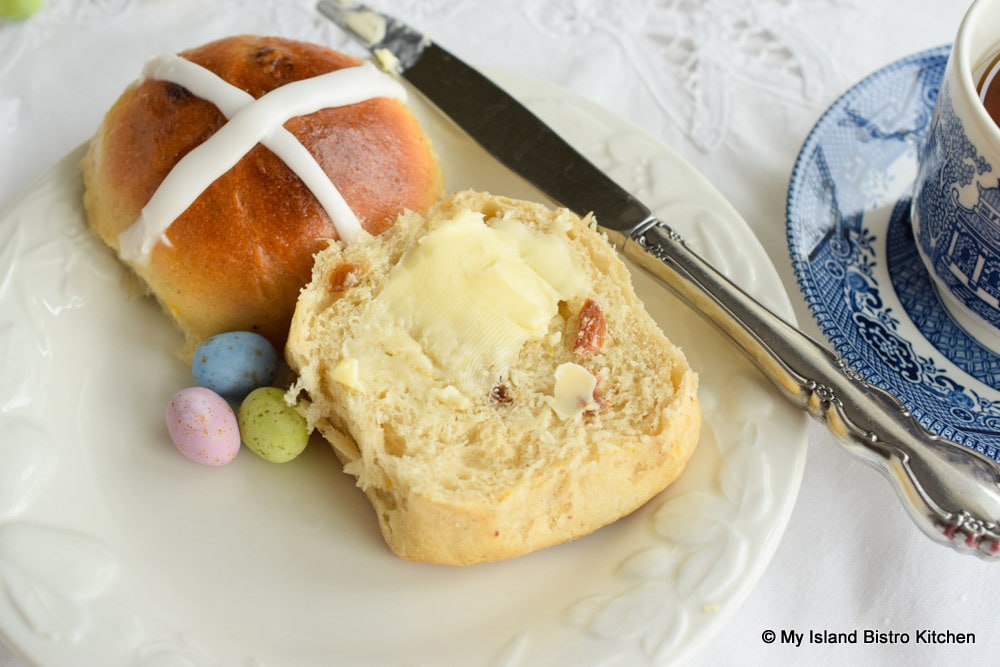
While these buns are best served fresh, the day they are made, they do freeze quite well in an airtight bag.
Ready to give these Hot Cross Buns a try? My recipe follows.
Hot Cross Buns
Ingredients:
1 cup raisins (golden or sultana)
¾ cup hot orange juice or hot water
½ cup warm milk (115°F)
1 tsp granulated sugar
2¼ tsp active dry yeast
¾ cup scalded milk (no less than 2%M.F.)
1/4 cup granulated sugar
3 tbsp brown sugar, packed
¾ tsp salt
6 tbsp vegetable oil
2 tsp finely grated orange zest
2 large eggs, room temperature
3½ cups all-purpose flour (plus an additional 1/3 cup, if needed)
¾ tsp cinnamon
¼ tsp cardamom
1/8 tsp allspice
1/8 tsp nutmeg
Pinch cloves
Spray cooking oil
Vegetable oil for greasing dough and bowl
Shortening for greasing baking pan
Glaze:
2 tbsp apricot or orange jam (minus any large chunks of fruit)
(scant) 1 tbsp water
Icing Crosses:
¾ cup sifted icing sugar (aka powdered sugar or confectioner’s sugar)
Apx. 2½ – 3 tsp milk
½ tsp pure vanilla extract or ¼ tsp pure almond extract
Method:
Assemble and measure out all ingredients before beginning. In medium-sized bowl, sieve or whisk 3½ cups of flour with the spices. Set aside.
In small-sized saucepan, over medium-high heat, bring ¾ cup milk to the scalding point (180°F), stirring frequently to prevent milk from scorching. Do not boil the milk. Remove from heat and whisk the sugars and salt into the milk. Let mixture cool to 110°F then whisk in the vegetable oil and orange zest.
Boil orange juice or water and pour over raisins in small bowl to hydrate and plump them. Let sit for about 15 minutes, stirring a couple of times, then drain well in colander or mesh strainer. Discard orange juice/water.
While the milk mixture is cooling, place ½ cup warm milk (115°F) in 2-cup measuring cup or bowl. Stir 1 tsp sugar into the warm milk until sugar is dissolved. Sprinkle yeast over the water and quickly, but gently, stir in the yeast. Let yeast stand, undisturbed with no stirring, for about 10-12 minutes, or until yeast is foamy and bubbly and doubled in volume.
In bowl of stand mixer fitted with whisk attachment, beat the eggs on medium speed just until frothy. With mixer speed set to lowest speed, add the milk mixture and mix just until combined with the eggs. Stir down yeast and add to ingredients in bowl. Beat on low (i.e., the “2” setting on KitchenAid Classic mixer) for apx. 20 seconds. With mixer on lowest speed, gradually add 1 cup of flour. Increase speed to medium (i.e., the “6” setting on KitchenAid Classic mixer) and beat 1 minute. Scrape down sides of bowl with rubber or silicone spatula.
Switch mixer attachment to dough hook and gradually add remaining flour, about ¾ cup of flour at a time. With each flour addition, beat on slow speed to blend ingredients then increase speed to medium and beat for 30-45 seconds. Scrape the bowl and dough hook with spatula as necessary to ensure all ingredients are incorporated before each addition of flour. After all the flour has been added, beat on low speed (i.e., the “2” setting on KitchenAid Classic mixer) for approximately 7-8 minutes, until dough is smooth and elastic. Dough will still be sticky/tacky.
Blot drained raisins with paper towel to remove excess moisture.
Using some of the additional 1/3 cup of flour called for in the recipe, lightly flour work surface. Remove bowl from mixer and transfer dough to prepared work surface. Begin kneading the dough by hand, adding in the raisins, a few with each turn and knead of the dough. This kneading should only take approximately a couple of minutes, or until raisins are fully incorporated and dough is smooth, elastic, and pliable but still a bit tacky to the work surface. Add small amounts of remaining flour only if necessary and if dough is sticking to fingers or peeling off and staying on the work surface. When fully kneaded, dough should still feel tacky but will not stick to hands or peel on to surface and stay. This is intended to be a soft dough so be careful about adding too much additional flour.
Grease a bowl large enough to allow the dough to rise up to double in size (note that dough may not exactly double in volume). Grease all sides of dough with vegetable oil to prevent it from drying out and transfer dough to prepared bowl. Cover the bowl loosely with plastic wrap that has been sprayed with cooking oil. Cover bowl completely with a tea towel and a lightweight blanket and place in warm, draft-free location to rise, about 1½ – 1¾ hours.
Grease 9”x13” baking pan with shortening.
Lightly dust work surface with flour. Punch down dough in the center with fist to deflate it and turn dough out onto the work surface. Knead the dough 2-3 times. Using a sharp knife, divide dough into 12 equal portions. To achieve size consistency of the buns, it is recommended to weigh the dough and divide that weight by 12 to determine how much each of the 12 portions of dough should weigh.
To shape the buns, gather the edges of each piece of dough together into the center as if forming a small sack. Pinch ends together to seal and tuck into bun. Set bun, pinched/seam side down on lightly floured work surface. Cup hand over dough to form a “cage” and, using the outside edge of the hand as a guide, gently roll dough around in a swirling/circular motion on the work surface to form a smooth rounded shape. Place bun in prepared baking pan. Continue forming buns in this manner with remaining dough, spacing the buns approximately ½“ apart in the pan.
Cover buns with tea towel and place in warm, draft-free location to rise until puffy (they may not quite double in size), about 1¼ – 1½ hours.
About 20 minutes before buns are ready to be baked, position oven rack in center of oven and preheat oven to 375°F. Transfer buns to oven and bake for approximately 22 – 27 minutes, or until buns are lightly browned on the top and hollow sounding when lightly tapped with fingers. Rotate the baking pan once partway through the baking.
About 5 minutes or so before buns are due to come out of the oven, prepare glaze as follows.
Glaze: Heat the jam (minus any large fruit chunks) and water in the microwave or in small pan on the stovetop until jam is melted. Stir. Strain to remove any remaining pieces of fruit. Using a pastry brush, apply the glaze evenly to the buns as soon as they come out of the oven.
Cool buns in pan for an hour then prepare icing for the crosses as follows.
Icing Crosses: Mix icing sugar, 2½ tsp milk, and the vanilla or almond extract together until smooth. Add additional milk only if needed to achieve a thick piping consistency icing but not really runny. Add any additional milk needed by very small amounts at a time. If icing becomes too runny, add a bit more icing sugar to achieve piping consistency which will allow the icing to remain in place when piped onto the buns.
Transfer icing to a piping bag fitted with a Wilton No. 9 piping tip or, alternatively, spoon into a small plastic bag, snip off one corner of bag, and proceed with piping a thick cross shape on buns. It is recommended to pipe one long string of icing along and across the buns versus piping a cross individually on each bun.
Let Hot Cross Buns rest for approximately 30 minutes to allow the icing to set before serving.
Yield: Apx. 1 dozen Hot Cross Buns
If you have made this recipe and enjoyed it and/or wish to share it with your friends, please do so on social media and share the direct link to the Hot Cross Buns recipe on my website.
Connect with My Island Bistro Kitchen by:
Joining the Facebook page for My Island Bistro Kitchen: https://www.facebook.com/MyIslandBistroKitchen/
Following “the Bistro” on “X” (formerly Twitter): https://twitter.com/PEIBistro/
Seeing the drool-worthy gallery of mouth-watering food photos from My Island Bistro Kitchen on Instagram: https://www.instagram.com/peibistro/
Following “the Bistro” on Pinterest at https://www.pinterest.ca/peibistro/
(and you can pin the Pinterest-ready photo below to your favorite Pinterest boards)
Hot Cross Buns
Ingredients
- 1 cup raisins (golden or sultana)
- ¾ cup hot orange juice or hot water
- ½ cup warm milk (115°F)
- 1 tsp granulated sugar
- 2¼ tsp active dry yeast
- ¾ cup scalded milk (no less than 2%M.F.)
- 1/4 cup granulated sugar
- 3 tbsp brown sugar, packed
- ¾ tsp salt
- 6 tbsp vegetable oil
- 2 tsp finely grated orange zest
- 2 large eggs, room temperature
- 3½ cups all-purpose flour (plus an additional 1/3 cup, if needed)
- ¾ tsp cinnamon
- ¼ tsp cardamom
- 1/8 tsp allspice
- 1/8 tsp nutmeg
- Pinch cloves
- Spray cooking oil
- Vegetable oil for greasing dough and bowl
- Shortening for greasing baking pan
Glaze:
- 2 tbsp apricot or orange jam (minus any large chunks of fruit)
- (scant) 1 tbsp water
Icing Crosses:
- ¾ cup sifted icing sugar (aka powdered sugar or confectioner’s sugar)
- Apx. 2½ - 3 tsp milk
- ½ tsp pure vanilla extract or ¼ tsp pure almond extract
Instructions
-
Assemble and measure out all ingredients before beginning. In medium-sized bowl, sieve or whisk 3½ cups of flour with the spices. Set aside.
-
In small-sized saucepan, over medium-high heat, bring ¾ cup milk to the scalding point (180°F), stirring frequently to prevent milk from scorching. Do not boil the milk. Remove from heat and whisk the sugars and salt into the milk. Let mixture cool to 110°F then whisk in the vegetable oil and orange zest.
-
Boil orange juice or water and pour over raisins in small bowl to hydrate and plump them. Let sit for about 15 minutes, stirring a couple of times, then drain well in colander or mesh strainer. Discard orange juice/water.
-
While the milk mixture is cooling, place ½ cup warm milk (115°F) in 2-cup measuring cup or bowl. Stir 1 tsp sugar into the warm milk until sugar is dissolved. Sprinkle yeast over the water and quickly, but gently, stir in the yeast. Let yeast stand, undisturbed with no stirring, for about 10-12 minutes, or until yeast is foamy and bubbly and doubled in volume.
-
In bowl of stand mixer fitted with whisk attachment, beat the eggs on medium speed just until frothy. With mixer speed set to lowest speed, add the milk mixture and mix just until combined with the eggs. Stir down yeast and add to ingredients in bowl. Beat on low speed (i.e., the “2” setting on KitchenAid Classic mixer) for apx. 20 seconds. With mixer on lowest speed, gradually add 1 cup of flour. Increase speed to medium (i.e., the “6” setting on KitchenAid Classic mixer) and beat 1 minute. Scrape down sides of bowl with rubber or silicone spatula.
-
Switch mixer attachment to dough hook and gradually add remaining flour, about ¾ cup of flour at a time. With each flour addition, beat on lowest speed to blend ingredients then increase speed to medium and beat for 30-45 seconds. Scrape the bowl and dough hook with spatula as necessary to ensure all ingredients are incorporated before each addition of flour. After all the flour has been added, beat on low speed (i.e., the “2” setting on KitchenAid Classic mixer) for approximately 7-8 minutes, until dough is smooth and elastic. Dough will still be sticky/tacky.
-
Blot drained raisins with paper towel to remove excess moisture.
-
Using some of the additional 1/3 cup of flour called for in the recipe, lightly flour work surface. Remove bowl from mixer and transfer dough to prepared work surface. Begin kneading the dough by hand, adding in the raisins, a few with each turn and knead of the dough. This kneading should only take approximately a couple of minutes, or until raisins are fully incorporated and dough is smooth, elastic, and pliable but still a bit tacky to the work surface. Add small amounts of remaining flour only if necessary and if dough is sticking to fingers or peeling off and staying on the work surface. When fully kneaded, dough should still feel tacky but will not stick to hands or peel on to surface and stay. This is intended to be a soft dough so be careful about adding too much additional flour.
-
Grease a bowl large enough to allow the dough to rise up to double in size (note that dough may not exactly double in volume). Grease all sides of dough with vegetable oil to prevent it from drying out and transfer dough to prepared bowl. Cover the bowl loosely with plastic wrap that has been sprayed with cooking oil. Cover bowl completely with a tea towel and a lightweight blanket and place in warm, draft-free location to rise, about 1½ - 1¾ hours.
-
Grease 9”x13” baking pan with shortening.
-
Lightly dust work surface with flour. Punch down dough in center with fist to deflate it and turn dough out onto the work surface. Knead dough 2-3 times. Using a sharp knife, divide dough into 12 equal portions. To achieve size consistency of the buns, it is recommended to weigh the dough and divide that weight by 12 to determine how much each of the 12 portions of dough should weigh.
-
To shape the buns, gather the edges of each piece of dough together into the center as if forming a small sack. Pinch ends together to seal and tuck into bun. Set bun, pinched/seam side down on lightly floured work surface. Cup hand over dough to form a “cage” and, using the outside edge of the hand as a guide, gently roll dough around in a swirling/circular motion on the work surface to form a smooth rounded shape. Place bun in prepared baking pan. Continue forming buns in this manner with remaining dough, spacing the buns approximately ½“ apart in the pan.
-
Cover buns with tea towel and place in warm, draft-free location to rise until puffy (they may not quite double in size), about 1¼ - 1½ hours.
-
About 20 minutes before buns are ready to be baked, position oven rack in center of oven and preheat oven to 375°F. Transfer buns to oven and bake for approximately 22 - 27 minutes, or until buns are lightly browned on the top and hollow sounding when lightly tapped with fingers. Rotate the baking pan once partway through the baking.
-
About 5 minutes or so before buns are due to come out of the oven, prepare glaze as follows.
-
Glaze: Heat the jam (minus any large fruit chunks) and water in the microwave or in small pan on the stovetop until jam is melted. Stir. Strain to remove any remaining pieces of fruit. Using a pastry brush, apply the glaze evenly to the buns as soon as they come out of the oven.
-
Cool buns in pan for an hour then prepare icing for the crosses as follows.
-
Icing Crosses: Mix icing sugar, 2½ tsp milk, and the vanilla or almond extract together until smooth. Add additional milk only if needed to achieve a thick piping consistency icing but not really runny. Add any additional milk needed by very small amounts at a time. If icing becomes too runny, add a bit more icing sugar to achieve piping consistency which will allow the icing to remain in place when piped onto the buns.
-
Transfer icing to a piping bag fitted with a Wilton No. 9 piping tip or, alternatively, spoon into a small plastic bag, snip off one corner of bag, and proceed with piping a thick cross shape on buns. It is recommended to pipe one long string of icing along and across the buns versus piping a cross individually on each bun.
-
Let Hot Cross Buns rest for approximately 30 minutes to allow the icing to set before serving.
Recipe Notes
Yield: Apx. 1 dozen Hot Cross Buns
[Copyright My Island Bistro Kitchen]
PIN ME TO PINTEREST FOR LATER!