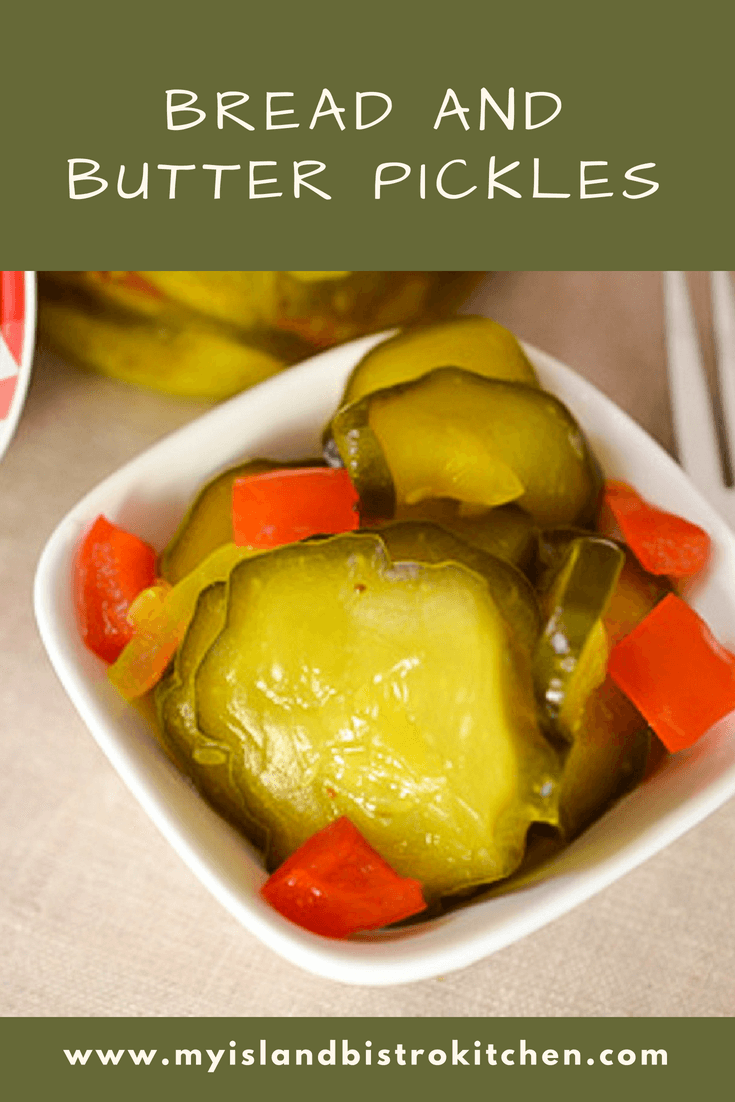
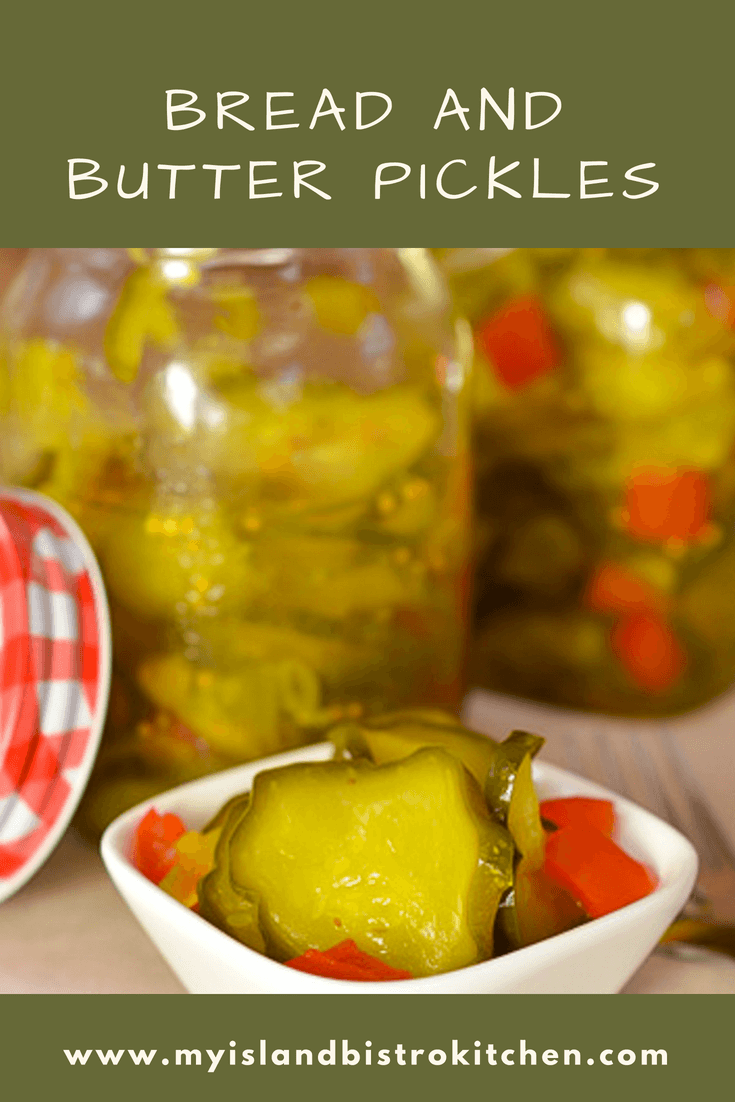
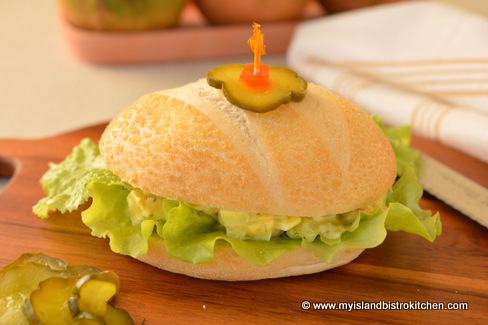
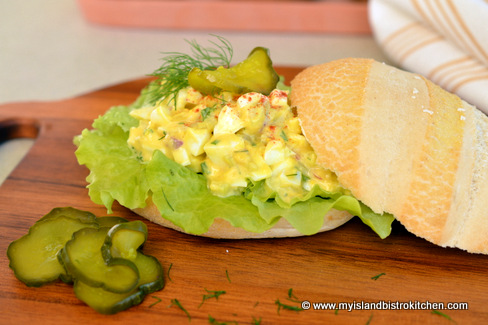
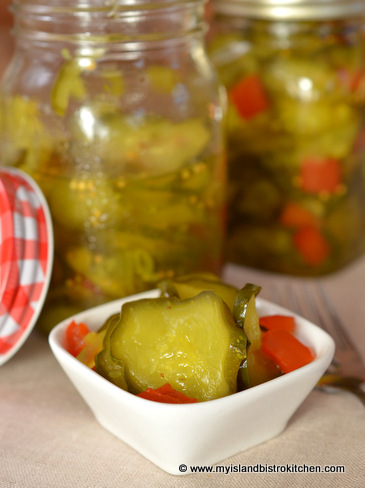
One of my very favorite kinds of pickles are the traditional sweet Bread and Butter Pickles. If I didn’t limit myself, I could sit down and eat an entire bottle of these pickles! They are especially good with sandwiches and burgers.
These pickles are not hard to make but, like most pickled products, they are a bit time-consuming and, sometimes, finding the right ingredients can be a bit of a challenge. The first challenge is to get the cucumbers that are suitably-sized for bread and butter pickles.
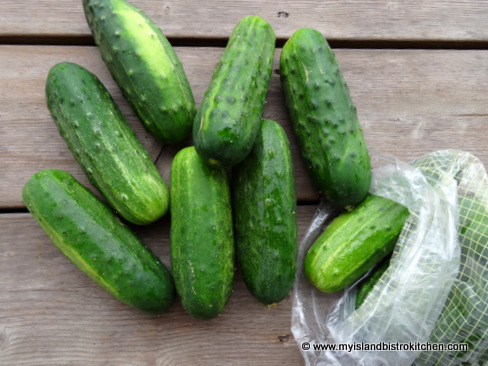
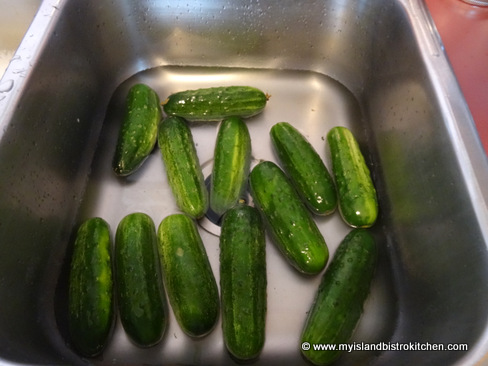
These are small cucumbers (but bigger than those used to make dill pickles), about 6-7 inches long and only about 1 1/2″ to 2″ wide. You don’t want to use large field cucumbers because they have too many seeds, meaning they will fall apart as opposed to holding their shape when sliced. As well, large slices of pickled cucumbers are not attractive to serve alongside a sandwich or burger.
To make quality pickles, fresh produce is needed. I recommend using cucumbers that have not been picked any longer than 24 hours. Cucumbers that have been picked for days start to get soft and “punky” and are not good for pickling because they have already started to deteriorate and lose their freshness. As well, the skin on the cucumbers will be very tough.
Ask for “bread and butter pickling cucumbers” at your local farm stand or market and the sellers should know what you mean. Be sure to ask when they were picked and check to make sure the cucumbers are firm to the touch. I bought mine at Balderston’s Farm Market in Stratford, PEI, and the big bin of the cucumbers had just been brought in from the field and were being bagged up while I was at the stand.
Give the cucumbers a good wash and then dry them off.
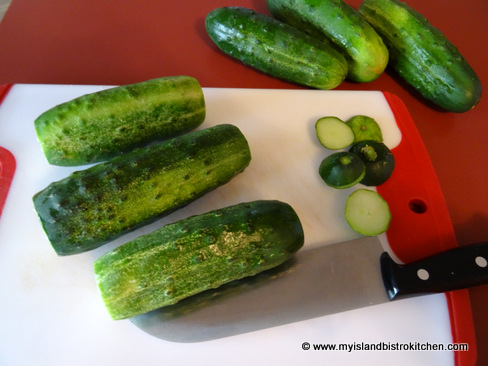
Trim and discard the cucumber ends but leave the peeling on for these pickles. Not only does the peeling give color and texture but it helps to hold the cucumber slices intact.
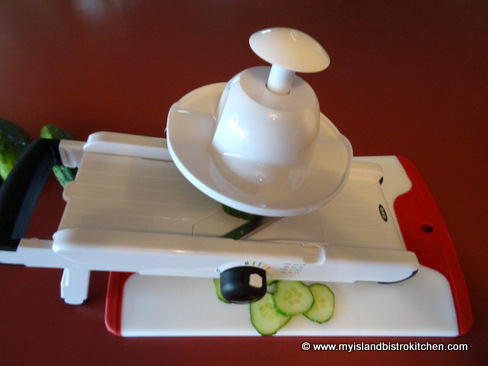
If you have a mandolin, it will make slicing the cucumbers easier and you will have uniformly-sized slices of cucumbers. I suggest cutting the cucumbers into either 3/16″ or 1/4″ thick slices, depending on how thin or thick you like pickle slices. The 1/4″ thickness will help the pickles retain their shape the best.
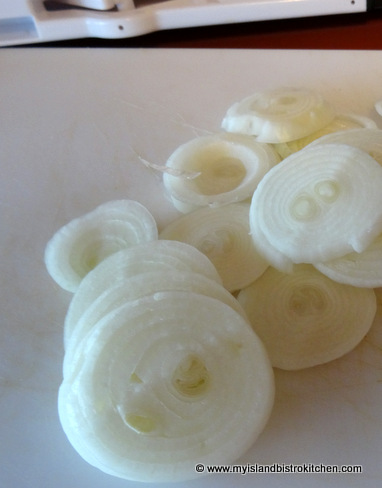
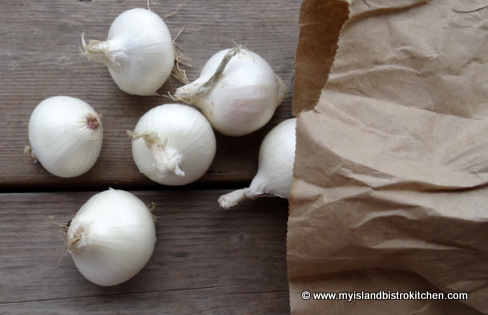
I recommend using the small silver-skinned onions (often referred to as “pickling onions”) for these pickles because, when sliced, they will be about the same size in diameter as the cucumbers. I find these onions are somewhat stronger in flavour than the standard garden variety of onions.
Even if you don’t like onions, they really are needed to give these pickles flavour.
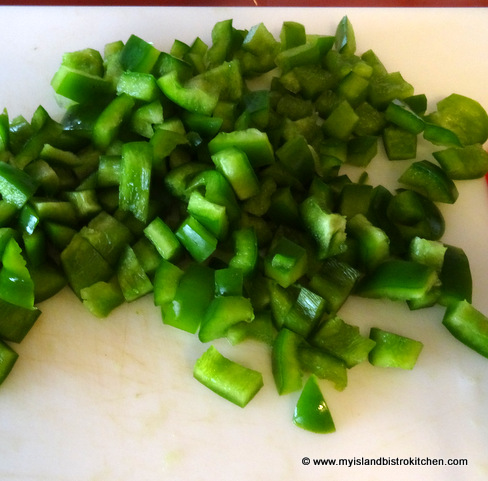
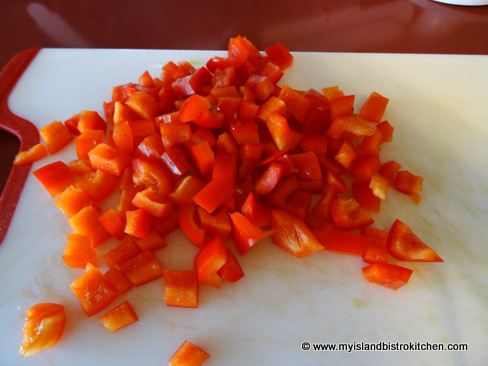
Use firm, blemish-free peppers – 1 red and 1 green – for this recipe and dice them up.
The green pepper contributes to the flavour and the red pepper adds a splash of color to the pickles (as well as taste).
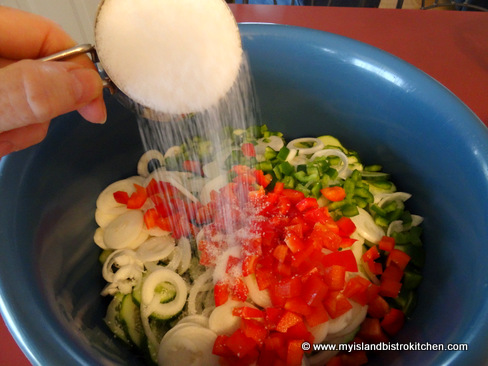
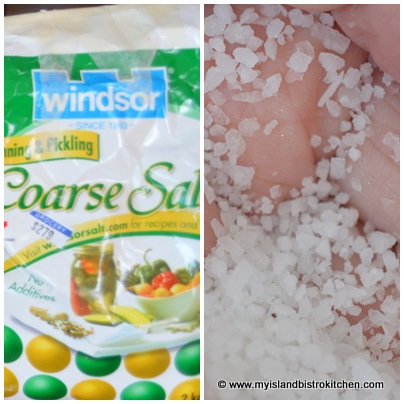
Be sure to use pickling (coarse) salt, never table salt, for the soaking of these pickles. You should be able to find this salt in the same grocery aisle as regular table salt or at your bulk food store where it may be labeled as either “pickling” or “coarse” salt.
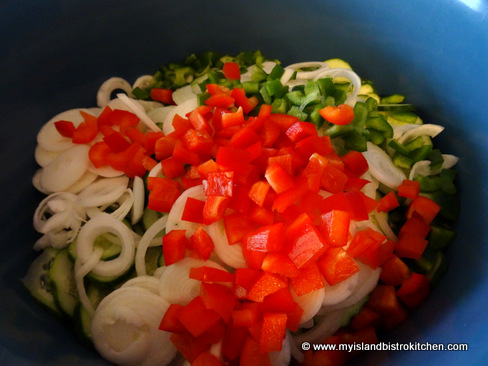
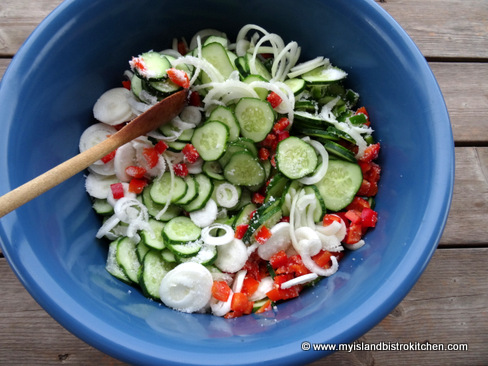
Once all the vegetables are cut up, place them in a large bowl or pot.
Sprinkle the vegetables with the pickling salt.
Give the vegetables a good stir to mix in the salt.
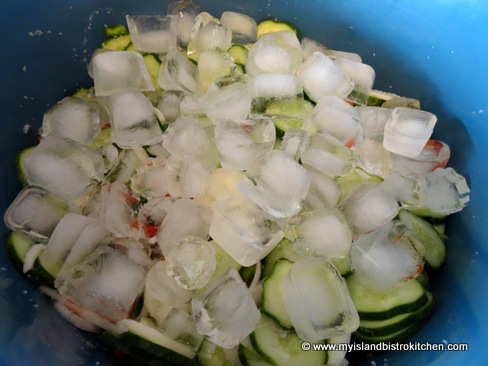
For the brine, you will need a total of about 5-6 dozen large ice cubes. Completely cover the vegetables with a layer of ice cubes. As these melt, they combine with the salt to make the brine in which the vegetables will soak for three hours at room temperature. Make sure you have additional ice cubes to add to the vegetables as cubes melt. The key is to keep the vegetables ice cold as this will help the cucumbers retain their crispness.
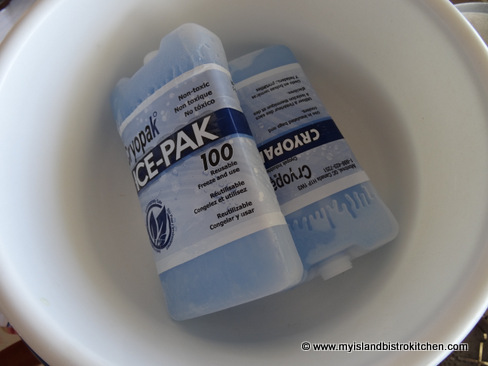
Once the ice cubes melt, the vegetables will start to float in the water if they are not weighted down so I suggest placing another lightweight plastic bowl directly on top of the vegetables and ice cubes and weighting it down with a couple of frozen freezer packs which will also help to keep the vegetables cold. Be sure to cover this top bowl to keep the cold trapped inside.
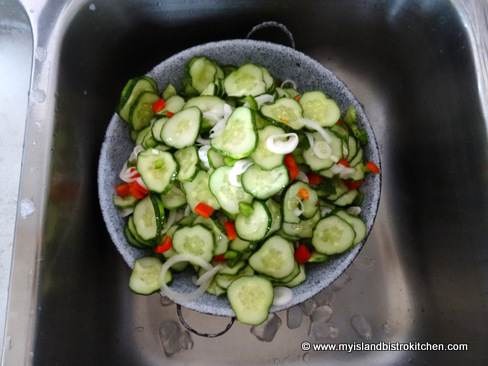
After the vegetables have soaked for three hours at room temperature, drain them in one to two large colanders and discard any ice cubes that may still remain.
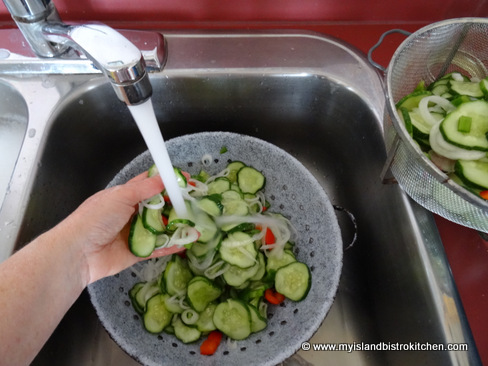
Give the vegetables a quick short rinse of fresh cold water. This will remove any salt residue that may remain. Don’t over-do the rinsing – just a quick rinse-off is all that is needed.
Drain the vegetables really well, letting them sit for at least 20 minutes or so. If too much water is left in the vegetables, it will dilute the syrup and make for watery pickles. As they are draining, I often will scoop up a handful or two of the vegetables and move them around in the colander and then gently shake the colander to release any trapped water.
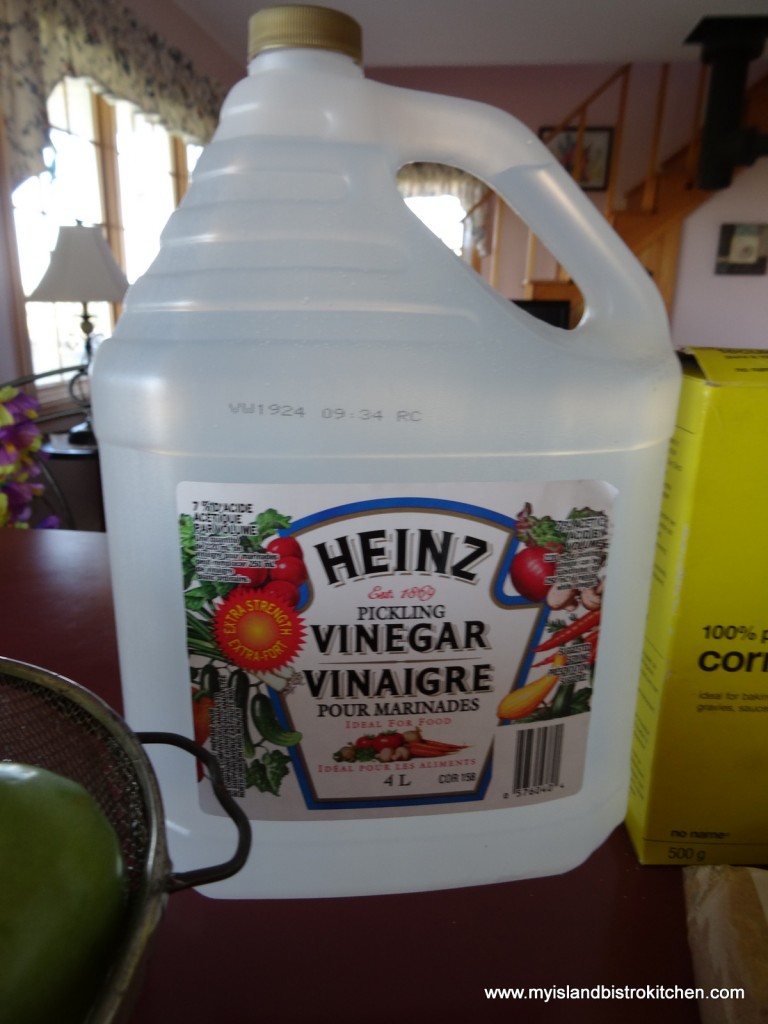
For any pickling, I recommend using vinegar that is specially labelled for pickling – it will usually have 7% acidity, making it stronger than table vinegar which will help to preserve the pickles longer.
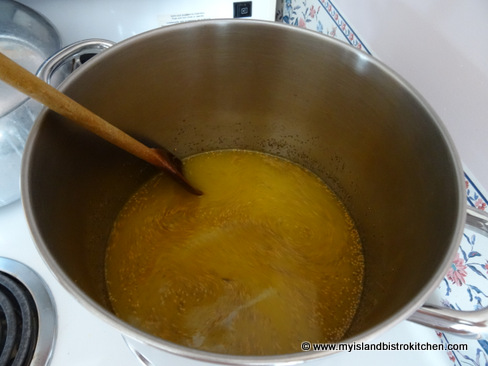
The syrup is easy to make. There is no need to bundle up all the spices into a cheesecloth sachet for the syrup as it is perfectly fine to have the spices loose in the pickle jars. Just remove and discard the cinnamon stick before bottling the pickles. To make the syrup, simply combine all the syrup ingredients in a large stock pot and bring it to a boil over medium-high heat.
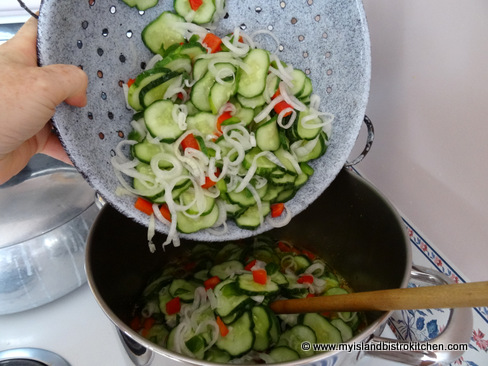
Once the syrup has reached the boiling point, add the drained vegetables.
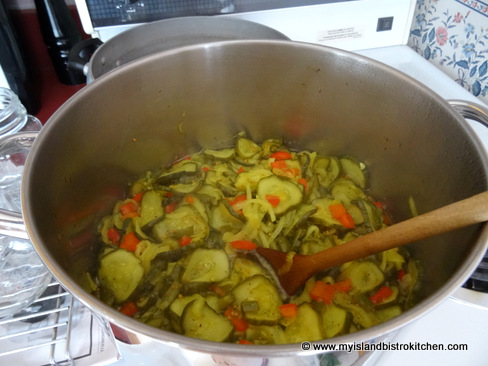
Bring the mixture back to the boiling point, occasionally stirring the vegetables. Once it reaches the boiling point, remove the pot from the heat. All this process aims to do is to heat the vegetables and they should not be cooked until they are soft – these pickles are meant to be crispy. Overcooking will make them soft and punky.
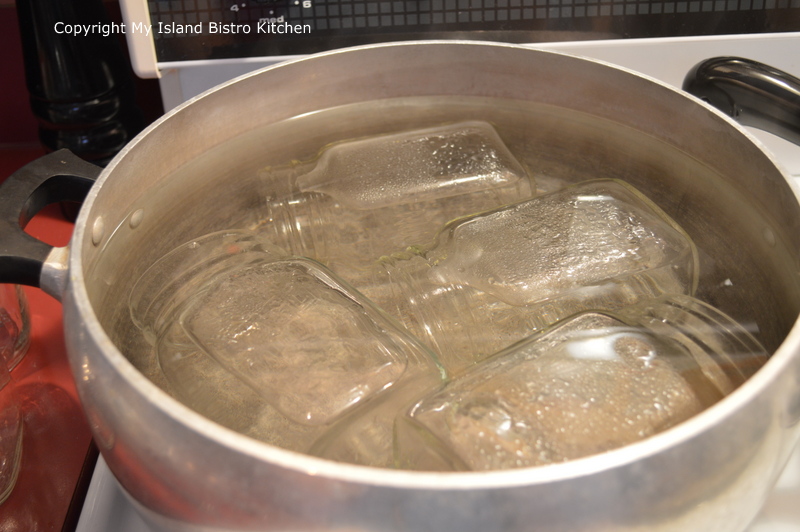
Some use the sanitizing cycle on their dishwashers to sterilize the jars. I’m still using the old traditional method of sterilizing the jars in hot water. The jars must be hot when they are filled with the vegetables.
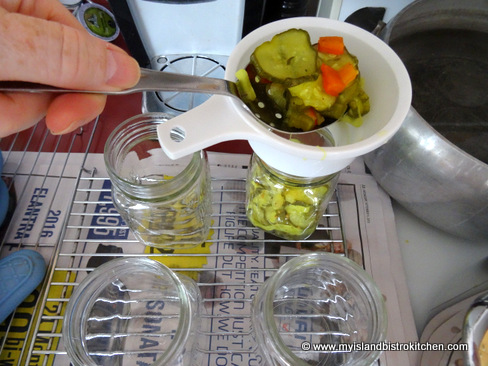
Use a slotted spoon to gather up the vegetables and place them in the hot sterilized jars. A wide-mouthed funnel is useful for this process. Fill the jars, leaving about 1″ headroom in each.
Pour the hot syrup into the jars and over the vegetables, leaving about 1/2″ headroom in each bottle. Remove any air bubbles that may appear in the jars by inserting knife into each bottle and gently moving vegetables to allow liquid to fill any pockets of air that may have formed.
Wipe the tops of the jars with a clean, damp cloth to remove any syrup. Seal immediately with heated lids. Screw on jar bands just until resistance is met.
Process filled jars in hot water bath according to canner manufacturer’s directions for the proper time for your local altitude.
Cool jars completely and listen for the “ping/pop” sound that will tell you that the jar is sealed. This may happen quickly or it can take several hours. The lids should also have an inward dent in the center of their tops if they have sealed to the jars properly. If a lid has not made the “popping/pinging” sound and is not dented inward, store the jar in the refrigerator and use it first.
Store the jars in a cool, dark area.
How many jars of pickles you get from this batch will be determined by how tightly or loosely you pack the cucumbers into the jars. This will also dictate how much syrup is used, too.
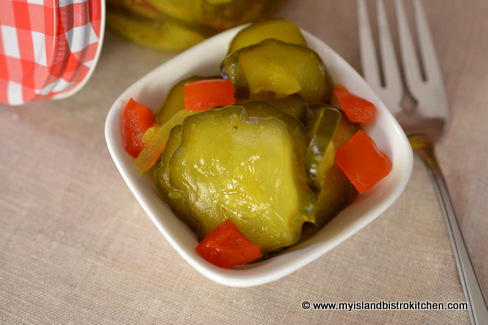
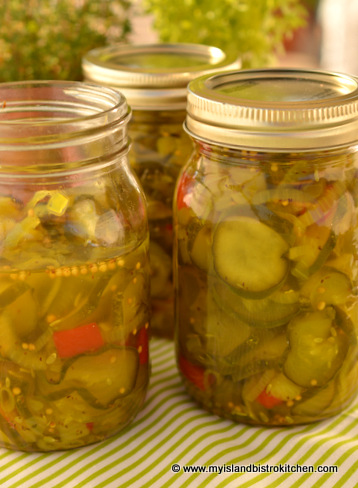
Bread and Butter Pickles
Ingredients:
6 – 6½ lbs small pickling cucumbers, peeling on, sliced either 3/16” or 1/4″ thick
4 cups silver-skinned onions, peeled and thinly sliced
1 red pepper, diced
1 green pepper, diced
½ cup pickling salt
5-6 dozen ice cubes
Syrup:
5 cups white sugar
1 tsp tumeric
1 tbsp mustard seed
1 tsp celery seed
3 cups pickling white vinegar
½ cinnamon stick
Method:
Wash the cucumbers and trim and discard their ends. Slice the cucumbers either 3/16″ or 1/4″ thick, depending on the desired thickness of the pickle slices. Slice onions and dice the peppers. Combine the sliced cucumbers, onions, and peppers in a large bowl. Sprinkle pickling salt over vegetables. Stir mixture with a large wooden spoon to distribute the pickling salt. Completely cover mixture with a layer of ice cubes. Place a large bowl over the vegetables and weigh it down with a weight (a couple of freezer ice packs work well) to keep the vegetables soaking in the brine. Let sit at room temperature for 3 hours, adding more ice cubes as they melt to ensure vegetables are kept cold.
Drain vegetables into 1-2 large colanders and rinse with cold water to remove any salt residue. Drain again for several minutes.
In large stock pot, combine all of the syrup ingredients. Bring the syrup to the boiling point over medium-high heat, stirring occasionally. Add the vegetables. Bring the mixture just to the boiling point, stirring occasionally. Remove pot from heat.
Using a slotted spoon, fill hot sterilized jars with the vegetables leaving 1” headroom in each bottle. Pour hot syrup into the bottles, leaving ½” headroom in each bottle. Remove any air bubbles that may appear in the jars by inserting knife into each bottle and gently moving vegetables to allow liquid to fill any pockets of air that may have formed.
With clean, damp cloth, wipe clean each jar rim. Seal immediately with heated lids. Screw on jar bands just until resistance is met.
Process filled jars in hot water bath according to canner manufacturer’s directions for the proper time for your local altitude.
Store jars in cool dark area.
Yield: Apx. 7-9 pint bottles
For other great pickle, chow, and relish recipes from My Island Bistro Kitchen, click on the links below:
Mustard Pickles
Pickled Beets
Mustard Beans
Green Tomato Chow
Rhubarb Relish
Dill Pickles
Thank you for visiting “the Bistro” today. If you enjoyed this posting and recipe, please share it on your social media websites.
Connect with “the Bistro” through the following social media:
Join My Island Bistro Kitchen on Facebook
Follow “the Bistro’s” tweets on Twitter
Follow “the Bistro” on Pinterest
Follow “the Bistro” on Instagram
——————————————————————————
Ingredients
- 6 – 6½ lbs small pickling cucumbers, peeling on, sliced either 3/16” or 1/4" thick
- 4 cups silver-skinned onions, peeled and thinly sliced
- 1 red pepper, diced
- 1 green pepper, diced
- ½ cup pickling salt
- 5-6 dozen ice cubes
- Syrup:
- 5 cups white sugar
- 1 tsp tumeric
- 1 tbsp mustard seed
- 1 tsp celery seed
- 3 cups pickling white vinegar
- ½ cinnamon stick
Instructions
- Wash the cucumbers and trim and discard their ends. Slice the cucumbers either 3/16" or 1/4" thick, depending on the desired thickness of the pickle slices. Slice onions and dice the peppers. Combine the sliced cucumbers, onions, and peppers in a large bowl. Sprinkle pickling salt over vegetables. Stir mixture with a large wooden spoon to distribute the pickling salt. Completely cover mixture with a layer of ice cubes. Place a large bowl over the vegetables and weigh it down with a weight (a couple of freezer ice packs work well) to keep the vegetables soaking in the brine. Let sit at room temperature for 3 hours, adding more ice cubes as they melt to ensure vegetables are kept cold.
- Drain vegetables into 1-2 large colanders and rinse with cold water to remove any salt residue. Drain again for several minutes.
- In large stock pot, combine all of the syrup ingredients. Bring the syrup to the boiling point over medium-high heat, stirring occasionally. Add the vegetables. Bring the mixture just to the boiling point, stirring occasionally. Remove pot from heat.
- Using a slotted spoon, fill hot sterilized jars with the vegetables leaving 1” headroom in each bottle. Pour hot syrup into the bottles, leaving ½” headroom in each bottle. Remove any air bubbles that may appear in the jars by inserting knife into each bottle and gently moving vegetables to allow liquid to fill any pockets of air that may have formed. Seal jars with sterilized lids and metal screw bands. Store in refrigerator or in cold storage room. For longer storage, or if storing outside a cold/refrigerated environment, process the pickle jars in a hot water bath following the canner manufacturer's directions.
Pin Me To Pinterest!
