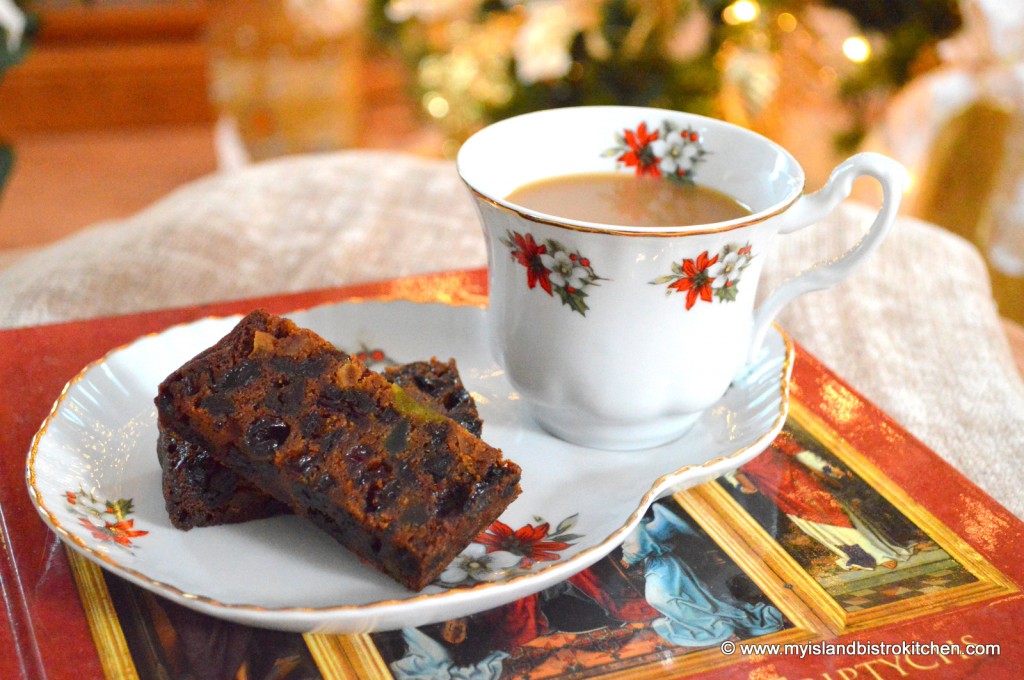
Fruitcakes. People either love them or loathe them and there seems to be no middle ground. I personally favour them and they have long been a part of my annual Christmas traditions.
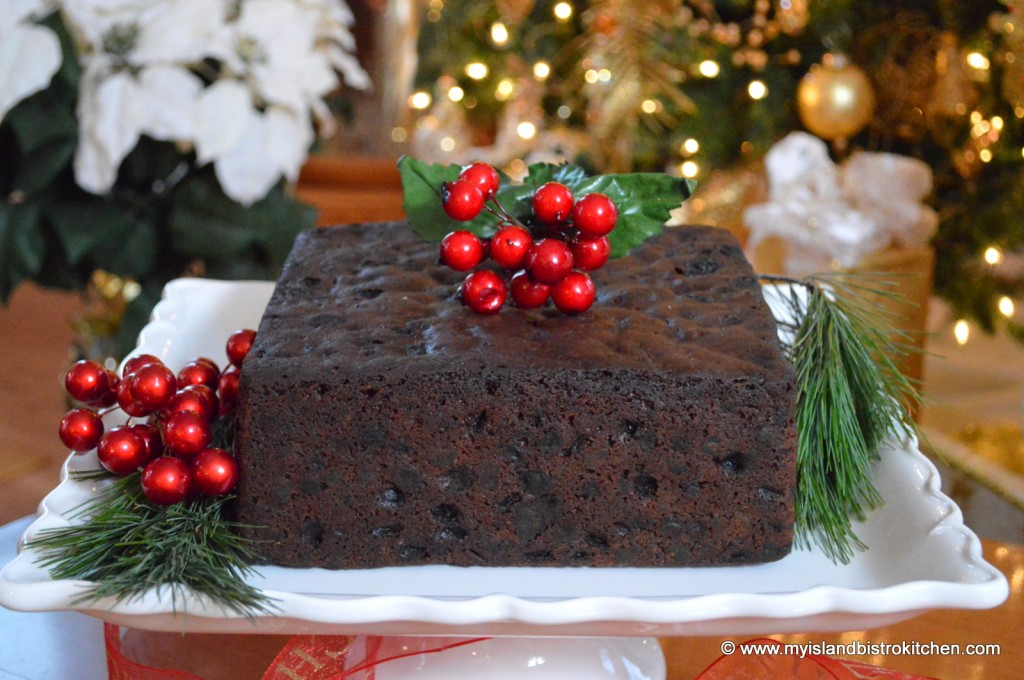
There are basically two kinds of fruitcakes, a light cake and a dark cake. The dark fruitcake is characterized by the addition of molasses, spices, and often strawberry jam, all of which contribute to its dark color. The light fruit cake has a light-colored batter which makes the jewel tones of the glazed fruit pop. It is, by far, the most colorful of the two cakes. While I could not find any conclusive statistics, it seems to me that dark fruitcakes may perhaps be the more common.
Fruitcakes are sometimes called Christmas cakes since that’s often the only time of the year they make an appearance anymore. Years ago, however, fruitcake was a staple at weddings where the dark fruitcake was referred to as the groom’s cake while white pound cake was the bride’s cake. This tradition, at least where I live, has long since been dispensed with and replaced, instead, with many other cake flavor options.
I have been making fruitcakes for decades (I started making them when I was two! At least that’s my story and I’m sticking to it! Or, maybe it’s the vapors from the joy juice I’ve been brushing on my fruitcake over the past several weeks talking!). Some years I make both dark and light fruitcakes and, other years, one or the other. I simply love the smell of a fruitcake baking in the oven on a cold November afternoon. I always make my fruitcake around Remembrance Day as that gives it lots of time to “ripen” and mellow before the holidays. The making of the fruitcake heralds the beginning of my holiday preparations.
Fruitcakes are still considered a luxurious treat by many because the ingredients can be costly and the cake is time-consuming to make. Sometimes it is even hard to find the big sticky raisins, often referred to as Lexia raisins, which are a signature ingredient in a traditional dark fruitcake.
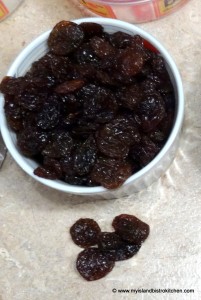
Essentially, a fruit cake is a mixture of candied/glazed fruit, different kinds of raisins, and often nuts, all held together by a small amount of batter. Before I share my recipe for dark fruitcake at the end of this posting, I am going to share some hints and tips from my many years of making fruitcakes. I hope you will find them helpful.
Cake Shape
Traditionally, fruitcakes are either square or round-shaped and quite deep – at least 2½” – 3” deep. The pans should be ones that have removable bottoms as this makes it easy to remove the cake from the pan. The pans below have been in my family for years and have held many fruitcakes. They may be old and discolored but they do the trick!
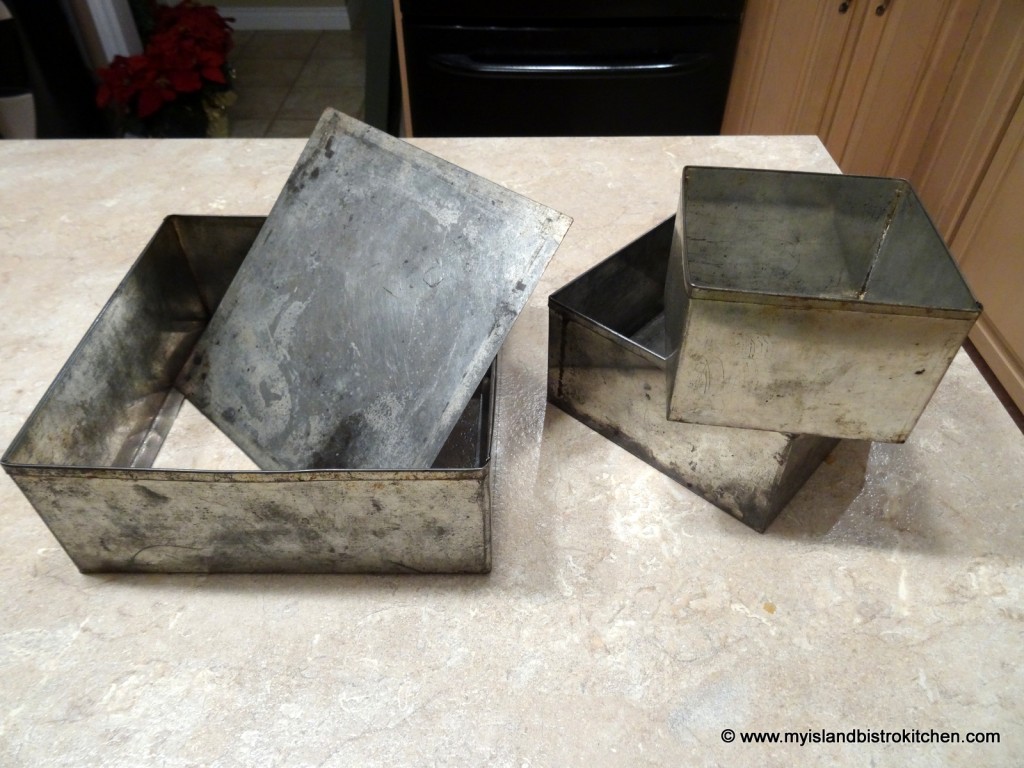
Square cakes are infinitely easier to cut and plate more attractively than round cakes. With square pans, each piece can be cut to the same size and shape whereas, with round cakes, it is more difficult to get nice, even shaped pieces cut. There is a trick to cutting round cakes but it is certainly more complicated and time-consuming that cutting straight slices from a square-edged cake. However, the shape of the cake is a personal preference and the cake will taste the same regardless of shape.
It is very important to use the size of pan the recipe calls for as baking times have been tested for its size. Some bakers use loaf pans, 9”x13” shallow pans, or even muffin cups or soup cans in which to bake their fruit cakes. If changing a pan size from the one indicated by a recipe, remember that baking times will need to be adjusted accordingly as a more shallow or smaller cake will take less time than a deeper one to bake. Bakers will need to rely on their baking experience to determine when a cake is baked if they choose to use a pan size different from the one indicated in a recipe and in which the cake recipe has been tested.
Soaking Fruit
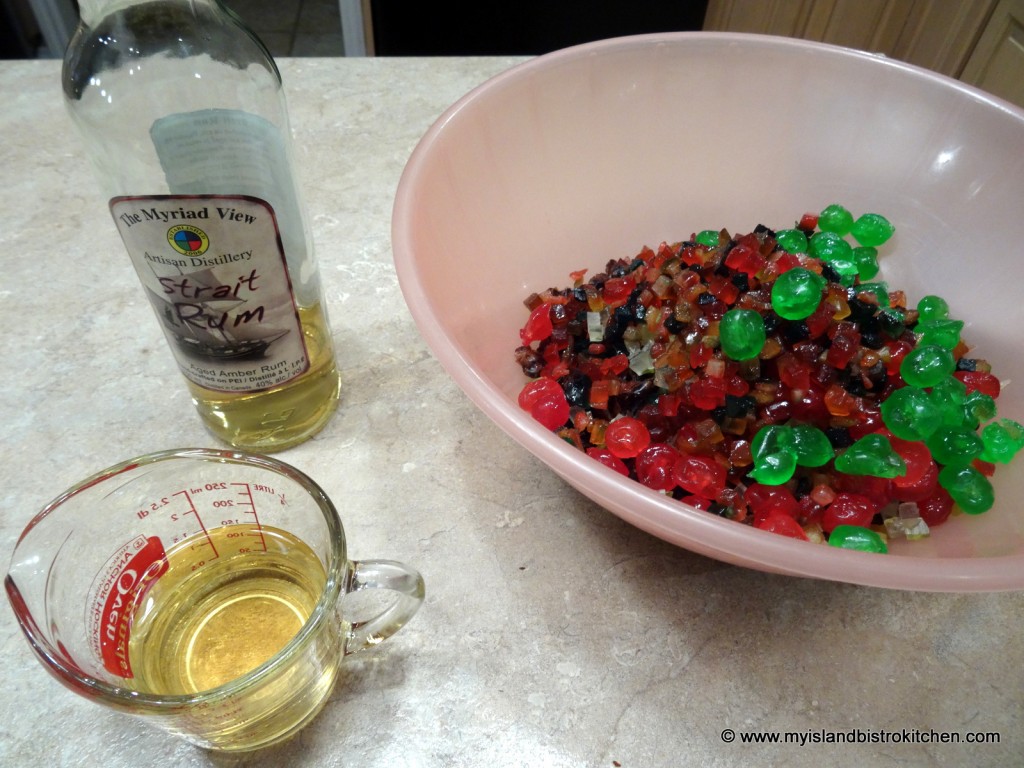
Commonly, the glazed and dry fruit, including the raisins and currants, are soaked in liquor, with rum or brandy the most commonly used types of libation. Alternatively the fruit can be soaked in a fruit juice.
The purpose of soaking the fruit is three-fold:
1) To soften/plump/rehydrated the dried fruit – the raisins, in particular;
2) To add flavour to the cake; and
3) As a preservative (if using liquor) to extend the shelf life of the cake.
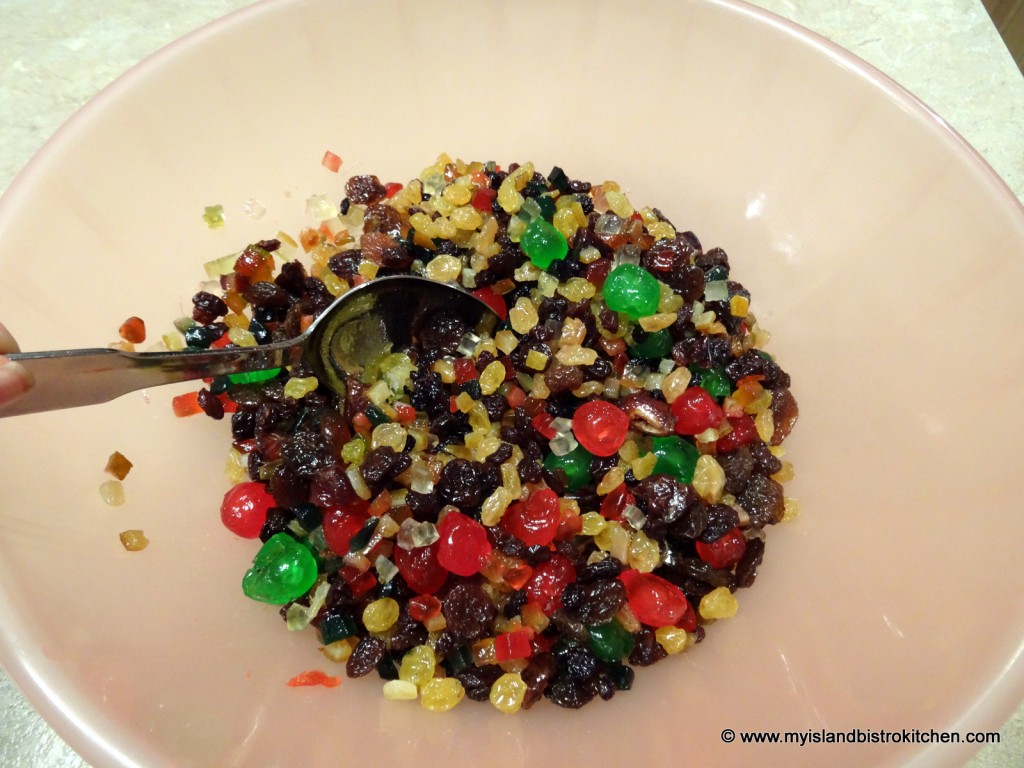
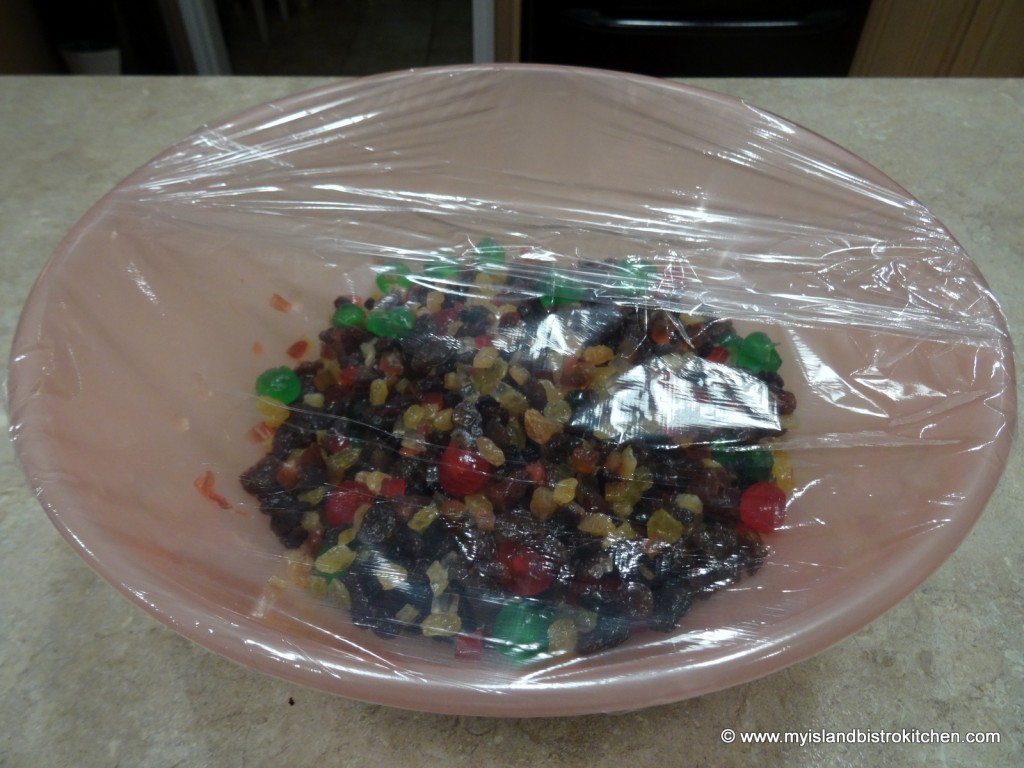
Some bakers soak the fruit for several months. I don’t find this necessary or that the cake has any significantly better flavour if made with fruit that has been soaked for months. In my opinion, the fruit will only absorb so much liquid and flavor, no matter how long it is soaked. I soak the fruit in a covered container for 24-48 hours, stirring it 3-4 times during the macerating process.
It is important to resist adding more liquor to the fruit soak than is called for in the recipe. Adding too much liquor will add too much liquid to the batter, making it too runny to hold the fruit from falling to the cake bottom and it may also cause the cake to sink in the center as it bakes, potentially causing a soggy cake.
Fruit and Nut Content
True traditional fruit cakes will have candied/glazed fruit, a mixture of raisins, and sometimes nuts. It is important that candied/glazed fruit be used and not, for example, fruit with a lot of liquid such as maraschino cherries or fresh fruit which will add too much excess liquid to the batter.
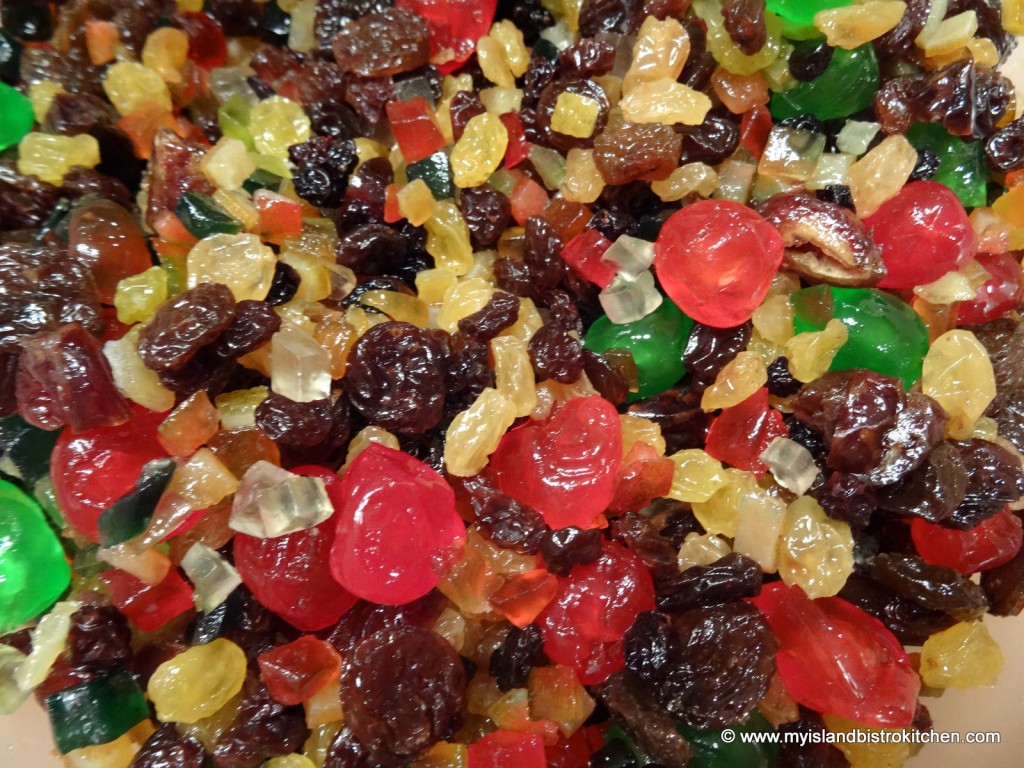
Fruitcakes typically do contain nuts; however, my recipe below is nut-free. I find several issues with including nuts in a fruitcake:
1) Nuts, over the long term, can go rancid or, alternatively, be hard junks in an otherwise soft texture cake;
2) Chunks of nuts can make it difficult to cut the cake; and
3) Many people have nut allergies and cannot enjoy a piece of fruitcake made with nuts.
Fruitcake ingredients can be flexible which means substitute ingredients are perfectly acceptable so long as the overall weight content of the fruit that the recipe calls for is maintained. For example, my fruitcake recipe calls for 3 pounds of fruit and I have listed the weight content of each individual ingredient making up that 3-pound fruit content. If you don’t happen to like citron, for example, simply omit the 3 oz called for and replace it with another glazed fruit of the same weight.
Batter
A fruit cake batter is very thick and dense and contains very little flour content. Essentially, there is just enough batter to hold the ingredients together. The reason the batter needs to be thick (as opposed to runny) is that it needs to support the heavy fruit content and keep it suspended and distributed evenly throughout the cake. Otherwise, the fruit will fall to the bottom of the cake.
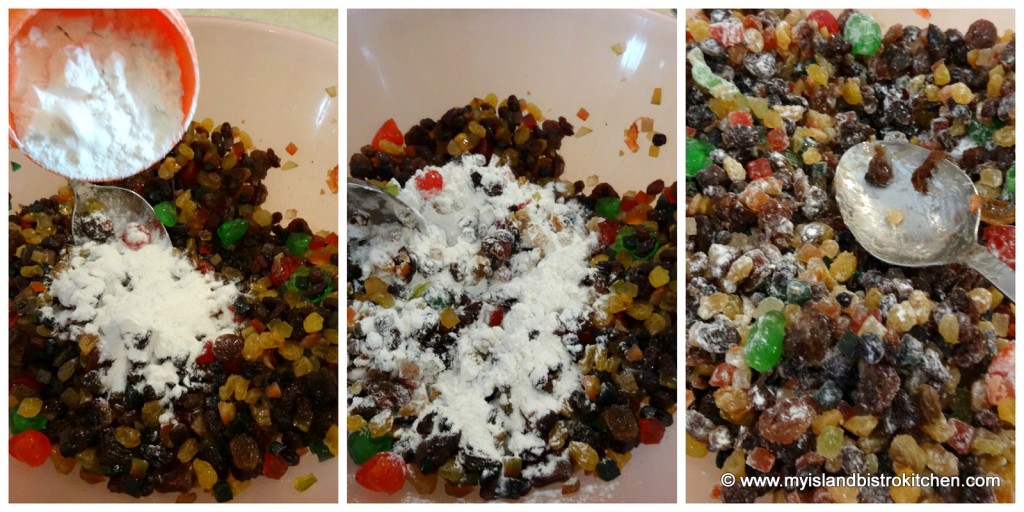
It is important to “flour” the fruit with a small amount of flour just before adding the fruit to the batter. This will also help to keep the fruit suspended throughout the cake. You will want to do this quickly and not leave the floured fruit any length of time before adding it to the batter as the flour when combined with the glaze on the fruit can turn into a gummy mess, thus defeating the purpose of flouring the fruit.
Preparing the Pan
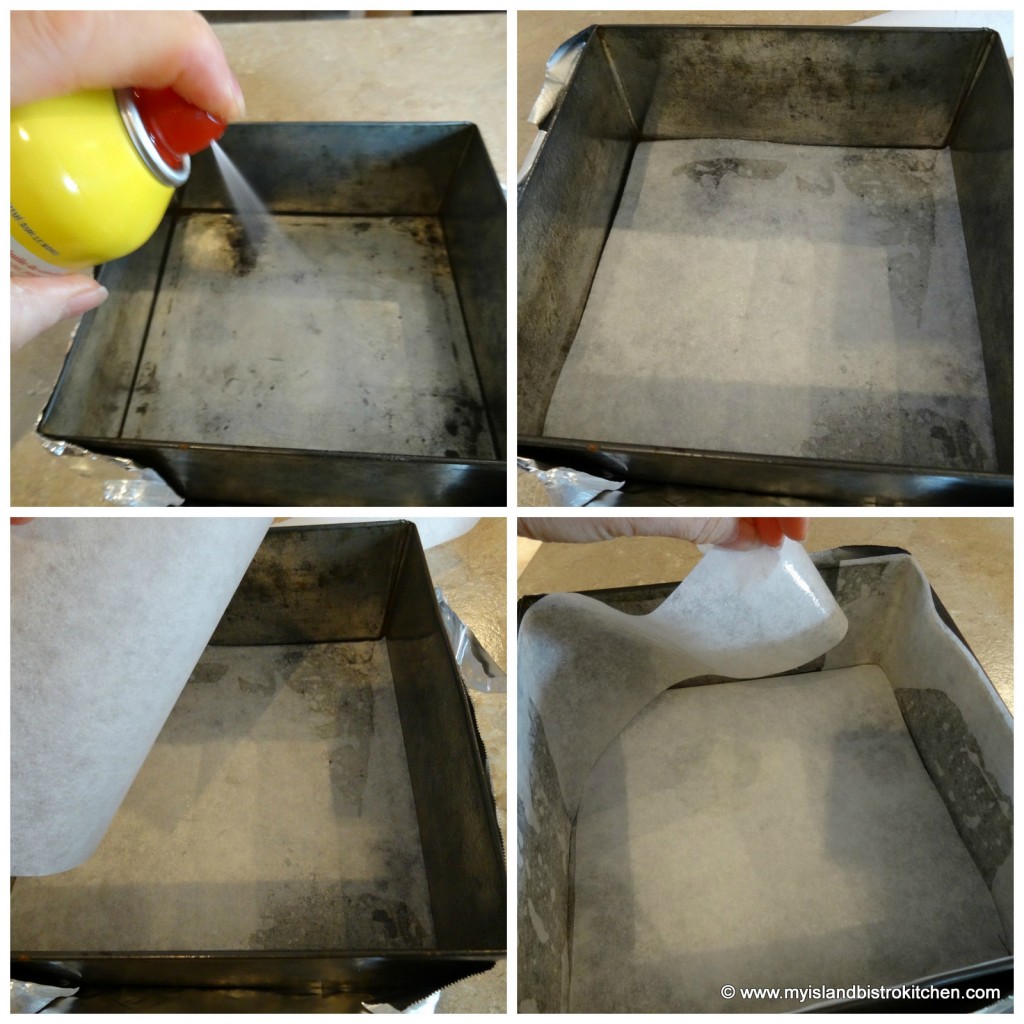
The pan needs to be greased or sprayed with cooking oil then lined with either brown paper or parchment paper, then greased/sprayed again. I recommend lining the pan with a couple of layers of paper. Because there is very little leavening in the cake and because it is a heavy, thick cake, the pan can be fairly well filled without risk of batter running over the top.
Decorating the Cake Top
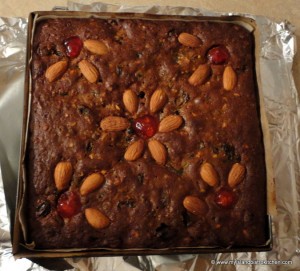
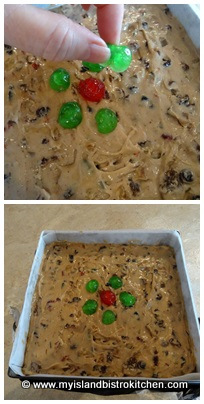
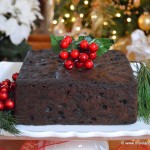
There are many ways to decorate the top of a fruitcake and some are very elaborate and show-worthy. I do caution, however, about adding too much fruit to the top of the cake for decoration as glazed/candied fruits are weighty and may cause a cake to not rise properly or even to sink, especially in the center. I sometimes decorate the top of the cake as shown in the photo below but often leave it completely plain as it is easier to cut and plate.
Some bakers cover the cake with royal icing and marzipan. However, I find that the moisture from a dark fruit cake stains the icing making it less attractive.
Baking the Fruitcake
Baking is always the tricky part to fruitcake making. Fruitcakes need to be baked in slow ovens – i.e., 275ºF or less for several hours. Baking at too high a temperature will result in a dry cake. Bake the fruitcake in the center of the oven rack that is positioned in the lower third of the oven. This will allow for adequate airflow needed for the cake to bake properly and evenly on all sides. Include a small pan of hot tap water on the shelf below the cake (or on the floor of the oven). The steam from the water will help to keep the cake moist as it bakes.
No matter what kind of home oven you have or how good you think the air circulation in it is, I do not recommend baking more than one cake in the oven at a time. Fruitcakes are not cheap to make and you want to create a baking environment so the cake has the best chance of success. Leaving lots of room for airflow in the oven will help the cake bake evenly and properly. If you want more than one fruitcake, I recommend making them as separate batches and on separate days.
If the cake starts to darken too much before it is baked, loosely tent a piece of tin foil over the top of the cake. However, only do this if the cake top has completely set all over as, otherwise, the tin foil will stick to the cake and pull some of the batter away from it thus ruining the look of the cake top.
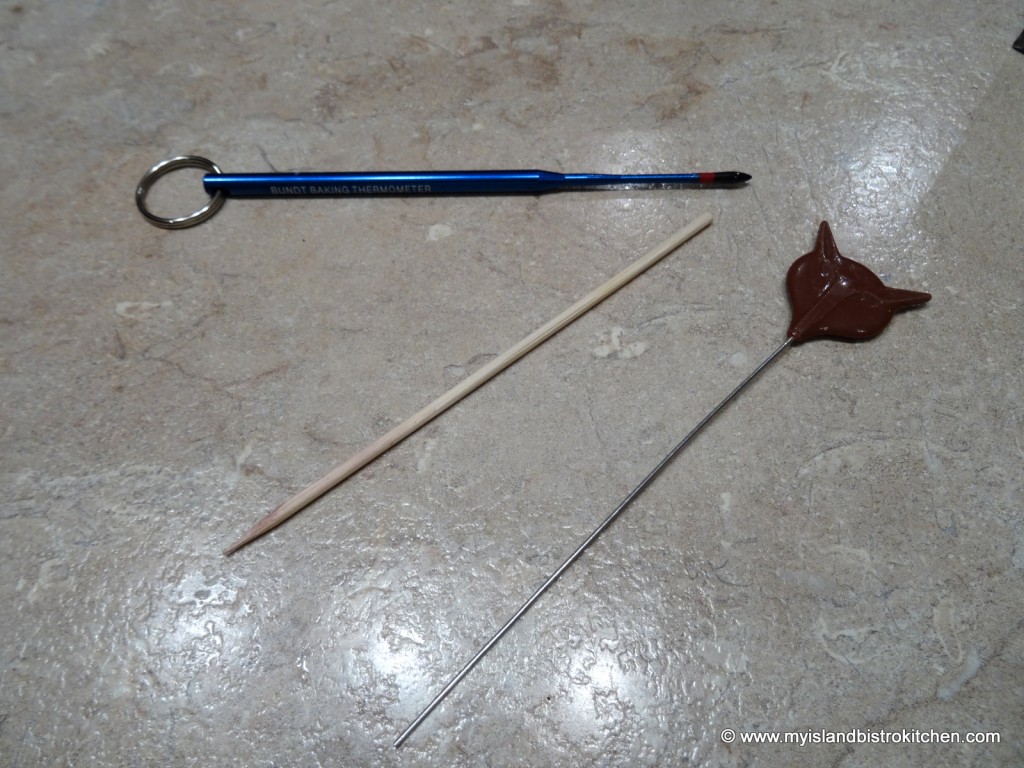
The cake is done when it is firm to the touch and a cake tester or wooden skewer inserted into the cake center comes out relatively clean but with some moisture on it. The cake should not, however, be doughy. I generally start testing my cake about ½ hour before its designated baking time is up, then check it at 15-minute intervals until it is done. The blue cake tester in the photo below is actually a cake thermometer. If the tip of the thermometer turns bright red after having been inserted into the center of the cake for 5 seconds, the cake is done.
Cool the cake for at least 40 minutes or more before carefully removing it from the pan and transferring it to a wire rack to cool completely. If you are using a cake pan that does not have a removable bottom, I recommend leaving the cake in the pan longer to allow it to more completely set. Because a fruit cake is a dense cake, it will take several hours or overnight for the cake to cool completely.
Storing and Mellowing/Ripening the Cake
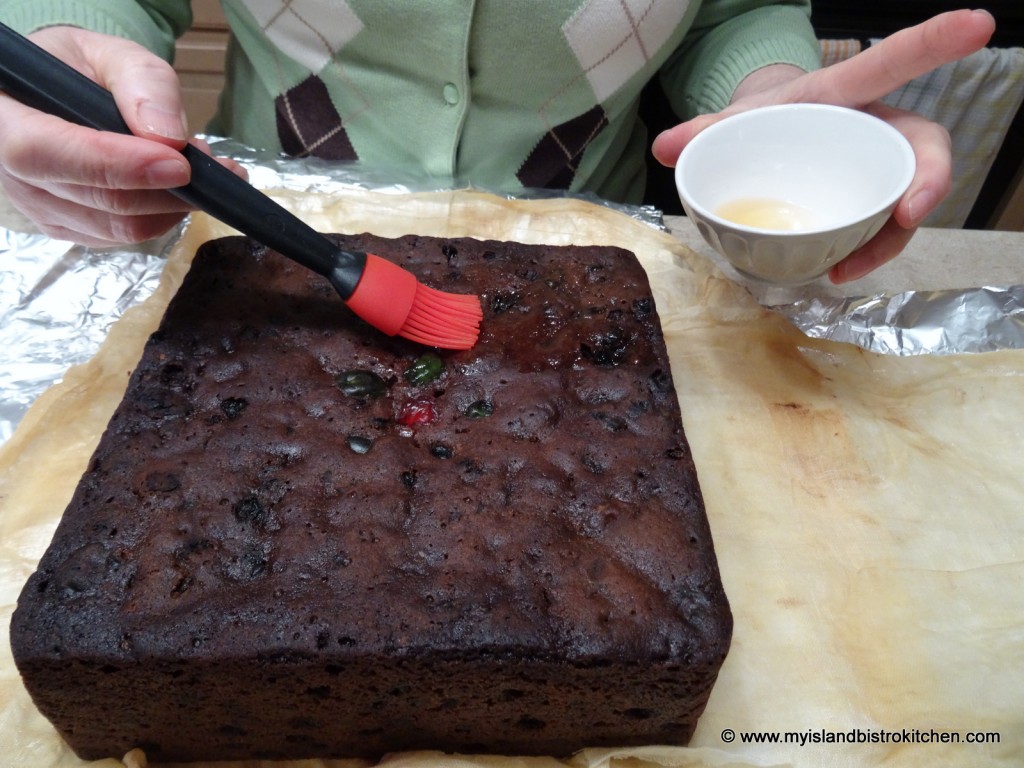
Once the cake has cooled completely, I brush a light coating of rum or brandy – whatever I have used in the cake – all over the cake. This adds more flavour and helps to maintain the cake’s moisture. This is not a “sousing” exercise and the cake, because it is new and fresh will quickly absorb the liquor applied to it. Do not saturate the cake with the liquor. Simply give it a brushing all over with the liquor and leave it at that. As a weekly application of the liquor occurs, the cake will absorb the alcohol more slowly than at first application.
Even if you plan to cut the cake into pieces to share with friends and family, do not cut into the cake before it has been brushed with the alcohol and given a chance to ripen for several weeks. If you do, you have defeated the purpose of the ripening process that allows the cake’s flavor to develop. You do not want any open cut sides of the cake during this process as too much liquor will get into the cut side, potentially creating a soggy and stodgy cake. There is a clear difference between a moist cake and a soggy one. Therefore, you want to be brush the hide of the cake, not cut sides.
Wrap the cake in cheesecloth (which can also be soaked in liquor) followed by a double layer of plastic wrap and double of tin foil.
The cake is then placed in a sealed bag and stored it in a cool, dry place to mellow or ripen, a process of time that allows the cake’s flavours to mix and mingle. I leave the cake stored at a very cool room temperature for 3-4 weeks, giving it a weekly nightcap by brushing another light coating of the liquor all over the cake and re-wrapping it (re-soaking the cheesecloth in the liquor and wringing it out each time). The cake will, for the first while, continue to quickly absorb the liquor as soon as it is brushed on; however, that is not a license to keep adding more liquor. This application of liquor is meant to infuse flavour and keep the cake moist (but not soggy wet). The liquor-dampened cheesecloth wrapped around the cake that is tightly stored in plastic wrap will help to keep the cake moist as well. I do not apply the liquor beyond the 4-week period.
It is extremely important that the cake not be bathed or saturated with liquor for a couple of reasons. First, it will make the cake very wet and soggy which is not the hallmark texture of a good quality fruit cake. It may also cause the cake to sink down because it is so moisture-logged. When you think about it, the cake is wrapped in cheesecloth, then tightly in two layers of plastic wrap, two layers of tin foil, and sealed in a plastic bag to age. Applying too much liquor means there is no way it will evaporate and nowhere for it to go except into the cake, likely overloading it with liquid, resulting in a soggy mess.
Second, there certainly is such a thing as adding too much liquor to the cake as it will cause an offputting, potent, flavour. In essence, it will ruin the taste of the cake. Apply the old adage that less is more when applying the liquor. Use a light brushing of the liquor and the liquor-soaked cheesecloth to add any necessary flavor and moisture to the cake. I personally think that the reason some people may not like fruitcake is because they have, somewhere, been given a piece of fruitcake that was way too wet and had far too much liquor applied to it. If the first thing you taste when you bite into a piece of fruitcake is the liquor, the cake has had far too much liquor added to it, either in the cake itself or applied to it as it mellowed.
After letting the cake mellow, I remove the cheesecloth and keep the cake wrapped in plastic wrap and tin foil inside a sealed bag and store it in the refrigerator or freeze it. It’s important to let the cake ripen first at cool room temperature as it won’t mellow further once refrigerated or frozen.
Slicing the Cake
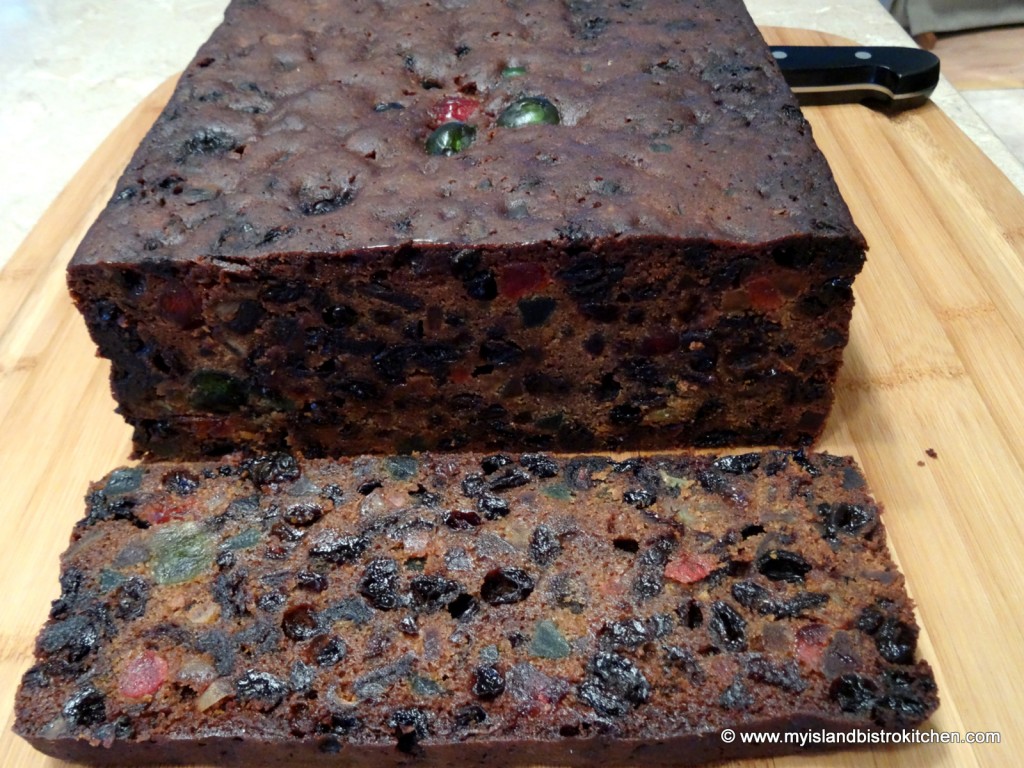
I find the fruitcake slices easier from the refrigerator than at room temperature as it is a bit firmer when chilled. I recommend using a sharp, flat-edged knife to cut the cake as a serrated knife, for example, may pull the fruit during cutting, creating a ragged, uneven edge.
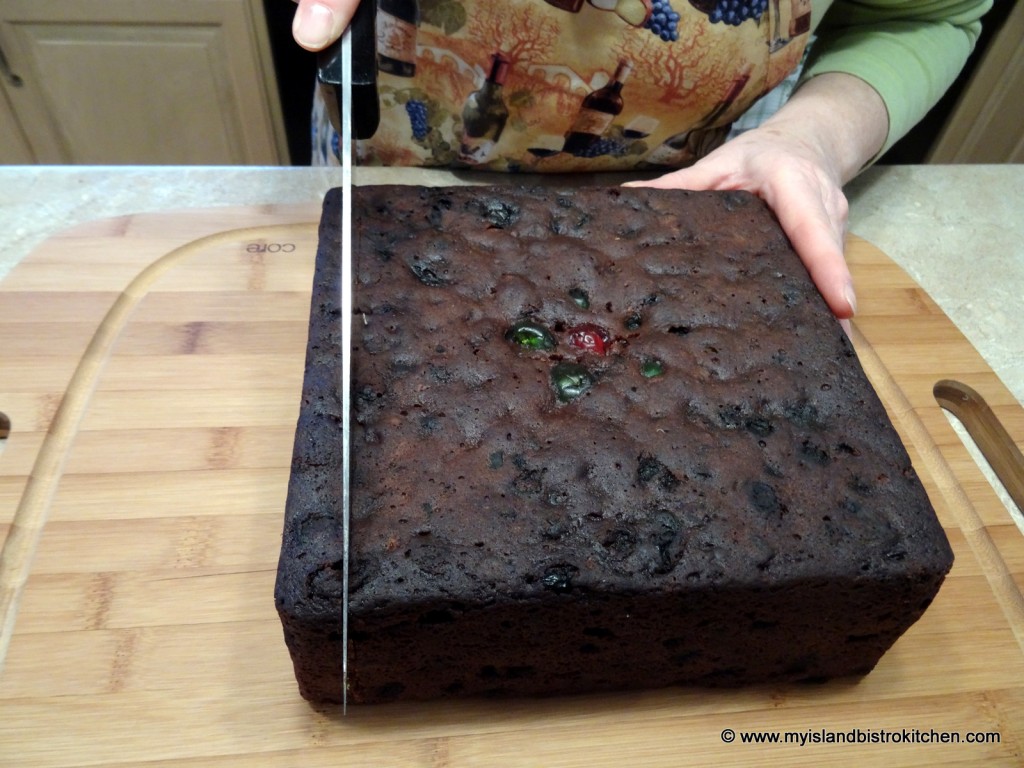
I cut each slab, across the full width of the cake, a good ½” wide. It needs to be a good width in order for it to hold together as it is being sliced.
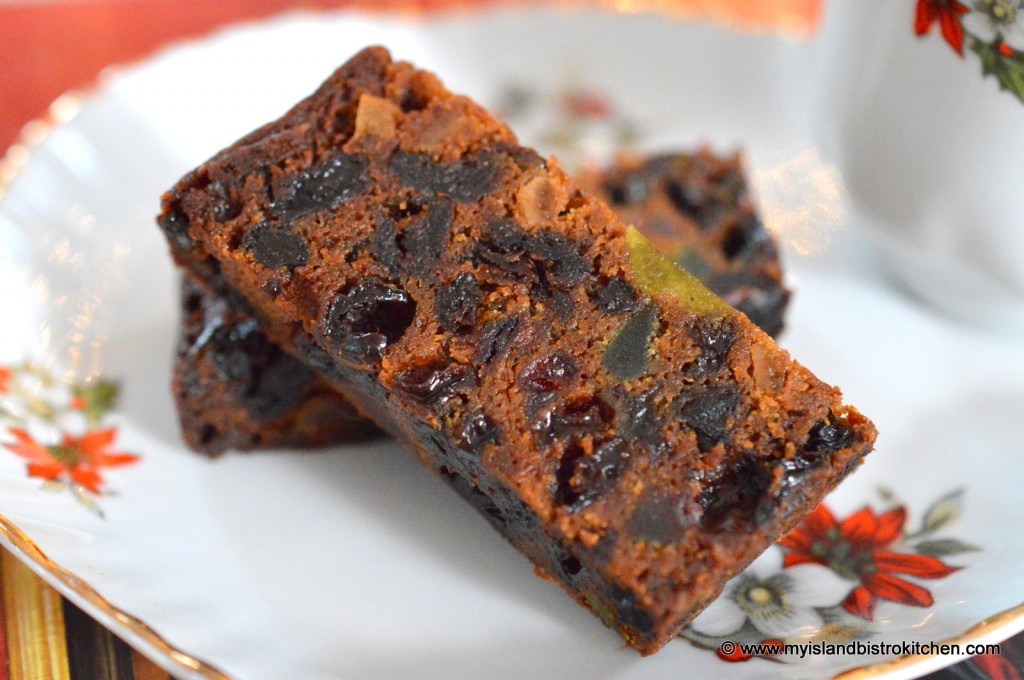
For suggested serving size, I recommend slicing each slab into pieces that are about 1¼” wide.
[Printable recipe follows at end of posting]
Dark Fruitcake
Ingredients:
7 oz seeded raisins (i.e., Lexia)
7 oz golden raisins
7 oz cup sultana raisins
3 oz dates, chopped
2 oz currants
9 oz mixed glazed fruit
4 oz red glazed cherries
4 oz green glazed cherries
3 oz citron
2 oz mixed peel
⅔ cup rum
½ cup flour
2 cups flour
½ tsp salt
1 tsp baking powder
½ tsp soda
1 tsp cinnamon
½ tsp cloves
½ tsp allspice
½ tsp mace
½ tsp nutmeg
½ lb butter
¼ cup white sugar
1½ cups brown sugar
4 extra large eggs
1 tsp vanilla
1 tsp almond flavouring
2½ tbsp molasses
½ cup strawberry jam
Method:
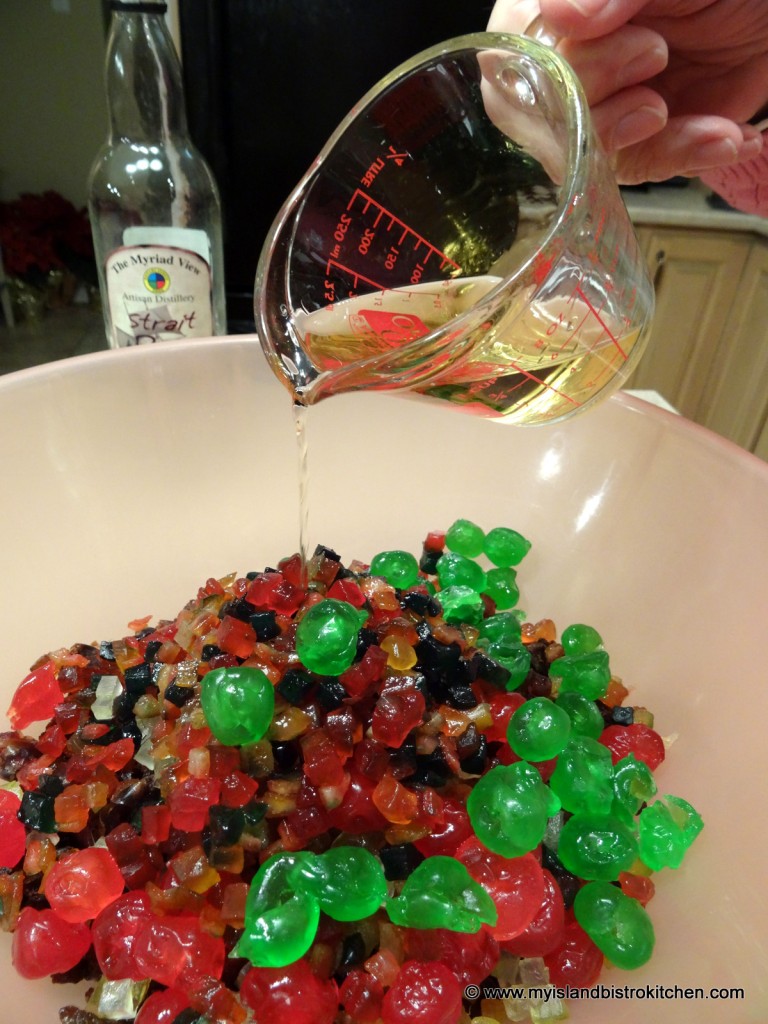
Measure fruit and transfer to a large bowl. Mix well. Pour ⅔ cup of rum over fruit. Stir to coat. Cover tightly with plastic wrap. Let stand for 24-48 hours to macerate the fruit, stirring occasionally.
 Prepare 8-inch square fruitcake pan that is 3 inches deep and has a removable bottom: Lightly spray the bottom and sides of the pan with cooking spray. Line the pan, bottom and sides, with brown paper or parchment paper. Lightly spray the paper.
 Position oven rack in lower third of oven. Preheat oven to 275°F.
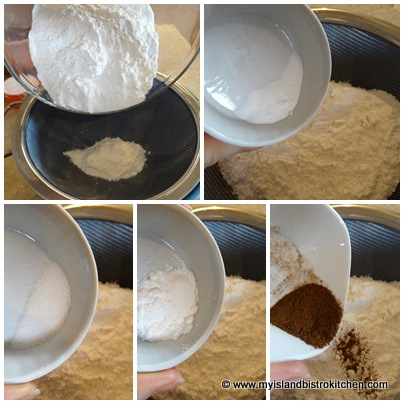
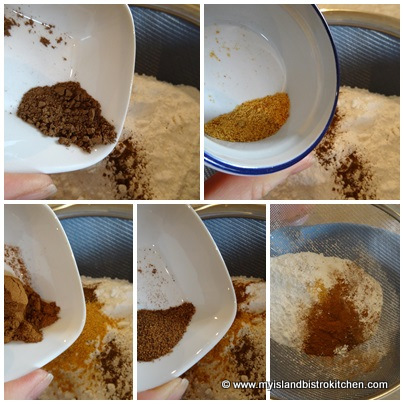
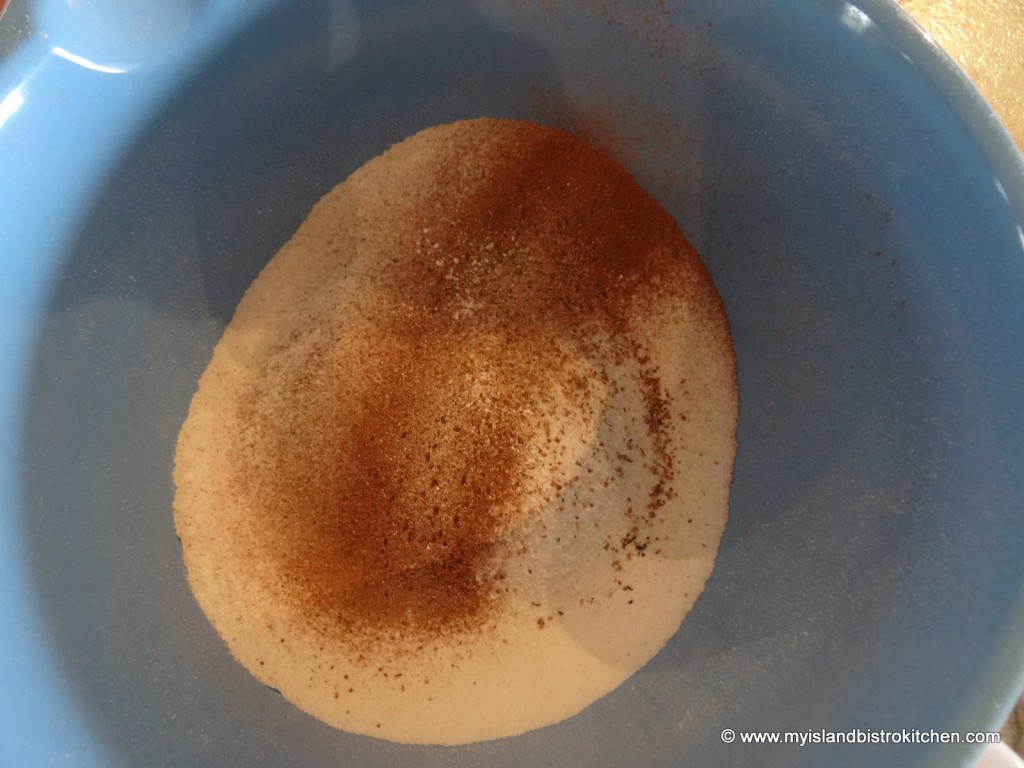
Sift together the dry ingredients. Set aside.
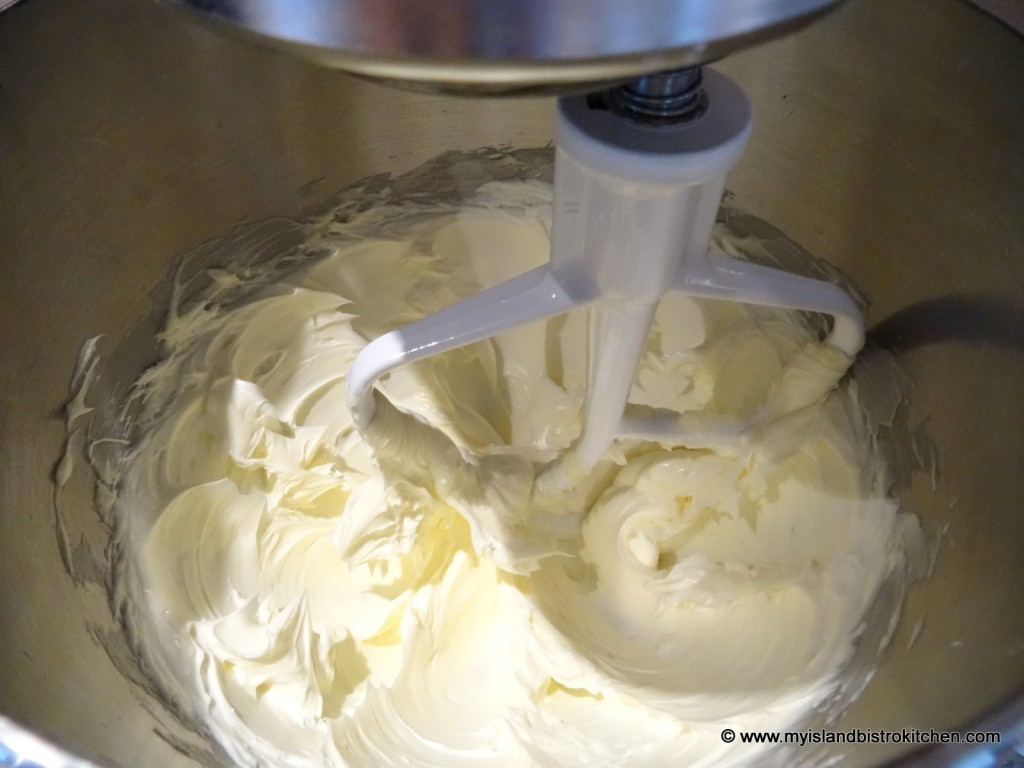
Using the paddle attachment on the stand mixer, cream the butter until light and fluffy.
Add the white sugar. Beat. Add the brown sugar and beat well, scraping the sides of the bowl with a spatula to ensure sugar is all incorporated.
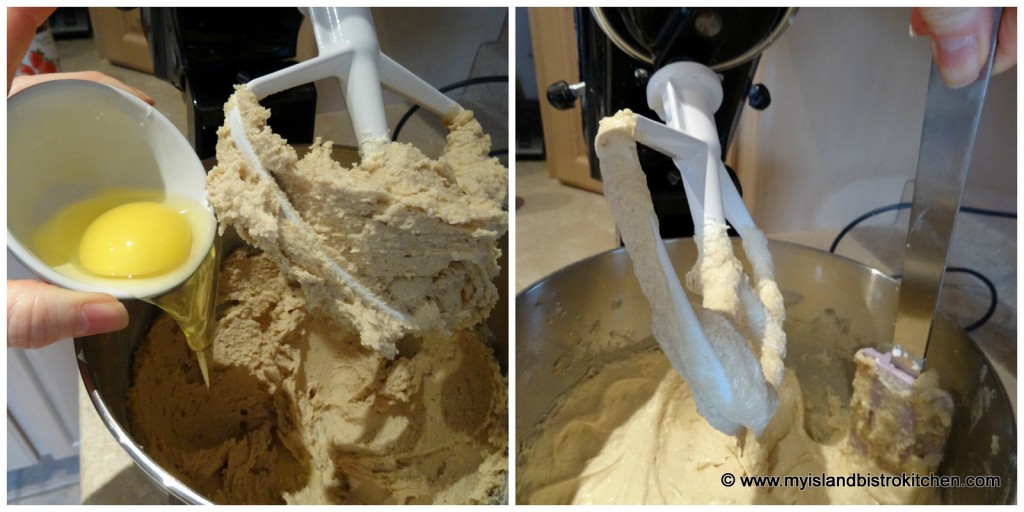
Add the eggs, one at a time, beating well after each addition.
Add the vanilla and almond flavouring followed by the molasses. Mix thoroughly. Mix in the strawberry jam.
Add the dry ingredients and mix until combined into batter. Transfer batter to very large bowl. 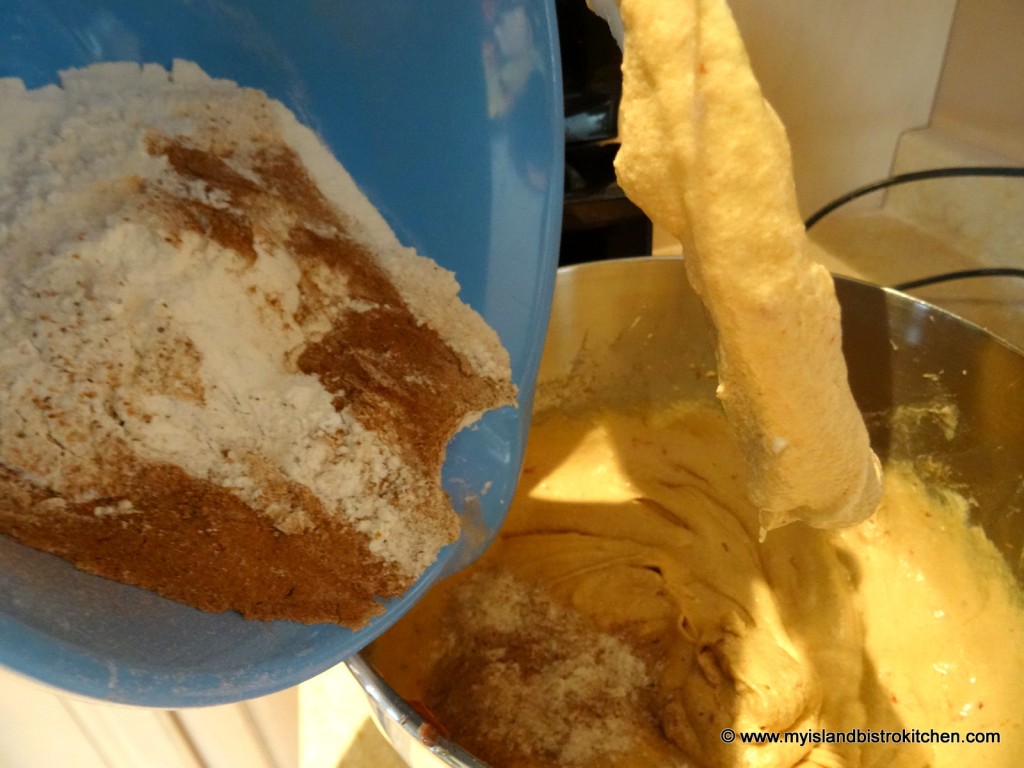 Sprinkle remaining ½ cup of flour (listed above in first set of ingredients) over the macerated fruit and toss ingredients lightly and quickly.
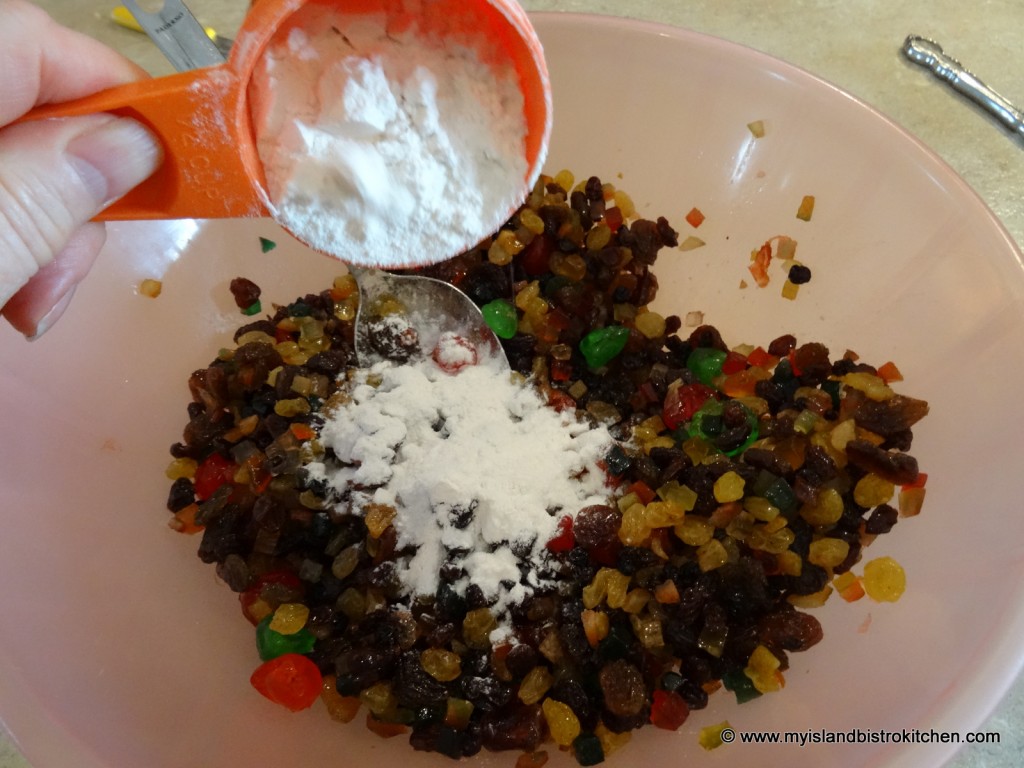
Add the floured fruit to the batter and mix thoroughly. 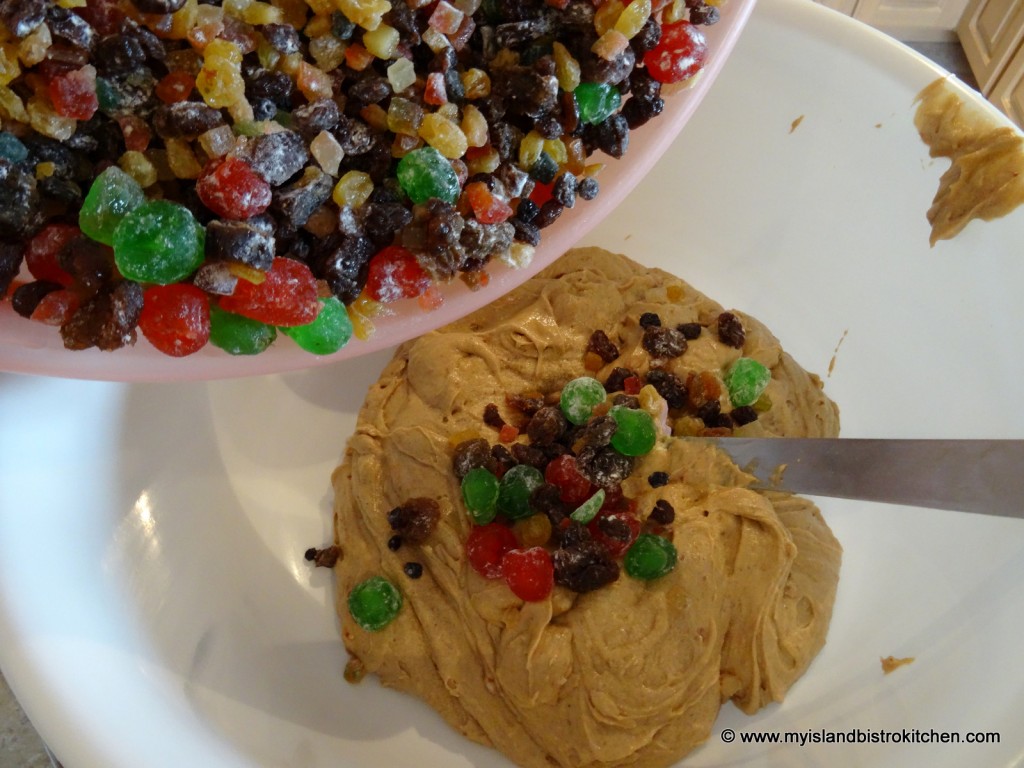
Transfer batter by large spoonfuls into the prepared baking pan. Use a knife to evenly spread the batter in the pan.
Add a few cherries as decorations to the top of the cake, if desired.
Place a small pan of water on the lower shelf in the oven. Bake fruitcake in the center of the oven rack (that has been positioned in the lower third of the oven) for about 5¾ hours or until cake is firm to the touch and cake tester inserted in center of cake comes out clean. Remove cake from oven and place on rack. Let cake cool in pan for about 40 minutes before carefully removing from pan and letting rest on cooling rack.
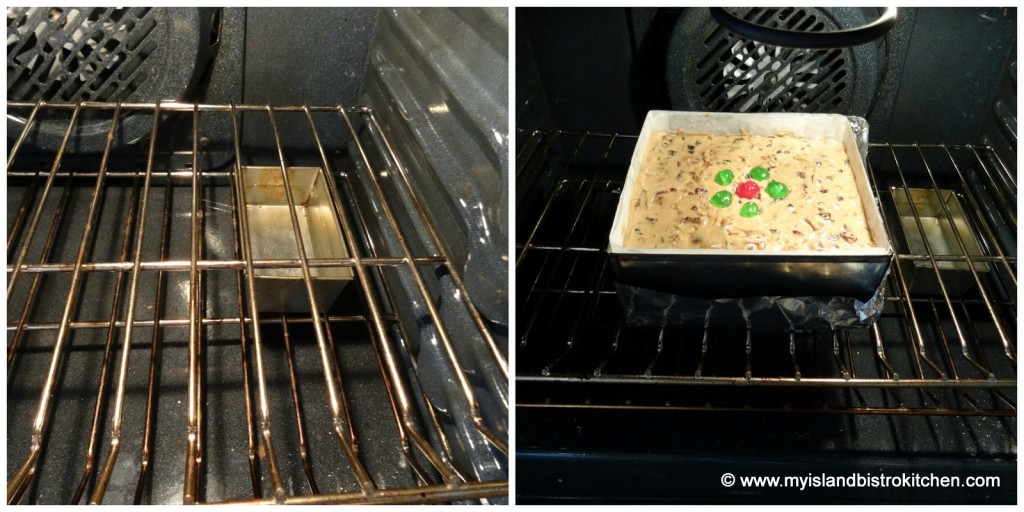 Let cake cool completely before brushing with rum and wrapping in cheesecloth, followed by plastic wrap and tin foil, then storing in a sealed plastic bag in a cool, dry area. Remove wrapping and brush cake top and sides with rum once a week. For best flavour, let cake “age” for at least 3-4 weeks before cutting and serving.
Yield: 1 – 6 lb cake
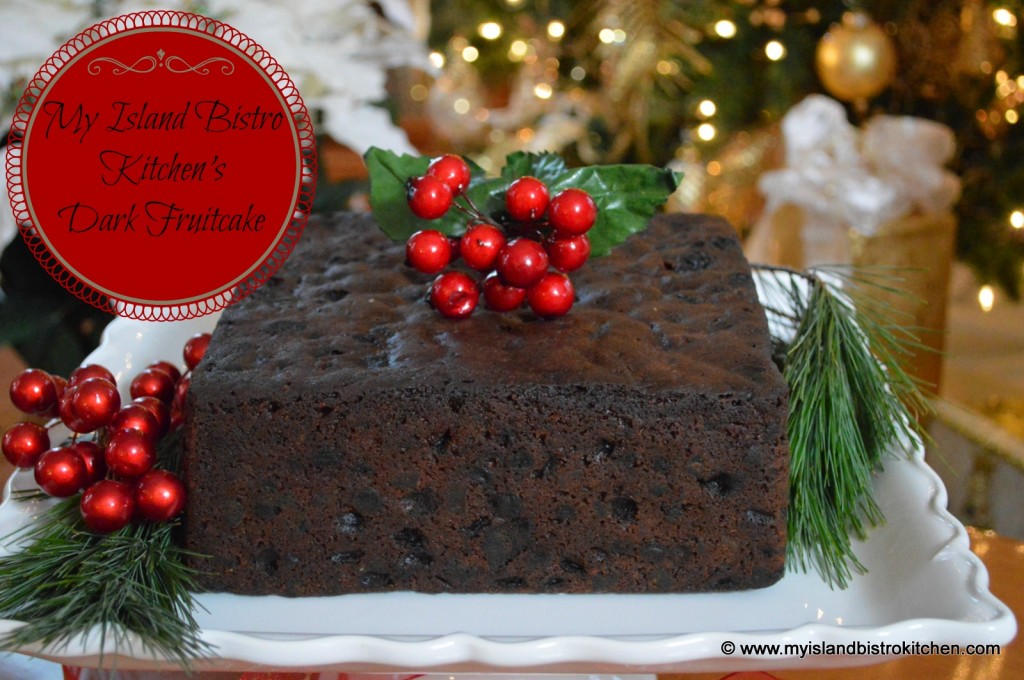
Dark Fruitcake
Ingredients
- 7 oz seeded raisins i.e., Lexia
- 7 oz golden raisins
- 7 oz cup sultana raisins
- 3 oz dates chopped
- 2 oz currants
- 9 oz mixed glazed fruit
- 4 oz red glazed cherries
- 4 oz green glazed cherries
- 3 oz citron
- 2 oz mixed peel
- ⅔ cup rum
- ½ cup flour
- 2 cups flour
- ½ tsp salt
- 1 tsp baking powder
- ½ tsp soda
- 1 tsp cinnamon
- ½ tsp cloves
- ½ tsp allspice
- ½ tsp mace
- ½ tsp nutmeg
- ½ lb butter
- ¼ cup white sugar
- 1½ cups brown sugar
- 4 extra large eggs
- 1 tsp vanilla
- 1 tsp almond flavouring
- 2½ tbsp molasses
- ½ cup strawberry jam
Instructions
- Measure fruit and transfer to a large bowl. Mix well. Pour ⅔ cup of rum over fruit. Stir to coat. Cover tightly with plastic wrap. Let stand for about 24 hours to macerate the fruit, stirring occasionally.
- Prepare 8-inch square fruitcake pan that is 3 inches deep and has a removable bottom: Lightly spray the bottom and sides of the pan with cooking spray. Line the pan, bottom and sides, with brown paper or parchment paper. Lightly spray the paper.
Position oven rack in lower third of oven and preheat oven to 275°F.
- Sift together the dry ingredients. Set aside.
- Using the paddle attachment on the stand mixer, cream the butter until light and fluffy. Add the white sugar. Beat. Add the brown sugar and beat well, scraping the sides of the bowl with a spatula to ensure sugar is all incorporated.
- Add the eggs, one at a time, beating well after each addition. Add the vanilla and almond flavouring followed by the molasses. Mix thoroughly. Mix in the strawberry jam.
- Add the dry ingredients and mix until combined into batter. Transfer batter to very large bowl.
- Sprinkle remaining ½ cup of flour over the macerated fruit and toss ingredients lightly and quickly. Add the floured fruit to the batter and mix thoroughly. Transfer batter by large spoonfuls into the prepared baking pan. Use a knife to evenly spread the batter in the pan. Add a few cherries as decorations to the top of the cake, if desired.
Place a small pan of water on the lower shelf in the oven. Place cake in the center of the oven rack (that has been positioned in the lower third of the oven) and bake fruitcake for about 5¾ hours or until cake is firm to the touch and cake tester inserted in center of cake comes out clean. Remove cake from oven and place on rack. Let cake cool in pan for about 40 minutes before carefully removing from pan and letting rest on cooling rack.
Let cake cool completely before brushing with rum and wrapping in cheesecloth, followed by plastic wrap and tin foil, then storing in a sealed plastic bag in a cool, dry area. Remove wrapping and brush cake top and sides with rum once a week. Let cake “age” for at least 3-4 weeks before cutting and serving.
Recipe Notes
Yield: 1 - 6 lb cake
NOTE: Be sure to read the entire posting that accompanies this recipe for tips on how to make the perfect fruit cake.
Copyright My Island Bistro Kitchen
If you have made this recipe and enjoyed it and/or wish to share it with your friends and family, please do so on social media but be sure to share the direct link to this posting from my website.
You may also enjoy these other Christmas cakes from My Island Bistro Kitchen:
Festive Light Fruitcake
Gluten-free Light Fruitcake
Spirited Dundee Cake
Sultana Cake
Gumdrop Cake
Connect with My Island Bistro Kitchen on Social Media
Join the Facebook page for My Island Bistro Kitchen: https://www.facebook.com/MyIslandBistroKitchen/
Follow “the Bistro” on Twitter: https://twitter.com/PEIBistro/
See the drool-worthy gallery of mouth-watering food photos from My Island Bistro Kitchen on Instagram: https://www.instagram.com/peibistro/
Follow “the Bistro” on Pinterest at https://www.pinterest.ca/peibistro/ and pin the Pinterest-ready photo at the end of this posting to your favorite Pinterest boards!
Pin Me To Pinterest!

Post last updated November 1, 2022

