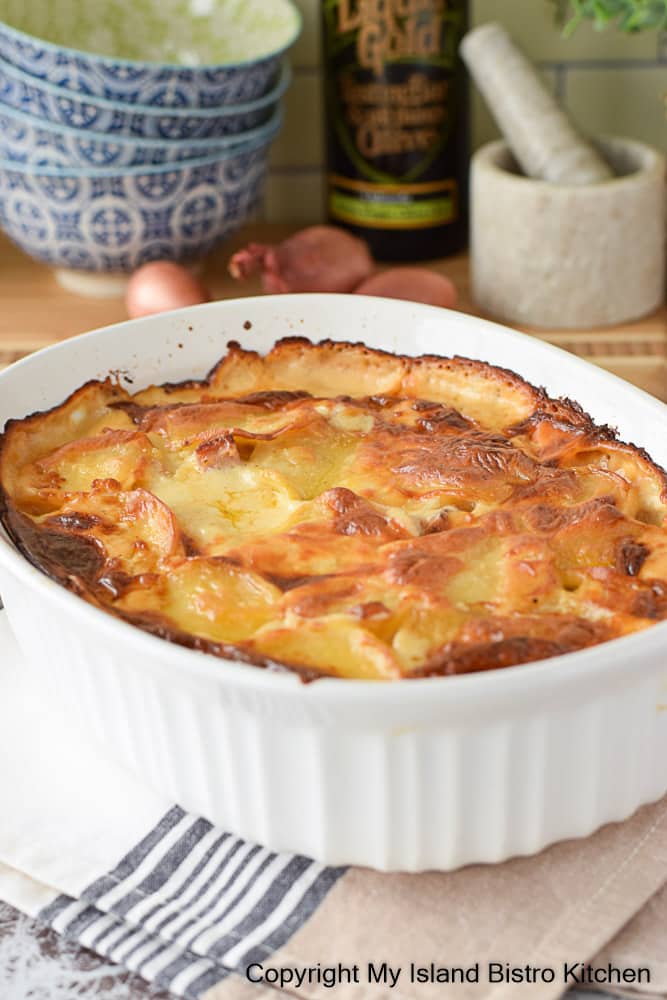
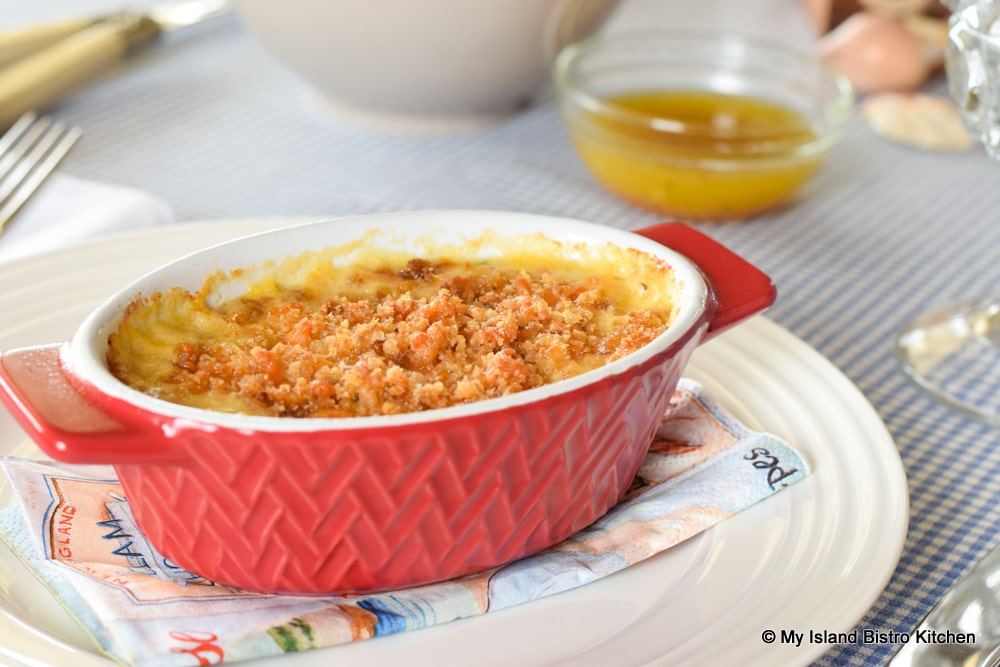
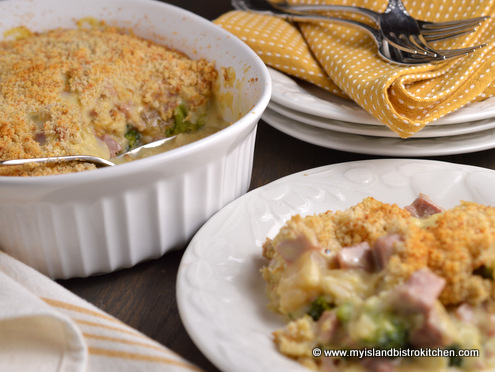
This Potato and Ham au Gratin is a fabulously tasty way to use leftover ham and stretch it into more servings than could be achieved by simply plating the meat. Any time this can be done, it provides relief to the grocery budget and provides another main meal option. Continue reading Potato and Ham au Gratin Recipe→
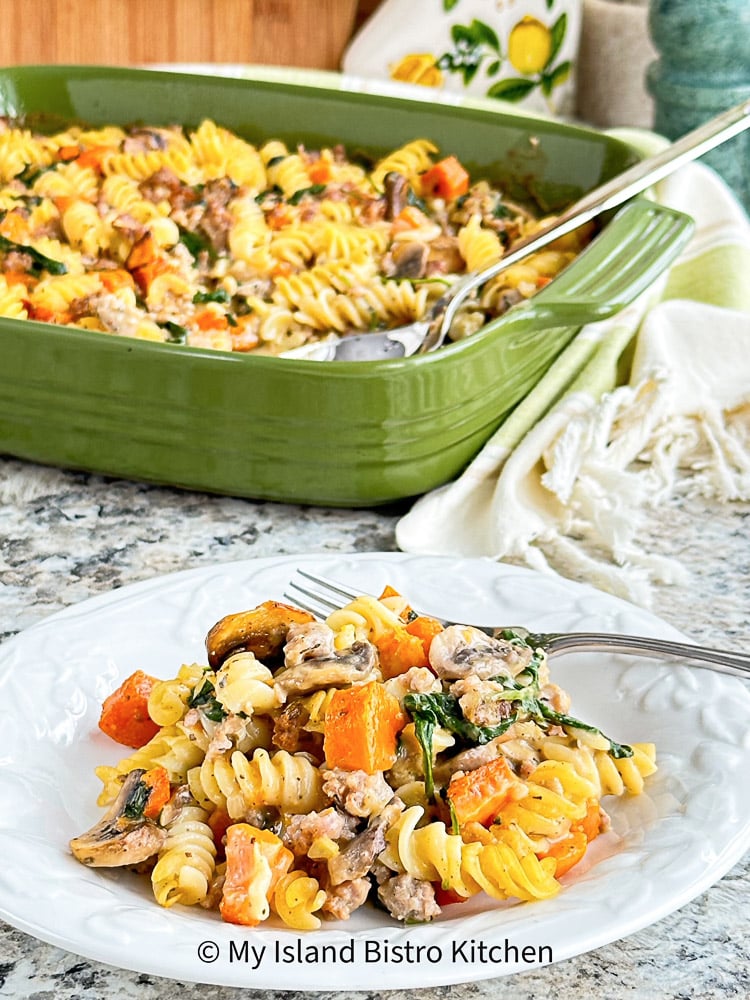
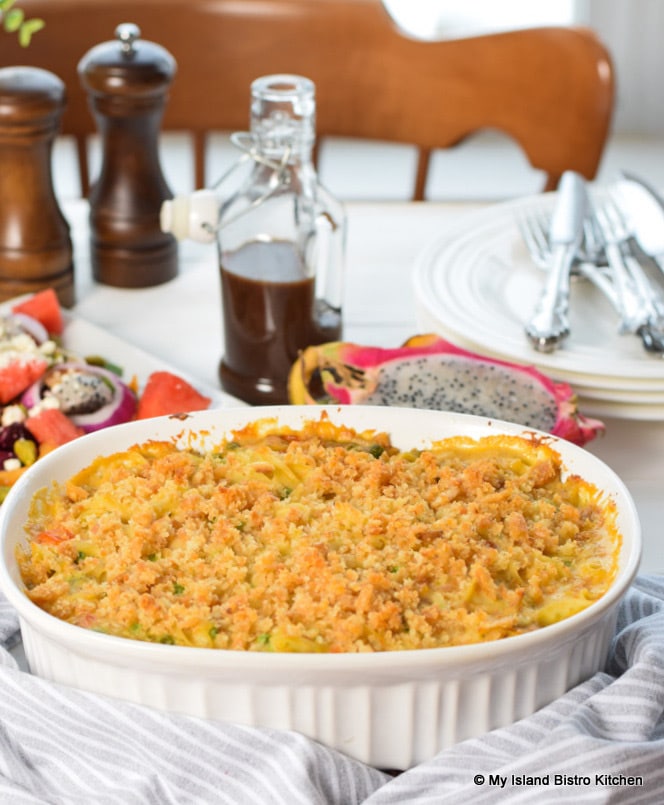
Every winter, I try to develop a new casserole recipe and this Roasted Butternut Squash, Sausage, and Spinach Casserole is my newest creation. I am a huge fan of casseroles, especially ones like this one, that can be made ahead and frozen for later baking. Casseroles make a hearty, filling, and satisfying meal when a side salad is added along with rolls, bread, or biscuits. Continue reading Roasted Butternut Squash, Sausage, and Spinach Casserole→
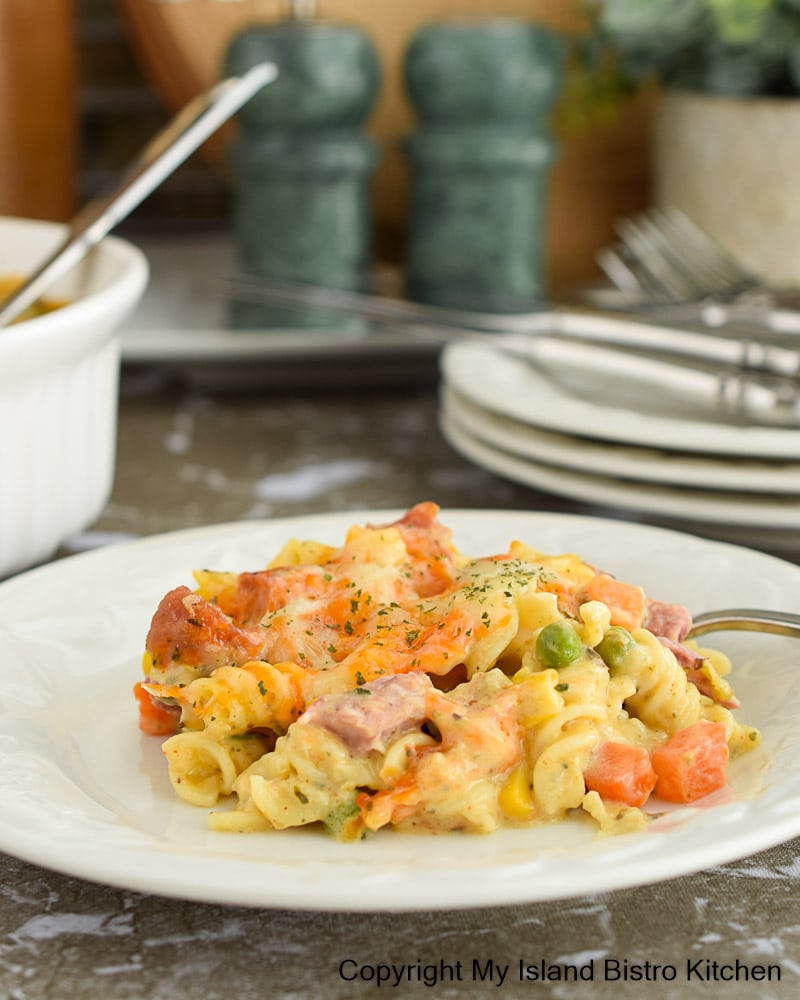
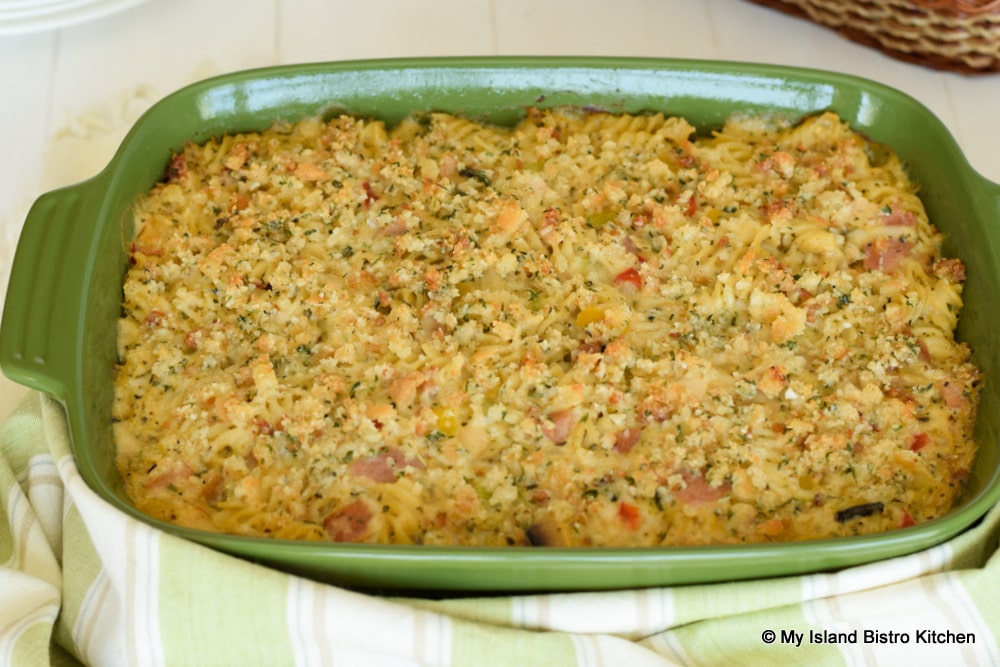
This Ham and Pasta Casserole is easy to make and is a great way to use up leftover ham. So, the next time you have a boiled ham dinner or a baked ham, be sure to save 8 oz of the cooked ham for this delicious casserole. Continue reading Ham and Pasta Casserole→
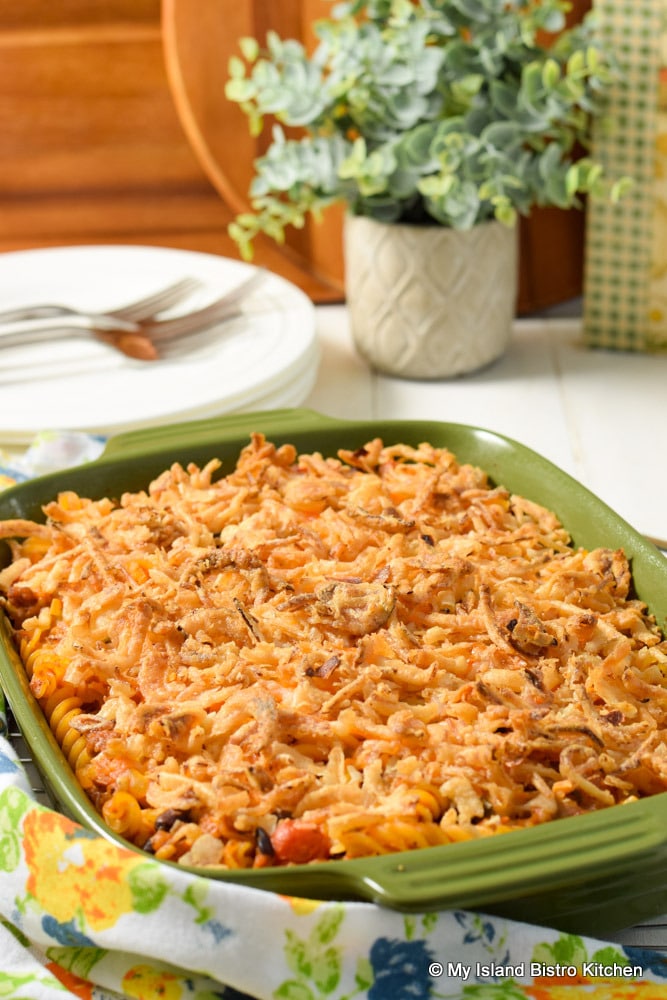
This Macaroni and Sausage Casserole, with its tomato-based sauce, is flavorful and easy to make. The casserole is perfect for weeknights. Add a green salad and some rolls, bread, or biscuits for a hearty and satisfying dinner. Continue reading Macaroni and Sausage Casserole→
The primary inspiration for this Sausage, Black Beans, and Pasta Casserole came from an abundance of tomato sauce in my freezer. I had surplus tomatoes in the garden last year and, since I detest food waste of any kind, I made and froze a lot of tomato sauce (recipe here) that needed to be transformed into meals. Continue reading Sausage, Black Beans, and Pasta Casserole→
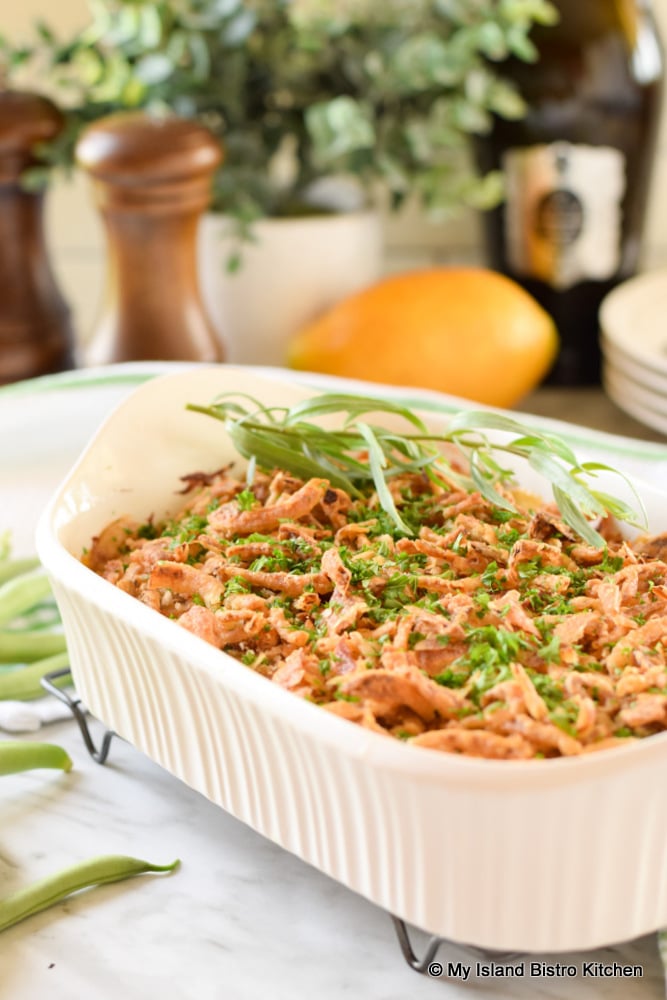
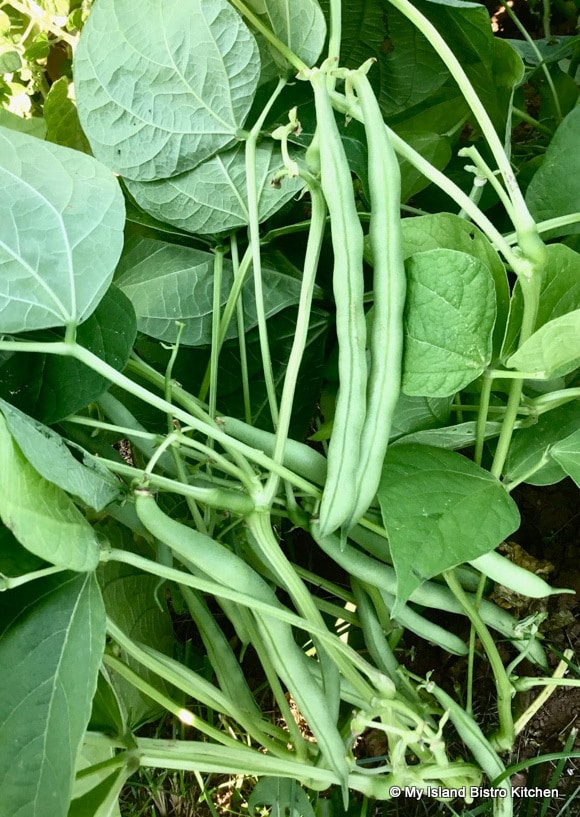
We always grow lots of string beans in the garden. We always think we haven’t planted enough beans so you know the drill (pun intended) … we add “just a few more” to the drill for good measure. Well, those vines sure can produce!
Green String Beans
After a few “feeds” of boiled green beans served as a side veggie topped with butter and a sprinkle of salt and pepper, I find it’s time to do something else with them. A great way to serve the green beans is in a Green Bean Casserole which is my featured recipe today. Continue reading Green Bean Casserole Recipe→
When you live on an Island where fishing is one of the main industries, it means you have access to wonderful fresh seafood. Yes, we are spoiled! Here in Prince Edward Island, where I reside, I make good use of seafood in my diet and in my recipe creations as I have done here with my Seafood Bubbly Bake. Continue reading My Island Bistro Kitchen’s Seafood Bubbly Bake→
This Chicken and Ham Casserole is a great way to use up leftover chicken and ham. The meats can, of course, be cooked special for this casserole; however, using leftovers lessens the prep work. The combination of the two kinds of meats makes for a more interesting and substantial casserole than if only one kind was used. However, despite its name, this casserole can be made with just either 2 cups of cooked chicken or 2 cups of cooked ham, instead of a cup of each. Continue reading Chicken and Ham Casserole→
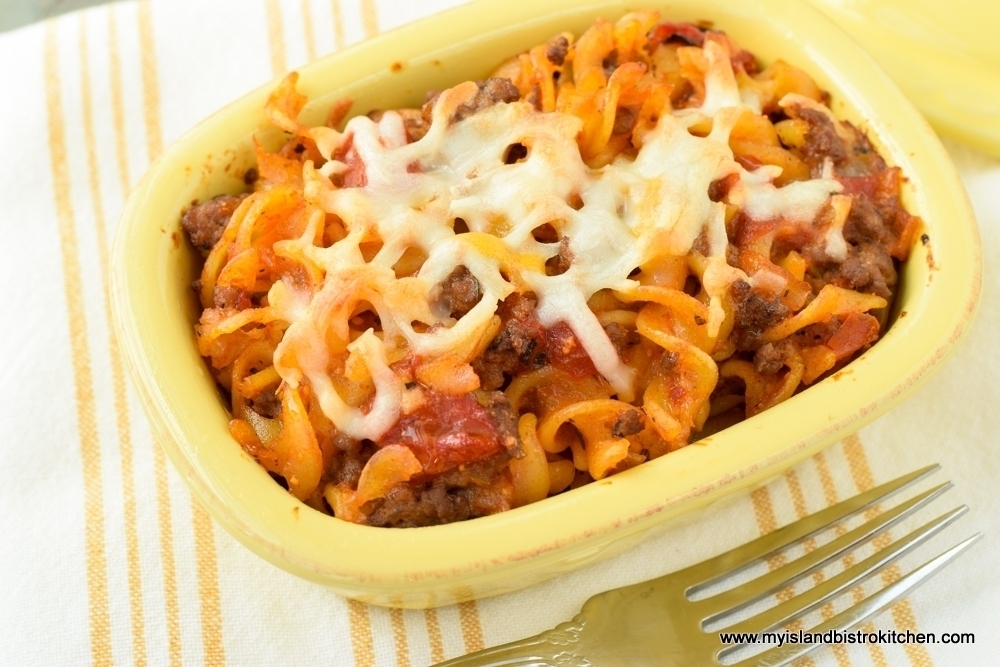
I am a huge fan of batch cooking and preparing make-ahead meals, like this Beef Pasta Casserole, to freeze for easy weeknight meal preparation.
I began batch cooking many years ago when I moved away from my family home and began life on my own. I went in search of cookbooks designed for cooking for one or two and didn’t find much on the market. What recipes I did find took ingredients that either weren’t available locally or the recipes called for sizes of ingredients that weren’t available in Canada.
I also soon discovered it really wasn’t much fun having to prepare a meal from scratch each night for one person. That’s when I realized I didn’t need cookbooks with recipes sized down to one or two servings; I needed a freezer and I needed to batch cook make-ahead meals!
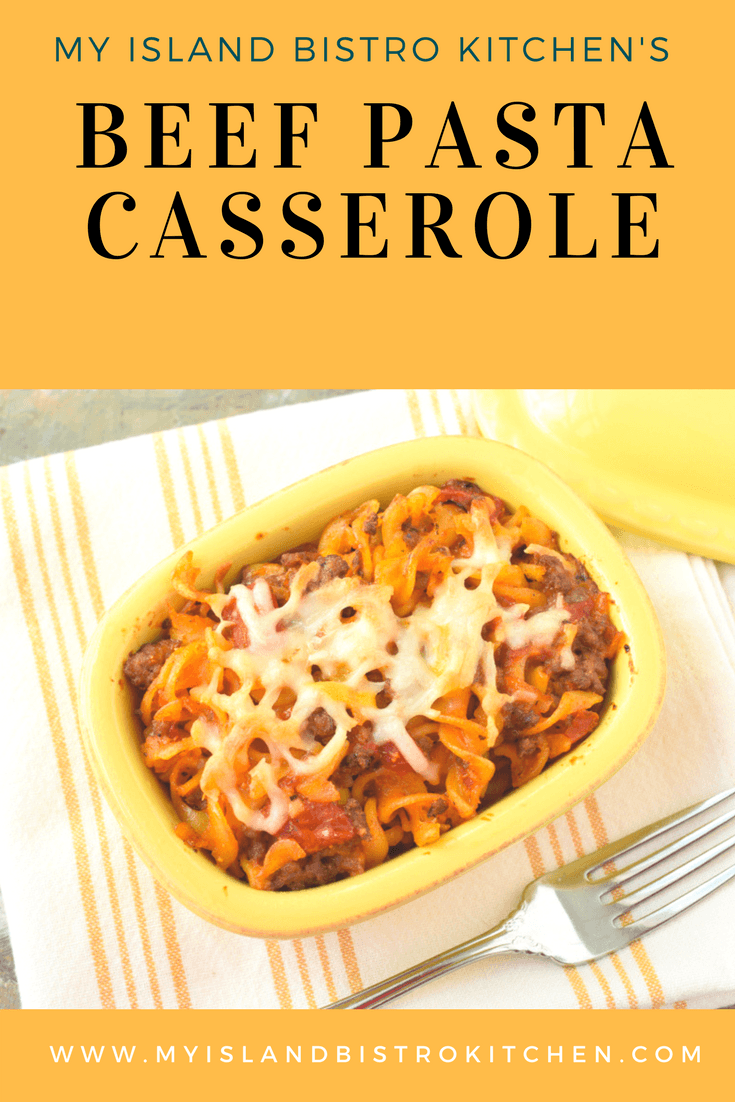
Beef Pasta Casserole
I currently have two freezers plus a deep freezer compartment in the bottom of the refrigerator and all are filled with make ahead-meals. The entrées are a mix of very basic fare, like baked beans, pasta casseroles, and fish cakes, and more elaborate meals like fillings for vol-au-vents and crèpes for nights that call for something a little extra special.
Batch cooking means you still do the prep work but it is all done upfront at once and it eases the pressure of meal preparation on weeknights, especially on nights where one is late getting home from work. So long as I have the makings for a salad in the fridge and some rolls, biscuits, or bread in the freezer, I can pull out a frozen entrée and have dinner on the table in 30 minutes or so. Clean-up is super easy, too, since there are no prep dishes or pots and pans to be washed, just the plate, glass, and utensils to be loaded into the dishwasher.
Beef Pasta Casserole
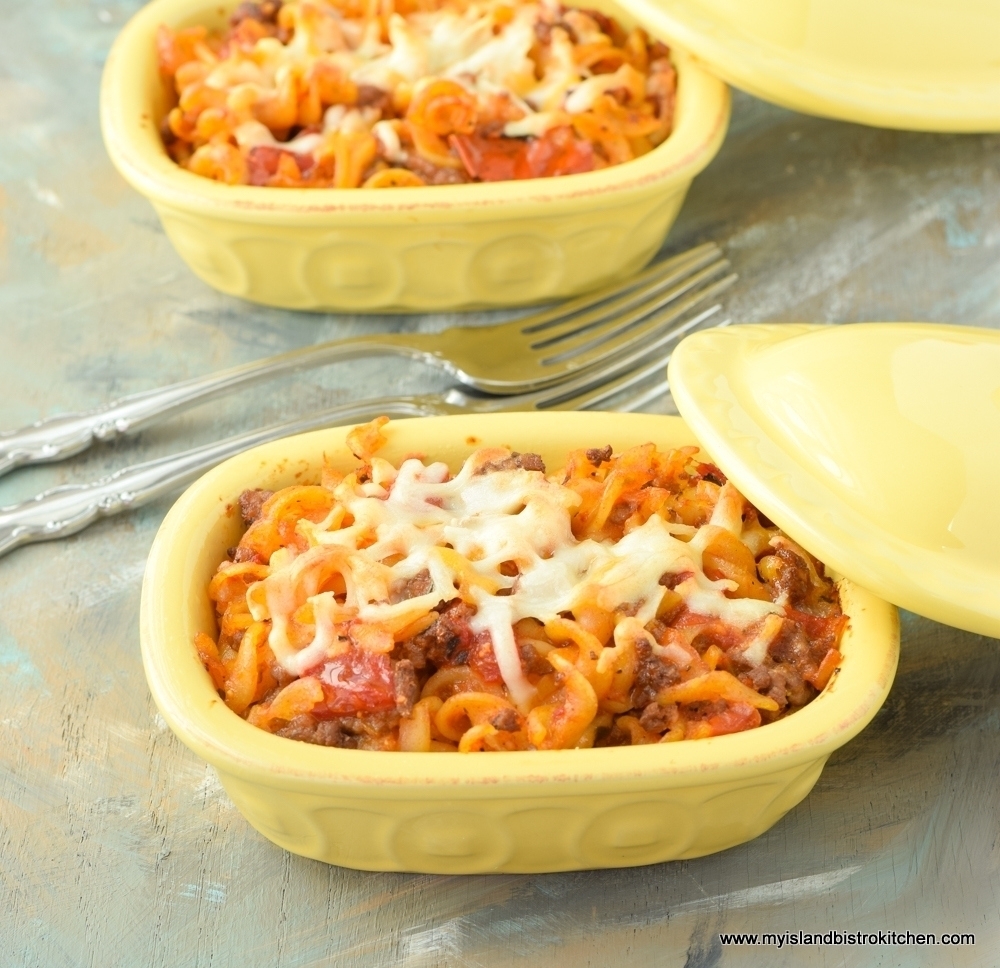
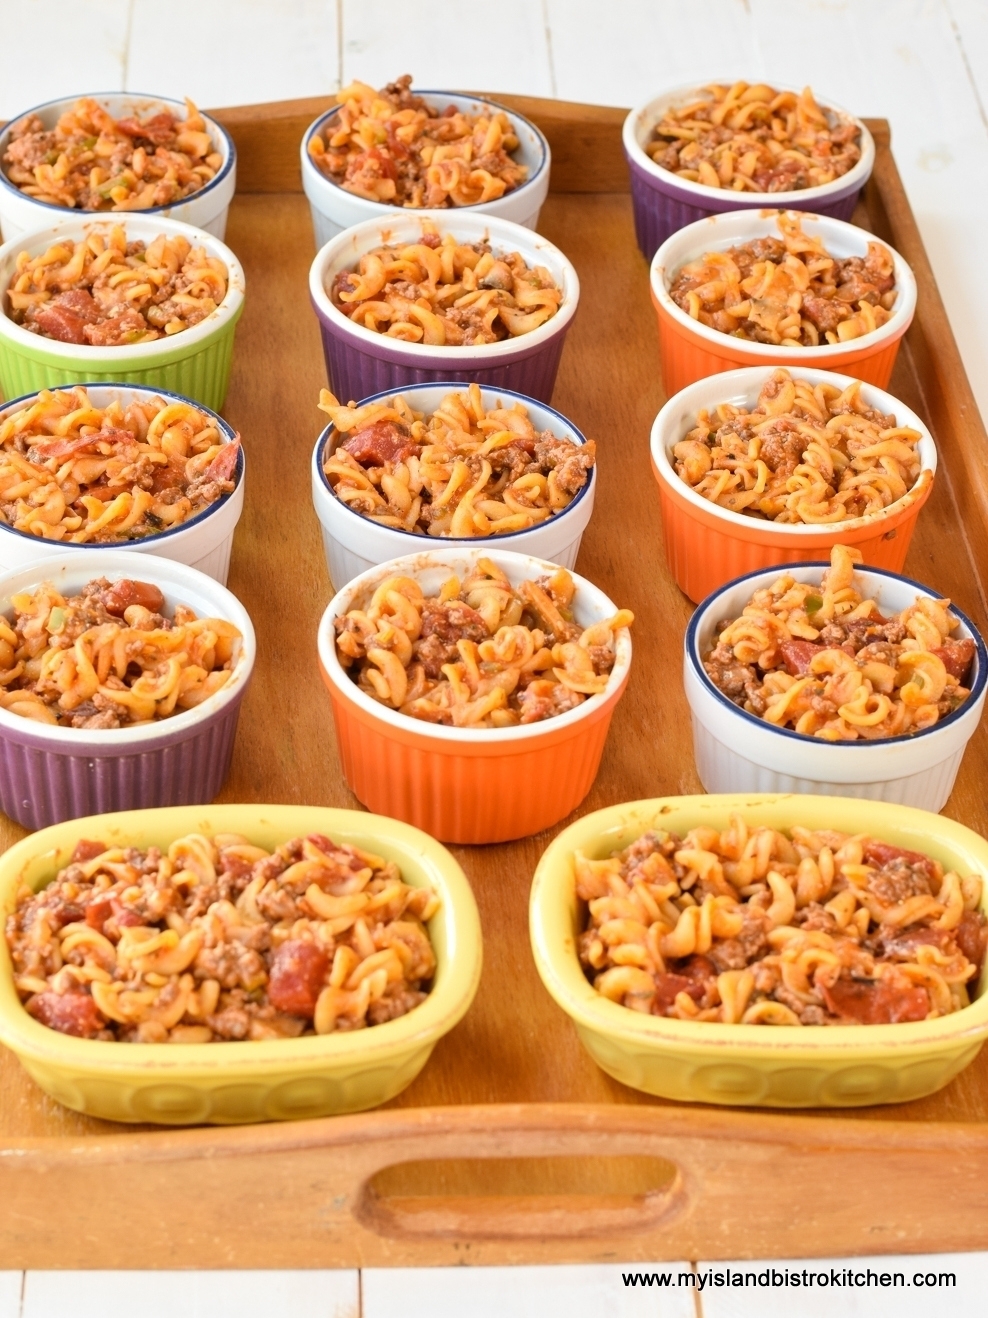
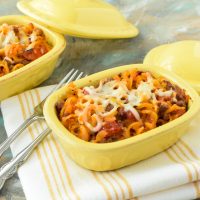
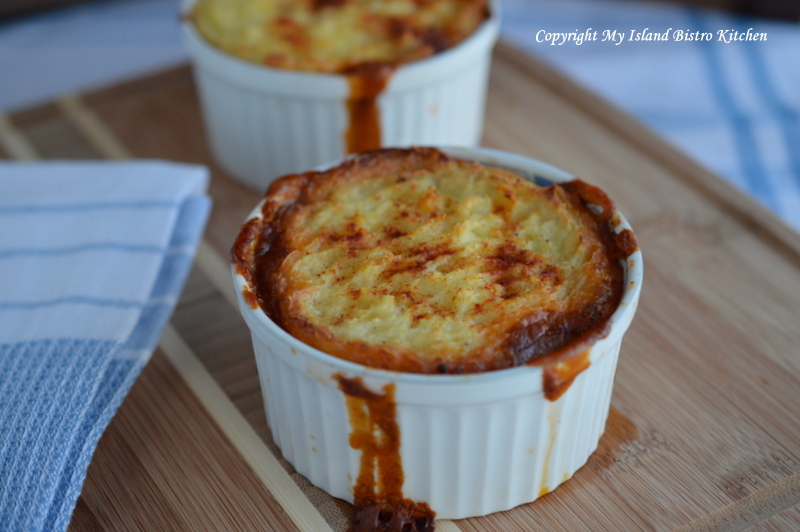
One of my standby casseroles is this beef pasta casserole. It’s not hard to prepare and does not take any wild or weird ingredients. This makes a huge casserole so it’s great to take to potlucks or divide into meal-sized servings and frozen. Use a large roaster or two 2-quart casseroles or, if you have a small household, divide the casserole up into small single serving casseroles or ramekins and freeze them. I have a ton of ramekins and small individual-sized casserole dishes as I find they are the perfect serving size for individual servings of casseroles. I store these casseroles, unbaked, in large plastic freezer containers in the freezer.
Beef Pasta Casserole Ready for the Freezer
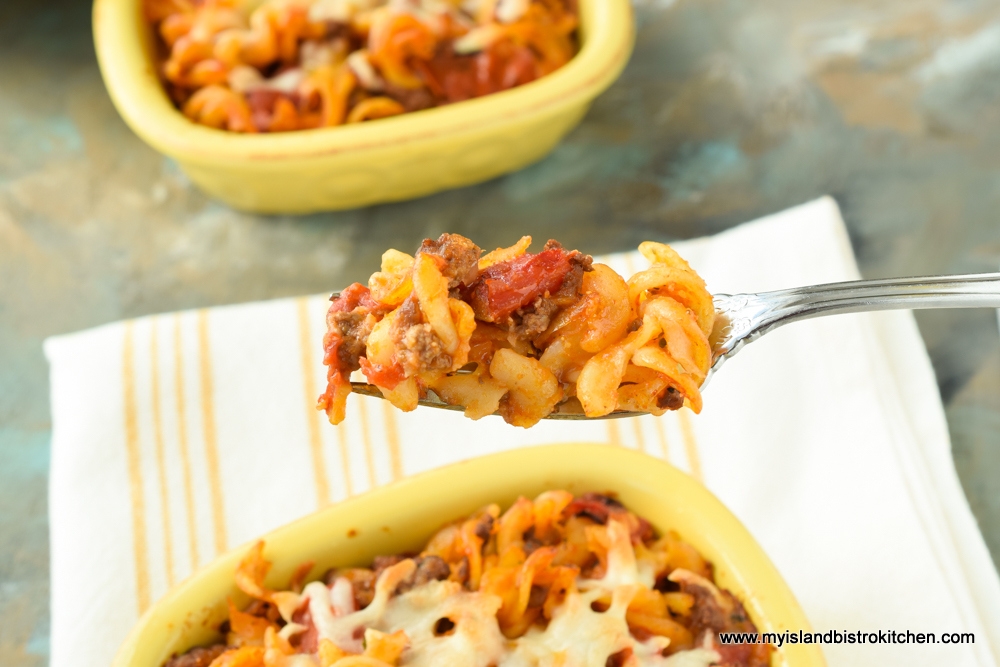
Easy steps make this casserole. Brown the ground beef, drain, and set it aside. Cook the pasta. Next, sauté the onion, garlic cloves, celery, green pepper, and mushrooms. Then, combine all the liquid ingredients and canned tomatoes. Combine all the ingredients together along with some cheese and, voilà, that’s it! Top the casserole with some extra cheese and bake in the oven for 25-30 minutes. If freezing the casserole, freeze it unbaked and without the cheese topping which is best added at the time of baking.
Serve with your favorite green salad and biscuits, rolls, or bread.
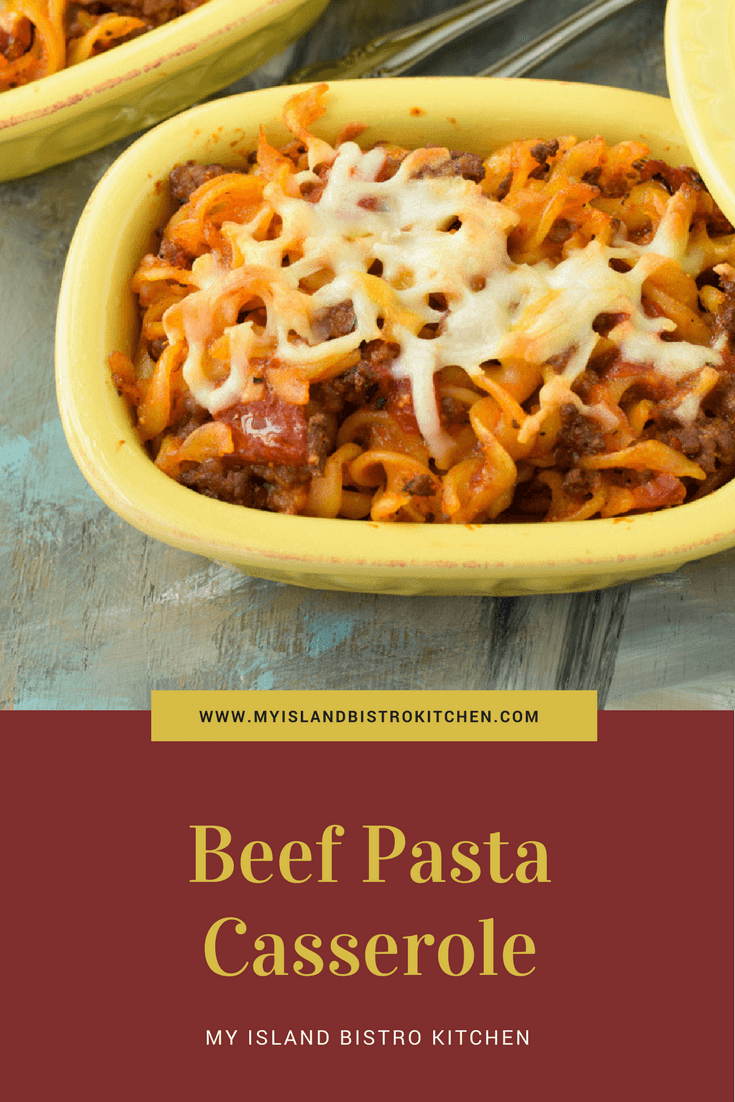
Beef Pasta Casserole
Beef Pasta Casserole
Ingredients:
1½ lbs lean ground beef
1½ – 2 tbsp vegetable oil
1-2 tbsp vegetable oil
2/3 cup onion, chopped
3 garlic cloves, minced
1/3 cup celery, chopped
¼ cup green pepper, chopped
¾ cup sliced button mushrooms
1 – 284ml can tomato soup
1 tsp Worcestershire sauce
½ cup beef broth (homemade or commercial)
¼ cup tomato paste
1 tbsp maple syrup
2 tbsp basil pesto (homemade or commercial)
2 tsp Italian seasoning
¼ tsp ground ginger
1 – 398ml can diced tomatoes with juice
Salt and pepper, to taste
400g fusilli (regular or gluten-free), cooked according to package directions and drained (about 5 cups raw pasta)
2/3 cup shredded cheese of choice (e.g., cheddar, or a blend of cheeses)
2 tbsp grated Parmesan cheese
½ cup shredded cheese of choice for topping casserole
Method:
In large frypan, heat the vegetable oil and brown the meat over medium-low heat. Drain. Set aside.
Preheat oven to 350°F.
In large saucepan, heat second amount of vegetable oil over medium heat. Sauté the onion, garlic, celery, and green pepper for approximately 2 minutes. Add the mushrooms and sauté for 3-4 minutes. Remove from heat and set aside.
In a large bowl or measuring cup, combine the tomato soup, Worcestershire sauce, beef broth, tomato paste, maple syrup, basil pesto, Italian seasoning, and ground ginger. Stir well. Stir in canned tomatoes with juice. Season with salt and pepper, to taste.
In large bowl or pot, combine the cooked pasta, meat, vegetables, liquid ingredients, 2/3 cup shredded cheese, and Parmesan cheese. Stir gently to combine ingredients. Transfer mixture to large greased roaster, two – 2-quart casseroles, or divide into individual serving-sized dishes such as ramekins.
Sprinkle casserole(s) with remaining ½ cup shredded cheese. Bake in oven for 25-30 minutes to heat through. Serve hot. Casserole freezes well.
Yield: 12-14 servings
If you have made this recipe and enjoyed it and/or wish to share it with your friends and family, please do so on social media but be sure to share the direct link to this posting from my website.
This tasty Beef Pasta Casserole is an easy-to-make weeknight casserole that combines ground beef, pasta, cheese, and a tomato-based sauce. Freezes well.
Course
Main Course
Cuisine
American
Servings12
My Island Bistro KitchenMy Island Bistro Kitchen
Ingredients
1 1/2lbslean ground beef
1 1/2 - 2tbspvegetable oil
1-2 tbspvegetable oil
2/3cuponion, chopped
3garlic cloves, minced
1/3cupcelery, chopped
1/4cupgreen pepper, chopped
3/4cupsliced button mushrooms
1 -284mlcan tomato soup
1tspWorcestershire sauce
1/2cup beef broth
1/4cuptomato paste
1tbspmaple syrup
2tbspbasil pesto
2tspItalian seasoning
1/4tspground ginger
1 -398mlcan diced tomatoes with juice
salt and pepper, to taste
400gfusilli (regular or gluten-free), cooked according to package directions and drained (about 5 cups raw pasta)
2/3cupshredded cheese of choice (e.g., cheddar, or a blend of cheeses)
2tbspgrated Parmesan cheese
1/2cupshredded cheese of choice for topping casserole
Instructions
In large frypan, heat the vegetable oil and brown the meat over medium-low heat. Drain. Set aside.
Preheat oven to 350°F.
In large saucepan, heat second amount of vegetable oil over medium heat. Sauté the onion, garlic, celery, and green pepper for approximately 2 minutes. Add the mushrooms and sauté for 3-4 minutes. Remove from heat and set aside.
In a large bowl or measuring cup, combine the tomato soup, Worcestershire sauce, beef broth, tomato paste, maple syrup, basil pesto, Italian seasoning, and ground ginger. Stir well. Stir in canned tomatoes with juice. Season with salt and pepper, to taste.
In large bowl or pot, combine the cooked pasta, meat, vegetables, liquid ingredients, 2/3 cup shredded cheese, and Parmesan cheese. Stir gently to combine ingredients. Transfer mixture to large greased roaster, two – 2-quart casseroles, or divide into individual serving-sized dishes such as ramekins.
Sprinkle casserole(s) with remaining ½ cup shredded cheese. Bake in oven for 25-30 minutes to heat through. Serve hot. Casserole freezes well.
Recipe Notes
[Copyright My Island Bistro Kitchen]
Looking for other tasty casseroles? Try these from My Island Bistro Kitchen:
Casserole recipes are useful for the home cook’s meal planning. They are a convenient entrée for a dinner meal, can be prepared ahead of time, are often a great way to use leftovers and re-purpose them into a new entrée, and they can stretch the food dollar. My Chicken Chow Mein Casserole is one that fits that bill nicely. Continue reading Chicken Chow Mein Casserole Recipe→
I cooked a boiled dinner with ham that I got on a great deal so am fortunate that the ham has a lot of meat on it. You can get my method for making a boiled ham dinner here. After sandwiches and leftovers for a night or two, it was time to find other uses for the rest of the ham and ones that would extend the use of the meat into more servings than simply slicing and plating it. I am not one to throw out food so I always find ways to use up leftovers.
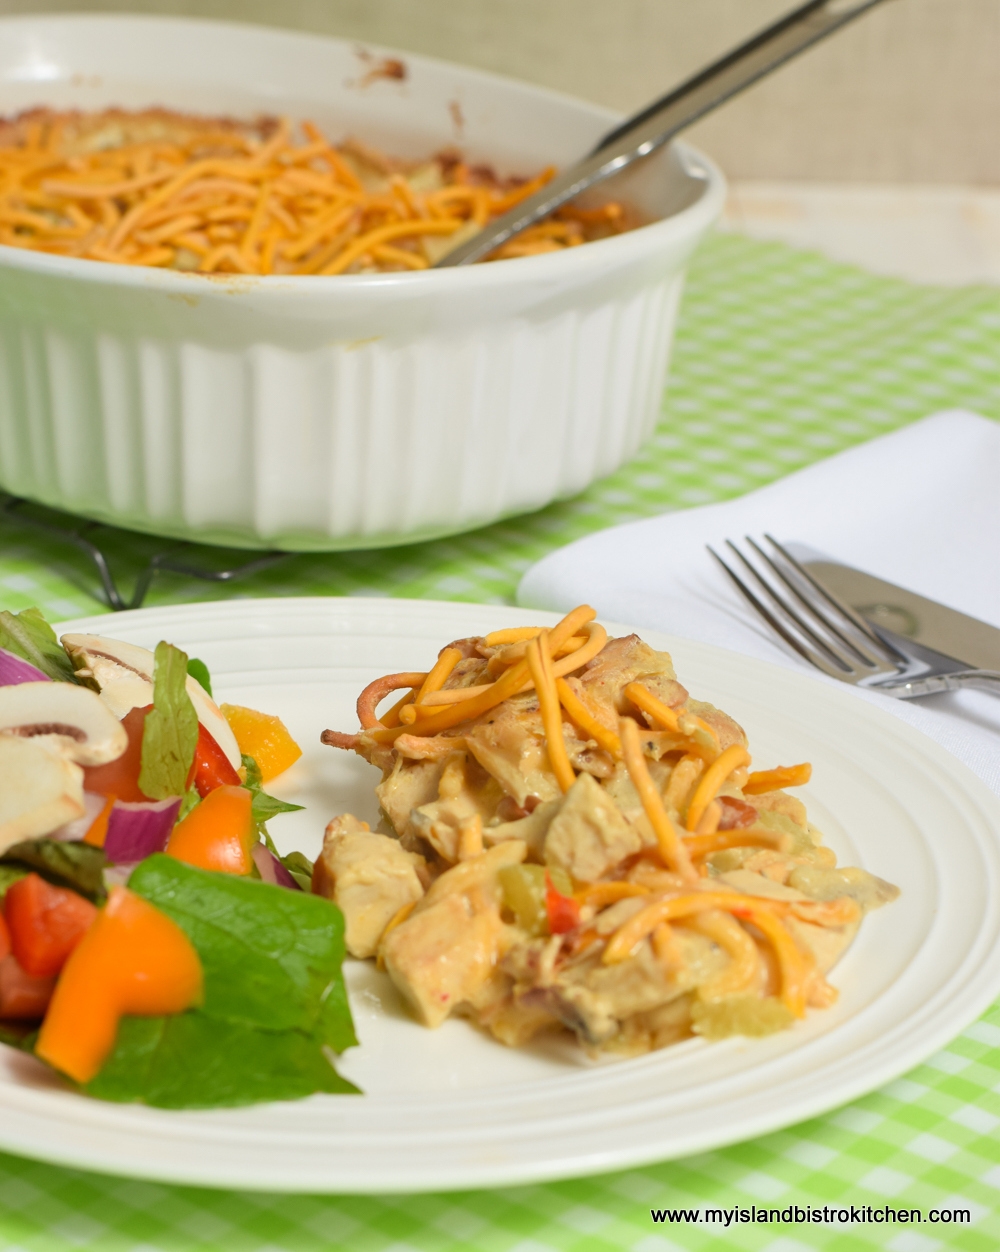
Hawaiian Fiesta Casserole
So, I made what I call a Hawaiian Fiesta Casserole aptly named because, in addition to the ham, it has pineapple, rice, and bright green broccoli florets. This casserole is not difficult to make but it does take a bit of time, planning, and coordination since the rice and broccoli have to be pre-cooked and the pineapple fried (yes, fried). Continue reading Hawaiian Fiesta Casserole→
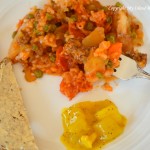
Okay, so my recipe is actually eight layers, but who is counting when the meal is as tasty as this one is!
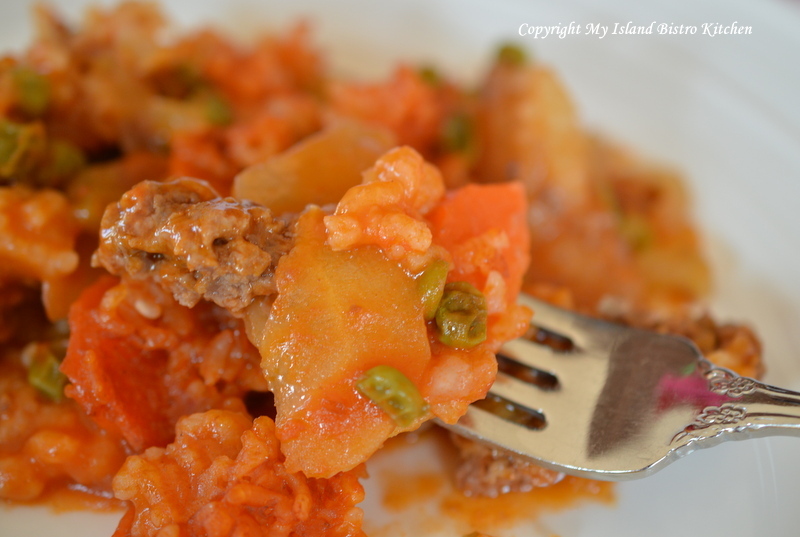
Seven-layer dinner (sometimes called “Shipwreck”) is really little more than a full dinner in a casserole and baked in the oven. I grew up (as I am sure many of you have) with this vintage meal served on a regular basis. The seven main ingredients are: 1) onions, 2) meat, 3) potatoes, 4) celery, 5) carrot, 6) peas, and 7) rice. Sometimes, it’s a six-layer dinner depending on what veggies I have on hand and sometimes it might be eight or nine layers thick. I like to add parsnip because it adds a level of sweetness. Sometimes, I will slice turnip very thinly and add it as well. Frozen corn also works in addition to the frozen peas or instead of. In that regard, it is almost a potluck dish!
It has probably been named “Shipwreck” because it can be made with pretty much any vegetables you happen to have on hand as well as different kinds of meats, such as ground beef or sausage and it is also an economical way to stretch the meat content. In many households, it can be made with what is on hand without having to go shopping and it doesn’t take any kind of exotic or hard-to-find ingredients. This is an old-fashioned hearty meal. Have you noticed that many of these old “stand-by” meals are becoming popular again?
On a regular basis, I tend to cook with a fair bit of seasonings and spices. However, this is one dish that I never add anything to it other than salt and pepper and the onion for flavour.
In my home, I grew up with this recipe being made with ground beef (we never used any other kind of meat in it). The beef I used for this casserole is 100% Island beef and was purchased at KJL Meats, a local butcher shop in Charlottetown, PEI.
This is a great meal to make when you have little time for meal preparation and clean-up because all the veggies, the rice, and the meat cook together in the one casserole so there are no pots and pans to wash (bonus!) other than the dish it bakes in. And, your kitchen will smell divine when this is baking in the oven! If there happens to be any leftover, this meal carries over well and, in fact, the flavours seem to become even richer the next day when it is reheated.
Seven-Layer Dinner
Ingredients:
1 medium onion
2 medium-sized potatoes, thinly sliced (about 1/8 inch thick)
½ – ¾ pound extra lean ground beef
½ cup celery
1/3 cup parsnips, thinly sliced (about 1/16 inch thick)
1 cup carrots, thinly sliced
½ cup frozen peas
scant ½ cup Minute Rice
1 can tomato soup
1 soup can of water
Method:
Assemble ingredients.
Grease 2-quart casserole. Peel and slice onions to make first layer of casserole.
Add the layer of sliced potatoes and sprinkle with salt and pepper.
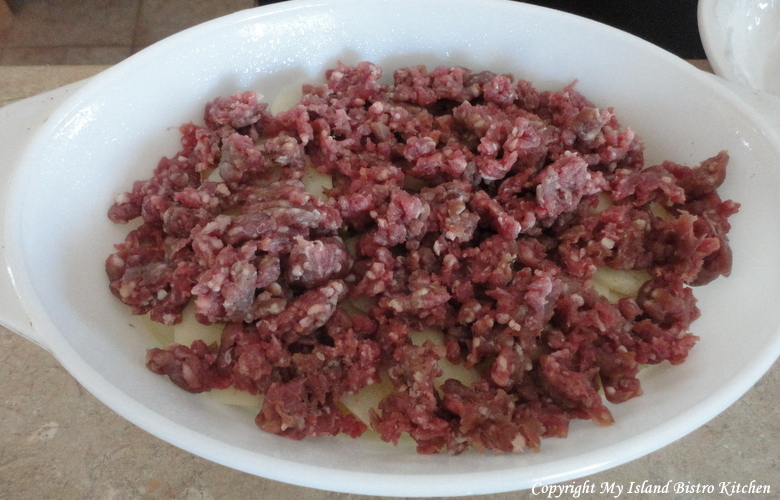
Add the layer of ground beef. Sprinkle with salt and pepper.
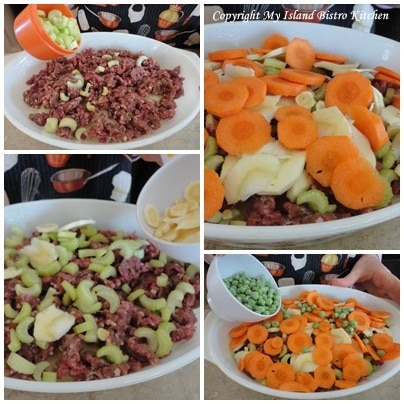
Add celery, parsnips, carrots, and frozen peas. Sprinkle with salt and pepper.
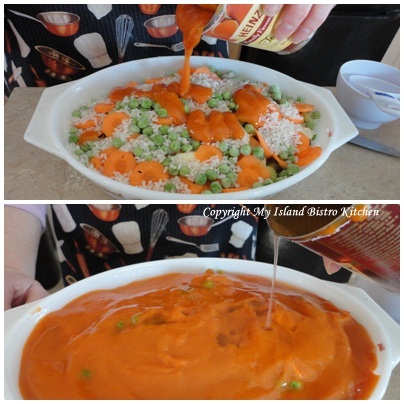
Sprinkle ingredients with rice. Cover casserole ingredients with can of tomato soup. Pour one soup can of water over top of ingredients (or, if you wish, you can mix the soup and water together and pour as one over the casserole ingredients).
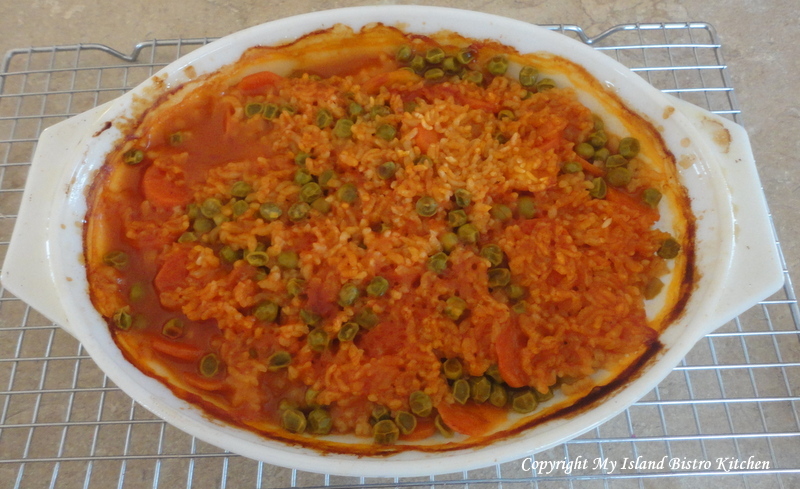
Cover and bake at 350F for 1 ½ – 2 hours until vegetables are tender.
Serves 4-6
It is hard to plate this meal attractively but its taste more than makes up for its lack of presentation!
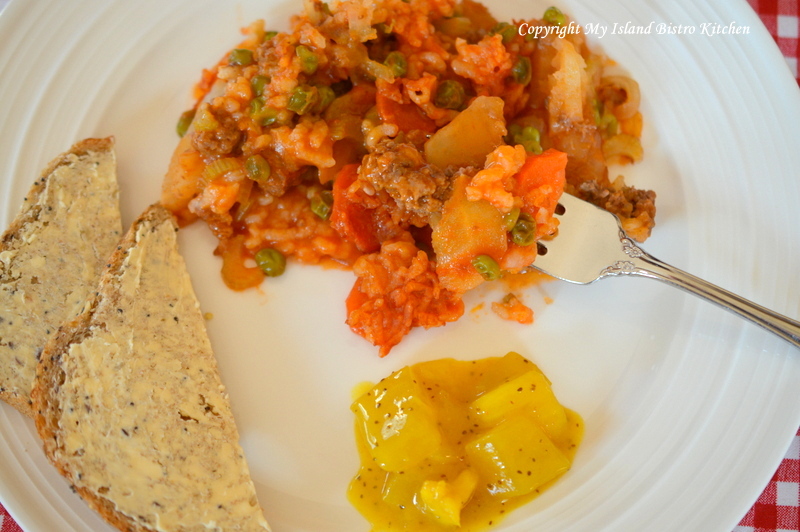
Suggested Serving: Serve with homemade mustard pickles and whole grain artisan bread.
If you have made this recipe and enjoyed it and/or wish to share it with your friends and family, please do so on social media but be sure to share the direct link to this posting from my website.
Connect with My Island Bistro Kitchen on Social Media
Follow “the Bistro” on Pinterest at https://www.pinterest.ca/peibistro/ and pin the Pinterest-ready photo found at the end of this post to your favorite Pinterest boards.
I first had a rudimentary version of Cottage Pie (although I didn’t know that’s what it was) many years ago as a small child at Camp Segunakadeck (Seggie) on the south shore of PEI. I came home from summer camp raving about this yummy dish and trying to describe it to my mother. As a seven or eight-year old, my descriptions of culinary delights would not have been enough for even a seasoned professional chef to be able to concoct some resemblance of the meal. The description would have went something like this…there was hamburg and ‘stuff’ on the bottom and mashed potatoes on the top and it was made in a large pan. Many years later when I would recall my camping experience, I was always reminded of this dish which I have since come to realize was likely a very basic and simplistic version of Cottage Pie. Continue reading Savory Cottage Pie→
(Mostly) PEI and Maritime Food – Good Food for a Good Life!