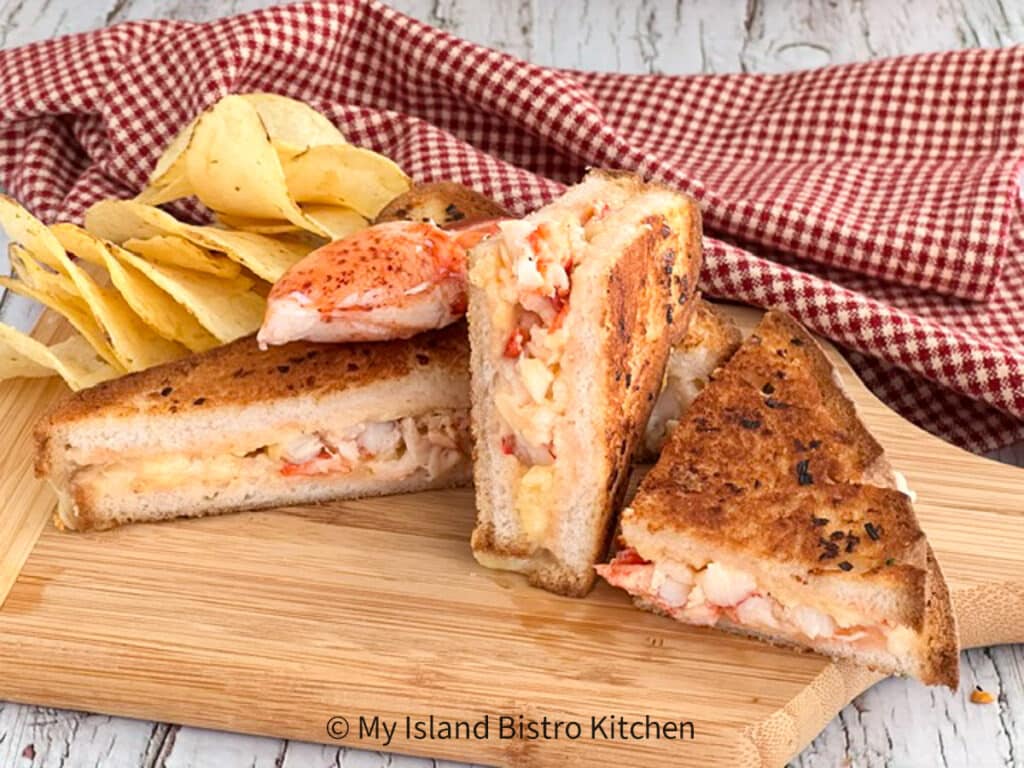
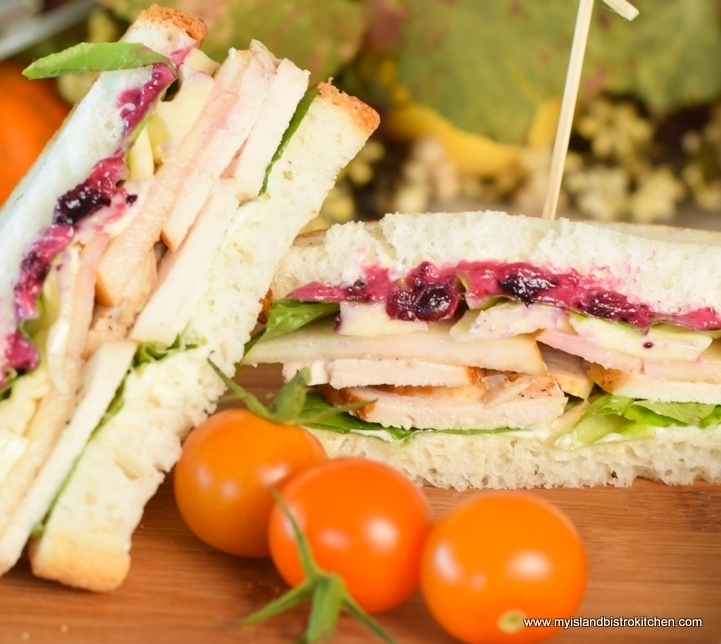
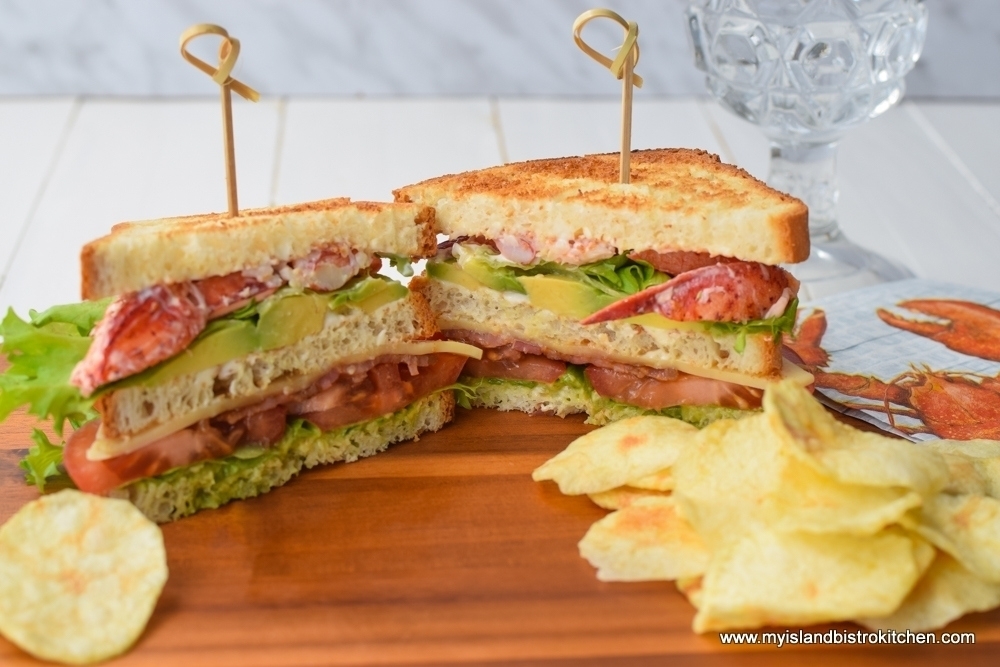
A good chicken salad sandwich filling is a great asset to have in ones recipe files and this is mine. My recipe makes a hearty filling that is surrounded by a flavorful dressing. Continue reading On The Sandwich Board: Chicken Salad Sandwich Recipe
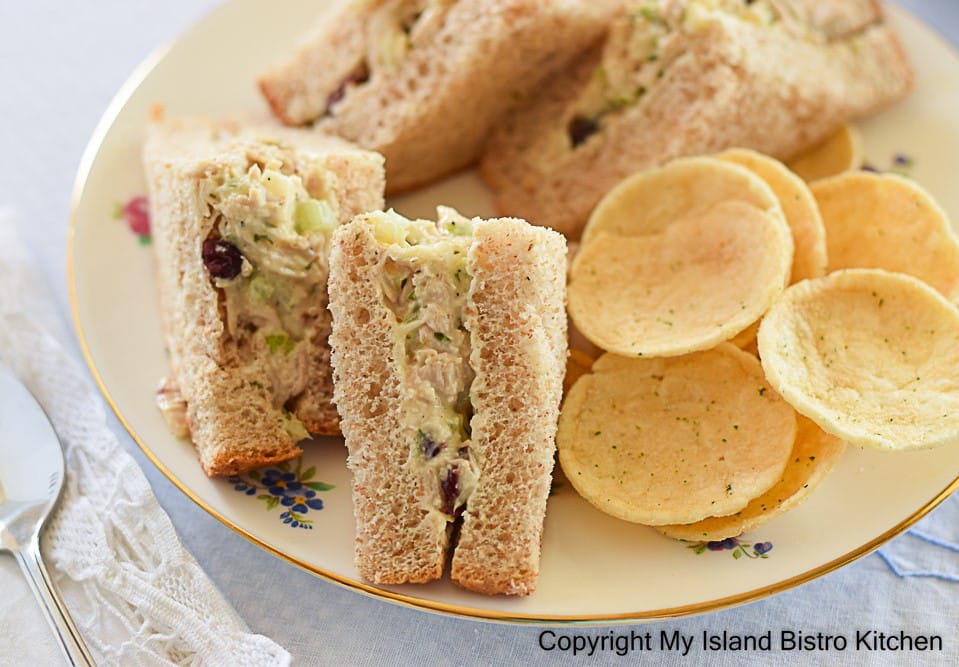
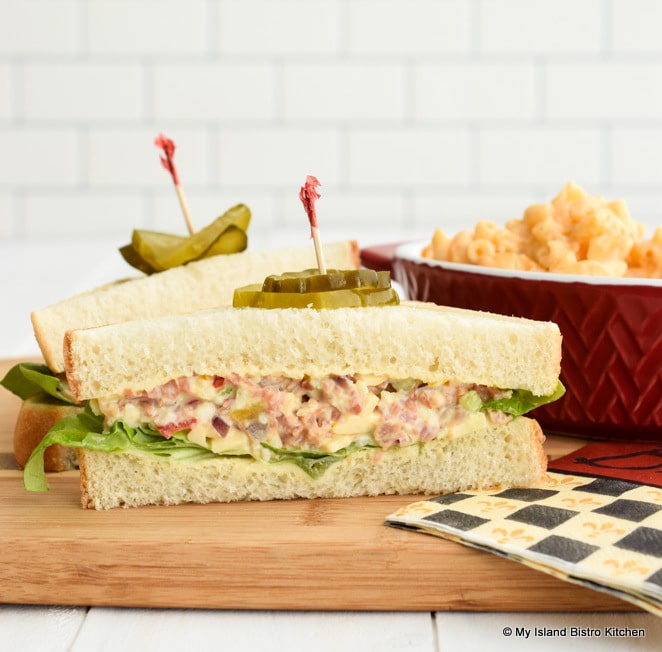
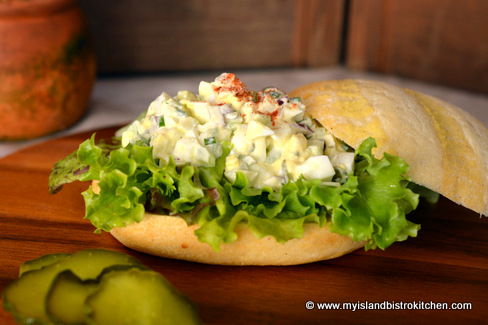
I am a huge fan of cooking a big turkey, roast of beef, or ham for the leftovers they generate. It’s great to be able to get multiple meals from one cooking exercise. Today, on the sandwich board, I am featuring a tasty Ham Salad Sandwich made with ham that was leftover from a recent boiled ham dinner (leftovers from a baked ham work equally well in this sandwich). Continue reading Ham Salad Sandwich Recipe
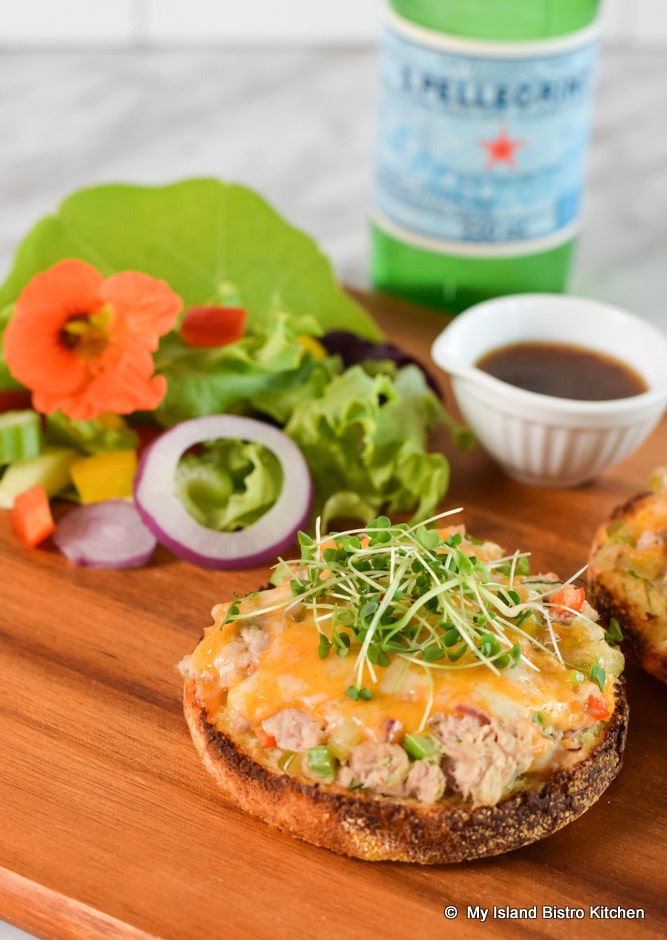
When I want a quick and easy light meal, I will often make these Classic Tuna Melts. They are super easy to make and are wonderfully tasty. It’s amazing what can be done with a simple can of tuna and a few staple ingredients!
I used to make this mixture and stuff it in finger rolls and heat them in the oven. That still works but they present really well on sliced English muffin halves. Use regular or gluten-free English muffins of choice and toast them before adding the topping.
Mix up the topping in the order in which the ingredients are listed. If you don’t have pickle relish, chop up some bread and butter pickles, dill pickles, or gherkins and use them. Use either red or green pepper, whichever suits your fancy (or whichever you happen to have on hand). Divide the mixture between the four English muffin halves and spread it to the edges of the muffins. Sprinkle grated cheddar cheese on top. Broil quickly, just until the cheese is melted. Watch them like a hawk as these only need a minute or two and they burn quickly!
These Tuna Melts are meant to be served hot so quickly garnish them with some colorful microgreens or chopped fresh parsley for eye appeal. Serve the Tuna Melts with potato chips or, for a healthier option, a green side salad.
This recipe will make two servings. However, the recipe is easily scalable if more servings are required. To scale it down to one serving, use one of the little wee cans of tuna and halve all other ingredients.
This is one of our favorite Sunday night light suppers. Hope you enjoy them, too!
[Printable recipe follows at end of posting]
Ingredients:
1 – 170g can flaked white tuna (packed in water), drained
¼ cup mayonnaise
2 tsp Dijon mustard
2 tbsp celery, finely chopped
1 tbsp sweet pickle relish
1 tbsp red onion, finely chopped
1 tbsp red or green pepper, chopped
1½ tsp fresh dill, chopped
1/8 tsp garlic salt
Pinch of freshly ground pepper
2 English muffins, halved and toasted
6 – 8 tbsp shredded Cheddar cheese
Microgreens or chopped fresh parsley for garnish (optional)
Method:
In small bowl, break up tuna with fork. Blend in the mayonnaise and Dijon mustard. Stir in the celery, pickle relish, red onion, red or green pepper, dill, garlic salt, and pepper. Mix well.
Place oven rack in upper third of oven. Set broiler to high.
Place toasted English muffin halves on tinfoil-lined baking sheet. Divide the mixture between the English muffin halves and, with knife, spread mixture to edges of muffin halves. Top each with shredded Cheddar cheese.
Place English muffins in oven and broil just until cheese is melted, approximately 1½ – 2 minutes. Watch carefully as these can easily burn quickly.
Garnish with microgreens or chopped fresh parsley, if desired, and serve immediately alongside potato chips or a side green salad.
Yield: 2 servings
You can join the Facebook page for My Island Bistro Kitchen: https://www.facebook.com/MyIslandBistroKitchen/
Follow “the Bistro” on Twitter: https://twitter.com/PEIBistro/
See the drool-worthy gallery of mouth-watering food photos from My Island Bistro Kitchen on Instagram: https://www.instagram.com/peibistro/
Follow “the Bistro” on Pinterest at https://www.pinterest.ca/peibistro/
(and you can pin any of the Pinterest-ready photos below to your favorite Pinterest boards)
Of course, by subscribing to receive an email notification of new posts and recipes, you can be among the first to know when I publish a new post or recipe. Simply enter your name and email address in the Subscription block over on the right-hand side of my home page.
On my sandwich board today, I have a lovely gourmet turkey sandwich and this one comes fully dressed! Note this sandwich can also be made with chicken as a substitute for turkey.
This is often a sandwich I make when I have roasted a turkey or chicken and have leftover meat. However, sometimes, I will roast some boneless, skinless chicken breasts specifically to use for sandwiches and that works equally well.
The dressing for this sandwich is made with mayonnaise combined with some cranberry sauce or cranberry blueberry sauce (pictured in these photos) and a bit of Dijon mustard. I typically just apply this dressing to one of the slices of bread although it can certainly be used on both. This dressing adds both flavor and color to the sandwich. The cranberry sauce can color the turkey and Brie; however, if some lettuce is added between the sandwich contents and the dressing, the lettuce will act as a barrier and prevent any discoloring of the meat or cheese.
The trick to coming up with a tasty sandwich is to consider what flavors blend well together in harmony. For this sandwich, I have paired the turkey with some thin slices of Bosc pear and some Brie cheese. This sandwich is lovely cold or it can be heated in a panini maker. It’s best served immediately.
Serve the sandwich with bread and butter pickles, fresh vegetables, potato chips, or a cup of your favorite soup. This sandwich pairs particularly well with Roasted Butternut Squash Soup.
[Printable recipe follows at end of posting]
Turkey, Pear, Brie, and Cranberry Sandwich
Ingredients:
2 slices bread of choice
Butter, softened
1 tbsp mayonnaise
2 tsp cranberry sauce (or cranberry-blueberry sauce)
¾ tsp Dijon mustard
2-3 tsp mayonnaise
Leafy lettuce of choice
2½ oz – 3 oz cooked turkey (or chicken) breast slices
2 thin slices Bosc pear, sprinkled with lemon juice to retard browning
1 oz Brie cheese (rind removed), sliced about 1/8 – ¼” thick
Salt and pepper, to taste
Method:
Butter bread slices. In small bowl, mix mayonnaise, cranberry sauce, and Dijon mustard. Spread mayonnaise-cranberry sauce mixture on one slice of bread. Spread 2-3 tsp mayonnaise on the other bread slice.
Lay lettuce on slice of bread spread with mayonnaise. Top with the turkey (or chicken) slices. Season with salt and pepper to taste. Layer with 2 slices of pear. Arrange Brie over pear. Arrange lettuce over pear. Top with second slice of bread spread with cranberry-mayonnaise mixture.
Slice sandwich in half, diagonally, and serve.
Serving Suggestions: Serve with Bread and Butter Pickles, Fresh Vegetables, Potato Chips, or a cup of your favorite soup. Pairs particularly well with Roasted Butternut Squash Soup.
Serves: 1
NOTE: Sandwich may be heated in panini maker
Serves: 1 NOTE: Sandwich may be heated in panini maker
There is nothing better than lobster fresh from the sea and, living on Prince Edward Island, we are so fortunate to have ready access to this treat! The lobster fishery is one of PEI’s main fisheries.
It goes without saying that it’s a huge deal when the spring lobster fishing season opens.
Many islanders make it an annual ritual to head to a nearby wharf or beach before 6am on setting day to see the boats head out to sea to drop their traps.
The following day the fishers head back out to haul in the first catch of the season and we Islanders can’t wait for that first “feed” of lobster!
When lobster is in season on the Island, I make good use of it as an ingredient and I find no shortage of ways in which to use the succulent meat.
So, today, on my sandwich board, is a lobster club sandwich with a twist. It contains some of the elements of a traditional club sandwich but I jazz this version up a bit by adding lobster meat, avocado, pancetta, Havarti cheese, lemon mayonnaise , and an avocado spread. This fusion of complementary flavours results in a tasty (and hearty) colorful sandwich. A feast for the eyes as well as the stomach!
Sandwich ingredients:
3 slices bread of choice
2 – 3 oz cooked lobster, broken into bite-size pieces
1 oz pancetta, fried and drained
1 slice Havarti
½ small avocado, sliced and sprinkled with lemon juice to prevent browning (save the other half for the avocado spread)
Lettuce of choice
Tomato
Salt and Pepper, to taste
Avocado Spread (recipe follows)
Lemon Mayonnaise (recipe follows)
Butter
Avocado Spread:
½ small avocado (save the other half for slicing for sandwich)
1 – 1½ tsp lemon juice
1 tsp olive oil
1/8 – ¼ tsp garlic salt
1 small green onion, finely sliced or diced
Lemon Mayonnaise:
1 tbsp mayonnaise
1 tsp lemon juice
1 small green onion, finely sliced or diced
Avocado Spread: Chop ½ avocado into small bowl. Using a hand-held immersion blender, blend lemon juice, olive oil, garlic salt, and green onion with the avocado, just until mixed.
Lemon Mayonnaise: Mix mayonnaise, lemon juice, and green onion together well.
To Assemble Sandwich: Heat 1-2 tsp butter in small saucepan over medium heat. Reduce heat to medium-low, add the lobster and toss gently for 2-3 minutes, just long enough to warm the lobster. Toast and butter the three bread slices. Layer 1: Spread two pieces of bread with the avocado spread. Cover one slice of bread with lettuce and top with sliced tomato, pancetta, and Havarti slice. Top with the other slice of bread that is spread with avocado spread. Layer 2: Spread the top slice of bread with half the lemon mayonnaise. Lay the sliced avocado on top of the bread followed by a layer of lettuce. Top with the lobster. Spread the third slice of bread with the remaining lemon mayonnaise and place over the lobster. Secure sandwich with toothpicks and cut in half diagonally. Enjoy!
Yield: One sandwich
One of my all-time favorite sandwiches is egg salad. It’s also one variety of sandwich that, when I take a plate of sandwiches somewhere, is sure to go first. The filling can, of course, be made very simply with nothing more than hard boiled eggs, salad dressing or mayonnaise, and some celery and onion, if desired. I like to jazz up my egg salad filling a bit by adding some ingredients that give an additional flavor boost to the sandwich – prepared mustard, sweet pickle relish, lemon juice, fresh herbs, and just a smidgen of a fine quality white truffle oil. Add some fresh lettuce and place this filling in a good quality roll or between slices of your favorite bread for a decadent lunch. I take my lunch to work and it’s always a special treat day when I take the time to prepare an egg salad sandwich and pack it with some fresh veggies and fruit!
And, don’t forget the pickles! Crunchy bread and butter pickles go great with an egg salad sandwich.
The eggs for the filling can be either diced or mashed according to personal preference. Dicing the eggs results in a more rustic looking sandwich like the one shown in the photo below.
However, if I am making egg salad sandwiches for an afternoon tea, then I mash the eggs with a fork or small potato masher as it makes a creamier filling that stays neatly in place between the bread slices as shown below.
Either bought or homemade salad dressing or mayonnaise can be used in this sandwich filling. Sometimes, I add a little of each. I recommend starting with a tablespoon (or even slightly less) of the salad dressing or mayonnaise and then adding small amounts as necessary to achieve the desired consistency of the salad filling.
Ingredients:
2 hard-boiled eggs, diced
¼ cup celery, finely diced
1 tbsp red onion, finely chopped
1 tsp prepared mustard
1½ tsp sweet pickle relish
1 – 2 tbsp salad dressing or mayonnaise
½ tsp lemon juice
1½ tsp chives, chopped
1½ tsp fresh parsley, chopped (optional)
¼ tsp. fresh dill, chopped (optional)
Salt and pepper, to taste
½ tsp. white truffle oil
4 slices of bread of choice or 2 rolls
Lettuce
Paprika (optional)
Method:
Place eggs in medium-sized saucepan. Cover with enough water that the eggs are completely covered by at least 1” of water. Bring to a full boil. As soon as the water is at a full boil, remove saucepan from heat and let the eggs sit in the hot water for 12 minutes. Drain the hot water and rinse eggs under cold water to stop the cooking process. Let eggs sit in a saucepan of cold water for 4-5 minutes then peel and dice (or mash) them.
Place eggs in bowl and add all remaining ingredients. When adding the salad dressing or mayonnaise, start with 1 tbsp and add more until mixture is of desired consistency. Stir well to combine ingredients.
Butter bread slices or roll halves. Place lettuce on bottom halves of each sandwich or roll. Top the lettuce with the egg filling, dividing equally between the two sandwiches or rolls. Sprinkle with paprika, if desired. Place remaining roll tops or bread slices over filling and slice as desired.
Yield: 2 sandwiches or rolls
—————————————————————————-
Thank you for visiting “the Bistro” today. If you enjoyed this posting and recipe, please share it on your social media websites.
Connect with “the Bistro” through the following social media:
Join My Island Bistro Kitchen on Facebook
Follow “the Bistro’s” tweets on Twitter
Follow “the Bistro” on Pinterest
Follow “the Bistro” on Instagram
——————————————————————————
A flavorful egg salad sandwich perfect for any occasion that calls for a sandwich!
Ingredients
Instructions
As I write this post, schools on PEI are about to start for another year. It, therefore, seems fitting that I would start my new series, “On the Sandwich Board” at the start of a new school year when sandwiches will be prepped in many households where there are children of school age.
Over the next while, I will periodically be presenting recipes for sandwiches, wraps, rolls, etc. Hopefully, they will be of use, or inspiration, for those who either find themselves preparing school or work lunches or simply enjoy sandwich-style meals at any time.
The kick-off sandwich is Tuna Salad. A tuna sandwich was commonly found in my lunchbox when I was in school, although the sandwich contained little more than the tuna and mayonnaise and perhaps a little celery. It’s a healthy and filling sandwich but does need to be kept cold. Therefore, be sure to enclose a re-usable lunchbag-sized ice pack (similar to the ones in the photo below), with the sandwich if it is to be transported for consumption some hours later. These ice packs come in various sizes and shapes.
As much as I like the old-fashioned tin lunchbox like the one in my photo above, I recommend using an insulated lunch bag (like the sample in the photo below) for foods, like tuna sandwiches, that need to be kept cold. It’s also a good idea to freeze a bottle of water overnight and put it in the lunchbox or bag, too, to help keep the sandwich cold and to provide a cold drink at lunchtime.
I like tuna but find it needs a bit of “spark” to give it flavor. There are a number of ingredients in this sandwich recipe but each one contributes to the flavor complexity. I have used the smallest can of tuna on the market in my area but this recipe is easily doubled should you choose to use a larger can. The 85g size of can makes one big, thick sandwich or two more moderately-sized sandwiches. I hope you enjoy it.
Ingredients:
85g can tuna, drained (apx. 3 oz)
1 tbsp onion, finely chopped
1 tsp lemon juice
1 tsp orange juice
½ tsp grated orange rind
½ tbsp sweet pickle relish
½ tsp prepared mustard
2 tbsp celery, finely chopped
1 tbsp Parmesan cheese
1/8 tsp garlic powder
Pinch cayenne
¼ tsp fresh dill, finely chopped
1 tsp fresh parsley, chopped
1½ – 2 tbsp mayonnaise
Fresh ground pepper, to taste
1 hard-boiled egg, chopped
Method:
In small bowl, combine all ingredients, except the egg. Mix well. Gently fold in chopped egg. Spread mixture on buttered bread slice.
Top with leafy lettuce, then second slice of buttered bread.
Yield: 1 – 2 sandwiches
—————————————————————————-
Thank you for visiting “the Bistro” today. If you enjoyed this posting and recipe, please share it on your social media websites.
Connect with “the Bistro” through the following social media:
Join My Island Bistro Kitchen on Facebook
Follow “the Bistro’s” tweets on Twitter
Follow “the Bistro” on Pinterest
Follow “the Bistro” on Instagram
——————————————————————————
Ingredients
Instructions
I’ve had a great summer of picnics this year! Haven’t gone on this many picnics in many years. I had forgotten how much fun and relaxed al fresco dining can be. This posting will feature my Labour Day Weekend Picnic but, first, a little trip down memory lane.
One of my favorite summertime memories involves a picnic. I was visiting a neighbour playmate and we were probably about 8 or 9 years old. We took a notion one hot summer day that we would have a picnic by the little stream across the road from my friend’s place. The two of us stood by the friend’s mother at the kitchen counter as she whipped up some gourmet peanut butter and jelly sandwiches, placed them in an old tin school lunchbox, filled a thermos with Kool-aid (anybody remember Kool-aid?), and sent us off on our big adventure to the picnic by the stream. Off we went across the little country road, down through the cow pasture to a little stream which, at its deepest point was probably all of 4″ or 5″ deep. We situated ourselves, had our picnic, and probably returned to the house all in the span of about 15 minutes, no doubt ready for another activity! Yet, we had been on a picnic adventure and made a memory. That was back in the days when kids played outside all day and found numerous ways to amuse themselves and none of them involved cell phones or computers.
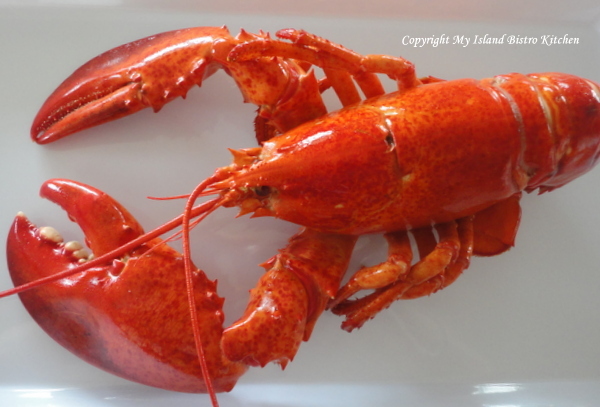
I will admit my picnic adventures have progressed and become a bit more sophisticated. There are so many options for picnic foods, particularly when it comes to sandwiches – there are traditional sandwiches with any number of different kinds of breads as options, wraps, baguettes, different kinds of rolls, bagels, etc. For my picnic by the sea today, I have chosen croissants. They are tasty and have a nice, soft texture. Because I live near the water and close to a small fishing village that has a fresh seafood market open daily in the summer, lobster was a logical choice for a croissant filling. The late summer fishing season has opened in Victoria-by-the-Sea on the south shore of PEI so buying lobster at the seafood market means the lobster is really, really fresh. Take a look at this 1 1/2+ pound lobster that I took home with me to make the filling for the croissants!
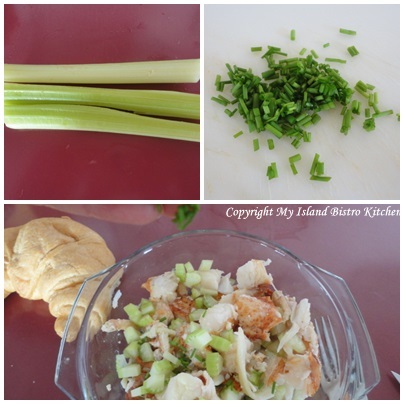
I don’t really have a defined recipe for lobster filling for sandwiches or croissants. I chop the lobster meat into fairly large chunks as I like to see good-sized pieces of lobster in a lobster roll or croissant — no mashed-up or shredded pieces of lobster meat will do for me!
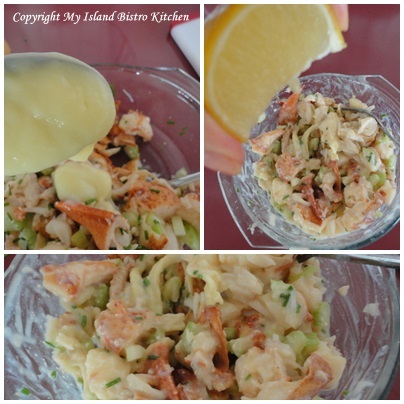
I add a bit of celery, some pepper, some fresh chopped chives, a splash of fresh lemon juice, and some homemade mayonnaise – just enough to hold the meat together and give it flavour. That’s it, nothing more as I don’t like anything that detracts from that rich lobster flavour.
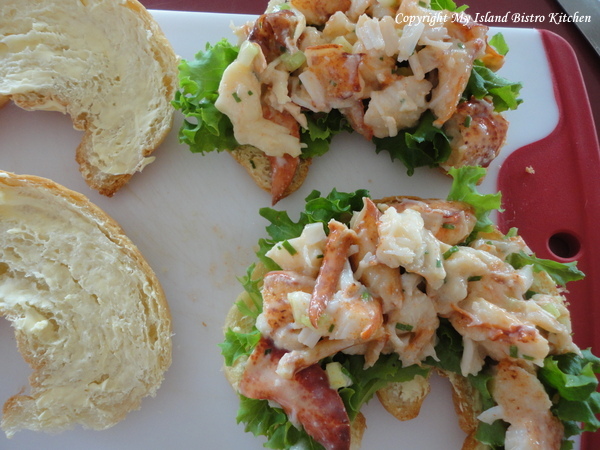
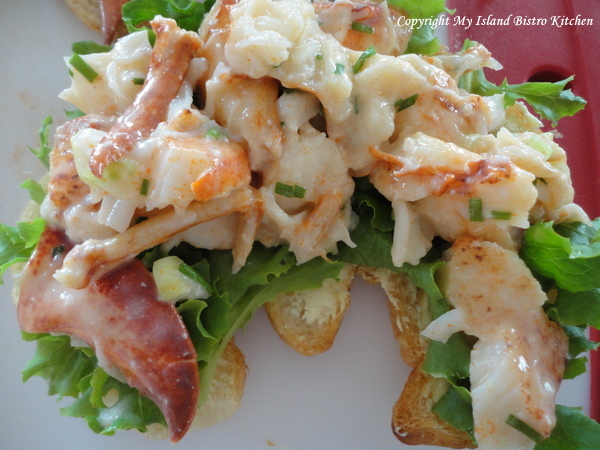
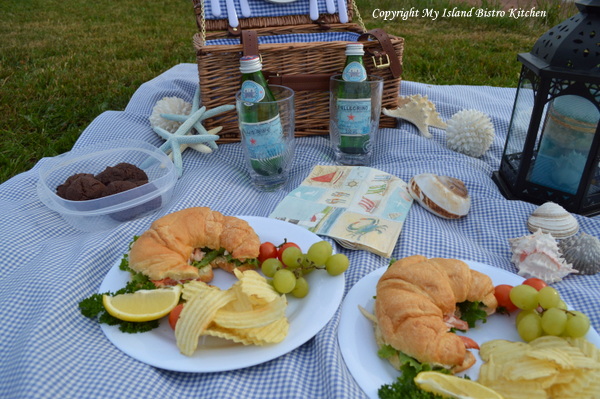
I buttered the croissants, added a bed of fresh lettuce from our garden and then heaped on the lobster filling. Yes, it was very yummy!
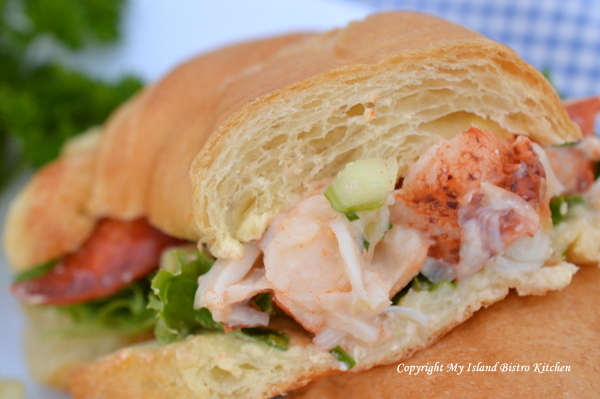
A little closer look….
And, this is what I mean about wanting to see nice big pieces of lobster in the sandwich. Isn’t it mouthwatering and colorful!
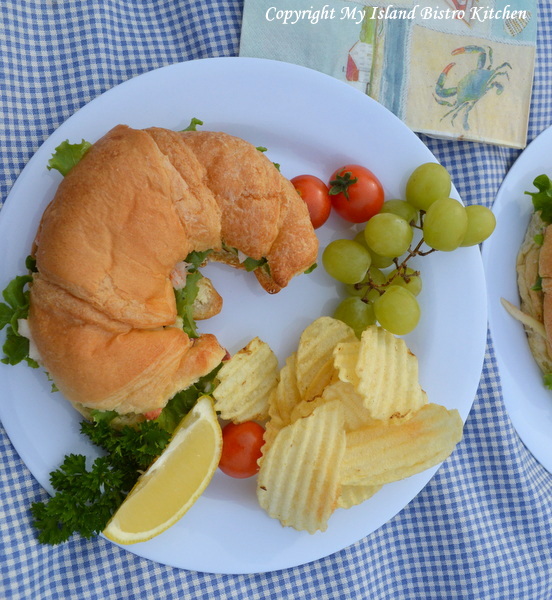
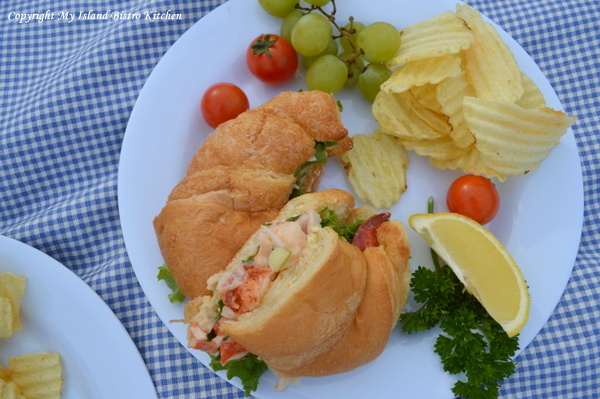
Add some potato chips and picnic fare doesn’t get much better than this, particularly when the picnic location is beside the water. With something as special as lobster, the menu does not have to be extensive. Let the lobster star all on its own!
Croissants are so easy to handle and eat…particularly when filled with lobster 🙂
My August Cookie of the Month was the chocolate drop cookie. They were dessert.
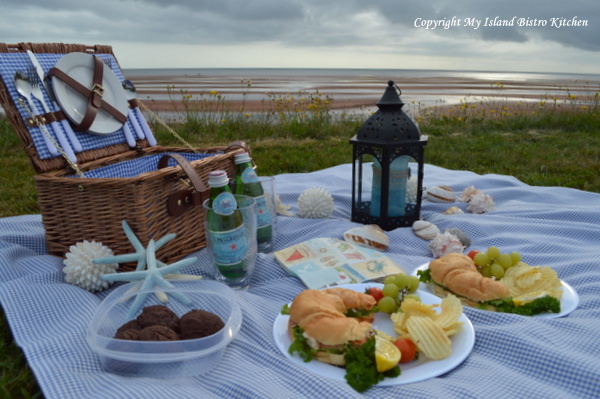
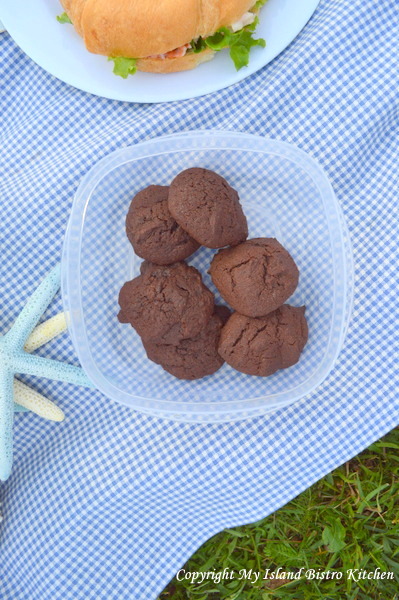
I added some fresh fruit – this time, some green grapes – and the picnic basket was ready to go.
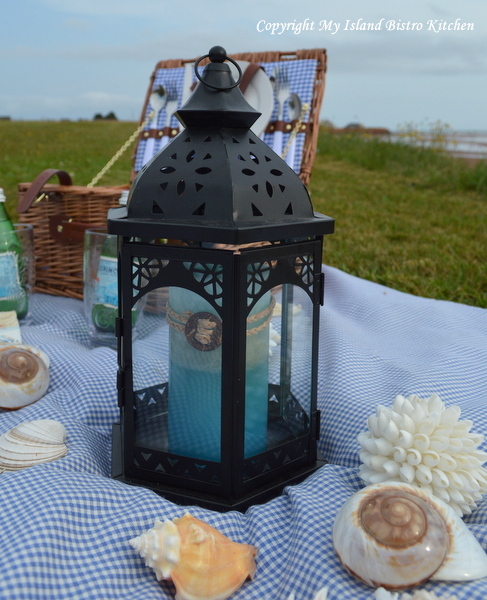
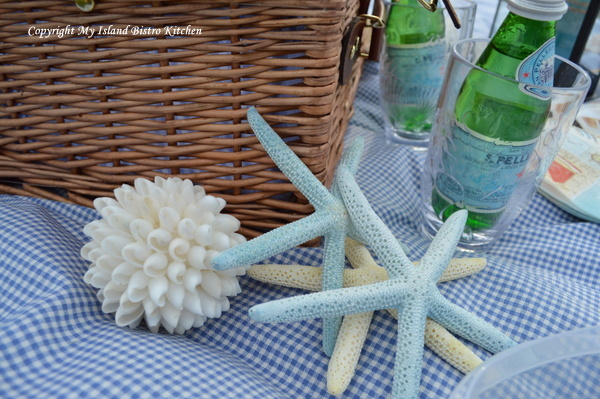
I always like to take along some props to dress up the picnic spread, regardless whether it is at a picnic table or on the ground as is the case here by the beach. It doesn’t matter whether I am in my dining room setting a formal table or outside, I like to think of setting the stage for a feast for the eye as well as for the stomach. A few props really can make an ordinary picnic a bit more special.
For my seaside picnic, all it took was a blue-checked cloth, a stylish matching wicker picnic basket, a lantern with a blue candle, and some seashells and starfish, to dress up the dining experience.
I love the patterns in the pink-red sandbars on PEI. Our Island beaches are extraordinary – on the south side, they tend to be more the pink-red color you see in the photo below while, on the north side, the sand is more of a soft pink color. This is definitely a dining room with a water view!
However, the sky began to look somewhat ominous so we thought we had better hurry up and eat in case a rain shower came along and spoiled the picnic.
I hope you have enjoyed some of the scenes from our seaside picnic that featured PEI lobster. Enjoy your Labour Day weekend.
Thank you for visiting “the Bistro” today. There are lots of ways to connect with “the Bistro” through social media:
Join My Island Bistro Kitchen on Facebook
Follow the Bistro’s tweets on twitter @PEIBistro
Find the Bistro on Pinterest at “Island Bistro Kitchen”
Follow along on Instagram at “peibistro”
There are so many ways to serve a sandwich other than just throwing two pieces of bread and some filling together. One of my favorite ways to serve sandwiches is to make them into panini. I bought a Bella panini grill a couple of years ago and I have certainly gotten use out of it.
Panini is nothing more than bread or rolls, some kind of spread, and a filling which usually involves some variety of deli meat and cheese. Often, a vegetable such as tomato is added as well. The sandwich is then heated in a sandwich press or panini grill where it is pressed flat and toasted.
If you are lucky enough to be near a bakery or a supermarket that makes a variety of breads and rolls, you are likely to find ones suitable for use in panini grills. Rolls identified simply as panini rolls or Ciabiata, Focaccia, or baguettes are all suitable for use in these types of sandwiches. Here in Charlottetown, the Atlantic Superstore has a good variety of rolls that they sell individually. You can, of course, use any plain bread you wish but the sandwich will be more interesting if made with some type of artisan bread or rolls.
Today, I am going to share with you how I make a Ham, Cheese, & Tomato Panini.
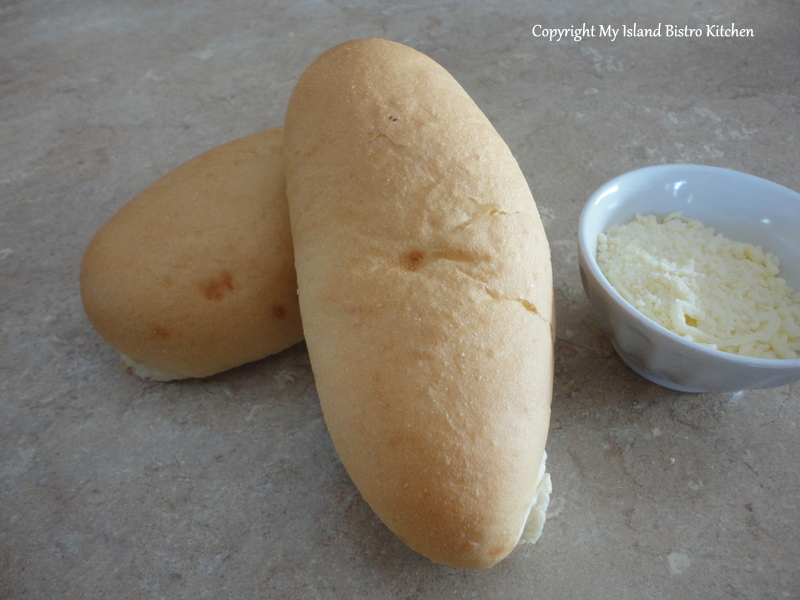
First, I have chosen puffy oval-shaped rolls that were simply labelled “Panini Rolls” at the Superstore and I split them in half, horizontally.
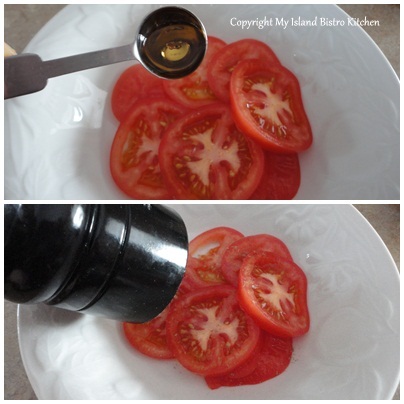
I sliced tomato rather thinly and sprinkled it with about 1/2 tsp. Cranberry Pear White Balsamic Vinegar from the Liquid Gold store here in Charlottetown. If you have been following my blog, you will recall the feature story I did last summer on this store and their fabulous balsamic vinegars and olive oils. I then sprinkled the tomatoes with some fresh ground pepper and sea salt and set them aside while I prepared the rest of the sandwich.
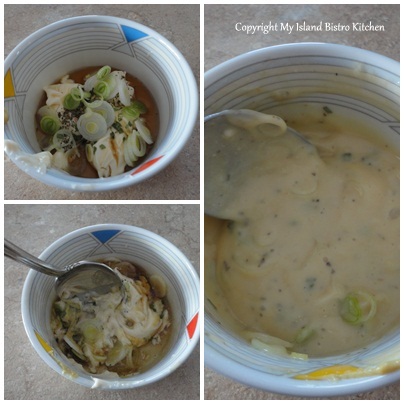
To make the mayonnaise spread, I combined 1 tbsp maple syrup with 1 1/2 tbsp mayonnaise, 1 tsp. Dijon mustard, and a pinch each of basil and chives. I then added 1 green onion, thinly sliced.
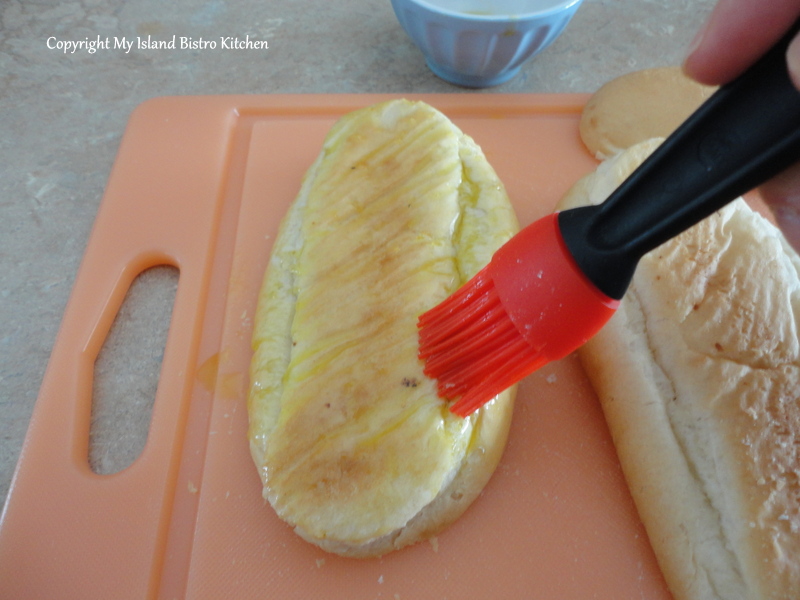
Using a good quality extra virgin olive oil (I used Liquid Gold’s Arbosana), I brushed olive oil over all the outside edges of the rolls. This is one of the occasions where you want to use the very best quality olive oil you can find because the taste really does come through.
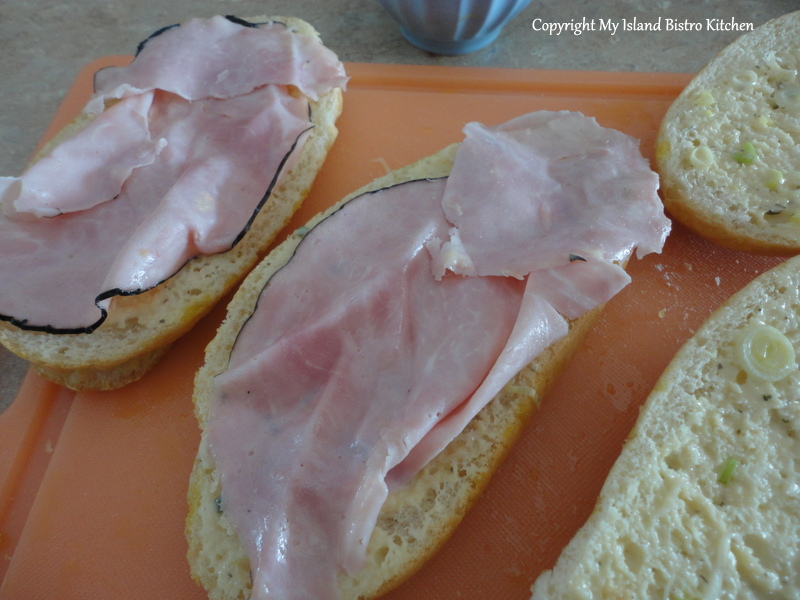
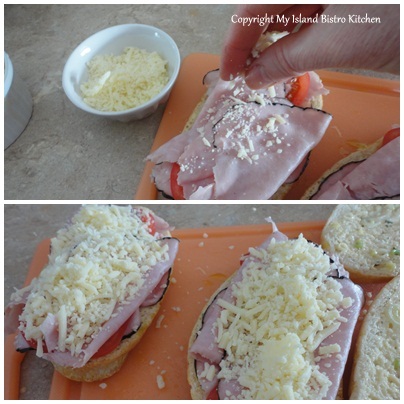
I flipped the rolls over and spread the mayonnaise on each of the interior sides of the rolls. On one side of the roll, I started building the sandwich, starting first with a good quality Black Forest deli ham that was sliced very thin.
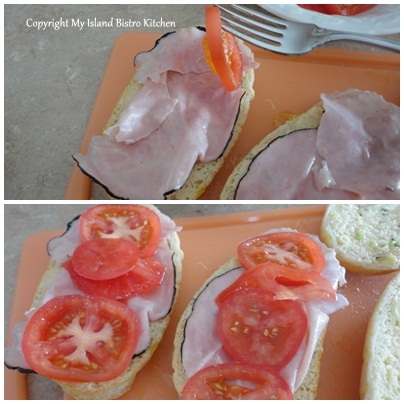
I then added the marinated tomatoes
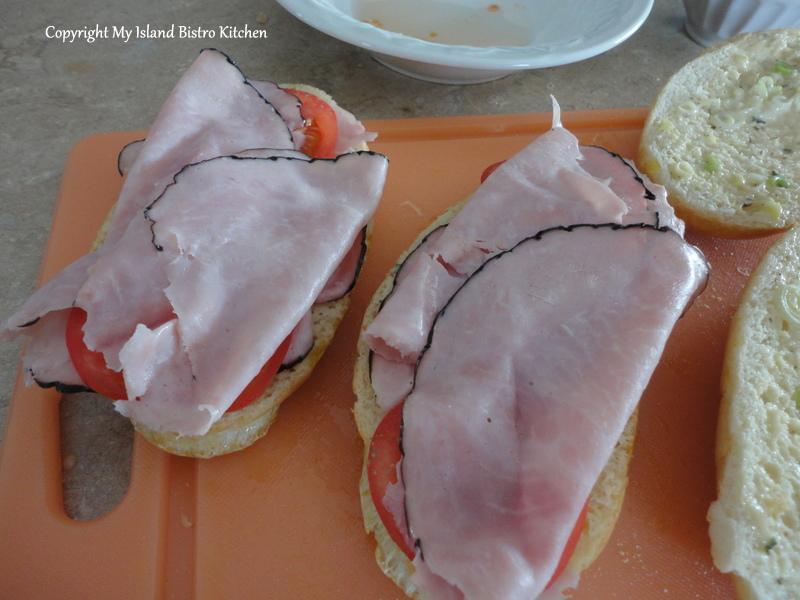
and another slice of ham
and, finally, added the grated cheese.
You can use any of your favorite cheeses in this sandwich – I happened to have some Italiano mixture (mozzarella, asiago, smoked provolone, and parmesan) in the fridge so that’s what I used.
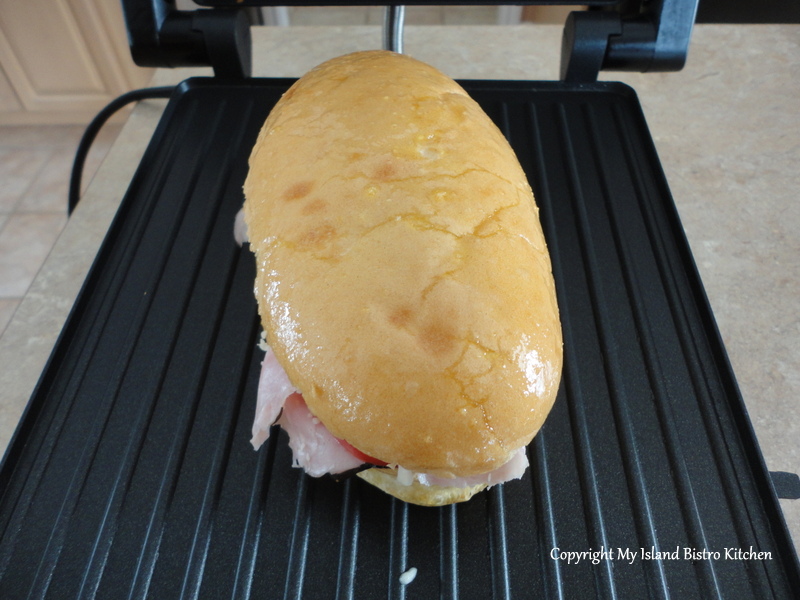
I then put the top part of the roll on the sandwich and transferred it to the heated panini grill.
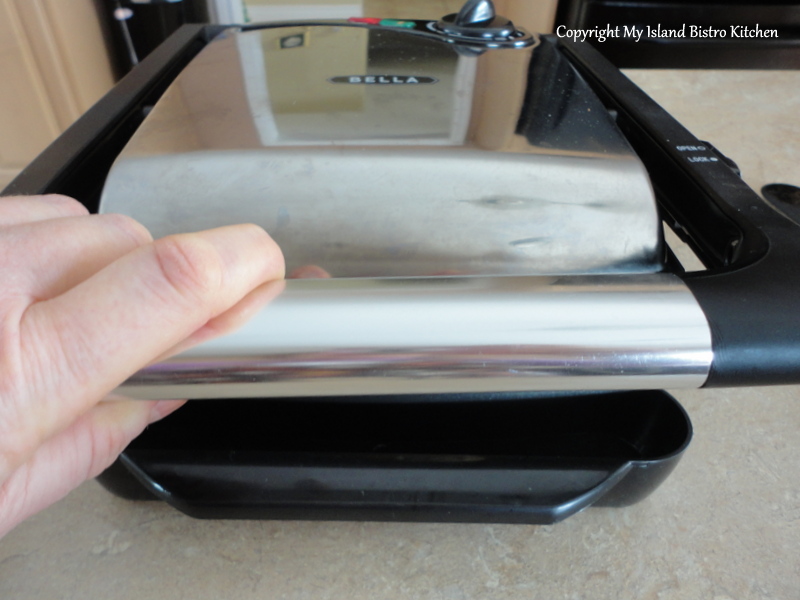
I pressed and held down the top of the panini grill for about 20 seconds or so.
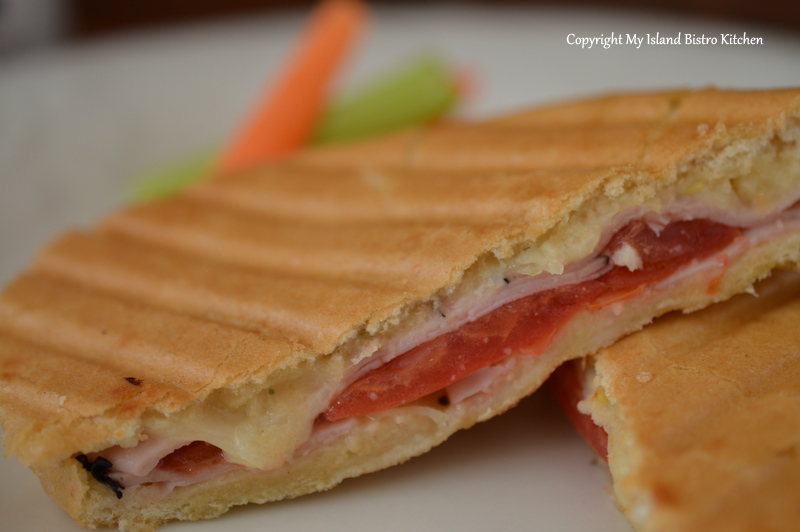
I grilled the sandwich on the medium setting for probably about 4-5 minutes, essentially just long enough for the sandwich to be heated, the cheese melted, and the roll to have a nice crisp crust. Since each brand of grill will differ slightly, you will want to follow the manufacturer’s instructions for grilling panini and do some testing with your particular grill.
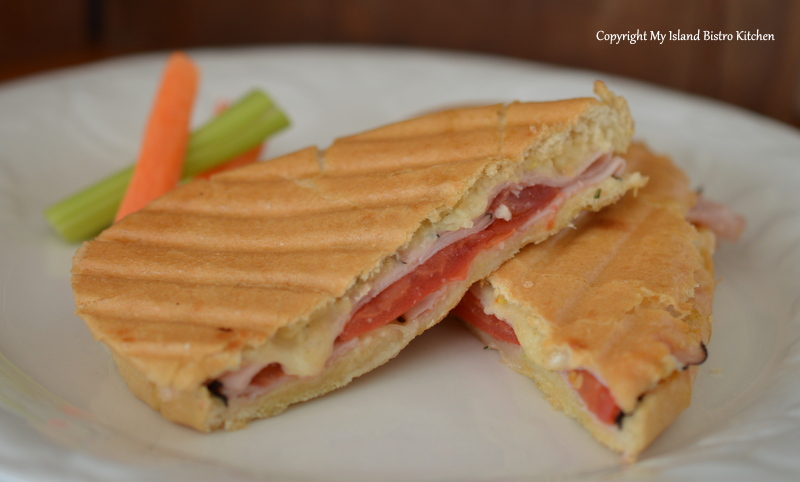
I sliced the panini diagonally and served it with carrot and celery sticks.
Ham, Cheese, & Tomato Panini
1 medium-sized tomato
1/2 tsp. Liquid Gold Cranberry Pear White Balsamic Vinegar
Fresh ground pepper and sea salt
1 tbsp maple syrup
1 1/2 tbsp mayonnaise
1 tsp Dijon mustard
pinch dried basil
pinch dried chives
1 small green onion, thinly sliced (white and light green parts only)
2 oz. deli-style Black Forest ham, thinly sliced
1 oz. grated Italian blend cheese
2 panini rolls of choice
1 – 1 1/2 tbsp extra virgin olive oil
Directions:
Slice tomato thinly. Drizzle with 1/2 tsp. Cranberry Pear White Balsamic Vinegar, freshly ground pepper, and sea salt. Set aside to marinate as you prepare remainder of ingredients.
In small bowl, combine the maple syrup, mayonnaise, Dijon mustard, herbs, and green onion. Mix well.
Split panini roll in half, horizontally. Brush virgin olive oil on all outside edges of roll. Flip rolls over and spread mayonnaise mixture on both interior sides of roll. Lay slice of ham on one side of roll. Add the marinated tomatoes. Add second layer of ham. Sprinkle with grated cheese. Place top of roll over layers of sandwich. Transfer to heated panini maker and grill according to manufacturer’s instructions.
Makes 2 panini.
Thank you for visiting “the Bistro” today. There are lots of ways to connect with “the Bistro” through social media:
Join My Island Bistro Kitchen on Facebook
Follow the Bistro’s tweets on twitter @PEIBistro
Find the Bistro on Pinterest at “Island Bistro Kitchen”
Follow along on Instagram at “peibistro”