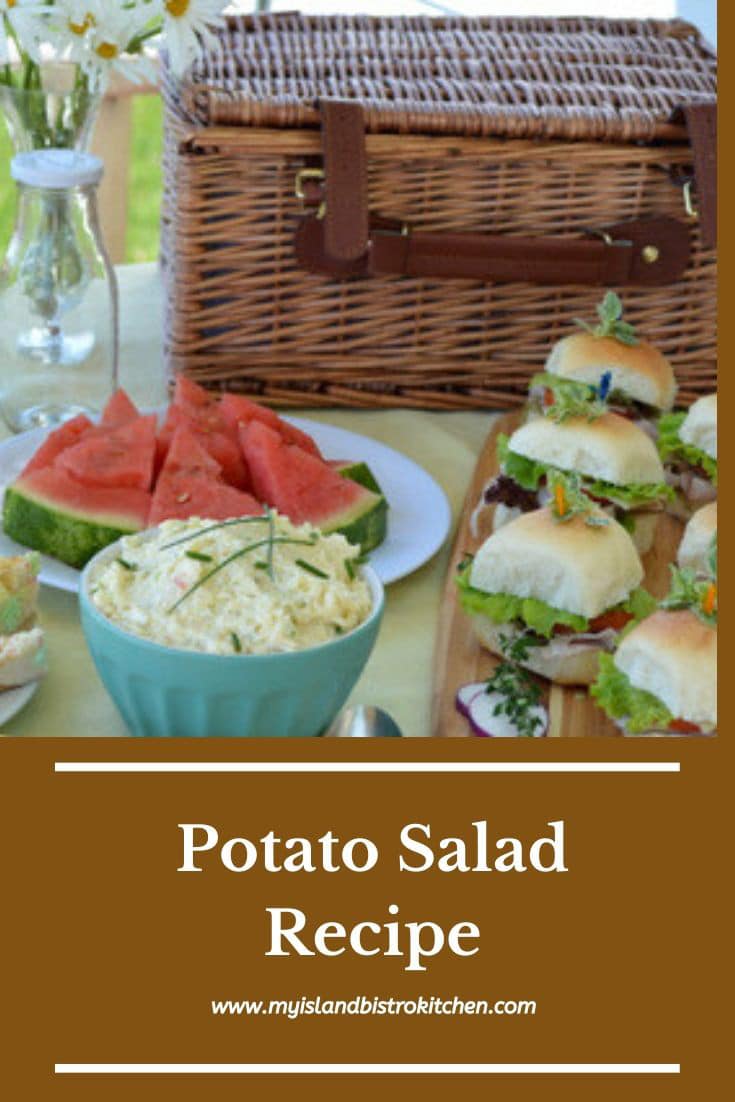
One of the most popular salads in PEI in summer is the traditional potato salad. There are several variations to this salad and, of course, the jury is still out on whether the potatoes should be diced or mashed! While the quantities of ingredients may vary somewhat and certain different seasonings may be added to potato salad, the same basic essential ingredients in most salads will be potato, egg, celery, onion, salad dressing, salt and pepper. So long as you have these common ingredients, you can make a basic potato salad. Of course, I think PEI potatoes make the best salad (but, then again, I may be just a wee bit biased on that front)!

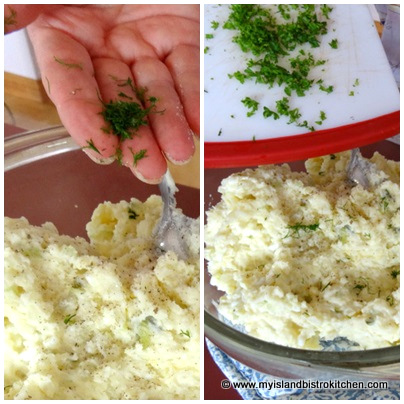
I like to use a combination of homemade and bought salad dressing as I find the flavors play well off each other – I use about 50/50 of each. However, I have made the salad with just one type of salad dressing and it turned out fine. I also like to add a bit of sour cream, sweet pickle relish, and prepared mustard. The latter two ingredients give a bit of ‘punch’ to the salad. The key, of course, is not to over-do the addition of any seasonings because the potatoes need to ‘star’ and we don’t want to do anything to detract from their flavor. In summer when I have fresh herbs in the garden, I like to add just a tiny bit of chopped fresh dill and some parsley.
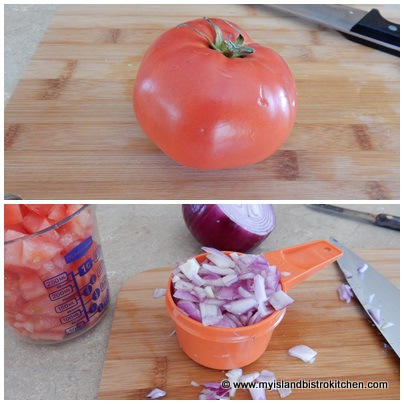
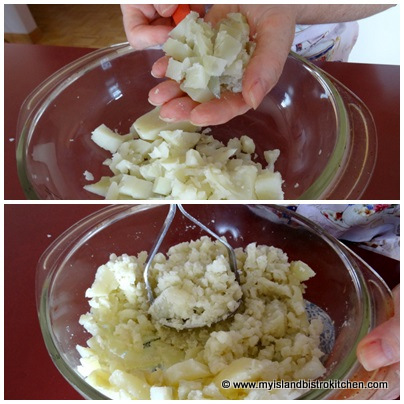
The traditional style of potato salad is to cube/dice the potato and egg as shown in the photo below.
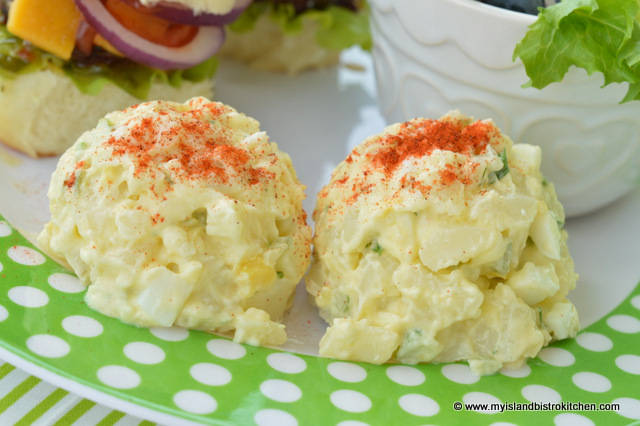
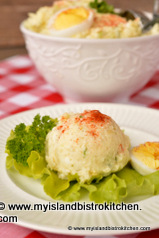
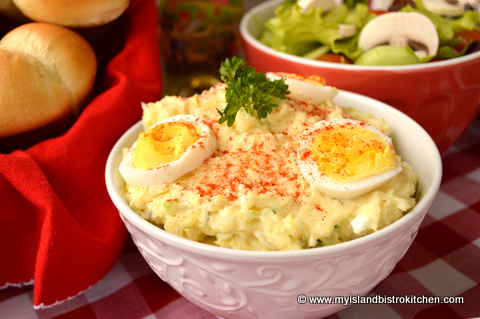
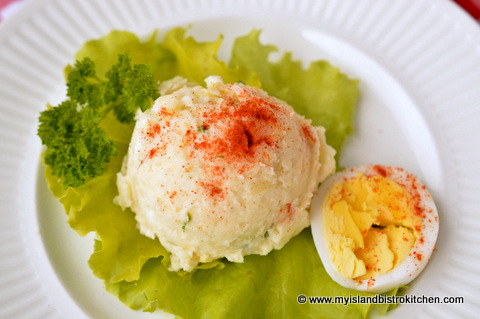
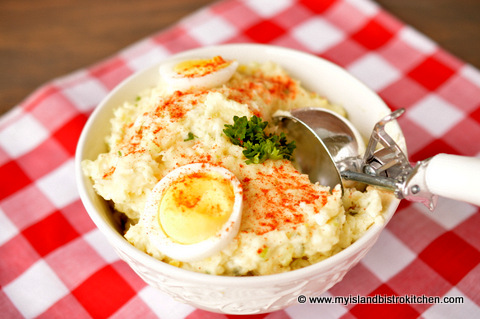
However, my preference is to mash the potato and egg, particularly if I am looking for good plating presentation. This is because the mashed potato salad fits well into the bowl of an ice cream scoop and, therefore, looks lovely on a plate. However, if you are looking for a more rustic style potato salad, then the cubed/diced potato style is the way to go. This is purely a personal preference because, let’s face it, if you use the same ingredients, it will all taste the same! All that will be different will be the texture and appearance.
As to how much salad dressing to use, this will depend on several factors so the amount I have given in my recipe below is a guide. For example, the quality of the potatoes (how dry or moist they are), the thickness of the salad dressing, and/or the consistency of the sour cream can all influence how much salad dressing is needed. As well, you may find that cubing/dicing the potatoes may take a different amount of salad dressing than do mashed potatoes. Lastly, it is personal preference as to how moist the salad should be. It should not be ‘soupy’ but there should be enough salad dressing to hold/bind the salad together. I tend to like my potato salad quite moist. I recommend starting with a good one-half of the salad dressing called for in the recipe and then adding more to reach the consistency you desire.
Plan to make the potato salad several hours ahead of when it is needed. Refrigerate it for at least three hours or more to allow the flavours to blend.
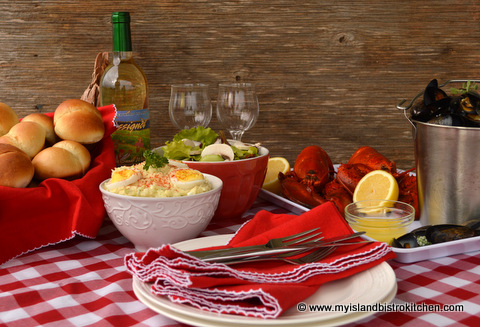
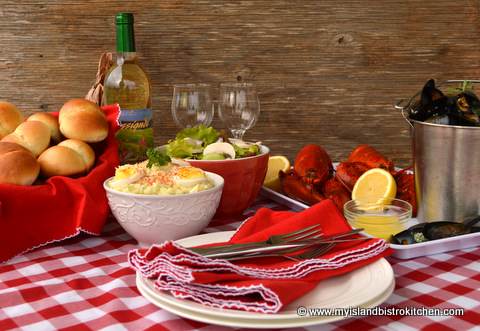
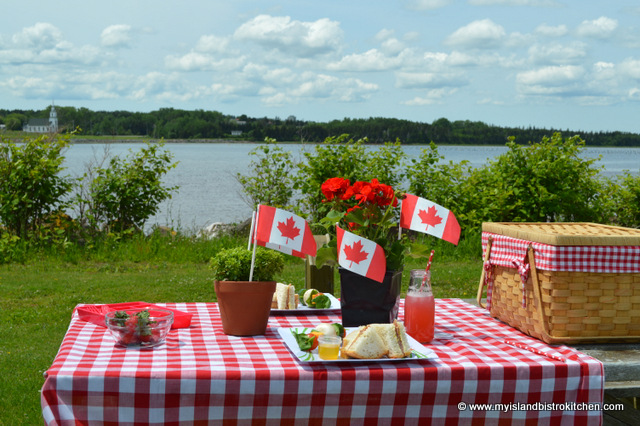
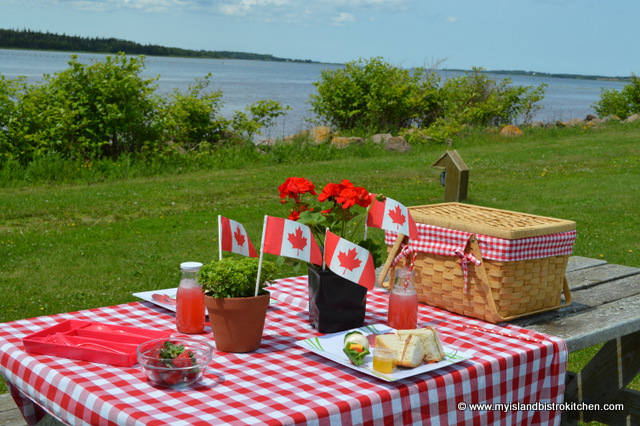
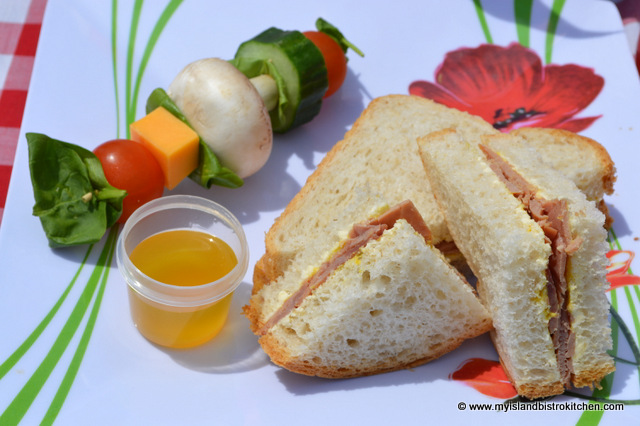
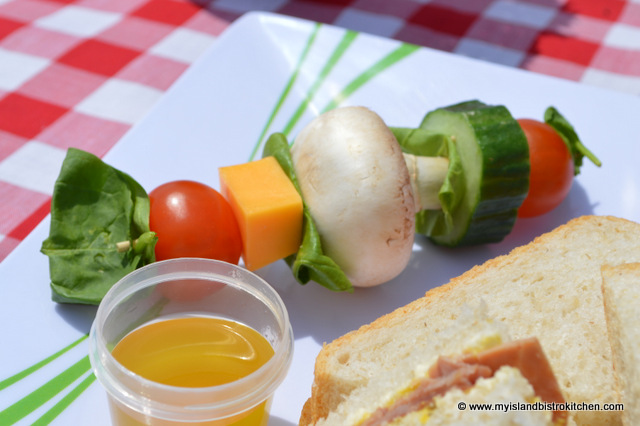
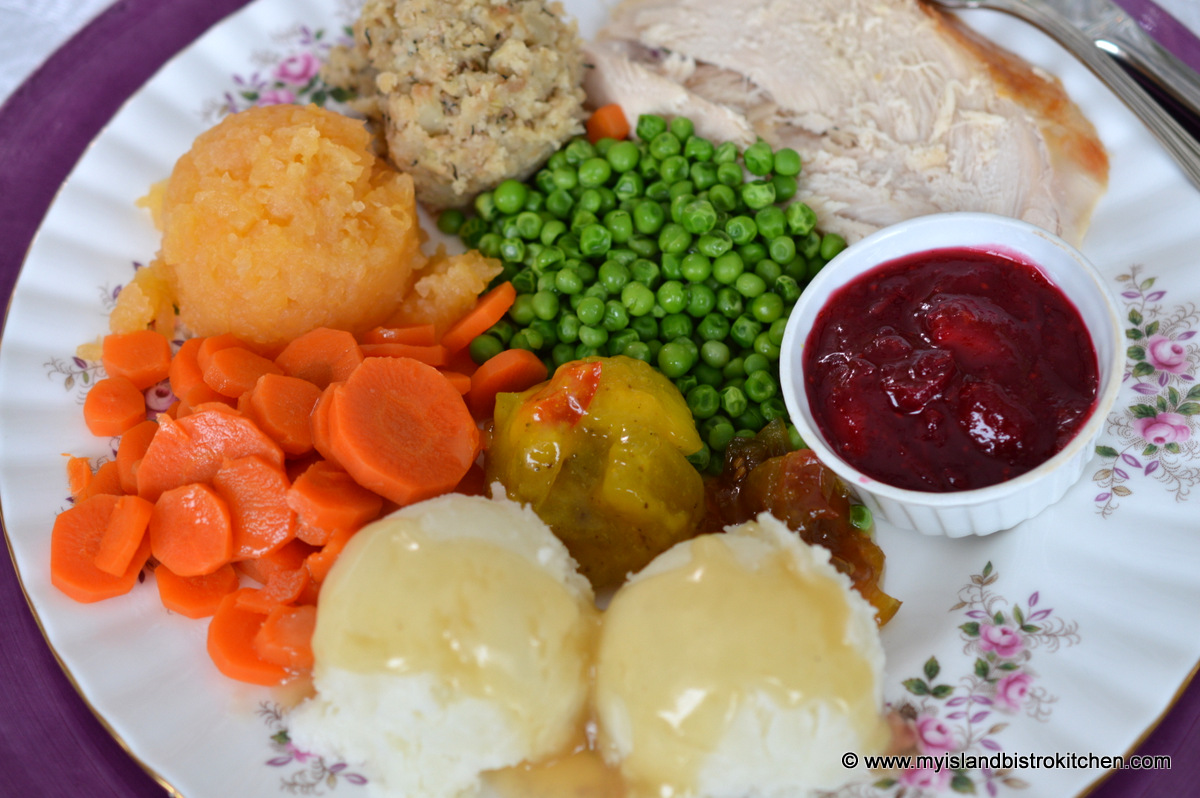
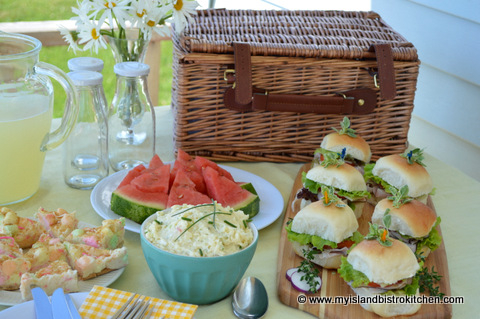
Potato salad is very versatile. It often is served as a traditional side dish for picnics and barbeques. It goes great with cold cuts, lobster, grilled pork chops, barbequed chicken, sandwiches of all kinds, and the list goes on. In my household, potato salad always has to accompany a feed of PEI lobster!
The recipe below is my own personal potato salad recipe. I hope you enjoy it.
My Island Bistro Kitchen’s PEI Potato Salad
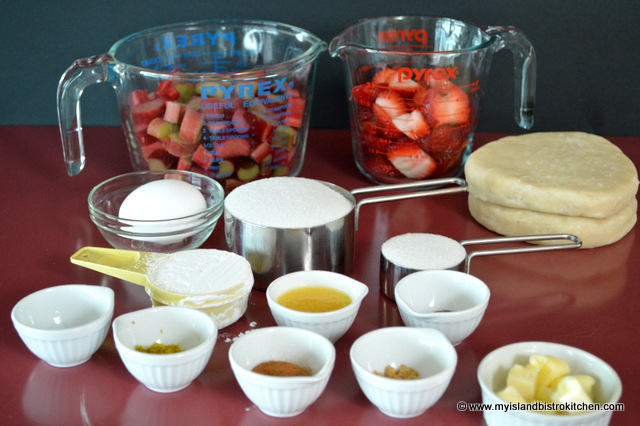
Ingredients:
1½ lbs PEI potatoes
2 hard boiled eggs
¼ cup celery, finely chopped
2½ tbsp onion, finely chopped
⅔ cup salad dressing (apx.)
2 tbsp sour cream
3 tsp. sweet relish
2 tsp. prepared mustard
¼ tsp sugar
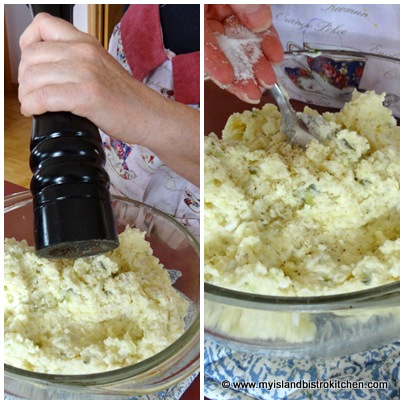
Salt and pepper, to taste
¼ tsp fresh dill, chopped (optional)
1½ tsp fresh parsley, chopped (optional)
Method:
Cook potatoes, skins on, in pot of boiling water just until potatoes are fork tender. Drain. Let potatoes cool enough to handle. Peel. Cube or mash potatoes, as desired, into medium-sized bowl.
Mash or dice eggs. Add to potato.
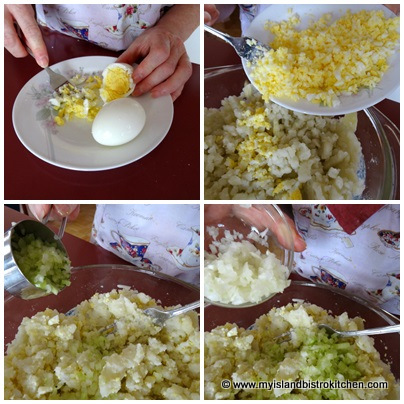
Add the celery, onion, mustard, sweet relish, sour cream, salad dressing, and sugar.
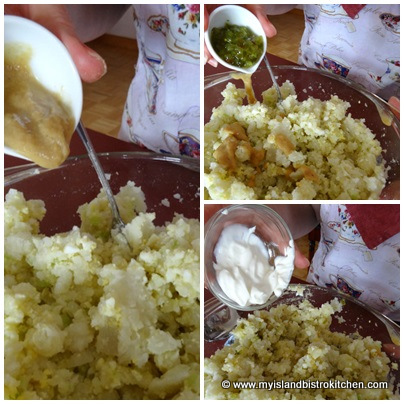
Note – Add about ½ the salad dressing to start, then continue to add enough salad dressing to reach desired consistency. Mix well. Season with salt and pepper.
Add fresh dill and parsley, if desired.
Cover and refrigerate for at least 3 hours to allow flavors to blend. Serve salad on a bed of lettuce. Refrigerate unused salad immediately.
Yield: 5-6 servings (2 scoops salad per serving)
Connect with My Island Bistro Kitchen on Social Media
Join the Facebook page for My Island Bistro Kitchen: https://www.facebook.com/MyIslandBistroKitchen/
Follow “the Bistro” on “X” (formerly Twitter): https://twitter.com/PEIBistro/
See the drool-worthy gallery of mouth-watering food photos from My Island Bistro Kitchen on Instagram: https://www.instagram.com/peibistro/
Follow “the Bistro” on Pinterest at https://www.pinterest.ca/peibistro/ and pin the Pinterest-ready photo found at the end of this post to your favorite Pinterest boards.
A moist and tasty potato salad that is the perfect accompaniment to any lobster feed, barbeque, or picnic
Ingredients
- 1½ lbs PEI potatoes
- 2 hard boiled eggs
- ¼ cup celery, finely chopped
- 2½ tbsp onion, finely chopped
- 2/3 cup salad dressing (apx.)
- 2 tbsp sour cream
- 3 tsp. sweet relish
- 2 tsp. prepared mustard
- ¼ tsp sugar
- Salt and pepper, to taste
- ¼ tsp fresh dill, chopped (optional)
- 1½ tsp fresh parsley, chopped (optional)
Instructions
- Cook potatoes, skins on, in pot of boiling water just until potatoes are fork tender. Drain. Let potatoes cool enough to handle. Peel. Cube or mash potatoes, as desired, into medium-sized bowl.
- Mash or dice eggs. Add to potato. Add the celery, onion, mustard, sweet relish, sour cream, salad dressing, and sugar. Note – Add about ½ the salad dressing to start, then continue to add enough salad dressing to reach desired consistency. Mix well. Season with salt and pepper. Add fresh dill and parsley, if desired.
- Cover and refrigerate for at least 3 hours to allow flavors to blend. Serve salad on a bed of lettuce. Refrigerate unused salad immediately.
- [Copyright My Island Bistro Kitchen]

PIN ME TO PINTEREST!