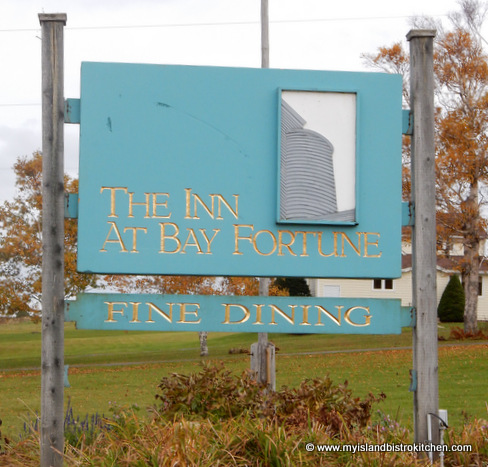
If you are a fan of Chef Michael Smith, one of Canada’s top celebrity chefs and noted cookbook author, you probably know he and his wife, Chastity, bought The Inn at Bay Fortune in eastern Prince Edward Island late last spring. This was the Inn where Chef Michael once worked and where his first TV show, The Inn Chef, was filmed.
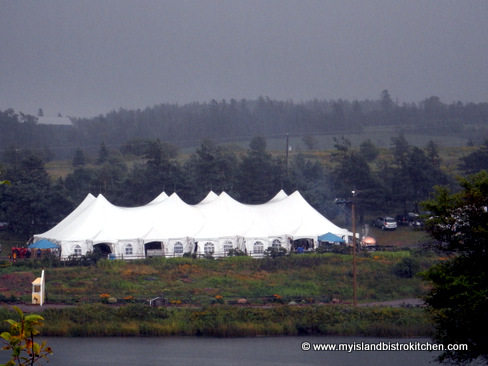
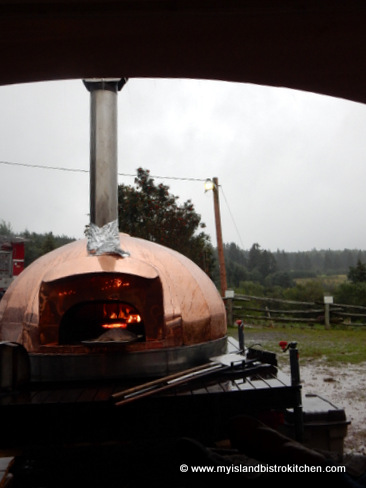
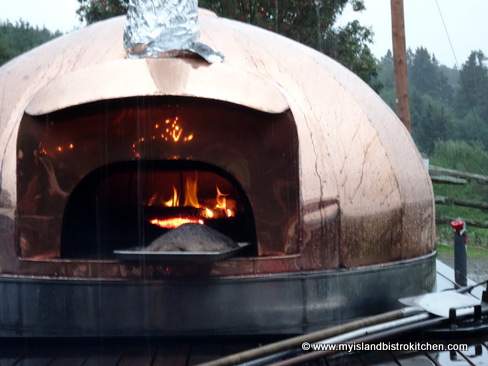
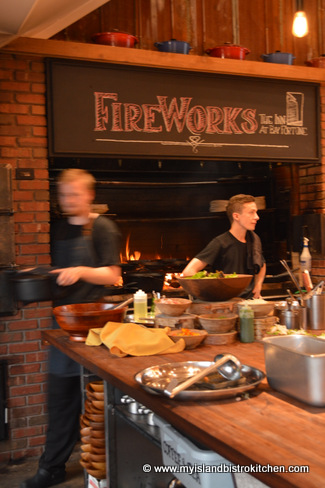
Early in the summer, Chef Michael completely renovated and transformed the kitchen and dining experience at the Inn. Named for its newly-constructed 25-foot brick-lined, wood-burning fire over, through, and about which the meal is cooked, FireWorks Restaurant opened for the 2015 tourist season to rave reviews.
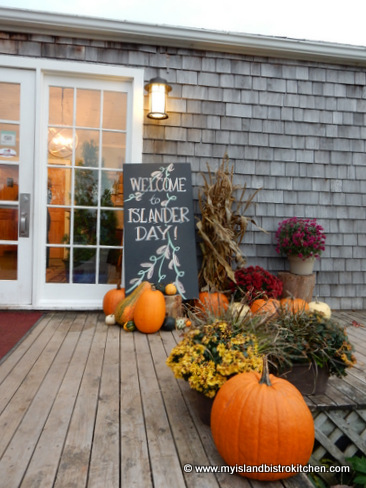
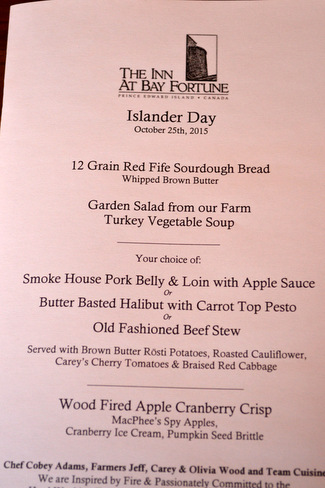
On Sundays this fall, the Inn celebrates the harvest season by hosting what the culinary team refers to as “Islander Day“.
Offered on a slightly different scale and lower price point than their usual evening feast (which is priced at $80 per guest + HST at time of writing), the Sunday event offers a three-course (I’d say it’s four courses, counting the salad) harvest menu that includes fresh bread baked in their wood-fired brick oven served with brown butter, turkey-vegetable soup, green salad, a choice of entree (Beef Stew, Pork Loin, or Halibut) served with garden-fresh vegetables and, as a finale, a freshly-baked harvest dessert. Reservations are not accepted for the Sunday event but the meal is served continuously, on a first come first served basis, from 12 noon until 7pm. The restaurant has the capacity to serve about 50 people at a time. The cost for the Sunday meal is $40 per adult guest and $20 per child under age 12 + HST.
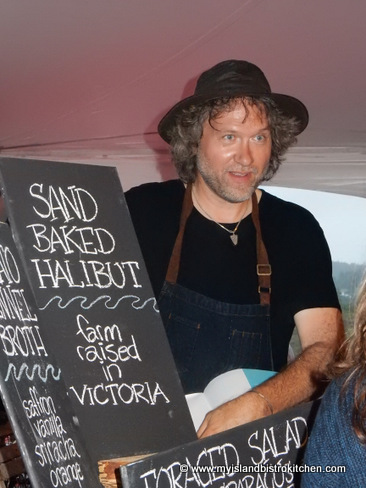
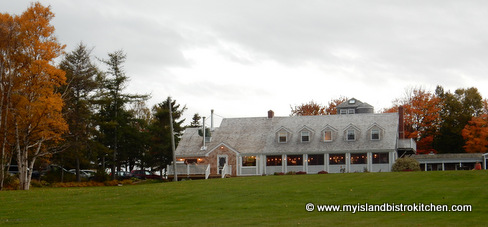
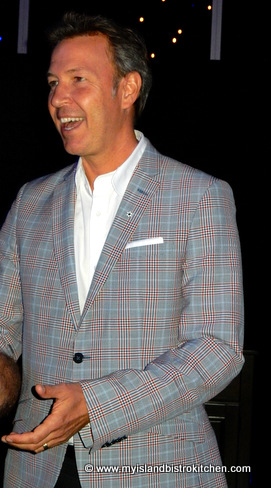
At the beginning of this year, we made a commitment to, once a month, dine at a restaurant we’ve not eaten at before and we’ve stuck to it so, this past Sunday, my mom and I made our way to the new FireWorks Restaurant at the Inn at Bay Fortune which is about a 45-50 minute drive east from Charlottetown. And, the experience did not disappoint, especially since Chef Michael himself was in the kitchen on this particular day! This is one busy guy who travels a lot so we were quite thrilled that he was on the Island in his FireWorks kitchen on the day we chose to dine at his new restaurant.

While I don’t normally write restaurant reviews per se on my food blog or write about my dining-out experiences, I felt this one is in keeping with my blog’s focus of eating local foods when possible and is sufficiently unique that it merits a blog posting so, here goes!
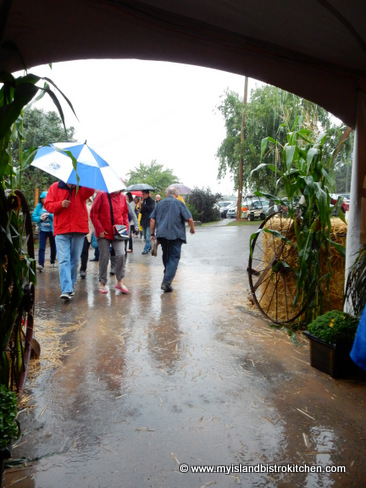
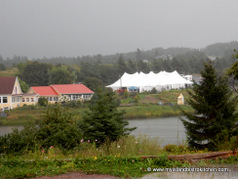
We arrived mid-afternoon to find a large limo and several cars in the parking lot so we weren’t the only ones who decided to head to the small country community of Bay Fortune to dine at FireWorks in the middle of a Sunday afternoon in late October.
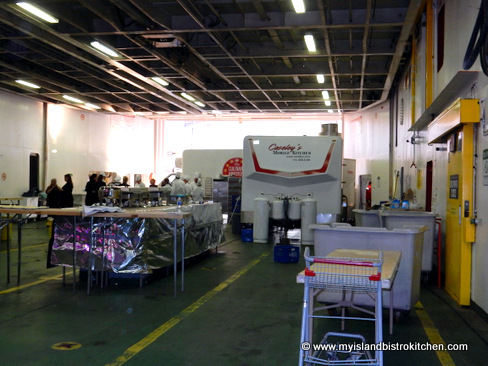
We were greeted by a very personable and friendly hostess who explained how the meal experience would unfold and she was quick to point out that we were to be sure and take all kinds of photos if we wished and we were invited to roam freely about the kitchen which was at the end of the long closed-in sunporch dining room.

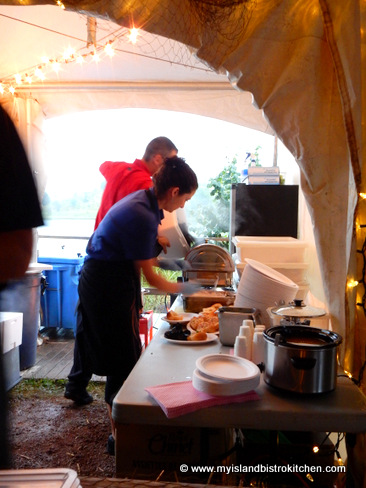
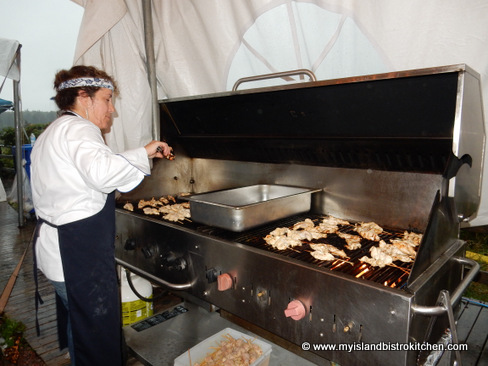
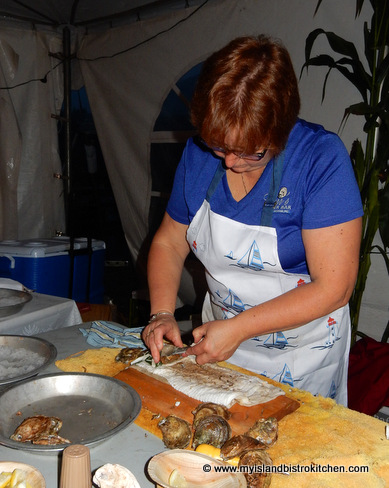
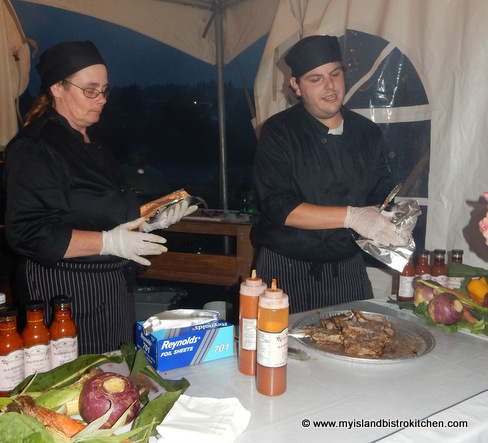
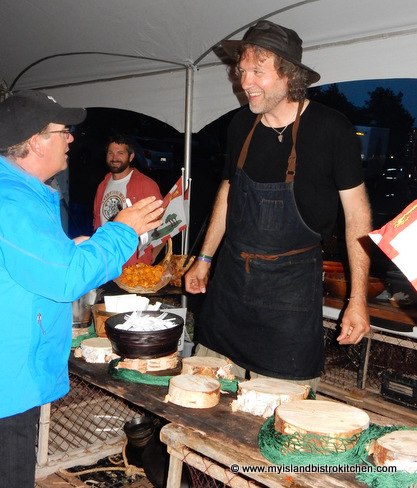
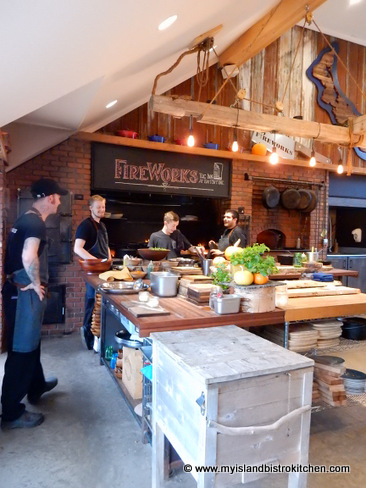
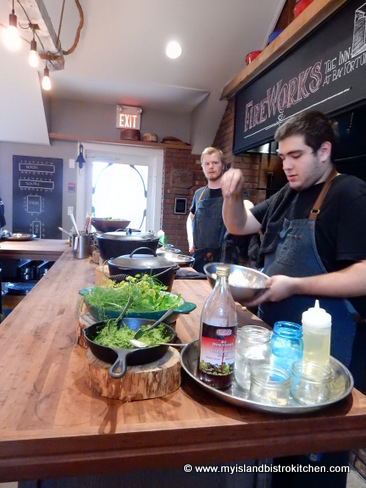
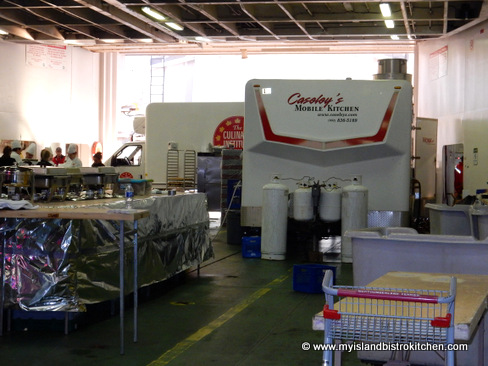
This is quite extraordinary to be offered this opportunity because this is a working kitchen and there were a number of the team cuisine and servers busy at their work. It was a beehive of activity and no one made me feel like I was in their way as I scurried about taking photographs.
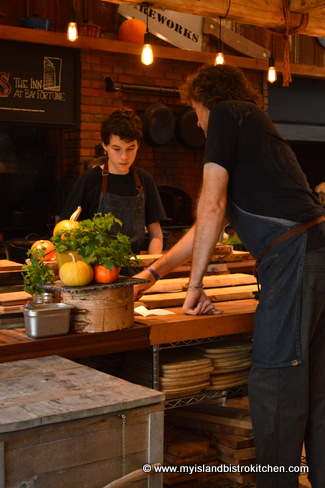
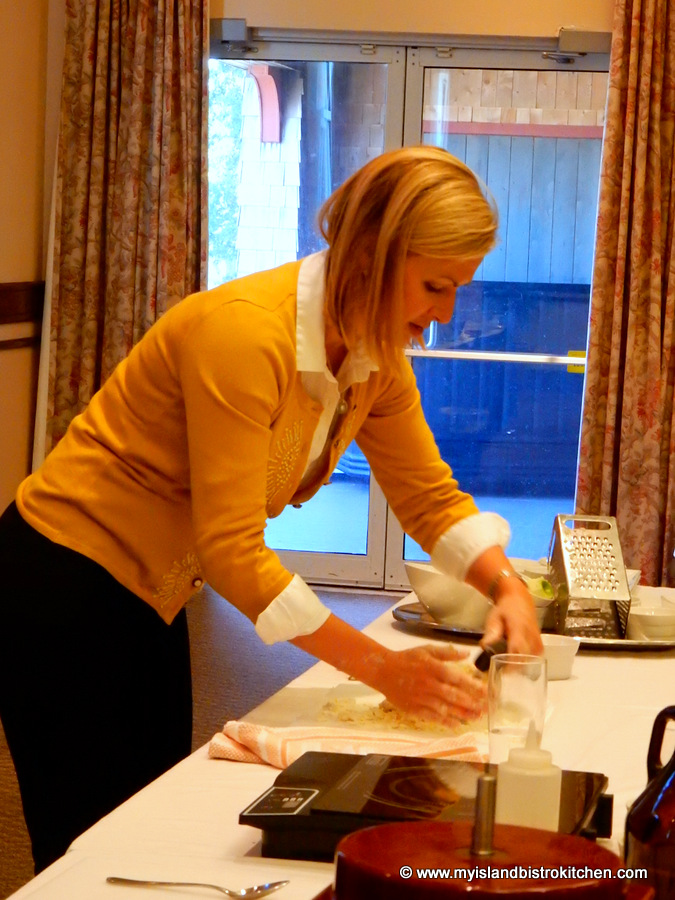
Learning from the master! I think there was a good bit of knowledge transfer and training taking place in the kitchen on Sunday and who better to learn from!
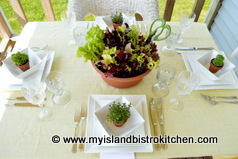
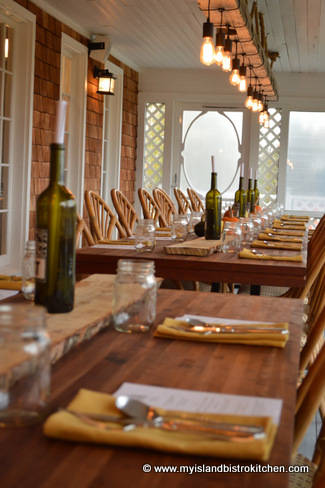
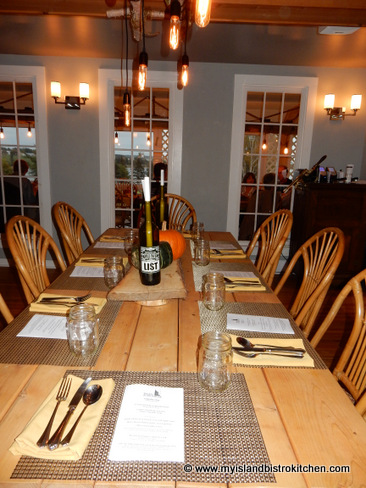
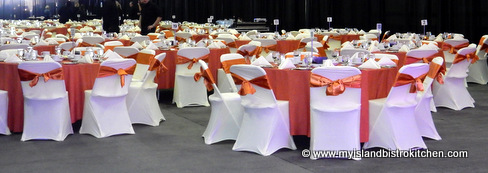
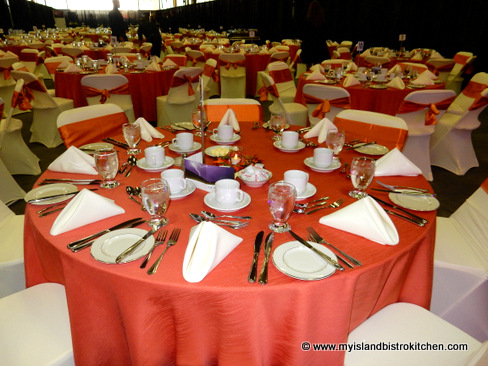
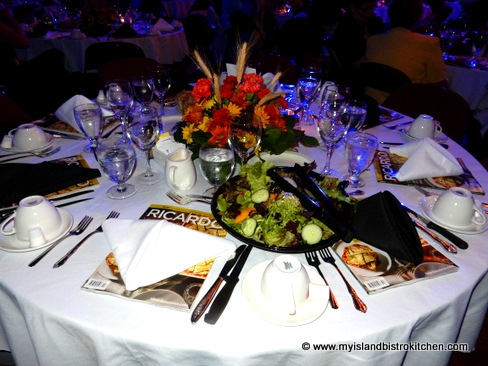
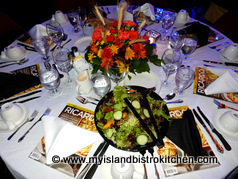
Dinner is served, family-style, at long communal block-style tables so, if you are looking for a private table for two or four, you won’t find that at FireWorks. Guests are seated as they arrive and as space is available at any of the four large tables. Two of the long tables are situated on the front of the Inn in a closed-in sunporch that overlooks Bay Fortune.
One of the tables is actually in the kitchen so you really get the feeling that dining is family style and non-pretentious.
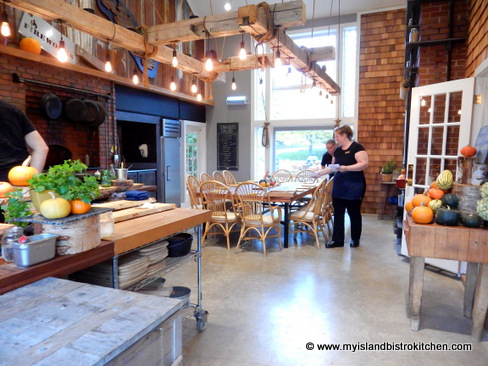
I almost felt like I was simply dining in a friend’s home kitchen…well, except for the fact that most of us don’t have a professional culinary team catering to us nor do many of us have a brick oven or an open fire….but, other than that….
The fourth table seats eight and is in a more private dining room just off the kitchen and behind the sunporch.
I don’t mind this communal style of dining as I am quite accustomed to it as I am a regular cruiser where I’m often seated at tables for 8 or 10 with people I don’t know. On this Sunday evening, we lucked in as a group of four ladies soon joined us at one of the long tables in the sunporch and were very open to dinner conversation making for a pleasant meal and overall dining experience.
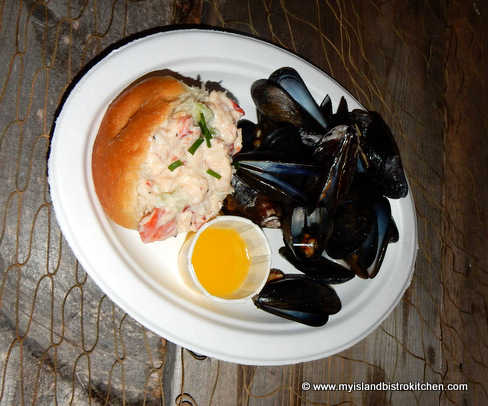
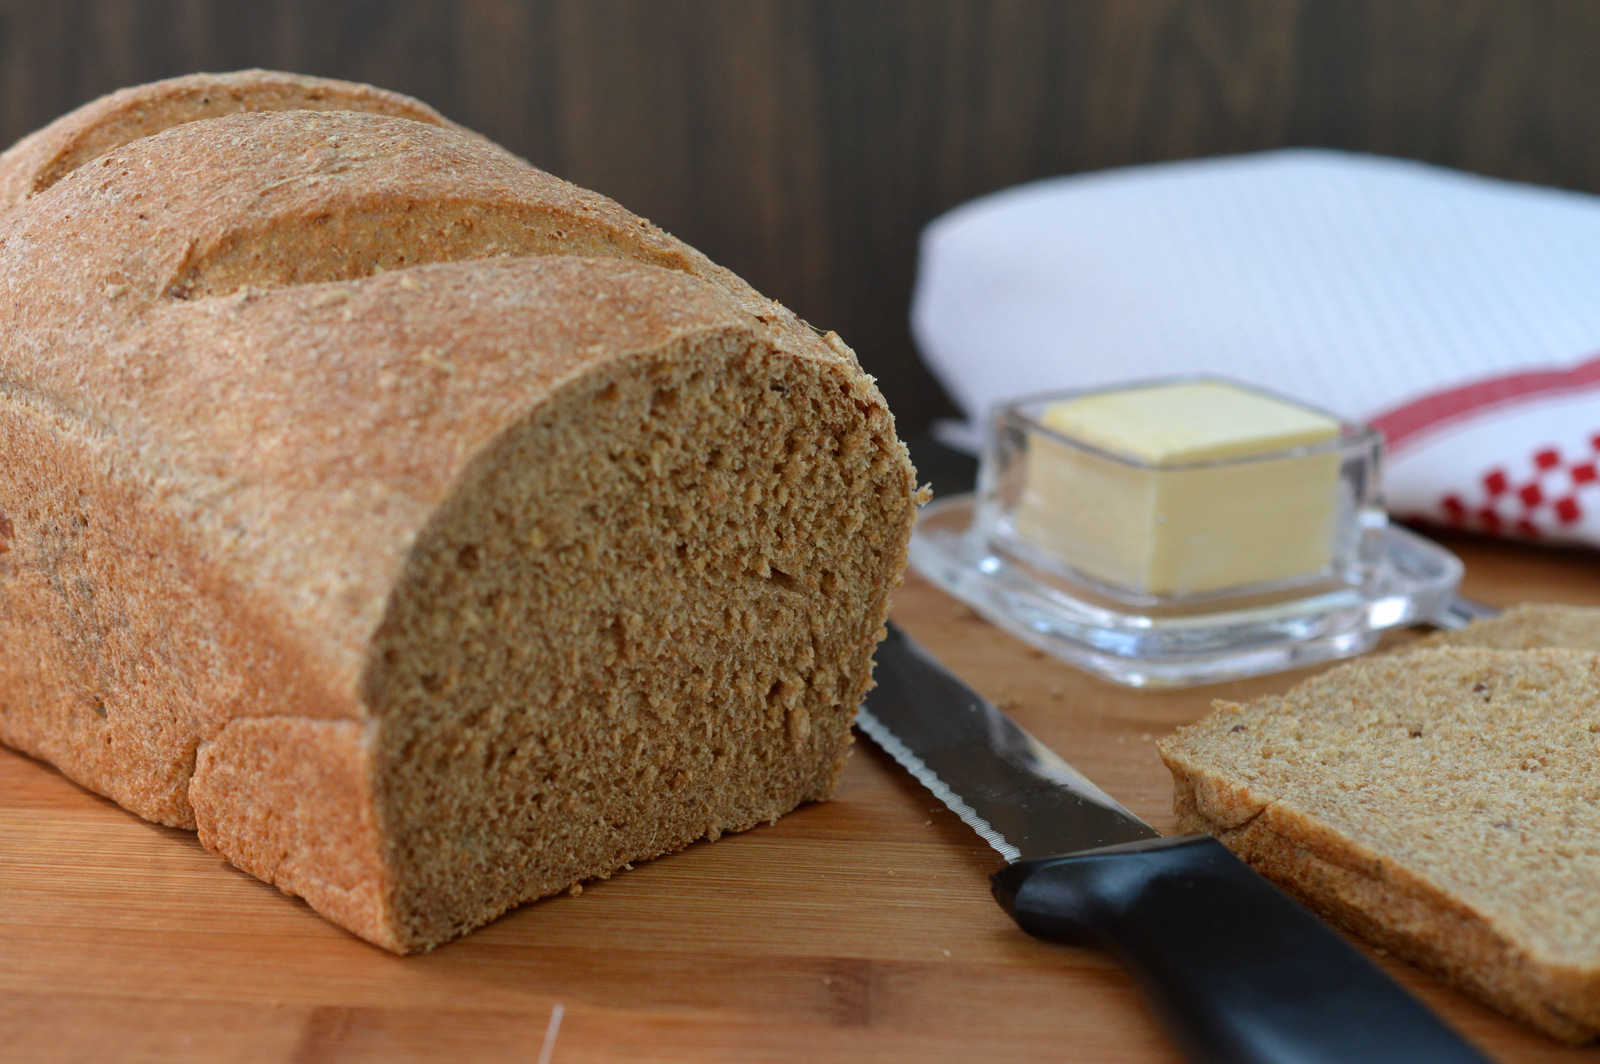
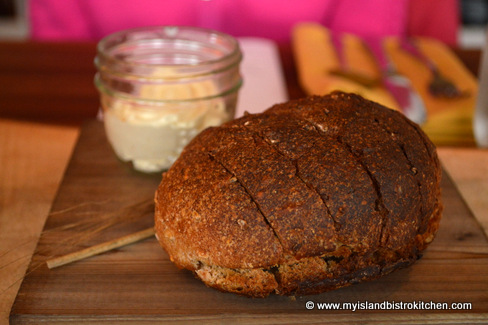
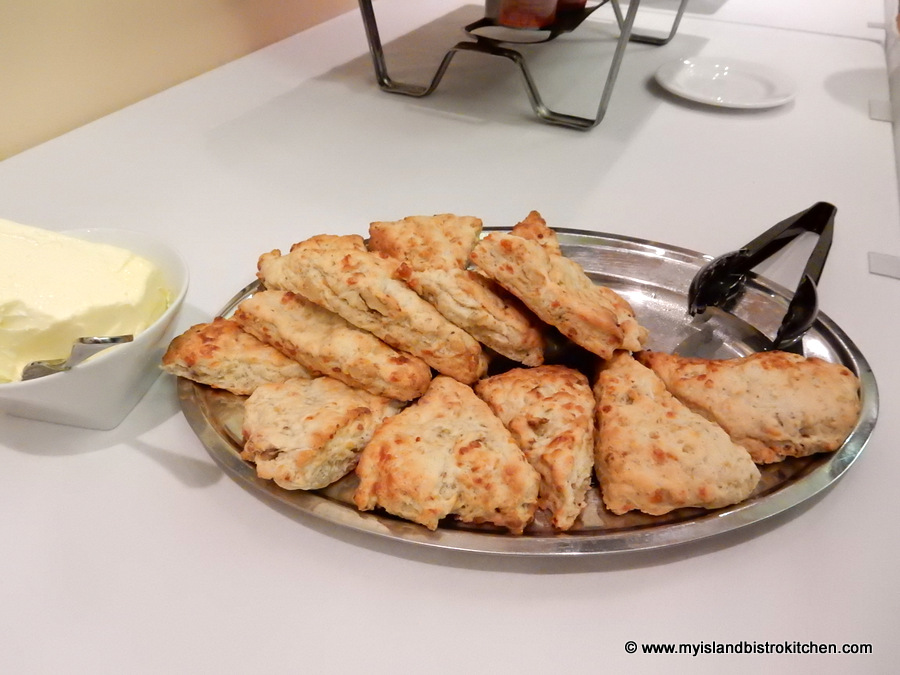
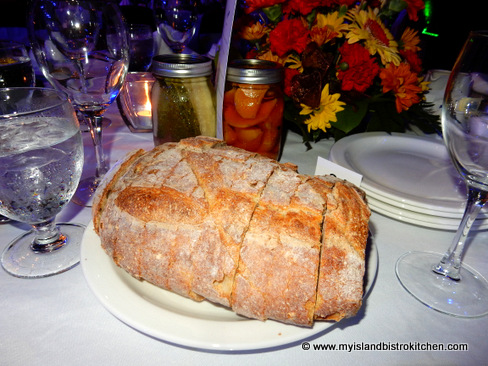
We were no sooner seated than a server brought a small loaf of fresh-baked 12-grain red fife sourdough bread and a small jar of butter. Lots of Mason jars are visible on the table as the larger ones are used as water glasses.
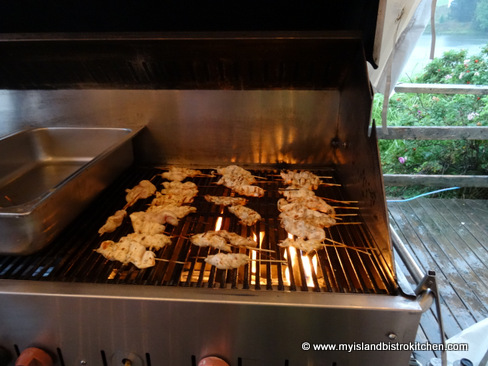
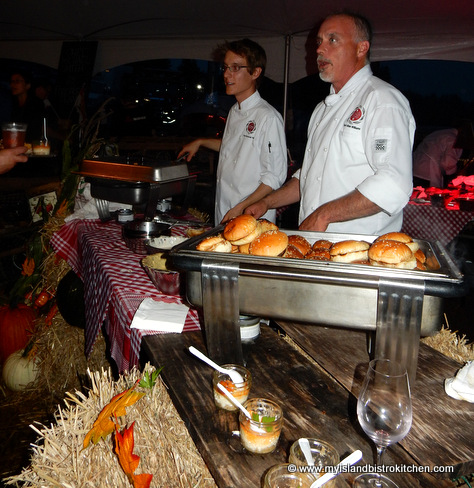
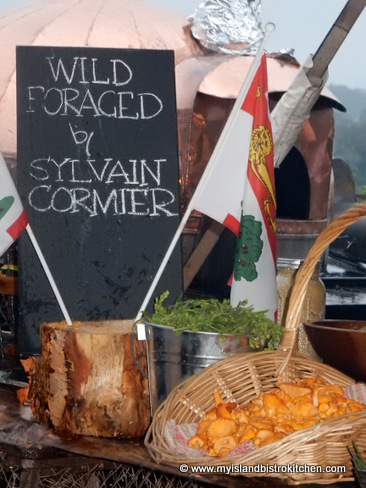
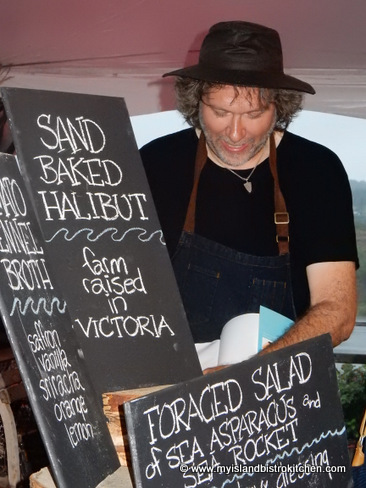
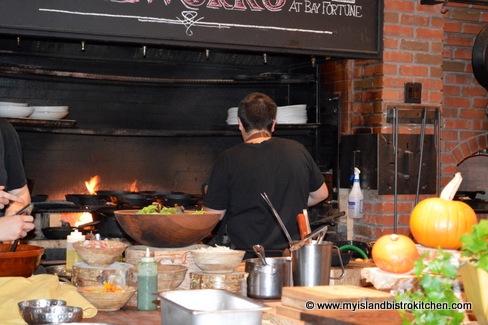
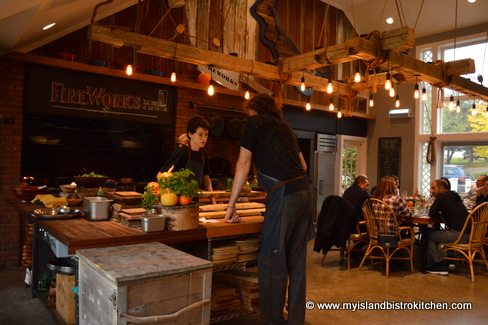
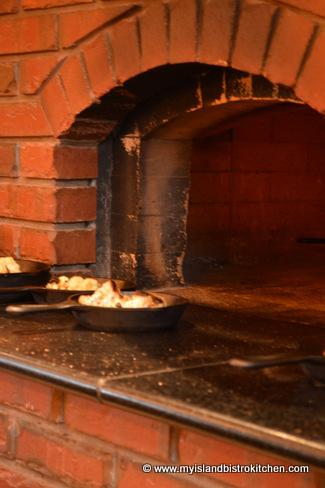
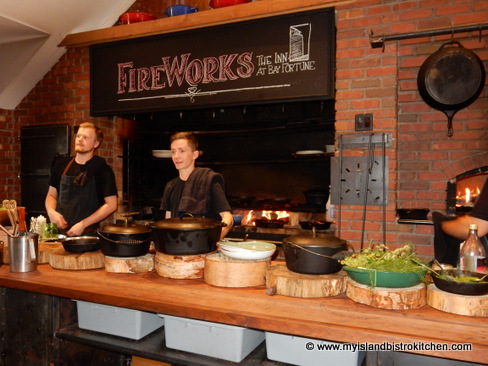
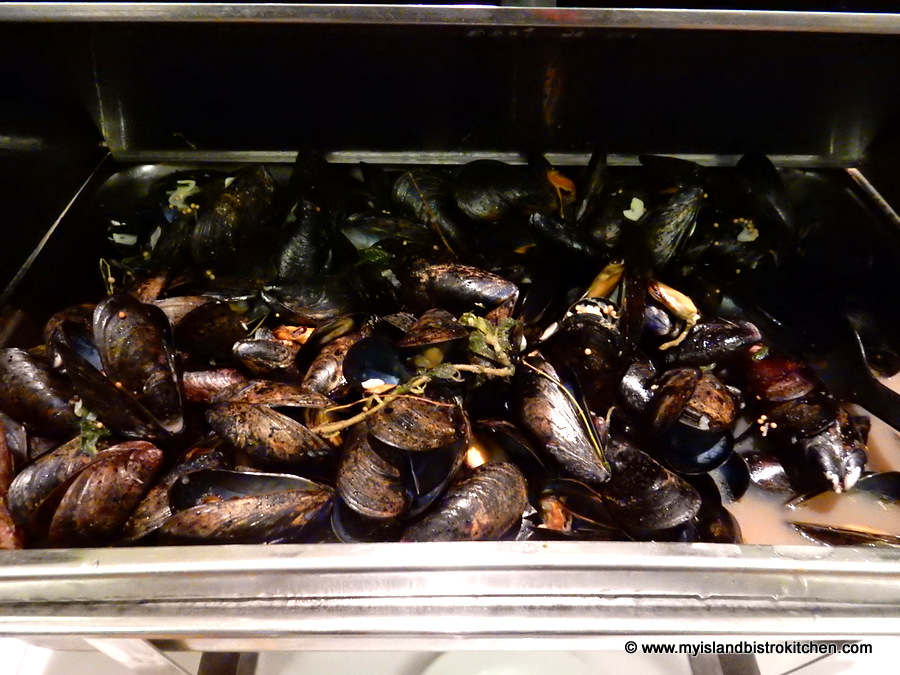
In keeping with FireWorks’ focus on local and regional fare, all of the vegetables used in the meal were grown onsite in the Inn’s gardens and the meat and fish locally sourced. The entire meal was cooked over an open fire or in the large brick oven.
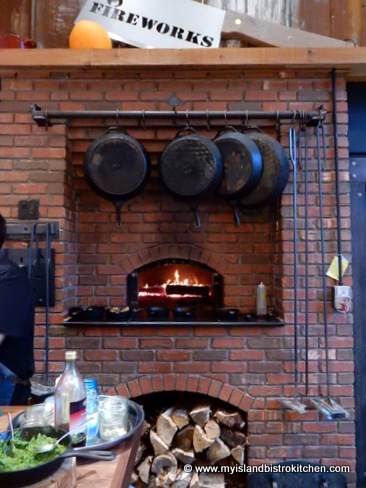
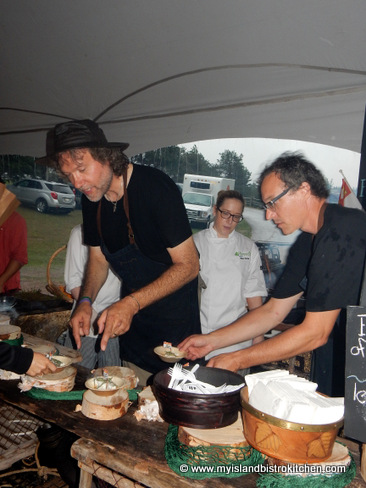
The kitchen makes use of lots of heavy cast-iron pots for cooking over the open fire seen in the background in the photo below. In keeping with the rustic theme, note the blocks of wood that are used for stationing the hot pots. Use of natural wood in the decor is prevalent, even on the tables.
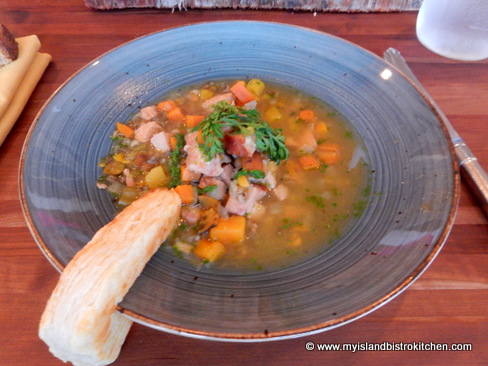
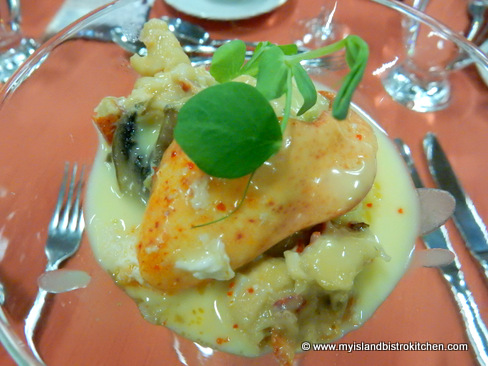
Chef Michael soon arrived at the table with bowls of piping hot turkey vegetable soup accompanied by a light and flaky biscuit hung over the soup bowl rim.
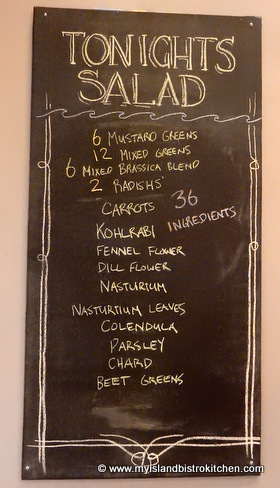
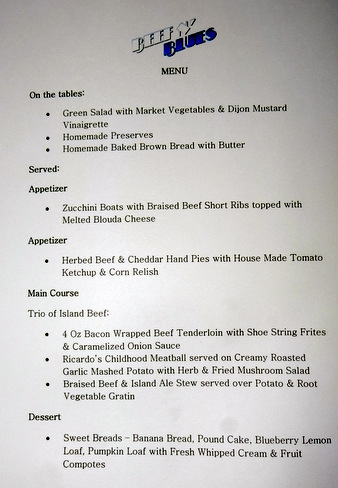
This was followed by a small green salad that I neglected to take a photo of but here is a list of the salad’s ingredients that was posted on the wall.
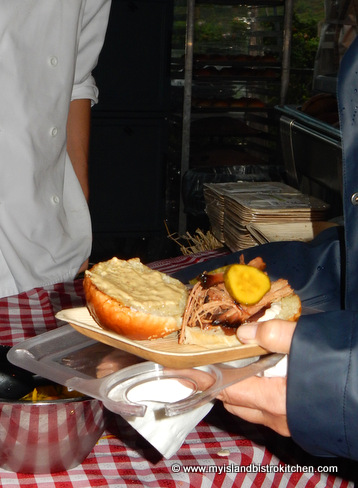
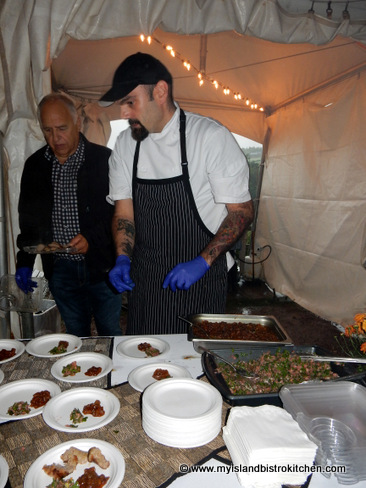
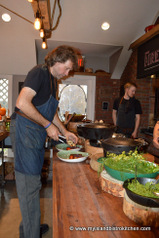
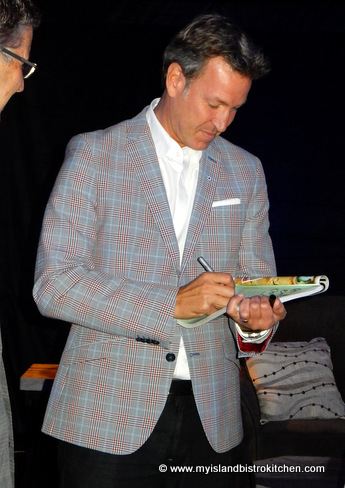
I wandered into the kitchen area just as Chef Michael was plating our meal. I just had to check up on him (lol)!
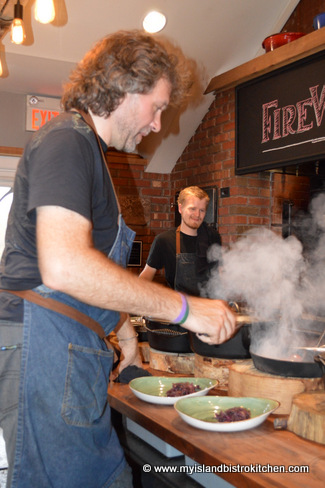
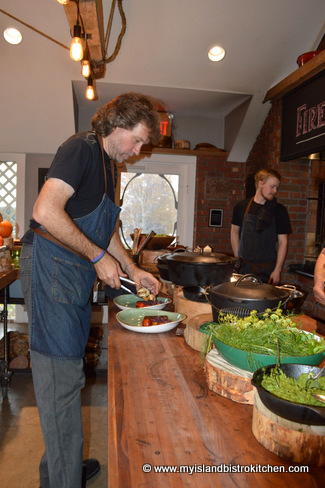
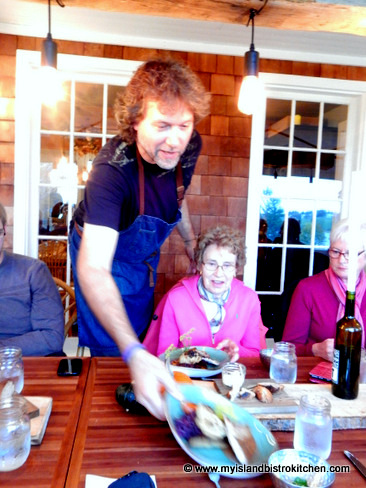
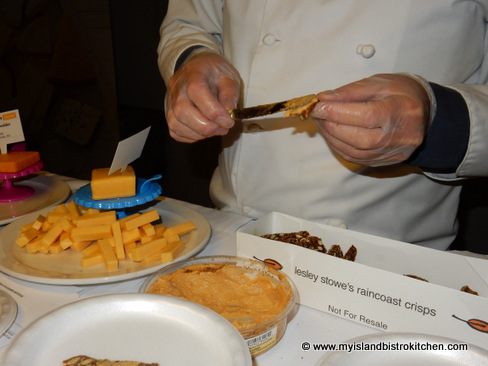
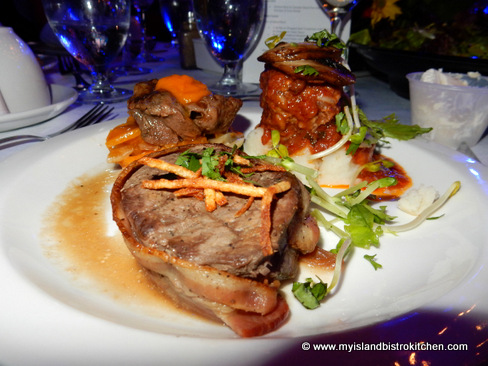
Satisfied he was doing a great job, I hurried back to the table in time for Chef Michael to arrive with our dinners. And, no, my dinner did not slide off the plate….it’s just the split second that I captured the photo of Chef Michael serving my dinner that makes it look like it’s about to slide off the plate!
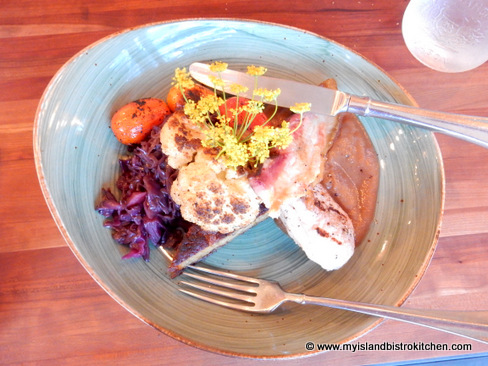
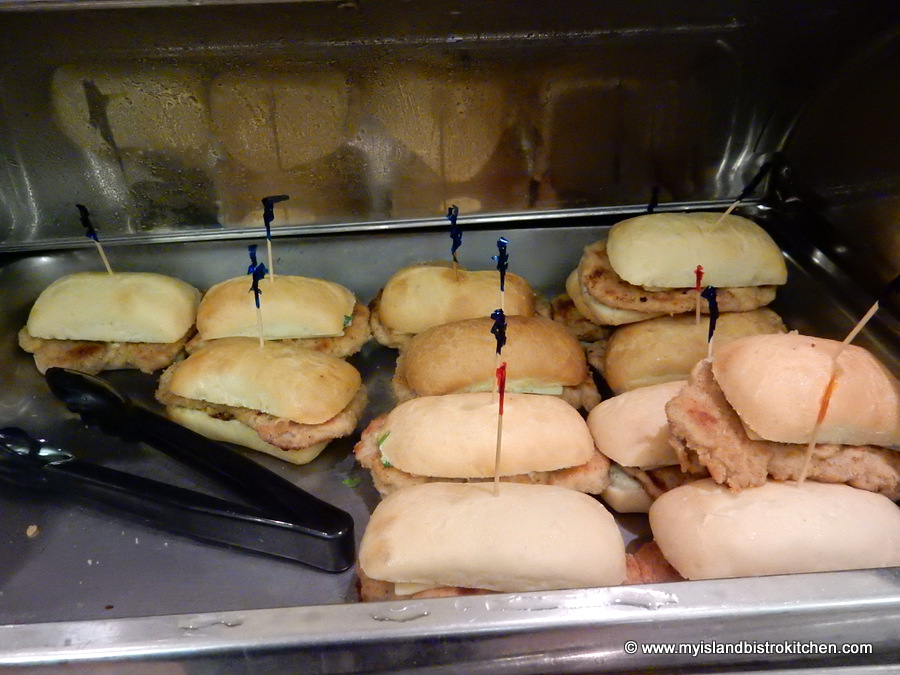
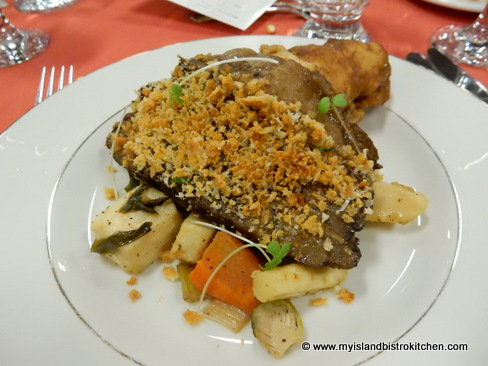
We each chose to have the smoke house pork belly and loin with apple sauce which was served with brown butter rösti potatoes which were ever so tasty. Side vegetables included roasted cauliflower straight from the wood-fired brick oven, slightly charred cherry tomatoes, and braised red cabbage.
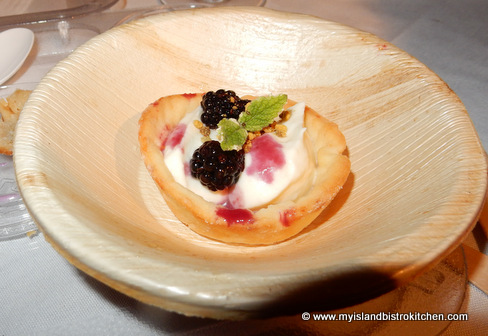
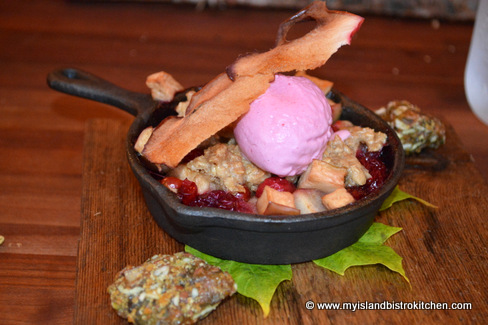
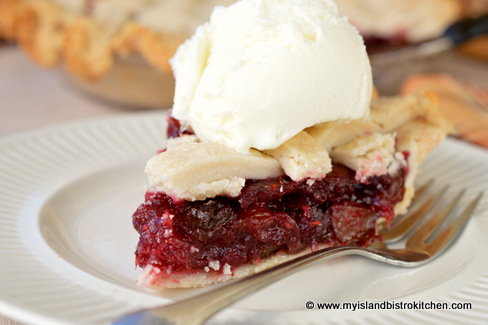
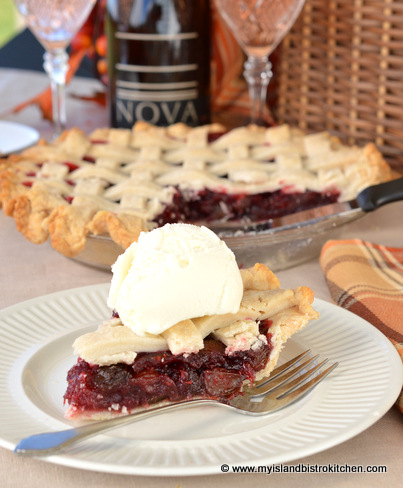
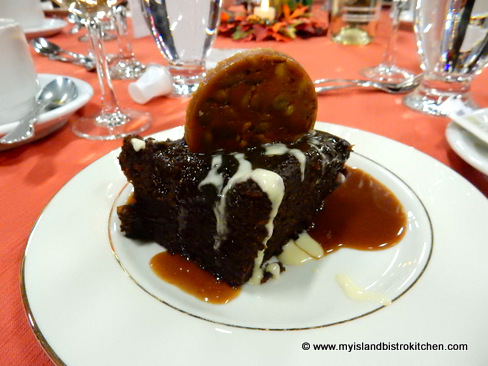
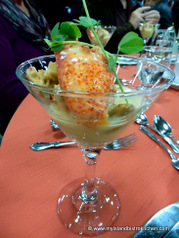
And, for dessert, we had a very seasonal dessert: Wood-fired apple cranberry crisp that was served with cranberry ice cream and pumpkin seed brittle.
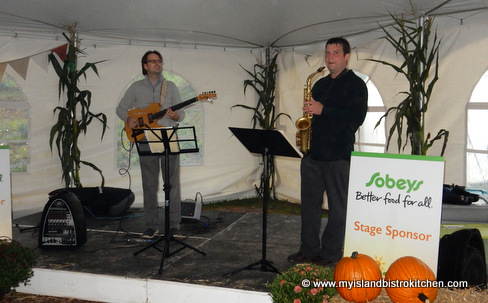
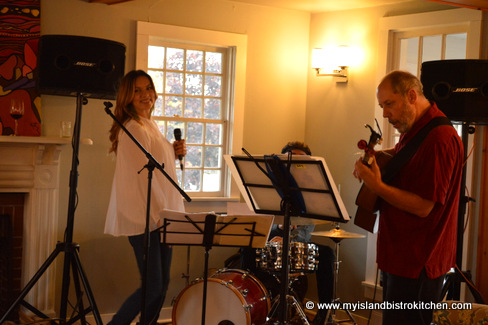
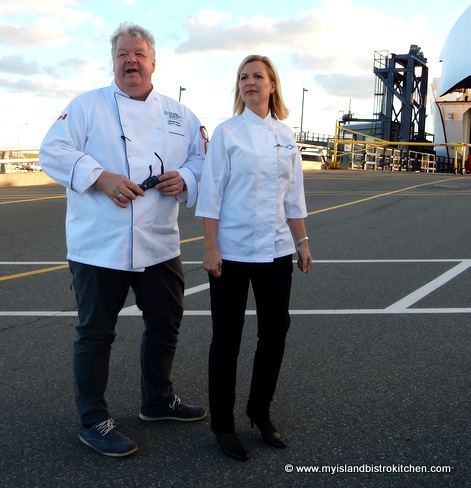
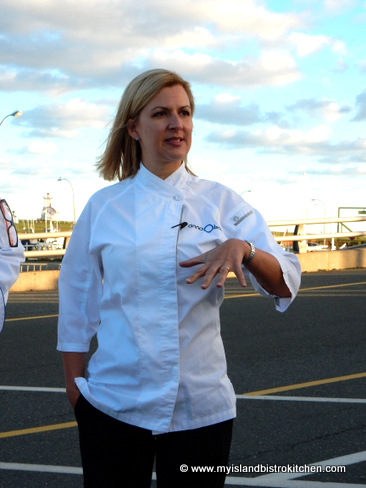
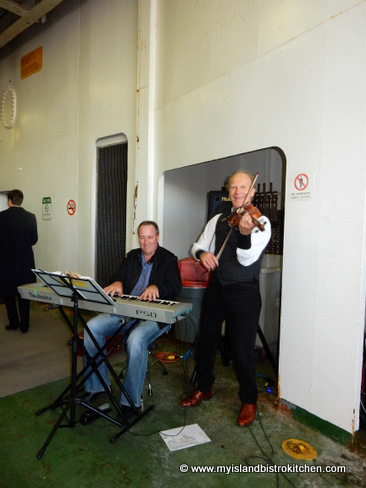
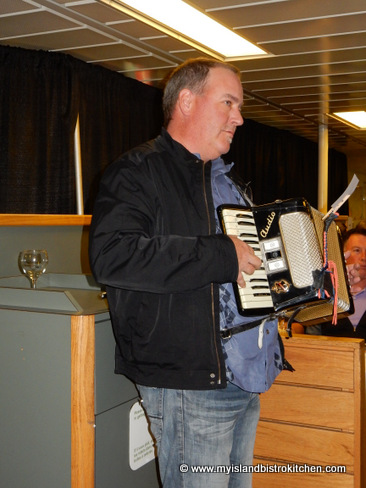
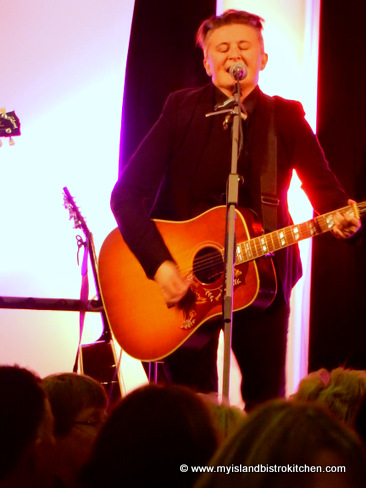
Throughout the meal, Chef Michael’s wife, Chastity, accompanied by musicians Reg Ballagh and Jon Rehder, provided dinner music from the vantage point of the Inn’s nearby cozy sitting room.
So, I would class this experience as the full meal deal! If you find yourself on Prince Edward Island on a Sunday between now and November 15, 2015, and are looking for a unique dining experience, I recommend a visit to FireWorks Restaurant at the Inn at Bay Fortune. And, if you are planning a vacation on our lovely Island next summer, FireWorks plans to re-open in early May when they will be offering their daily full-scale feast each evening for which reservations are taken.
For more information on dining at FireWorks, visit the Inn at Bay Fortune website.
—————————————————————————-
Thank you for visiting “the Bistro” today. If you enjoyed this posting, please share it on your social media websites.
Connect with “the Bistro” through the following social media:
Join My Island Bistro Kitchen on Facebook
Follow “the Bistro’s” tweets on Twitter
Follow “the Bistro” on Pinterest
Follow “the Bistro” on Instagram
——————————————————————————


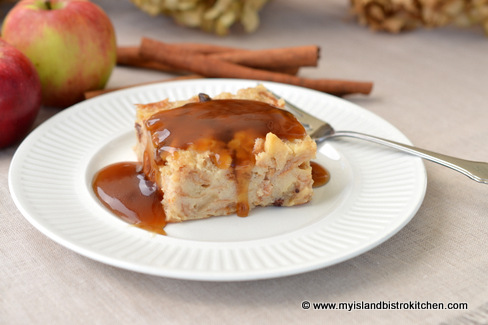

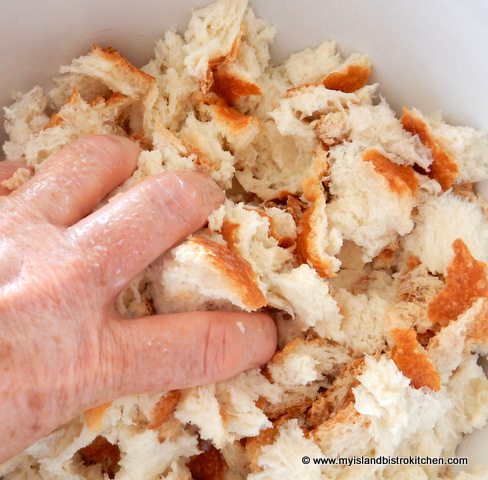

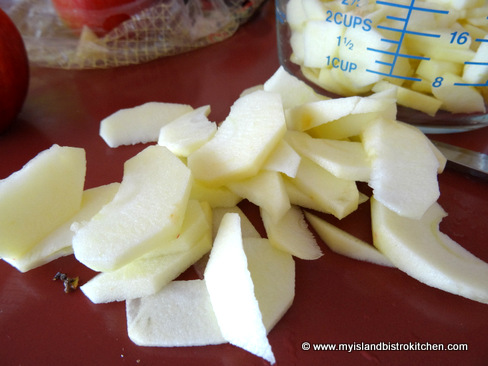
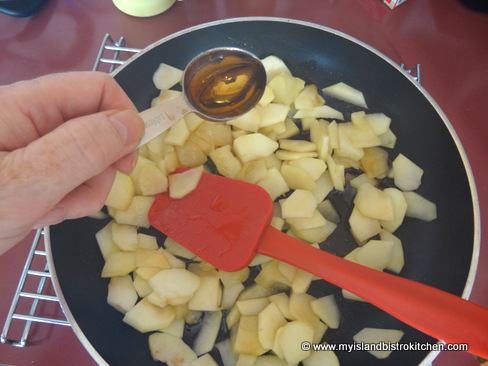
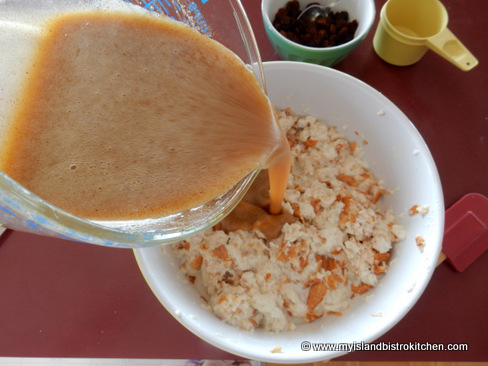
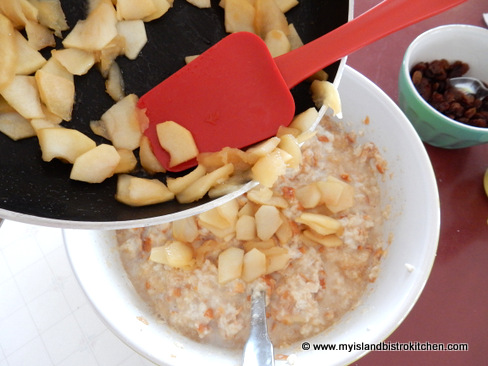
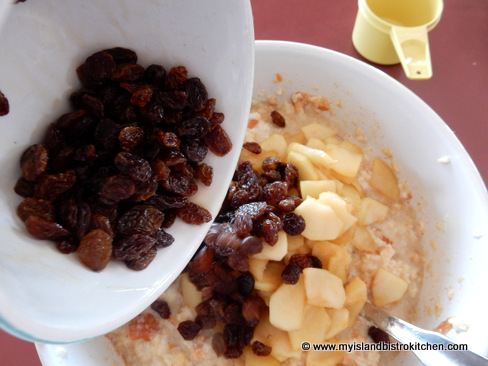

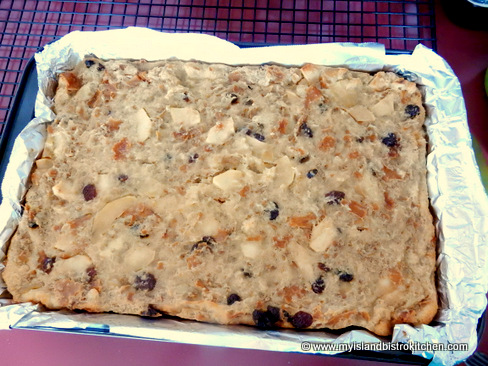
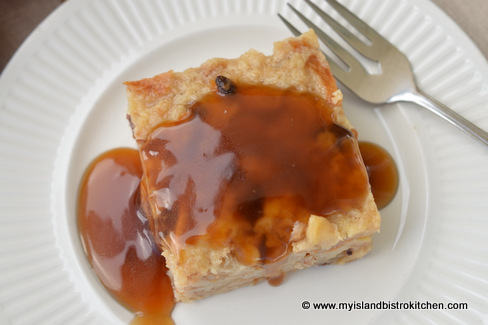
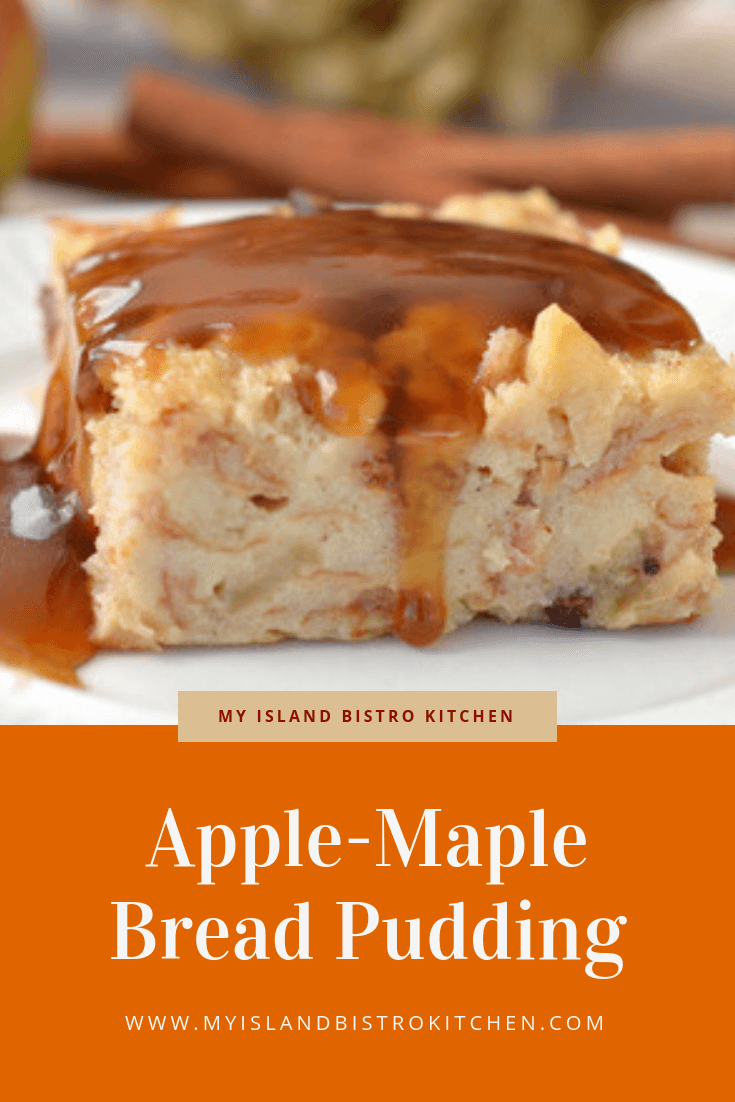

 Apple-Maple Bread Pudding with Maple Sauce