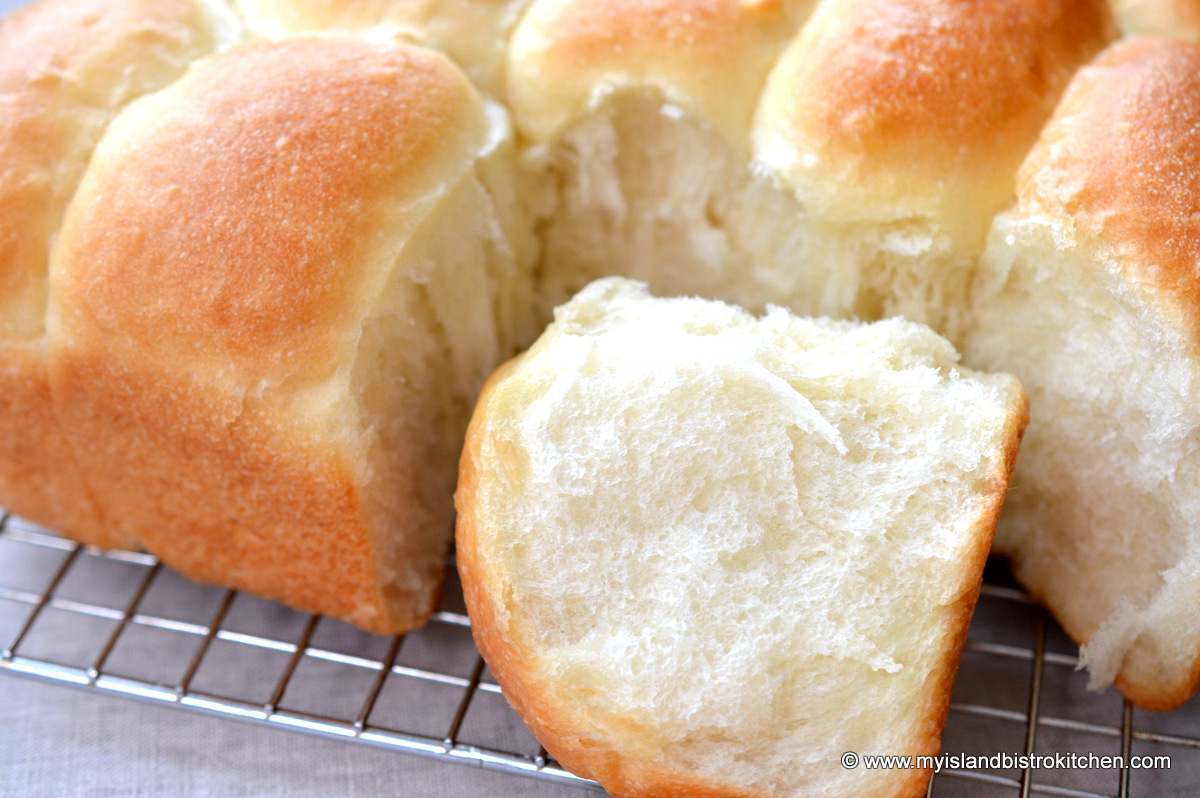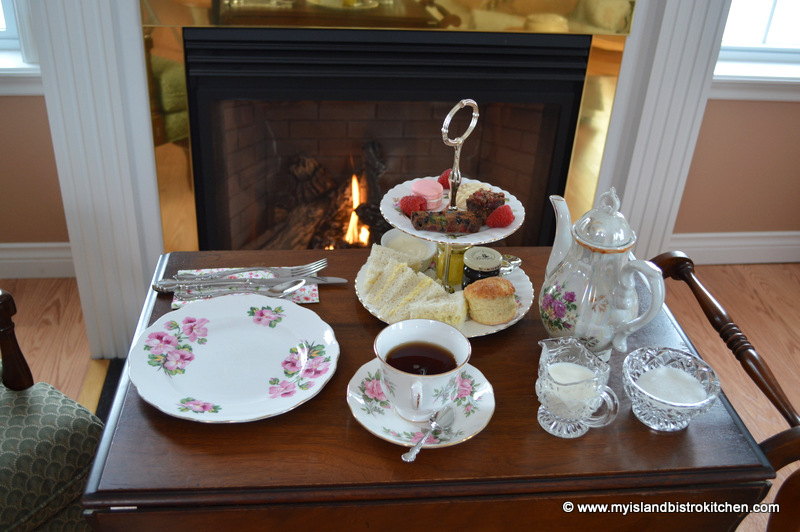
Do you love the smell of tea biscuits baking in the oven? It’s one of my favorite kitchen scents.
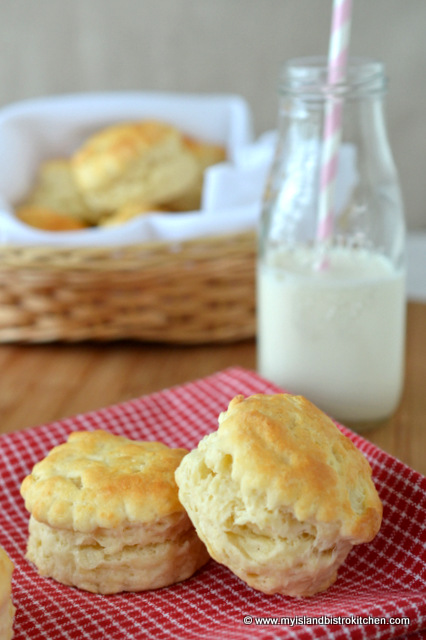
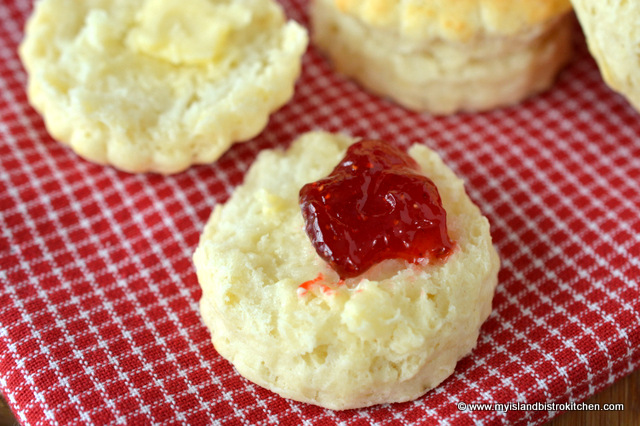
My first recollection of biscuits dates back to visiting a grandmother. She made the best biscuits, added a good slather of peanut butter to the warm, fresh-out-of-the-oven biscuits, and served them with a tall glass of cold milk to a wee gal patiently sitting on a high stool at her elbow by the cupboard. I suspect her biscuit recipe was just made from memory and wasn’t written or recorded anywhere. Isn’t it funny how some foods remind us of certain people and bring back great recollections!
Biscuits are not hard to make and they require only pantry staple ingredients — essentially, flour, leavening, salt, shortening/butter, and liquid – usually dairy (i.e., milk, whipping cream, or buttermilk). What makes biscuit recipes differ is usually the quantity of ingredients used, the type of dairy used as liquid and, sometimes, there will be some additions to the basic ingredients – for example, some recipes call for cream of tartar, a small amount of sugar, or even an egg.
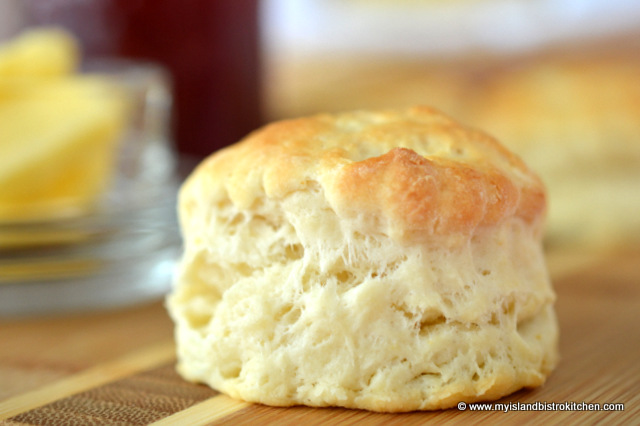
I often hear people say they can’t make biscuits because they always turn out hard as bricks. I suspect this is quite likely due to over-kneading the dough. Biscuit dough should be kneaded as little as possible, just enough to gather up the dough and have it hold together to cut out the biscuits. Usually, only 8-10 kneads is all that is required. I have published lots of tips and hints for making biscuits in a post containing my Buttermilk Biscuit recipe which you can access by clicking here. If you are new to biscuit making or have experienced issues with making satisfactory biscuits in the past, you may find some of the hints and tips in that post useful.
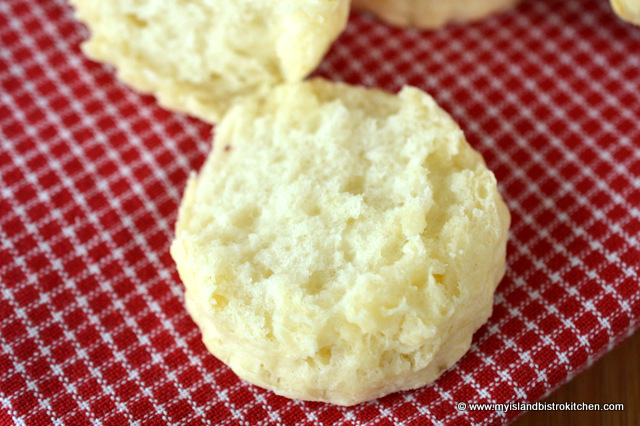
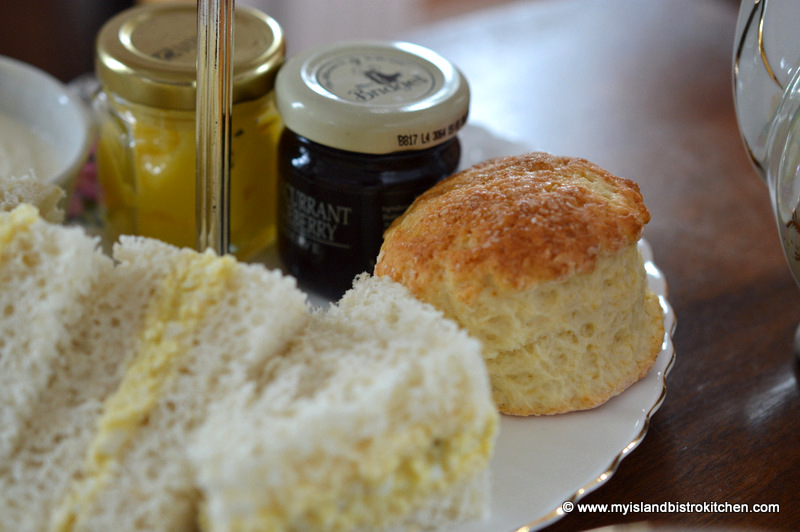
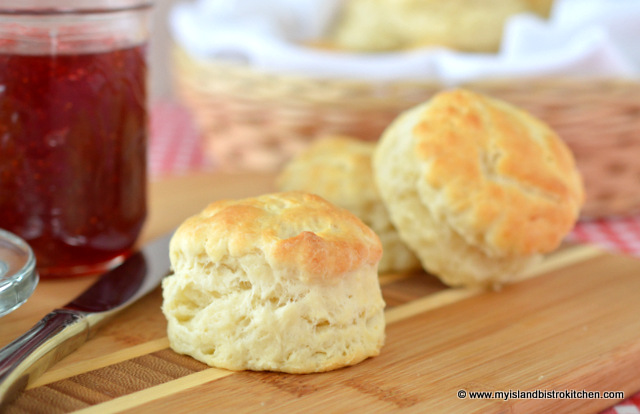
The dough can be rolled out with a rolling pin or simply patted to the desired thickness, which is what I do. I find about 1″ thick dough yields a good depth of biscuit. I use a 2″ crinkled-edge cookie cutter for mine but a straight edge cutter works just as well.

Over the years, I have tried many biscuit recipes, some yielding good results, others not so much. As the old saying goes, if you can’t find something already suitable, develop your own so that’s what I have done to create my own biscuit recipe that has come from many kitchen testing trials to arrive at the right selection and amount of ingredients to yield the flavour and texture I was looking for.
[Printable recipe follows at end of post]
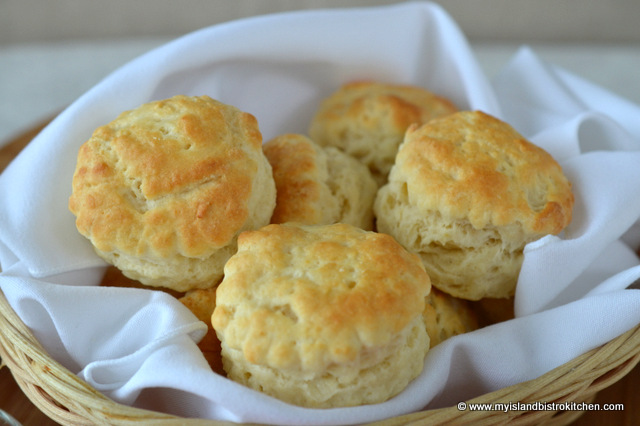
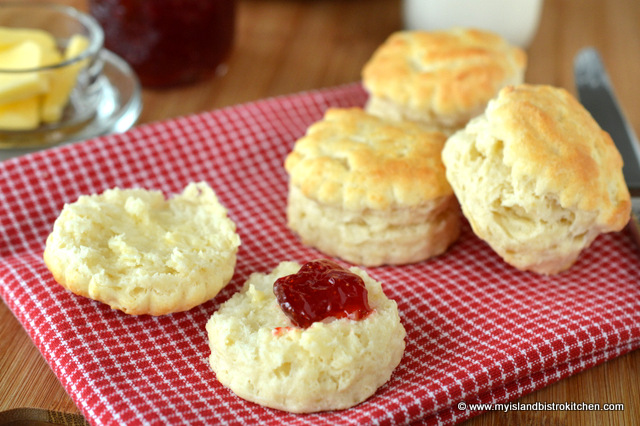
My Island Bistro Kitchen’s Tea Biscuits
Ingredients:
2¼ cups all-purpose flour
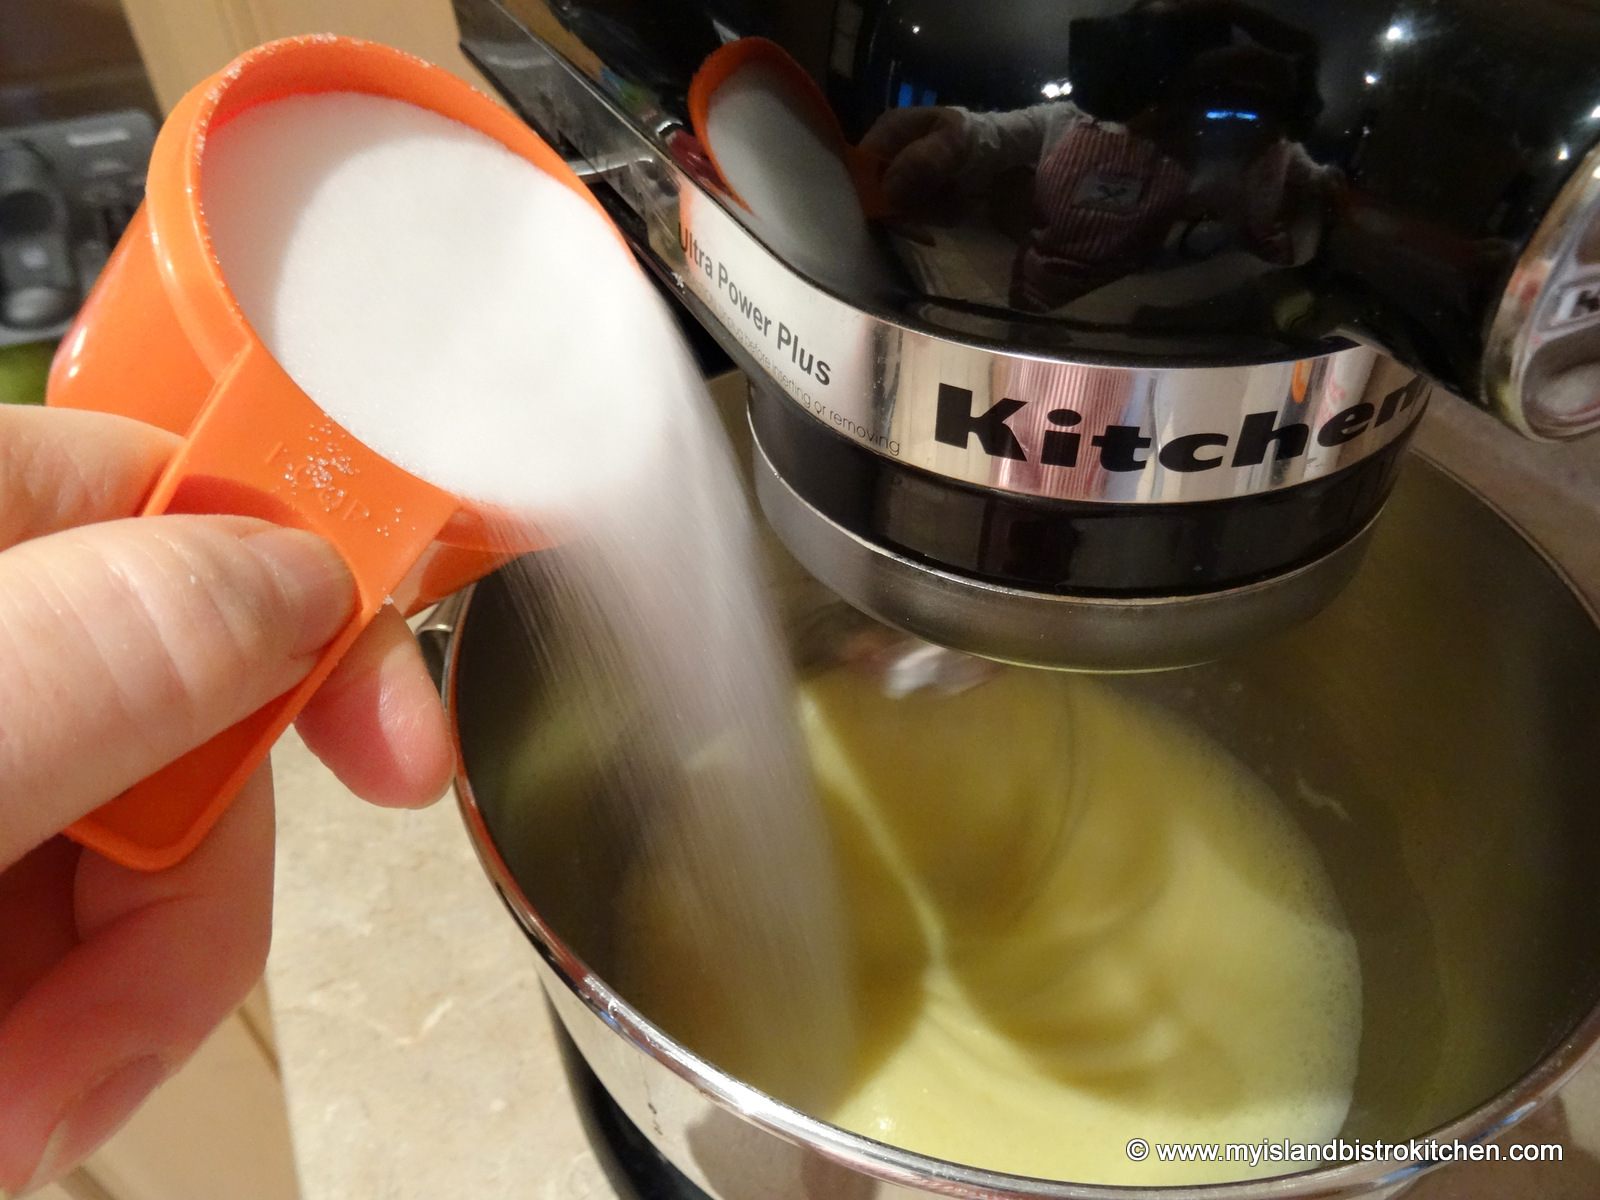
1 tbsp sugar
4 tsp baking powder
¾ tsp salt
½ tsp cream of tartar
¼ cup cold unsalted butter
⅔ cup whipping cream
¾ cup whole milk
1-2 tbsp milk for brushing on top of biscuits
Method:
Assemble ingredients.
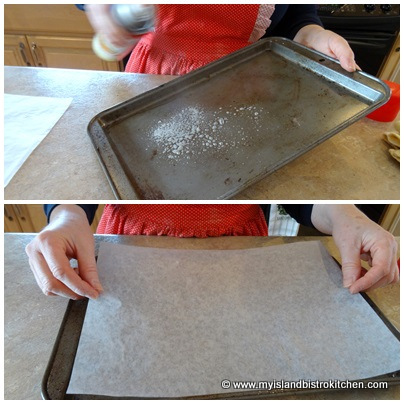
Preheat oven to 425°F. Line large baking sheet with parchment paper.
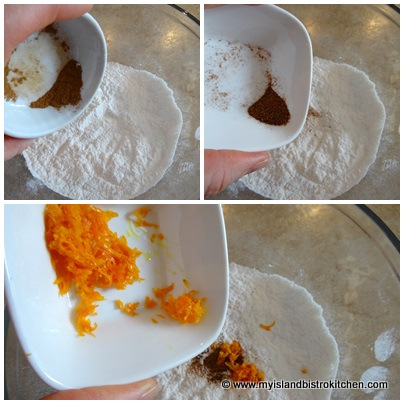
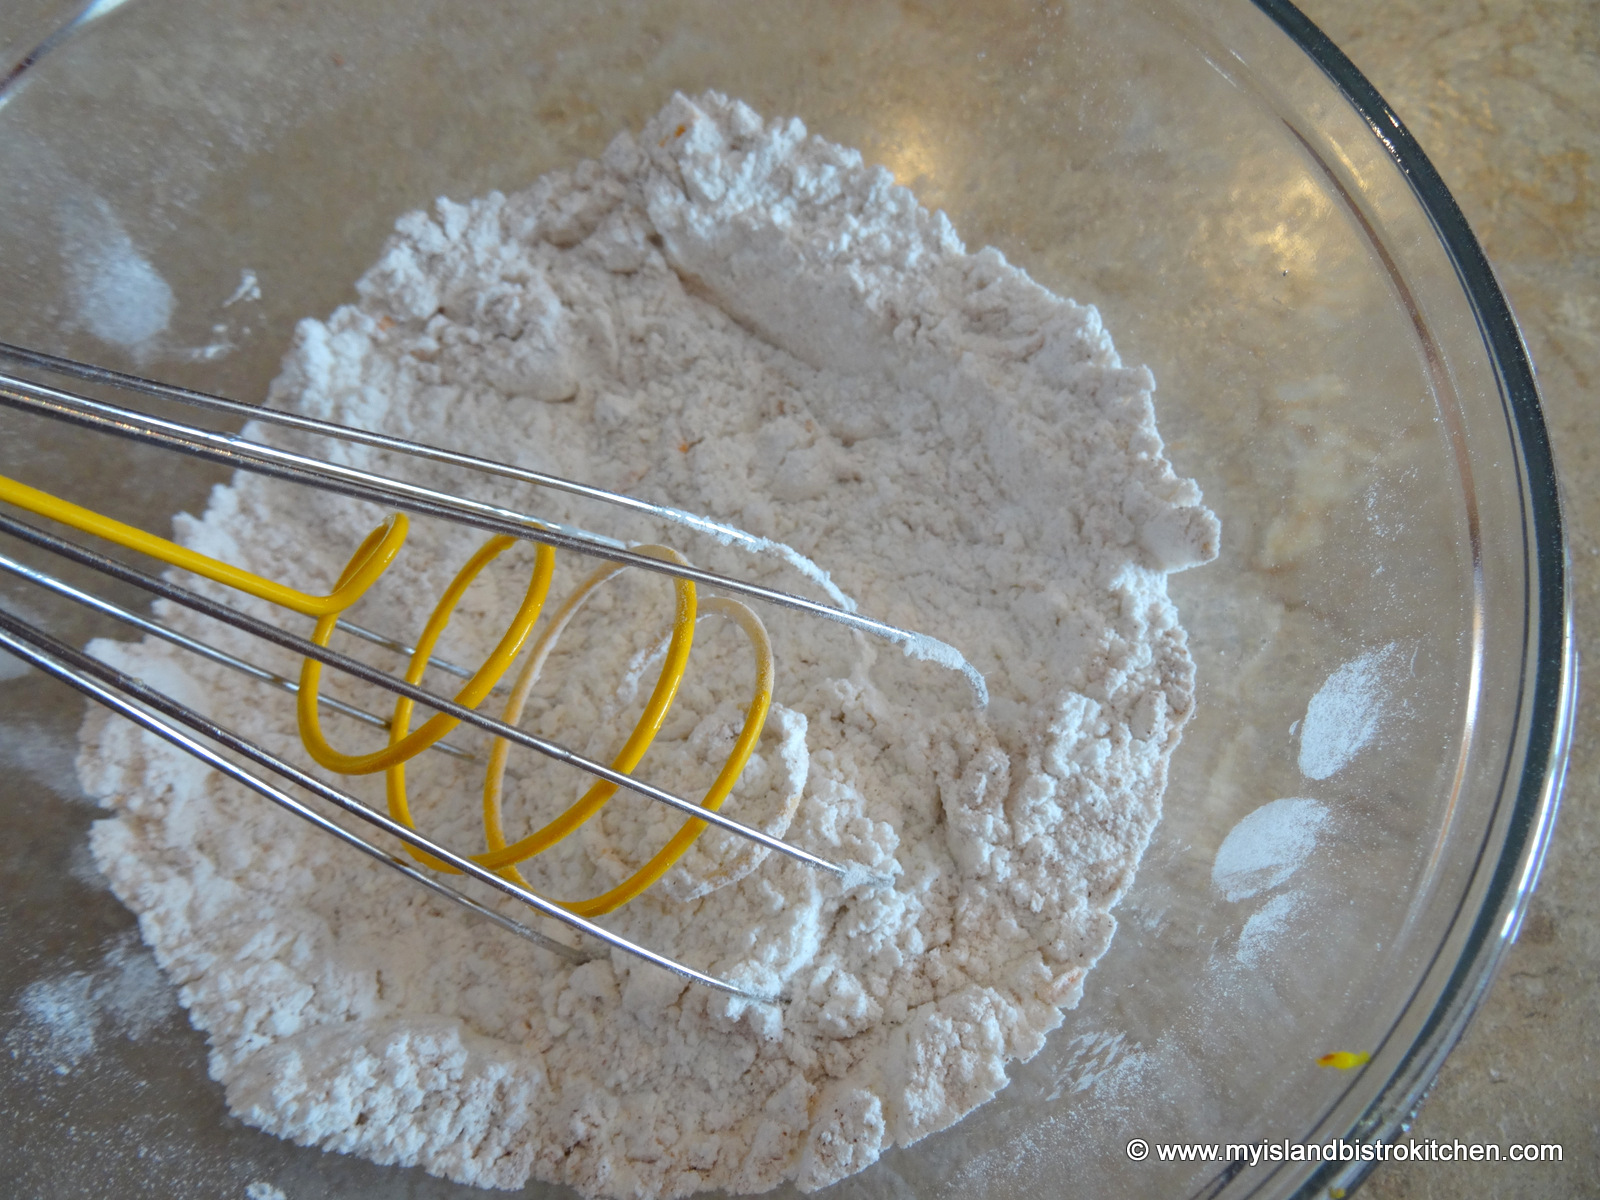
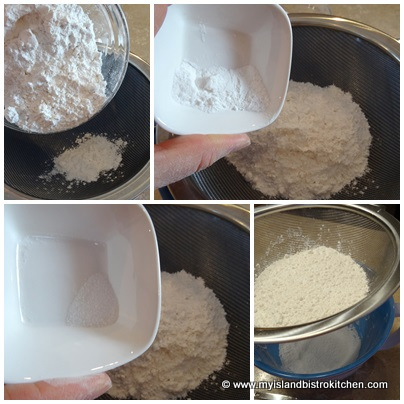
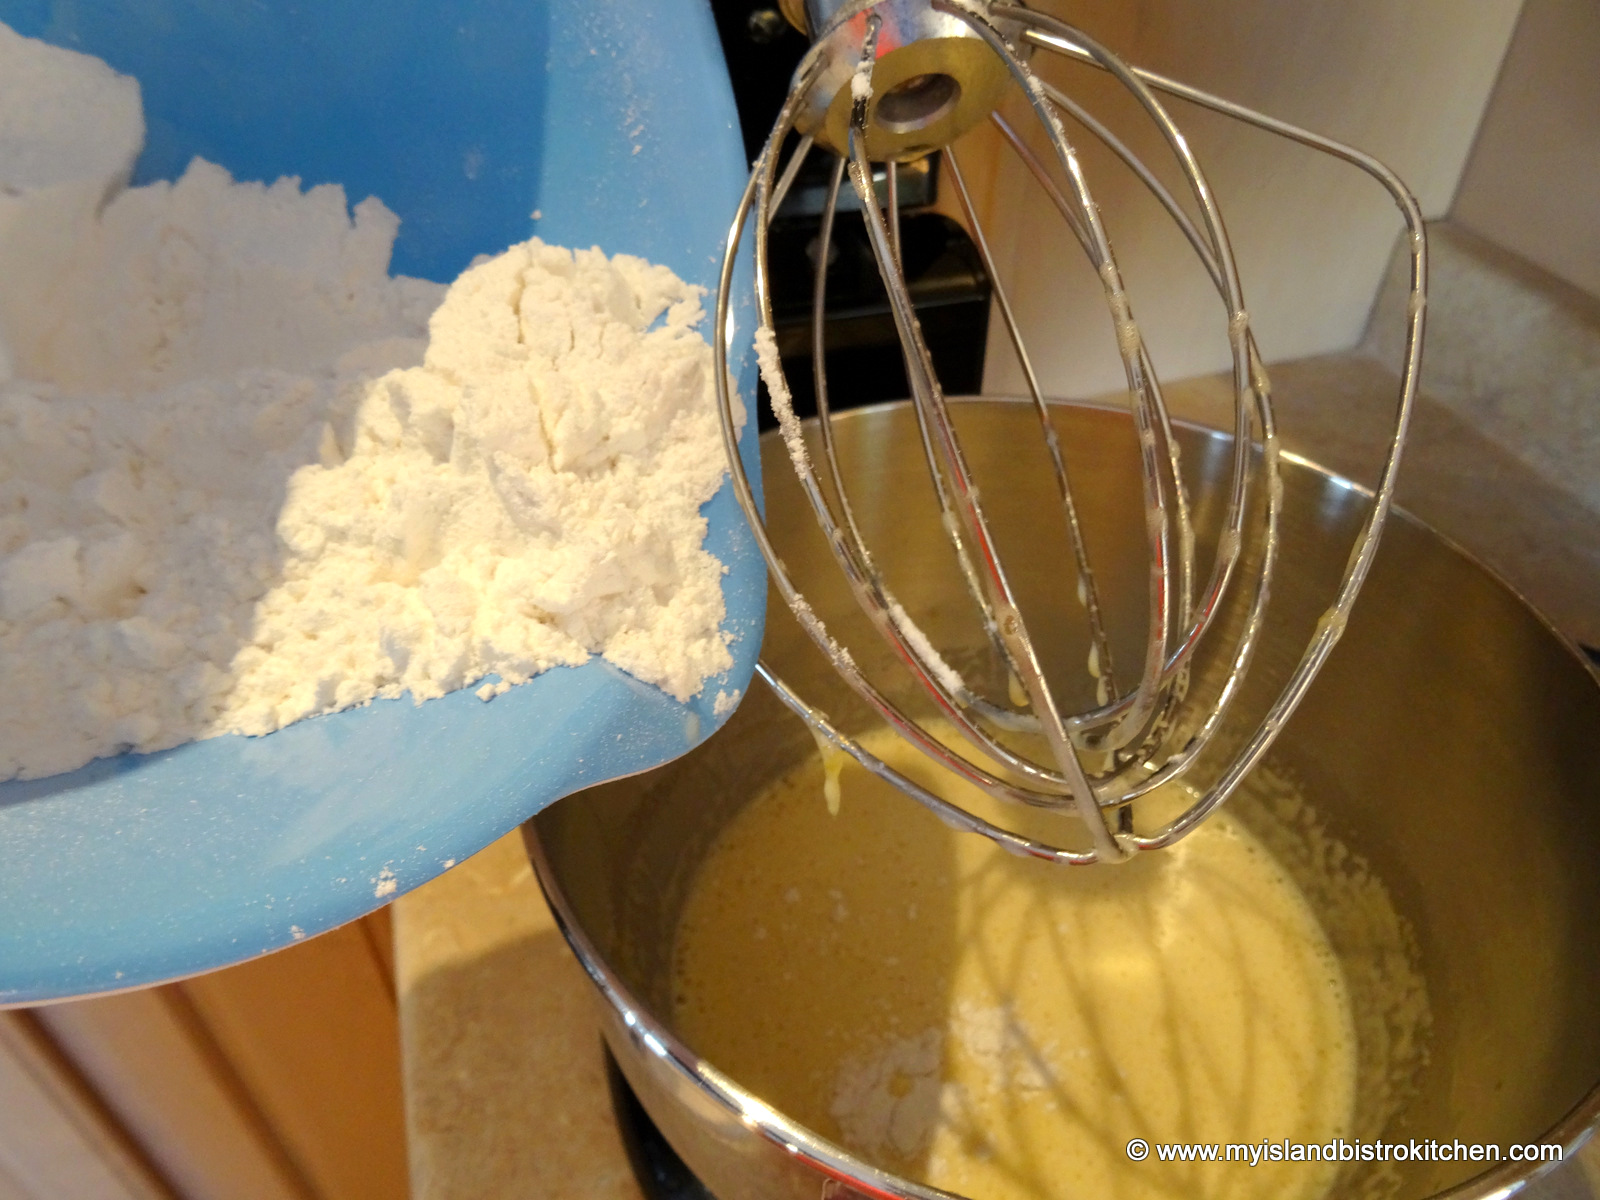
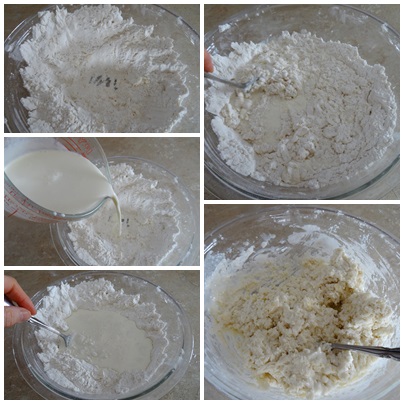
In large bowl, whisk together the flour, sugar, baking powder, salt, and cream of tartar.
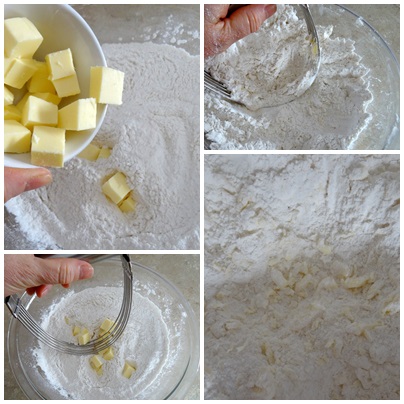
Using a pastry cutter, cut in the butter until mixture resembles coarse crumbs. Make a well in the center of the ingredients.
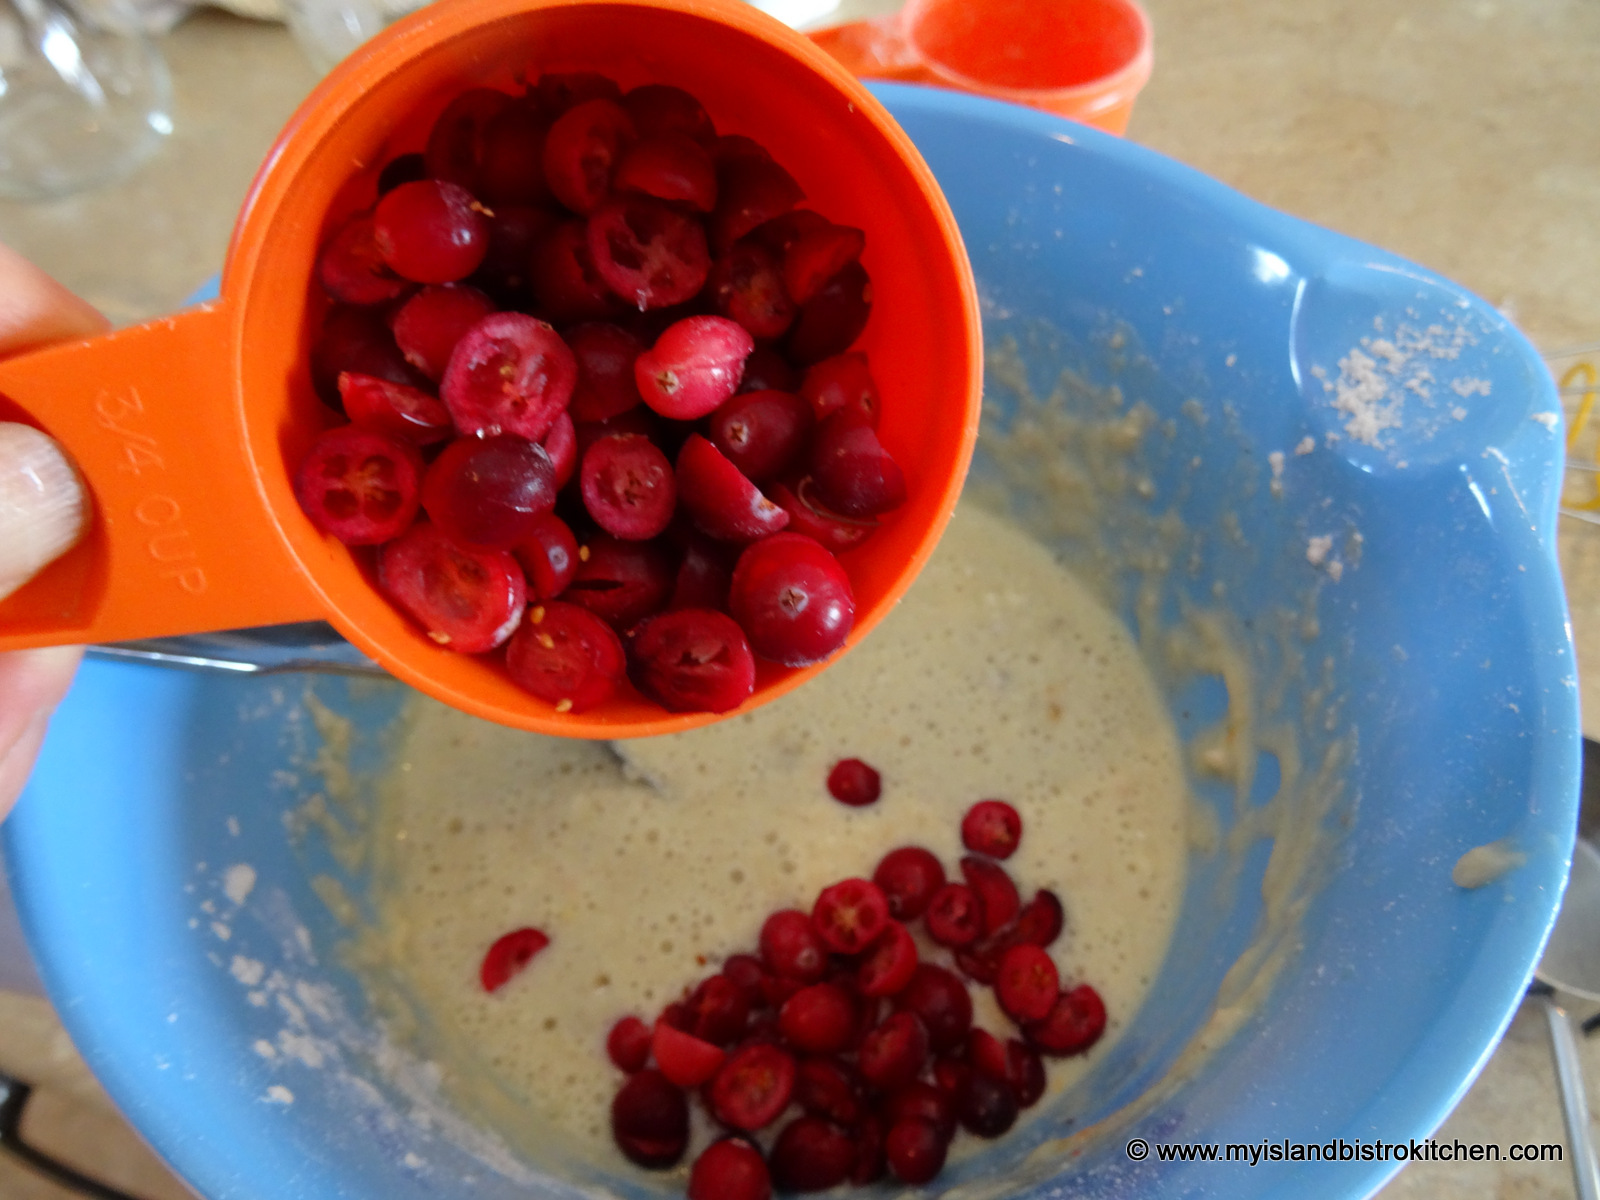
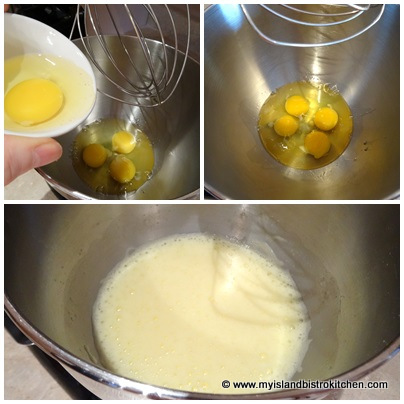
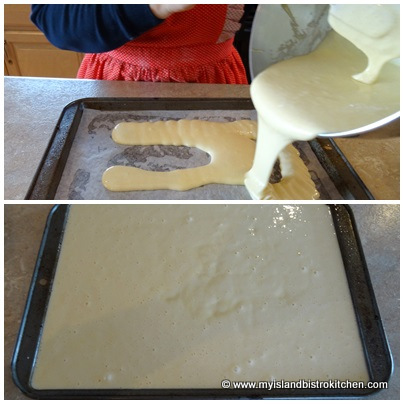
In large measuring cup, mix together the whipping cream and milk. Pour into well in dry ingredients. Mix together just until flour mixture is incorporated. Do not overmix. Mixture will be a soft, moist batter.
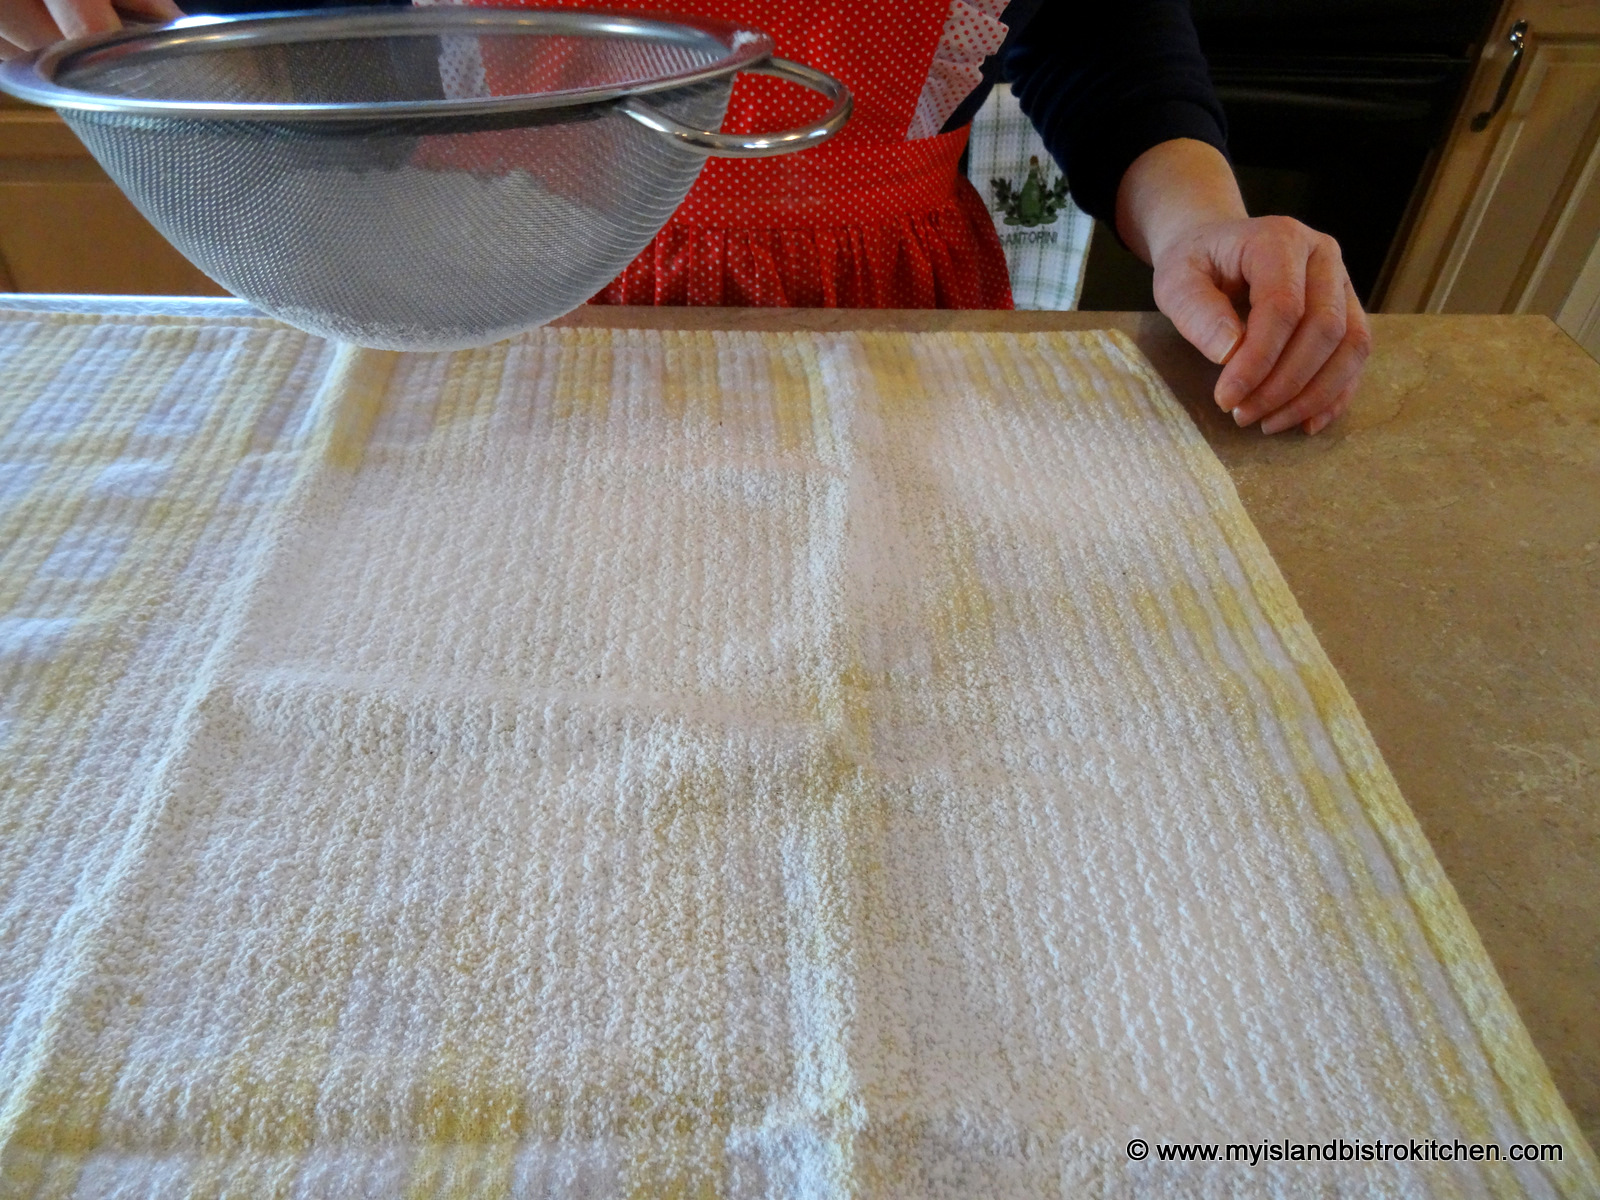
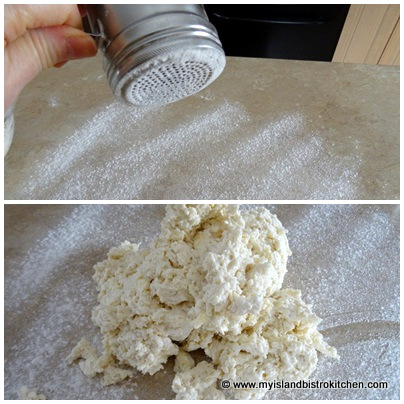
Let batter stand in bowl for just a minute or so then turn out onto a floured surface. Knead dough 8-10 times, just until it holds together enough to cut out the biscuits. Do not over-knead.
Roll or pat to desired thickness – I suggest about 1” thick will yield a good depth of finished biscuit.
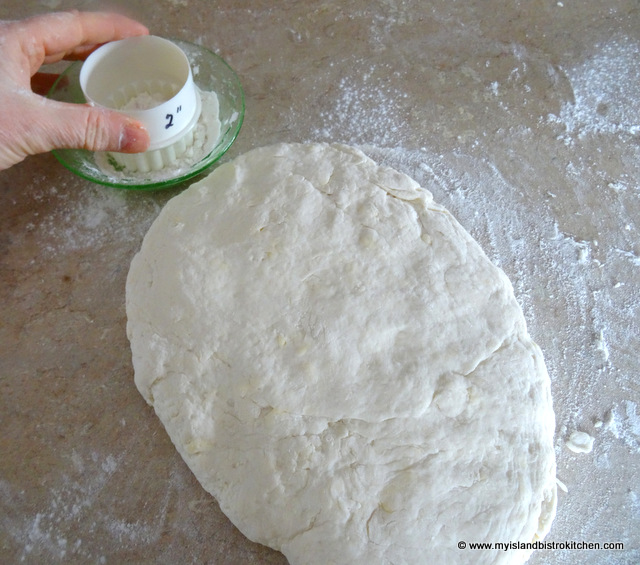
Using a 2” round floured cookie cutter, cut out biscuits. Dip the cookie cutter in flour before cutting out each biscuit.

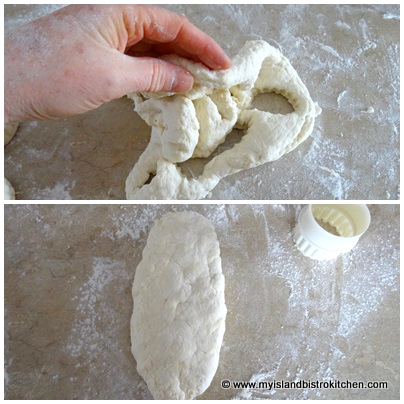
Gather up remaining dough, pat down to about 1” thick, and cut out the rest of the biscuits.
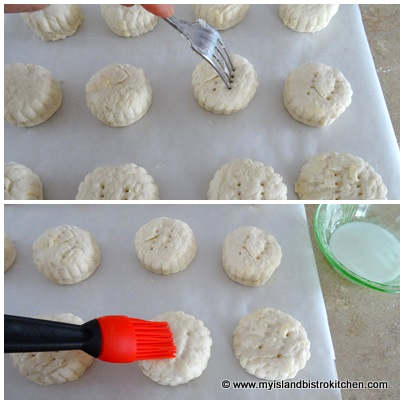
Using a small spatula, transfer the biscuits to prepared baking sheet, placing them about 2” apart. If desired, prick tops of biscuits with fork tines and lightly brush with milk.
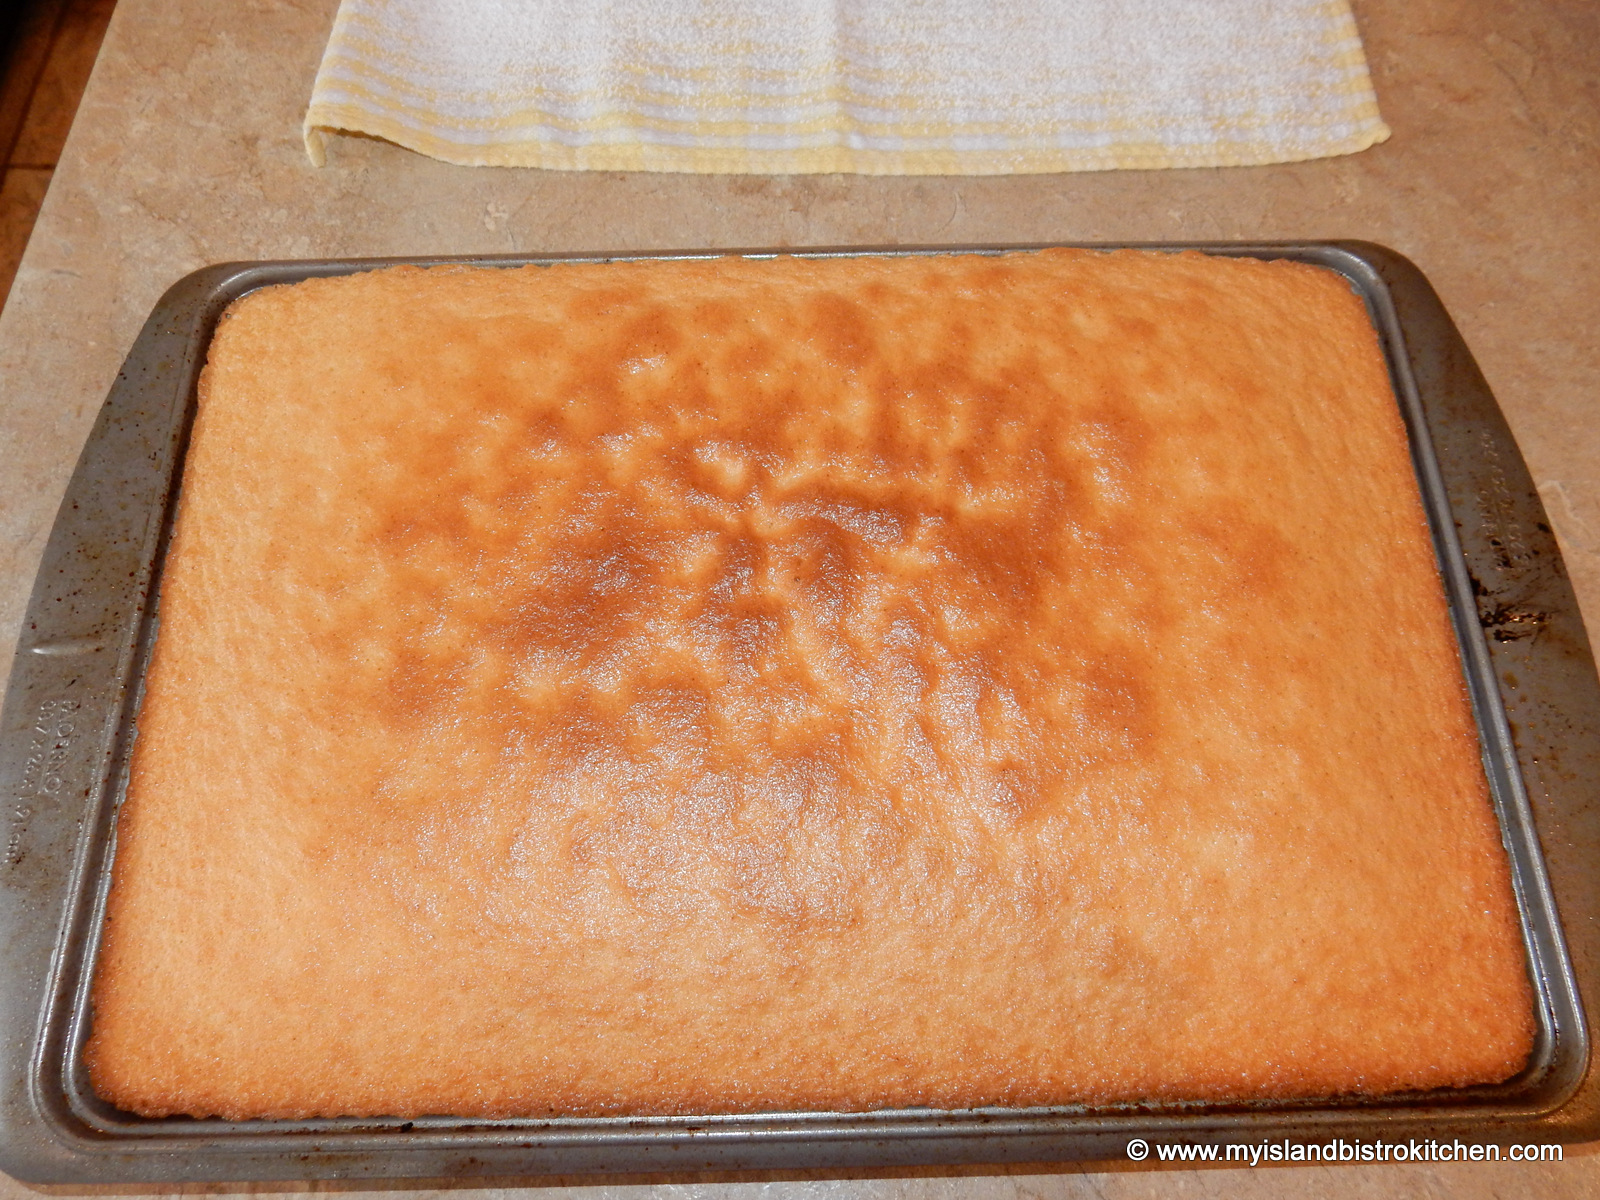
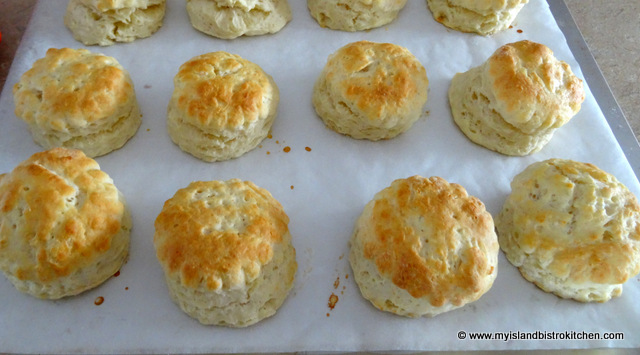
Bake for 14-16 minutes or until lightly browned on top.
Yield: Apx. 16 – 2” biscuits.
Ingredients
- 2¼ cups all-purpose flour
- 1 tbsp sugar
- 4 tsp baking powder
- ¾ tsp salt
- ½ tsp cream of tartar
- ¼ cup cold unsalted butter
- 2/3 cup whipping cream
- ¾ cup whole milk
- 1-2 tbsp milk for brushing on top of biscuits
Instructions
- Preheat oven to 425°F. Line baking sheet with parchment paper.
- In large bowl, whisk together the flour, sugar, baking powder, salt, and cream of tartar.
- Using a pastry cutter, cut in the butter until mixture resembles coarse crumbs.
- Make a well in the center of the ingredients.
- In large measuring cup, mix together the whipping cream and milk. Pour into well in dry ingredients. Mix together just until flour mixture is incorporated. Do not overmix. Mixture will be a soft, moist batter.
- Let batter stand in bowl for just a minute or so, then turn out onto a floured surface.
- Knead dough 8-10 times. Do not over-knead.
- Roll or pat to desired thickness, about 1” thick.
- Using a floured 2” round cookie cutter, cut out biscuits. Dip cutter in flour before cutting out each biscuit.
- Gather up remaining dough, pat down to about 1” thick, and cut out biscuits.
- Using a small spatula, transfer the biscuits to prepared baking sheet, placing them about 2” apart. If desired, prick tops of biscuits with fork tines and lightly brush with milk.
- Bake for 14-16 minutes or until lightly browned on top.
- Yield: Apx. 16 - 2" biscuits
- Copyright My Island Bistro Kitchen

You may also enjoy these other biscuit recipes from My Island Bistro Kitchen:
Buttery Buttermilk Biscuits
Rustic Oat Bran Biscuits
Whole Wheat Biscuits
If you have made this recipe and enjoyed it and/or wish to share it with your friends and family, please do so on social media but be sure to share the direct link to this posting from my website.
Connect with My Island Bistro Kitchen on Social Media
Join the Facebook page for My Island Bistro Kitchen: https://www.facebook.com/MyIslandBistroKitchen/
Follow “the Bistro” on “X” (formerly Twitter): https://twitter.com/PEIBistro/
See the drool-worthy gallery of mouth-watering food photos from My Island Bistro Kitchen on Instagram: https://www.instagram.com/peibistro/
Follow “the Bistro” on Pinterest at https://www.pinterest.ca/peibistro/ and pin the Pinterest-ready photo at the end of this posting to your favorite Pinterest boards!
Pin Me To Pinterest!

Posting was last updated October 13, 2023