These Custard Sandwich Cookies bear some resemblance to those that many know as Melting Moments, my recipe for which can be found here. The primary difference between these Custard Sandwich Cookies and Melting Moments is that the latter contains cornstarch giving the cookies what is commonly known as a “short”, ever-so-slightly crisp, texture while the Custard Sandwich Cookies contain vanilla custard powder that gives them a wonderful soft, creamy, and slightly crumbly texture as well as additional flavor and a more yellowish color. Continue reading Custard Sandwich Cookies Recipe→
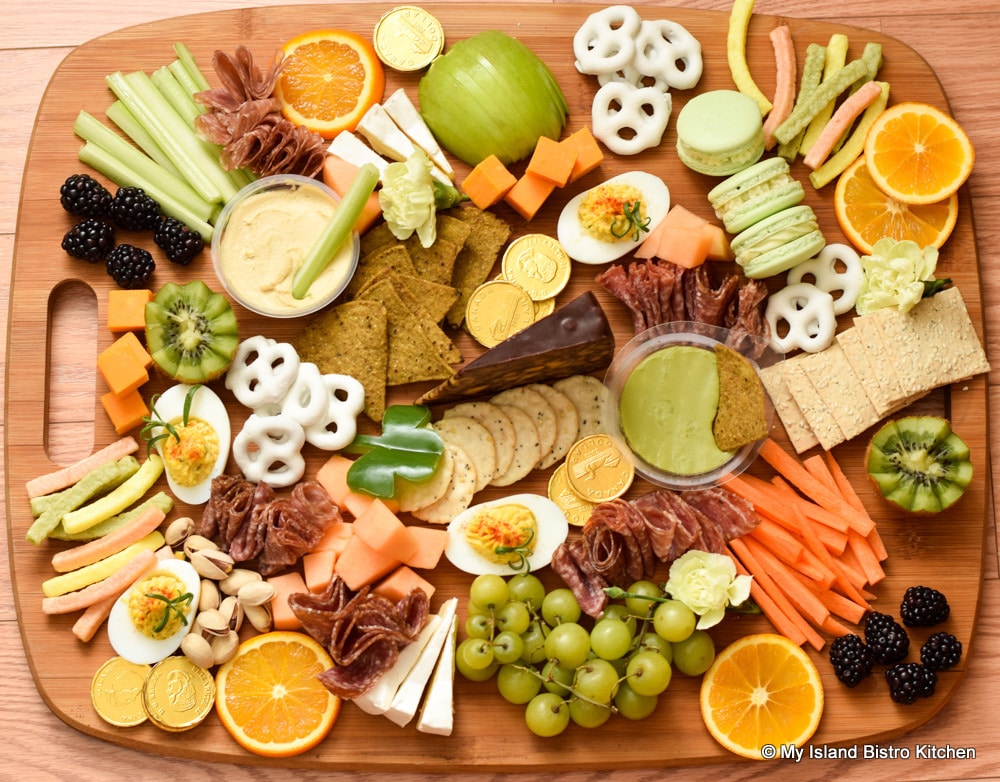
St. Patrick’s Day is the perfect time to create and serve a delightful St. Patrick’s Day Grazing Board filled with all kinds of green, orange, and white snacking foods! Continue reading St. Patrick’s Day Grazing Board→
Sharper and with a tangier taste than lemon curd, lime curd (in its natural state) is a slightly duller color than the traditional lemon curd with which most people are probably more familiar. One would think lime curd would automatically have a lime green color but this is not the case as the juice from limes is actually a very pale bland color. I added just a touch of green gel icing coloring to brighten up the curd and give it a pretty lime green color, more consistent to what might be expected of the appearance of a lime curd. Continue reading Luscious Lime Curd Recipe→
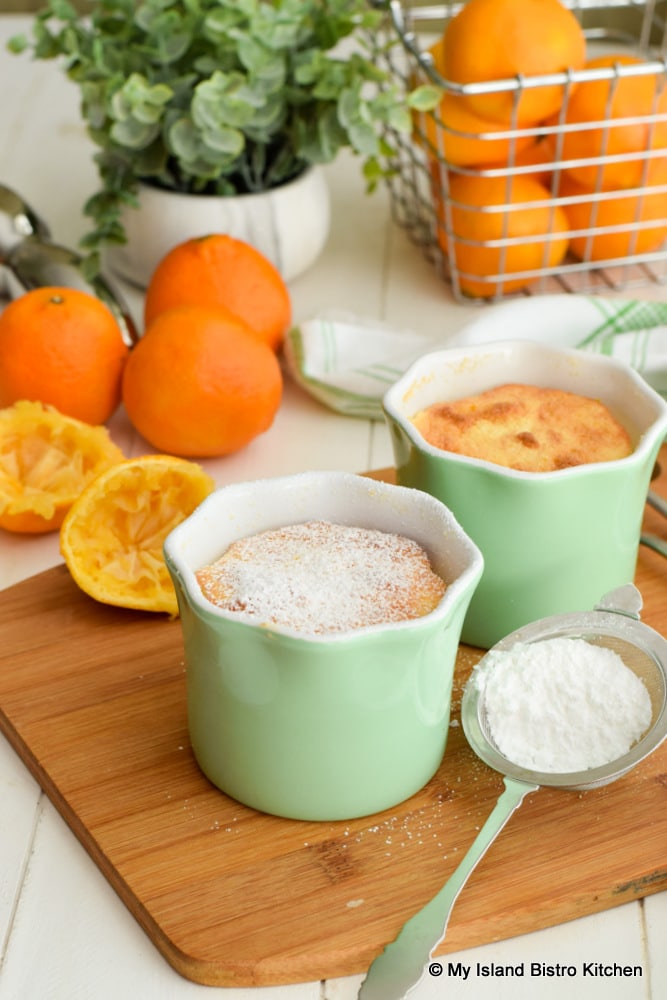
This self-saucing Clementine Sponge Pudding, baked in a bain marie, consists of a lovely citrus-flavored sauce topped with a light-as-air sponge cake. The pudding is proportionately sized for two servings making it ideal for the small household. Continue reading Clementine Sponge Pudding for Two→
Some may know this old-fashioned bread simply as “Porridge Bread” because of its rolled oat content. Rustic Oatmeal Bread is a hearty bread that has a soft, chewy texture. It’s ideal as a sandwich bread, makes fabulous toast, is great for French toast and, heck, it’s just fine slathered with butter or molasses! Continue reading Rustic Oatmeal Bread Recipe (aka Porridge Bread)→
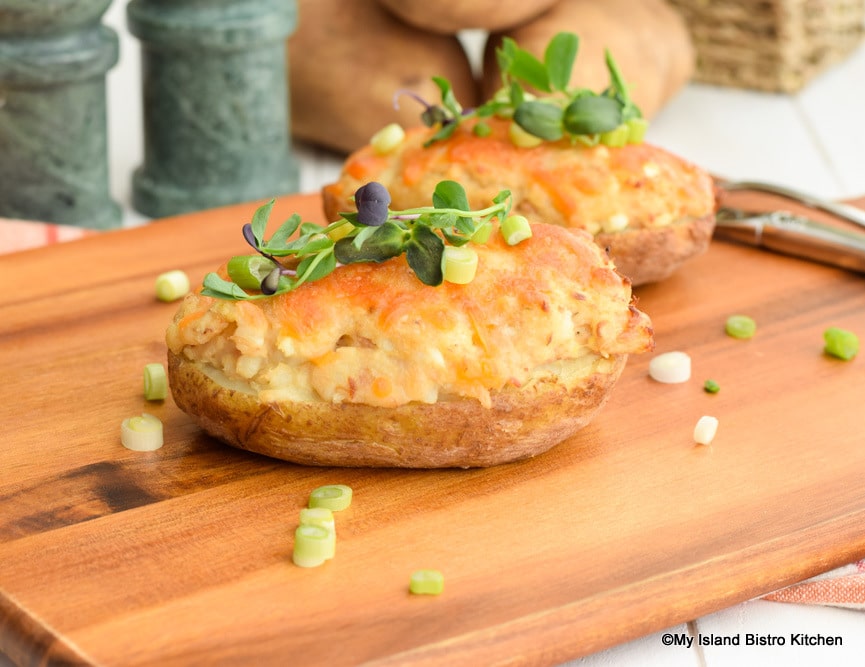
These tasty Tuna Stuffed Potatoes are the full meal deal. With a filling of potato, tuna, egg, and cheese, all encased in potato shells, these twice-baked potatoes make a great lunch all on their own. Continue reading Tuna Stuffed Potatoes Recipe→
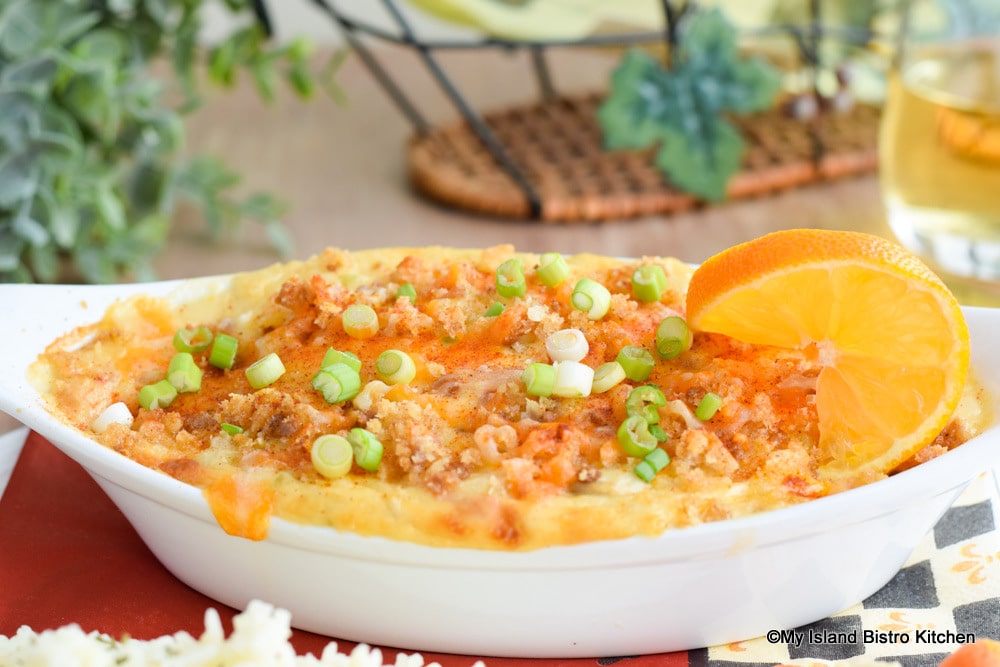
At least once a week, I have fish. Haddock is a favorite and while I like it simply pan-fried in butter, sometimes I like to dress it up and, on those occasions, I make Baked Haddock au Gratin. Continue reading Baked Haddock au Gratin Recipe→
Always a favorite, this three-part square (shortbread base, topping, and icing), known simply as “Dream Square”, is a treat! Sometimes referred to as a vintage or retro square, I’m not sure it has ever been “shelved” long enough in history to put it in that category! This is a square that is, in my view, perennially in vogue. Continue reading Decadent Dream Square Recipe→
This lovely Cranberry Shortbread Square with a tender, buttery shortbread crust features cranberry sauce as an ingredient in the topping. The sauce adds lovely flavor and texture making the square rich and delectable. Continue reading Cranberry Shortbread Square Recipe→
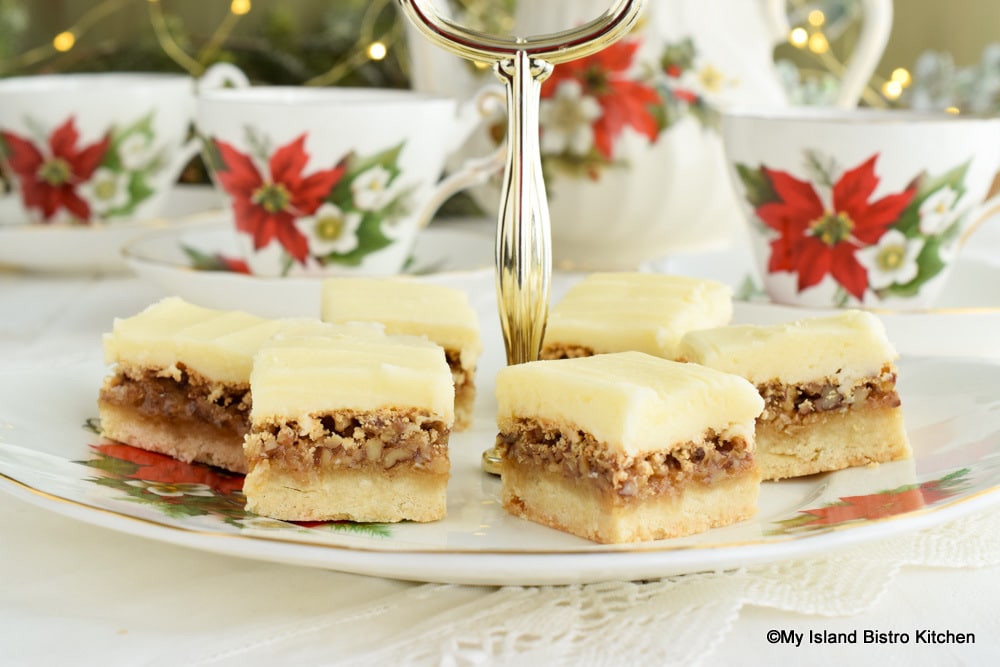
I call this type of square the “three-piece suit” of squares. That’s because there are three components to the square: 1) a tender, buttery shortbread crust; 2) a topping or filling; and 3) a buttery icing. This delectable Pecan Shortbread Square is always one that calls for a second piece! Continue reading Pecan Shortbread Square Recipe→
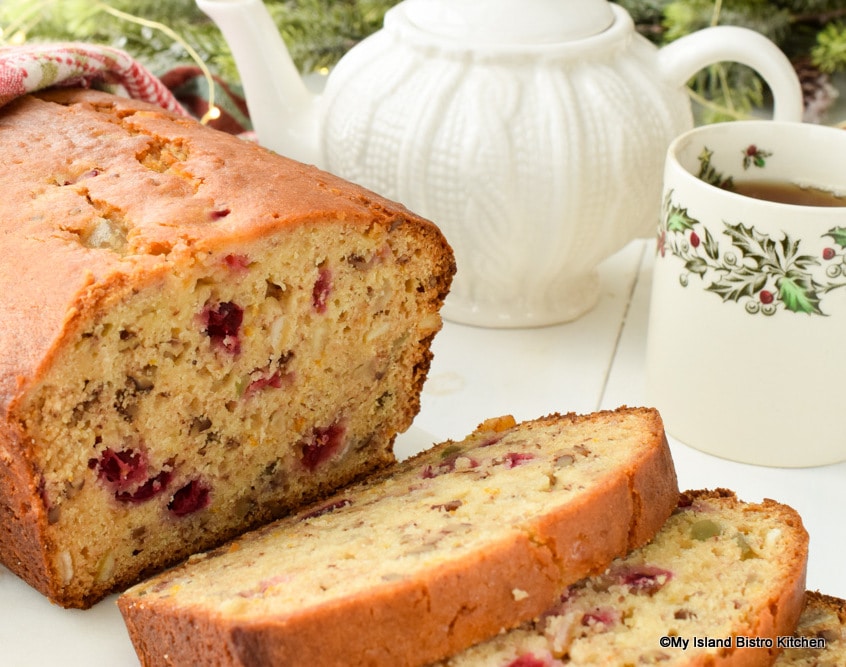
I call this quick bread the loaf with Christmas wrapped inside it! That’s because this Cranberry Orange Eggnog Loaf encompasses many of the flavors we typically associate with Christmas – the bright red cranberries, eggnog, warm spices of nutmeg, mace, and cardamom, citrus notes that come from orange marmalade, juice, and orange rind, mixed peel/citron, and pecans. It’s the perfect loaf for weekend brunch, coffee or tea break, or gift giving. Continue reading Cranberry Orange Eggnog Loaf Recipe→
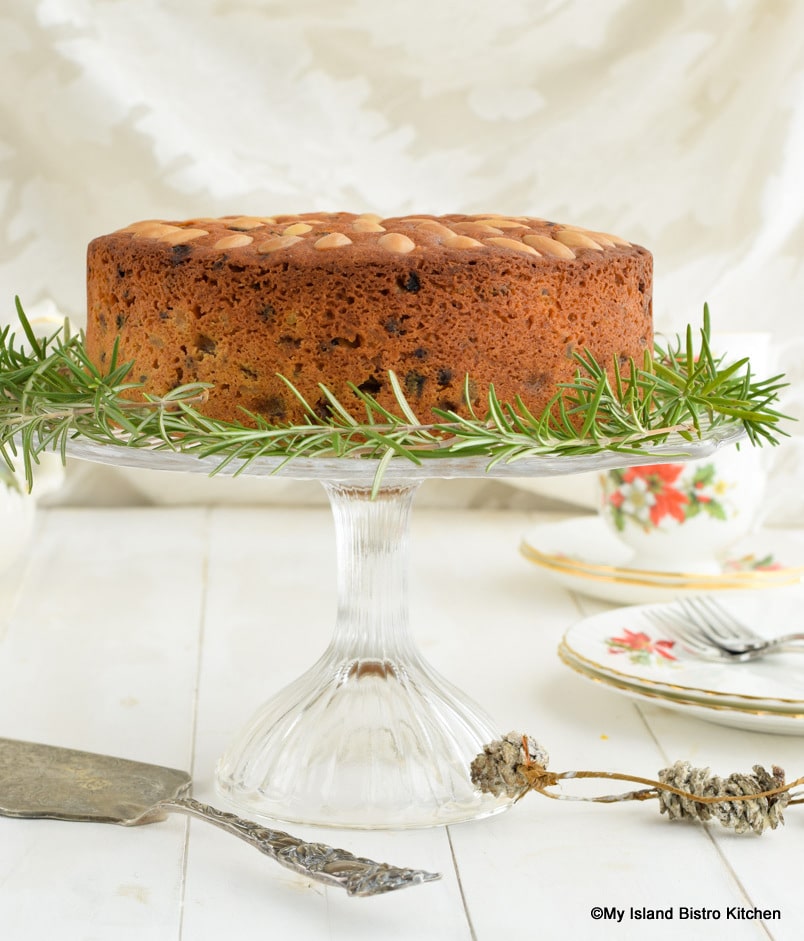
Less rich than a traditional fruitcake, a Dundee Cake still retains some of the elements of a fruitcake and makes a fine treat at Christmas or anytime, for that matter. It’s especially lovely as a teatime cake. Continue reading Spirited Dundee Cake Recipe→
The humble carrot, often the last of the vegetables to be harvested from the garden in autumn, makes a fabulous base for a smooth Cream of Carrot Soup. With its superb flavor, color, and luxuriously smooth texture, this soup is a winning combination and can be made year-round. Continue reading Cream of Carrot Soup→
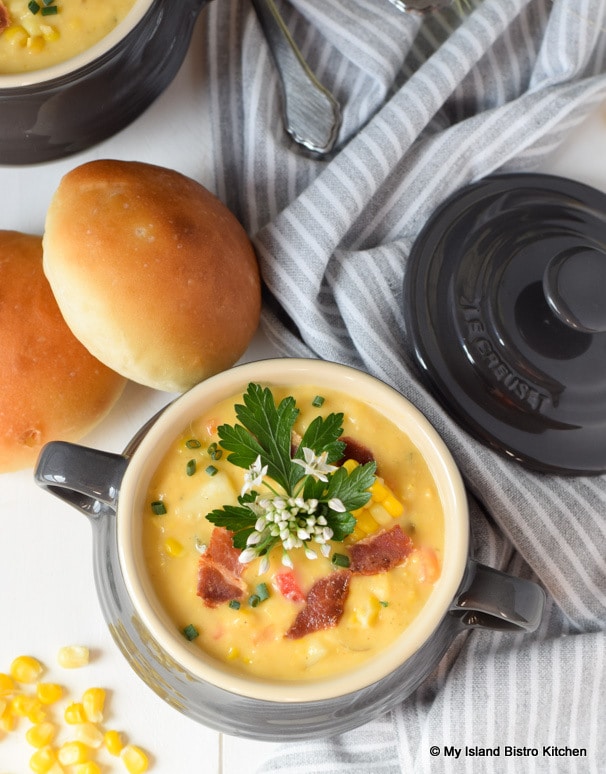
Late summer brings some wonderful flavors and that includes corn. After a few “feeds” of corn-on-the-cob, I am ready to have the veggie served in other ways, like in this Creamy Homestyle Corn Chowder. Pure comfort food at its finest and nothing compares to the homemade version! Continue reading Creamy Homestyle Corn Chowder Recipe→
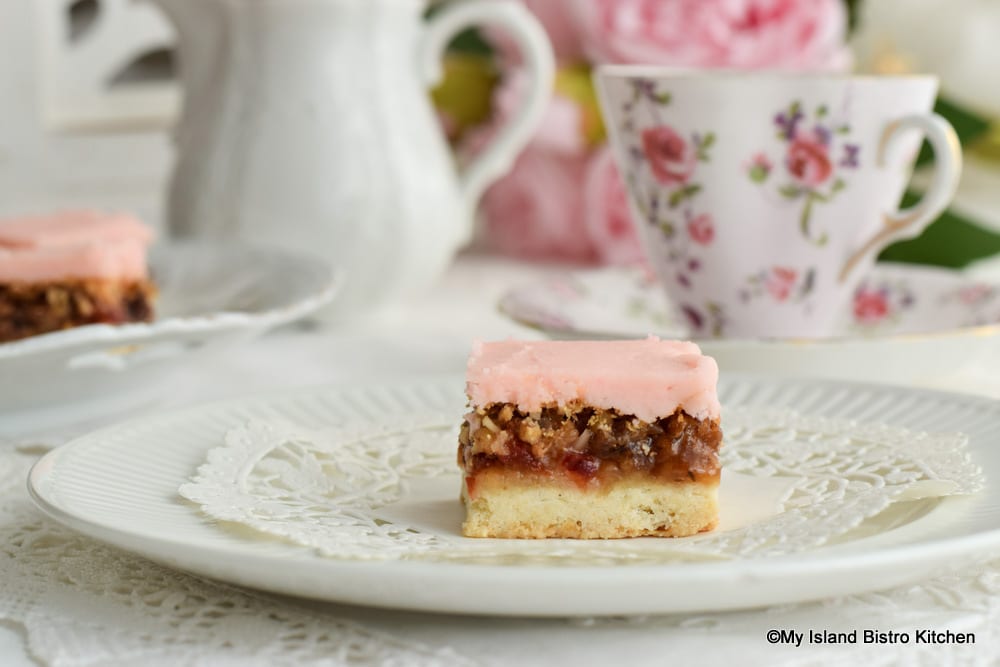
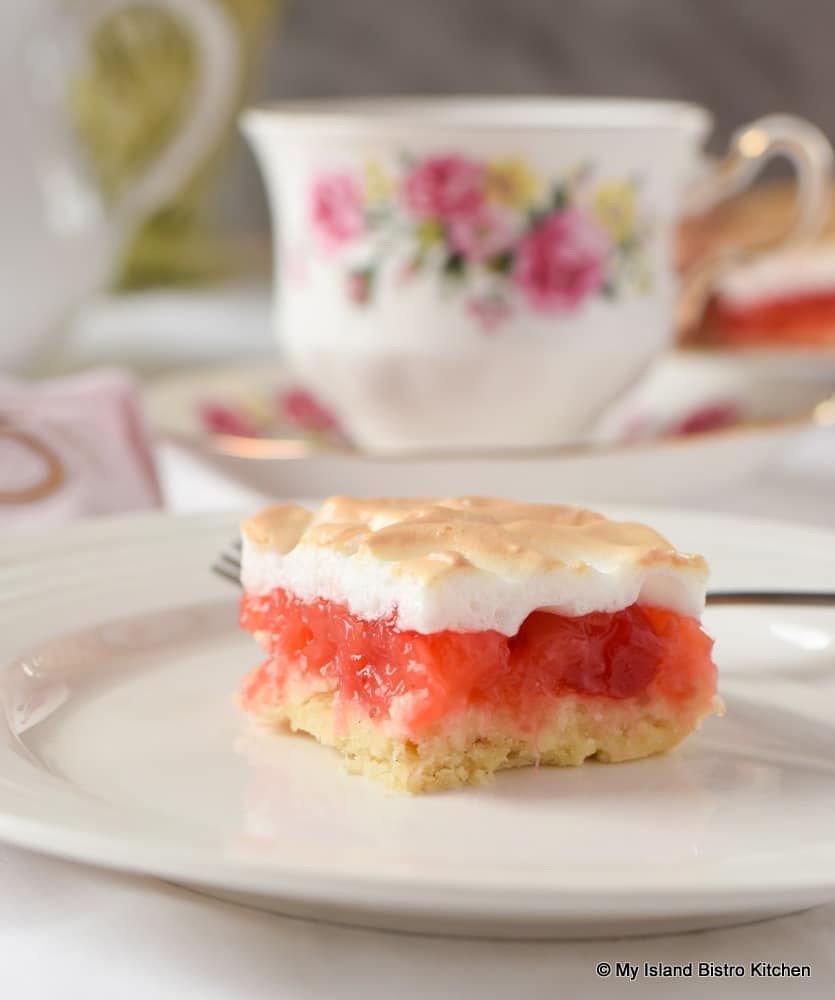
Today, I have dug deep into my vintage recipe file for this super tasty Rainbow Square. This is more of a dessert square than one that would be found on a tray of squares where each individual square could be picked up and eaten from the hand. This one is best served on a plate and eaten with a fork. It would fall into the “ooey-gooey” square category, in my opinion! Continue reading Vintage Rainbow Square Recipe→
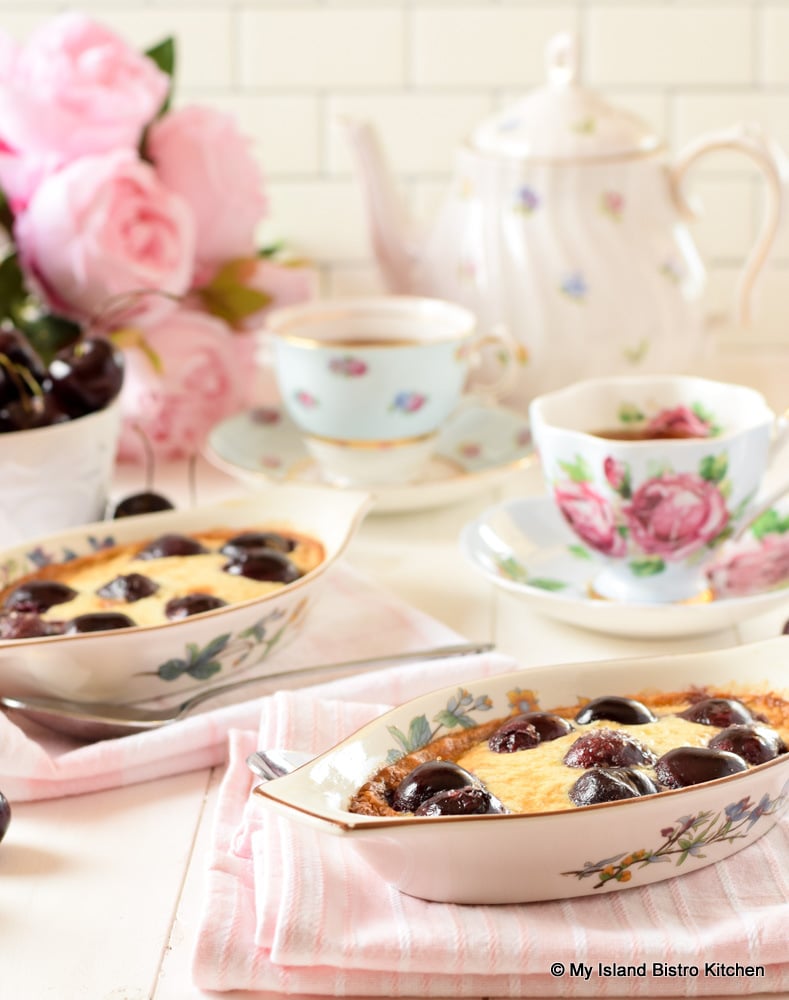
Cherry Clafoutis Baked in Individual Au Gratin Dishes
A classic dessert with French origins, Cherry Clafoutis (pronounced “kla-foo-tee“) is remarkably simple to make with the most basic of ingredients. If you can mix together the batter for pancakes or crepes and pour it over cherries in a baking dish, you can make this dessert! Continue reading Classic Cherry Clafoutis For Two→
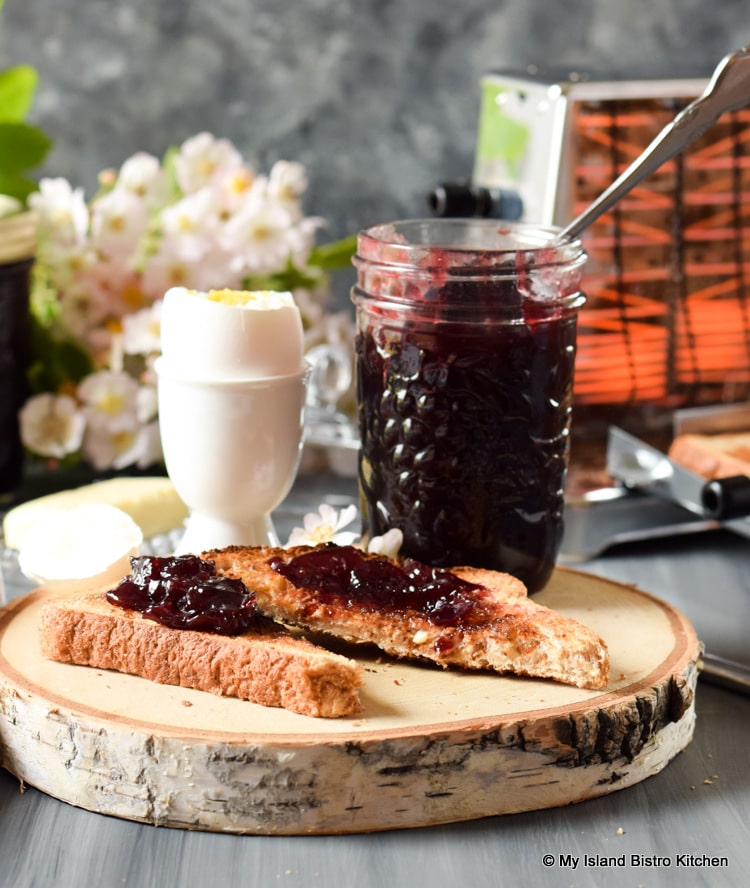
Homemade jam is such a wonderful treat. And, of course, there is the sense of accomplishment seeing the results of processing fruit into tasty jam. Today, I share my recipe for small batch Cherry Jam. Continue reading Small Batch Cherry Jam→
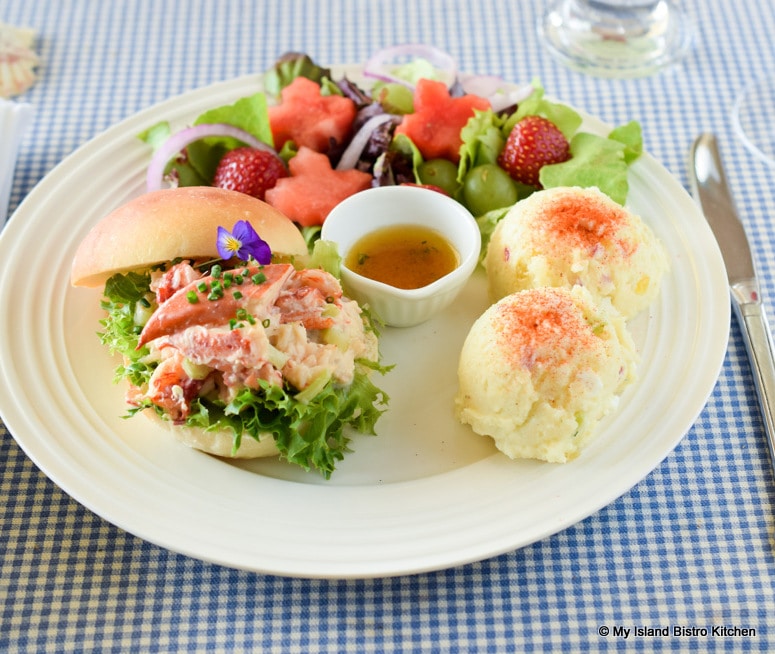
I am often asked for my recipe for lobster rolls and, I have to say, mine is fairly basic. I don’t mess with a good thing by adding any wonky or unusual ingredients. I want the lobster to be the star and nothing to interfere with it. I go with the basics – lobster meat, celery, lemon juice, Dijon mustard, salad dressing or mayonnaise, and salt and pepper. Sometimes, I will add a finely chopped green onion to the filling but that’s about it.