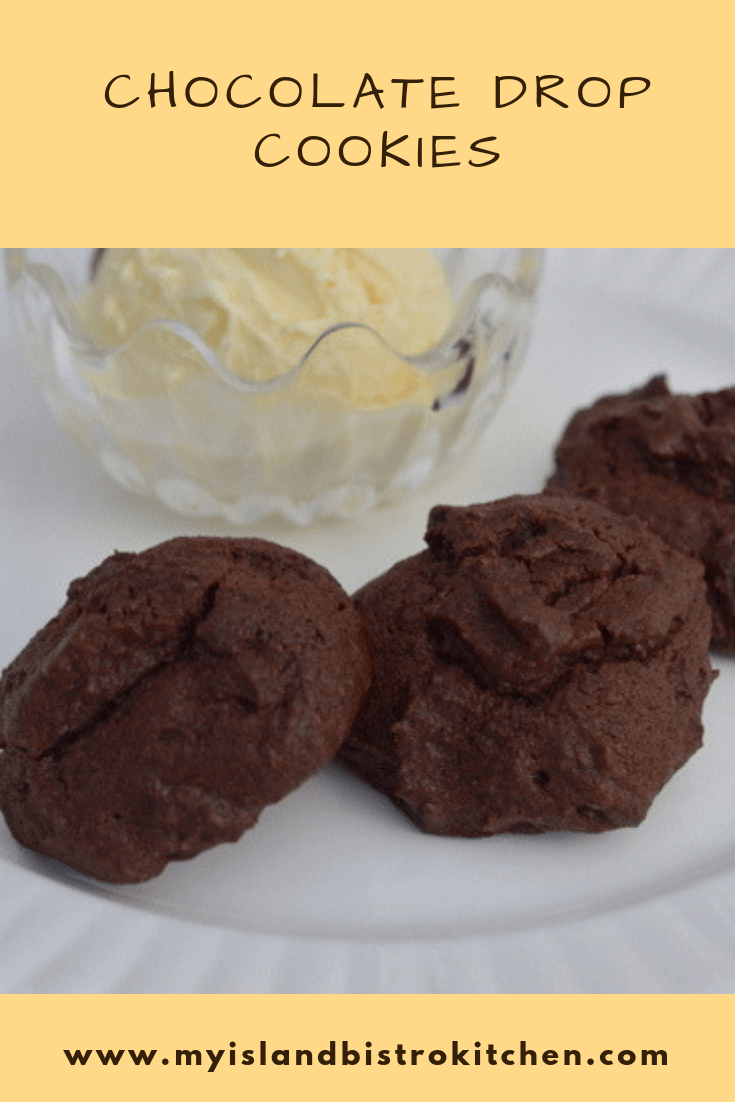
As those of you who regularly follow my blog will already know, I love a classic afternoon tea….the more formal, grand, and elegant, the better.

On previous trips to London, England, I always seemed to miss out on classic afternoon teas for one reason or another. I certainly had had cream teas (scones, clotted cream, strawberry jam, and a pot of tea) at some hotels but never was able to make it to a formal tea. I always said that the next time I was heading to Europe, I was going to visit London for no other reason than to have proper afternoon tea.
That opportunity arose earlier this month when we were heading out on a Greek Islands cruise from Venice, Italy. I had my travel agent book us a stop-over in London for a couple of days so that we could experience the quintessential British tradition of formal afternoon tea. I spent countless hours over the spring and summer researching which afternoon teas I wanted to experience. As those of you from London and area (or who have visited there) will know, afternoon teas in the city can be pricey. Many restaurants and hotels in London offer a classic afternoon tea of some sort and the higher-end venues range in price from around ₤40.00 pp. upwards (VAT inc.) + 12.5% service gratuity. At the time of writing, the current rate of exchange is $1.68 against the Canadian dollar so that can edge a Canadian visitor around $100.00 or more per person for afternoon tea. Many venues also offer champagne afternoon teas and adding a glass of bubbly to the afternoon tea experience can translate into an extravagant price – some as high as ₤85.00 pp plus service gratuity of 12.5% which converts to about $160.00 pp, CDN$. So, due to the cost, deciding on which afternoon tea to experience is not a decision to be taken lightly. This is not to say that all afternoon teas in London are this pricey – I was able to find afternoon teas less than ₤30.00 pp but even that translated into an expensive repast when converted into Canadian currency.
We were staying in the Kensington area of London and I wanted to do more than one afternoon tea on this trip (and not break the bank!) but did not want to have to spend valuable and limited time traveling far so I opted for tea at “The Orangery” at Kensington Palace which was within walking distance to our hotel and the other in the Georgian Restaurant at Harrods department store where we spent a complete day. We had planned to spend time again in the food halls at Harrods (a foodie’s mecca) anyway so, because our time was so limited in London and didn’t allow for much travel time around the city, we combined a visit to Harrods with afternoon tea in their Georgian Restaurant and it did not disappoint.
Hotels and restaurants offering afternoon tea will usually have a number of sittings throughout the afternoon and some in to the early evening as well with most ending by 7:30pm, or earlier, local time. Dress codes vary with smart casual being the norm and with some of the higher-end venues requiring more dressy attire. Reservations are generally recommended, particularly for the more popular venues, and I recommend inquiring of the dress code when making reservations (note that some venues require reservations several weeks or even months in advance). Many have their afternoon tea menus and dress codes posted online as well. We were able to get a table when we arrived at “The Orangery” mid-afternoon on our first day in London. On the day we visited Harrods, we made reservations mid-morning for our afternoon tea in their Georgian Restaurant. However, I expect that during the busy summer months as well as around Christmas and other holiday periods, reservations farther in advance of same day would be advisable (Claridge’s website at time of writing is indicating that they are not accepting any more afternoon tea reservations until January 2014 due to high demand). Part of the experience of a formal afternoon tea is the decor and ambiance of the venue which often includes a pianist at the grand piano. One of the things that fascinates me most about afternoon tea in London is its enduring popularity across all age groups.
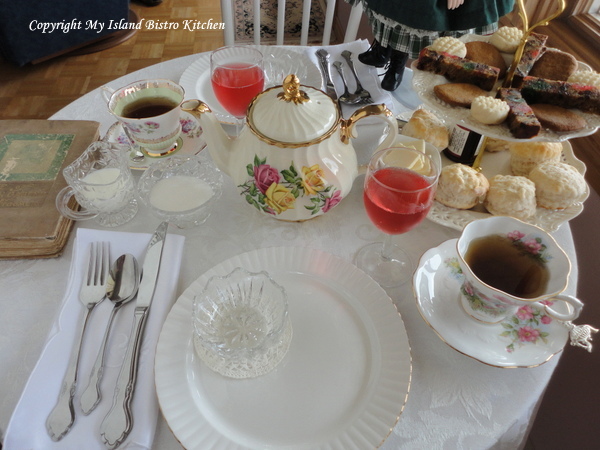
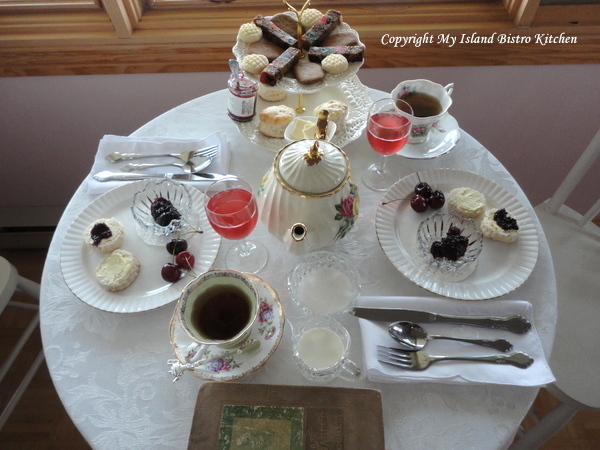
For the benefit of those who may not be familiar with what comprises a classic afternoon tea, there are four components: 1) the tea beverage blend; 2) savories; 3) scones; and 4) patisseries and cakes. It is common to present the food on three-tier servers.
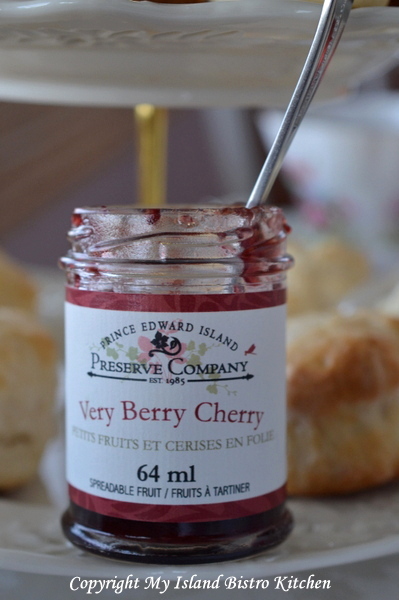
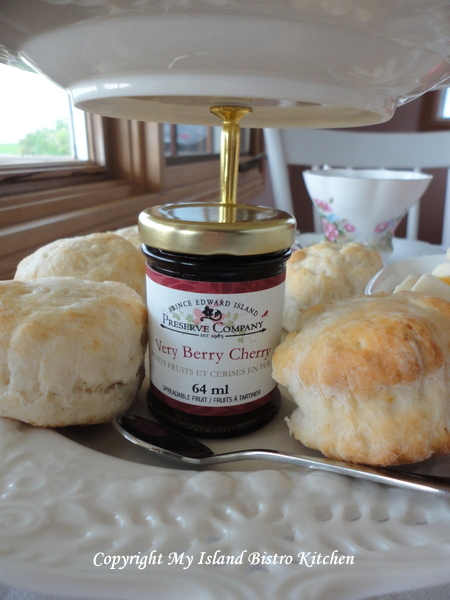
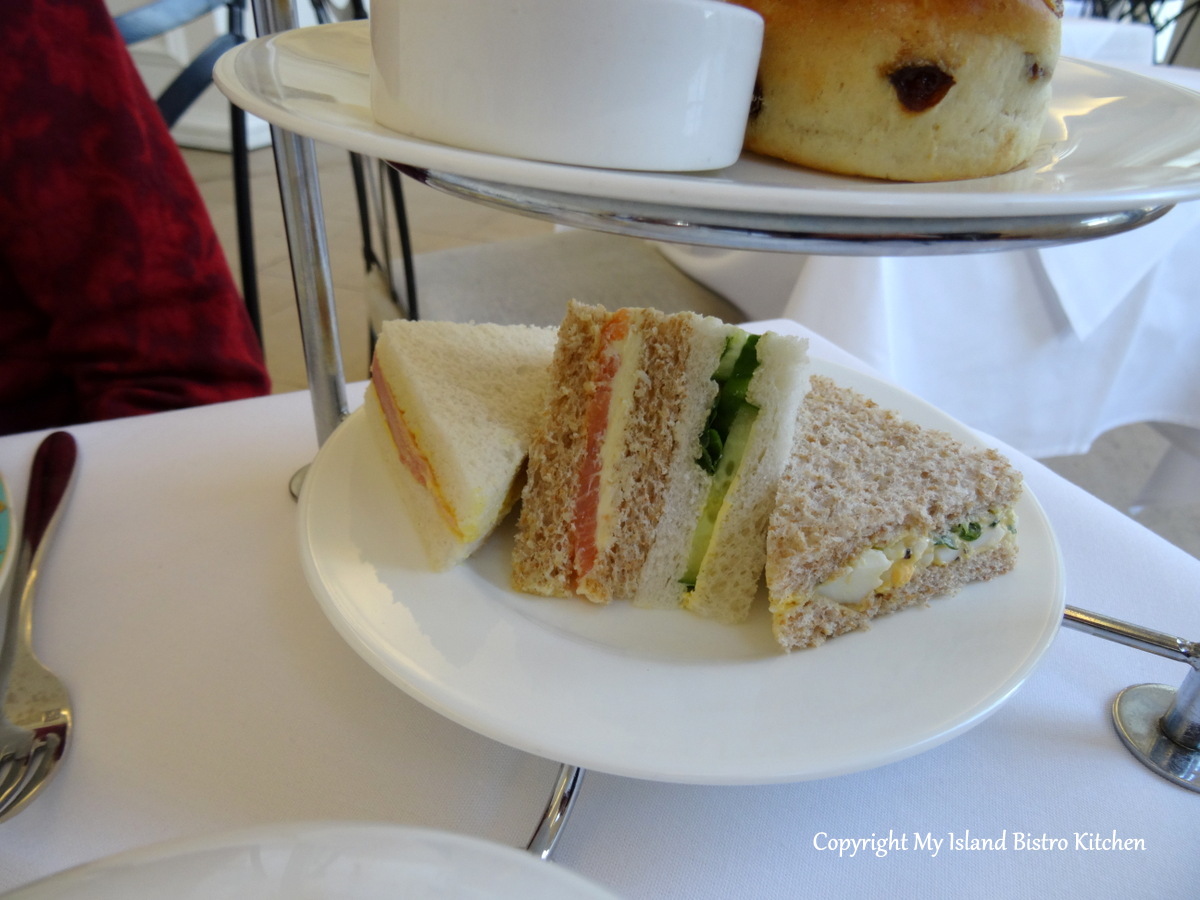
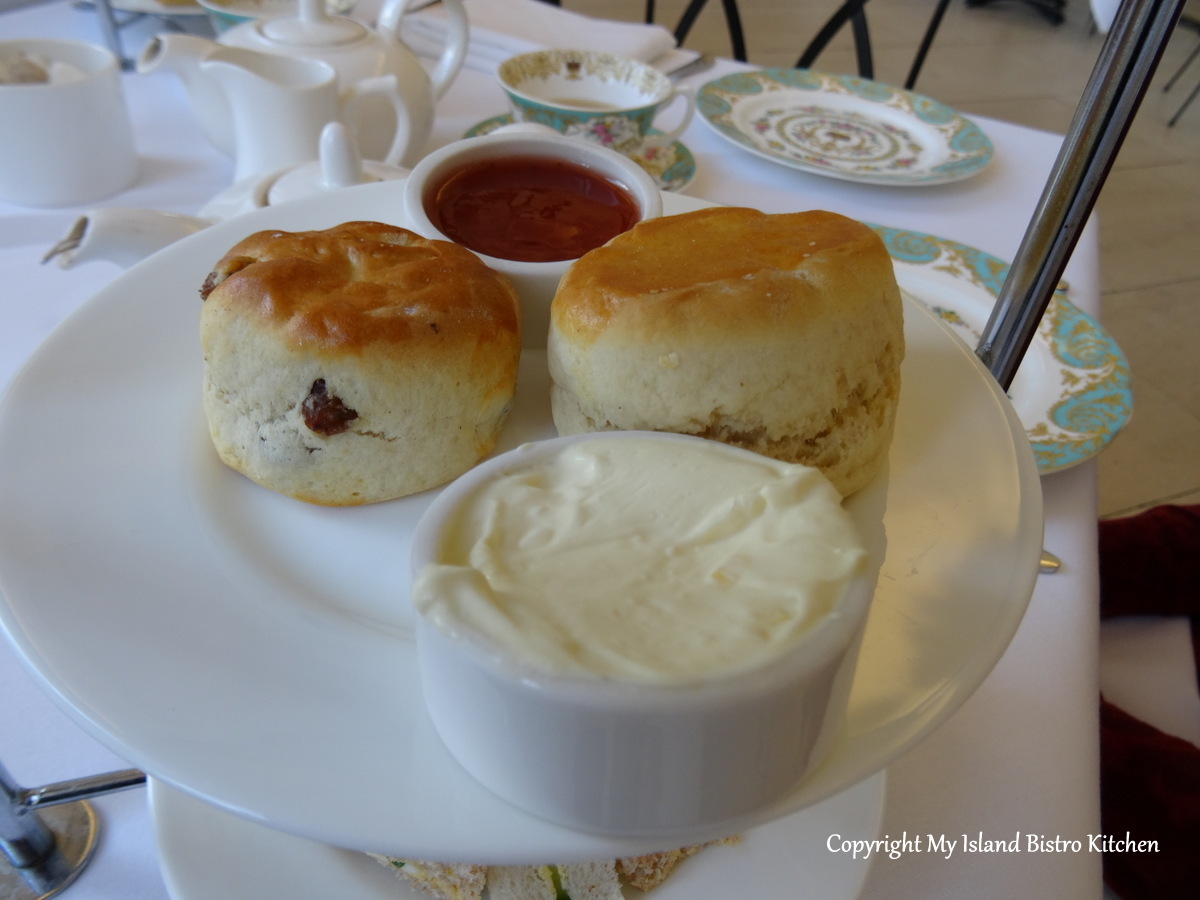
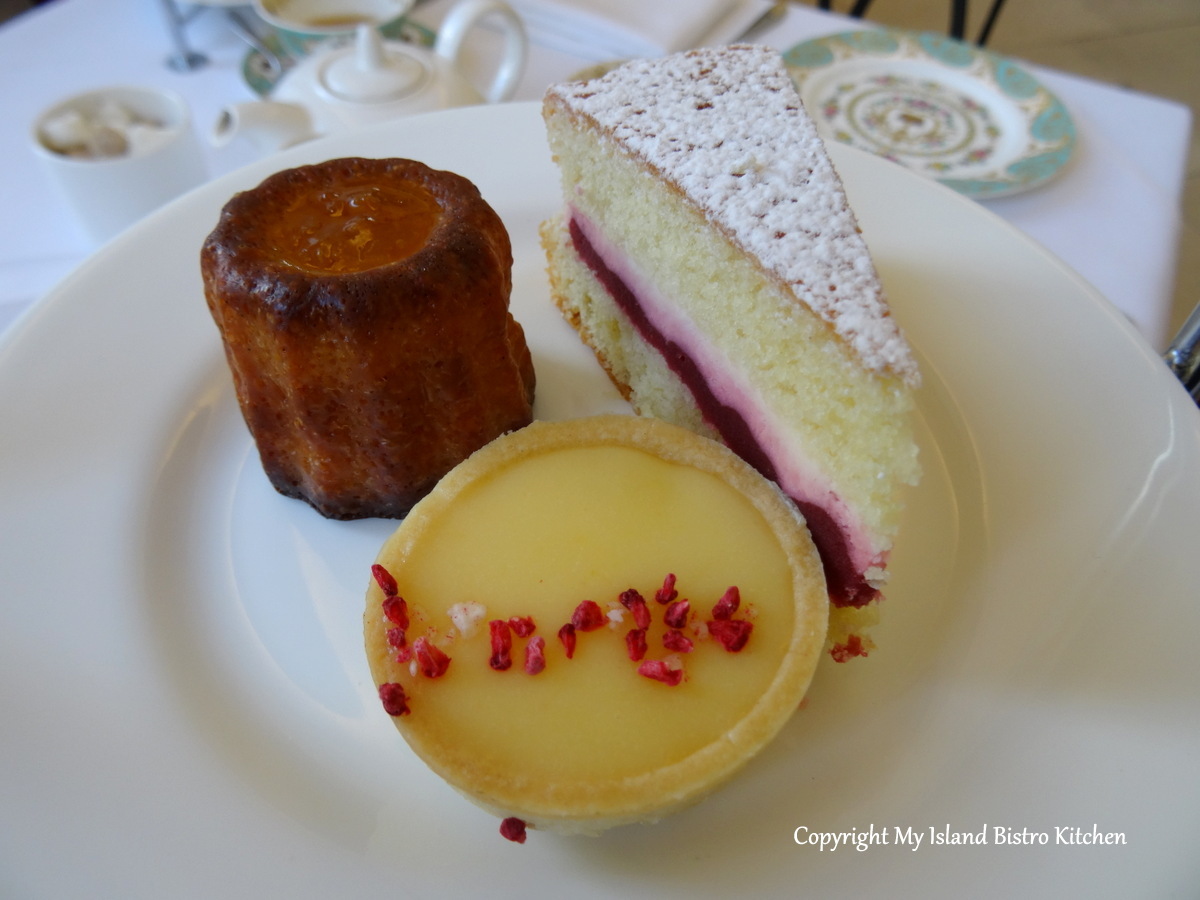
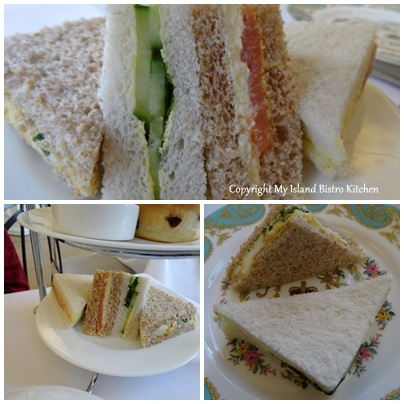
Most venues (particularly the high-end ones) will have a tea sommelier on staff to help guests decide which blend of tea to enjoy with the repast. The array of tea offerings can be daunting unless you are a tea connoisseur. The savory course will consist of delicate sandwiches and sometimes petite tarts, and souffles. Fillings for the sandwiches vary but you can generally expect to find cucumber, egg, smoked salmon, ham, roast beef, and/or chicken presented on various breads. The sandwiches will always have the crusts removed and may be cut in either finger or triangular shapes. These offerings will be found on the bottom plate of a three-tier server. The middle plate of the server will contain the scones, clotted cream, and usually the preserves (although the latter may be presented on a separate flat plate on the table). Often two kinds of scones will be presented – raisin or fruit and plain. The top tier of the three-tier server is reserved for the patisseries and cakes. The offerings for this course certainly vary between restaurants but you will often find, as a minimum, sponge cake, lemon tarts, and frequently French macarons and other sweet pastries.
So, today, I thought I would share with you some photos from the two afternoon teas I enjoyed in London in early October, 2013. Apologies in advance for the lighting in some of the photos – these are travel photos and the natural lighting wasn’t the best on some of the interior shots.
“The Orangery” at Kensington Palace
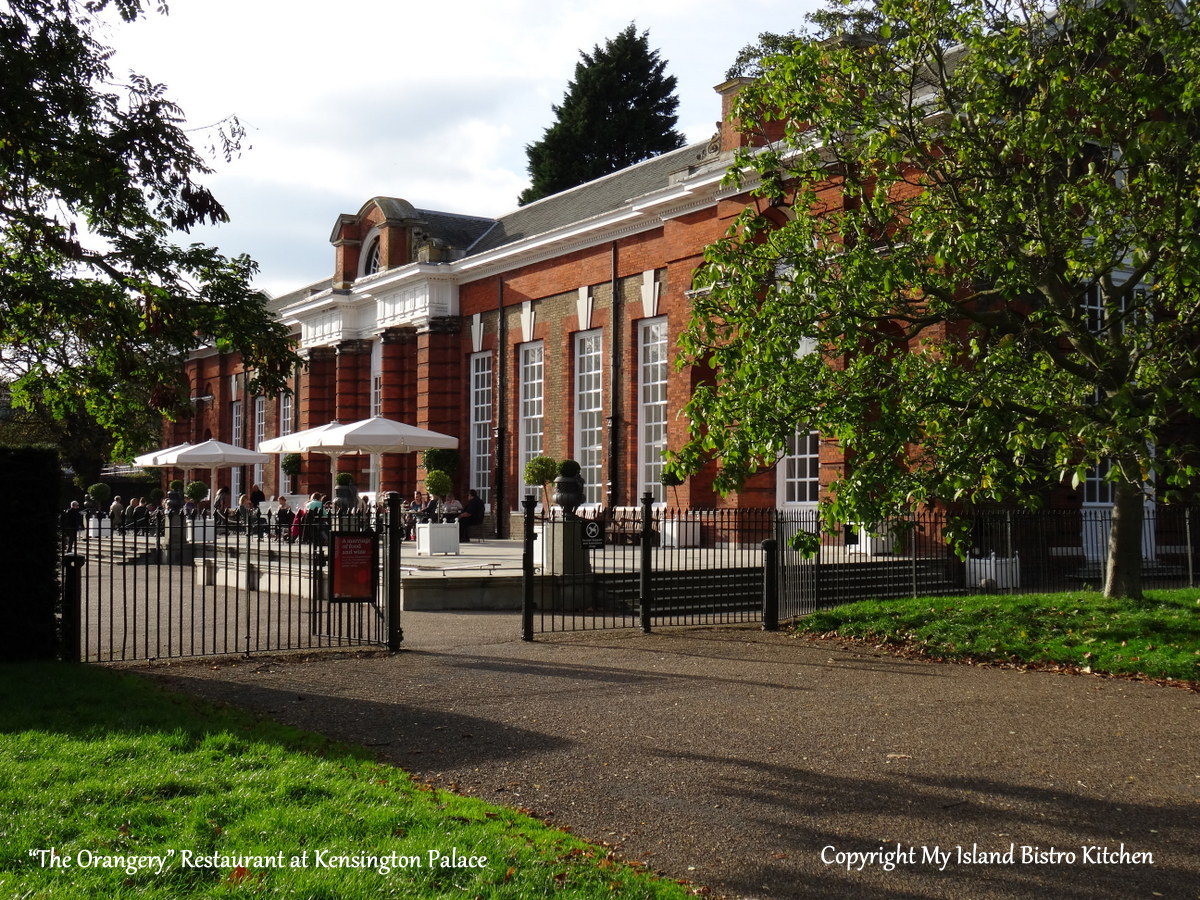
On the day we visited “The Orangery”, in early October, 2013, it was still warm enough to enjoy afternoon tea al fresco style outside.

However, the interior of “The Orangery” is so striking that we opted to enjoy tea inside.

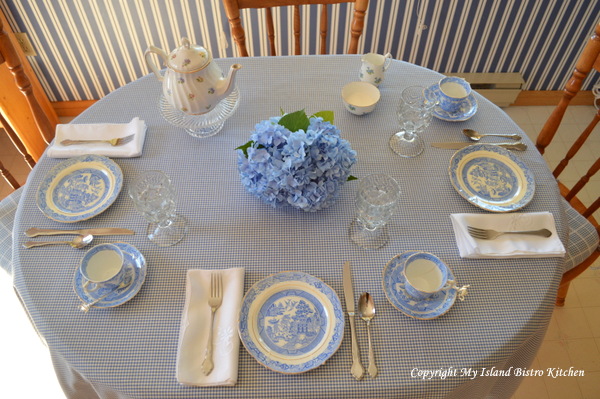
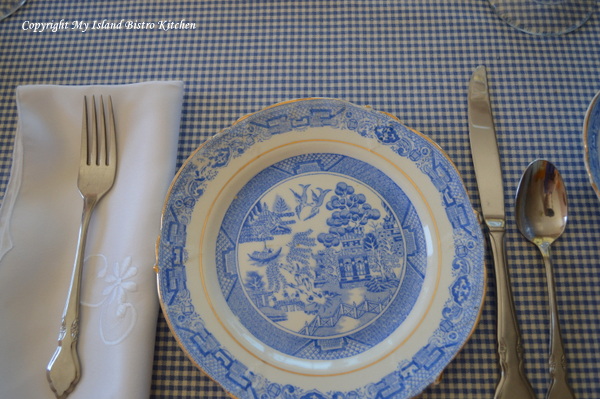
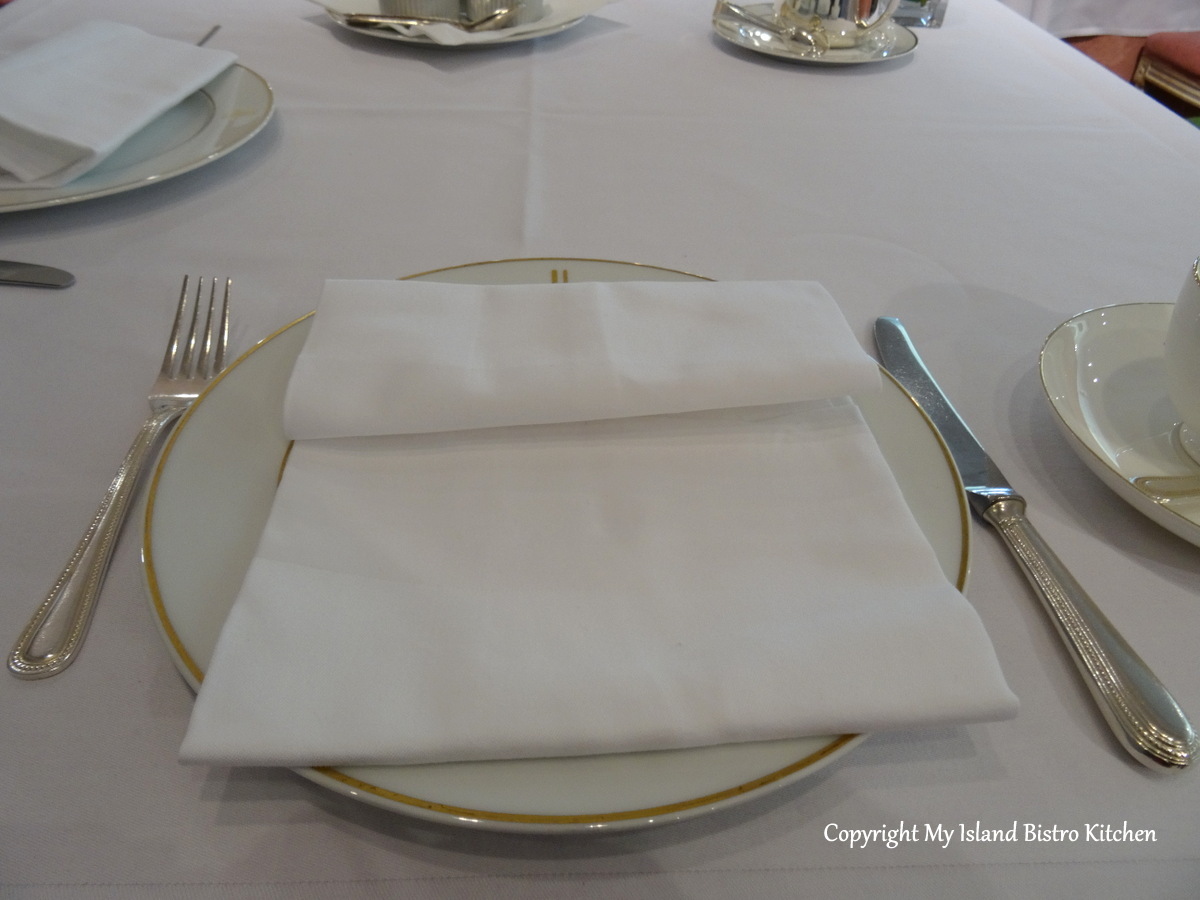
I was fascinated by the table setting with the plates set to the left of each place setting.

You can check out the menu for afternoon tea at “The Orangery” here.
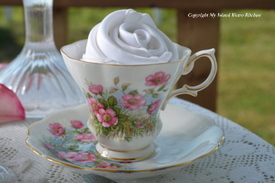
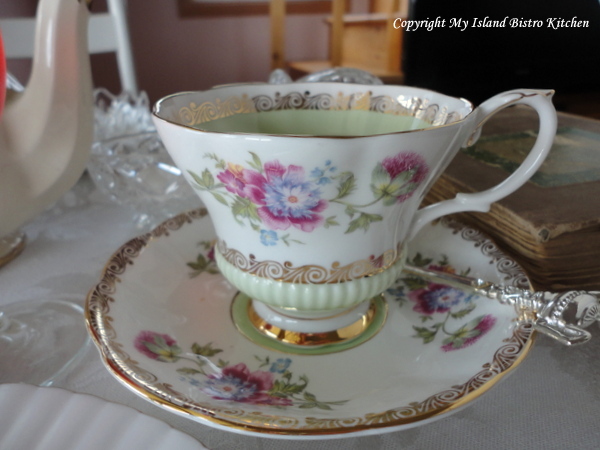
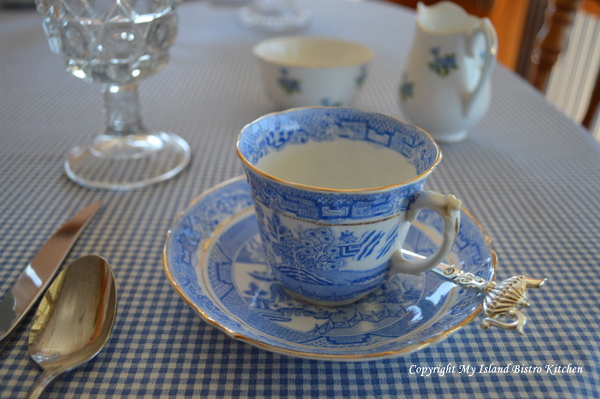
The tables were simplistically set with this decorative china on white linen.
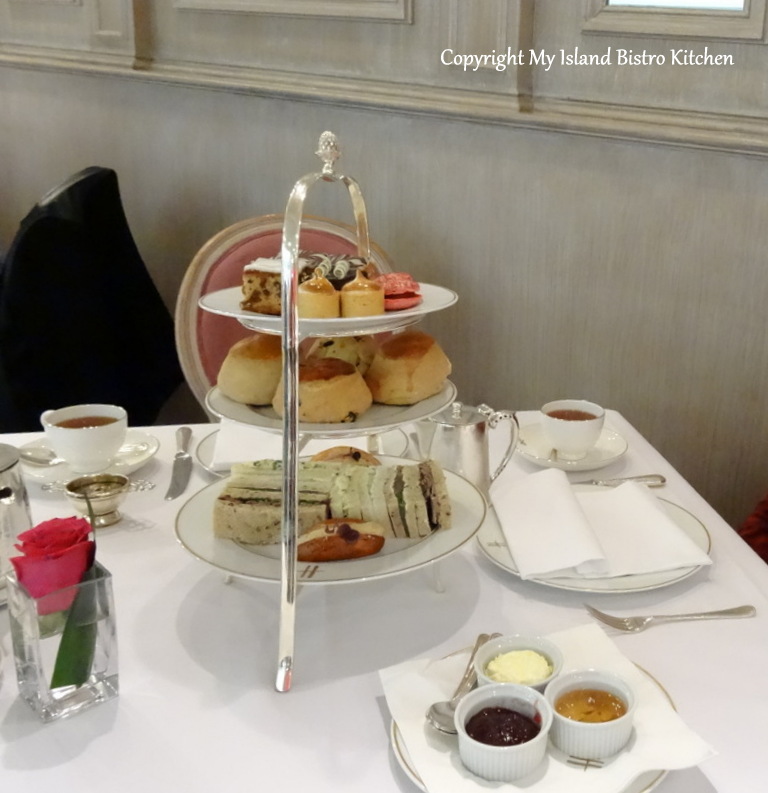
Are you anxious to see what was on the tiered server?

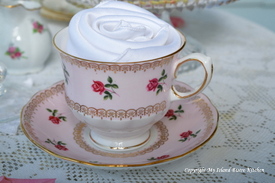
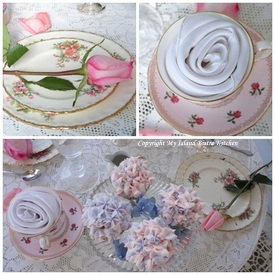
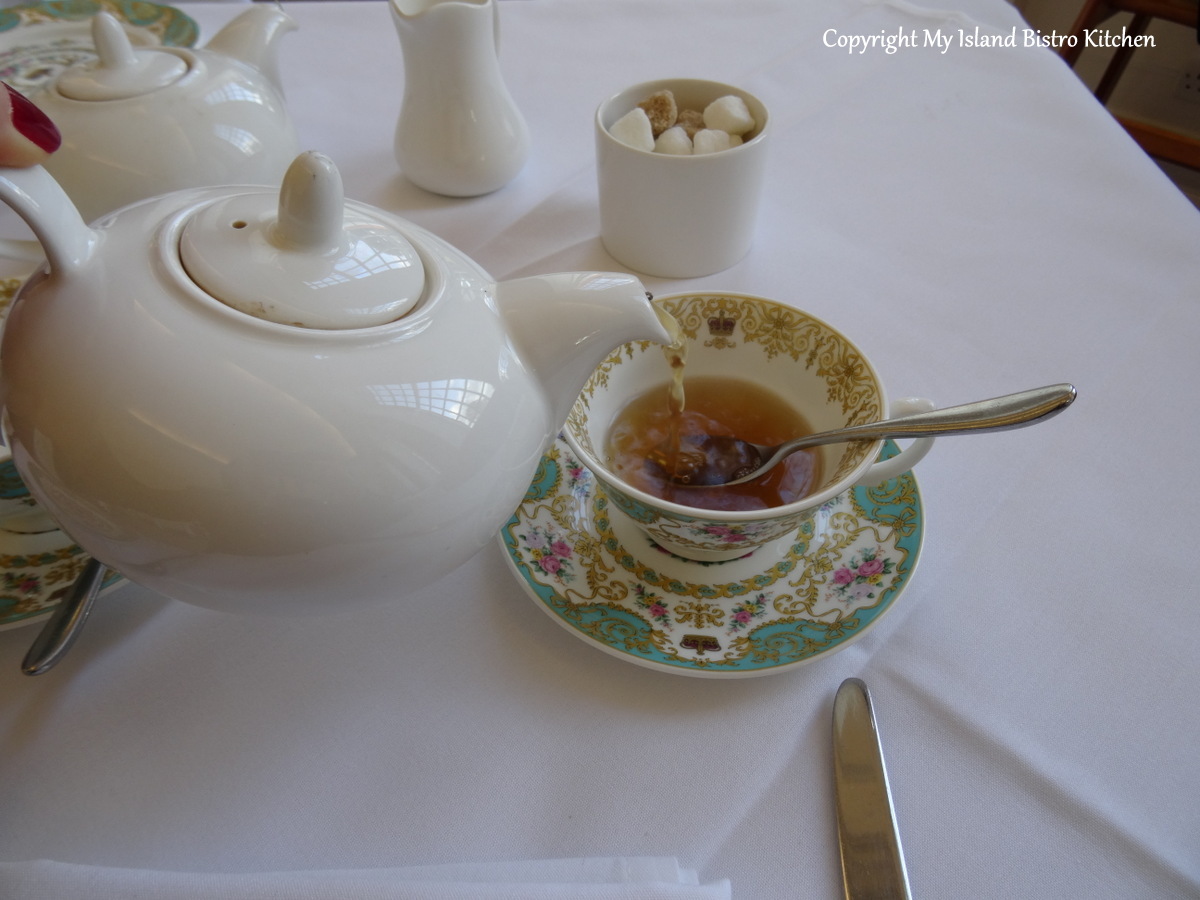
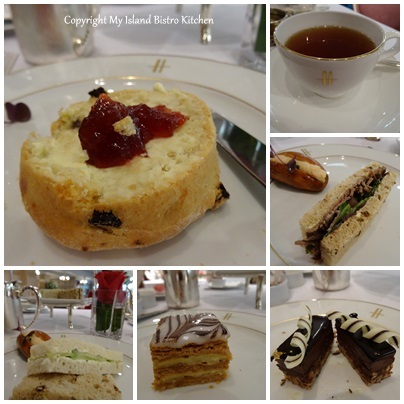
Each guest has his/her own tea pot and individual tiered server of tea fare. Traditionally presented, the bottom tier contains the sandwiches, the middle plate bears the scones, clotted cream, and jam, and the top tier the sweet offerings. Our choice of tea was “Afternoon at the Palace”.
Let’s look a little closer at the food.

The sandwiches were so tasty!
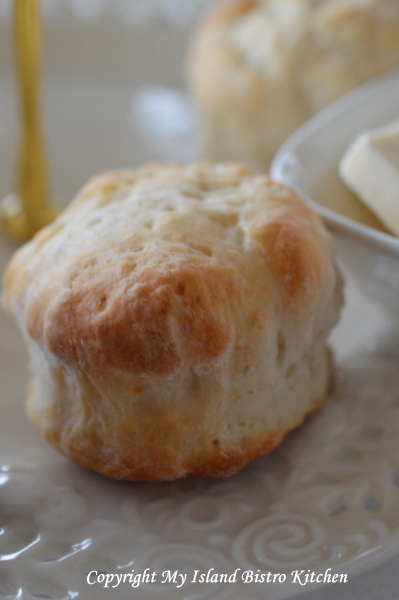
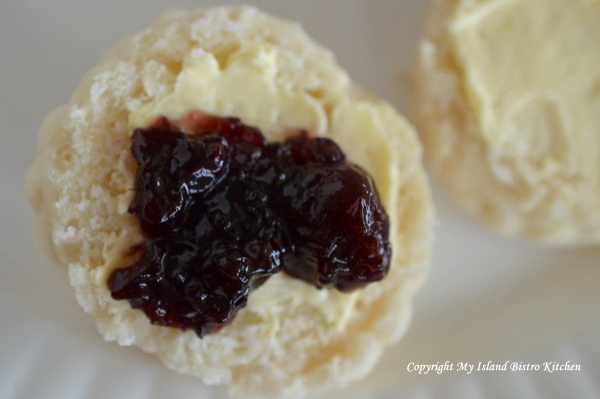
The buttery scones (one each – plain and with raisins) were served with clotted cream and strawberry jam!
And, to finish off, a selection of sweet cakes and patisseries.
One thing about afternoon tea is that it amounts to a full meal!
And, it is a leisurely way to spend a couple of hours.

Be sure to pace yourself so you can save some room for the sweets!

Afternoon tea at “The Orangery” is (at time of writing) ₤22.65 pp + 12.5% service charge (or about $44.00 CDN$)

The Georgian Restaurant at Harrods

Harrods is arguably the world’s most famous department store. It’s a fun place to spend time browsing, particularly in the food halls which are elaborate, to say the least. This visit marked the first time I had eaten at Harrods.
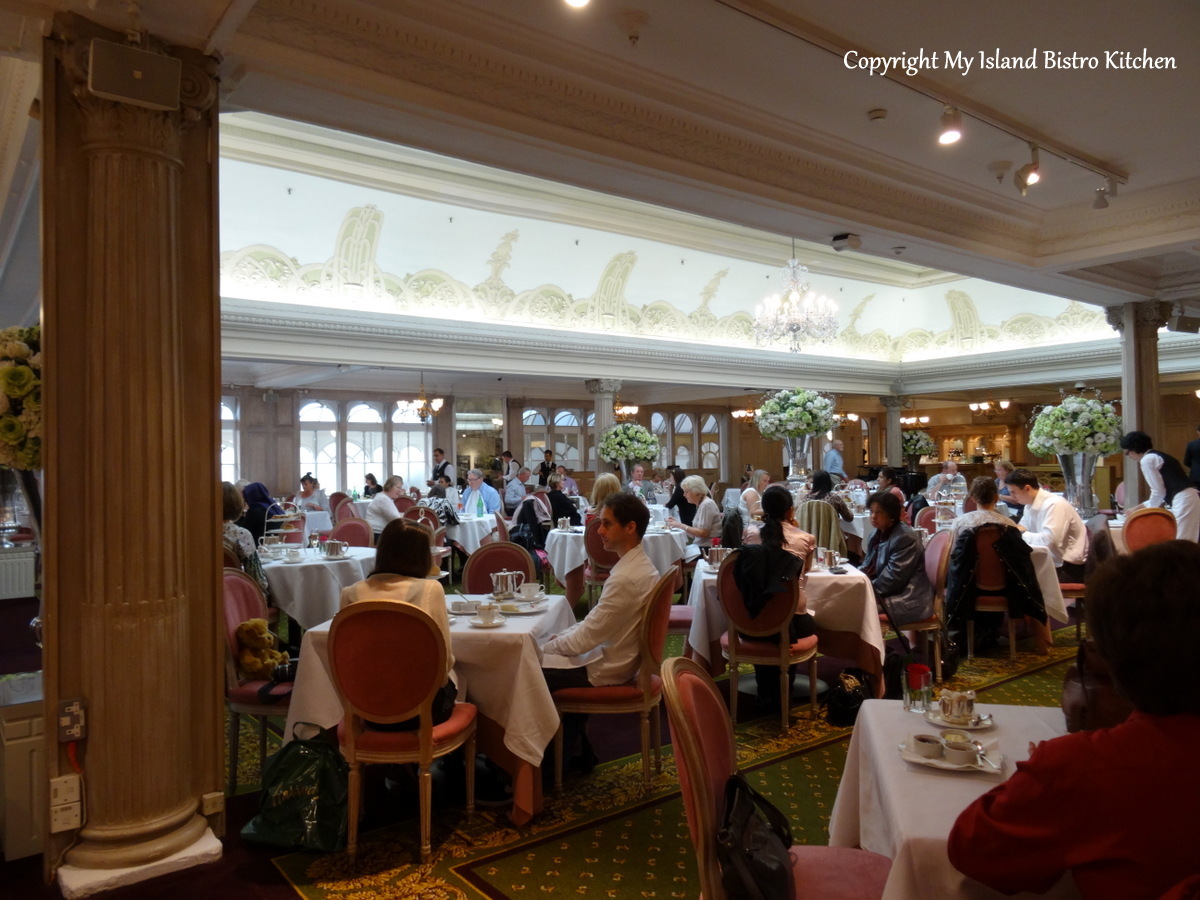
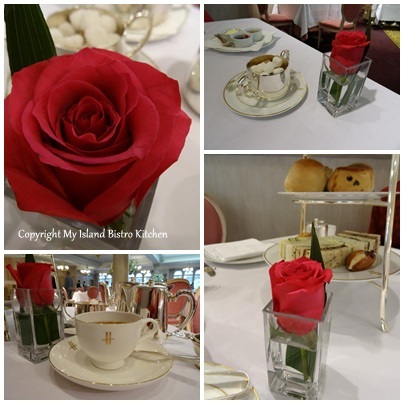
The color theme of the Georgian Restaurant is in calming pinks and whites. Each table has a pink undercloth topped with a white tablecloth. The two photos below were taken early in the day when we made our reservations onsite.

Music from the grand piano adds a lovely ambiance to the afternoon tea experience.
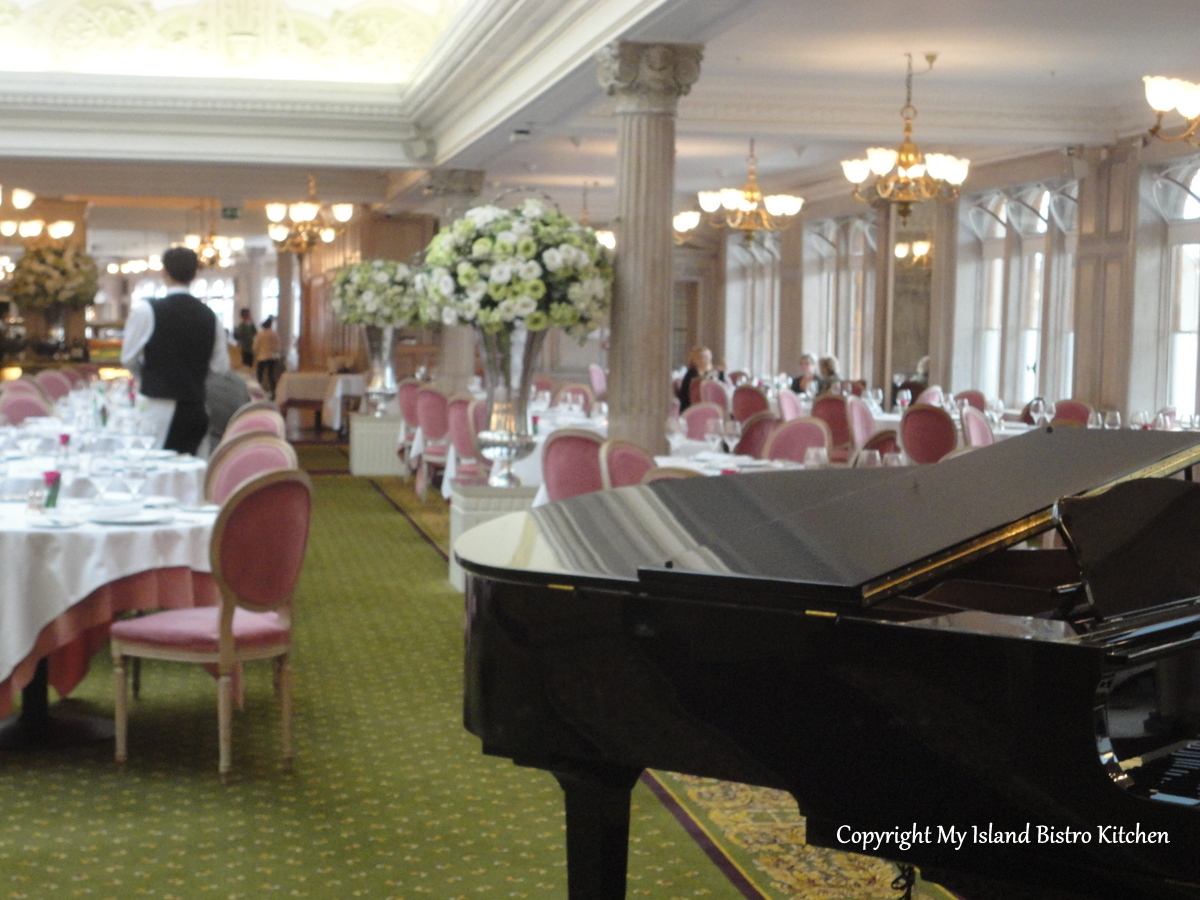
These beautiful huge floral designs in ivory and soft green shades were found throughout the dining room.

This was a delightful afternoon and experience.
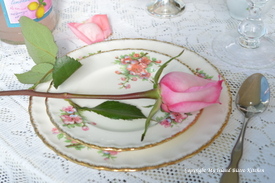
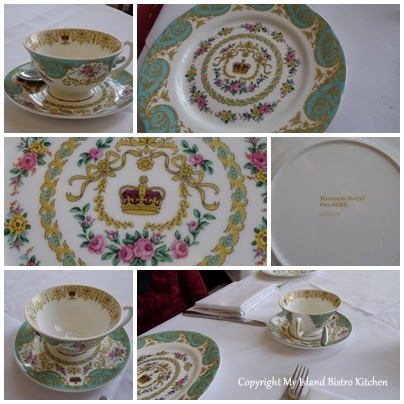
Tableware is white which really makes the colors of the food pop and stand out.
Each table is set with a single short-stemmed pink tea rose.
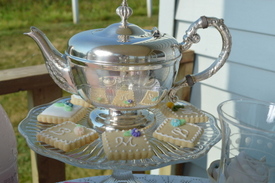
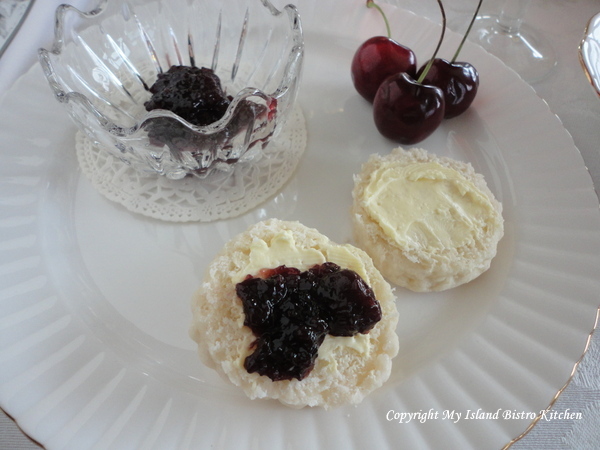
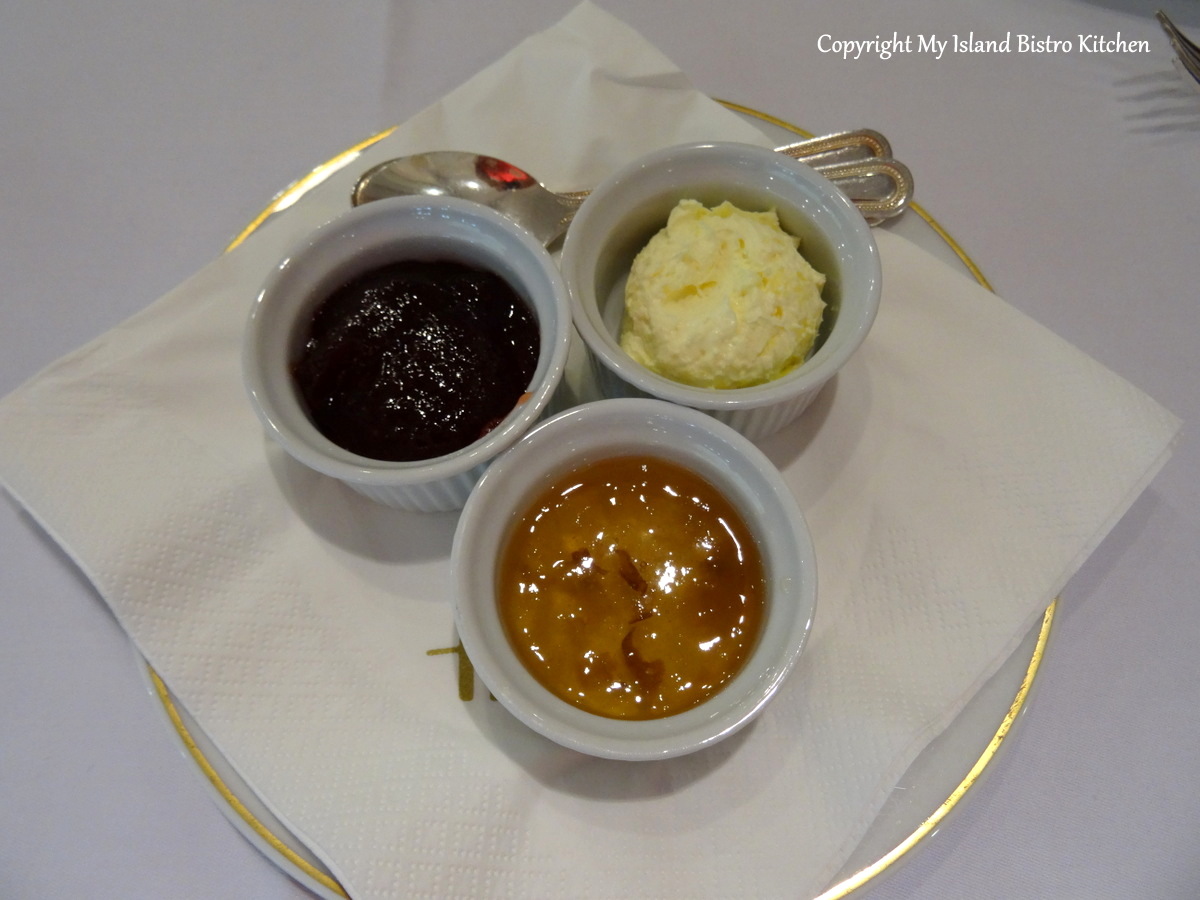
As soon as we were seated, this plate of preserves and clotted cream was delivered to our table.
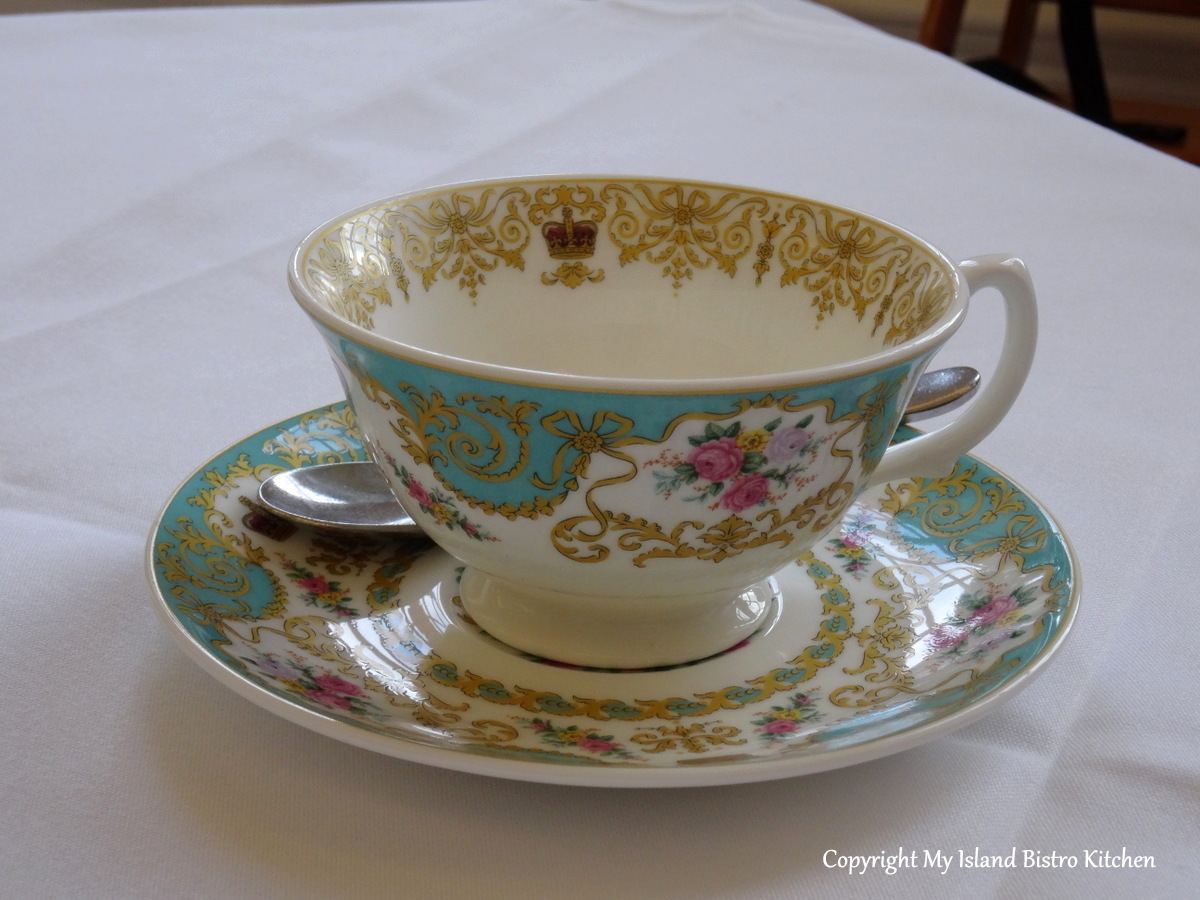
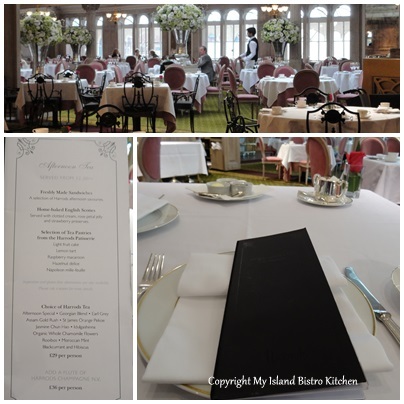
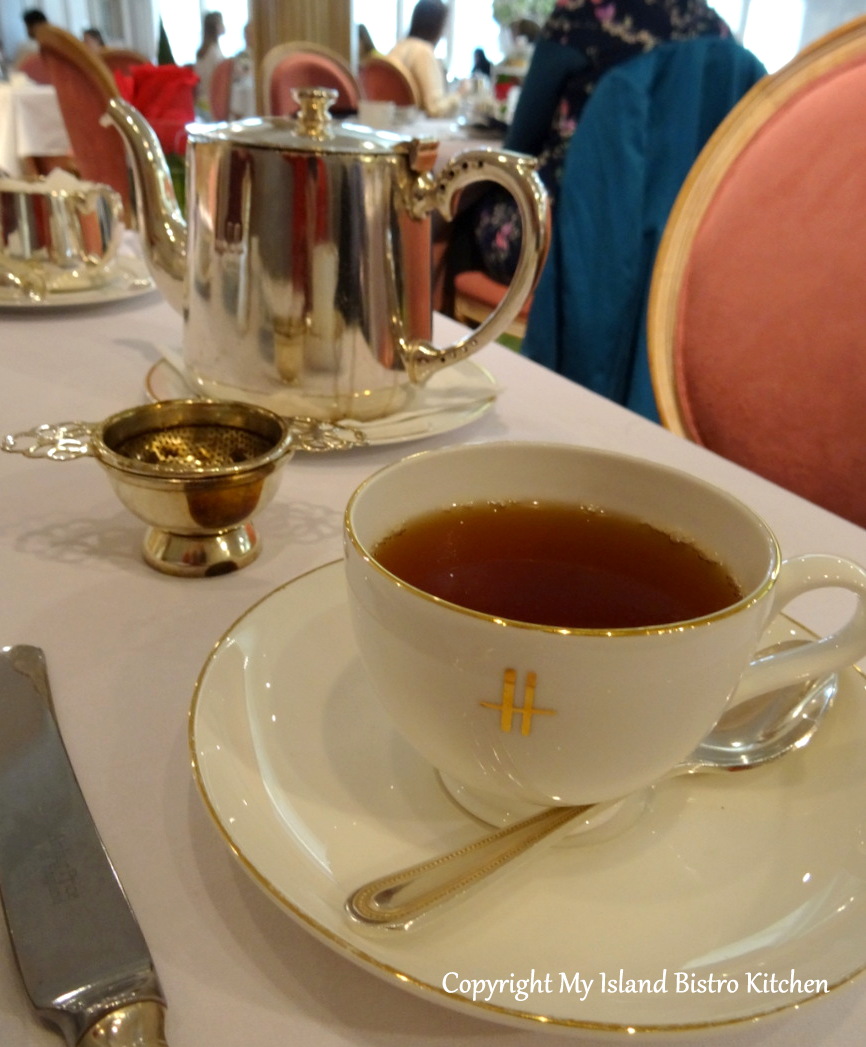
Then, our server poured our first cups of tea from a small elegant silver teapot. Our tea selection was the “Georgian Blend”.
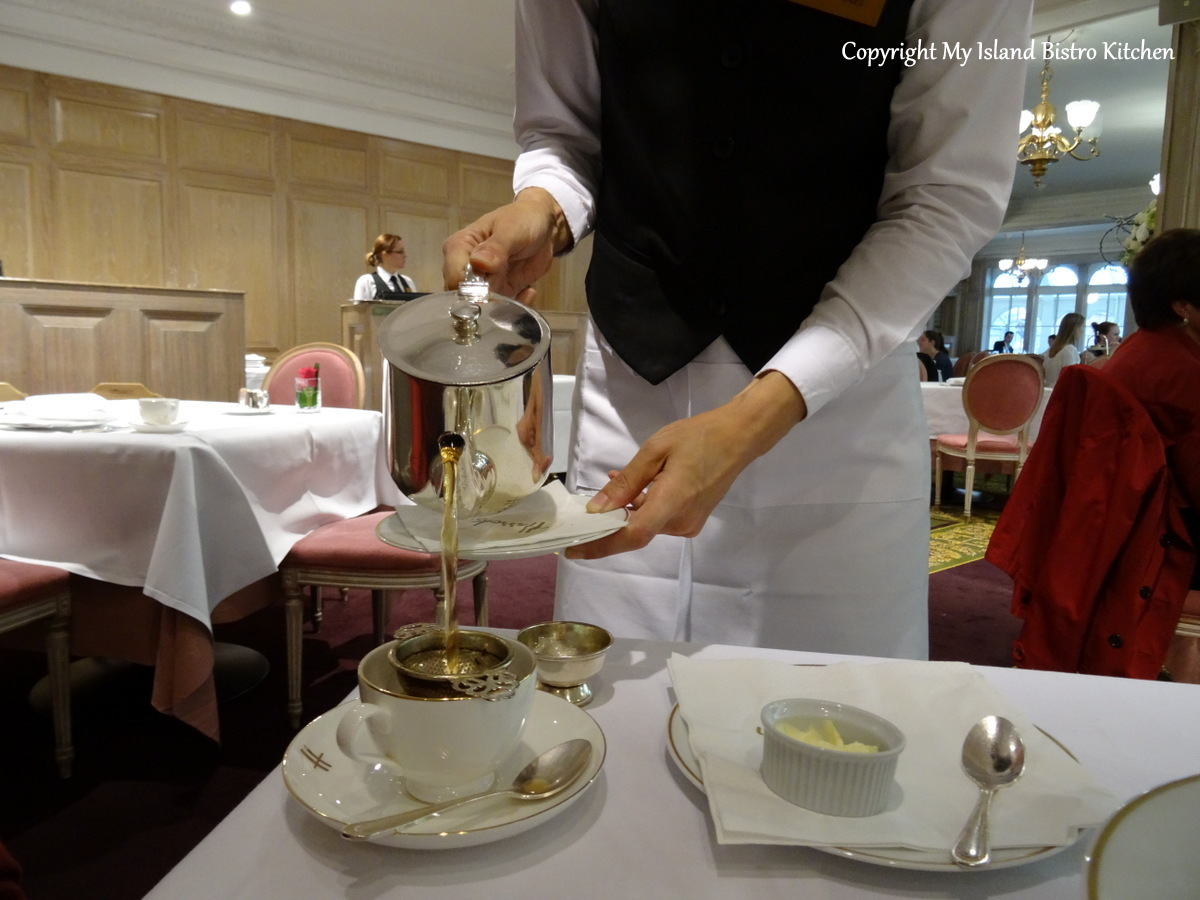
The tea was, of course, served in Harrods signature cups and saucers.
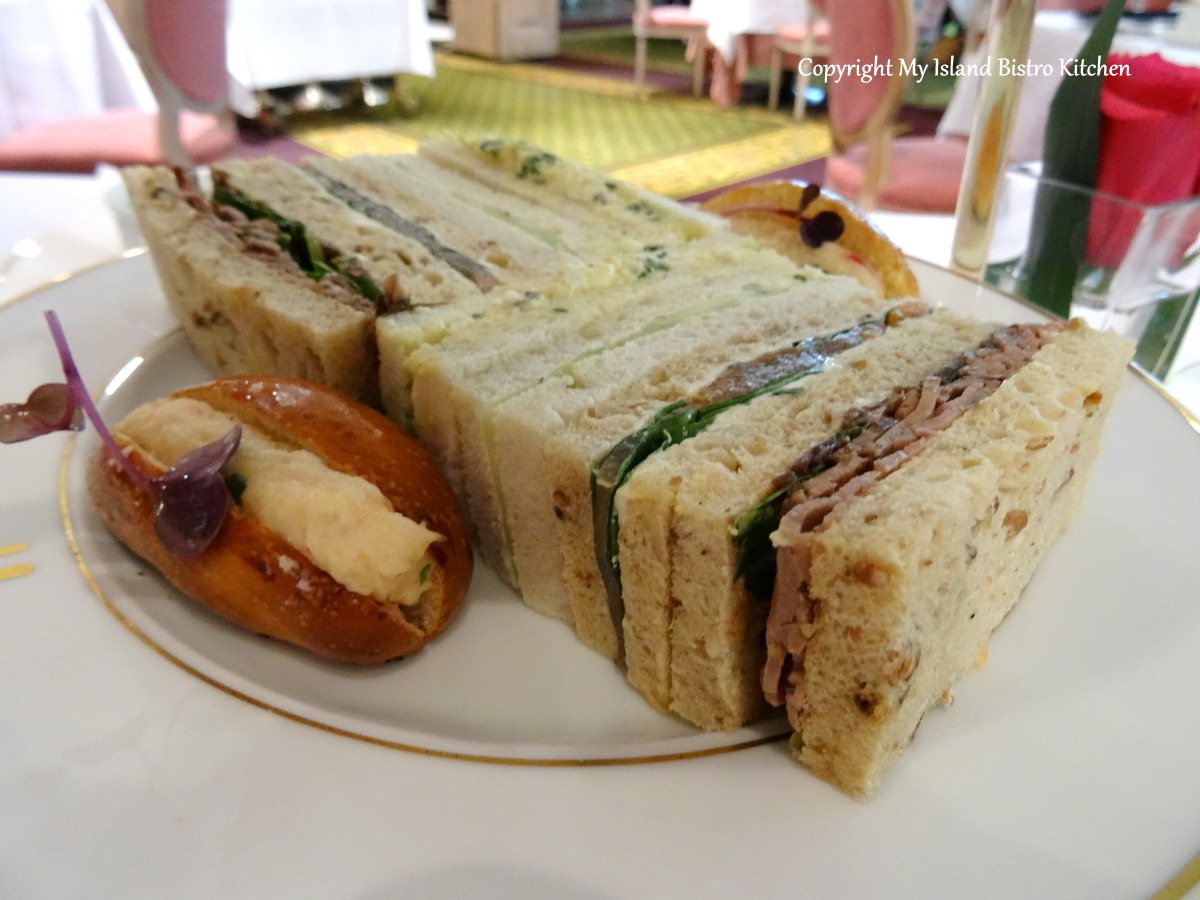
A three-tier server of delectable finger sandwiches, scones, and a selection of sweets was soon presented at our table.

How delightful and inviting does this look! You can check out the Harrods afternoon tea menu here.
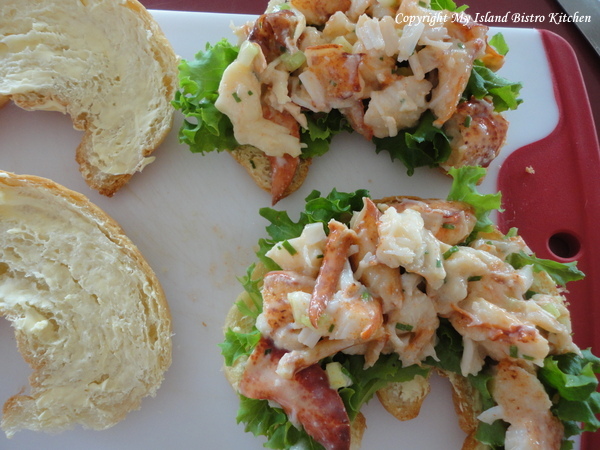
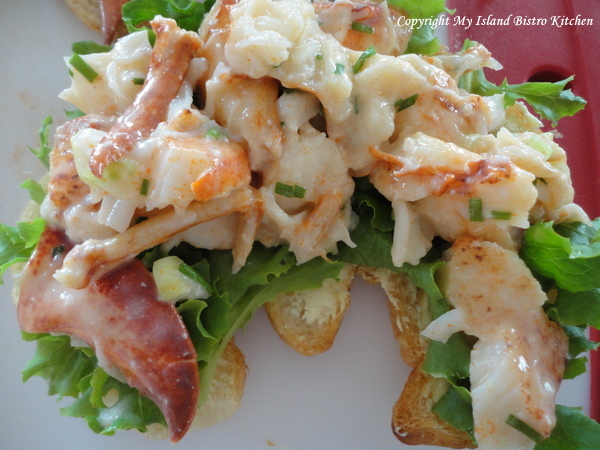
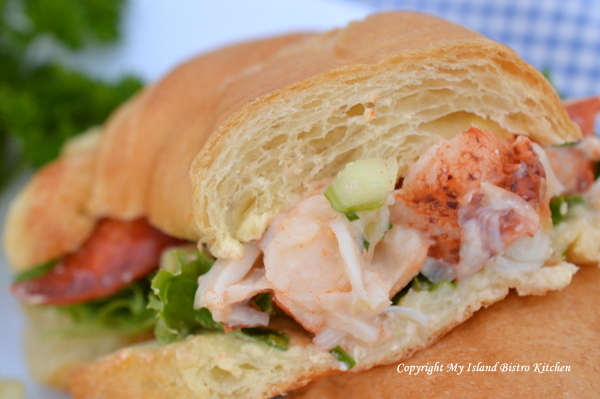
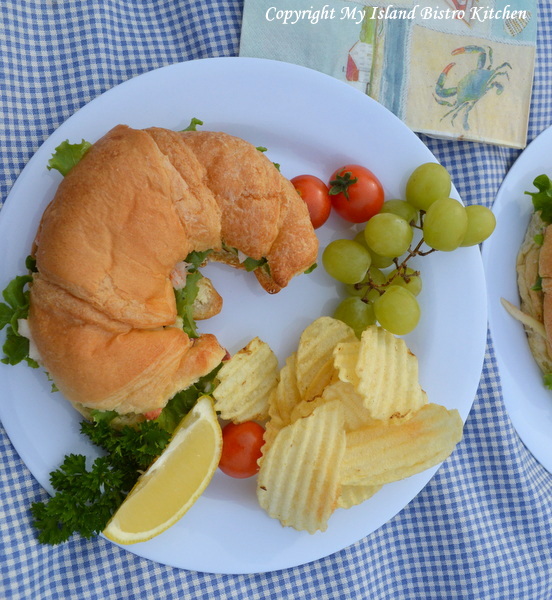
Let’s have a closer look, beginning with the finger sandwiches and petite lobster rolls.
This was followed by an offering of both plain and raisin scones.

And, for the sweet tooth, there were lots of tempting options!
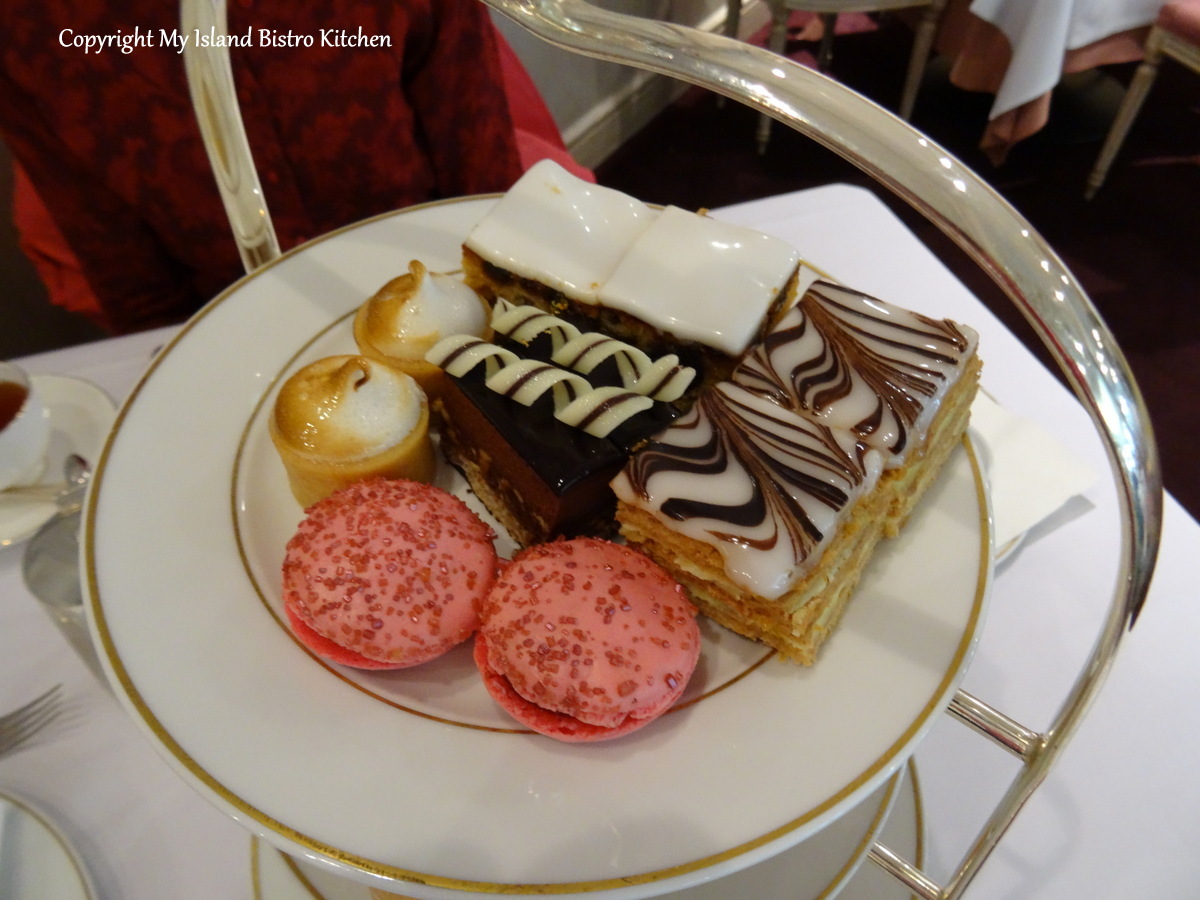
There was more on this tray than the two of us could finish!

Afternoon tea at Harrods at the time of writing is ₤29.00 pp + 12.5% service charge (or about $55.00 CDN$).
If you are heading to London and planning to include a classic afternoon tea as one of your activities, I recommend researching in advance of your trip and checking with your choice of venue as to whether or not they require reservations and how far in advance. You may also wish to inquire of their dress code so you can pack accordingly and not be disappointed on arrival to find that the venue imposes a specific dress code. No matter your budget, you will find wonderful options for afternoon tea in London that will give you that experience without breaking the bank. Have you already experienced afternoon tea at a London location? Did you enjoy it and would you recommend it?
We thoroughly enjoyed our two afternoon teas in London (and, yes, I am already thinking about which tea venue I will choose on my next trip to London).
You may also enjoy reading my review of the “Scents of Summer” Afternoon Tea at the Intercontinental Park Lane Hotel in London. Click here to access that review.
Thank you for visiting “the Bistro” today.
Be sure to visit my Facebook page at My Island Bistro Kitchen. You may also wish to follow me on twitter @PEIBistro and on Pinterest at “Island Bistro Kitchen”.