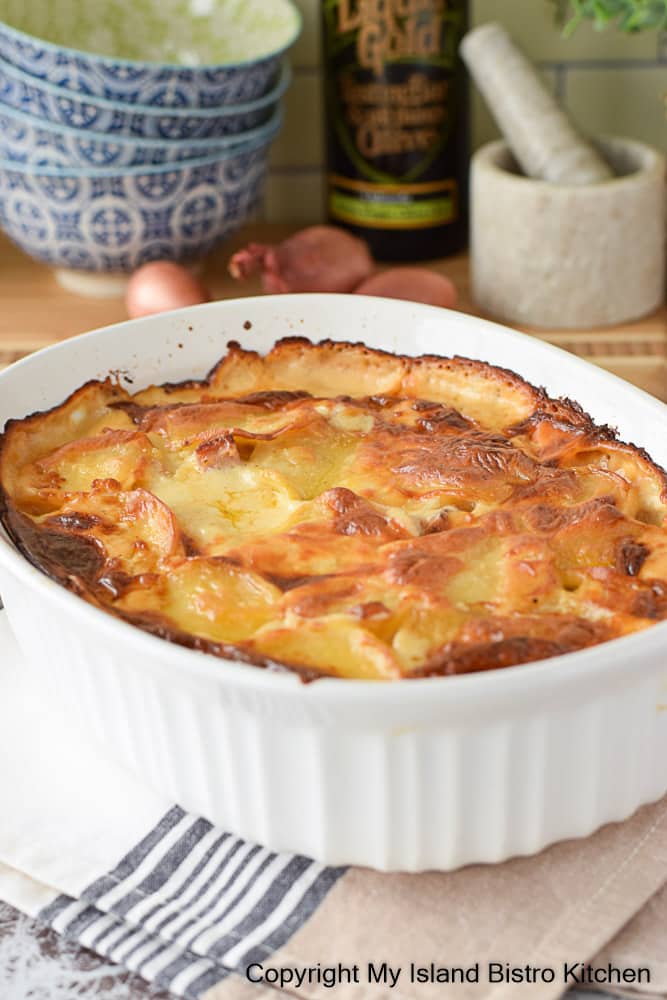
This Potato and Ham au Gratin is a fabulously tasty way to use leftover ham and stretch it into more servings than could be achieved by simply plating the meat. Any time this can be done, it provides relief to the grocery budget and provides another main meal option. Continue reading Potato and Ham au Gratin Recipe→
One of the best ways I find to stretch the food budget is to work with leftover meat, especially from a roasted turkey or chicken. Taking that leftover meat and incorporating it into soups, chowders, sandwich fillings, casseroles, etc. means more servings can be gotten from it than would simply plating the cold meat. This is a great way to extend an expensive ingredient (meat) and stretch the food budget. Bonus if extending the meat yields a dish that can be frozen for later enjoyment as this is a great convenience to know there is a meal, or meals, ready in the freezer for cooking or reheating. This post is all about Delicious Ways to Use Leftover Chicken and Turkey. Continue reading Delicious Ways to Use Leftover Chicken and Turkey→
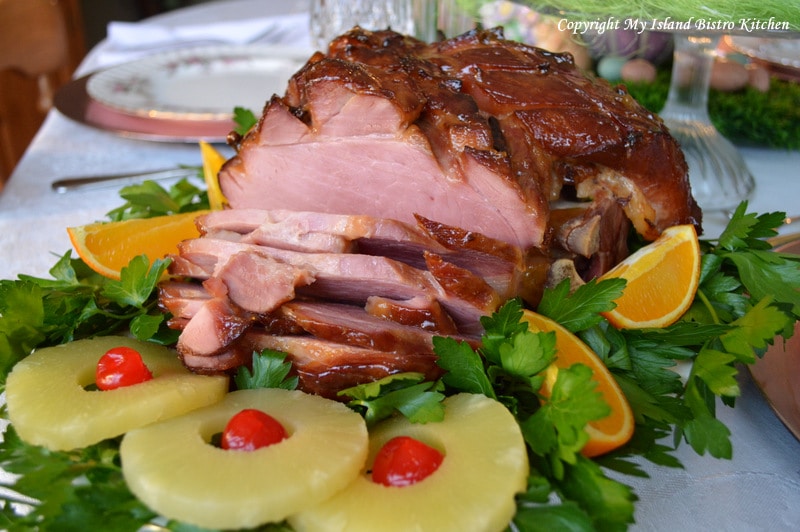
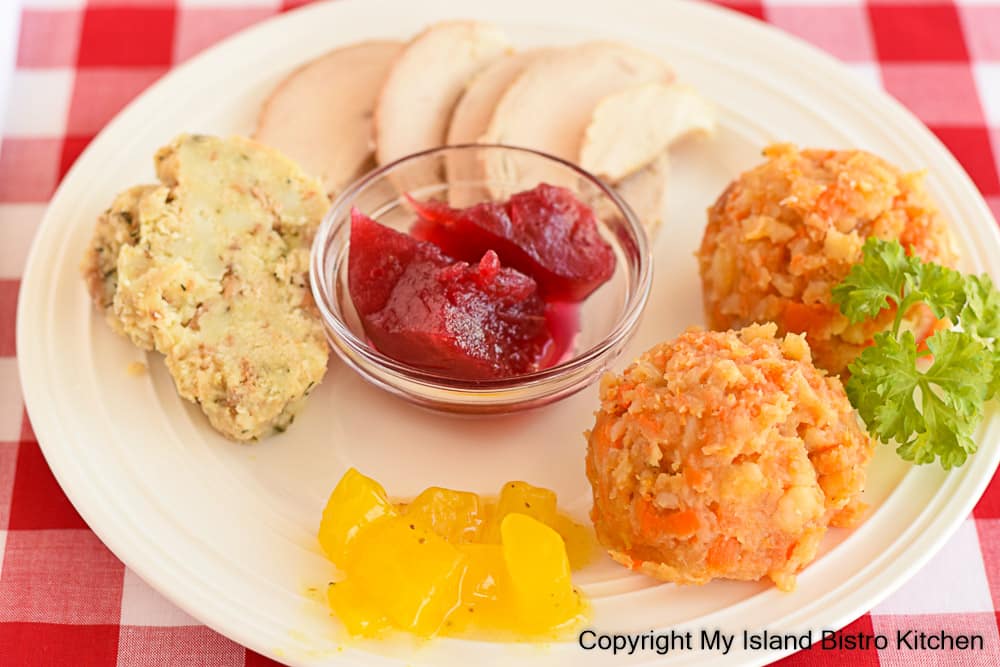
I am a huge fan of taking leftover meat and turning it into other dishes that will yield more servings than would simply plating the cold meat. This is a great way to extend an expensive ingredient (meat) and stretch the food budget. Bonus if extending the meat yields a dish that can be frozen for later enjoyment as this is a great convenience to know there is a meal, or meals, ready in the freezer for cooking or reheating. This post is all about Ways to Use Leftover Ham. Continue reading Ways to Use Leftover Ham→
Winters are long here in PEI so, when Easter arrives, I am ready for some bright and cheerful colors. This Whimsical Easter Tablesetting is casual and quite simplistic and yet very seasonal and colorful. Continue reading Whimsical Easter Tablesetting→
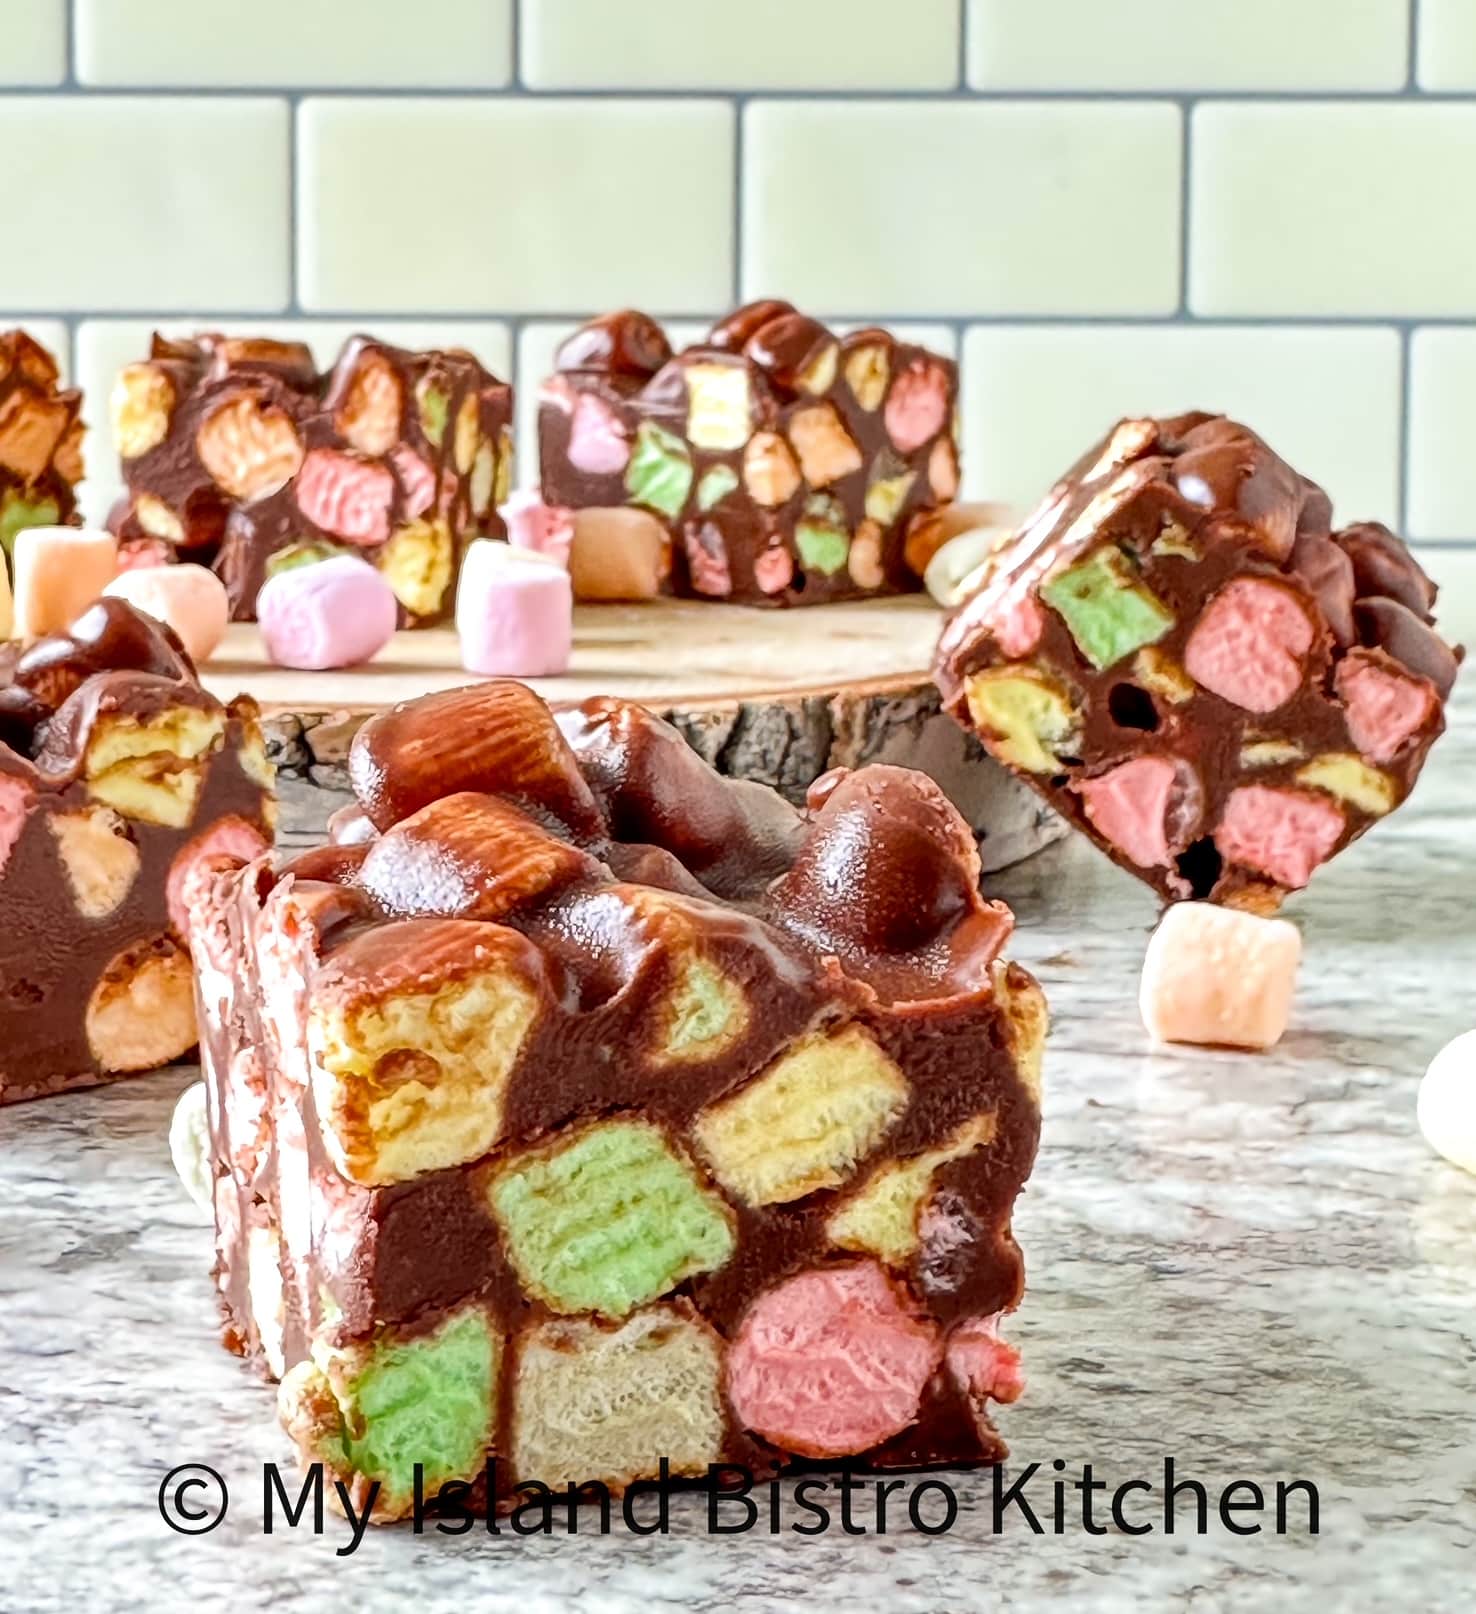
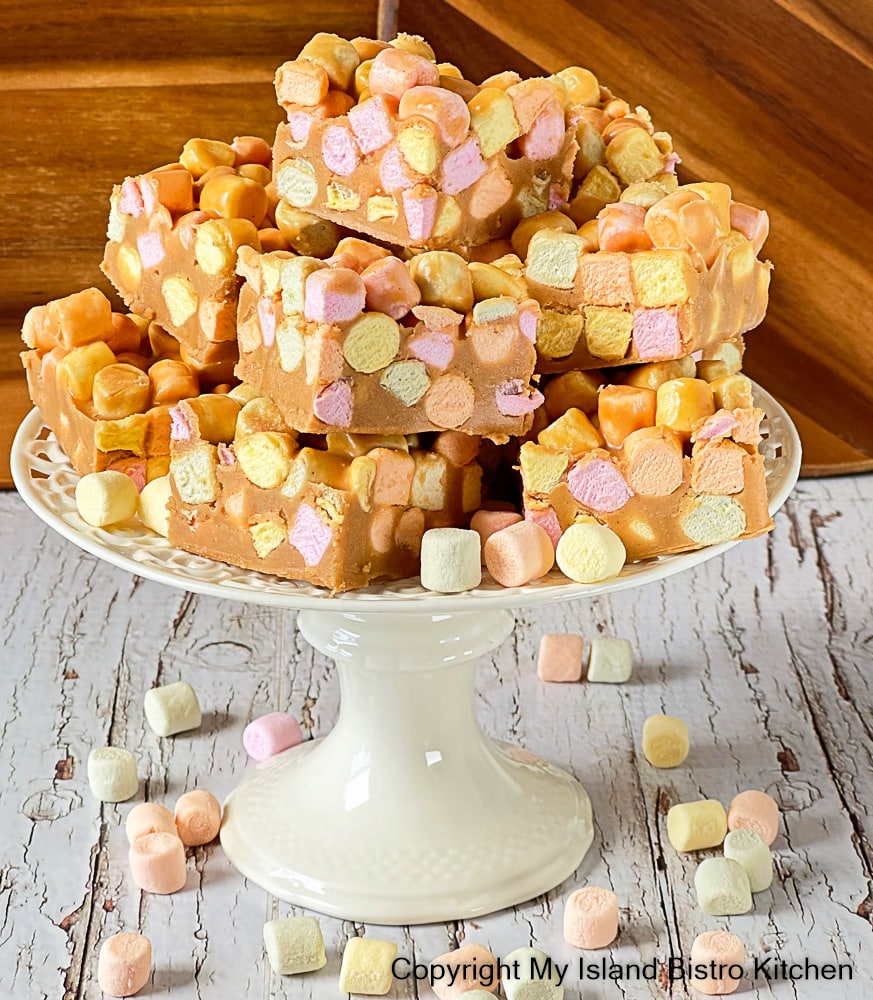
This No-bake Chocolate and Peanut Butter Marshmallow Square (sometimes called Confetti Square (owing to the confetti-colored marshmallows) is easy to make. It is great to make at the last minute, or if you have no baking experience, as it takes few ingredients and requires minimal effort to make. Super colorful, I think it could pass for candy! Continue reading Chocolate and Peanut Butter Marshmallow Square→
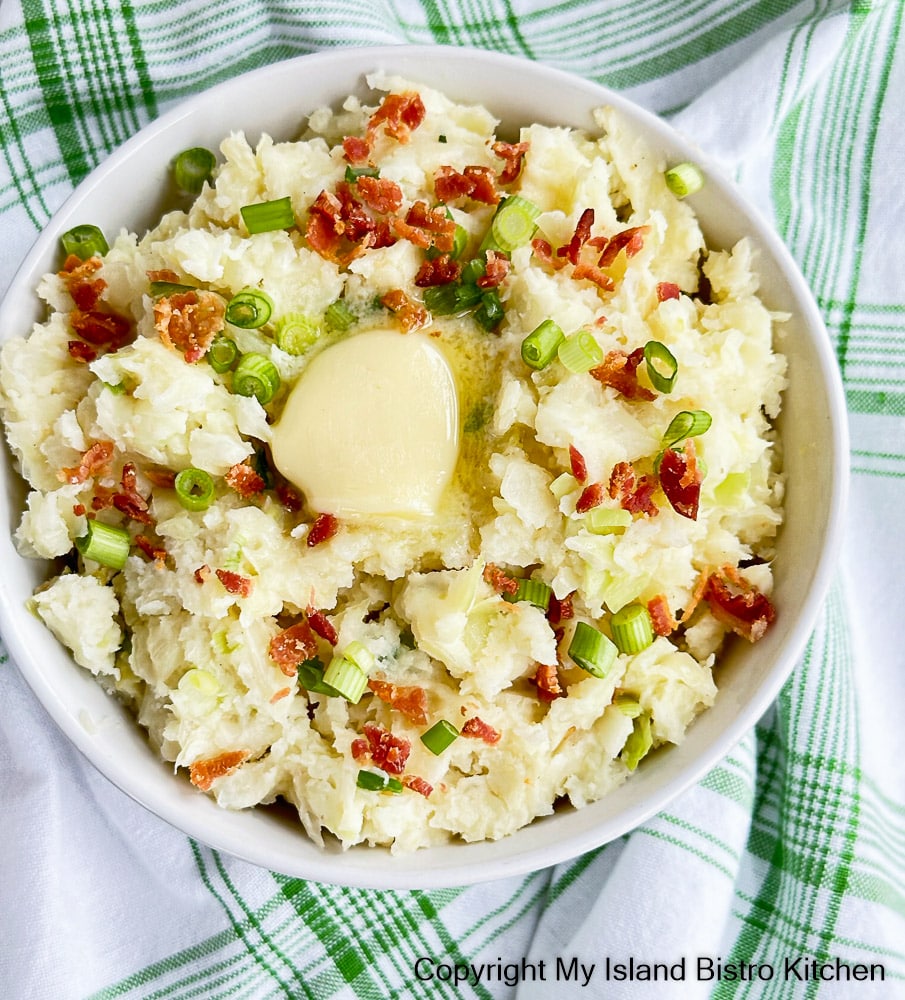
A traditional Irish mashed potato dish, Colcannon Potatoes were a staple of the Irish working class for centuries. Made with the simple ingredients of mashed potatoes, cabbage, milk or cream, and butter, additional seasonings such as onion, garlic, and bacon may also be incorporated into dish. Continue reading Colcannon Potatoes Recipe→
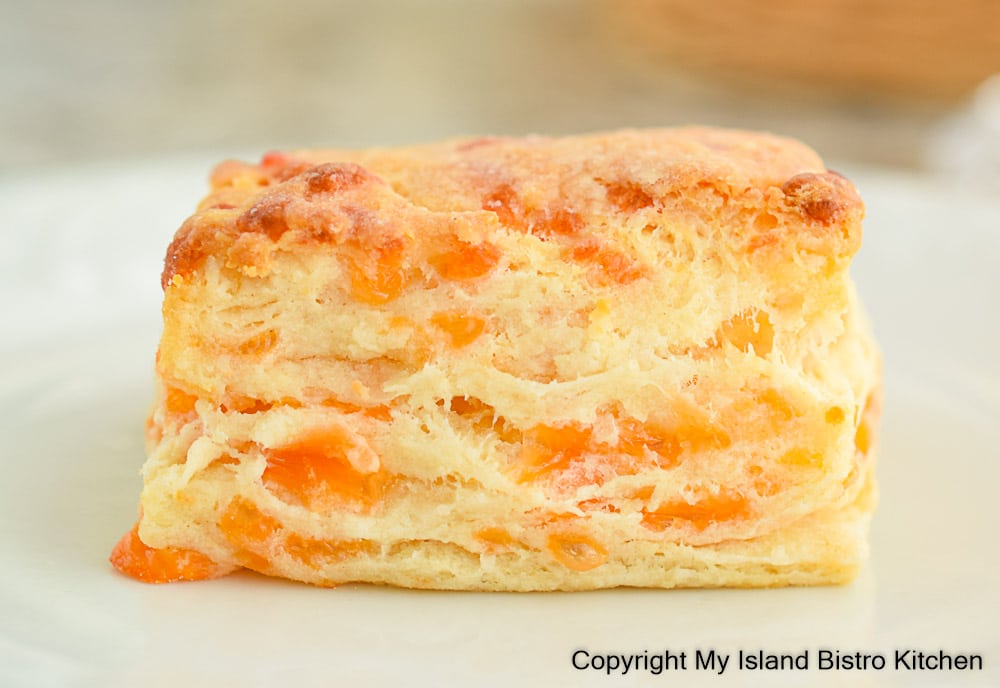
Today, I am sharing my recipe for Cheddar Cheese Biscuits. With layers of flakiness and a soft and tender crumb, these Cheddar Cheese Biscuits are full of delicious butter and cheese flavors. They are best served slightly warm with a good slather of fine butter. Continue reading Cheddar Cheese Biscuits Recipe→
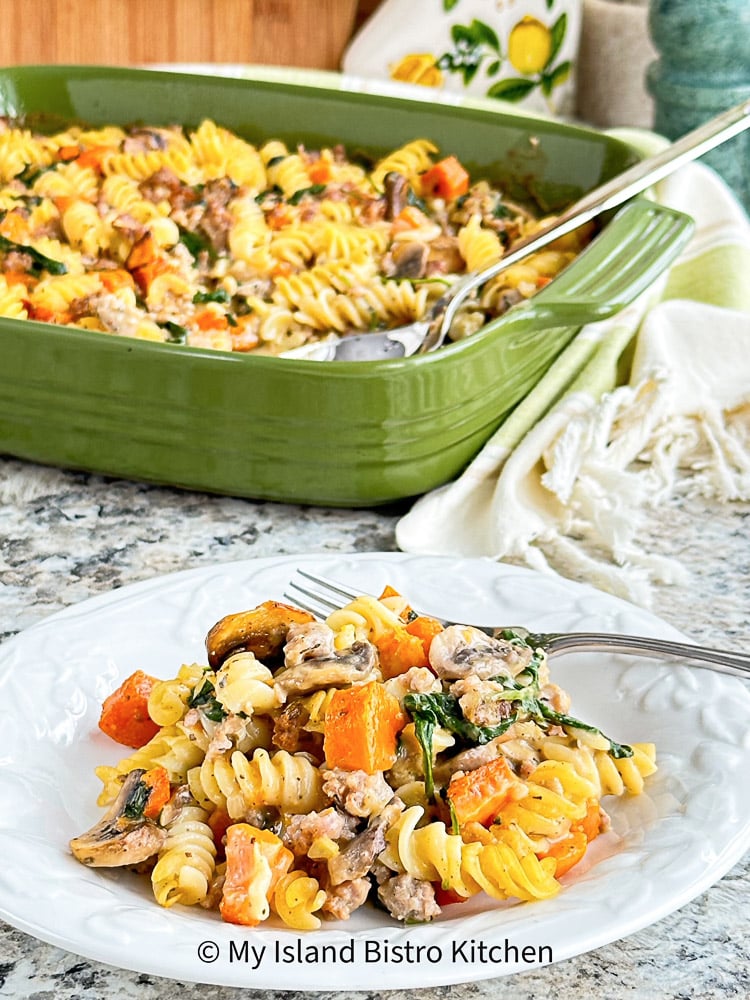
Every winter, I try to develop a new casserole recipe and this Roasted Butternut Squash, Sausage, and Spinach Casserole is my newest creation. I am a huge fan of casseroles, especially ones like this one, that can be made ahead and frozen for later baking. Casseroles make a hearty, filling, and satisfying meal when a side salad is added along with rolls, bread, or biscuits. Continue reading Roasted Butternut Squash, Sausage, and Spinach Casserole→
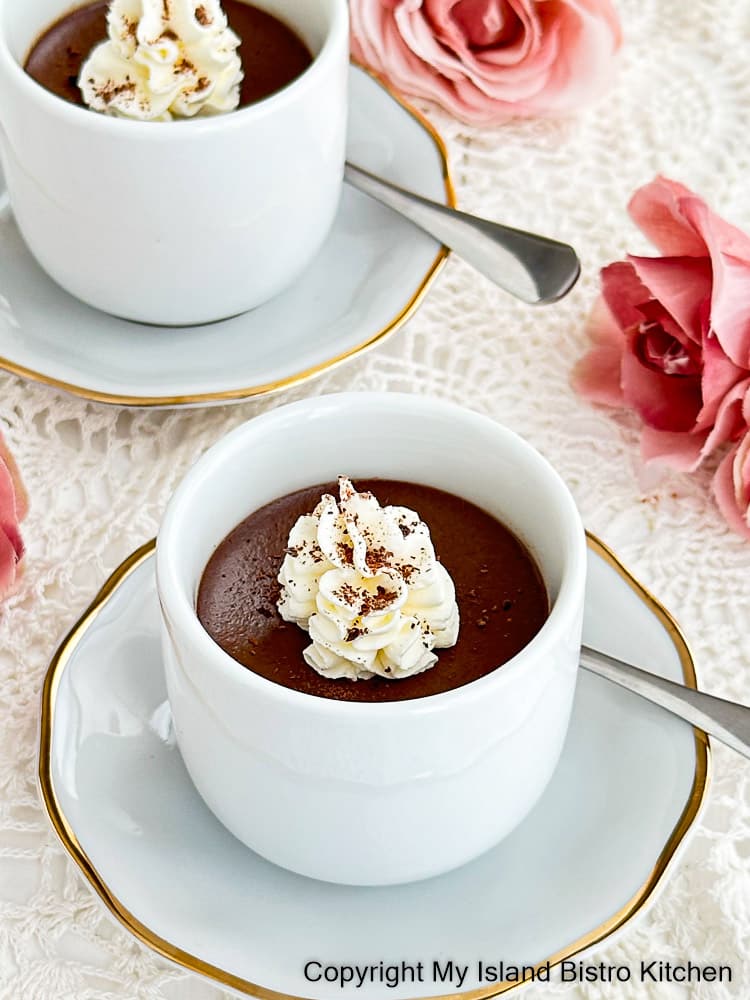
When you want a sublime, velvety smooth, rich chocolate dessert, Chocolate Pots de Crème are always a great option. Made with only seven ingredients, these Pots de Crème will be adored by any chocolate lover. Continue reading Chocolate Pots de Crème Recipe→
I am a huge fan of one skillet stovetop dinners and, today, I am sharing my recipe for Chicken Francese with you. This restaurant quality dish is basically pan-fried battered chicken breast cutlets served in a lemony white wine sauce. This savory dish is easy enough to make for a weeknight meal, but is certainly (at least in my opinion) suitable for company fare, too. Continue reading Chicken Francese Recipe→
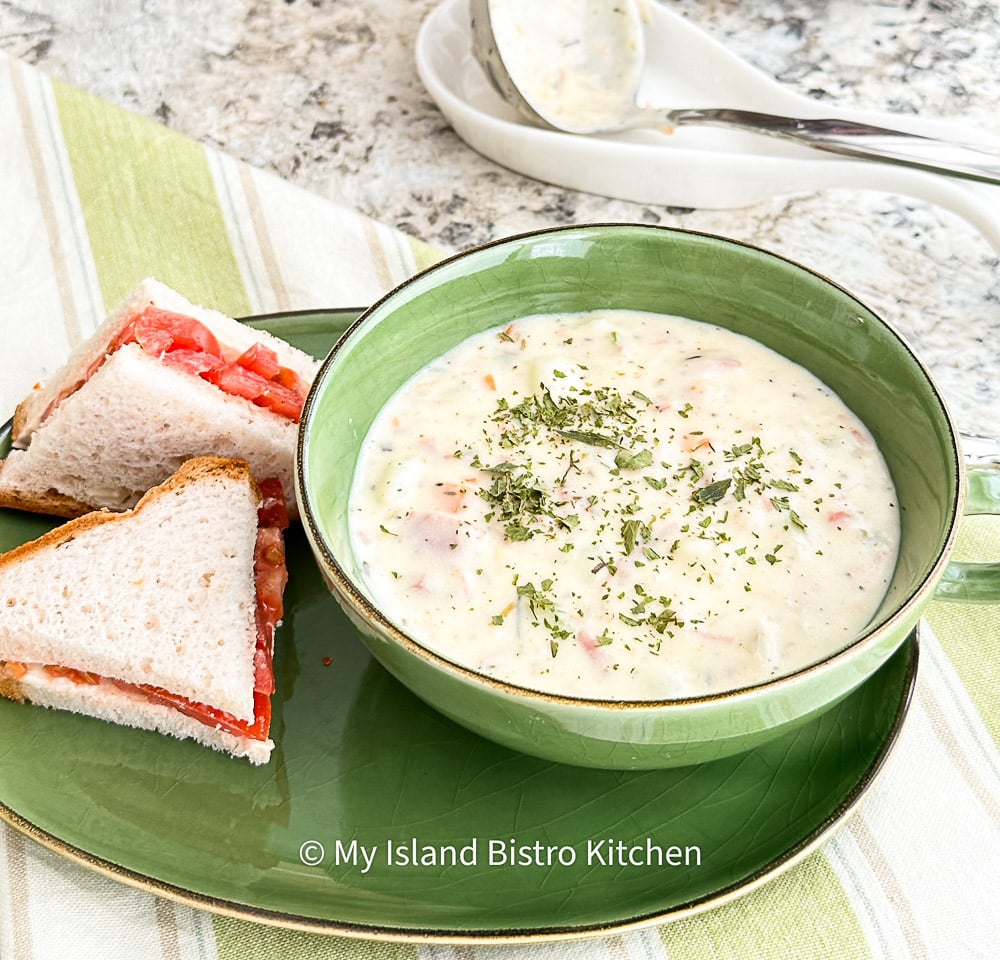
A tummy-warming chowder is always welcome on the table, especially on cool fall and cold winter days. I am a big fan of devising ways to use leftover meat to extend its use and number of servings possible. Today, I am sharing my recipe for Ham and Potato Chowder that makes great use of leftover cooked ham. Continue reading Creamy Ham and Potato Chowder→
I am into my vintage recipe files and have chosen the No-bake Peanut Butter Marshmallow Square recipe to share with you today. This retro square that many of us grew up with is known by a multitude of names including Confetti Square (owing to the confetti-colored marshmallows) and Butterscotch Marshmallow Square (owing to the butterscotch chips). Continue reading No-bake Peanut Butter Marshmallow Square→
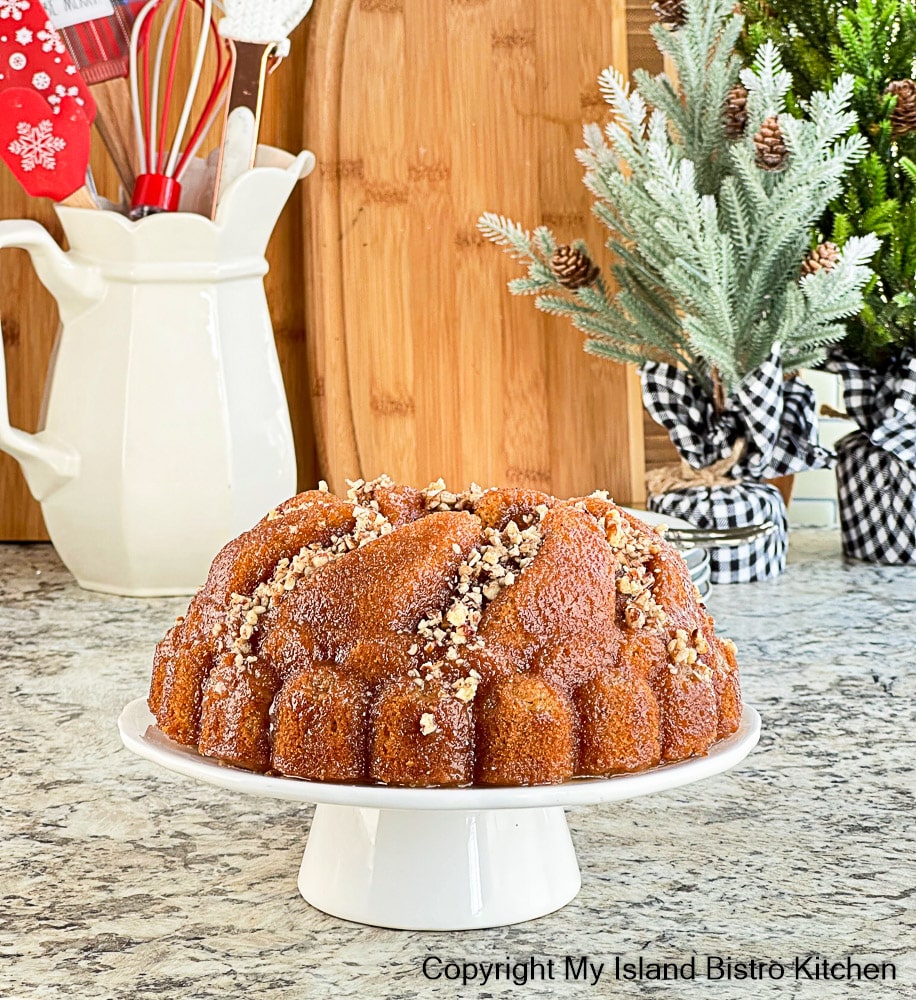
This moist and delicious Rum and Eggnog Cake is made from scratch then coated with a rum and eggnog glaze. Rum and Eggnog Cake is a classic adult treat around the holidays. As such, this cake is not intended for consumption by children. The cake is easy to make and is the perfect holiday dessert. Continue reading Rum and Eggnog Cake Recipe→
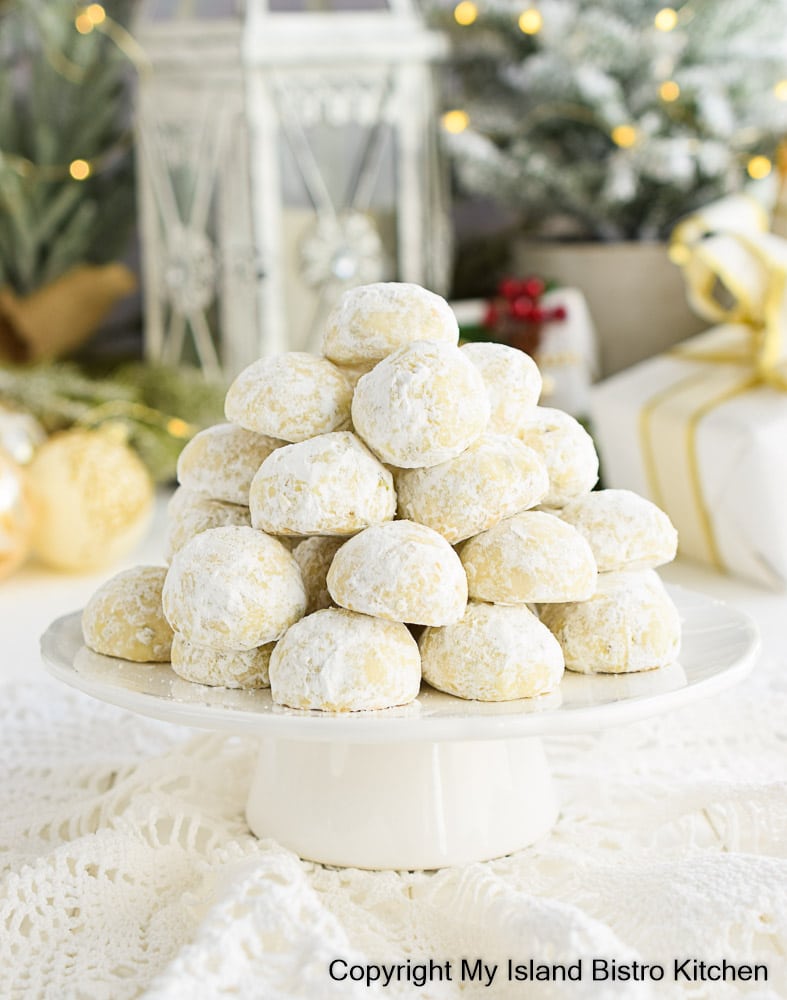
These delightful confections are known by many names including Snowball Cookies, Russian Tea Cakes, Mexican Wedding Cookies, Swedish Tea Cakes, Italian Wedding Cookies, Butterballs, Polvorones, and many more. Their origin is unclear but, as the many names suggest, they are enjoyed around the world, no matter what they are called. I call them Snowball Cookie Balls because the dusting of icing sugar gives them the appearance of snowballs, making them particularly popular at Christmas. Continue reading Snowball Cookie Balls Recipe→
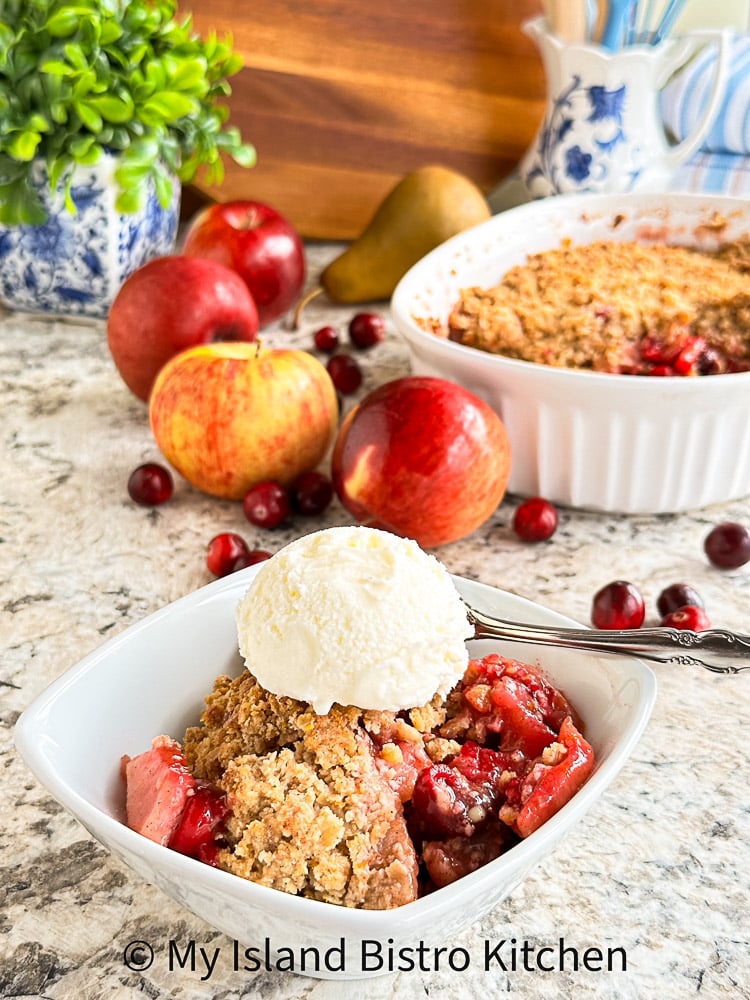
Oh, the heavenly scent in the house when this Apple, Cranberry, and Pear Crisp is baking! You’ll want to hurry through the main course of dinner in anticipation of this tasty dessert! Continue reading Apple Cranberry and Pear Crisp→
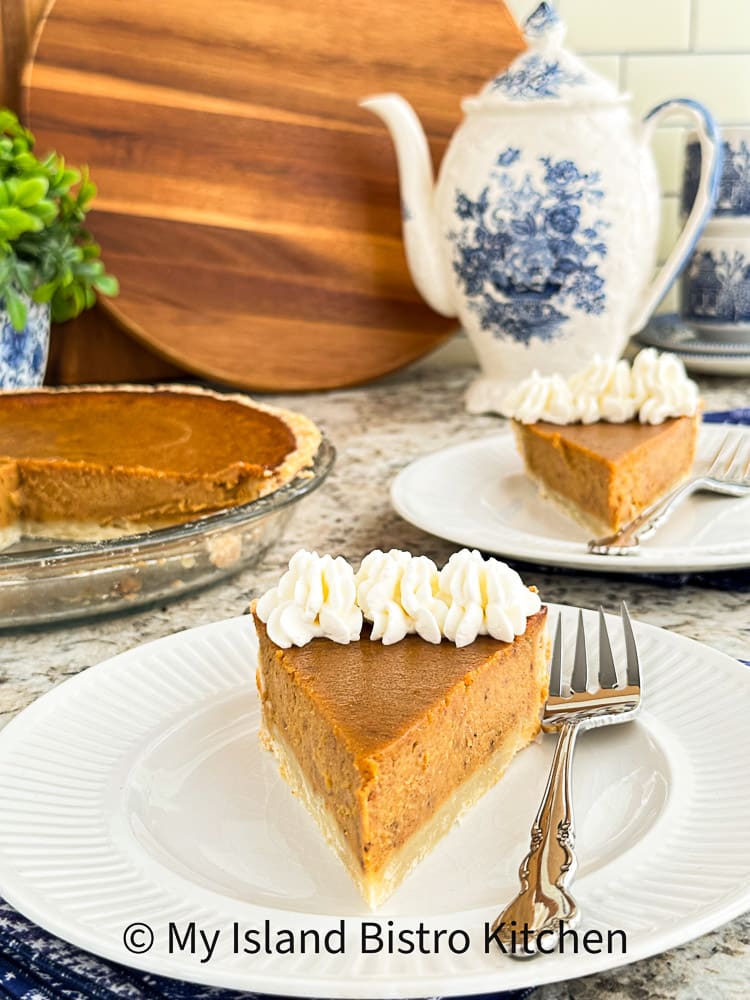
While I like Squash and Pumpkin Pies, I have to say that this Sweet Potato, Eggnog, and Bourbon Pie tops my list in this category of pies! Flavored with eggnog, bourbon, and warm spices, this pie is luxuriously silky smooth. Add a dollop of whipped cream when serving, if desired. Continue reading Sweet Potato, Eggnog, and Bourbon Pie→
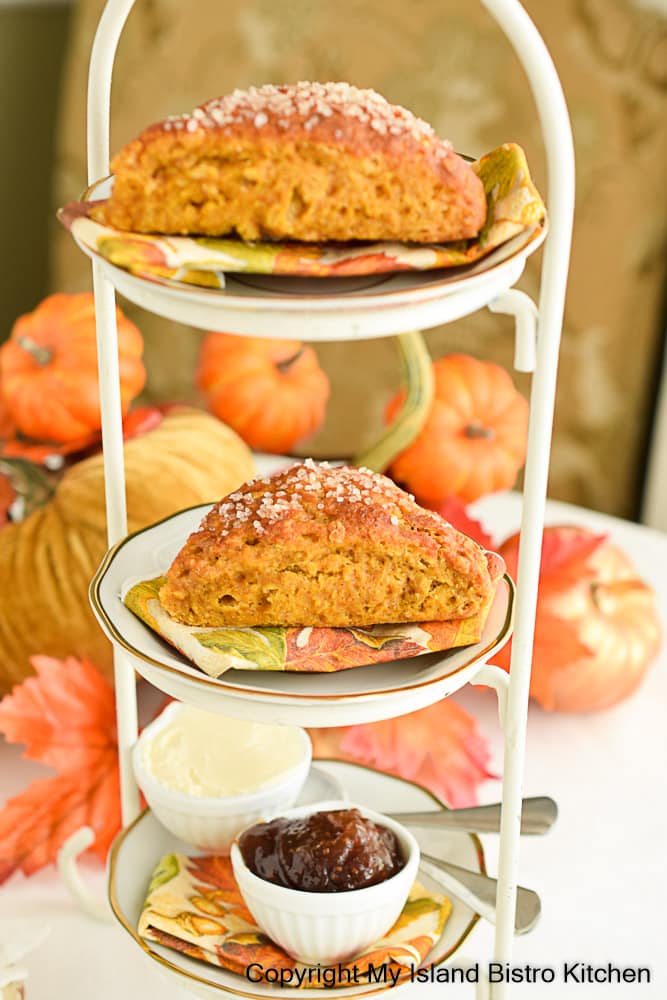
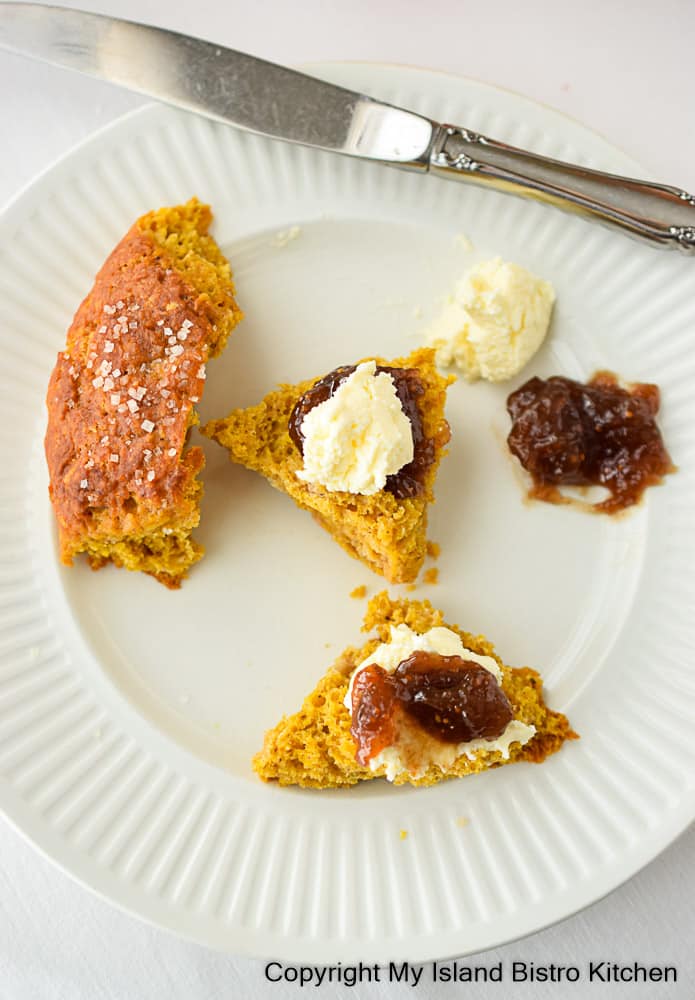
Pumpkin and eggnog are two complementary flavors and they pair well in these Pumpkin and Eggnog Scones that are lovely in autumn and around the Christmas period. The scones are tasty served warm with clotted cream or English double cream, and fig jam, in particular, though any jam of choice can, of course, be used. They are also delicious served simply with a good slather of butter.
Note, from the photo below how I am taking a neutral stance on the Cornish method and the Devon method of applying the cream and jam to the scones! I enjoy scones via either method.
Pumpkin and Eggnog Scones served with English Double Cream and Fig Jam
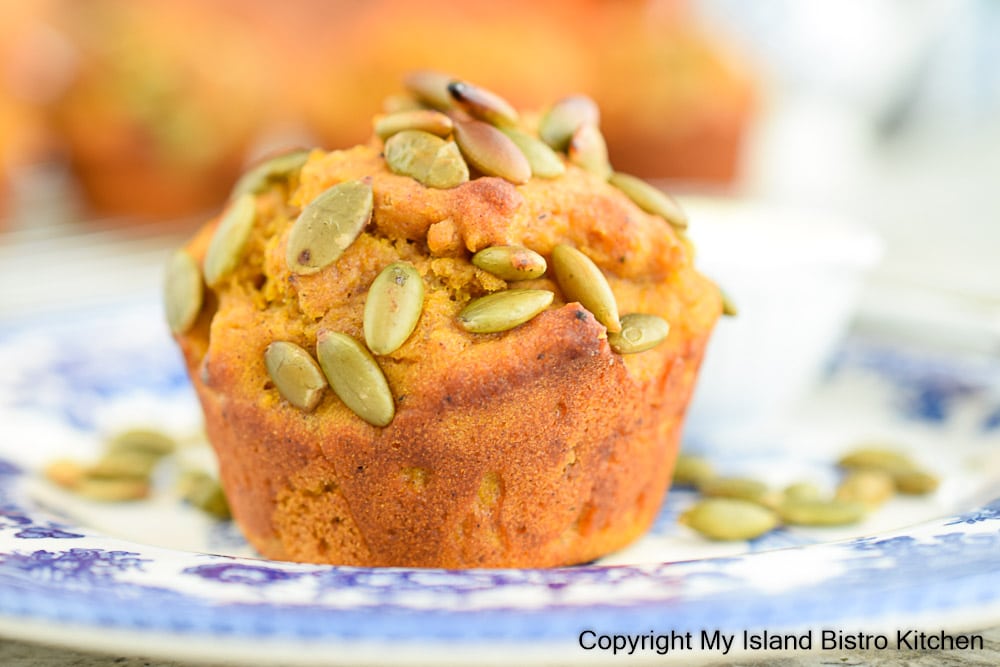
These Deli-style Pumpkin Eggnog Muffins are a fabulous way to enjoy pumpkin and eggnog, two complementary flavors. These muffins are an especially wonderful treat in the fall and around the Christmas holiday period. Continue reading Deli-style Pumpkin Eggnog Muffins→