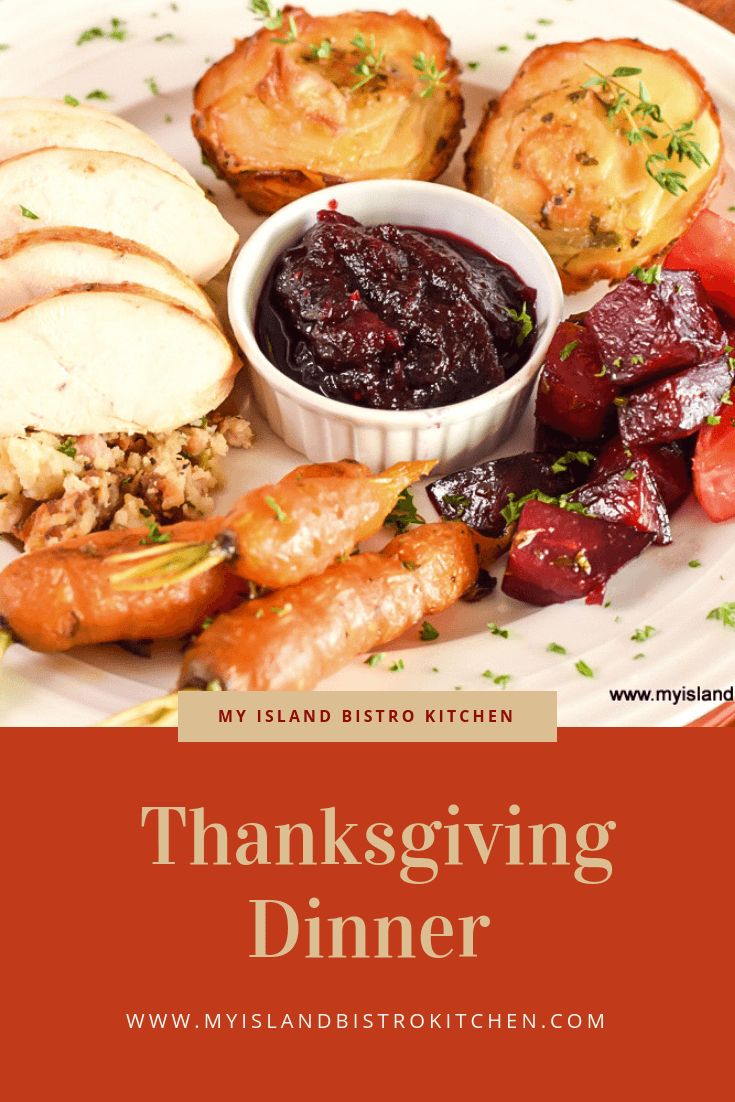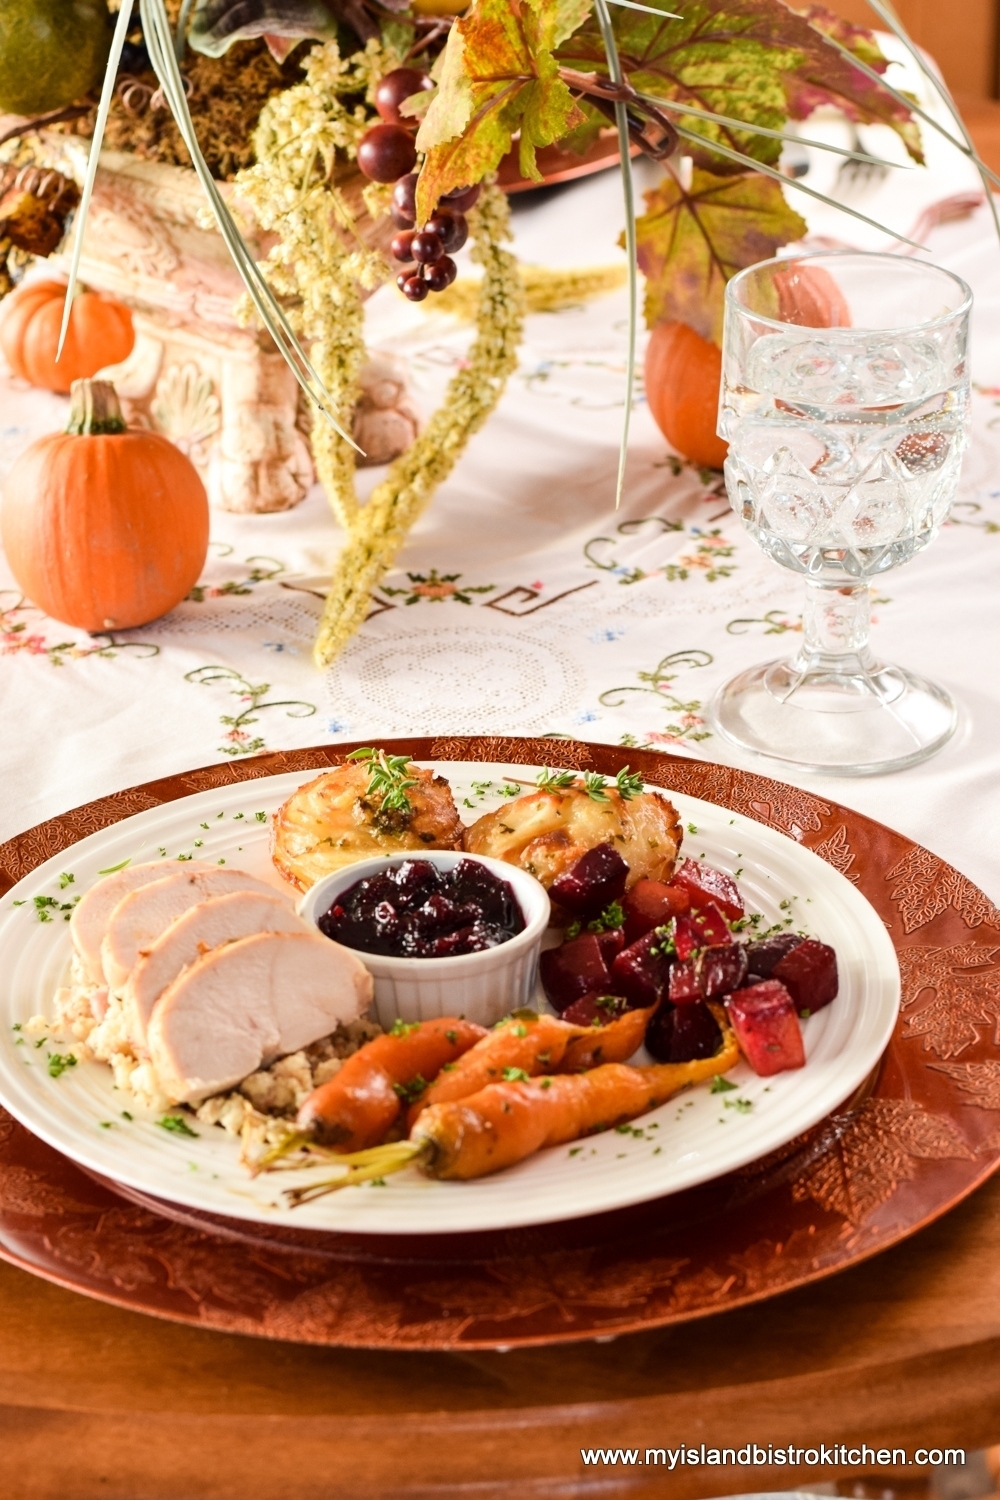
Undisputedly, a big roasted turkey is the traditional star of the Thanksgiving dinner in many North American homes. Playing the supporting roles, of course, are all the fixins’, including the variety of vegetables and gravy. This year, however, I am deviating from the norm and putting a new twist on Thanksgiving dinner, lightening it up and sizing it down for smaller households, while still staying true to some of the elements of what one would expect to be on the Thanksgiving dinner table. Here’s why I’ve shaken up the norm a bit.
Sizing Down and Lightening up the Thanksgiving Dinner
I sometimes hear people say they don’t want to cook a big turkey, or even a whole chicken, because perhaps they have a small household of only one, two, or three people and it’s just too much meat for them. And, then there is the large carcass to deal with – though I am a big proponent of using it to make great homemade stock (click here for my stock recipe). Others have indicated they don’t have a big roaster in which to roast a turkey and still some others say they don’t know how to roast a turkey to get it cooked properly. I have heard some say that, while they like a roast turkey dinner, it can be a heavy meal with rich gravy, heavily spiced stuffing, and so forth. Others may be on a restricted diet making it a challenge to, alternatively, dine out for Thanksgiving dinner. Whatever the reason, I have decided to create a Thanksgiving dinner menu suitable for the smaller household and those looking for lighter fare.
Now, it can be challenging to size everything down precisely to one or two servings and, to be frank, it’s not the most cost-effective or efficient approach to meal preparation for the smaller household. I learned that many years ago and that’s when I moved to batch cooking for the freezer which allows me to have much greater meal variety than would be the case if I was to spend time in the kitchen preparing unique daily meals for one or two. This menu, by the way, is also suitable for any autumnal dinner party and the recipes referenced are scalable to the number of servings required.
Menu Inspiration
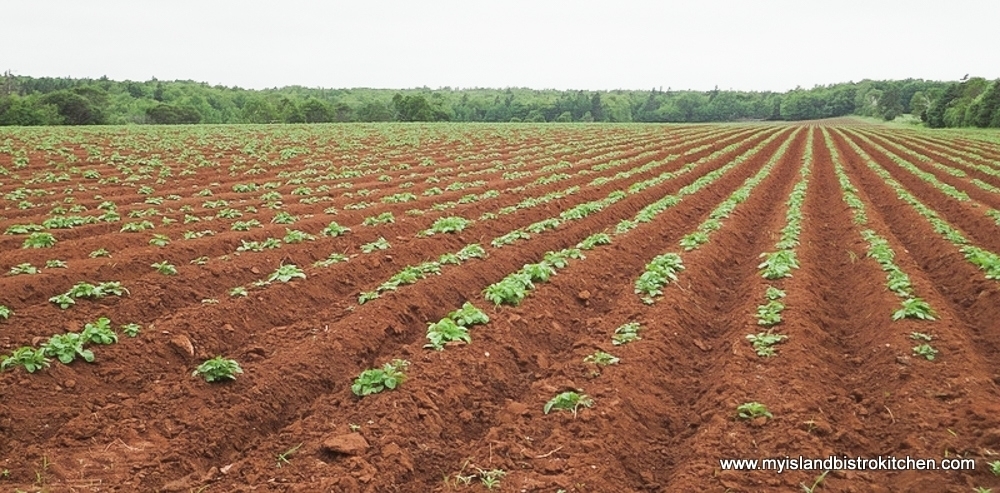
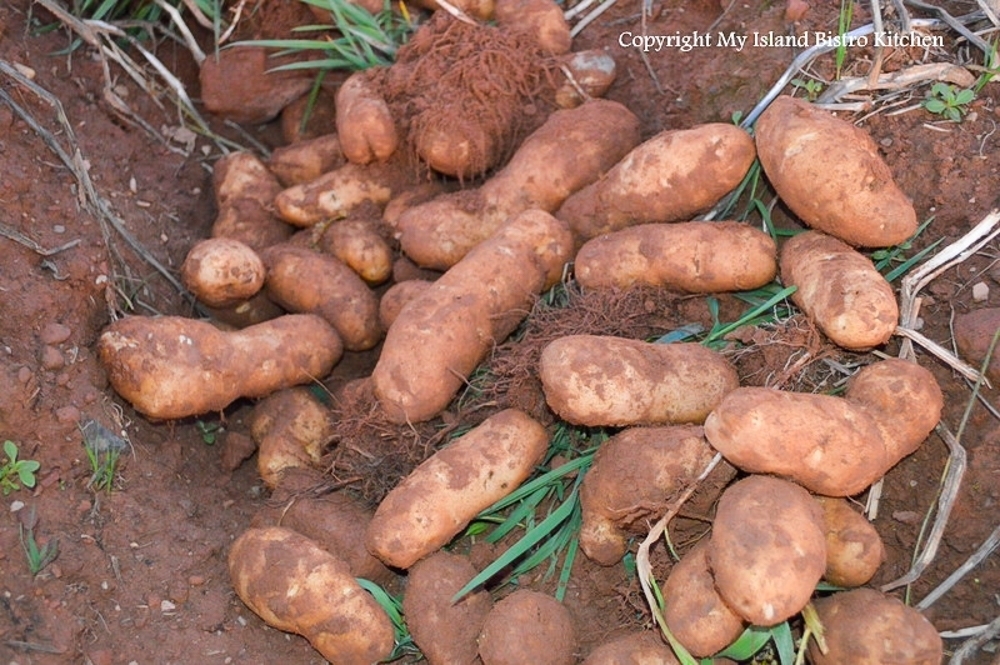
The inspiration for the menu was drawn primarily from seasonal foods, those that would be considered to be fall flavors. While varied from the traditional Thanksgiving dinner style, I aimed to still maintain elements of a typical Thanksgiving dinner. From the gourd family comes the butternut squash for the soup. From the garden come the fresh greens, vine-ripened tomatoes, beets, and carrots. From the fields of a local farmer, come the potatoes. From the cranberry bogs and high bush blueberry field come the cranberries and blueberries. And, from a local orchard and distillery come the apples and liqueur for the dessert. In lieu of turkey, I have opted to go with chicken breasts though turkey breasts could certainly be used. The chicken breasts are smaller to roast and plate quite attractively. The steamed mussels for an appetizer have been included because, well, it’s PEI and we love our mussels any time of the year!
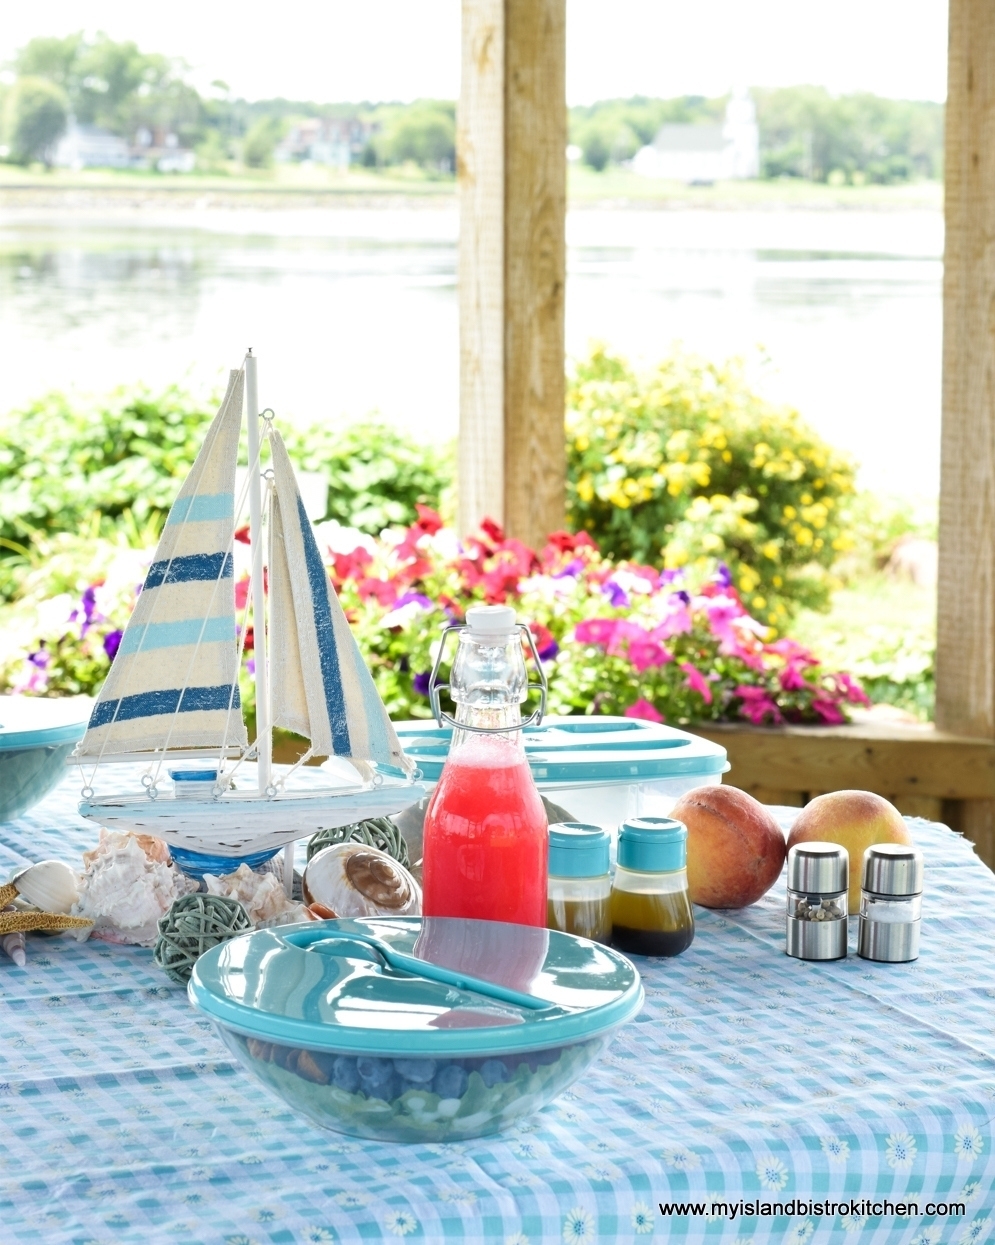
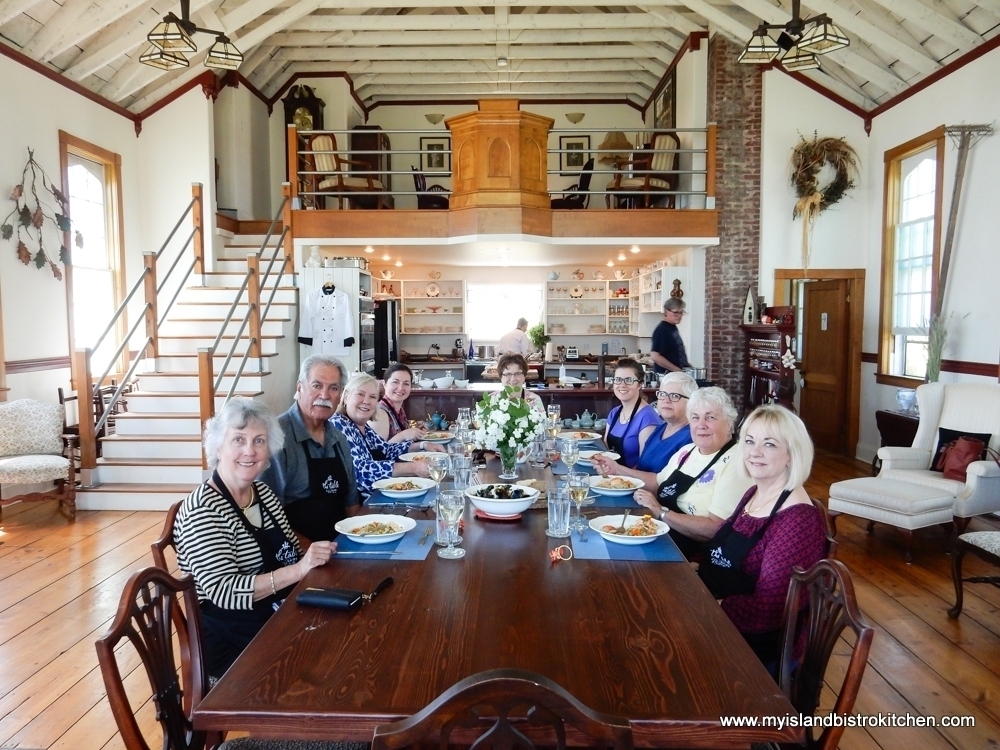
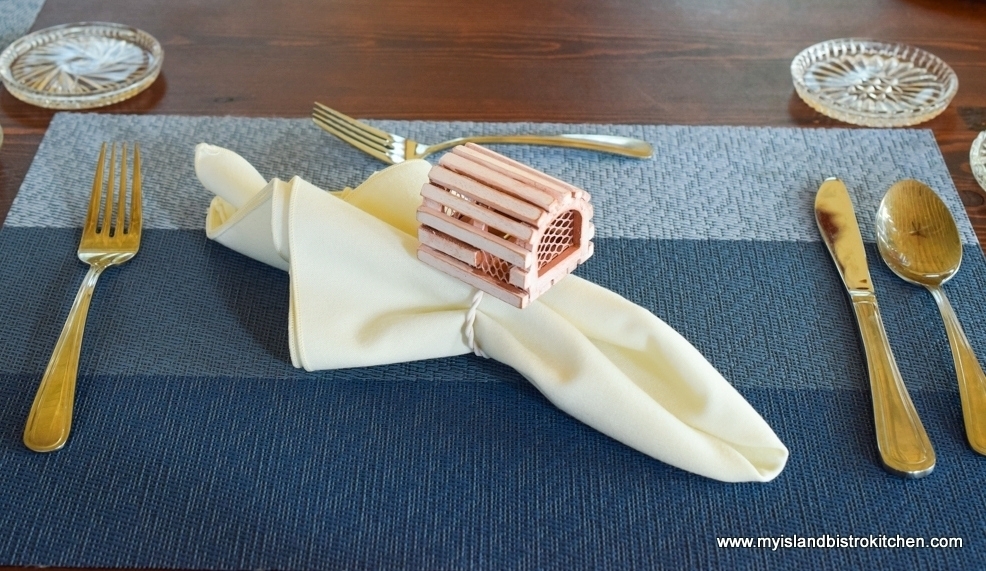
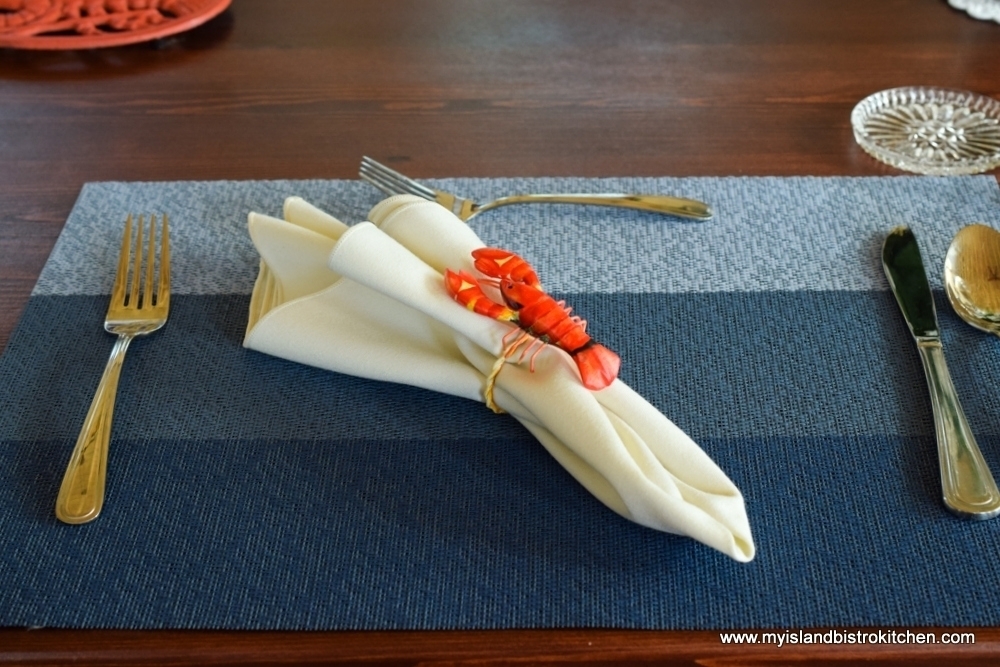
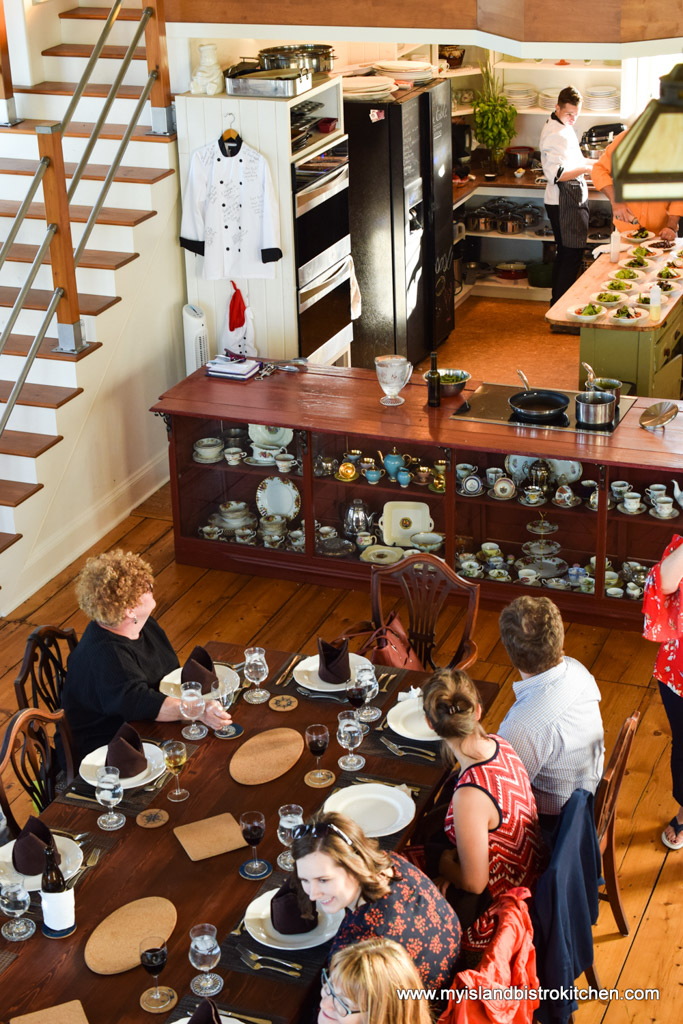
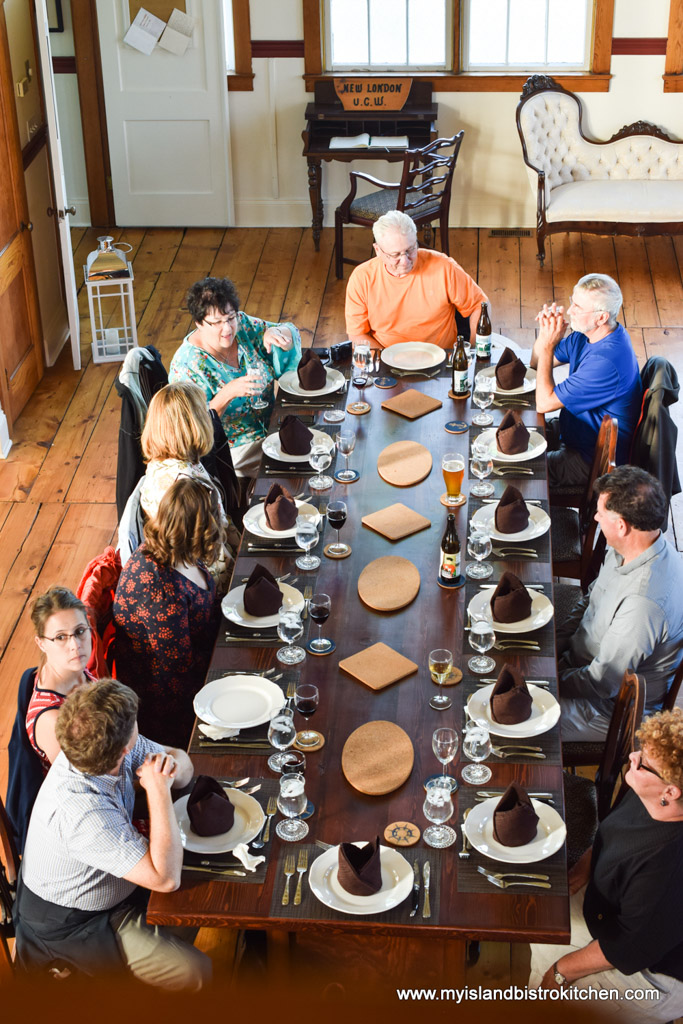
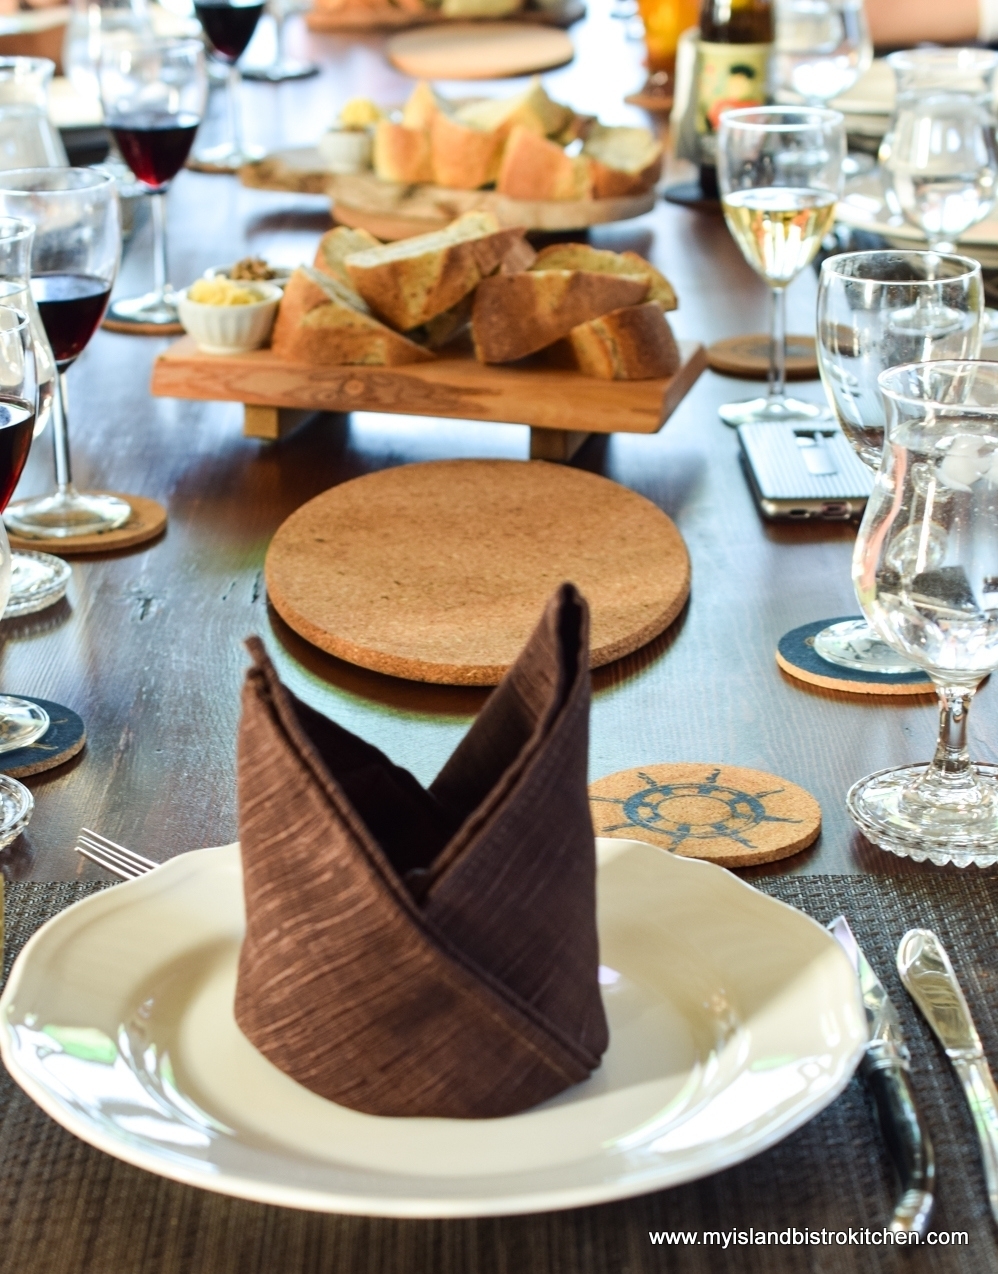
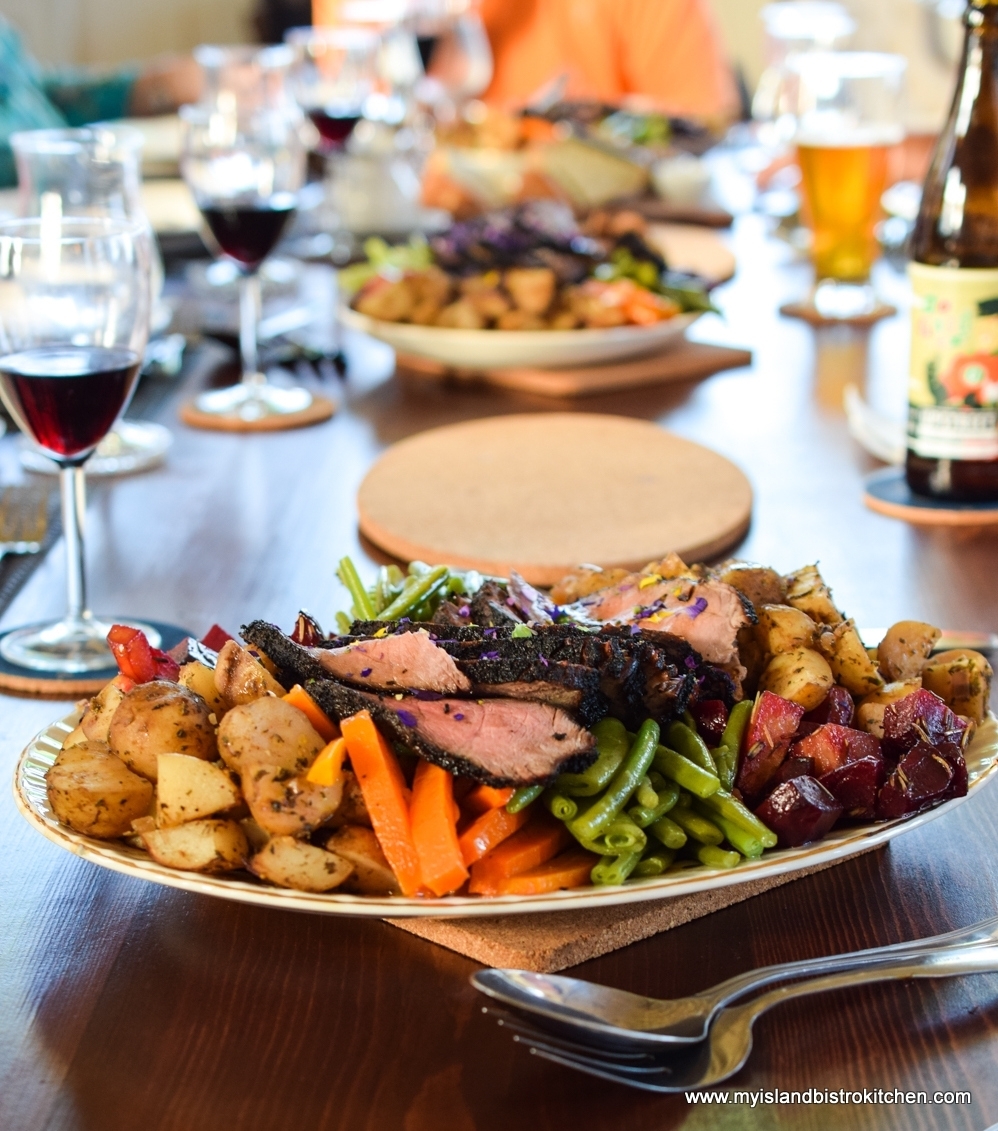
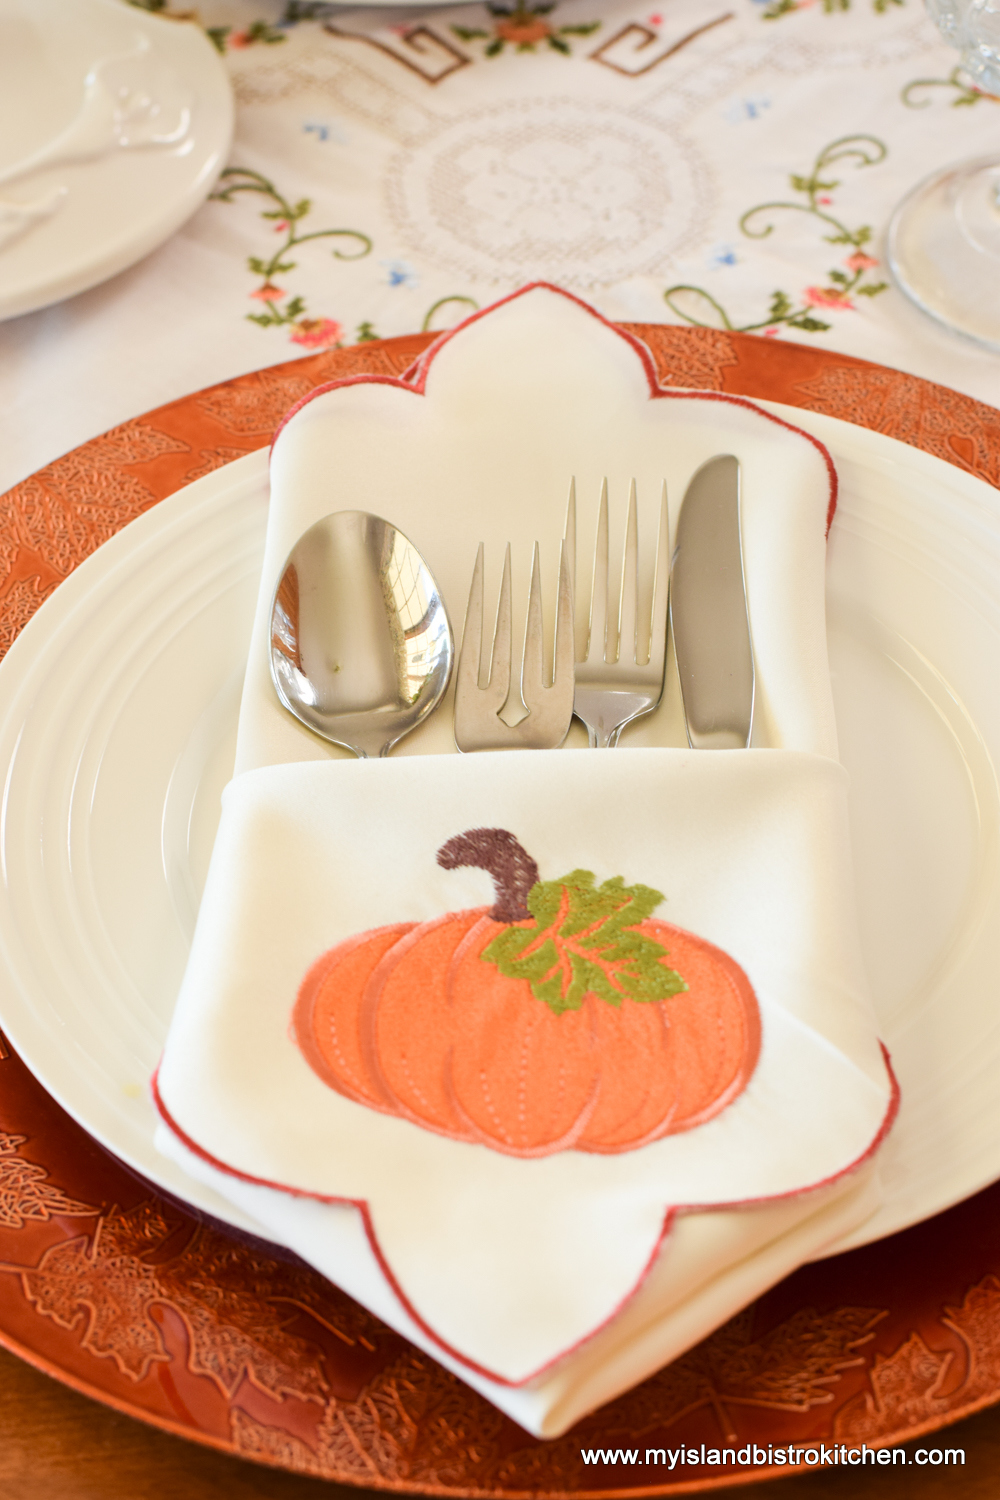
The table is set – it’s time to enjoy Thanksgiving dinner!
The Menu
Food is meant to be enjoyed and savored, not hurriedly consumed. This menu and its serving style aim for that objective.
Appetizers
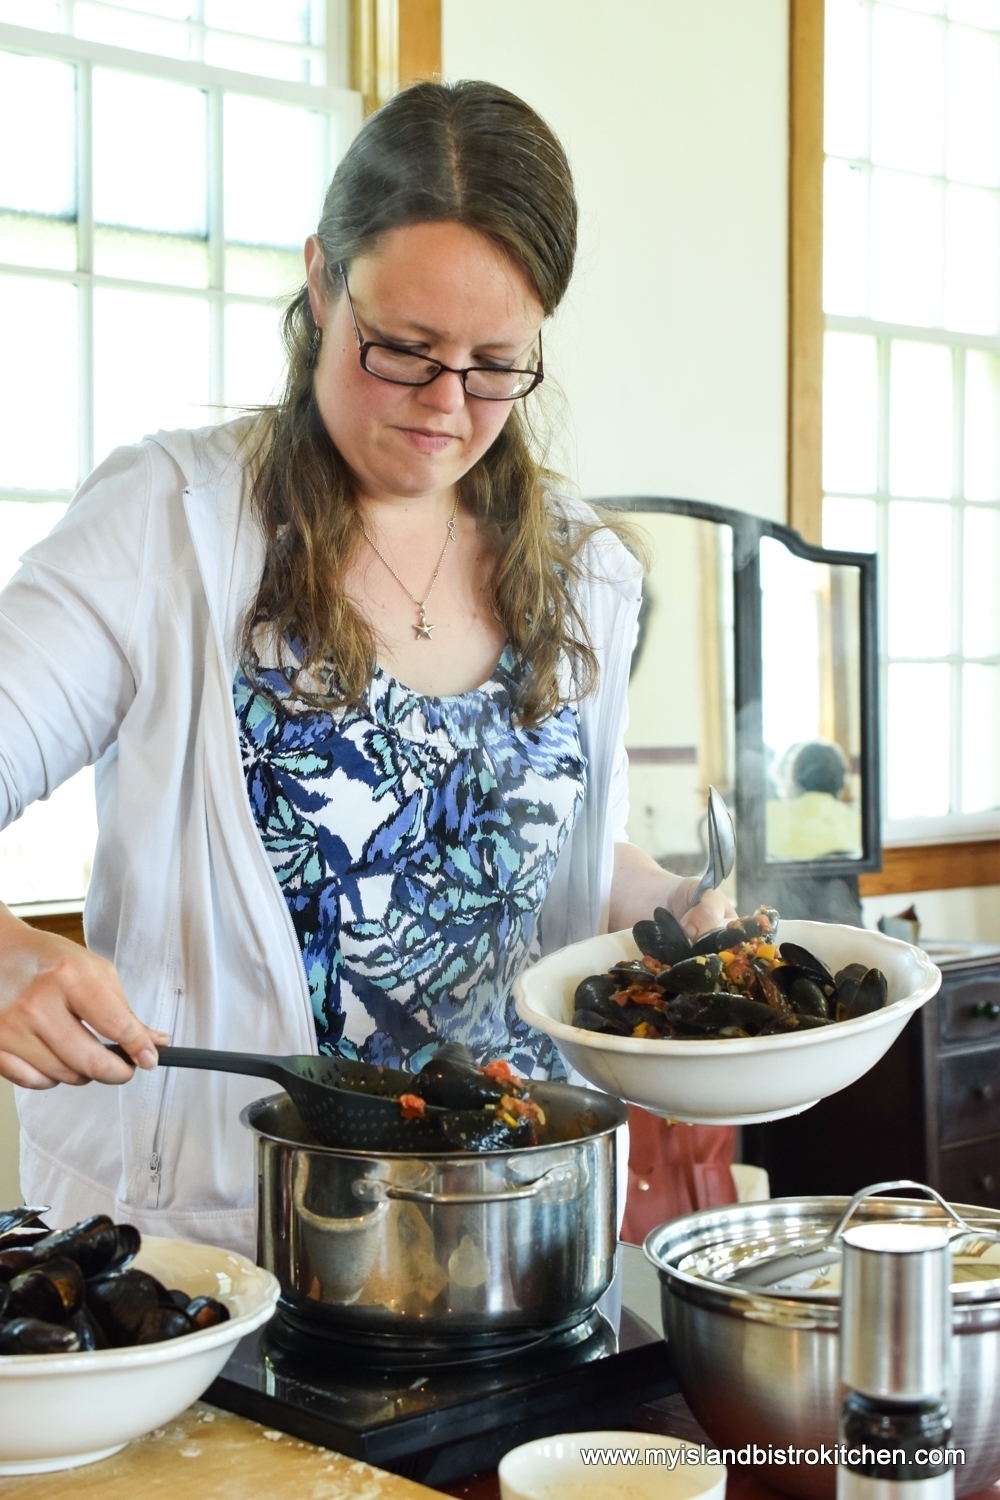
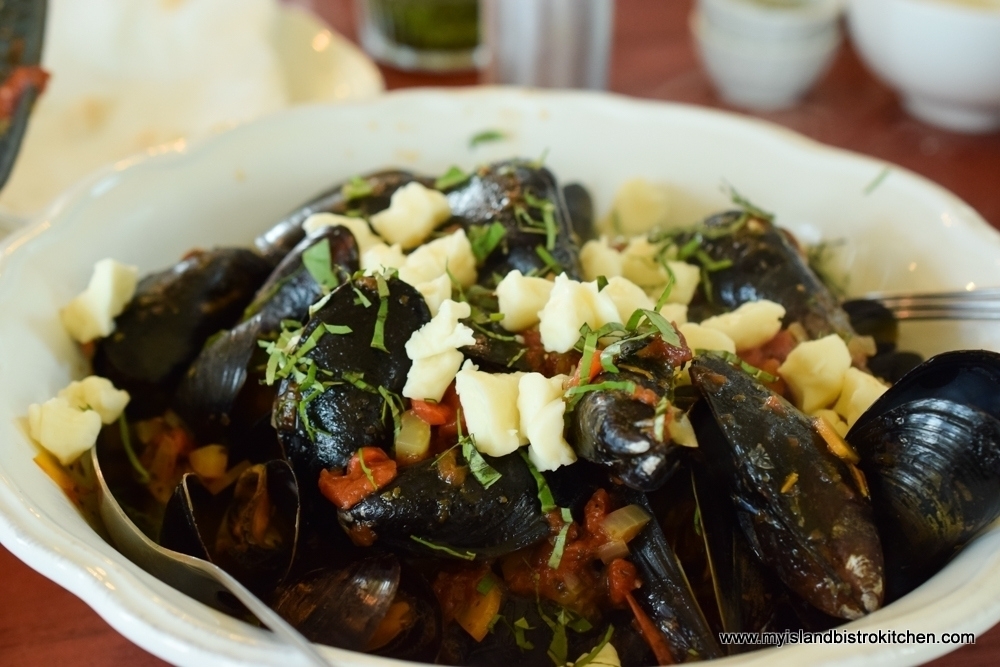
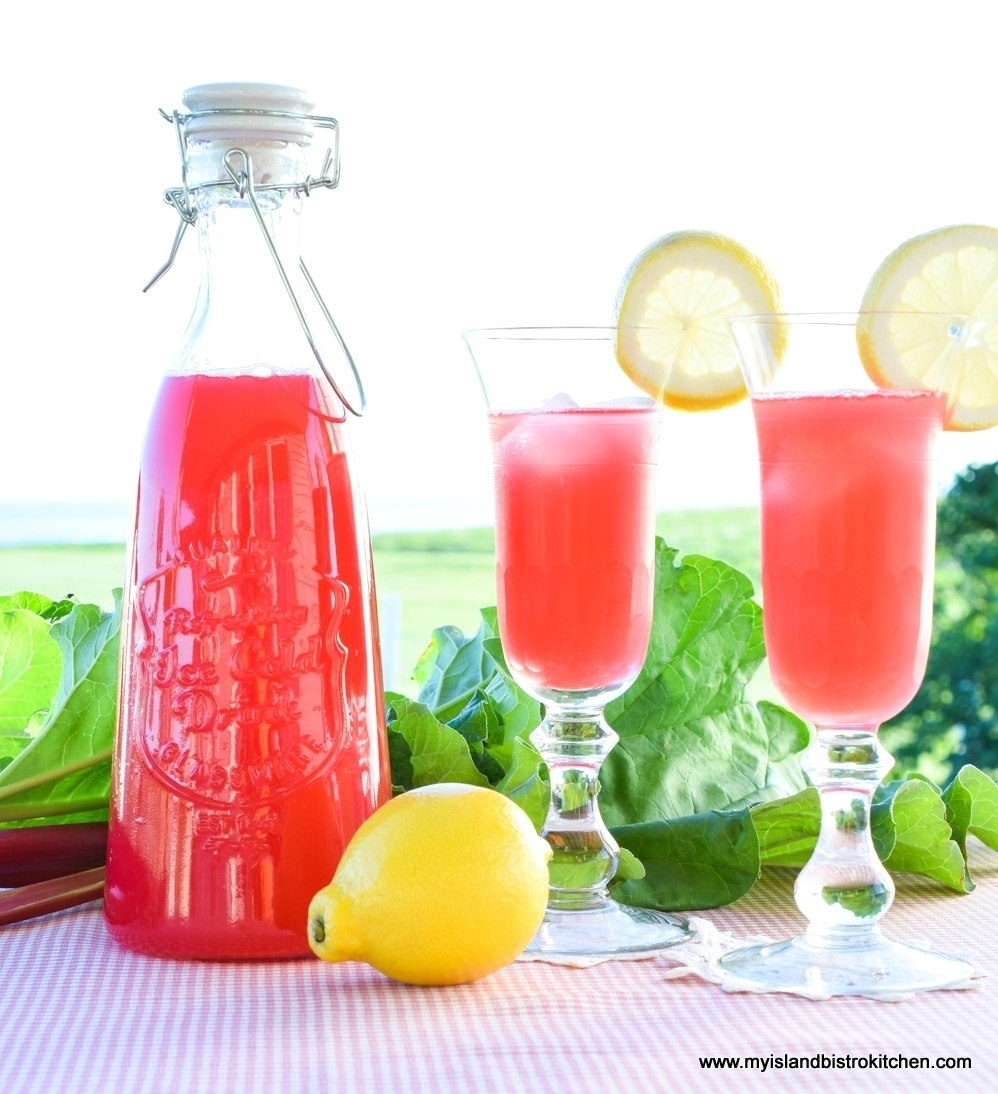
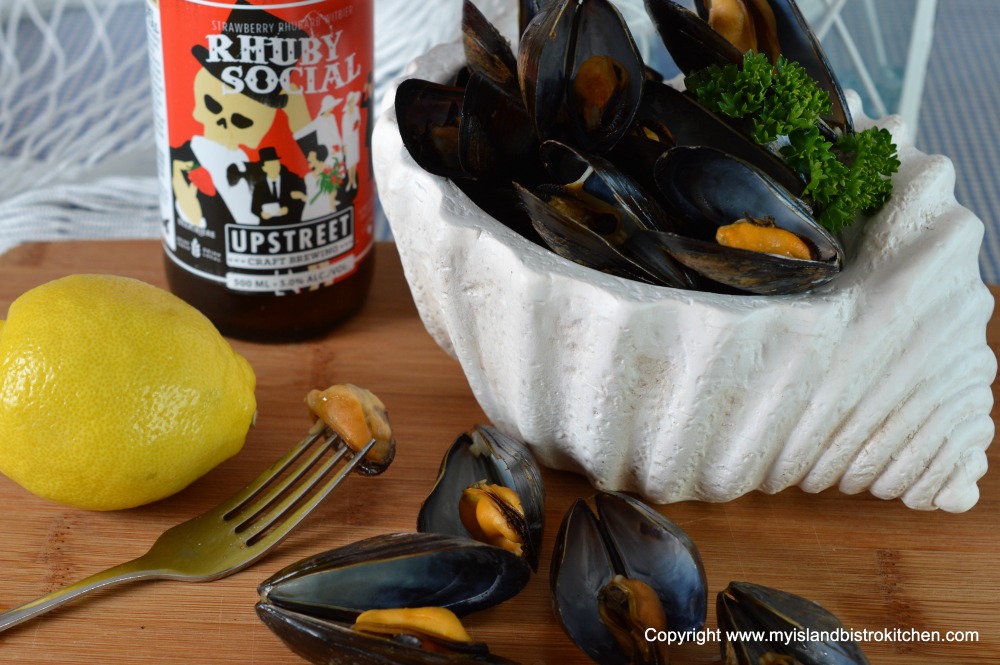
Island Blue Mussels steamed in Upstreet’s “Rhuby Social” beer
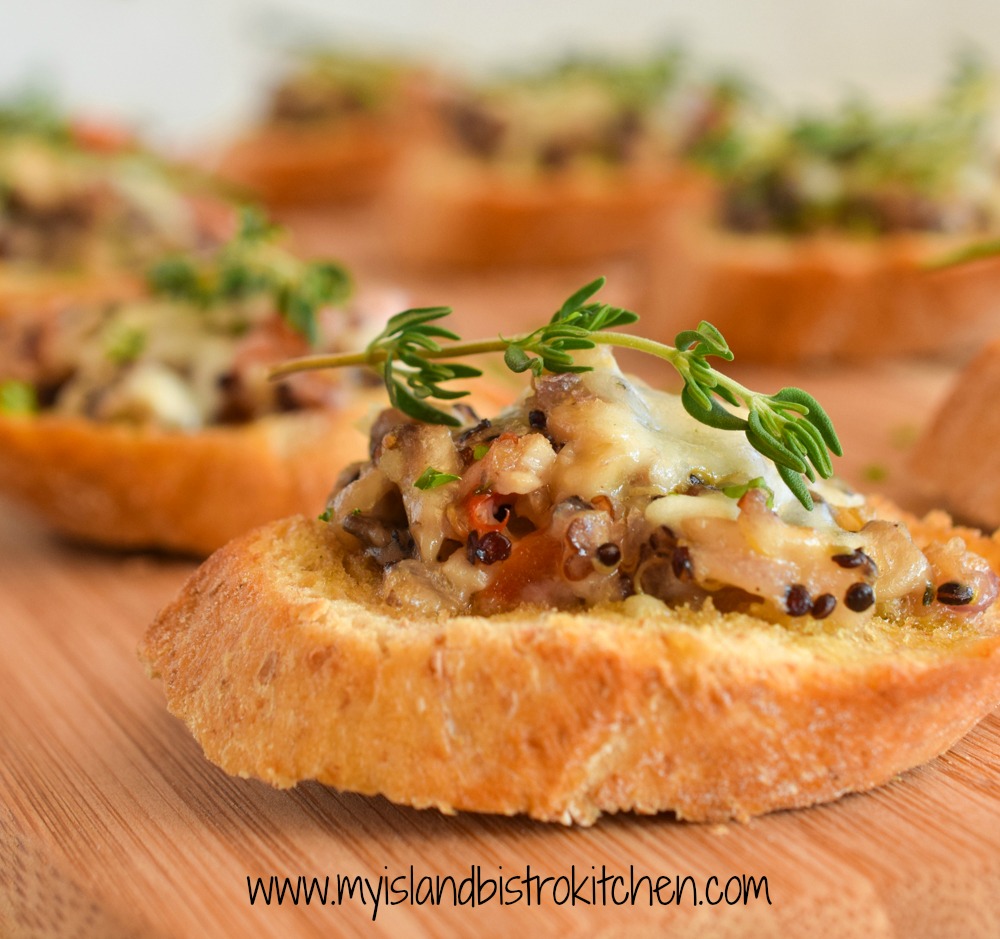
Savory Mushroom and Quinoa Crostini
Soup
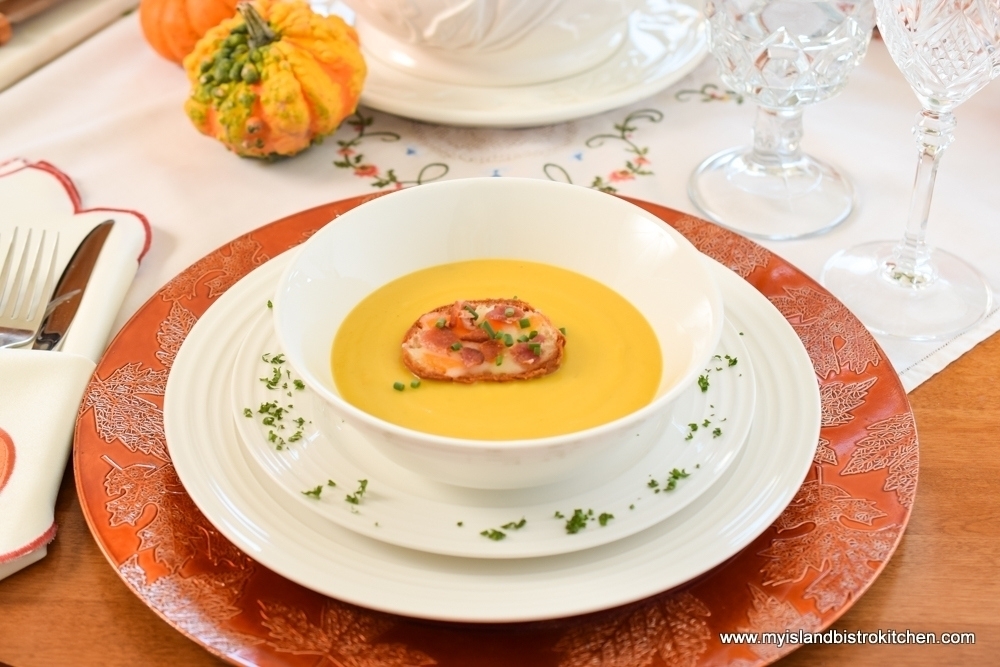
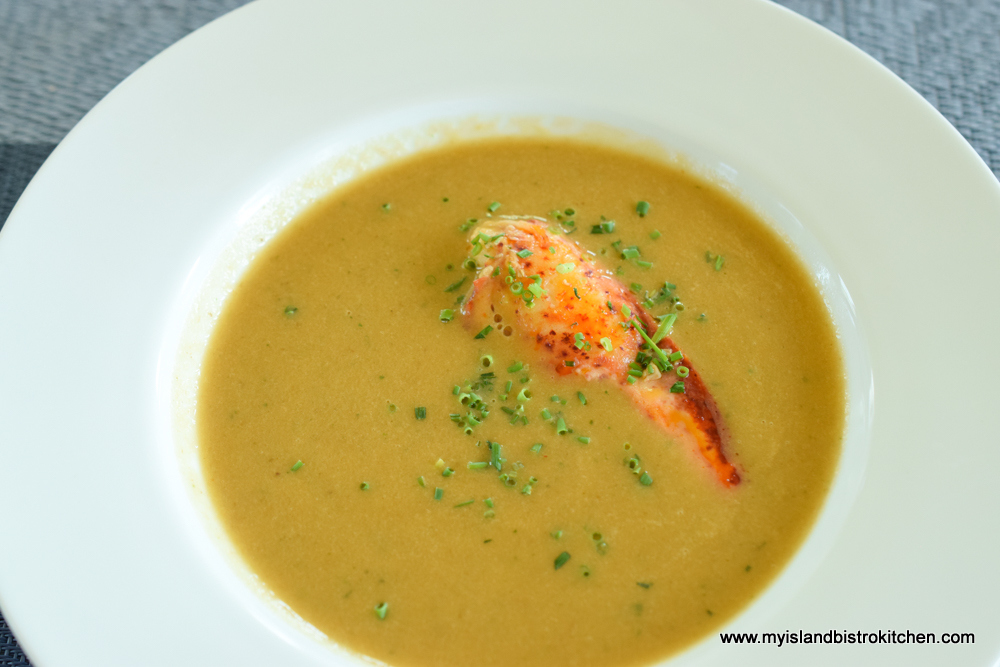
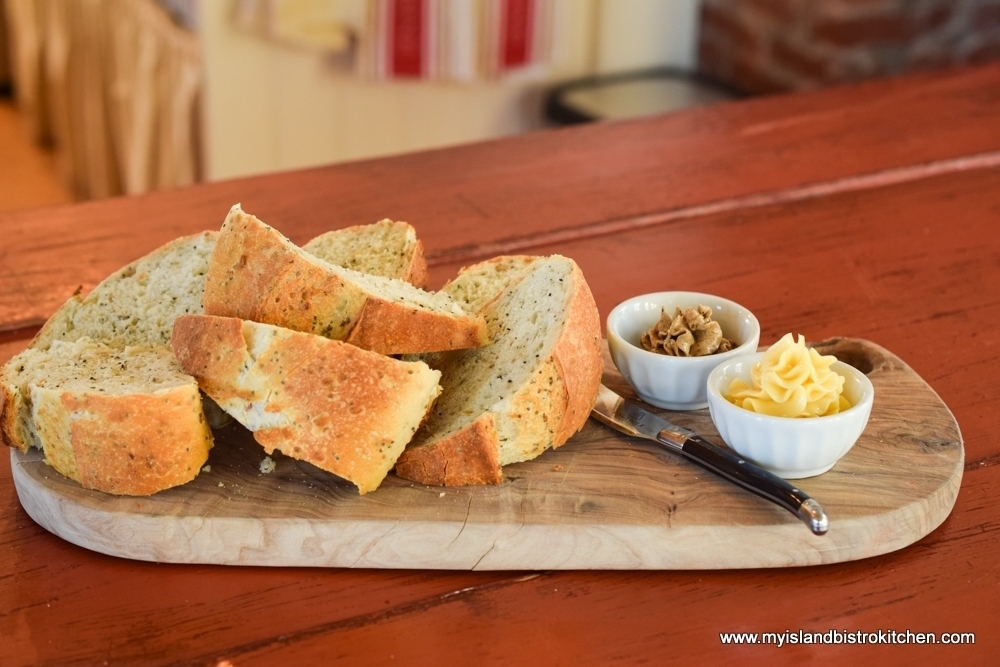
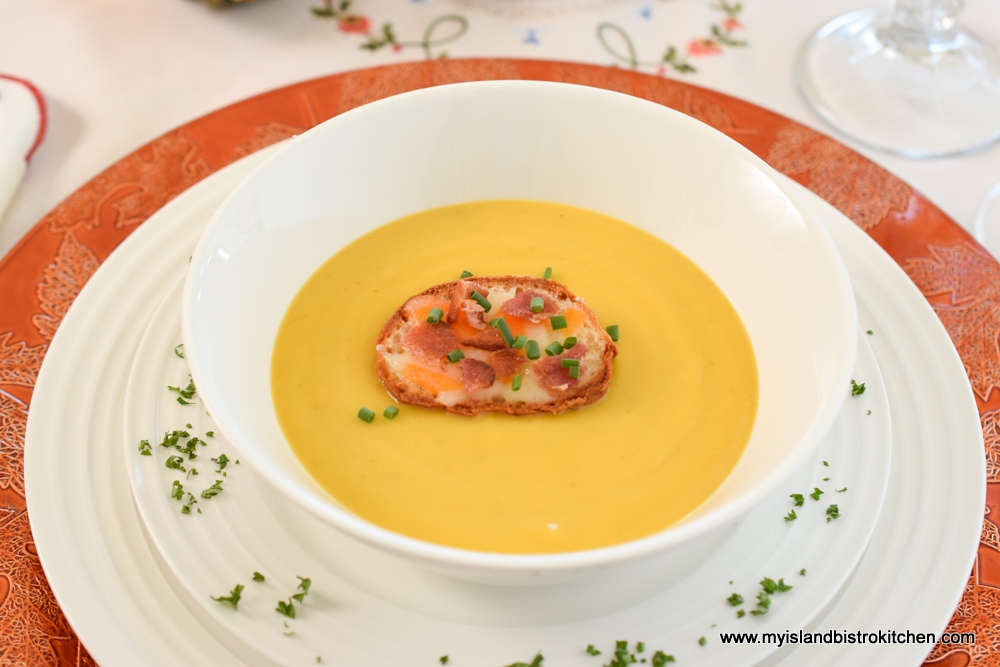
Roasted Butternut Squash Soup
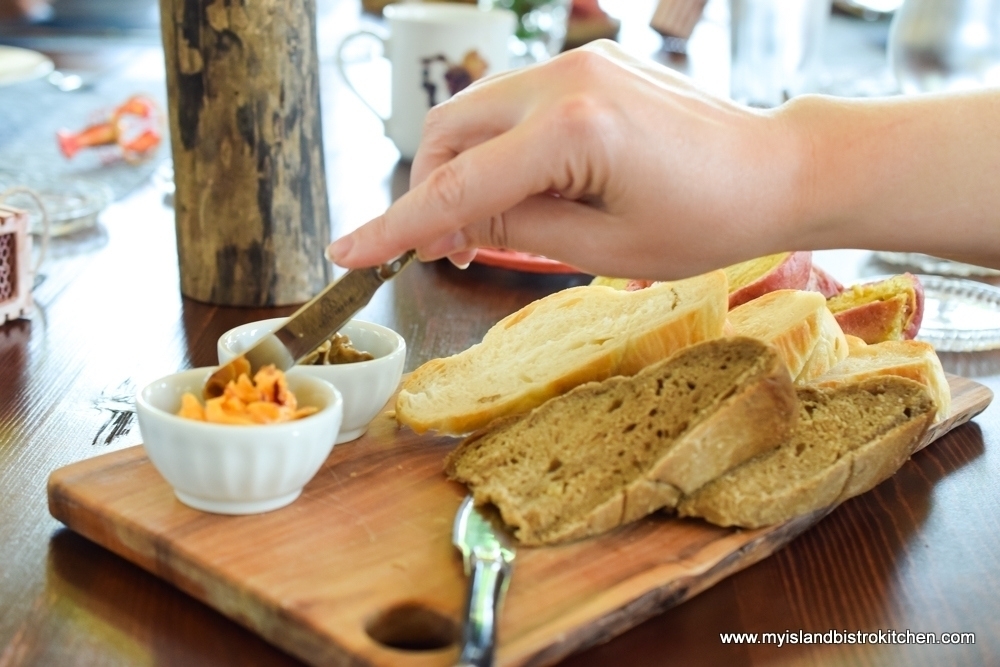
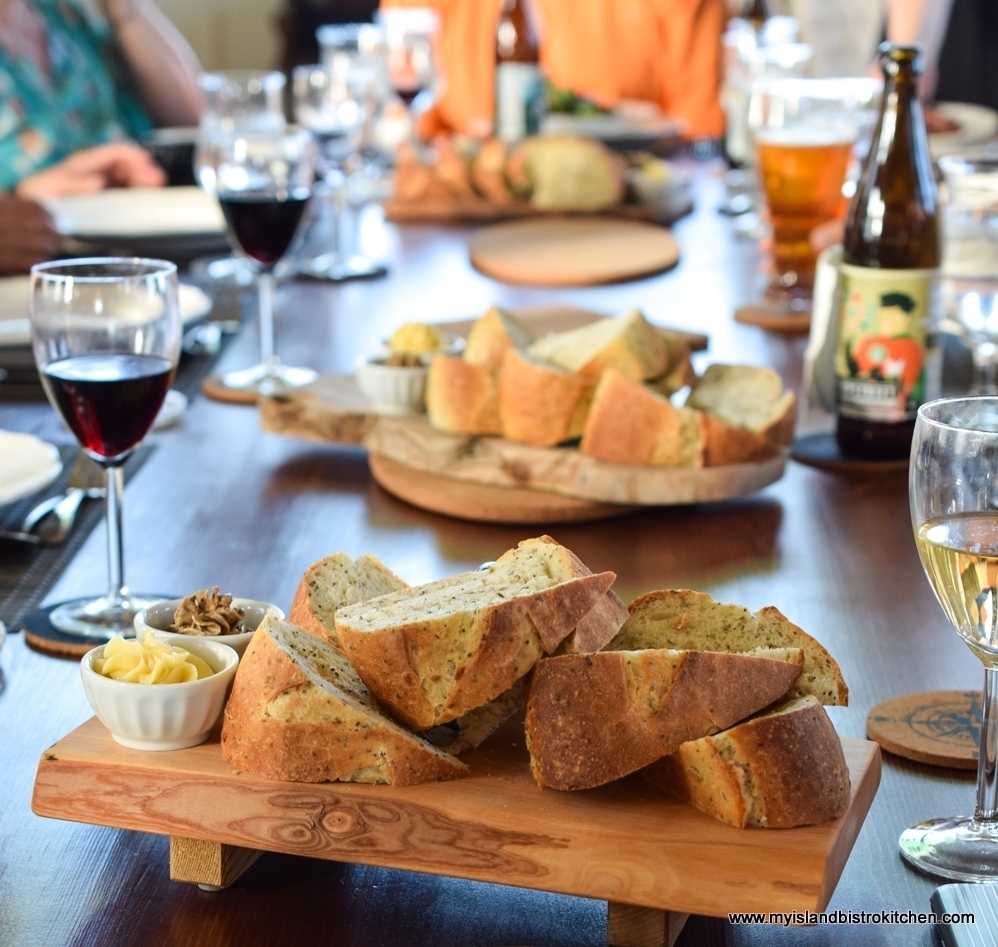
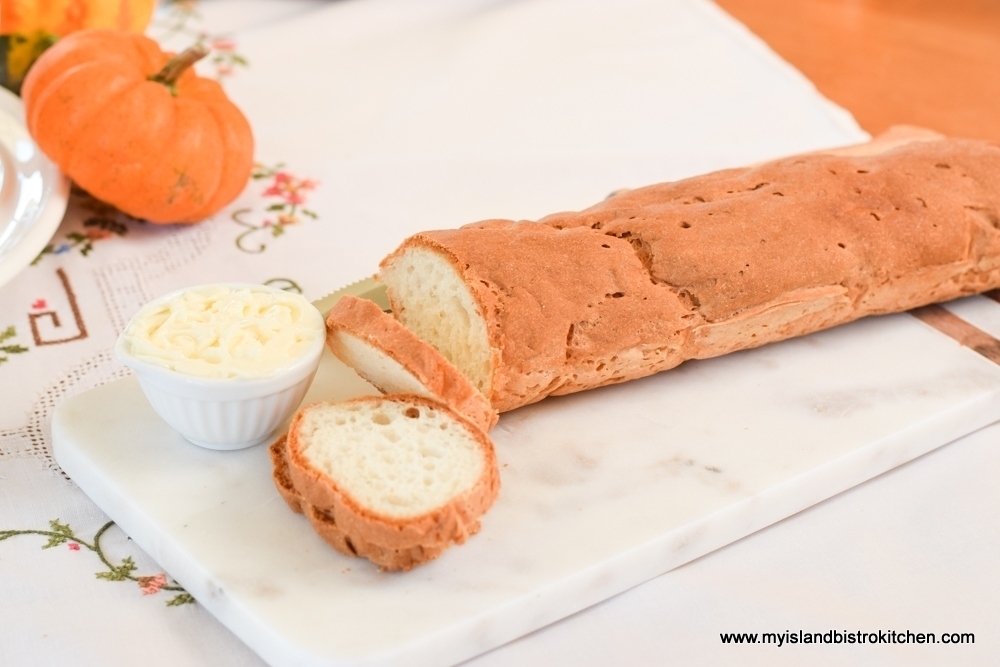
Served with a toasted baguette slice topped with cheese, bacon, and chives
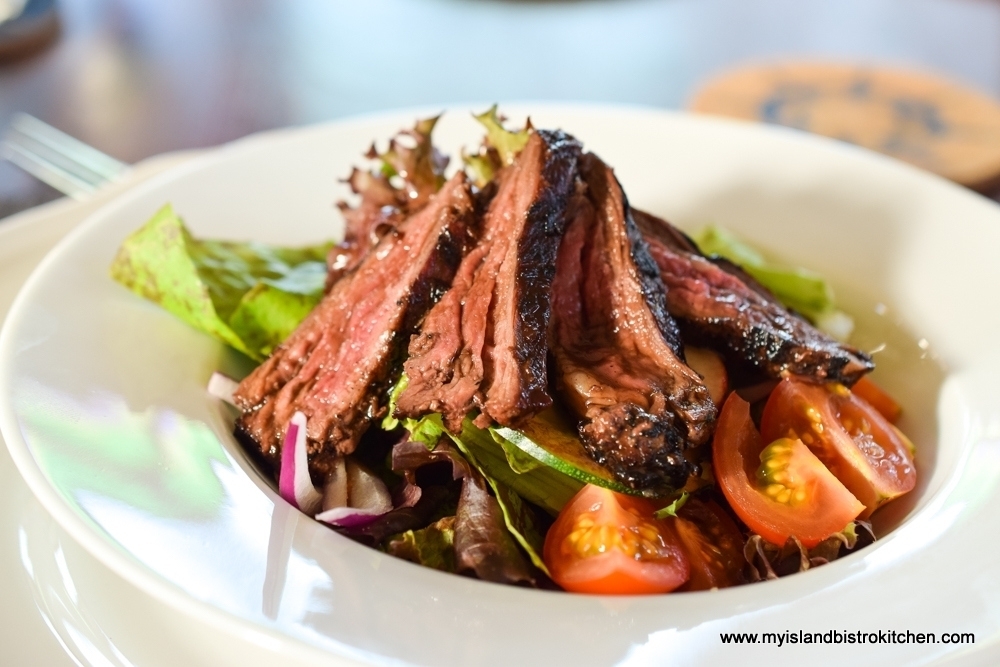
Salad
Mix of Garden Greens with Vine-ripened Mini Tomatoes and Button Mushrooms
Dressed with Raspberry Vinaigrette and served from the salad urn, tableside
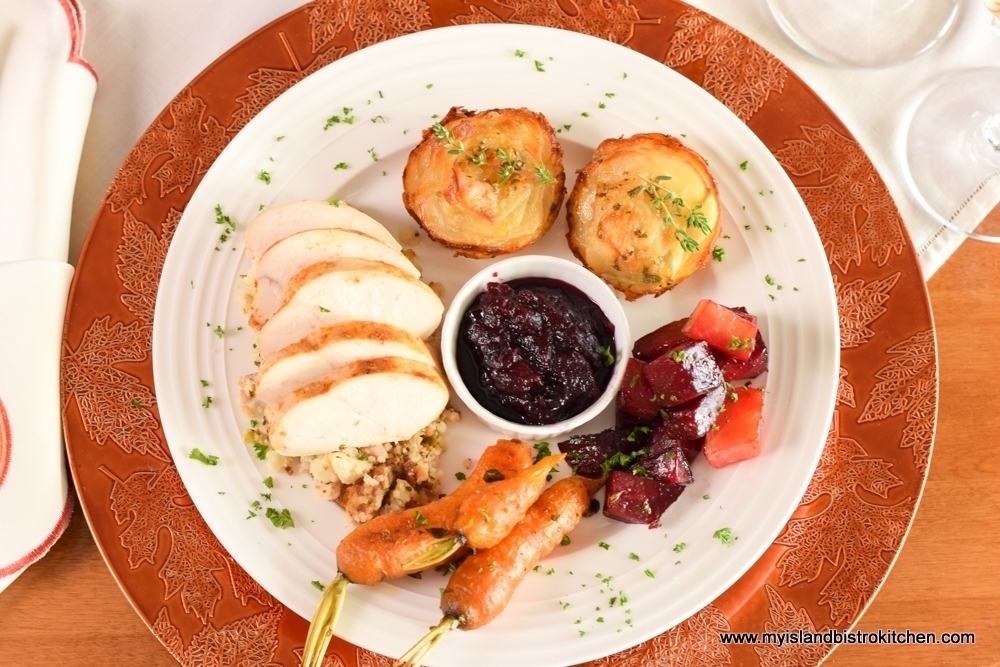
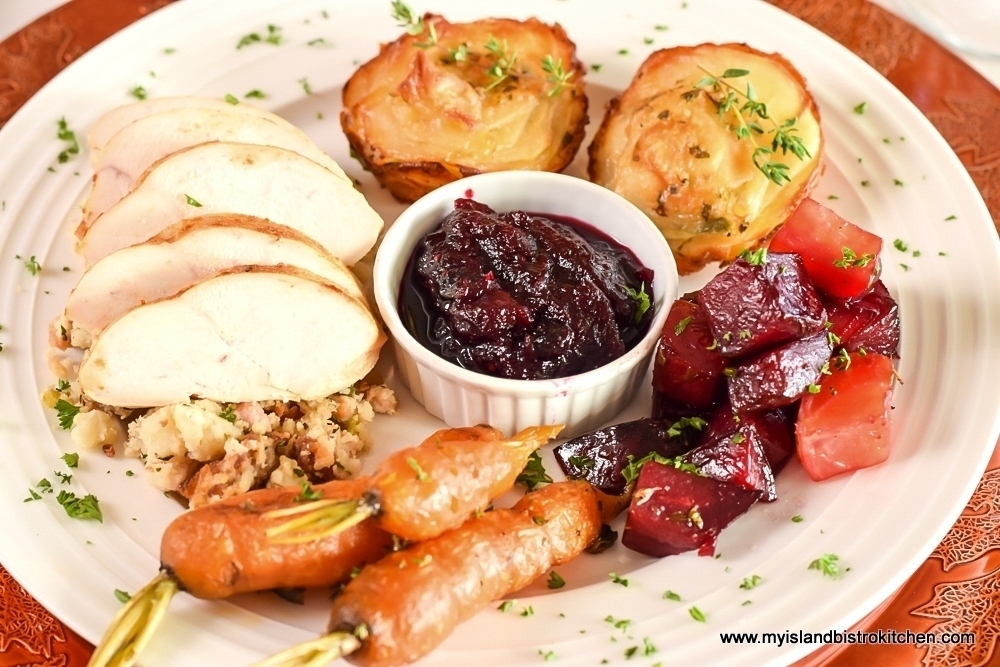
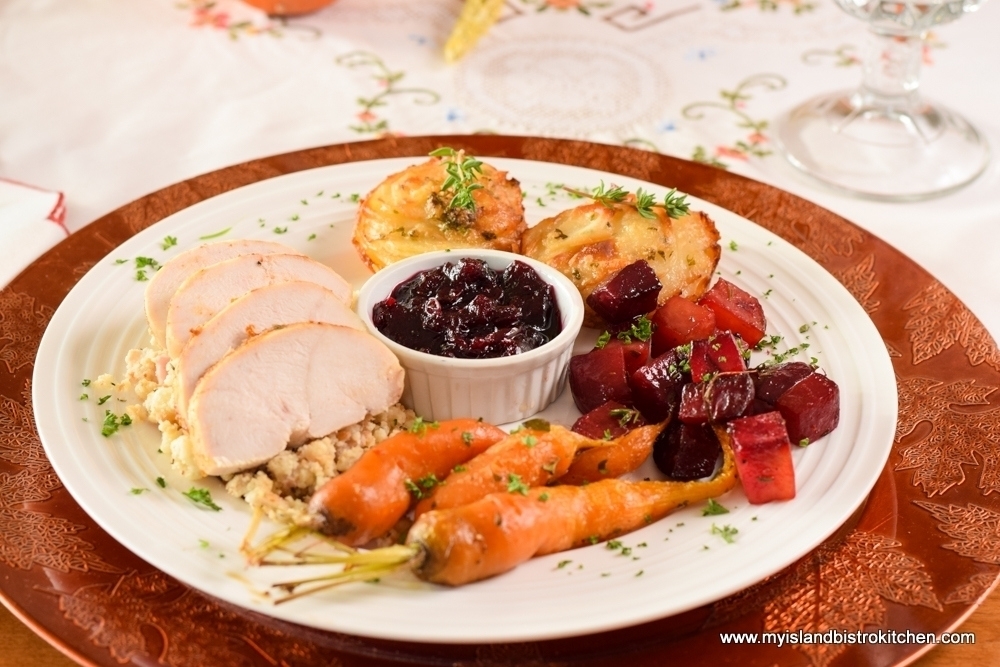
Main
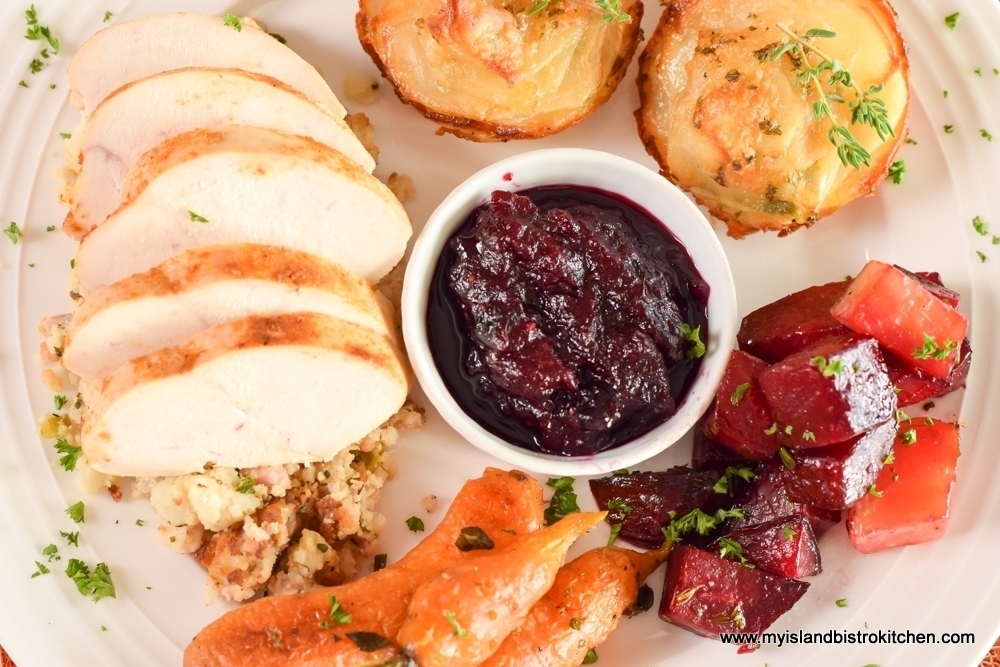
Roasted Chicken Breast with a dry rub of spices
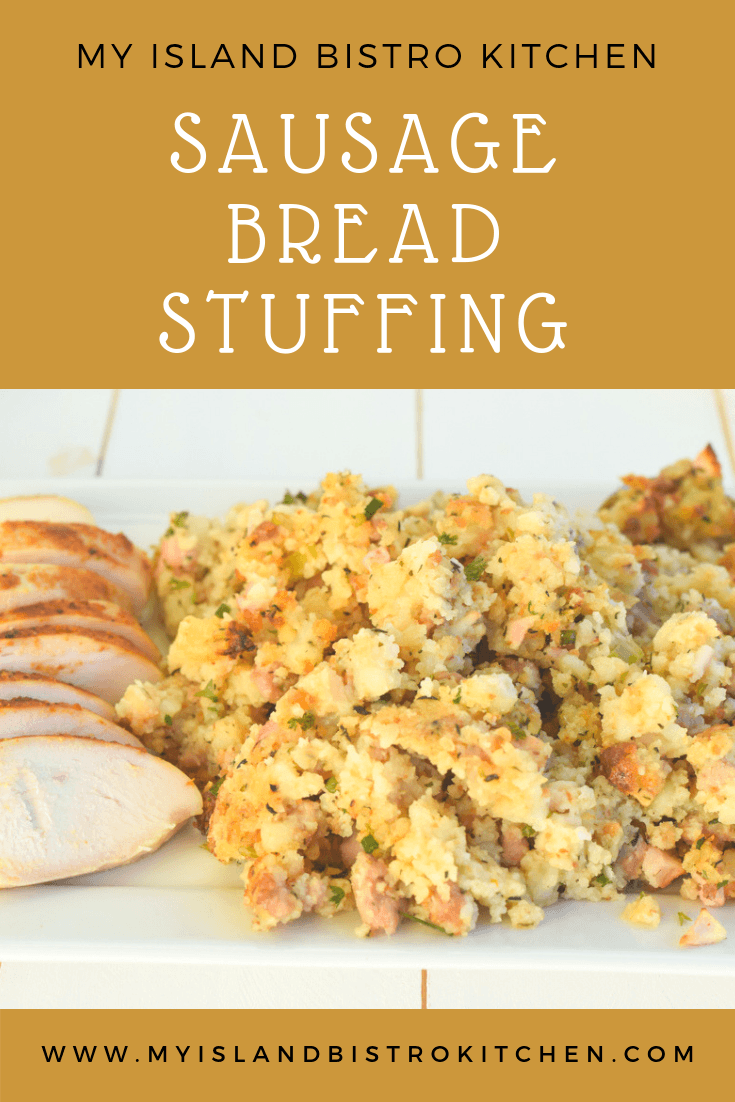
Served over Sausage Bread Dressing
Accompaniments
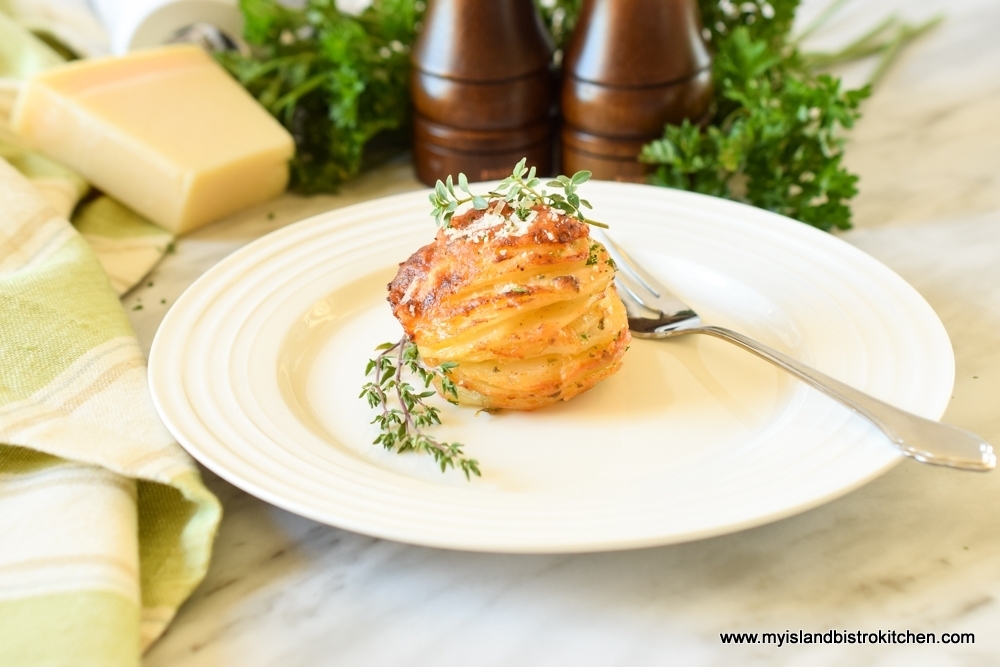
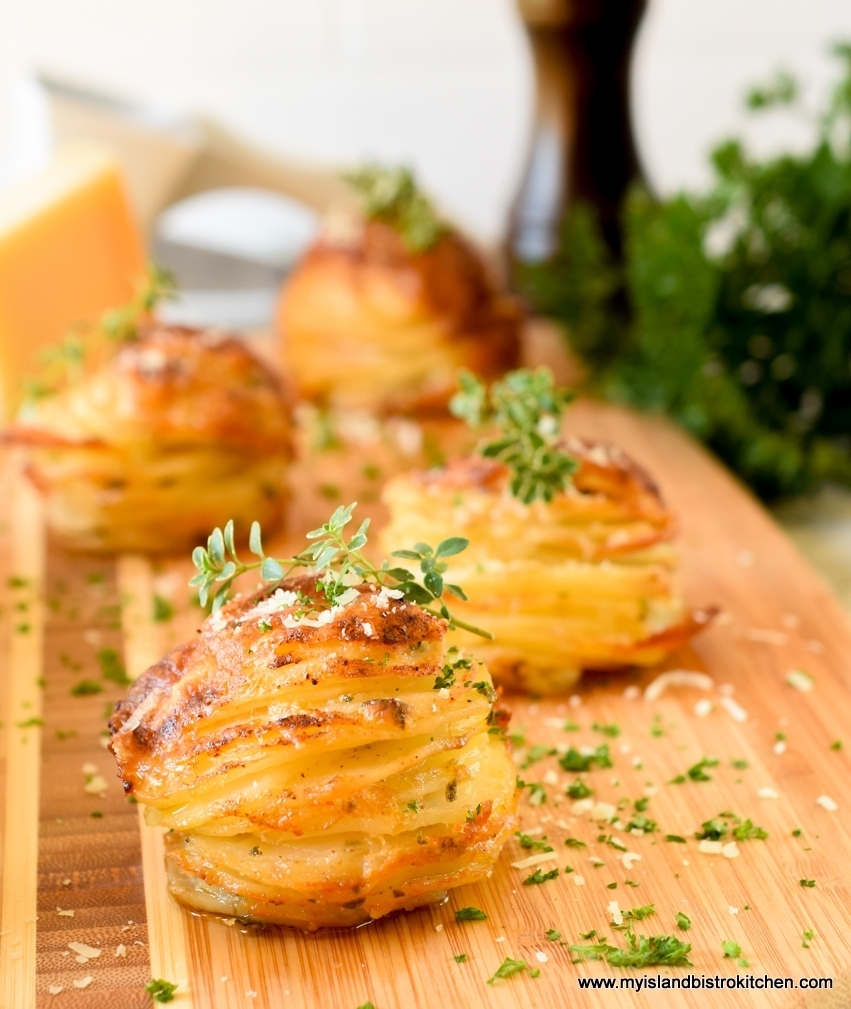
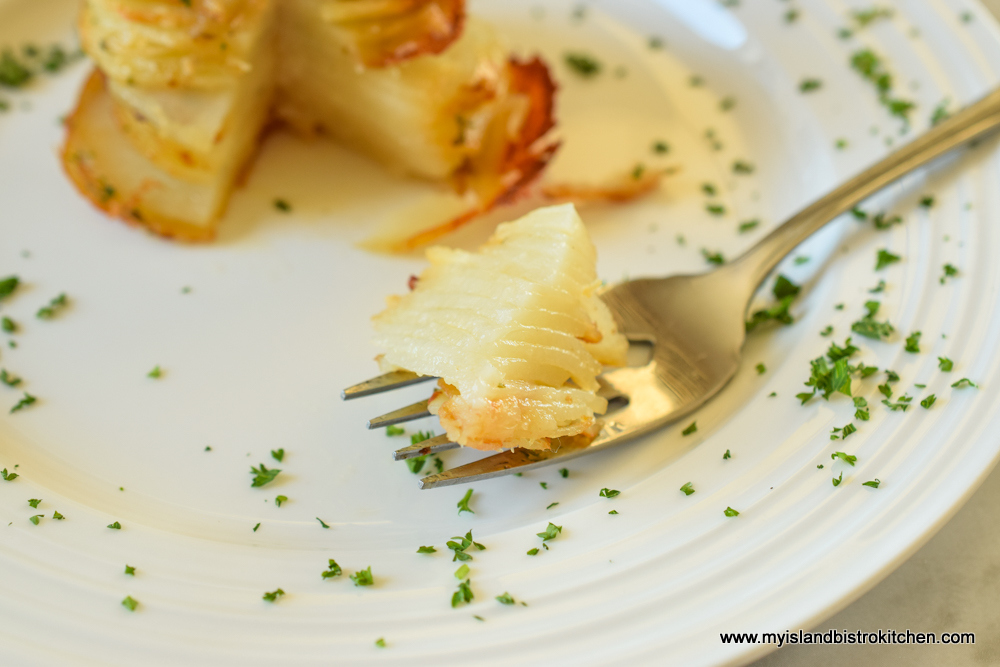
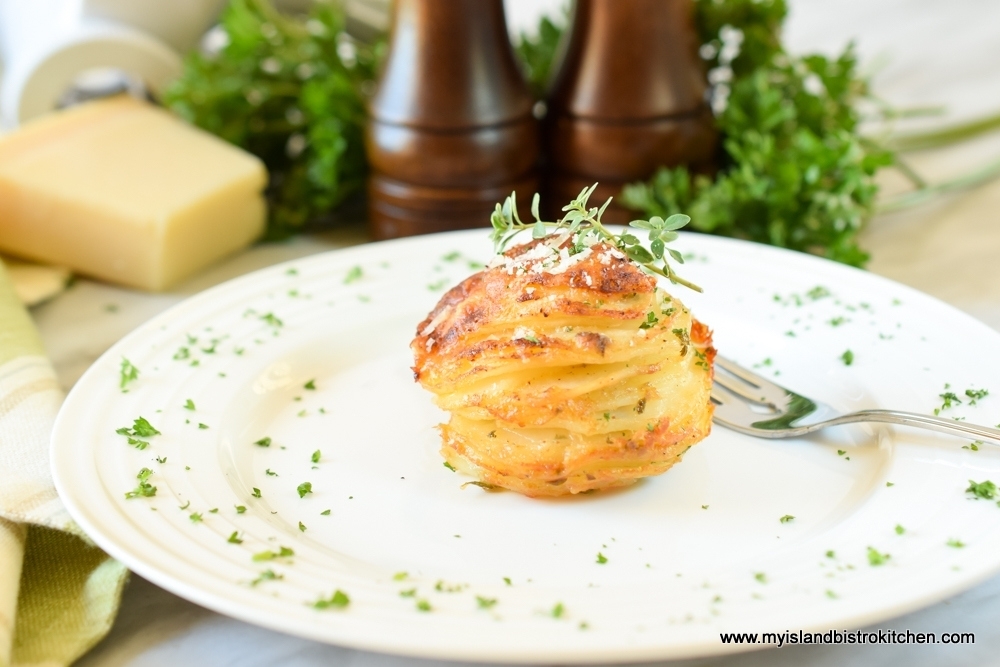
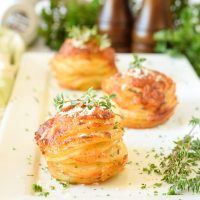
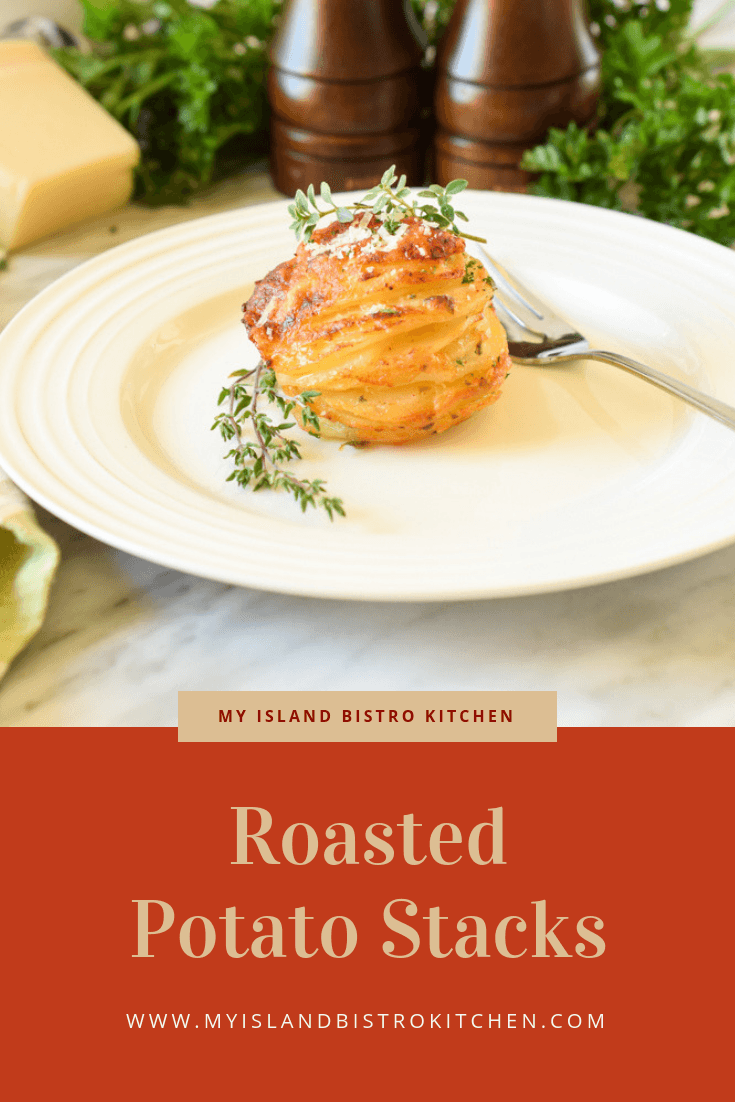
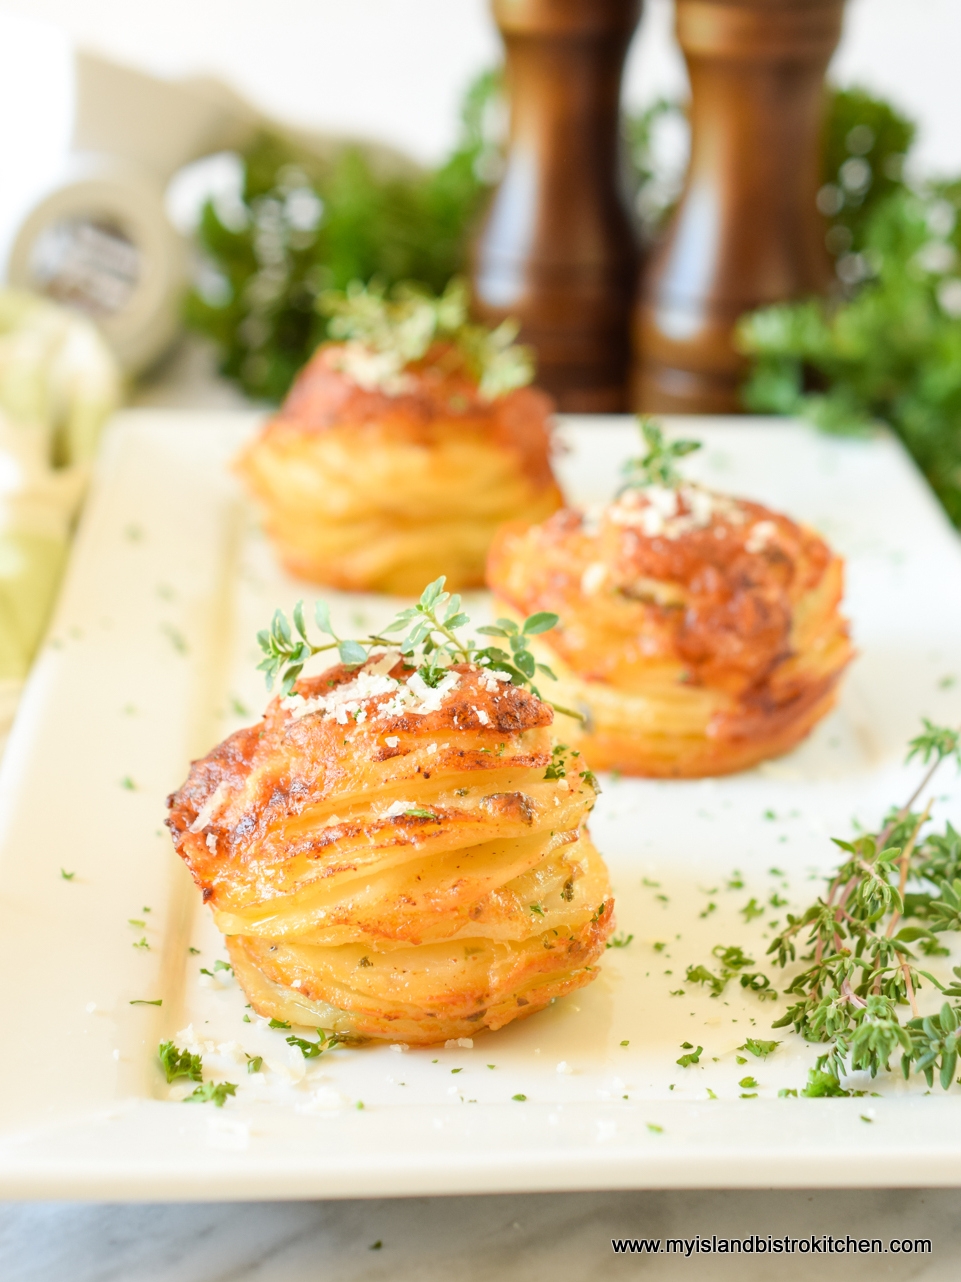
Petite Roasted Potato Stacks
Thinly sliced potato tossed with melted butter, herbs, and cheese then roasted
Roasted Beets and Carrots
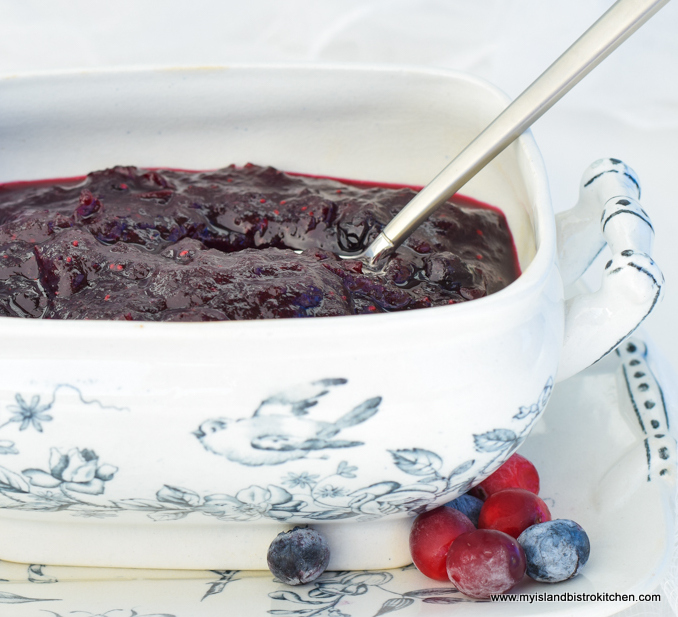
Cranberry Blueberry Sauce
Dessert
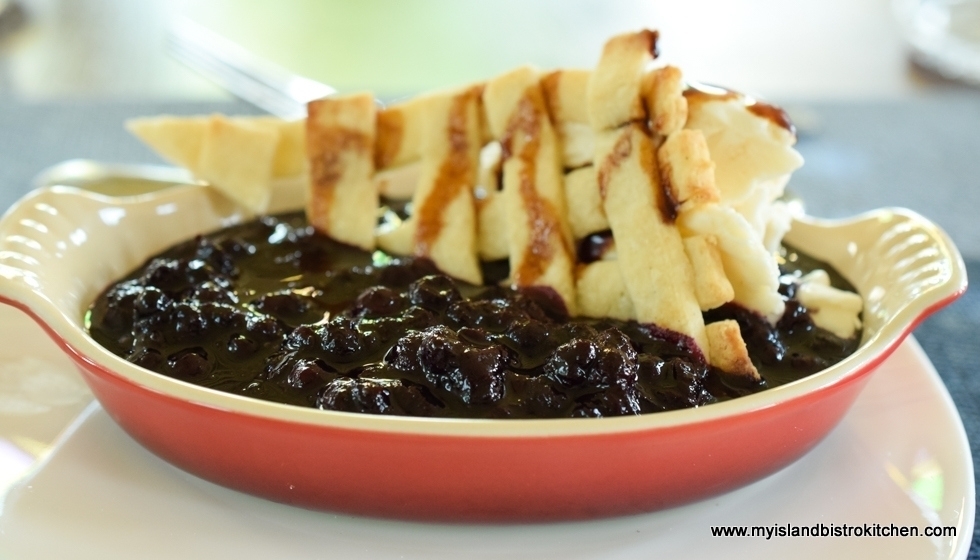
Apple-Maple Bread Pudding with Maple Sauce
Wine Pairing
Clean Slate 2016 Riesling (Germany)
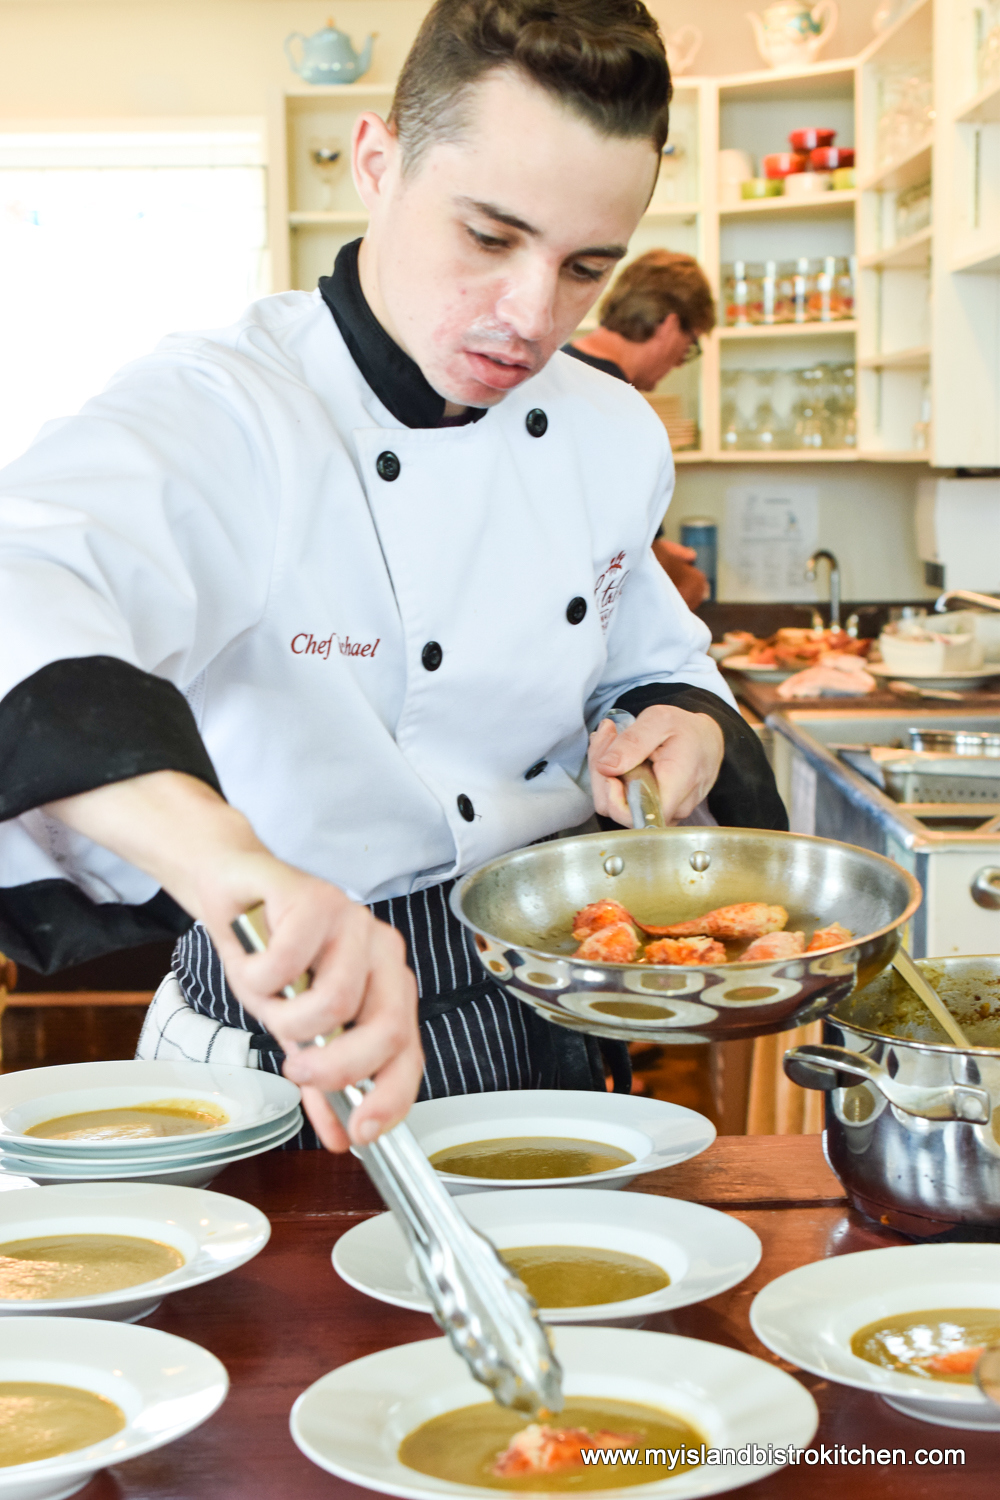
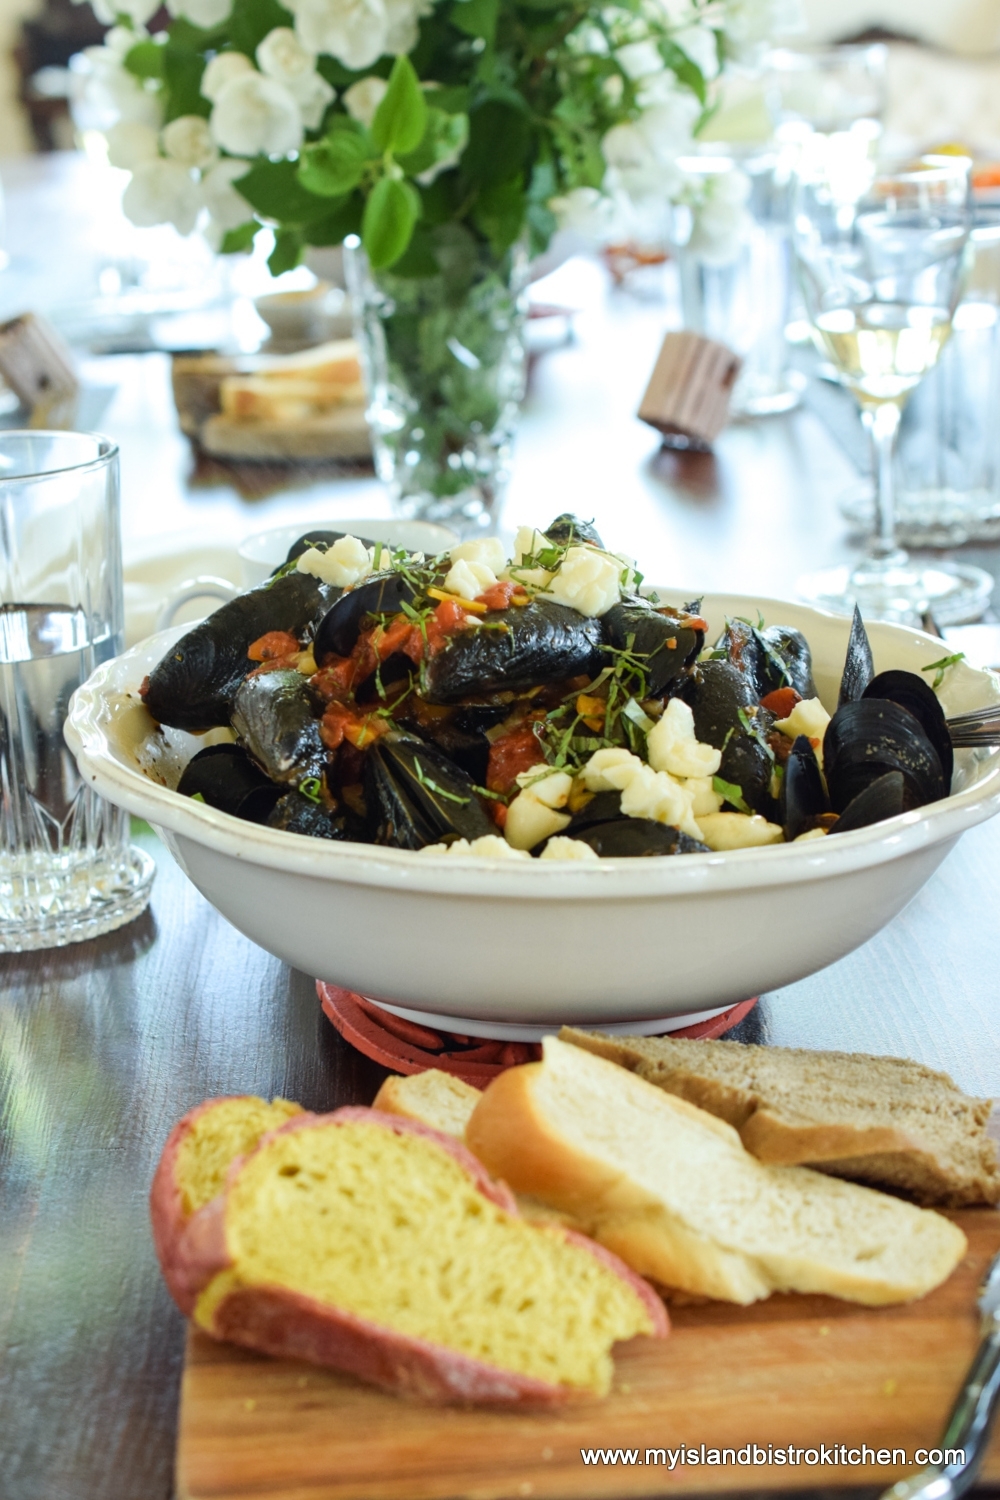
The Appetizers
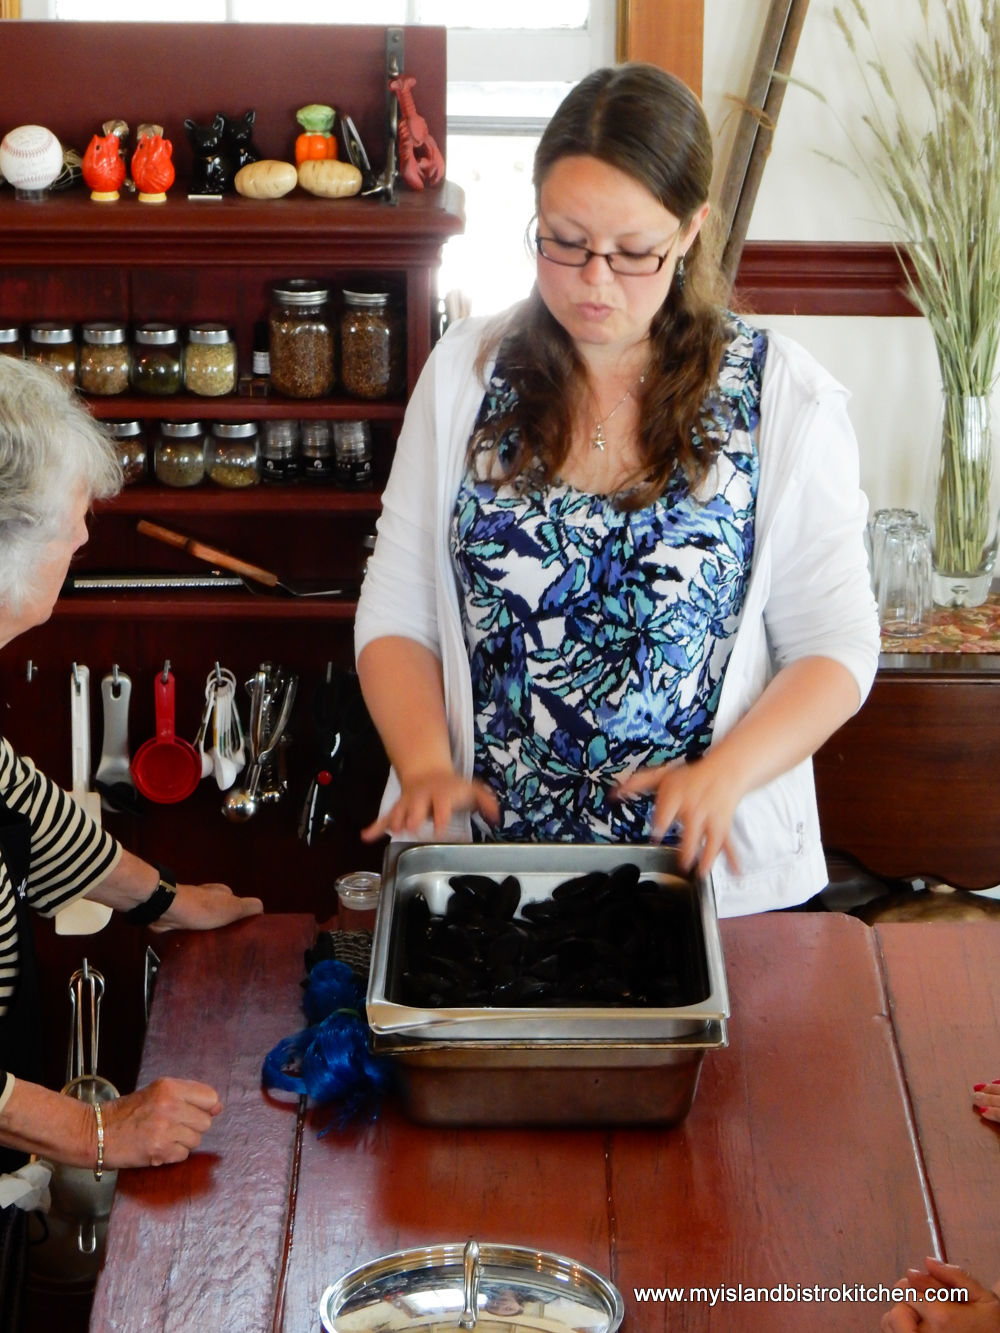
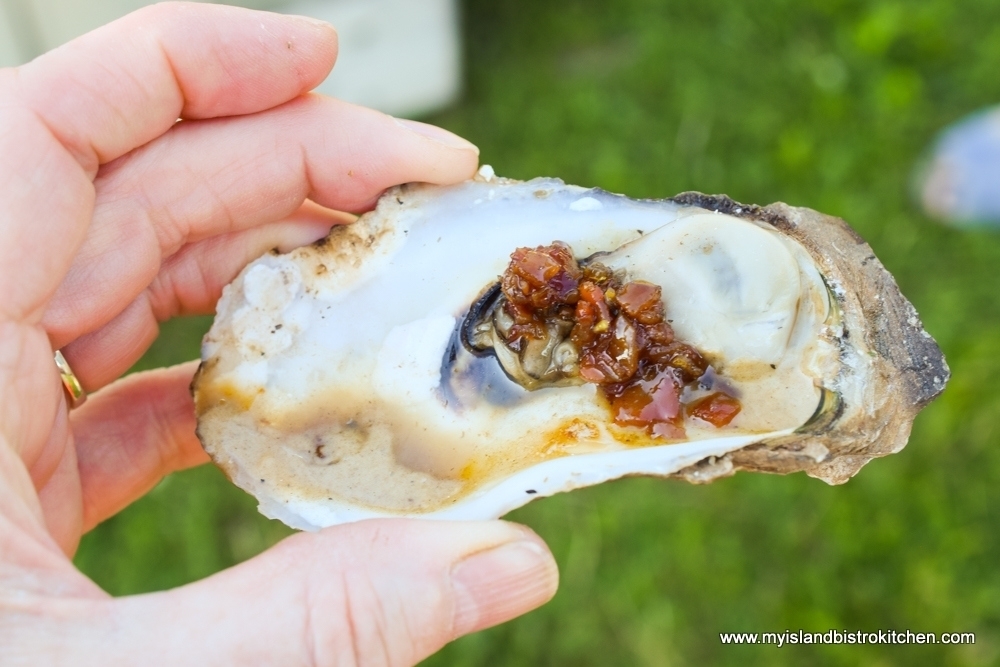
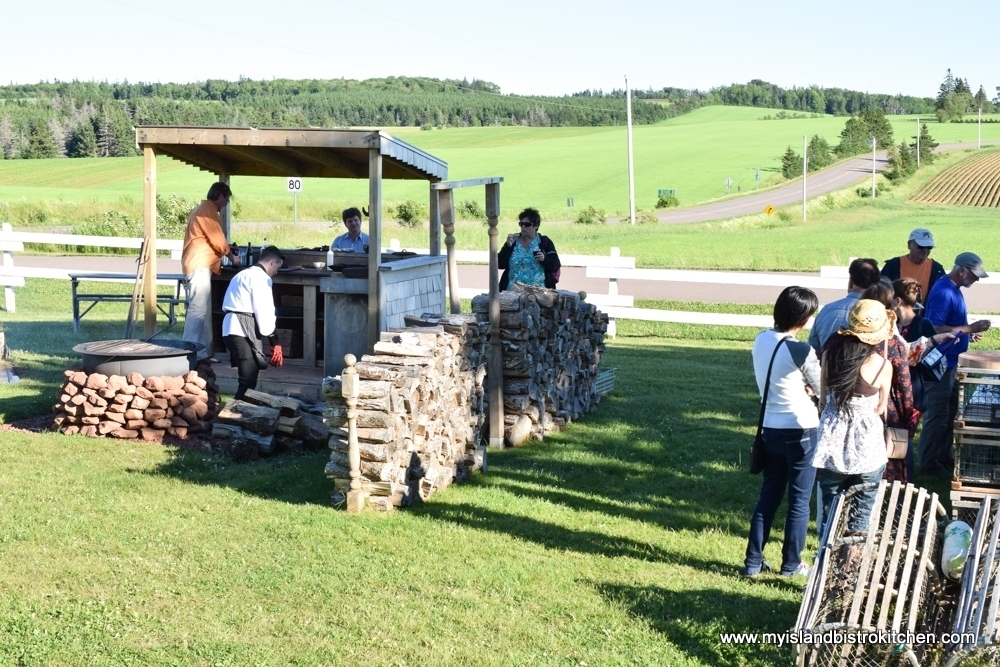
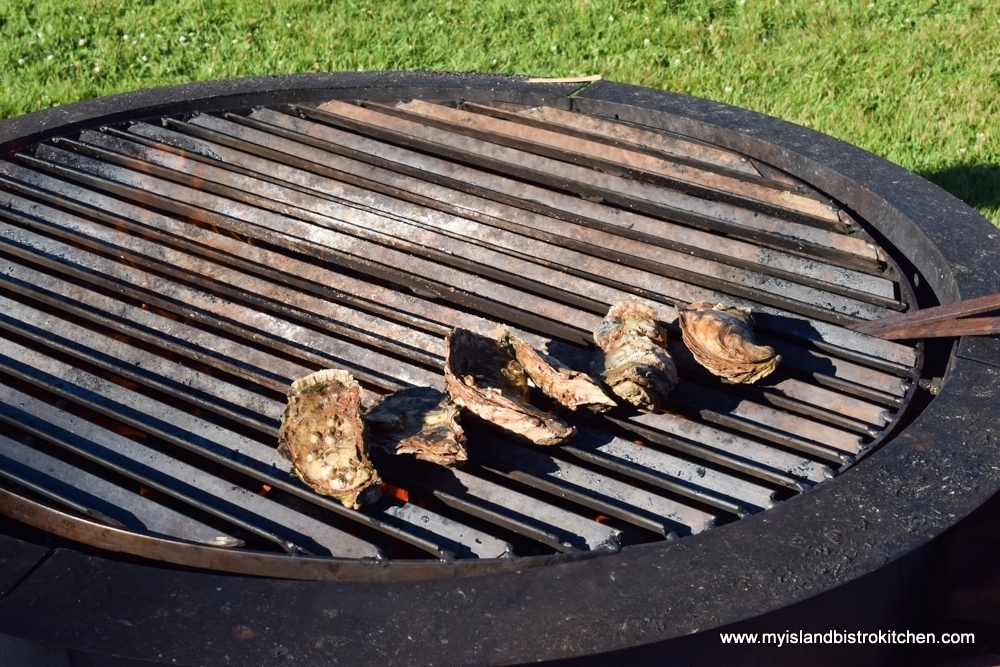
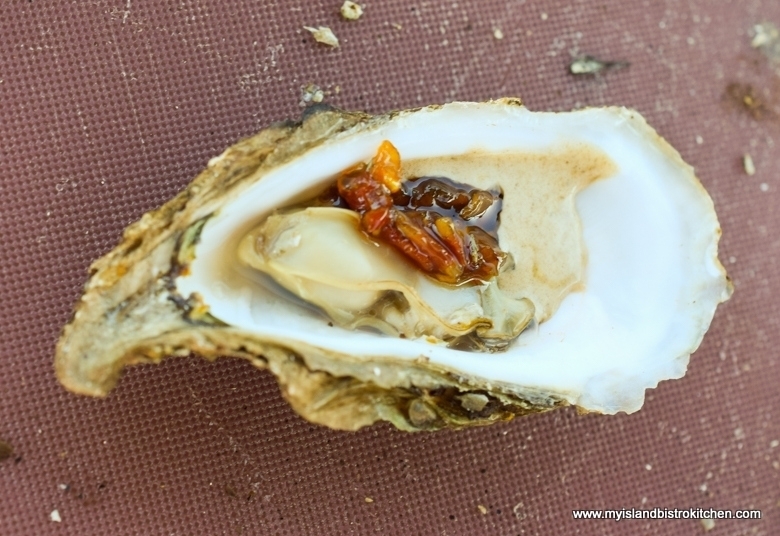
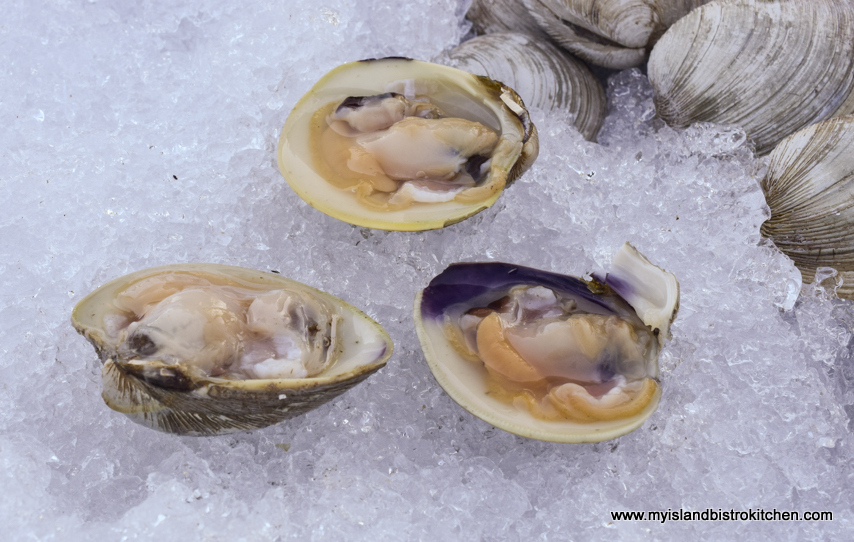
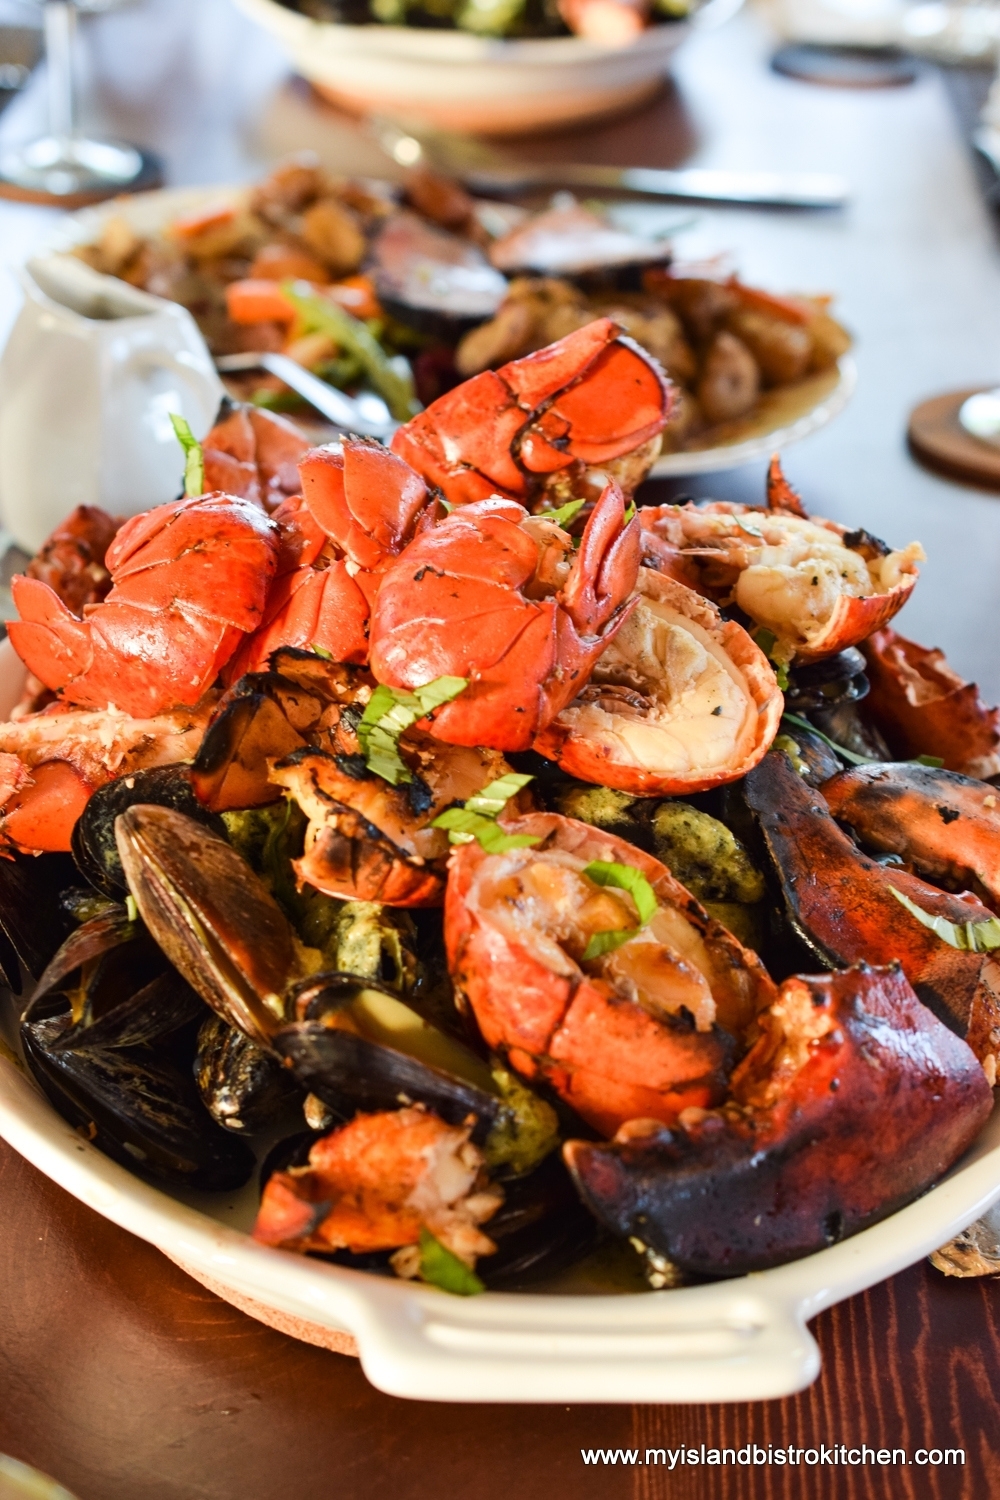
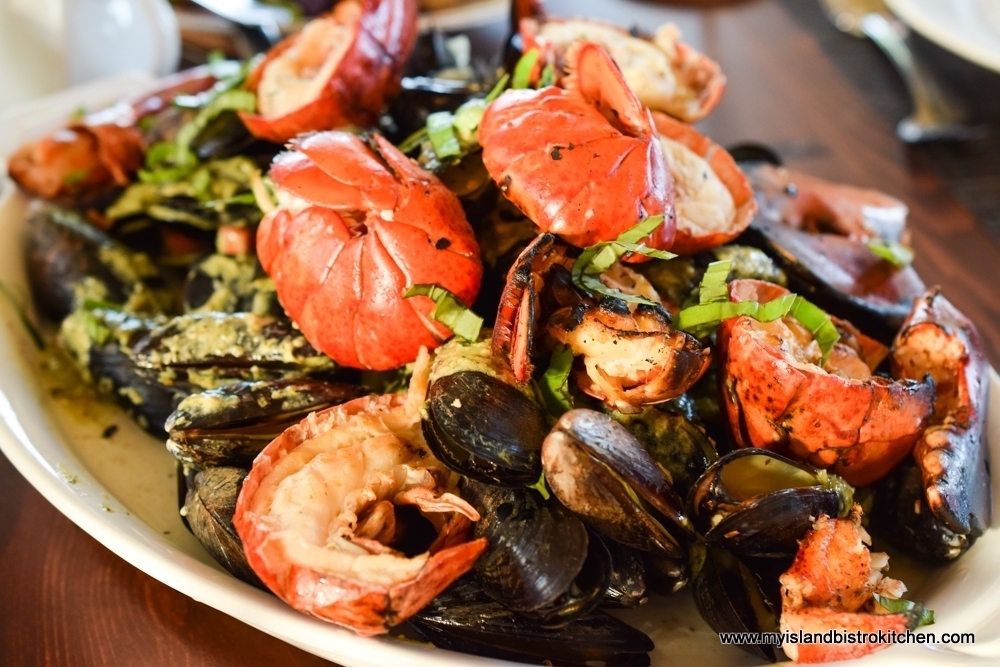
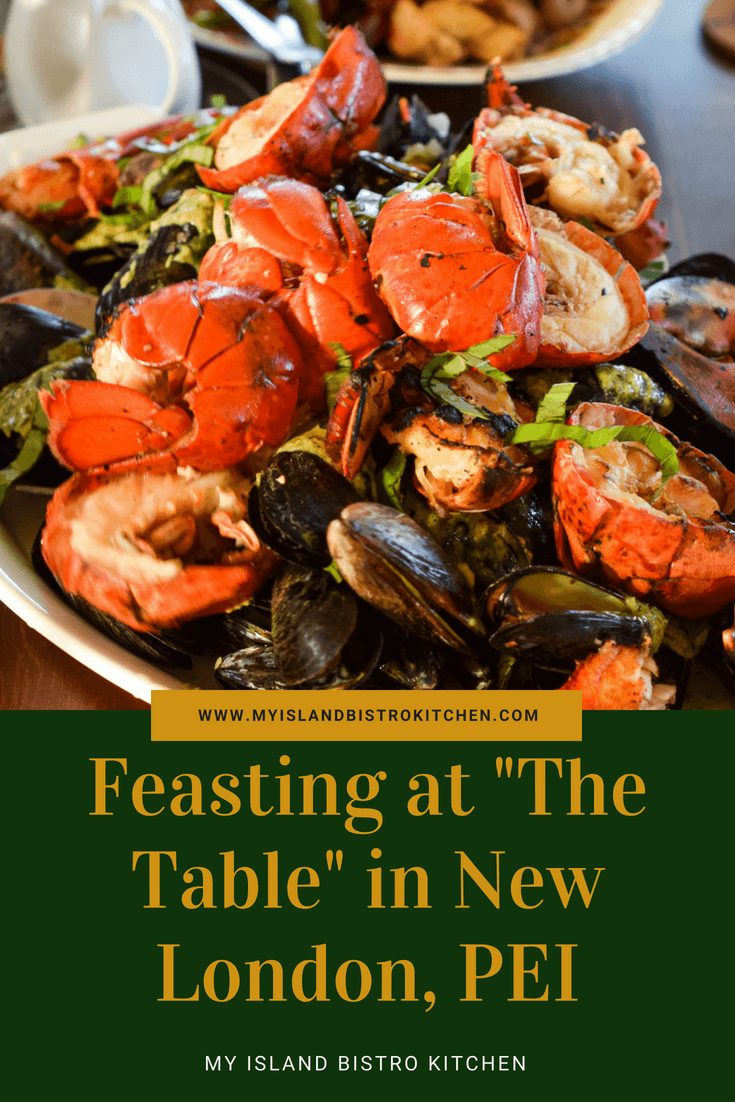
It’s almost bordering on the sacrilegious if either (or both) steamed mussels and oysters are not on the menu for a gathering here in PEI! Yes, we love our seafood! I’ve chosen Island Blue Mussels steamed in Upstreet’s “Rhuby Social” beer (recipe here). Steaming mussels in beer lends a wonderful flavor to the mussels. Easy and quick to prepare, these mussels are a great start to a wonderful meal.
The second appetizer I’ve chosen is the Savory Mushroom and Quinoa Crostini (recipe here). These little morsels are ever-so-tasty. This recipe is easy to reduce or increase in size, depending on the number of guests and either wheat-based or gluten-free baguettes can be used.
The Soup
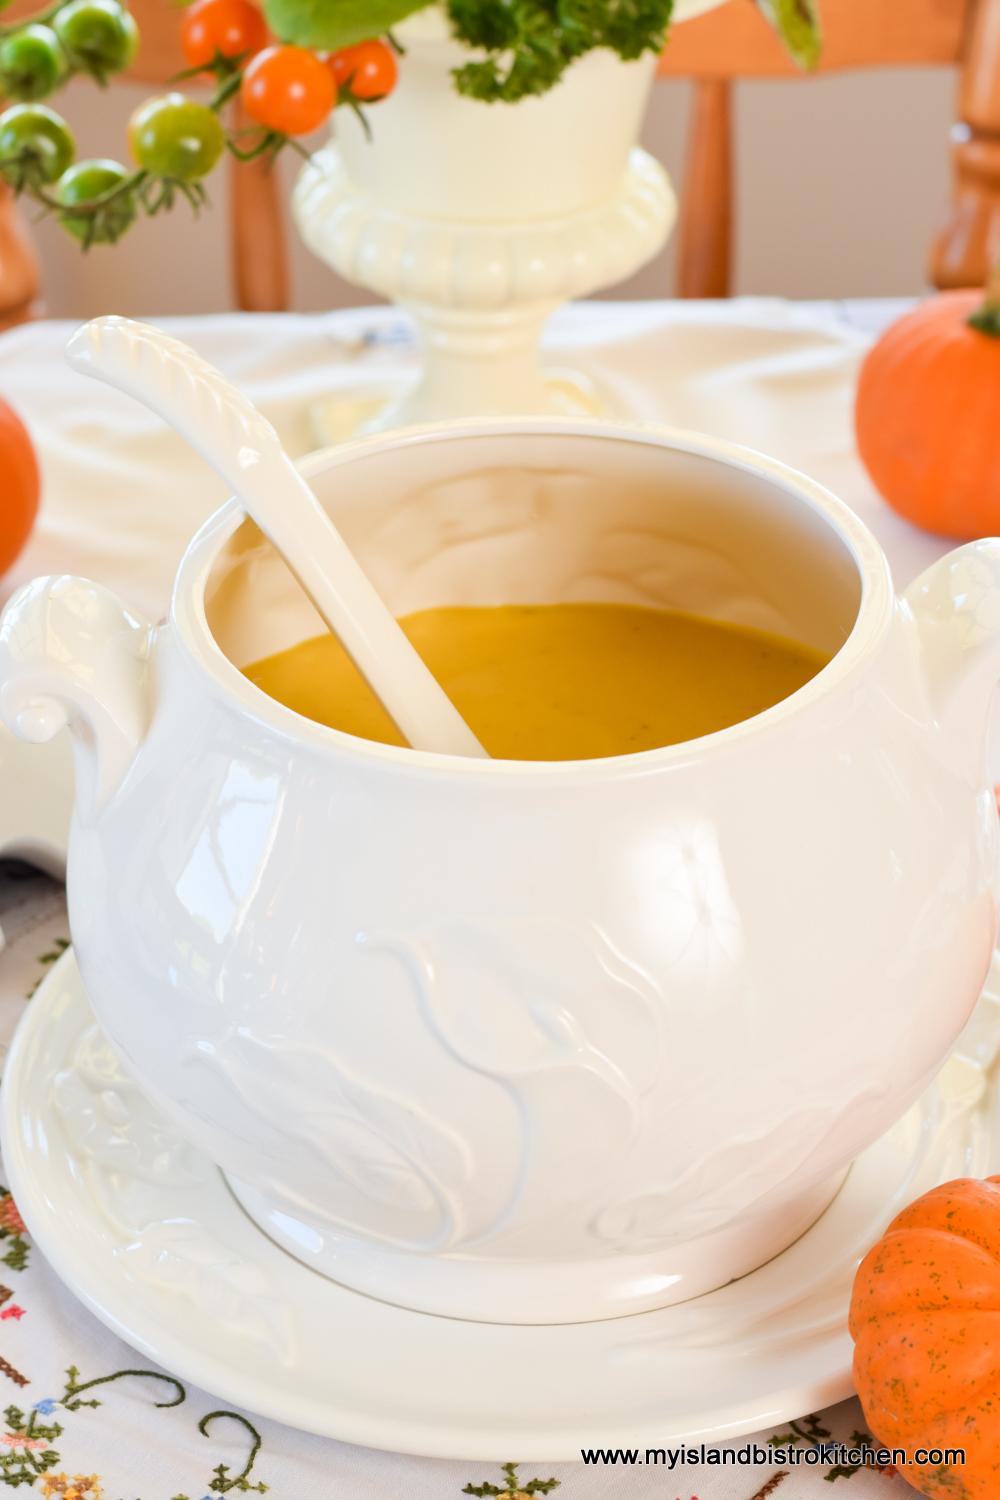
Our Thanksgiving dinner this year starts with Roasted Butternut Squash Soup, a stunning golden yellow soup that is smooth and luxurious and filled with the warm flavors of fall (click here for recipe). This soup is a great way to kick off an autumnal dinner. My recipe for this soup makes 8-10 servings so, if making the soup specifically for Thanksgiving dinner in a small household, the remainder can be frozen for later enjoyment. Alternatively, the soup can be made in advance of Thanksgiving, frozen, and then the number of servings needed thawed and reheated for the dinner. I love when I can do prep work for dinners days ahead as it relieves some of the work and stress on the day of the dinner.
Serving the soup at the table from a soup tureen adds a lovely touch to a special meal or dinner party.
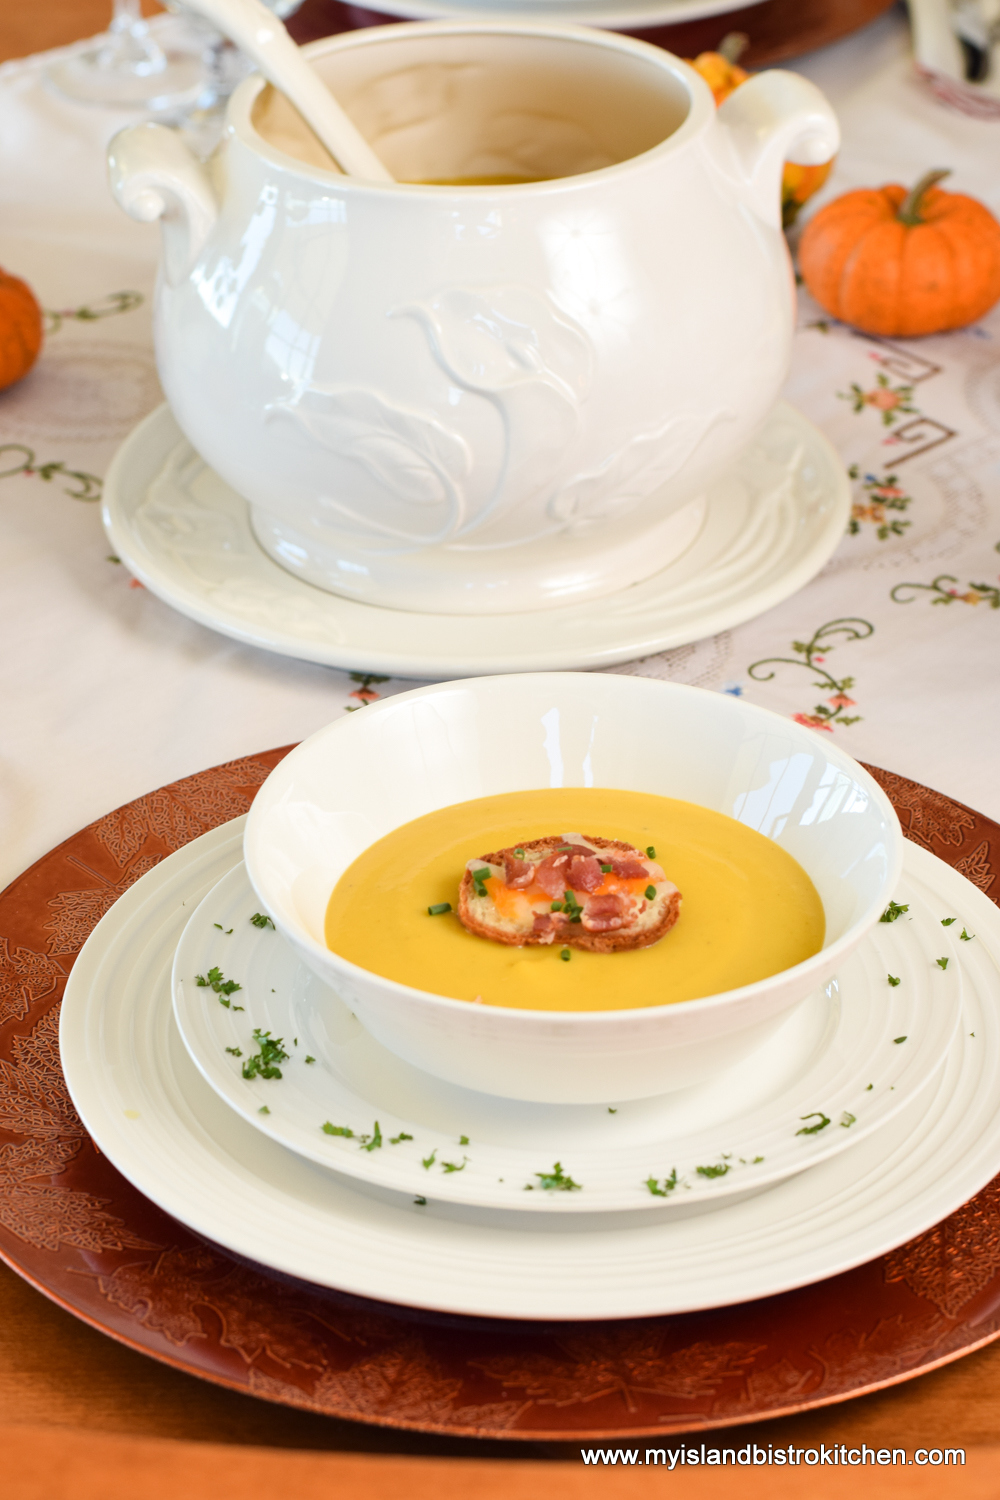
The soup tureen can also serve as a table centerpiece for the soup course.
The Salad
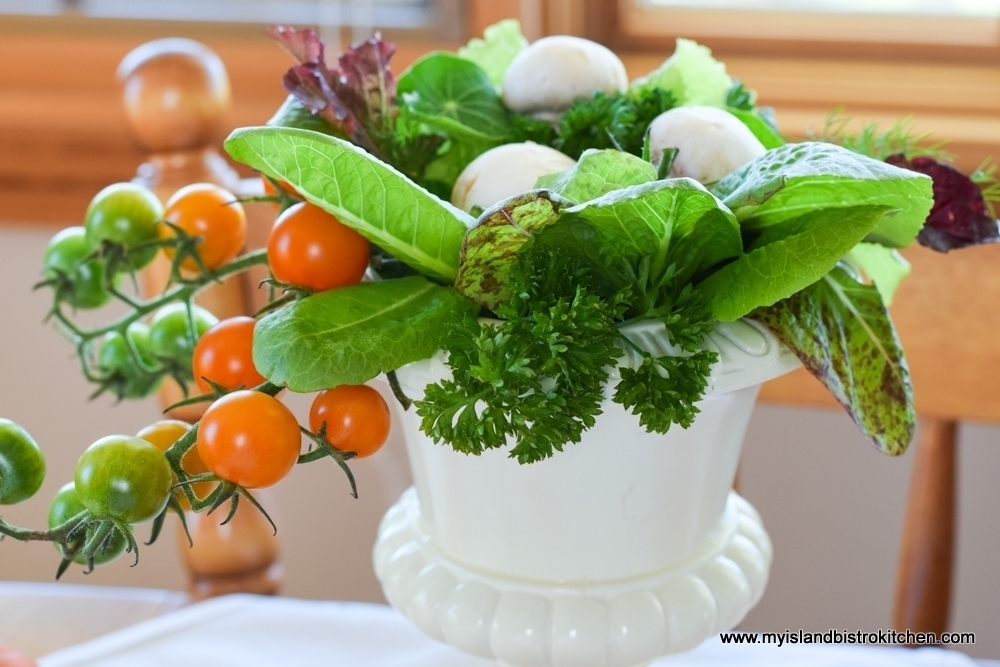
Our garden did fabulously this year. We grow a grand selection of lettuce that usually takes us well into the fall, sometimes until late October. Our one tomato plant with mini tomatoes has literally produced hundreds of tiny orange tomatoes this year. It was a very prolific producer and we have been blessed to have its produce right through to Thanksgiving, even if it meant blanketing it down on frost nights in order to keep it producing.

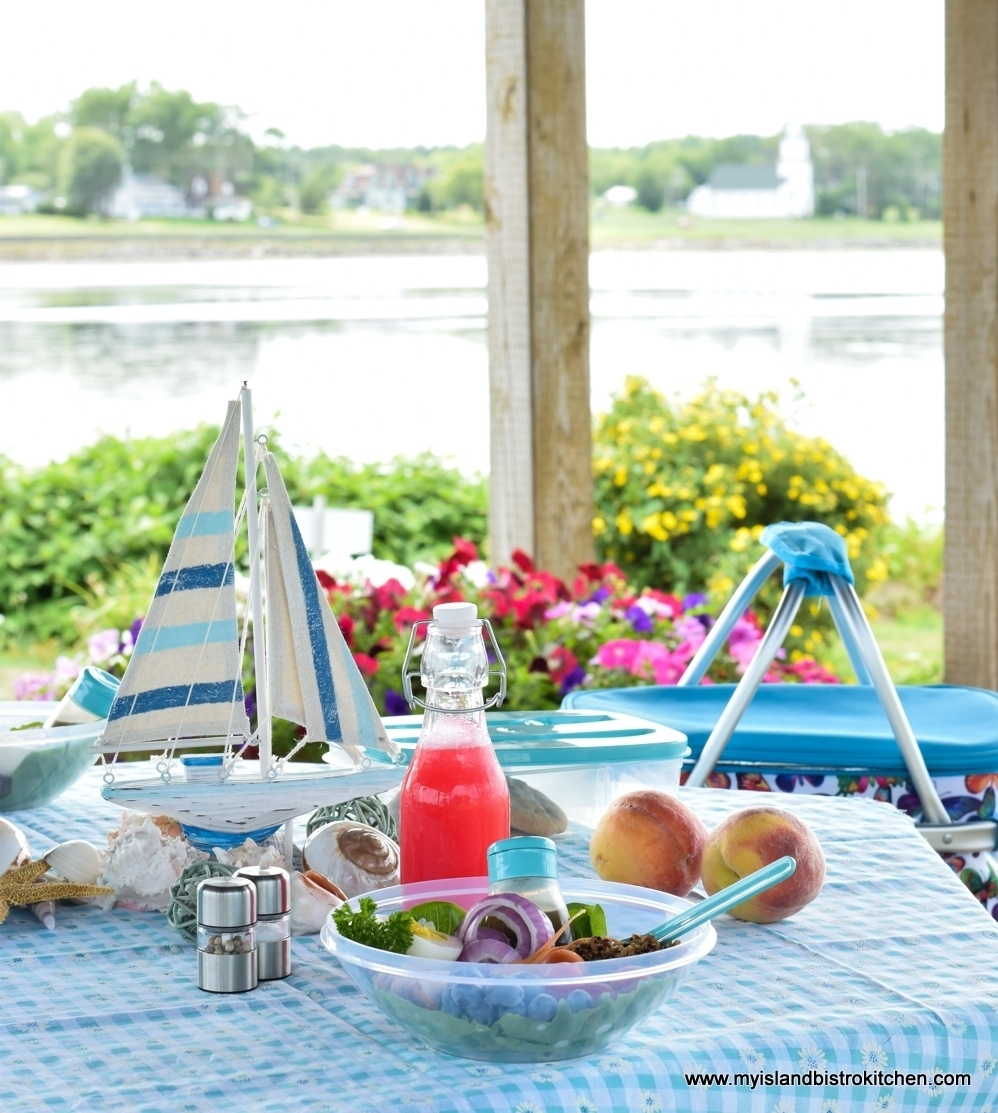
My salad bowl is a small ceramic urn-shaped planter which also serves as the table centerpiece for the salad course. It’s a great conversation piece and it elevates the status of the salad! When using a unique vessel, like this urn, for the salad ingredients to be assembled at the table, opt for few ingredients that can easily be divided between plates. It’s not always necessary to have a multitude of ingredients in a salad, particularly if it is a starter to a meal. In this salad, all I’ve used is a selection of lettuce, tiny tomatoes, and button mushrooms served with a simple raspberry vinaigrette. I like vinaigrettes because they allow the flavour of the vegetables to shine through as they are not masked by a heavy cream dressing.
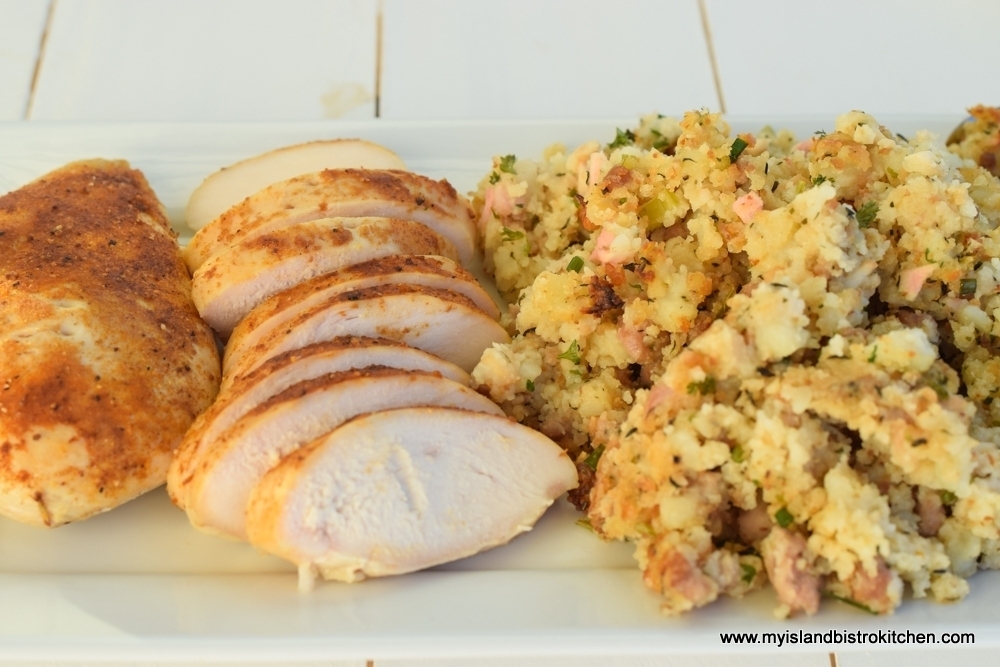
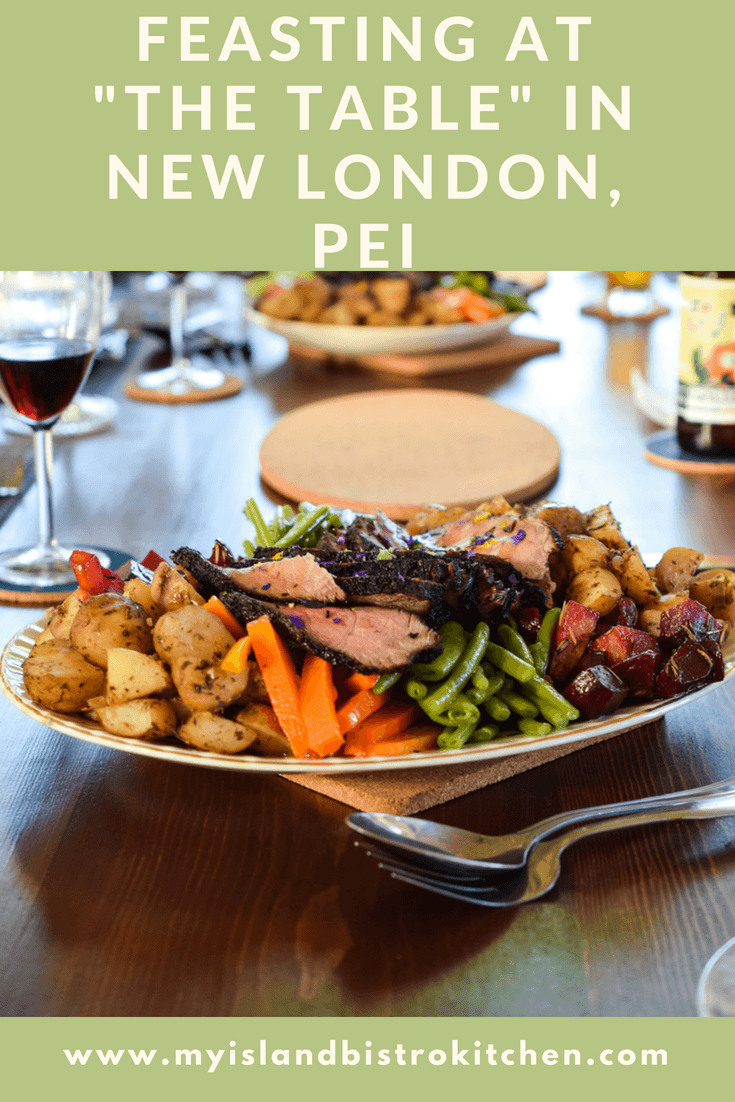
Chicken Breasts
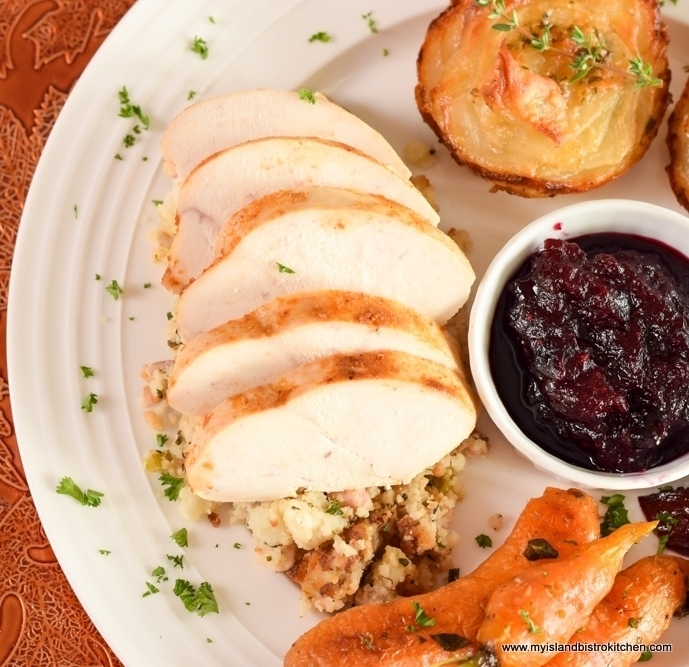
Chicken breasts sometimes get a bad rap for being dry. I think this is because they have not been properly prepared and cooked. I always brine my chicken breasts – it makes such a huge difference in both flavor and texture and no more dried out, stringy chicken. All I do is place the chicken breasts in a salt brine for 1½ – 2 hours, rinse them off, then pat them dry with paper towel followed by a light brushing of some olive oil and a sprinkle of selected dry spices. Then, into my convection oven set at 400°F they go just until they test done on my trusty meat thermometer. The high heat locks in the juices and cooks the chicken fast so it does not get a chance to dry out. The result is perfectly cooked and juicy chicken …. every time. The great thing about boneless skinless chicken breasts is it’s all meat and no waste and they slice beautifully for plating, sandwiches, etc.
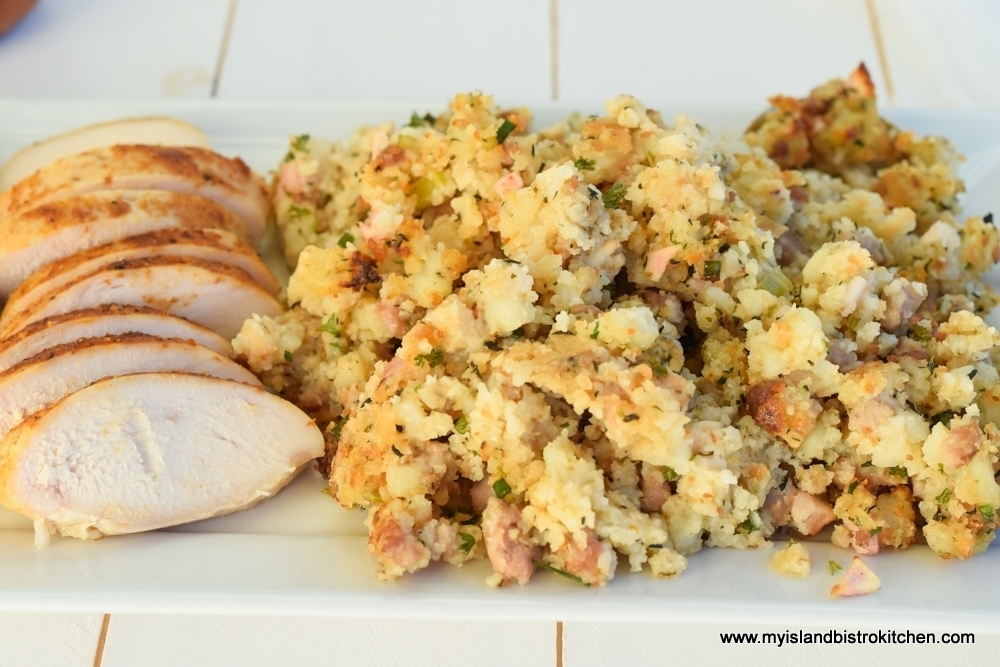
The Dressing
For my Thanksgiving dinner, I have plated the sliced chicken over sausage bread dressing – recipe here. This is not a heavily spiced dressing so it is in keeping with my “lighter” Thanksgiving dinner theme yet it still bows to the tradition of having stuffing/dressing as a side dish at dinner. In fact, I will often make this recipe and freeze it for later use when I am having some kind of chicken dish for a meal. So, this is also something that can be made ahead for this dinner and the dressing can be heated for just a few seconds in the microwave.
The Potatoes
Because this meal is meant to be light, the traditional gravy is absent. This meant I needed to come up with a potato side dish that did not need gravy. These Roasted Potato Stacks (recipe here), are the perfect potato side dish. These are not difficult to make and, with the butter, garlic, herbs, and cheeses, these tasty morsels are simply divine. They bake perfectly in muffin cups and plate beautifully. They are best served fresh from the oven. However, they can be pre-made, roasted, and refrigerated for up to 24 hours then reheated for a few minutes in the oven. So, again, this is a menu item that can be made in advance of the dinner. While my published recipe makes eight potato stacks (serves four), the recipe is easily halved (or, alternatively, make the whole recipe and enjoy leftovers the following day).
The Roasted Vegetables
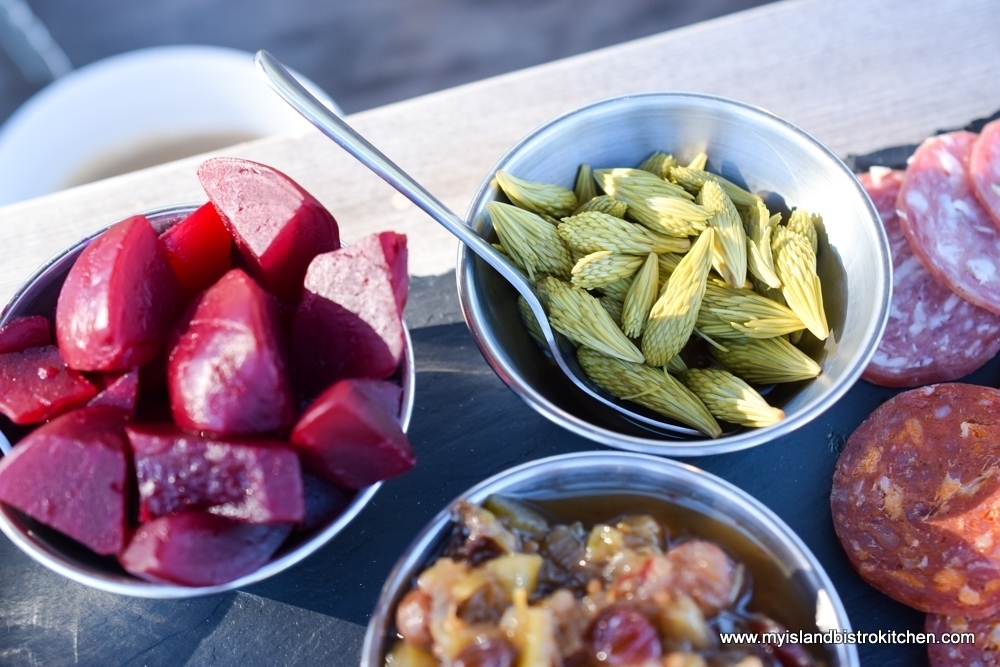
For my vegetable side dishes, I decided to go really local — all the way to our backyard garden! Beets and freshly dug carrots were roasted with herbs in the oven. I love roasted vegetables because their true flavors are evident and no nutrients or flavor are washed down the drain as can be the case with boiled vegetables. The beets were tossed with a spritz or two of raspberry balsamic vinegar and the same of orange juice. The key is not to add too much liquid to the roasted vegetables that would make them soupy or lose their roasted flavor. Both the vinegar and orange juice are just meant to be flavor enhancers so very little is needed.
The Condiment
For the condiment, I’m serving my Cranberry Blueberry Sauce. This sauce is a beautiful deep burgundy-plum color and combines two complementary flavors. The tartness of the cranberries is enhanced by the sweetness of the high bush blueberries. Click here for my recipe.
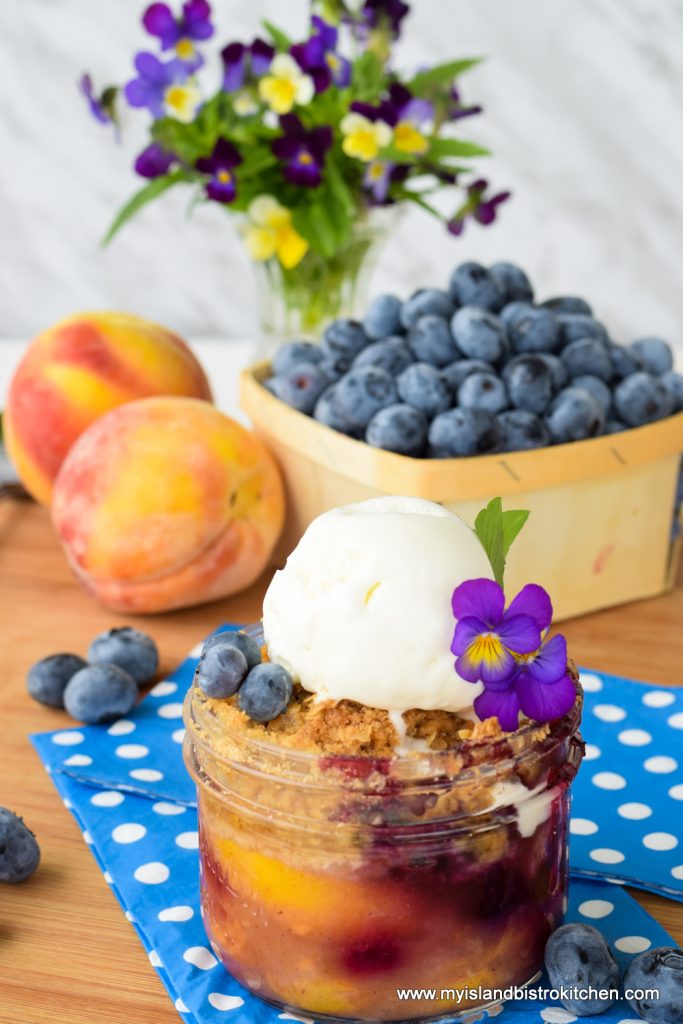
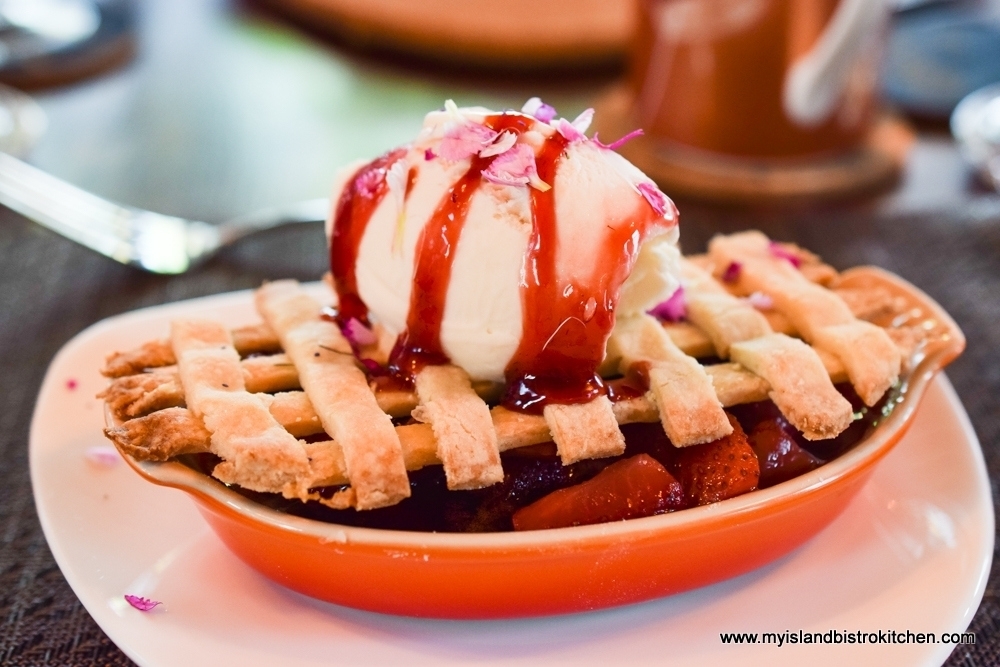
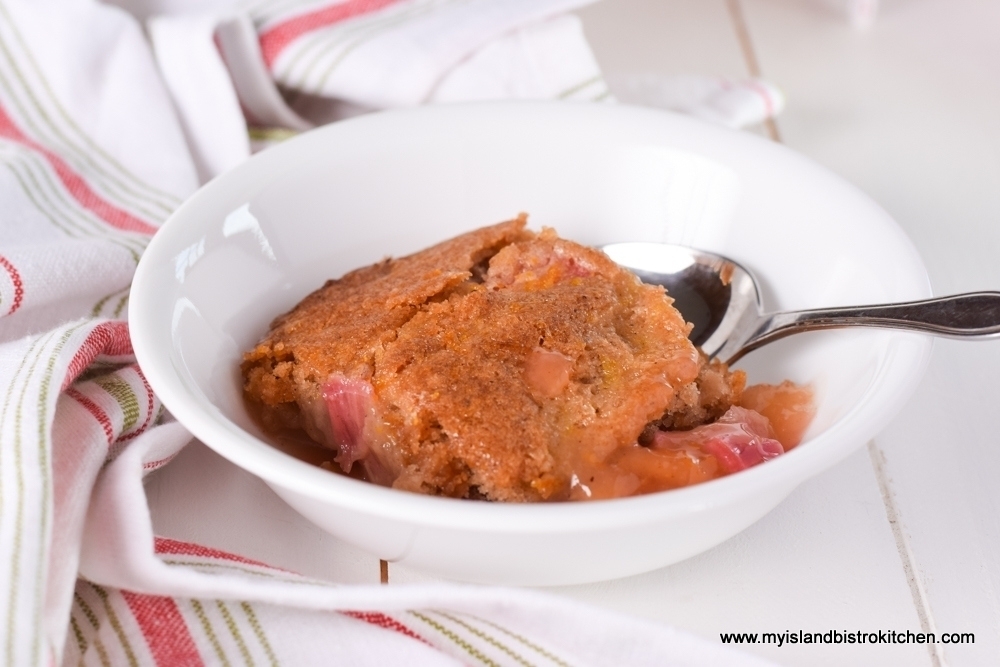
The Dessert
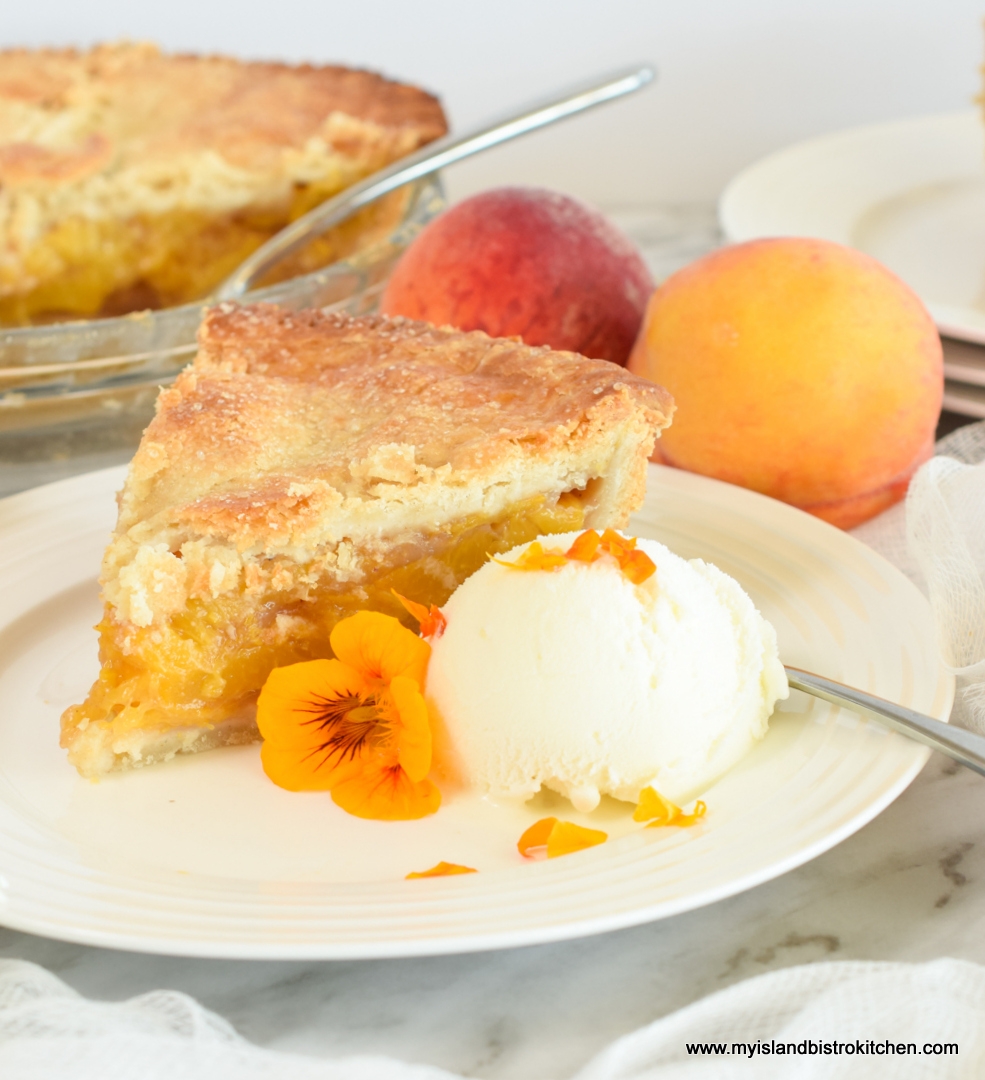
To bring one of the quintessential fall flavors into the menu, I am serving Apple-Maple Bread Pudding with Maple Sauce (recipe here). Both the pudding and the sauce freeze well for later use and both can be made ahead of the dinner, thawed, and reheated for dessert.

The Wine Pairing
The wine I’ve paired with this meal is Clean Slate, a 2016 Riesling from Mosel, Germany, an affordable wine that appeals to a variety of tastes. When selecting the wine for this meal, I considered the menu items, both individually and collectively. Thanksgiving dinner plates tend to have a variety of foods with flavors that span the spectrum from sweet (Cranberry-Blueberry Sauce) to the moist and gently spiced (Sausage Bread Dressing) to the herbed and roasted (the vegetables) to the slight saltiness (brined chicken breast). With that variety, it can be a challenge to select one wine that will temper and balance all the flavors and cleanse and refresh the palate between bites so that the true flavors of each of the foods can be enjoyed.
A Riesling wine is a great choice because it has low alcohol content with lots of palate-refreshing acidity along with a slight touch of sweetness to balance and complement the variety of flavors.
So, whether you’re looking for inspiration for a Thanksgiving dinner with a lighter fare, one that is suitable for smaller households, or for an autumnal-themed dinner party, this menu is scalable to virtually any number, big or small. All recipes referenced can be found on My Island Bistro Kitchen’s website, a one-stop destination for recipes for a tasty fall dinner.
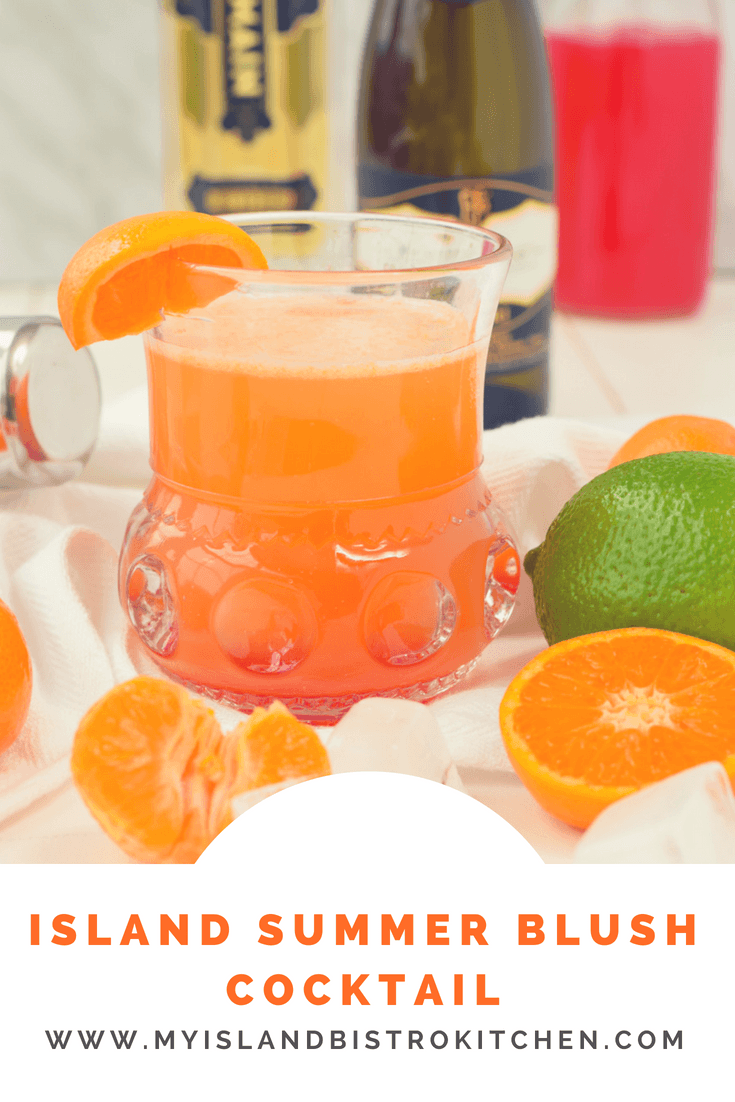
Pin Me To Pinterest!