I love my herb garden and being able to snip fresh herbs whenever I need them. I miss them in the winter. One way that I preserve some of my summer herbs for use throughout the rest of the year is to freeze them in olive oil in ice cube trays making what I call “Herb Cubes“. Continue reading Herb Cubes – A Way to Preserve Herbs for Winter Use→
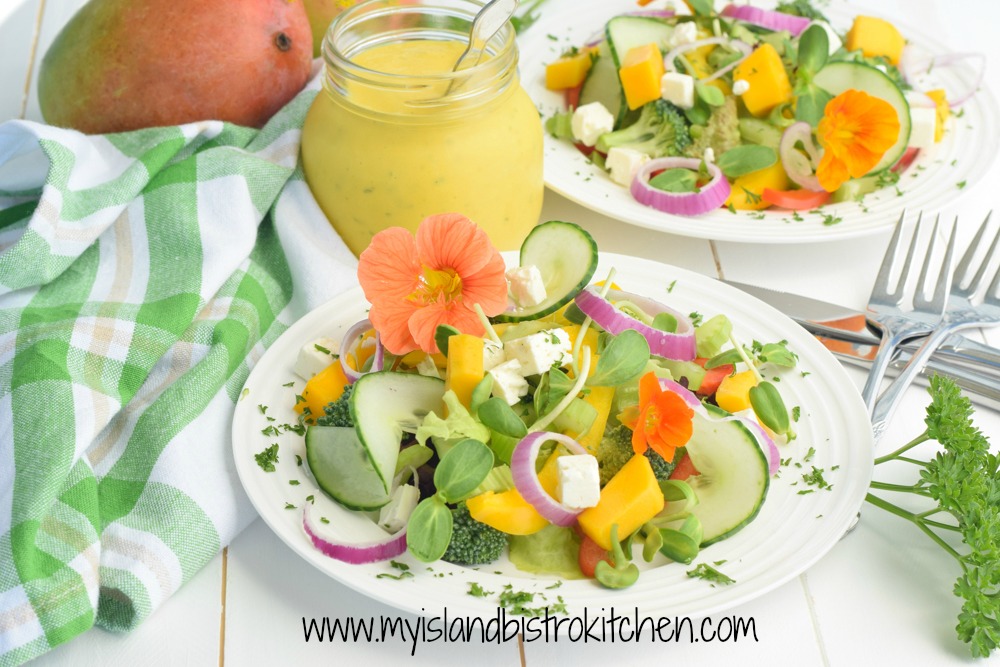
Salads are a big part of our diet, especially in the summer and early fall when we eat from our garden and, this year, my go-to recipe has been this delicious Mango Salad Dressing which, I must admit, I eat like candy! It is lusciously smooth, bright colored, and has a lovely flavor that complements many different kinds of salads. Continue reading Mango Salad Dressing Recipe→
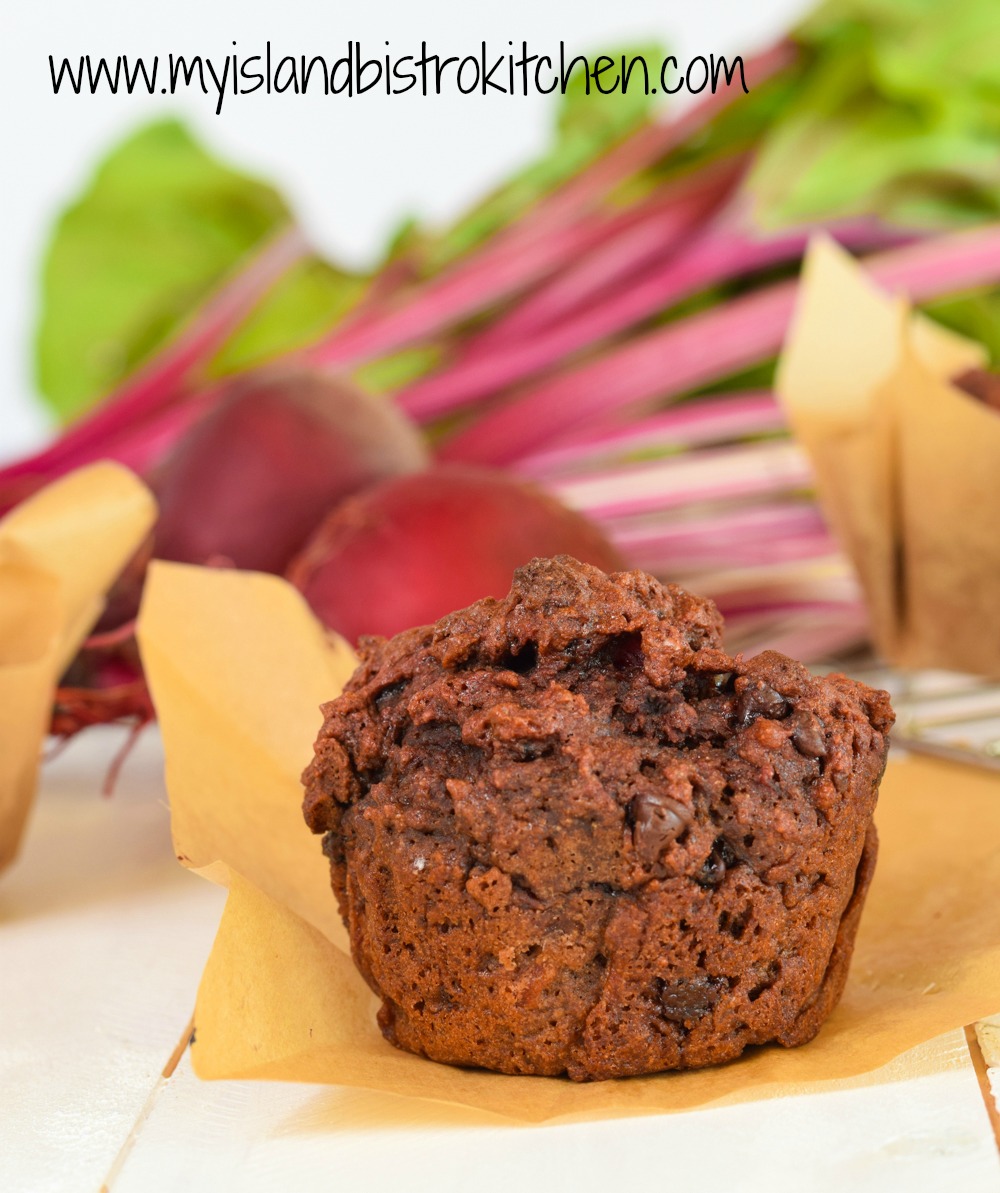
We have all heard of carrot muffins and don’t think twice about including the carrot vegetable into baked goods. What is less commonly heard of is the use of beets for the same purpose. Today, I am sharing my newly-created and tested recipe for Deli-style Gluten-free Beet Muffins which are moist and packed full of wonderful flavor. This is definitely in the category of “don’t knock it till you’ve tried it“! Continue reading Deli-style Gluten-Free Beet Muffins→
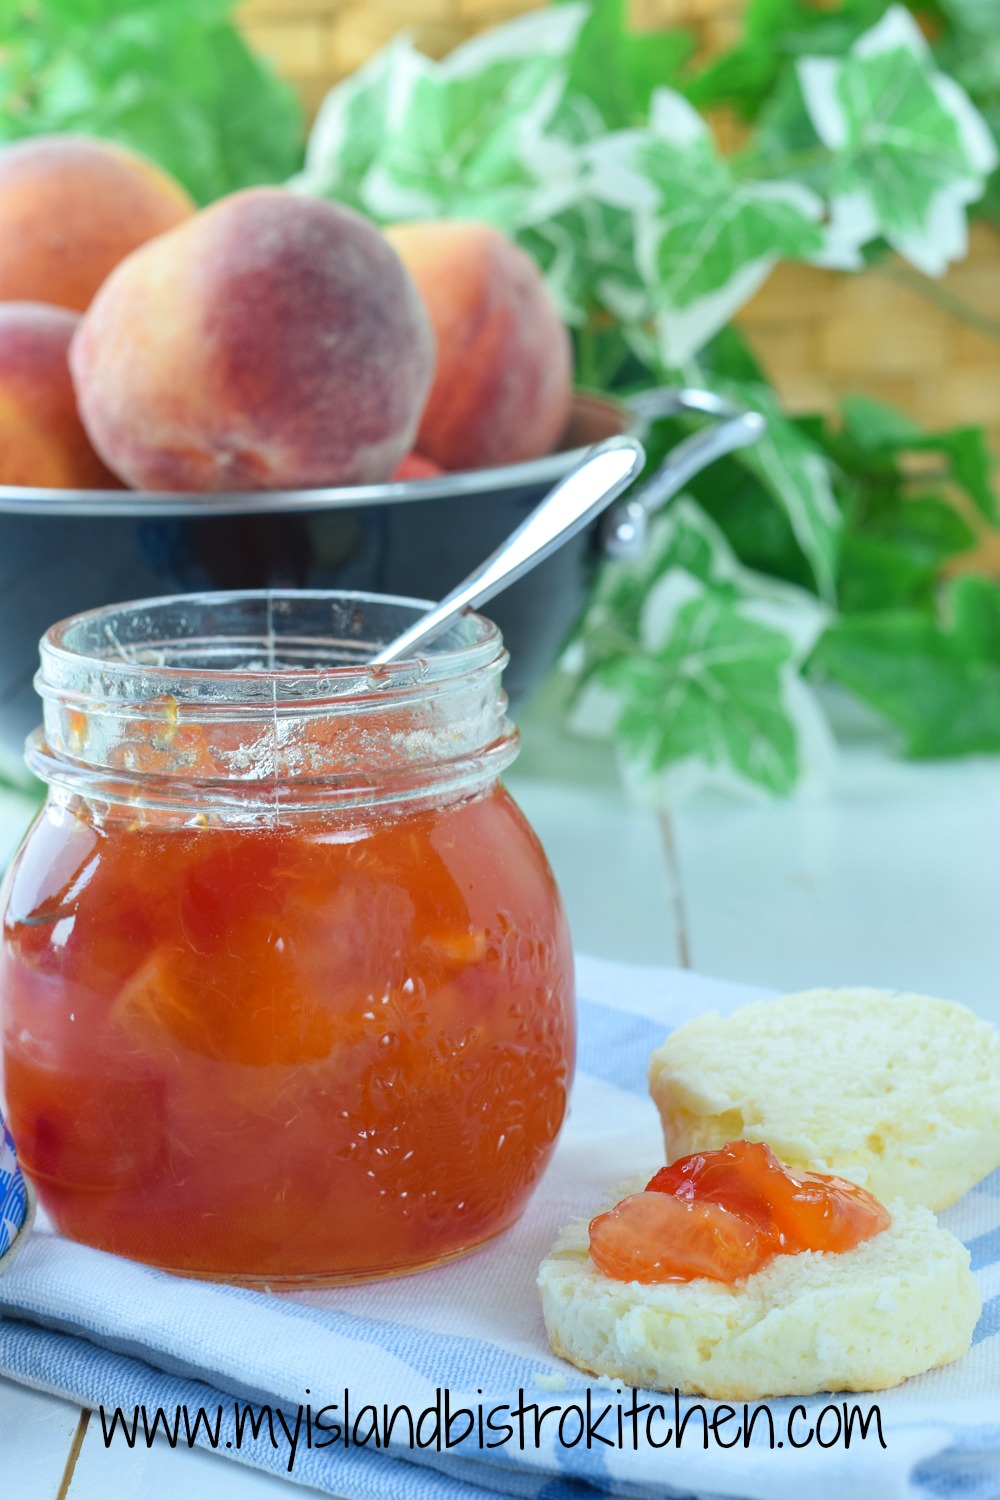
For as long as I can remember, Peach Marmalade has been part of our family’s pantry of preserves. Today, I am sharing my recipe for this delicious marmalade which is lovely on toast, biscuits, and scones. Continue reading Perfect Peach Marmalade Recipe→
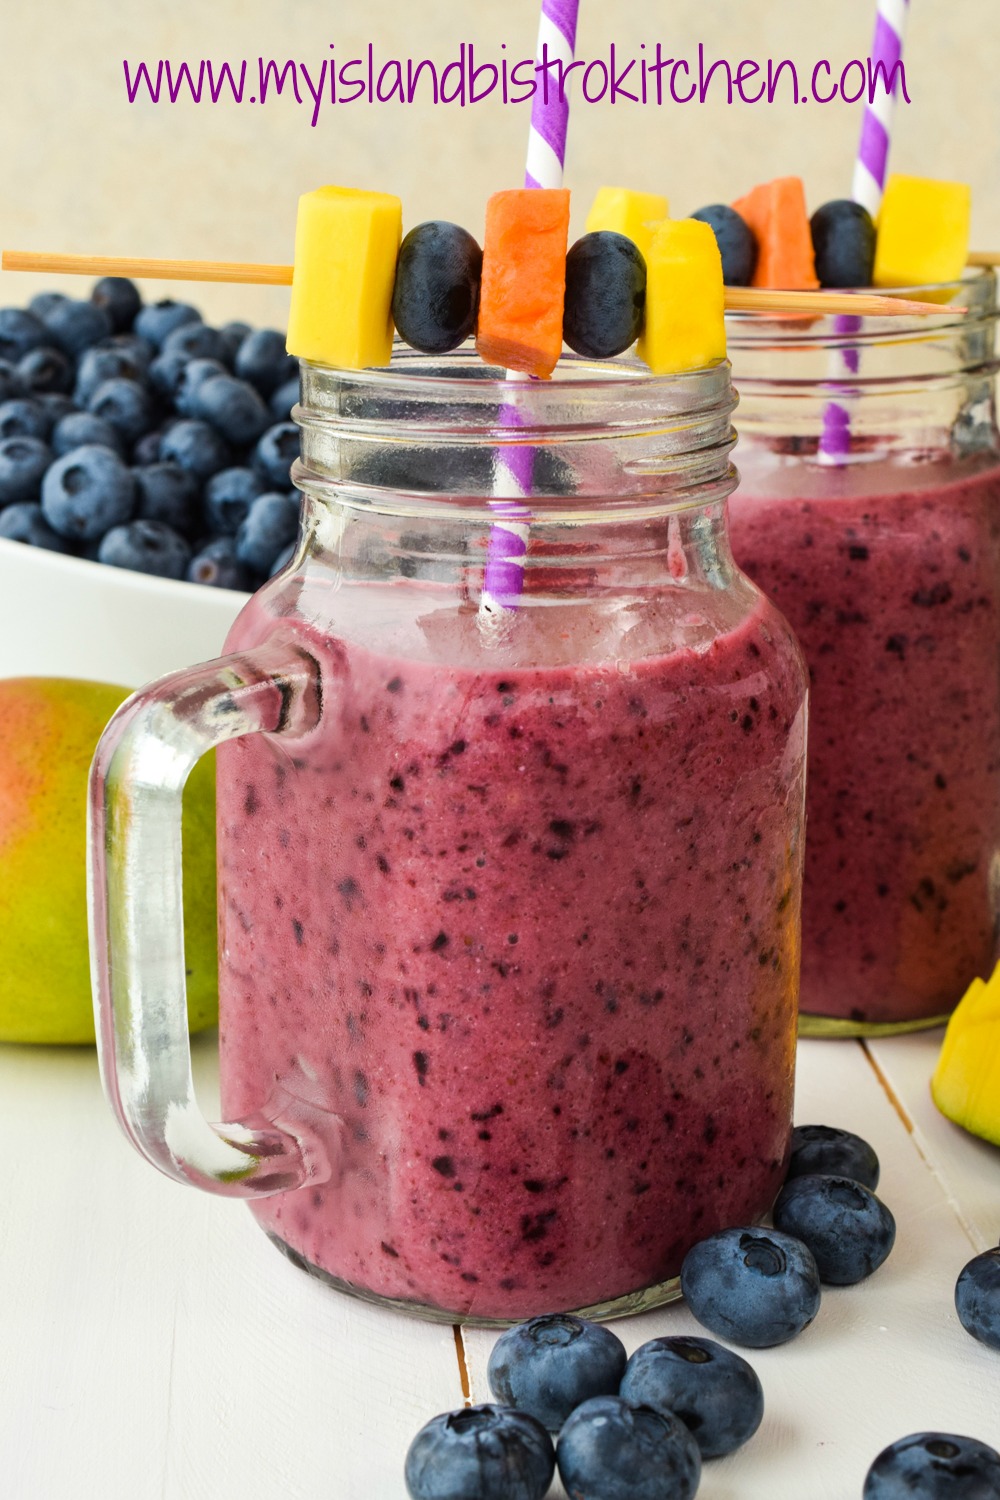
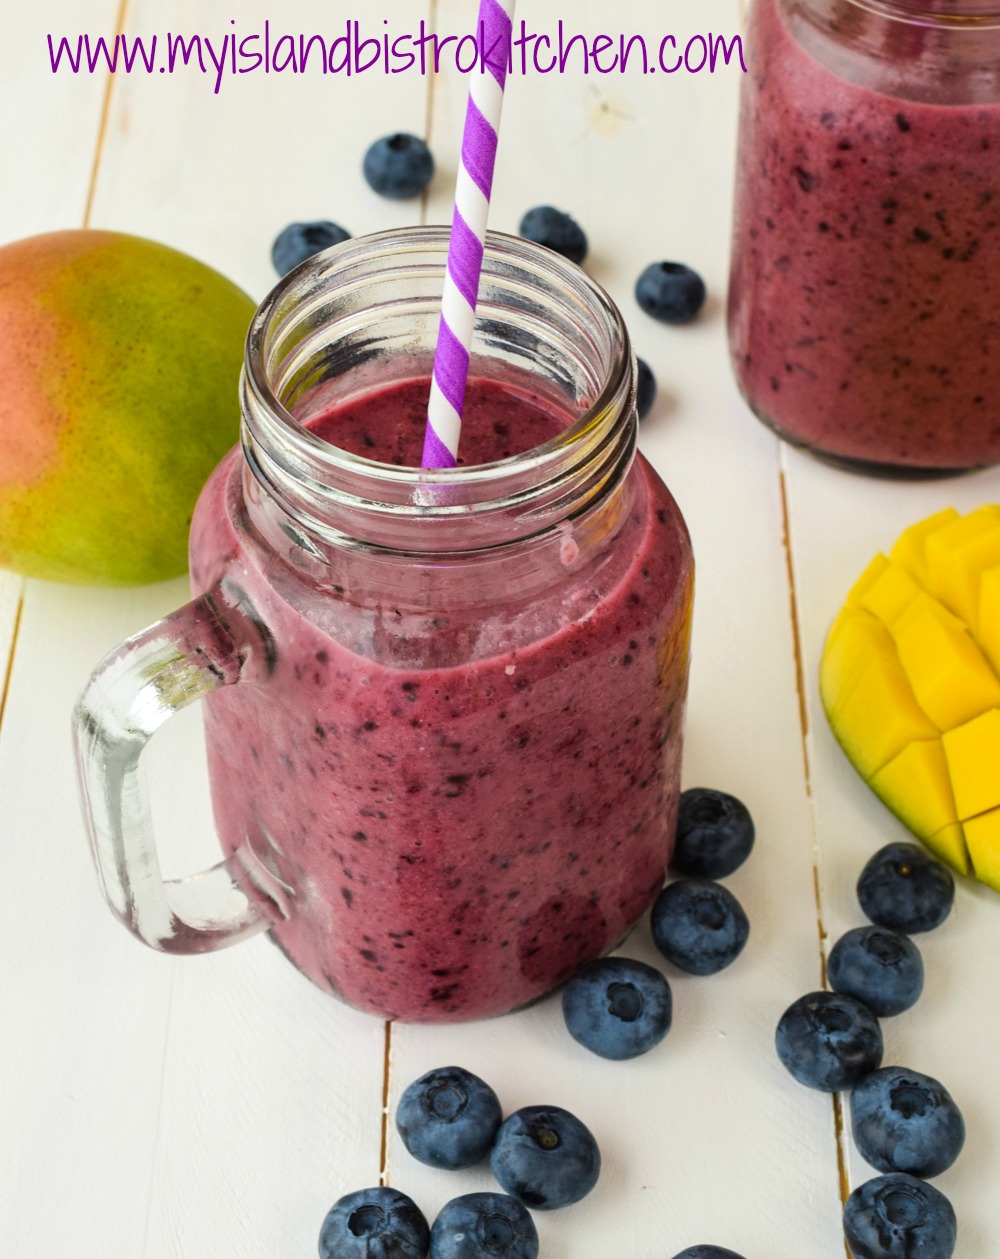
Smoothies are such a great and tasty way to eat fruit and yogurt, making them healthy choices. And, they are very filling. They are great for breakfast, summer barbeques, as a transportable breakfast-on-the-go, or just anytime as a nutritional drink.
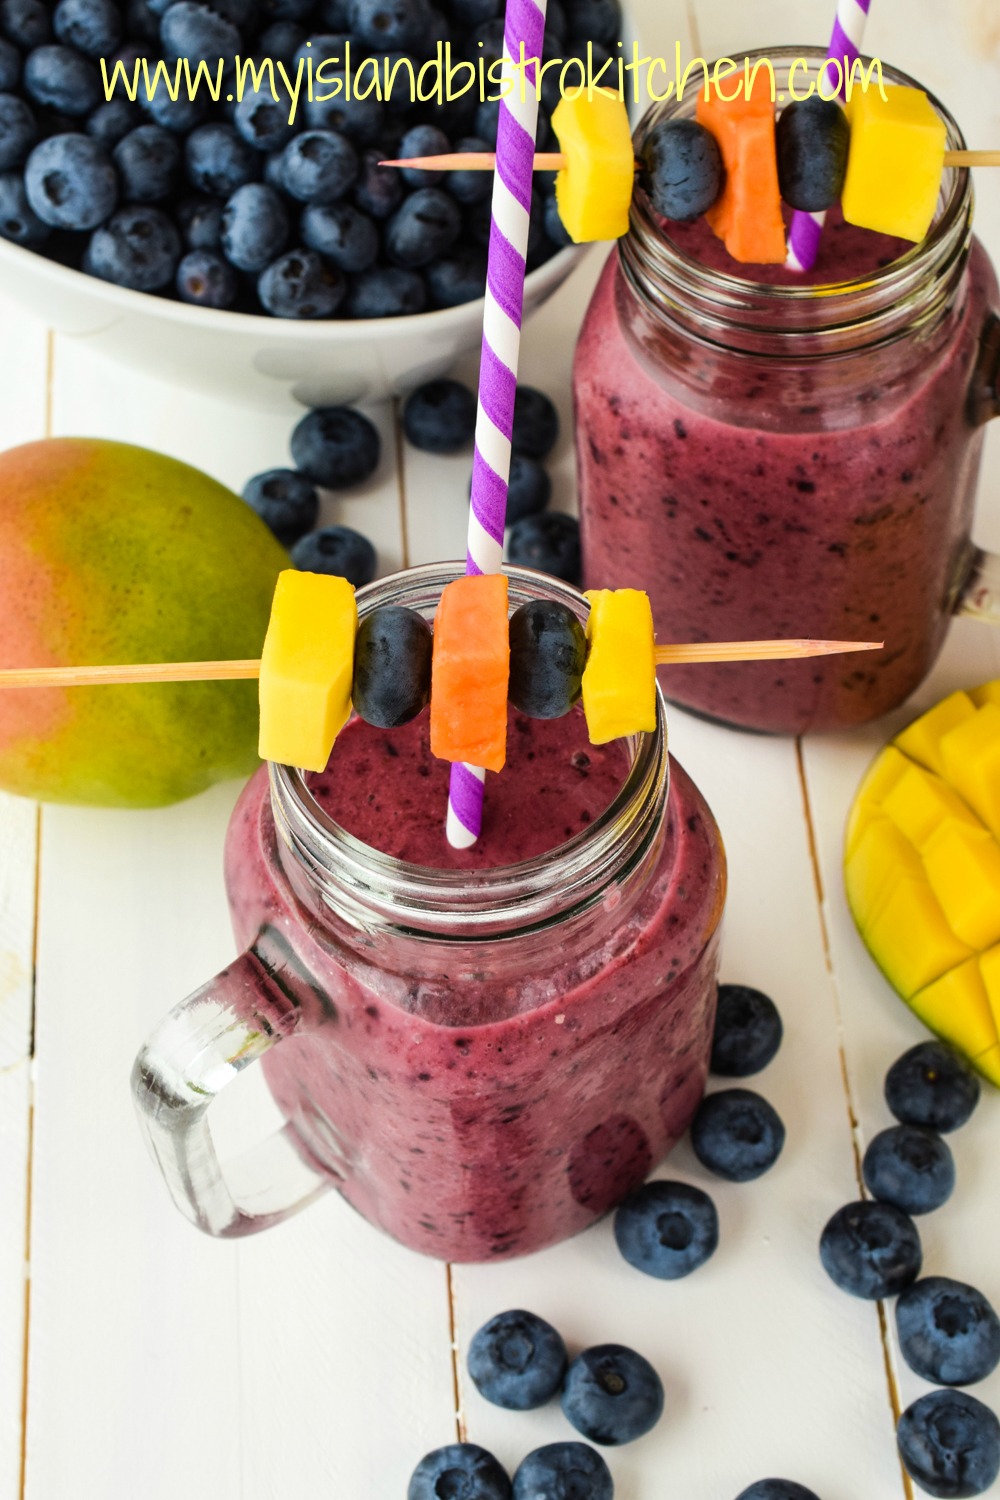
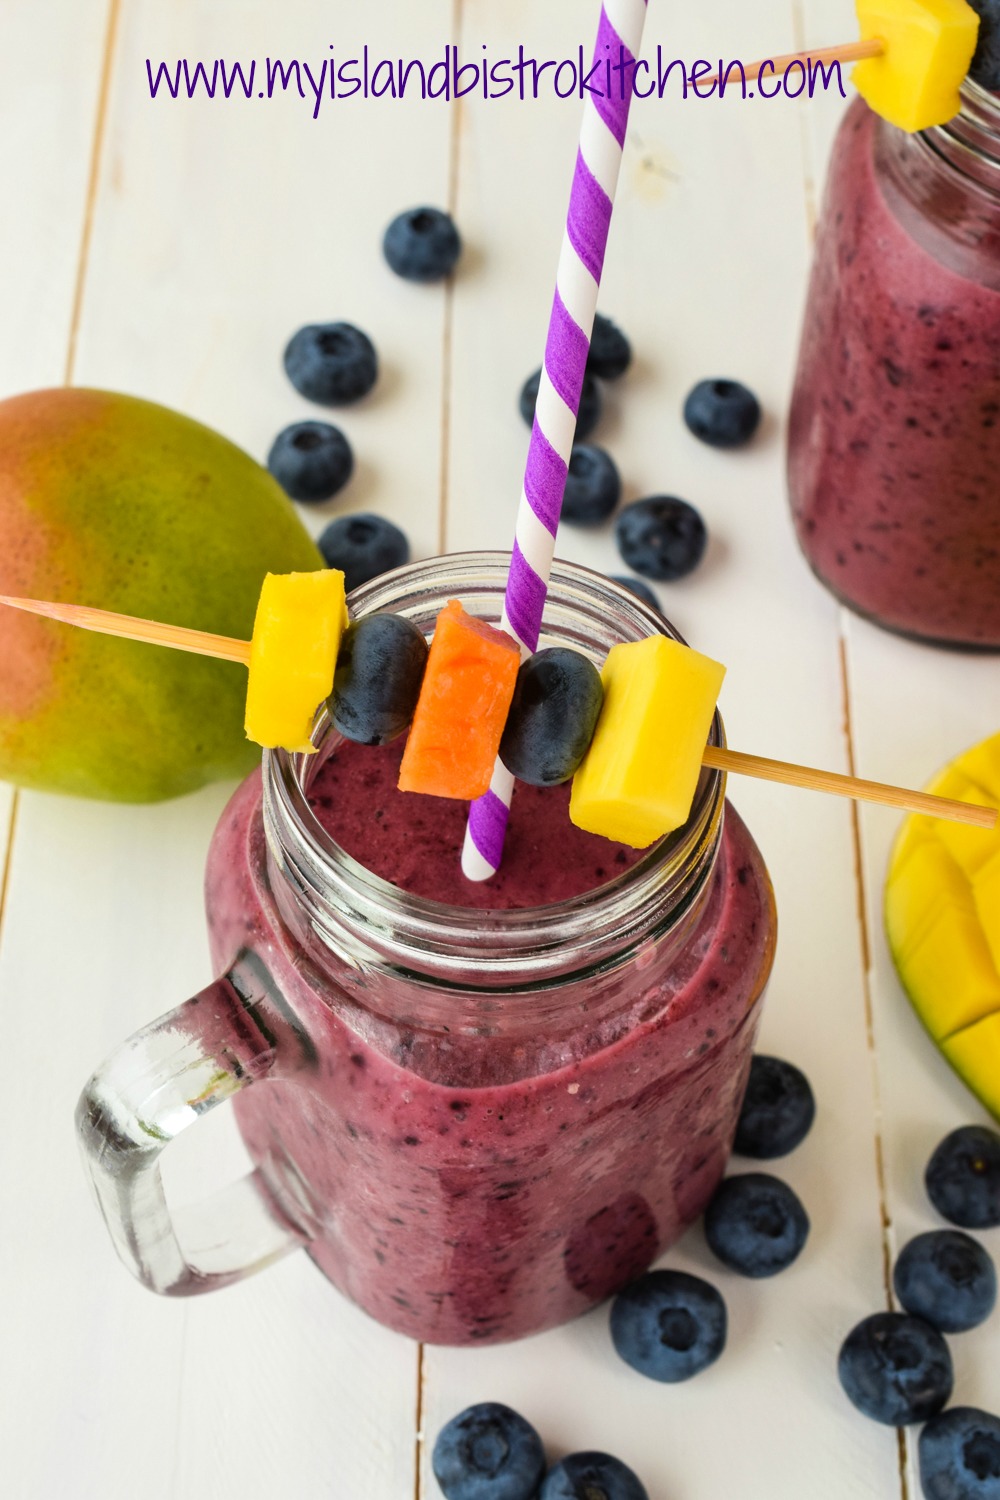
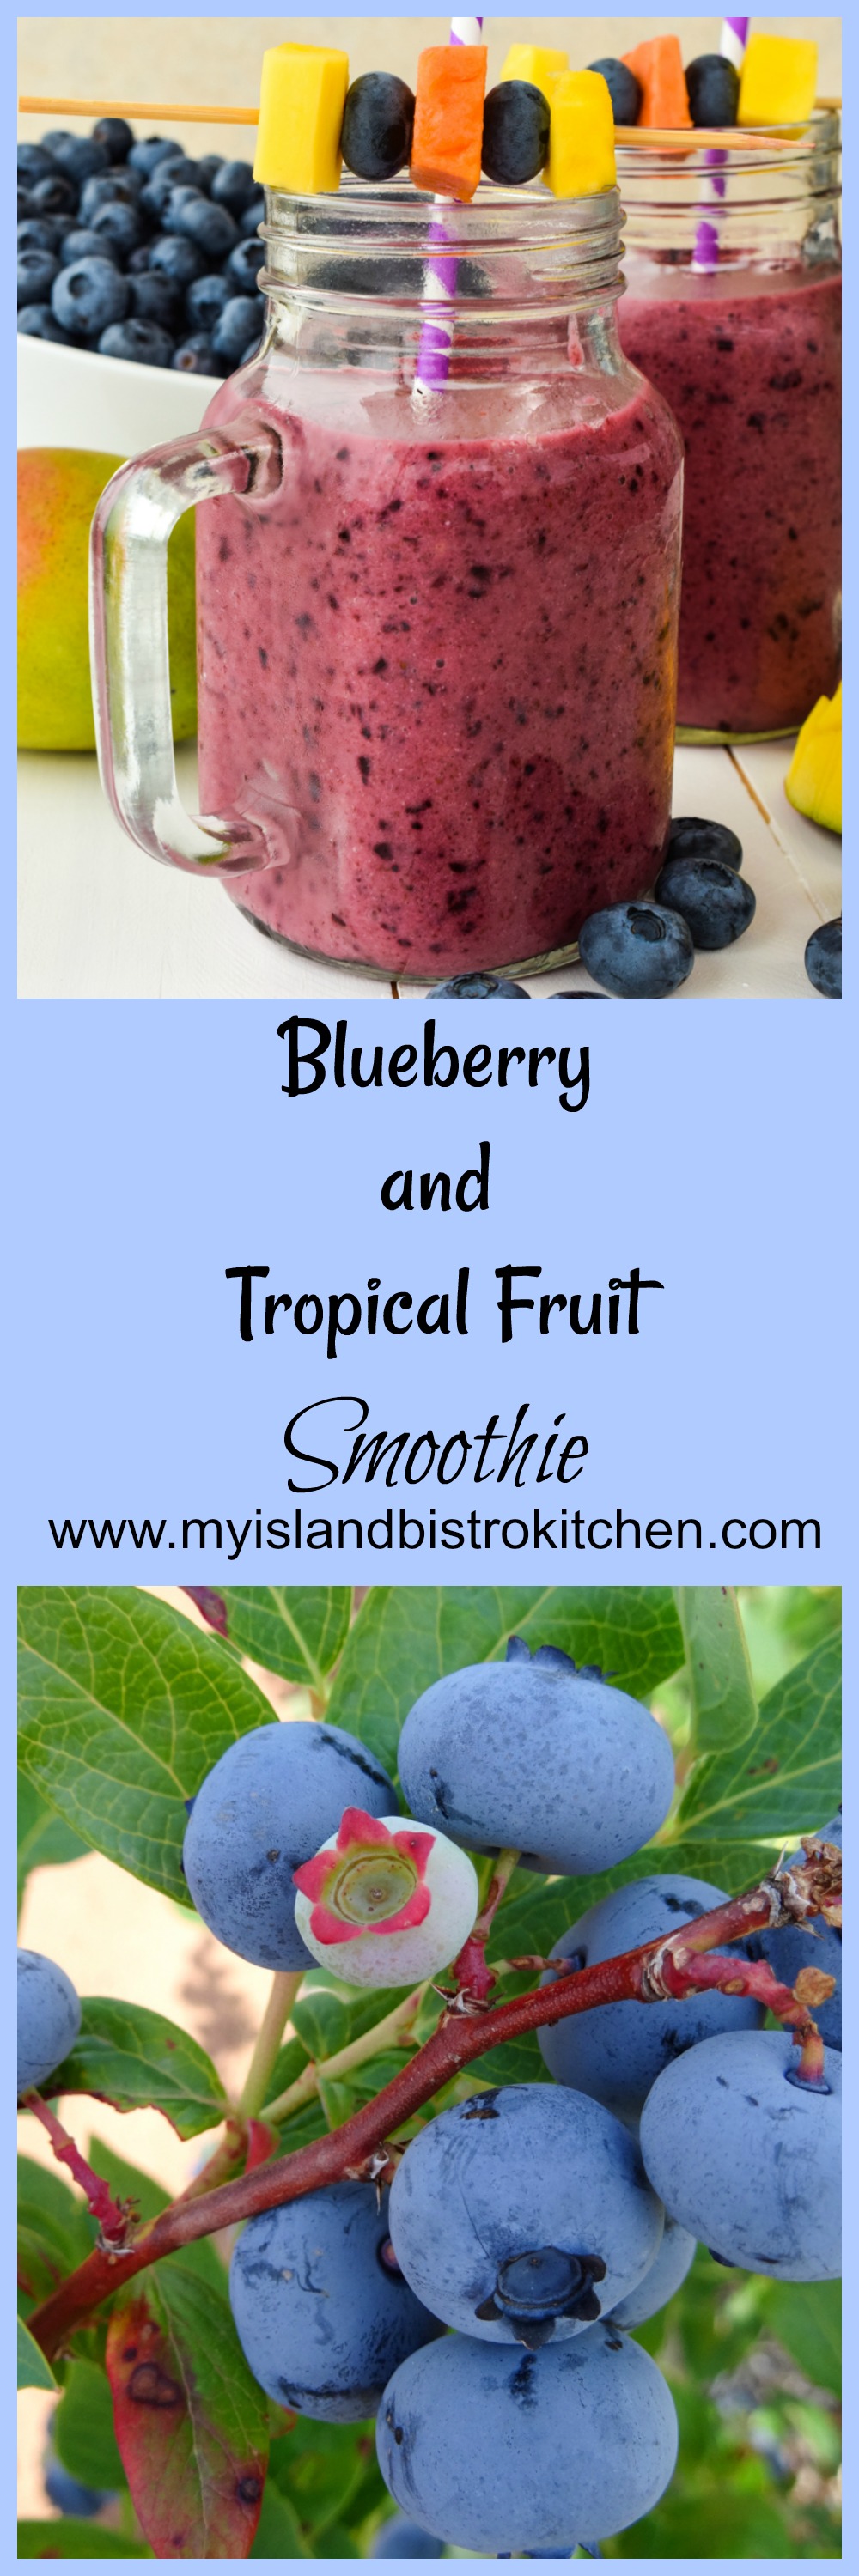
Blueberry and Tropical Fruit Smoothie
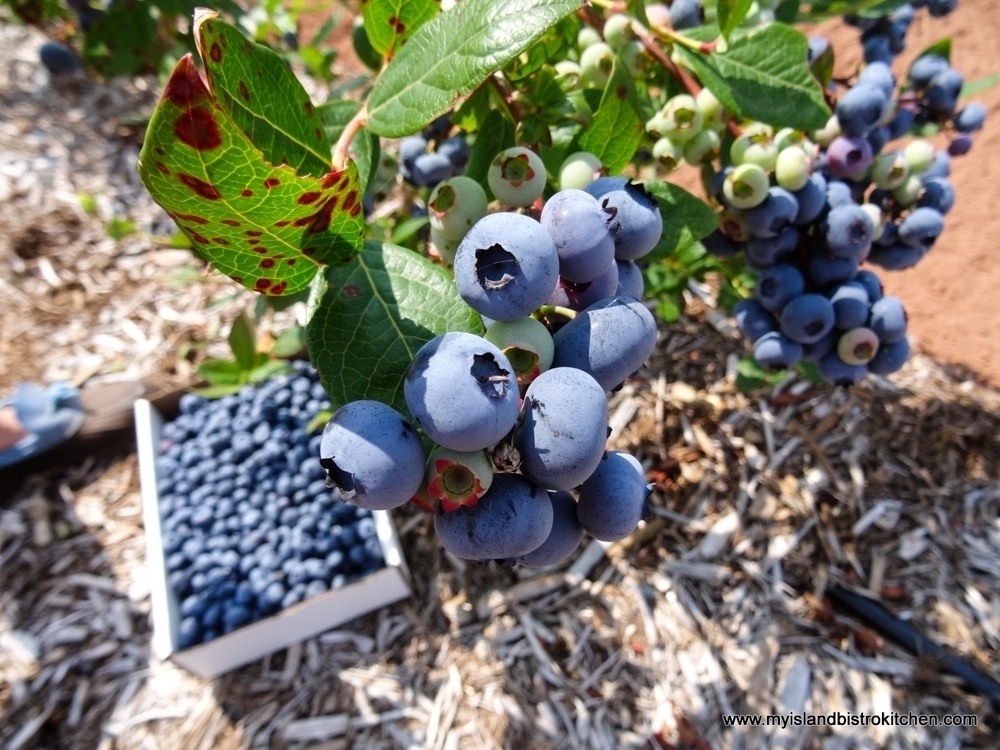
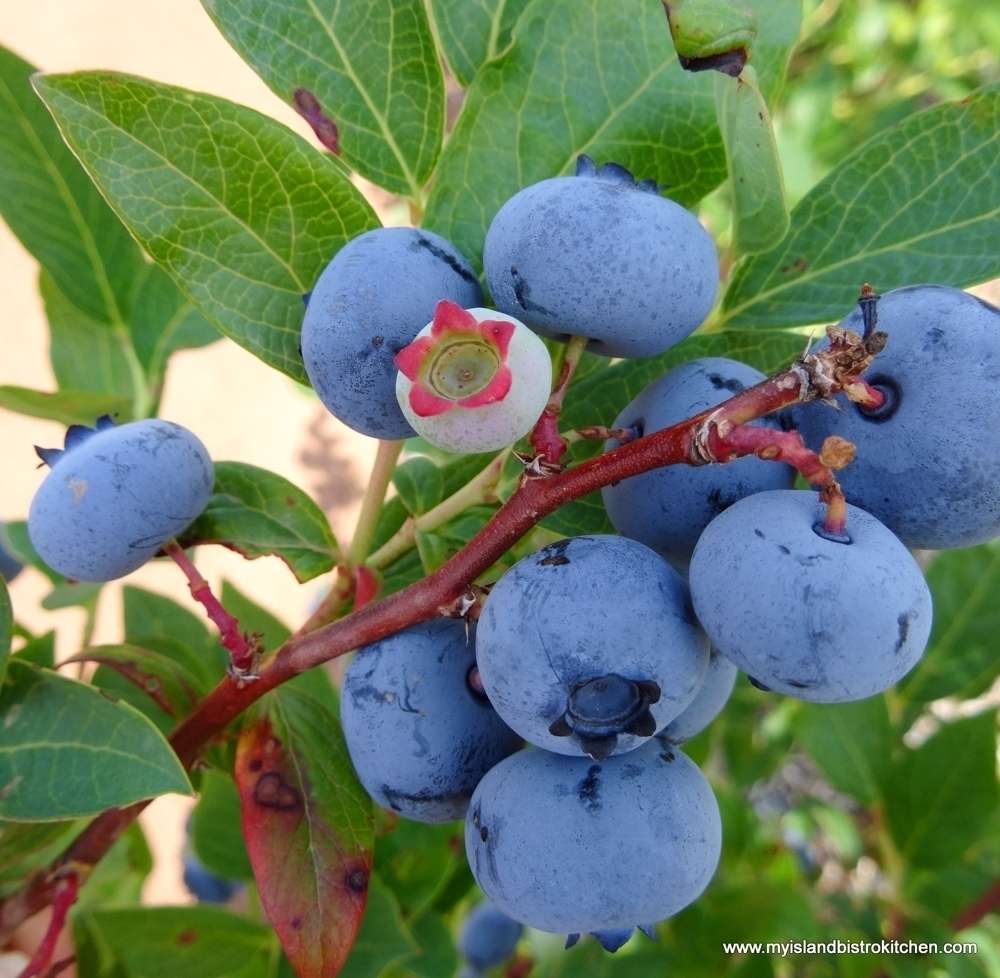
I am not far from Tryon Blueberries U-Pick, a high bush blueberry farm in central PEI and, when they are in season, I have a steady diet of these blueberries.
High Bush Blueberries
I freeze a quantity of them for use in smoothies throughout the year.
High Bush Blueberries
Basically, any fruit you like can be combined into a smoothie. For this recipe, I have chosen to feature the local blueberries but I also add in some other fruits that pair particularly well with blueberries. These include mango, papaya, and banana. The great thing about smoothies is that they can be made with fresh or frozen fruits. I often bag up fruits when they are in season locally and freeze them in just the right sized portions for smoothies. This makes it quick and easy to prepare the smoothies which is great because, as we all know, if something is overly laborious, well….it often just does not happen.
Blueberry and Tropical Fruit Smoothie
Smoothies are so easy to make. A blender or smoothie maker is needed for this recipe. Simply combine all the ingredients into the blender and process the mixture until desired smoothness is reached.
For sweetener, I use 2 tablespoons of pure maple syrup. This natural liquid sweetener blends better than sugar. Reduce the amount of maple syrup if you like a less sweet drink. I also add in about 1 1/2 tablespoons of ground chia seeds. Whole chia seeds may be used but the ground seeds make for a smoother drink and are a better alternative for those who can’t easily digest seeds. Chia is loaded with good health benefits like fibre, omega 3 fats, protein, vitamins, and minerals.
Blueberry and Tropical Fruit Smoothie
The yogurt I have used in this smoothie is a Mediterranean-style lavender yogurt. Lavender pairs very well with blueberries. Don’t be put off by this flavor thinking it will be like perfume. This yogurt is very gently flavored with lavender and it is not at all strong in either the lavender flavor or scent. It does, however, add a subtle layer of flavor to the smoothie. Plain Greek-style yogurt can, of course, be substituted but, if the lavender yogurt is available in your area, I recommend giving it a try.
Blueberry and Tropical Fruit Smoothie
Any kind of fruit juice can be used in this smoothie. I have made it with plain orange juice which is very good but it is super tasty if made with a mango-citrus blend of juice or a tropical fruit juice. If possible, I try to add juice that has the flavor of at least one or more of the fruits I am blending into the smoothie. I don’t add any ice cubes to this smoothie because I find they can dilute the flavor. Make sure the fruit juice is good and cold and the smoothie will be just the right temperature for drinking without adding any ice.
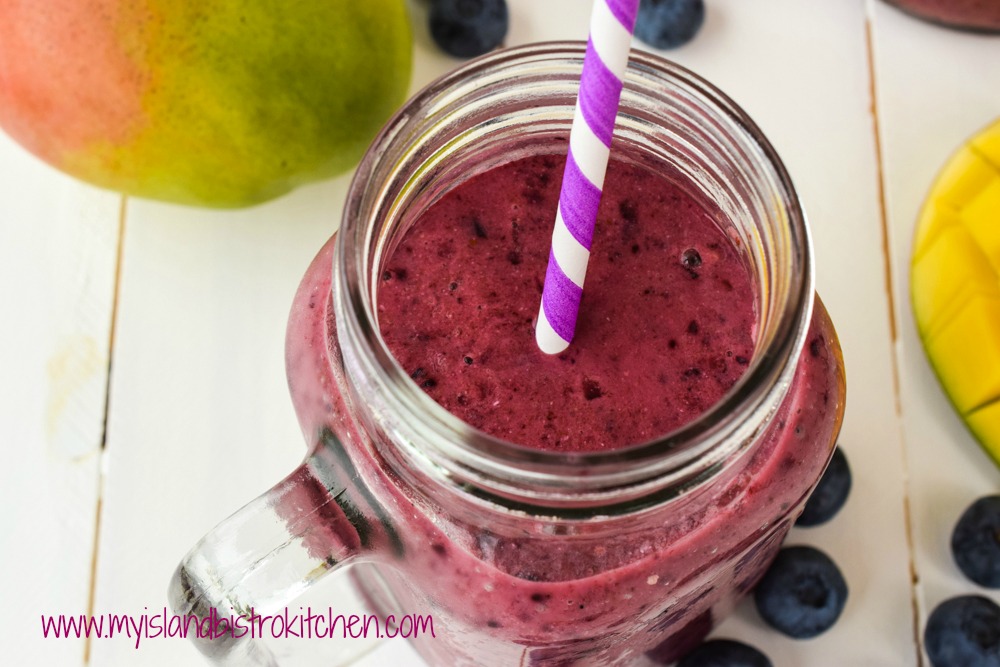
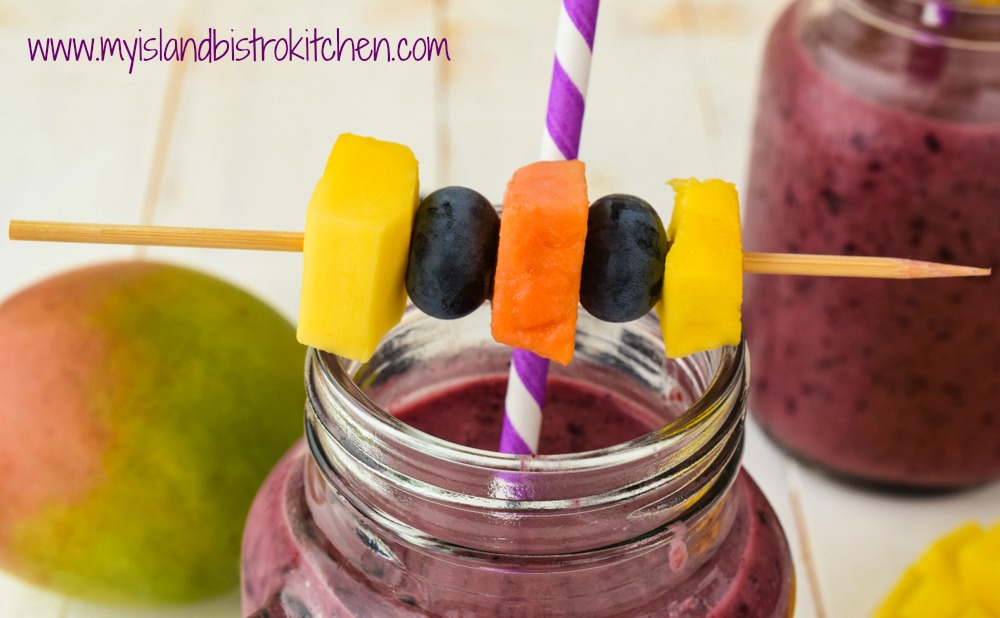
Garnishes are optional but they do dress up the smoothie. If using garnishes, choose fruits that are in the smoothie as I have done here with the blueberries, mango, and papaya.
Blueberry and Tropical Fruit Smoothie
This smoothie recipe will yield approximately 4 cups which is about two good servings or, for smaller portions, four 1-cup servings are possible. This really is a meal in a glass – it provides servings of fruit, yogurt, and liquid content. This smoothie is best served as soon as it is made because it has banana in it and it can produce quite a strong flavor if left to sit and it can take over and become the predominant flavor in the drink.
[Printable recipe follows at end of posting]
Blueberry and Tropical Fruit Smoothie
Ingredients:
1 2/3 cups fruit juice (e.g., mango-citrus, orange juice, etc.)
1½ cups high bush blueberries (fresh or frozen)
½ cup mango, coarsely chopped (fresh or frozen)
½ cup papaya, coarsely chopped (fresh or frozen)
½ large banana, sliced
½ cup Mediterranean-style lavender yogurt (or plain Greek-style yogurt)
2 tbsp maple syrup
1½ tbsp ground chia seeds
Method:
Combine all ingredients, in order given, in blender and process until well blended and smooth. Pour into glasses. Garnish with skewer of fresh blueberries, mango, and papaya. Serve immediately.
Kickstart your day with this super tasty blueberry and tropical fruit smoothie made with lavender yogurt and mango-citrus fruit juice
Ingredients
1 2/3 cups fruit juice (e.g., mango-citrus, orange juice, etc.)
1½ cups high bush blueberries (fresh or frozen)
½ cup mango, coarsely chopped (fresh or frozen)
½ cup papaya, coarsely chopped (fresh or frozen)
½ large banana, sliced
½ cup Mediterranean-style lavender yogurt (or plain Greek-style yogurt)
2 tbsp maple syrup
1½ tbsp ground chia seeds
Instructions
Combine all ingredients, in order given, in blender and process until well blended and smooth. Pour into glasses. Garnish with skewer of fresh blueberries, mango, and papaya. Serve immediately.
For another refreshing blueberry drink, try thisrecipefor Blueberry Lemonade
If you have made this recipe and enjoyed it and/or wish to share it with your friends and family, please do so on social media but be sure to share the direct link to this posting from my website.
Connect with My Island Bistro Kitchen on Social Media
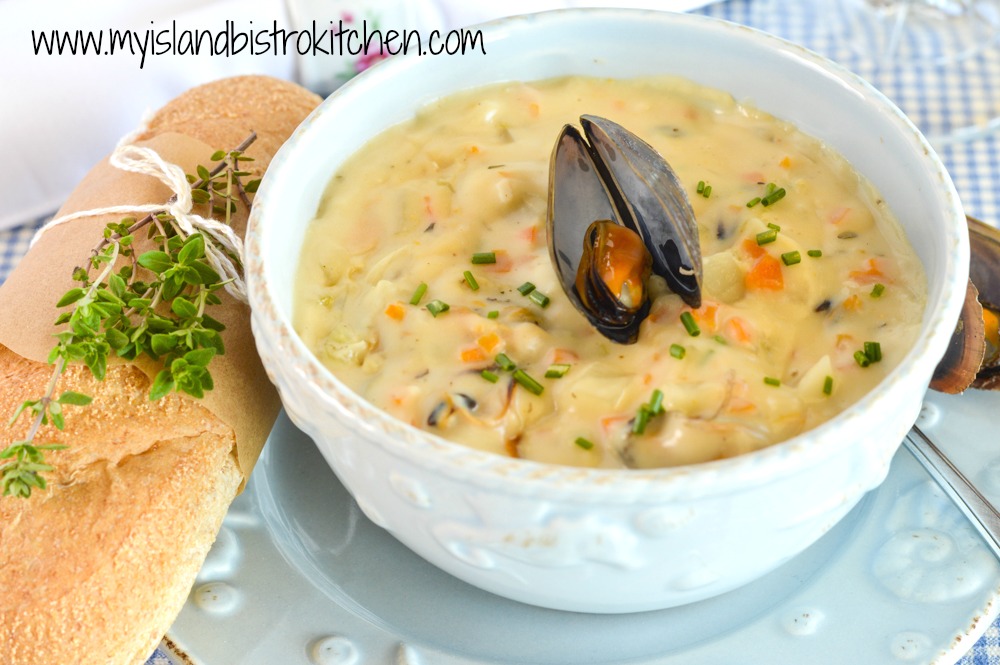
Mussels are a favorite shellfish of mine and, while I love them steamed in various different broths, today I am presenting them in the form of Mussel Chowder and I’m sharing my own personal recipe. Continue reading My Island Bistro Kitchen’s PEI Mussel Chowder→
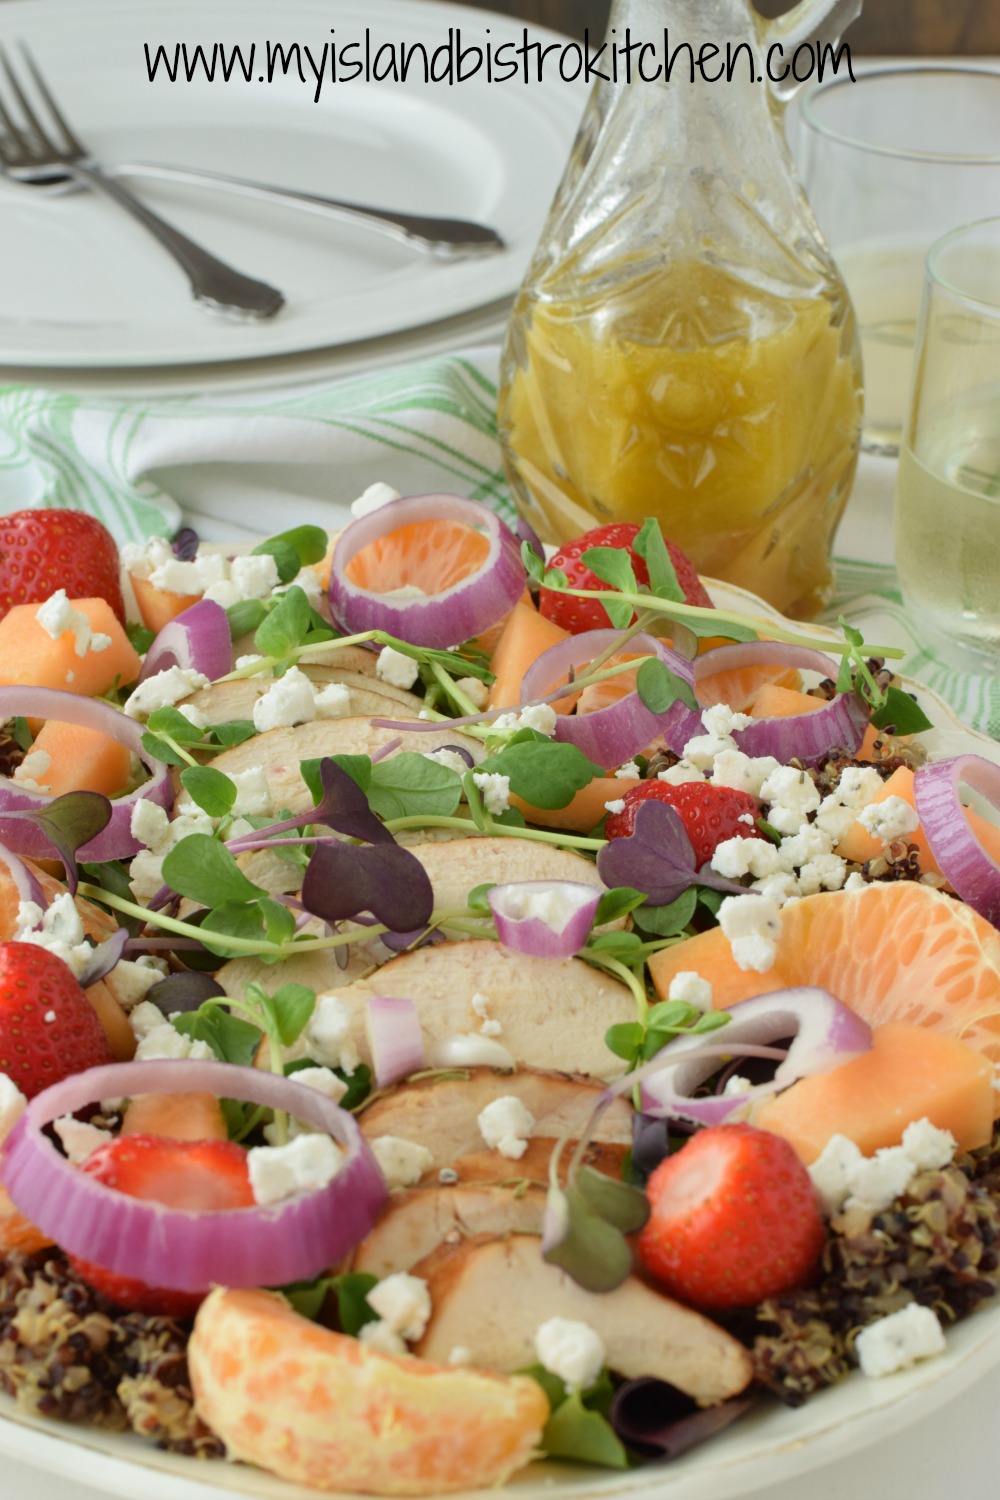
Chicken and Quinoa Salad with Star Anise and Orange Vinaigrette
We grow a garden and live out of it in the summer. Lots of different varieties of lettuce are grown and so salads are an almost daily part of our menu. On hot summer days, I love to make what I call a main meal salad like this Chicken and Quinoa Salad with Star Anise and Orange Vinaigrette. Continue reading Chicken and Quinoa Salad with Star Anise and Orange Vinaigrette→
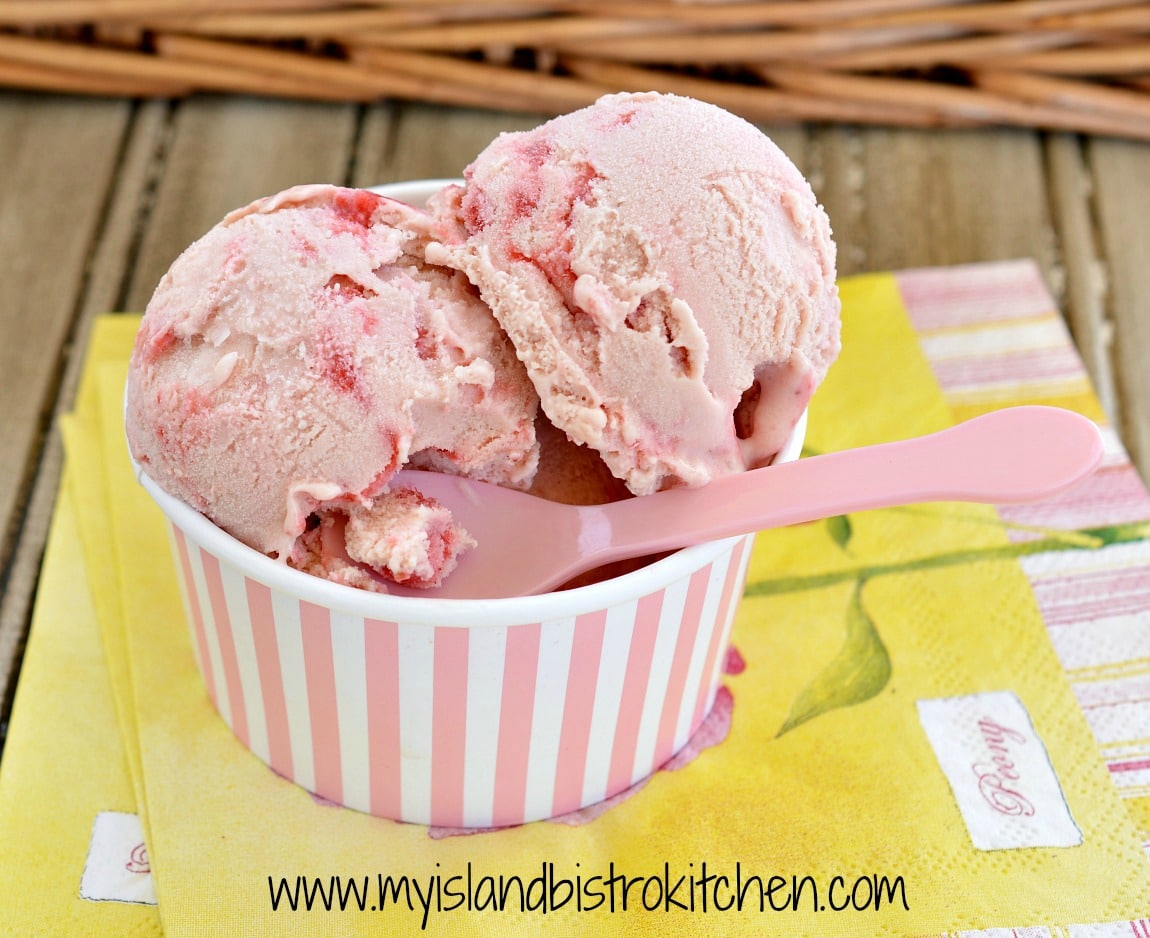
Summer just would not be summer without ice cream and what better way to enjoy it than to combine two of the season’s best flavors – strawberry and rhubarb – into homemade Strawberry Rhubarb Ripple Ice Cream! Continue reading Old-fashioned Strawberry Rhubarb Ripple Ice Cream→
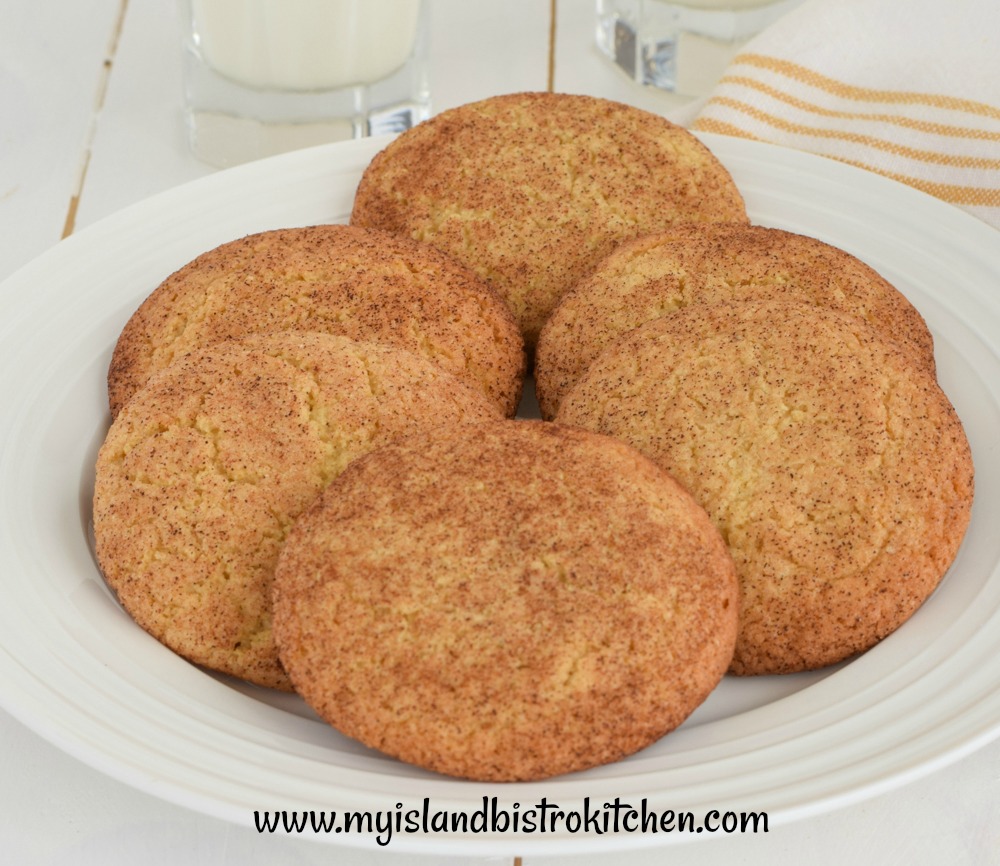
If you like cookies that are super tasty but not overly sweet then you will like these Gluten Free Snickerdoodle Cookies. They sport a lovely soft crumb texture and have superb flavor with the cardamon and nutmeg in the cookies and then the cinnamon-sugar mixture in which they are rolled. Continue reading Gluten Free Snickerdoodle Cookie Recipe→
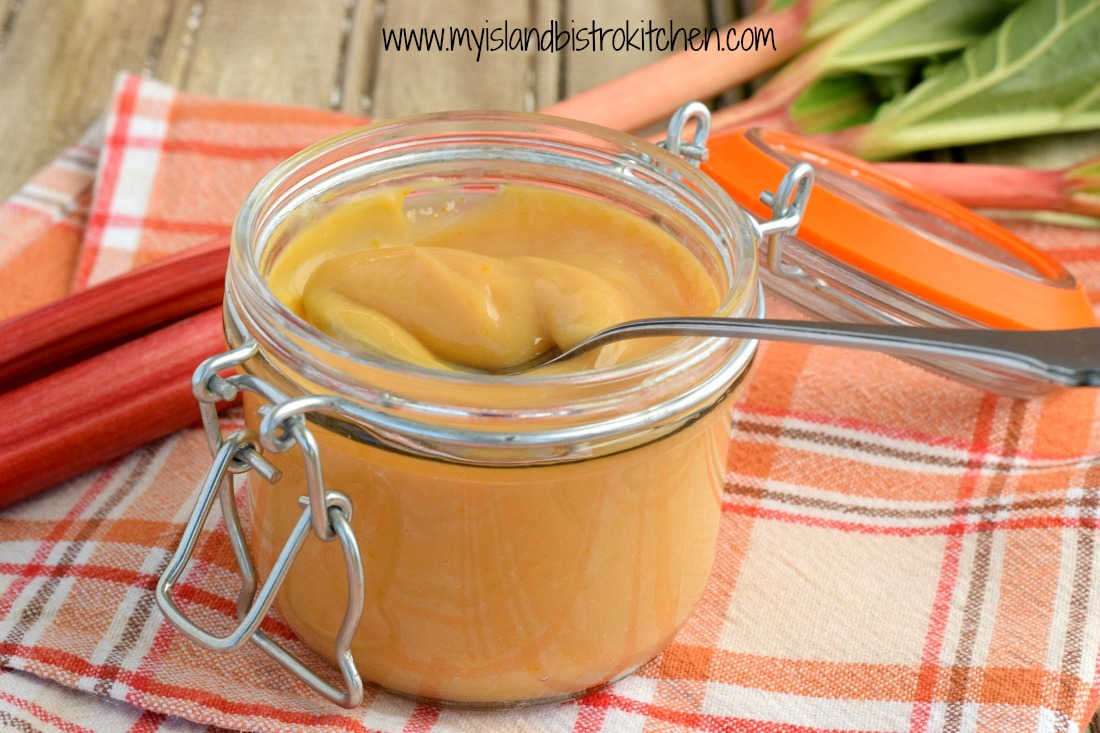
I love rhubarb and use it in a multitude of ways. Being a lover of lemon curd, I figured I would also like rhubarb curd so I set about developing and testing a recipe for it. This delightful creamy curd can be used in the same ways as lemon curd – sandwiching cakes together, spreading on scones, filling cookies, eclairs, macarons, and tarts, stirring into (or topping on) Greek yogurt for quick parfaits, and, well, its uses are only limited by your imagination! Continue reading Rhubarb Curd Recipe→
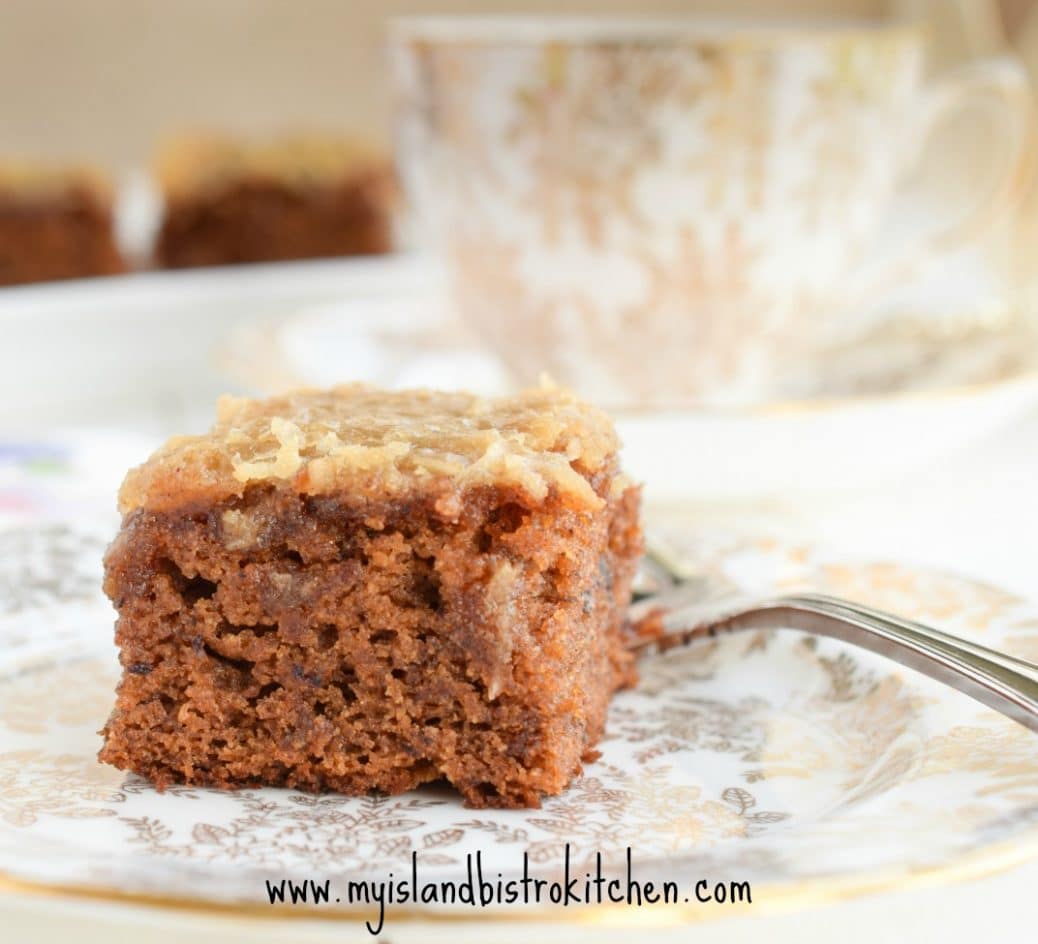
In an earlier posting, I shared my recipe for the regular gluten version of Queen Elizabeth Cake to coincide with Queen Elizabeth II’s actual birthday on April 21st. Today, I have a special treat for my food blog followers who must follow a gluten-free diet! I have adapted my regular version of this cake to make it gluten-free. It has passed my testing standards so I am pleased to share the recipe for this wonderfully moist and tasty Gluten-free Queen Elizabeth Cake that is made with very simple, basic ingredients. In fact, I’d even go so far as to suggest that it would be quite difficult to be able to tell that this version is gluten-free and, in my view, it certainly rivals its gluten version cousin in taste, texture, and overall quality. Continue reading Gluten-Free Queen Elizabeth Cake→
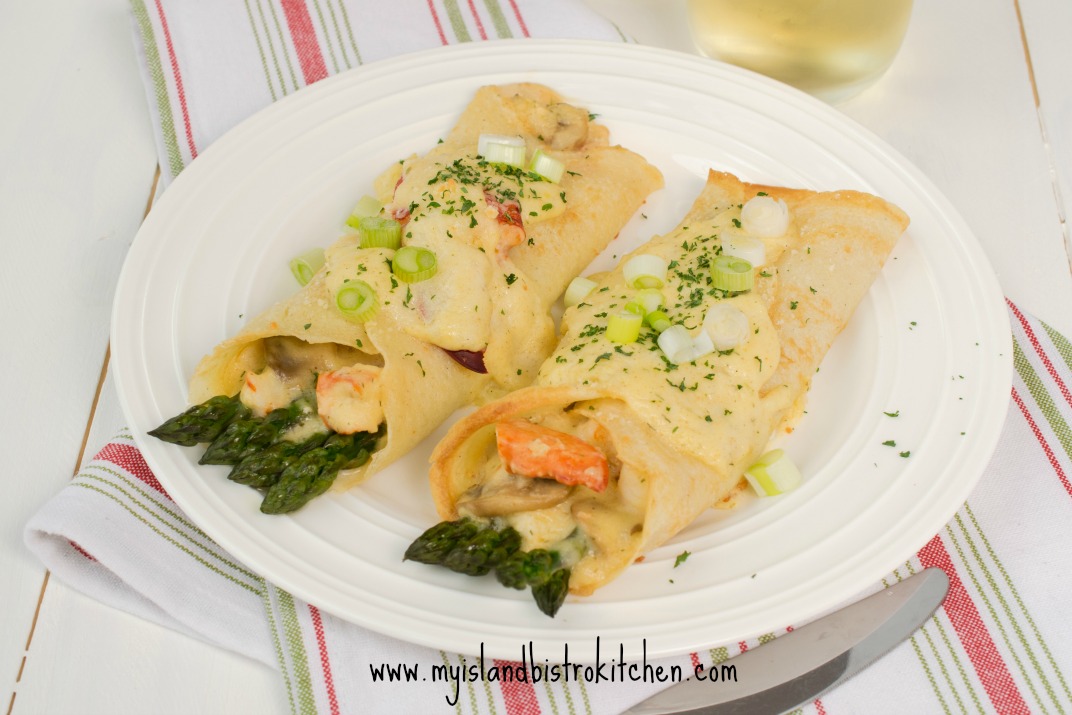
Springtime in Prince Edward Island on Canada’s east coast means it’s lobster season so it’s a great time to make these delectable lobster and asparagus crepes that combine two of the season’s special treats! Continue reading Lobster and Asparagus Crepes→
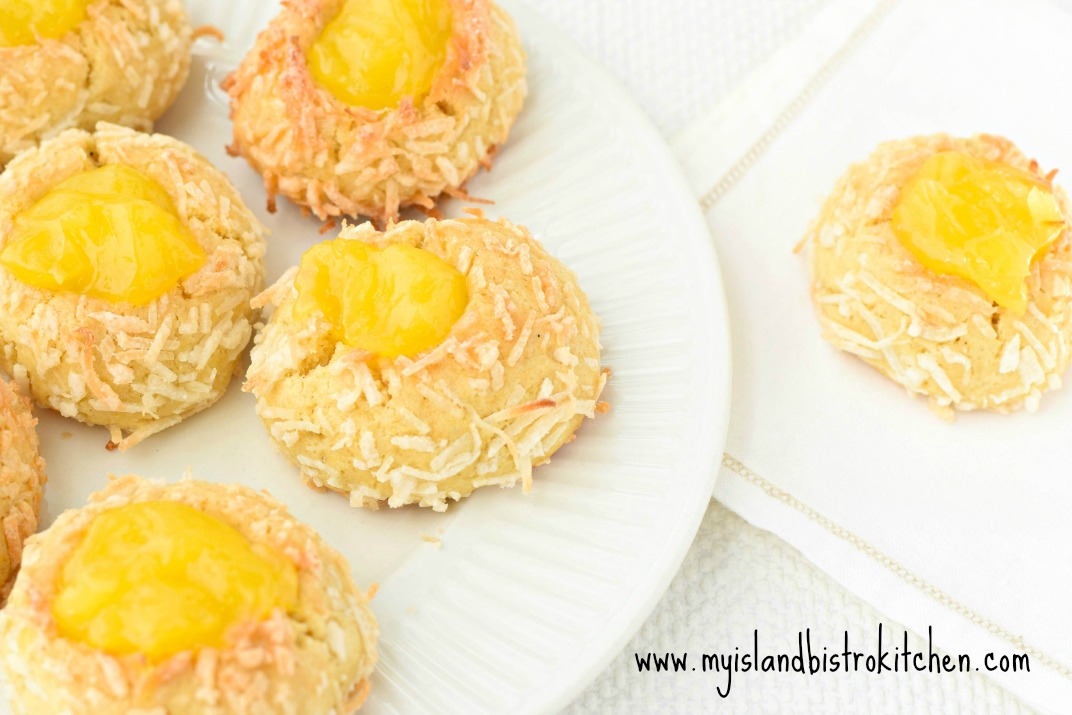
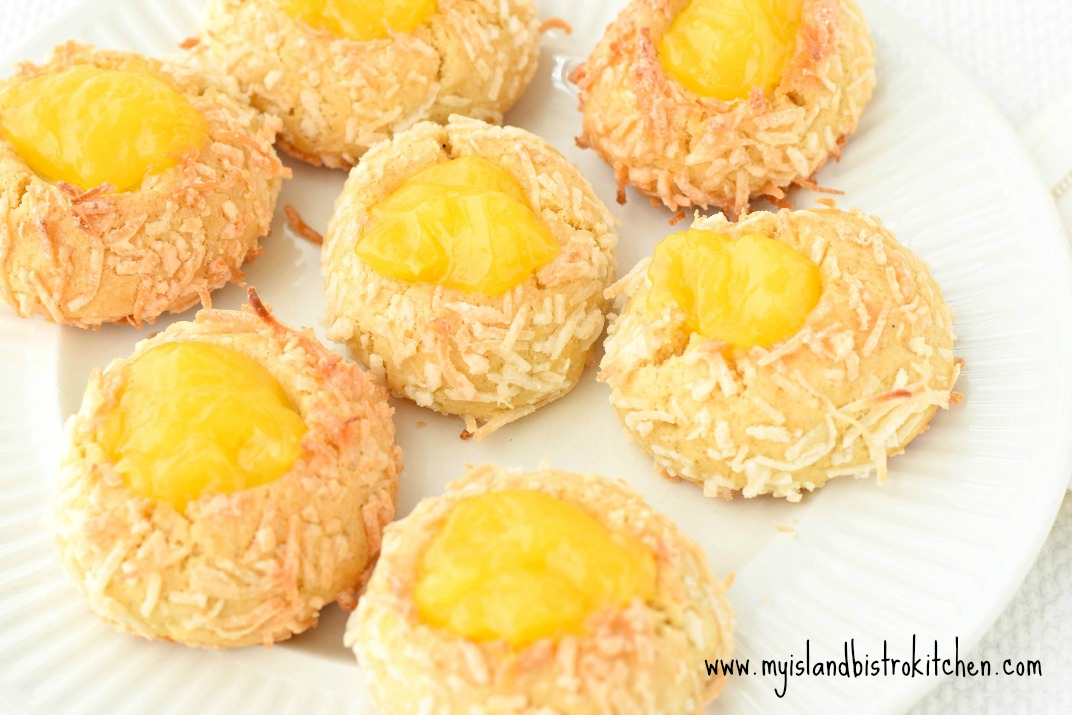
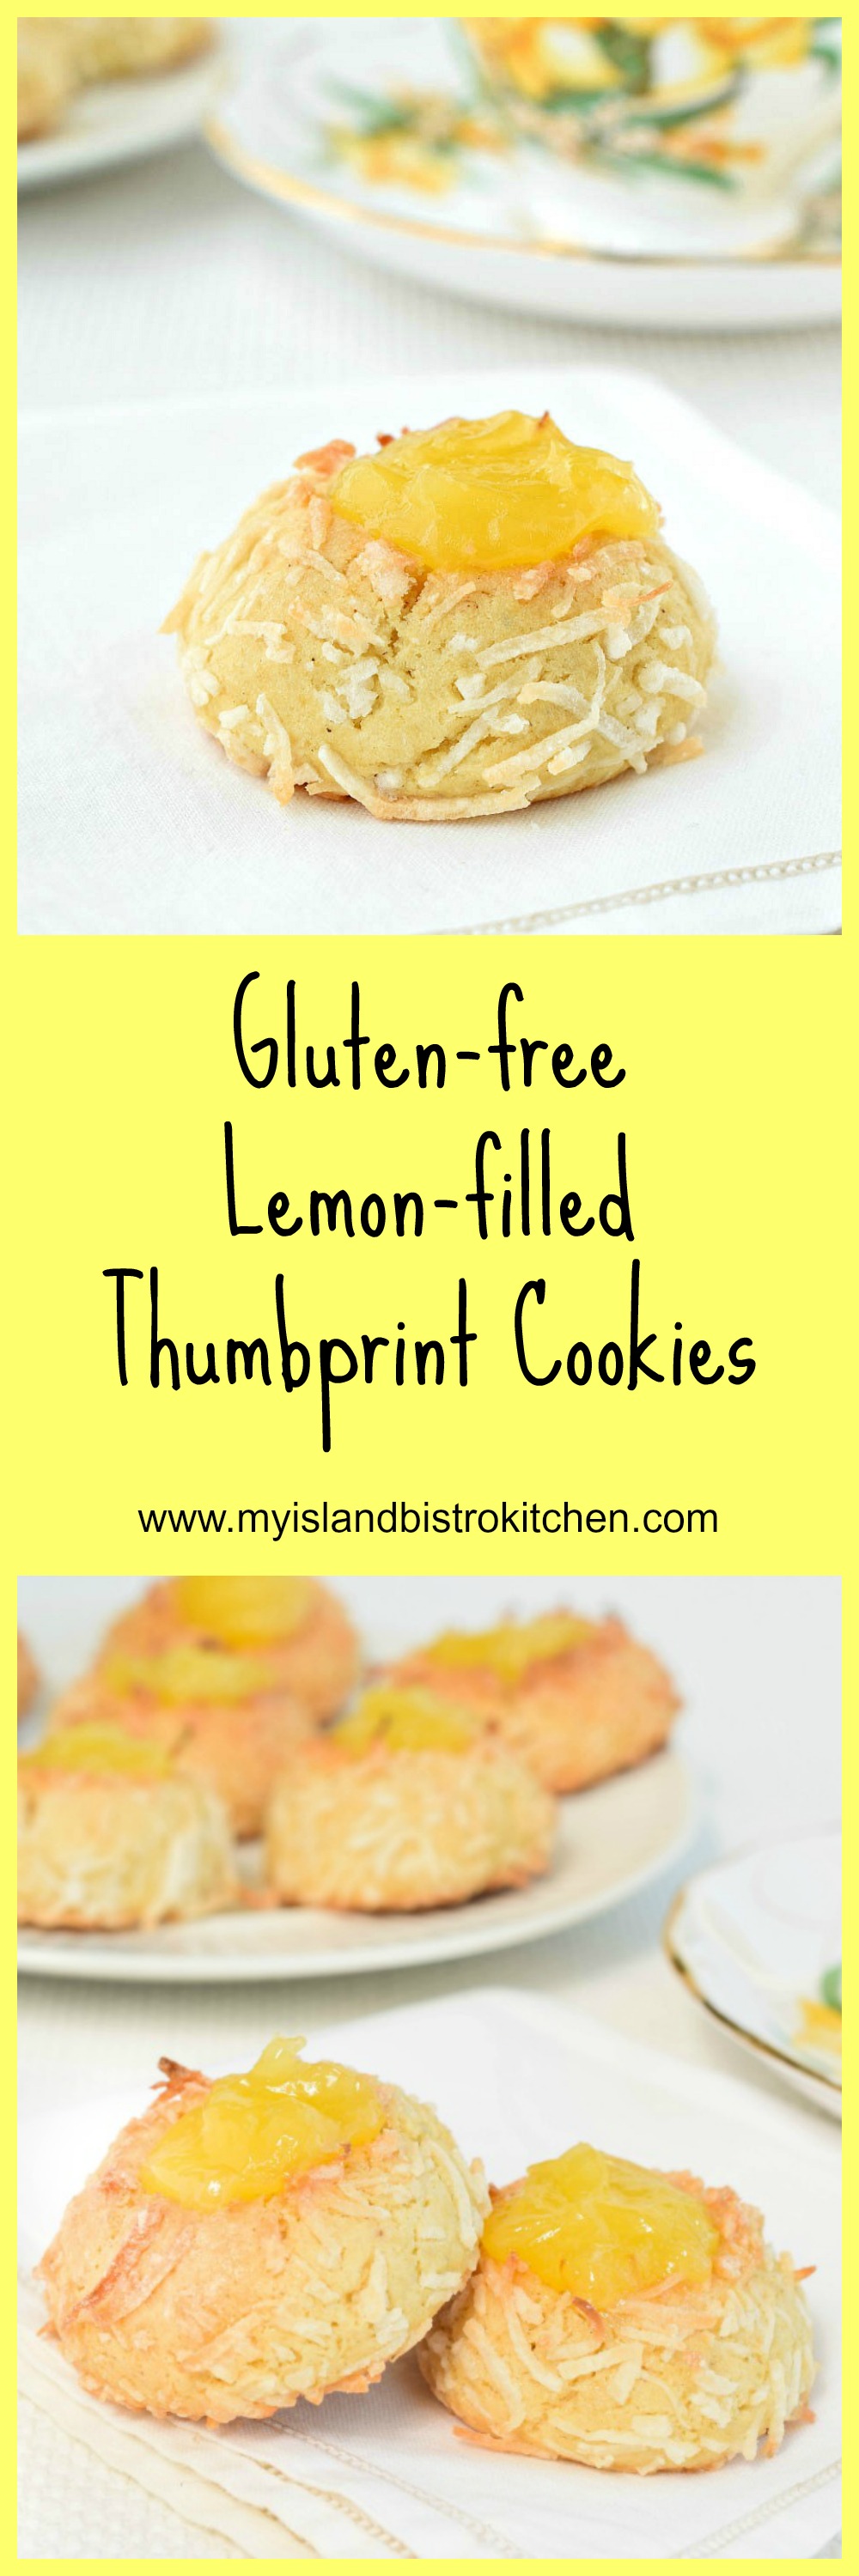
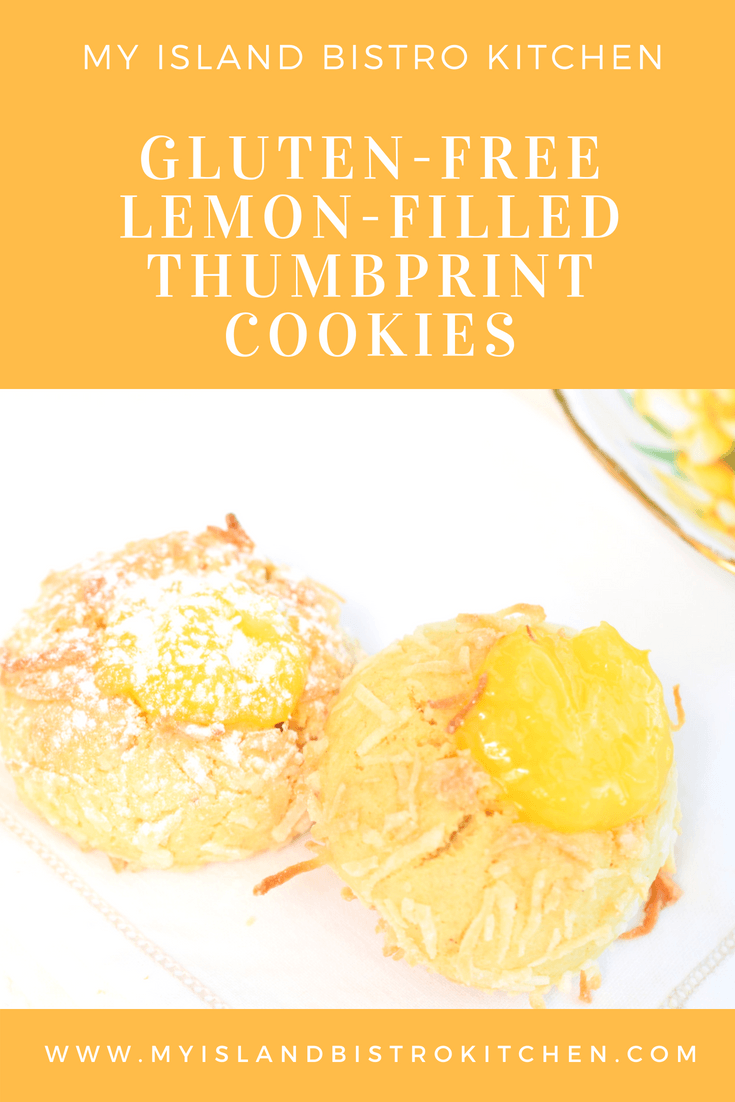
There are different versions of thumbprint cookies. Some are rolled in crushed nuts, others in granulated sugar, and still others in coconut. Some are filled with jam and others with lemon curd. I use lemon curd as the filling and roll my thumbprint cookies in coconut to complement the coconut flour used in these gluten-free cookies. The coconut toasts lovely as the cookies bake.
I find that using only a gluten-free all-purpose flour in baking results in a somewhat underwhelming flavor for my taste. That’s why I often add some almond and/or coconut flour to my baked products. Either or both contribute flavor and I think produce better textured products.
As I tested this newly-developed recipe, I found that a hint of cardamon gives a subtle and pleasing flavor to the cookies. Somewhere between a one-quarter teaspoon and a half teaspoon is about the right amount so….either a heaping 1/4 teaspoon or a scant 1/2 teaspoon of cardamon will work. The cardamon pairs well with the lemon curd used as a filling/topping on the thumbprints.
Gluten-free Lemon-filled Thumbprint Cookies
Because some gluten-free flours, like coconut flour for example, absorb a lot of liquid, I use one whole extra-large egg as well as the yolk from one large egg to ensure there is enough moisture in the cookie dough. I generally have three different sizes of eggs in my refrigerator (extra large, large, and medium), especially when I am doing gluten-free baking. This is because sometimes two extra-large eggs would be too much but more than one is needed. That’s when I use either large or medium-sized eggs to supplement the egg content in gluten-free baking or, sometimes as in the case with these cookies, I just use a certain size of egg yolk because that is all that is needed. Save the white from the large egg in this recipe as it will be needed to make the egg wash in which to dip each ball before rolling in coconut. This egg wash adheres the coconut to the cookies.
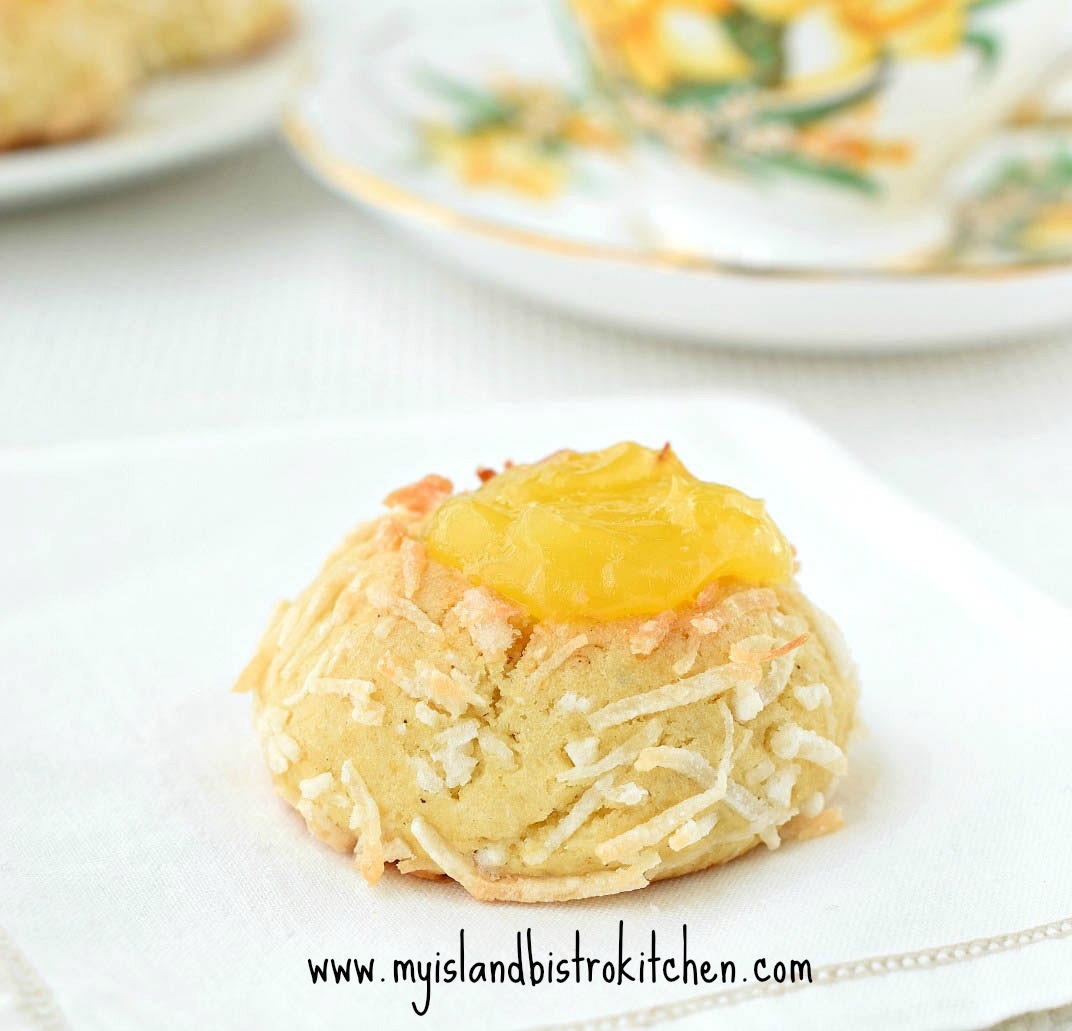
Gluten-free Lemon-filled Thumbprint Cookies
The cookie dough benefits from being chilled for about 30 minutes in the refrigerator before being formed into balls that are about 1″ in diameter. This allows the dough to firm up and makes the shaping of the cookie balls easier. For these cookies, I use 3/4 oz of dough. I recommend the use of a digital kitchen scale to weigh out portions of the dough to ensure uniformity of size in cookies. You can, of course, “eyeball” the amount of dough for each ball but, if you want perfectly uniform cookies, I recommend weighing the dough, at least for the first 2-3 cookie balls to get a sense of how much dough is needed for each cookie.
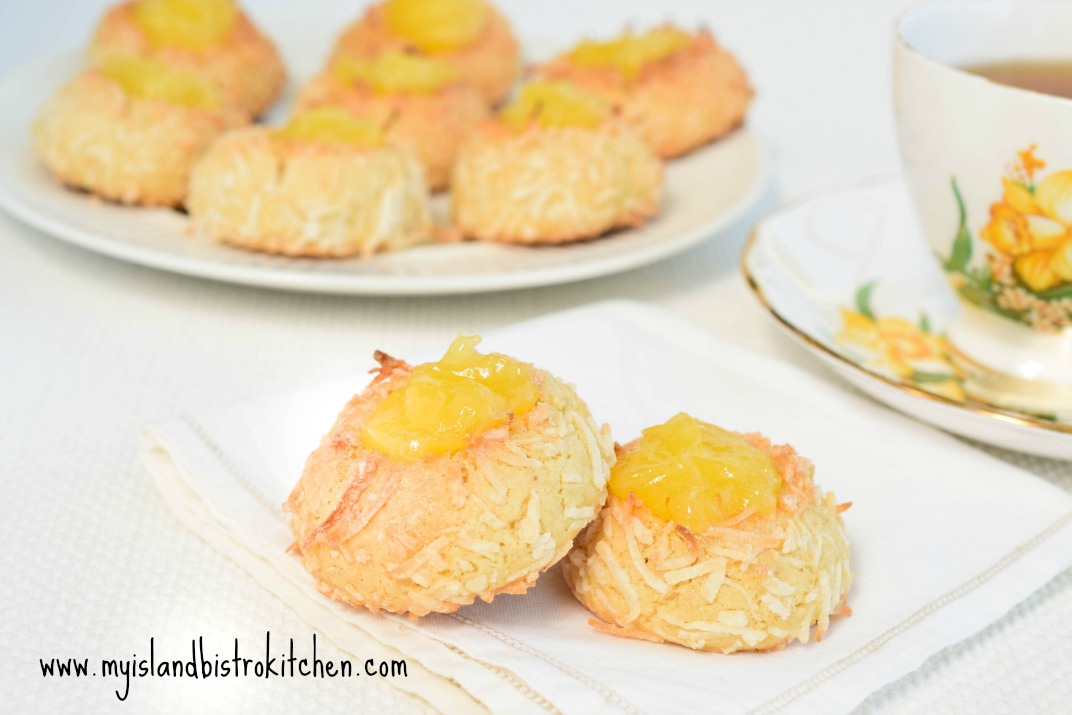
Gluten-free Lemon-filled Thumbprint Cookies
These cookies have a soft tender crumb and are not too sweet. The lemon curd adds tremendous flavor and texture to the cookies. Click here for my recipe for the lemon curd. To make the indent in each cookie for the curd, use either the tip of your thumb, the round end of a wooden spoon, or the round bowl of a ¼ tsp measuring spoon. Gently press an indent into the center of each cookie, pressing about half-way down through the cookie. Bake the cookies and, as soon as they come out of the oven, immediately fill each cookie with about 1 teaspoonful of lemon curd. If lemon curd is not to your taste, simply use your favorite jam as the filling.
Gluten-free Lemon-filled Thumbprint Cookies
Ingredients:
½ cup butter
½ cup granulated sugar
1 extra large egg
1 large egg yolk (save the egg white for the egg wash)
1 tsp vanilla
¼ tsp almond flavoring
1 cup all-purpose gluten-free flour
½ cup almond flour
¼ cup coconut flour
1¾ tsp xanthan gum
1/8 tsp baking soda
¼ tsp baking powder
¼ tsp salt
Scant ½ tsp cardamom
3 oz flaked coconut
1 large egg white beaten with 1 tbsp water
Apx. ½ cup lemon curd
Method:
Line baking sheet with parchment paper.
Using the paddle attachment in the bowl of stand mixer, cream the butter. Gradually add the sugar. Beat well. Add the egg and extra egg yolk. Beat. Mix in the vanilla and almond flavoring.
In separate bowl, combine the flours, xanthan gum, baking soda, baking powder, salt, and cardamom. Whisk together very well. Blend into the butter-sugar-egg mixture. Mix well. Cover bowl with plastic wrap and chill dough for 30 minutes in refrigerator.
Preheat oven to 350°F. Place coconut in one small bowl and the beaten egg white and water mixture into a second bowl. Pinch off pieces of the dough and roll into balls, approximately 1” in diameter (if you weigh the dough, each piece should weigh ¾ oz.) Dip each cookie ball in the egg white wash then roll in the coconut. Place cookies on prepared baking sheet, arranging them about 2” apart. Using thumb tip, end of wooden spoon, or the round bowl of a ¼ tsp measuring spoon, gently press an indent into the center of each cookie. Bake for 20-22 minutes. Immediately fill each cookie with about 1 teaspoonful of lemon curd as soon as the cookies come out of the oven. If indents are not clearly defined in each cookie, gently reform them using one of the afore-mentioned methods. Transfer cookies to wire rack to cool completely. Store in airtight container. If desired, add a light dusting of confectioner’s sugar to the cookies just at the time of serving.
Yield: Apx. 22 cookies
Note: Jam of choice may be substituted for the lemon curd, if desired.
A delightful gluten-free cookie with a soft tender crumb and a decadent topping of lemon curd.
Ingredients
½ cup butter
½ cup granulated sugar
1 extra large egg
1 large egg yolk (save the egg white for the egg wash)
1 tsp vanilla
¼ tsp almond flavoring
1 cup all-purpose gluten-free flour
½ cup almond flour
¼ cup coconut flour
1¾ tsp xanthan gum
1/8 tsp baking soda
¼ tsp baking powder
¼ tsp salt
Scant ½ tsp cardamom
3 oz flaked coconut
1 large egg white beaten with 1 tbsp water
Apx. ½ cup lemon curd
Instructions
Line baking sheet with parchment paper.
Using the paddle attachment in the bowl of stand mixer, cream the butter. Gradually add the sugar. Beat well. Add the egg and extra egg yolk. Beat. Mix in the vanilla and almond flavoring.
In separate bowl, combine the flours, xanthan gum, baking soda, baking powder, salt, and cardamom. Whisk together very well. Blend into the butter-sugar-egg mixture. Mix well. Cover bowl with plastic wrap and chill dough for 30 minutes in refrigerator.
Preheat oven to 350°F. Place coconut in one small bowl and the beaten egg white and water mixture into a second bowl. Pinch off pieces of the dough and roll into balls, approximately 1” in diameter (if you weigh the dough, each piece should weigh ¾ oz.) Dip each cookie ball in the egg white wash then roll in the coconut. Place cookies on prepared baking sheet, arranging them about 2” apart. Using thumb tip, end of wooden spoon, or the round bowl of a ¼ tsp measuring spoon, gently press an indent into the center of each cookie. Bake for 20-22 minutes. Immediately fill each cookie with about 1 teaspoonful of lemon curd as soon as the cookies come out of the oven. If indents are not clearly defined in each cookie, gently reform them using one of the afore-mentioned methods. Transfer cookies to wire rack to cool completely. Store in airtight container.
Notes
Note: Jam of choice may be substituted for the lemon curd, if desired.
Recipe for Lemon Curd here: http://myislandbistrokitchen.com/2017/04/14/luscious-lemon-curd/
Ever wonder about the history of old vintage recipes? I so wish that accurate records existed about the origins of some of the old nostalgic recipes like the one for Queen Elizabeth Cake, for example. Continue reading Queen Elizabeth Cake Recipe→
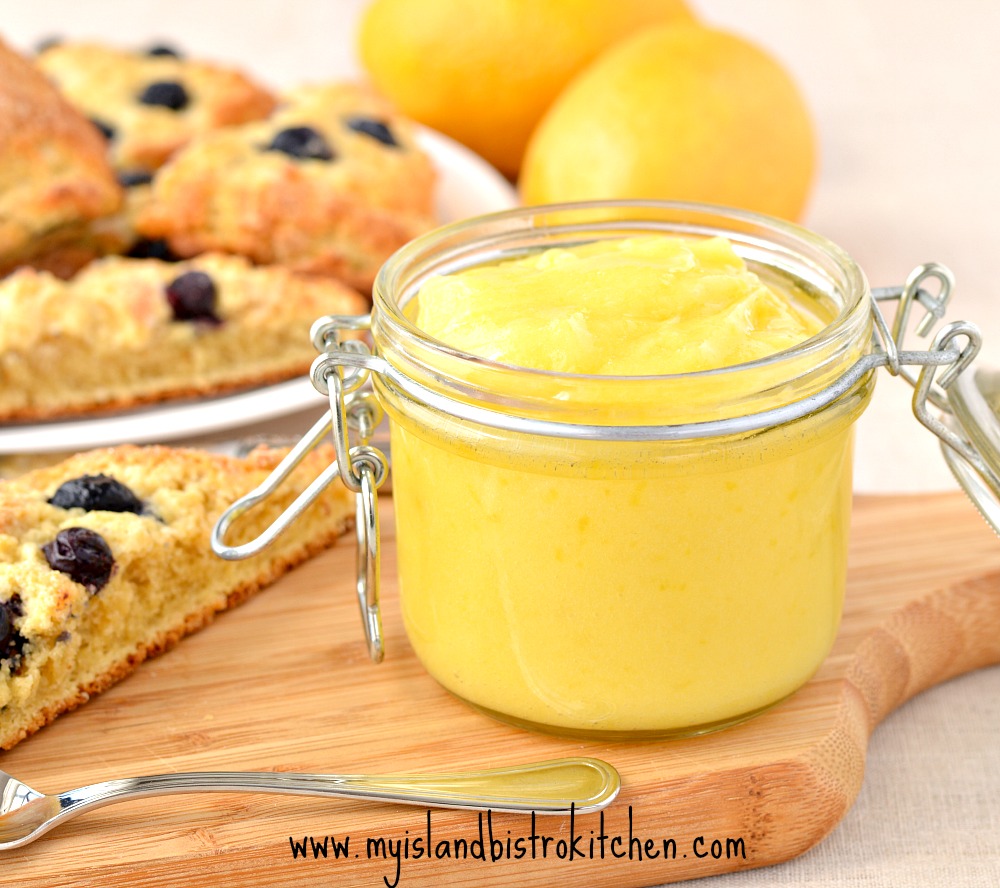
I adore lemon curd – luscious lemon curd – that wonderful balance of lemon’s acidity and tartness with the sweetness of sugar. I love it so much that it’s a staple in my refrigerator. Continue reading Luscious Lemon Curd→
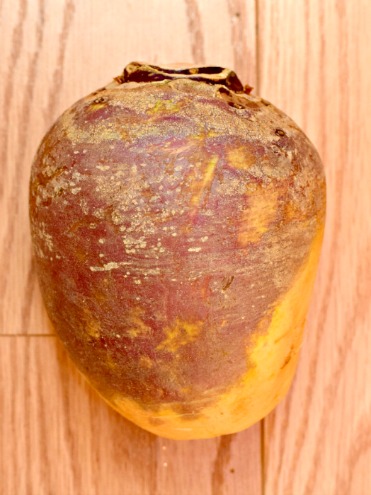
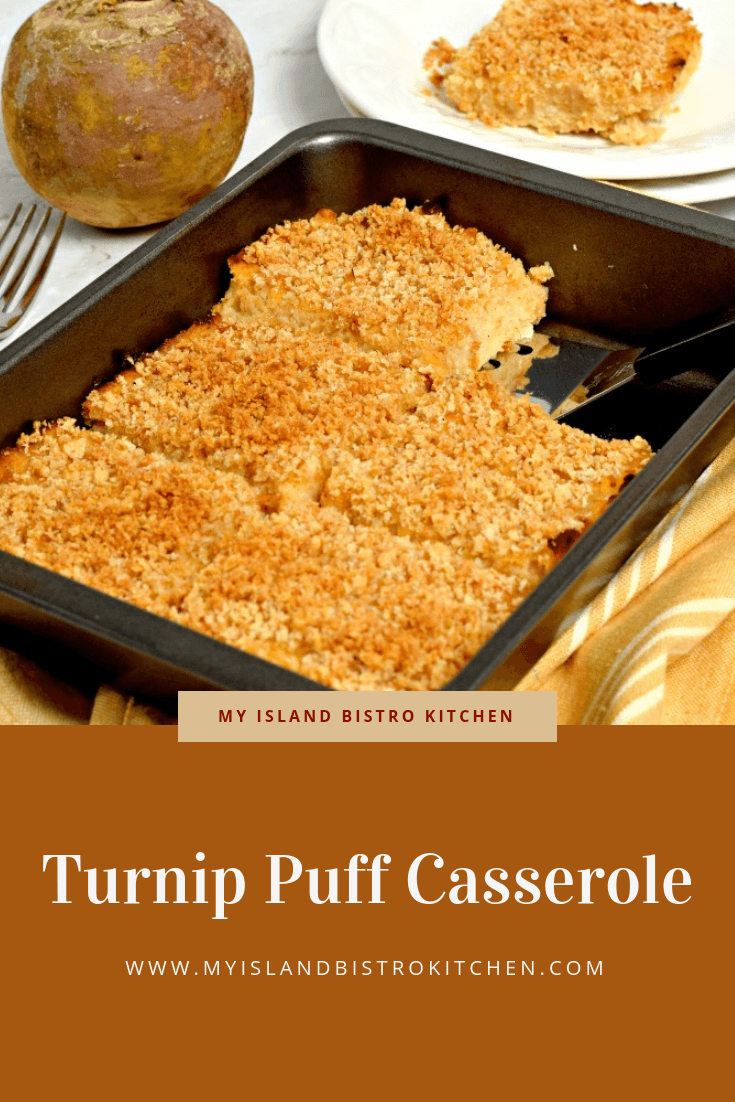
This turnip puff casserole is really a rutabaga puff casserole because, in fact, it is actually made with rutabaga, not turnip. However, all my life, I have known the root vegetable in the photo below as a “turnip”. Besides, I think turnip puff casserole sounds better than rutabaga puff casserole!
Rutabaga
Now, even though turnips and rutabagas are kissing cousins in the mustard plant family, there are some key differences between the two.
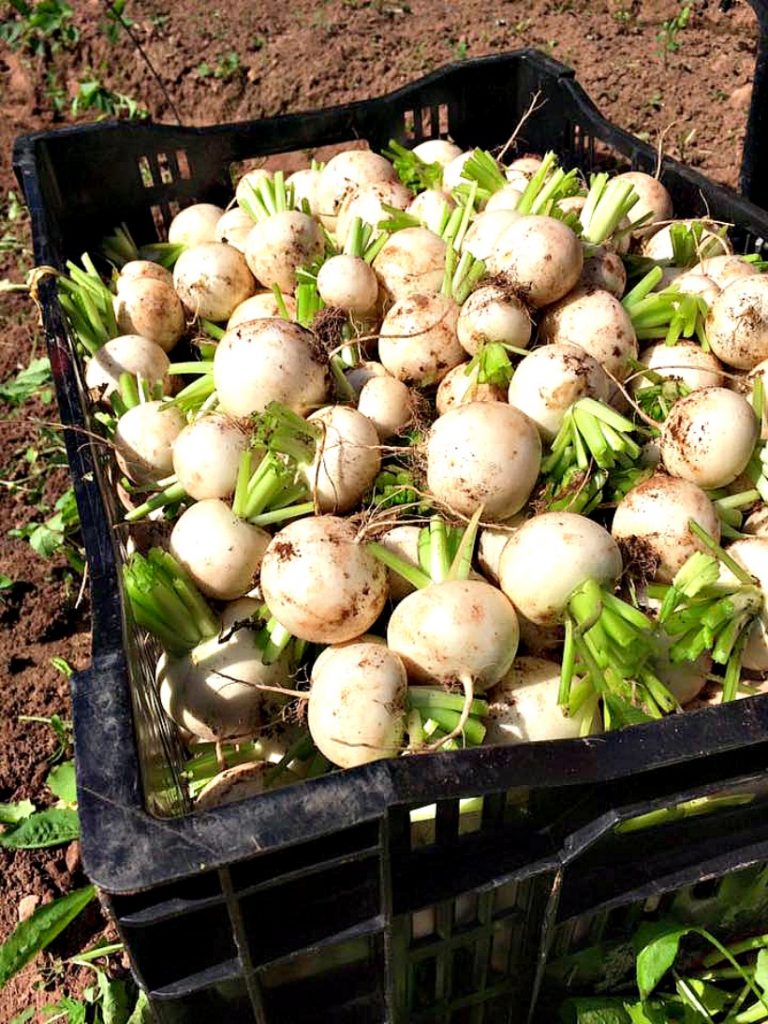
Turnips (Photo Courtesy Just a Little Farm, Bonshaw, PEI)
Turnips (shown in the photo above) are much smaller than rutabagas. They are usually anywhere from 2″ – 4″ in diameter compared to the much larger rutabagas that are typically 6″ or even more in diameter.
Rutabagas are much sweeter and turnips more bitter. Rutabagas have yellow flesh whereas turnips have white flesh. Rutabagas will have thicker outer skins than turnips and their exterior color will have a purple top and yellowy-beige bottom whereas turnips will have a white or white/purple outer skin. Rutabagas require much longer to grow and are more tolerant to cold than are turnips which is why you will often see turnips advertised as “summer” turnips. Because of their tolerance for the cold, rutabagas are often referred to as a “cold crop” and my grandparents always claimed the rutabagas (that they referred to as turnips) were no good until there had been a good frost before they were harvested. In fact, my grandmother always said the earlier they were harvested in the fall, the more bitter they were which is why, in the fall, she always added a small amount of sugar to the cooked rutabaga as she mashed it.
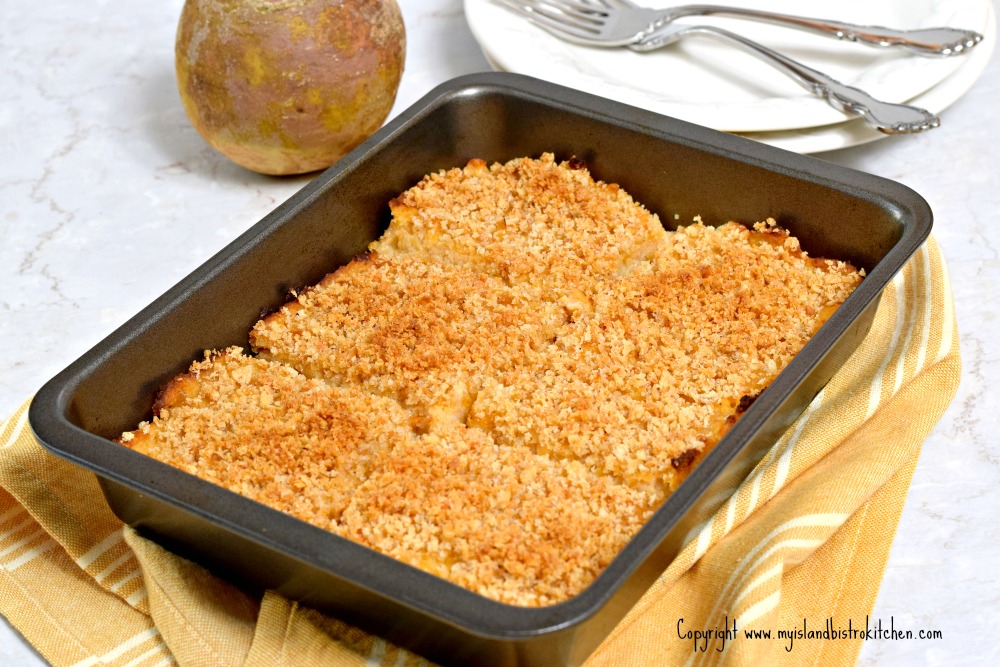
We often serve the golden-colored mashed rutabaga as a side vegetable to many meals but, sometimes (especially for special occasions), it’s nice to kick this side dish up a notch which is what I do when I make this turnip puff casserole. A rutabaga weighing approximately 1 lb, 7 oz will be required for this recipe. To the cooked rutabaga that is mashed really well to the texture of purée, I add some applesauce and brown sugar for sweetener, some onion to make it just a little bit savory, along with some cheese to boost the flavor. A hint of nutmeg and garlic provide additional flavor. An egg is added to bind the ingredients together and baking powder is added for leavening – hence the “puff” part of this side dish.
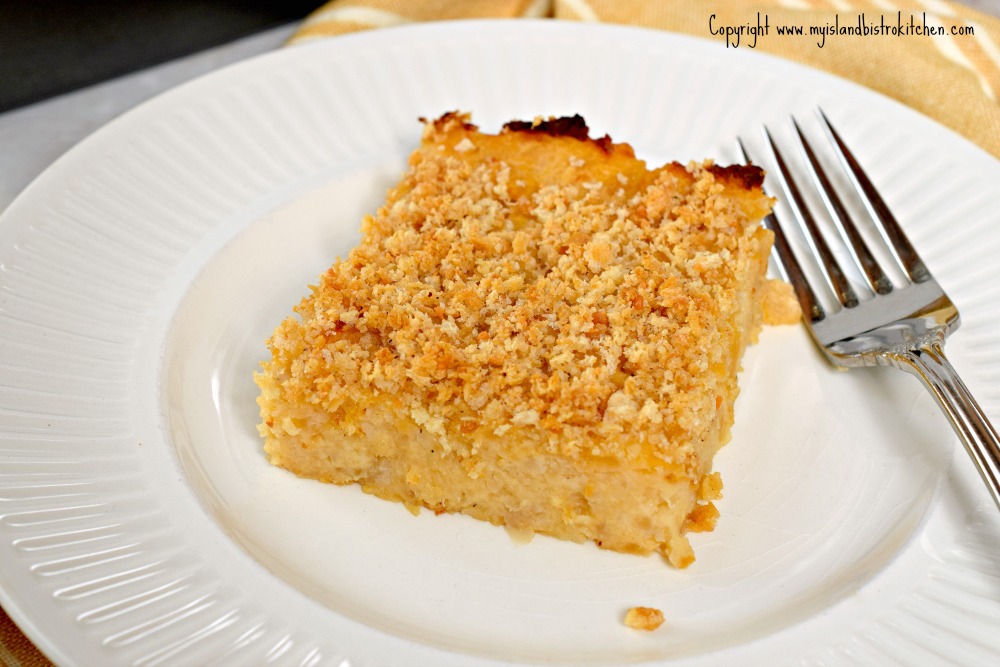
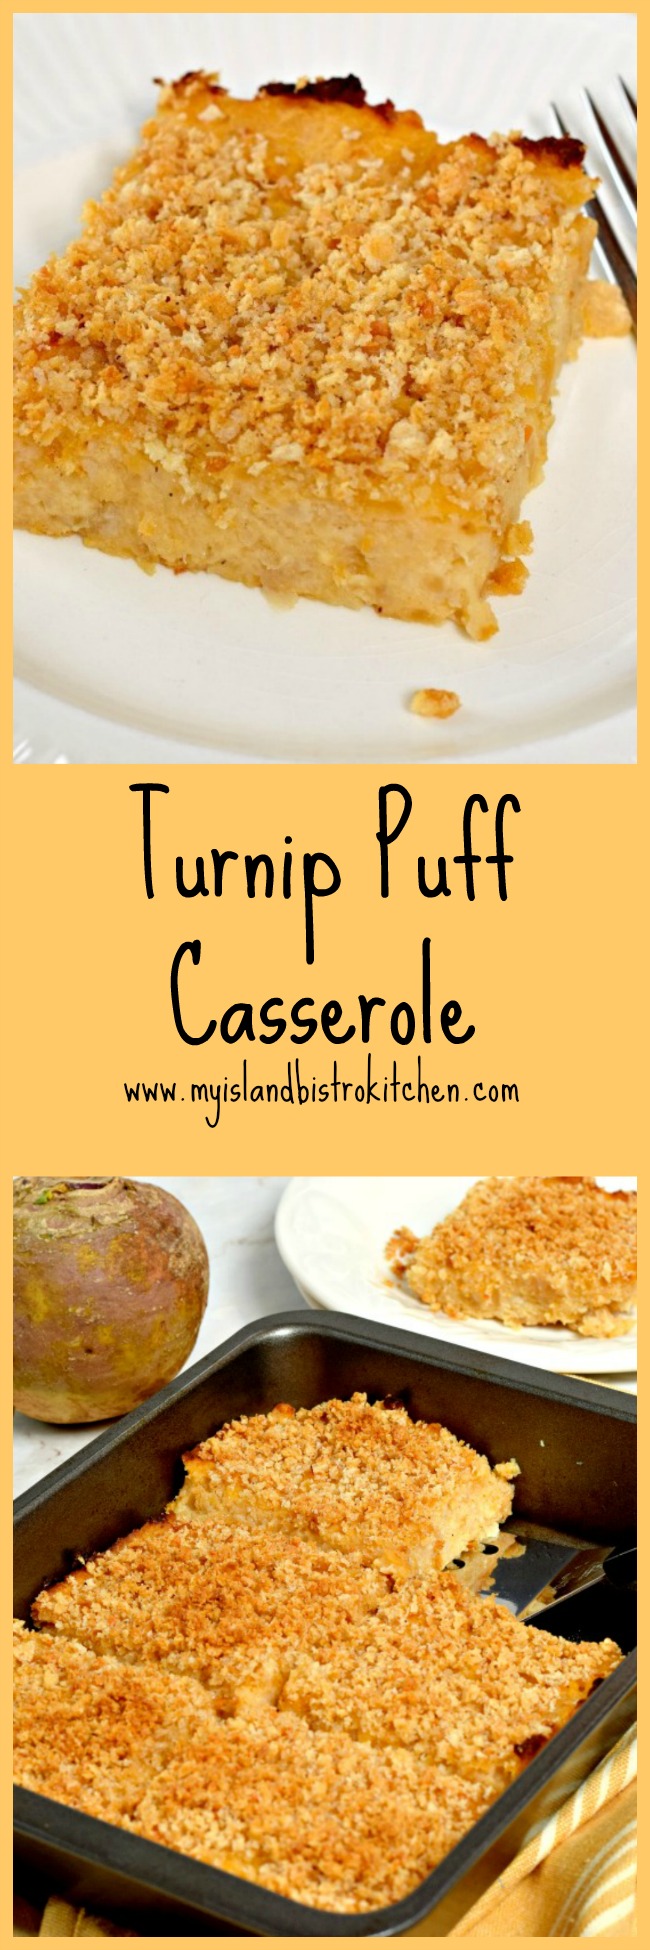
Turnip Puff Casserole
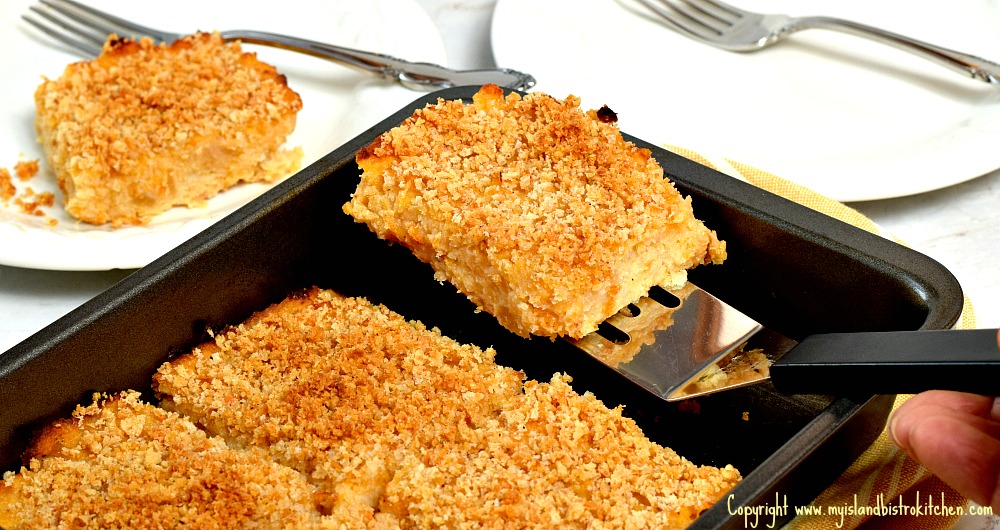
Now, I call this a “casserole” and, for photo demonstration purposes, have photographed a piece of it as a stand-alone on a plate. However, this is not a casserole I would make as a main meal entrée. Rather, it is a vegetable side dish so, instead of serving a scoop of mashed rutabaga with dinner, I cut out pieces of this casserole and serve it alongside other vegetables such as potatoes, carrots, and peas.
Turnip Puff Casserole
A casserole or baking pan with about a 1.5-quart capacity (or slightly less) is required for this casserole. I find the 6″x8″ baking pan that I have for my toaster oven works perfectly. I would not use a deep casserole dish for this recipe as it would not cut out well for serving purposes so use a shallow baking pan. This recipe will provide six standard-sized serving portions, the size shown in the photographs. If you are serving several other side vegetables for a dinner, or serving this buffet-style, smaller pieces may suffice…..but it’s tasty so don’t be surprised if there are requests for second helpings!
Turnip Puff Casserole
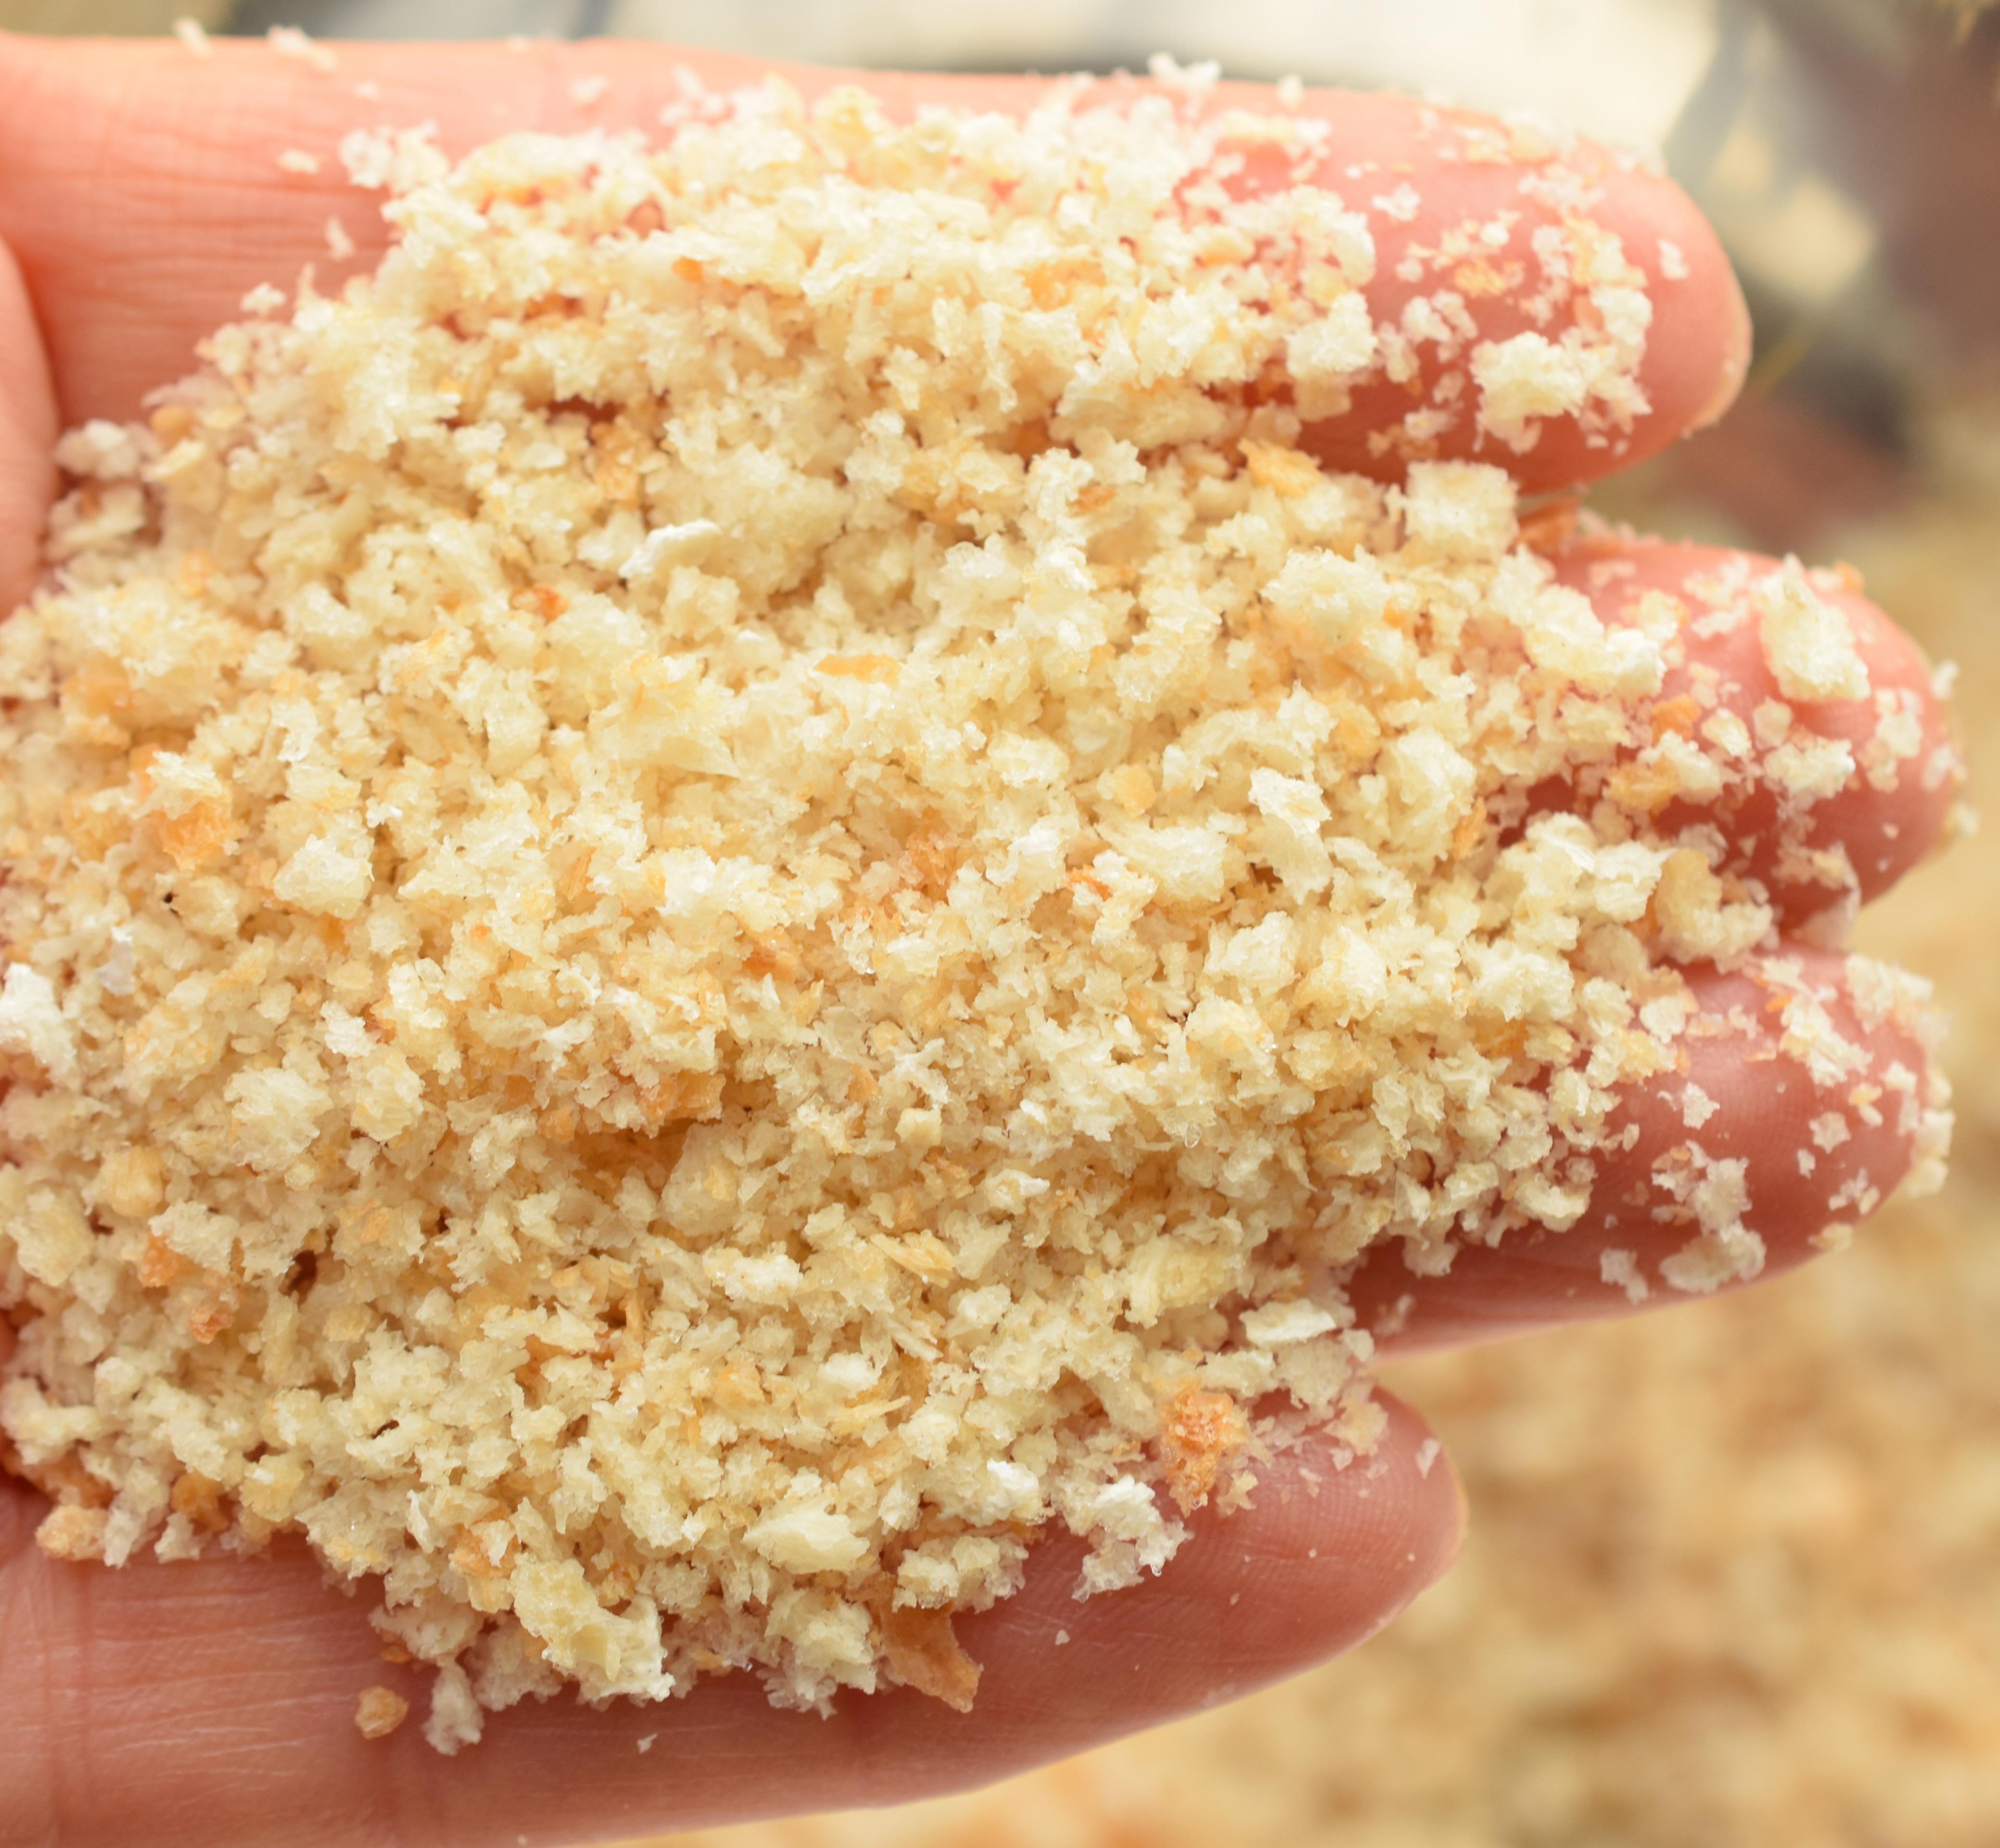
For the breadcrumb topping, I use crumbs that are not super fine as are found in commercial boxes or bags of crumbs. These are ones I crumb (in the food processor) from bread crusts and they are the consistency as shown in the photo below – not super-fine but not overly chunky.
Bread Crumbs
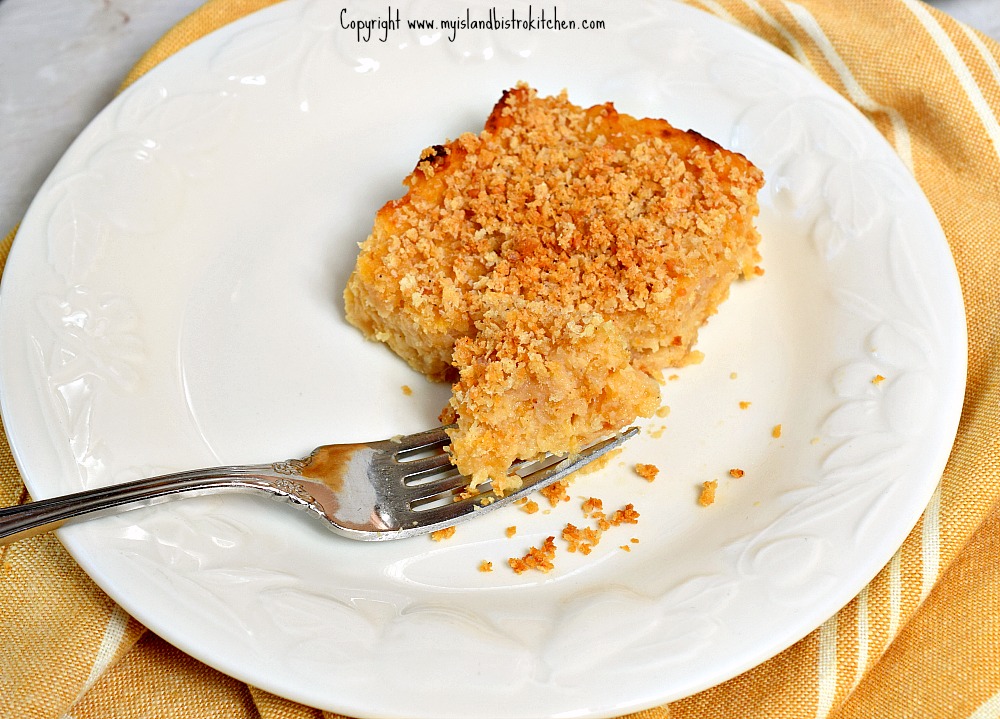
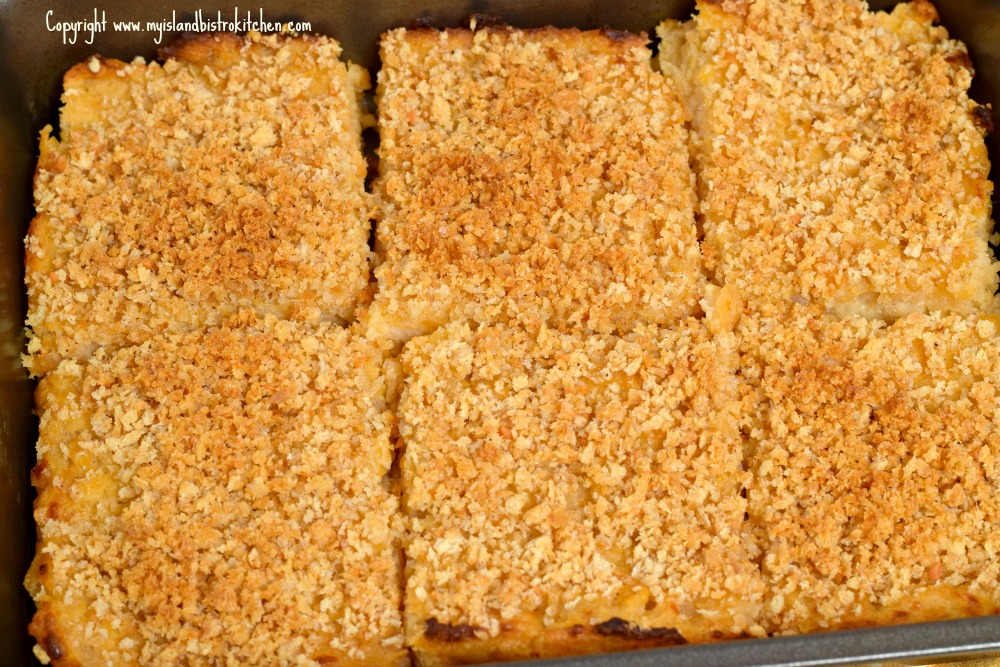
Bake this casserole in the oven for 30-35 minutes, just until the breadcrumb topping is lightly browned. Let stand for about 10 minutes before cutting into squares and serving.
Turnip Puff Casserole
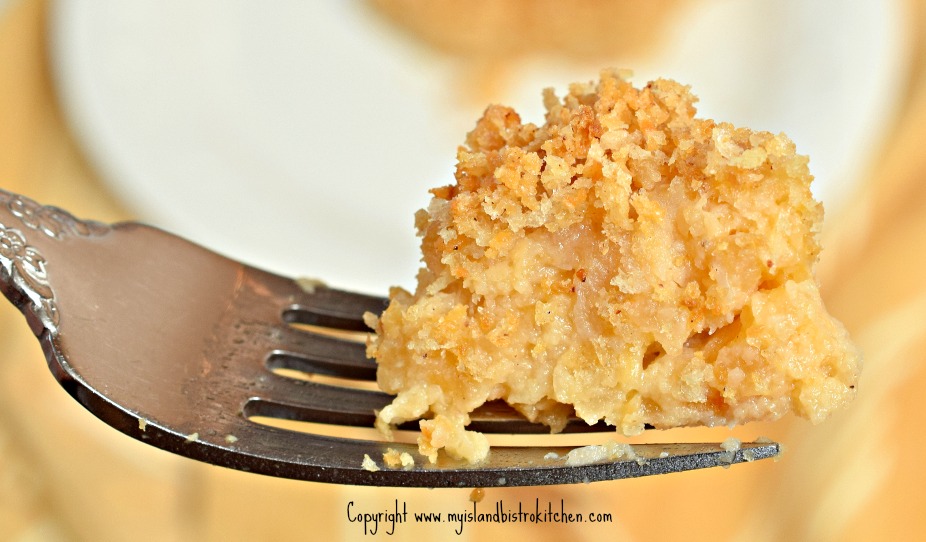
This recipe is easily adapted to be gluten-free — simply replace the breadcrumbs called for in the recipe with those that are gluten-free and use gluten-free all purpose flour.
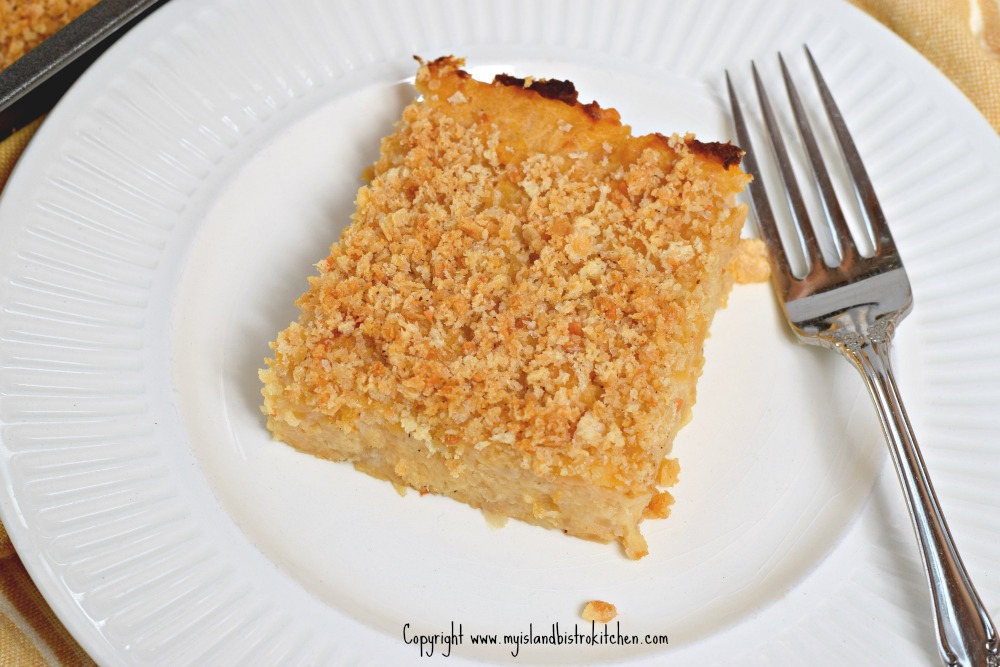
Turnip Puff Casserole
While this dish may be served at any time of the year, it is especially good at Easter, Thanksgiving, and Christmas with roast poultry, beef, or pork. This casserole may be made several hours in advance and refrigerated until needed.
½ cup fine bread crumbs
2 tsp finely grated Parmesan cheese
Pinch nutmeg
1½ tbsp melted butter
Method:
Preheat oven to 350°F. Grease a 6”x8” baking pan.
In medium-sized saucepan, combine the mashed rutabaga, applesauce, grated onion, butter, and egg. Mix well.
In small bowl, combine the brown sugar, nutmeg, garlic salt, baking powder, flour, Parmesan and cheddar cheese, and salt and pepper, to taste. Stir well into the rutabaga mixture. Transfer to prepared baking pan.
In small bowl, combine the bread crumbs, Parmesan cheese, and nutmeg with the melted butter. Sprinkle crumbs over rutabaga mixture. Bake, uncovered, for approximately 30-35 minutes, until lightly browned.
Serve hot as a side dish to any hot meal in which turnip/rutabaga would typically be served.
Yield: Apx. 6 servings
If you have made this recipe and enjoyed it and/or wish to share it with your friends and family, please do so on social media but be sure to share the direct link to this posting from my website.
Connect with My Island Bistro Kitchen on Social Media
Follow “the Bistro” on Pinterest at https://www.pinterest.ca/peibistro/ and pin the Pinterest-ready photo found at the end of this post to your favorite Pinterest boards.
1 tbsp all-purpose flour (or gluten-free all purpose flour)
2 tbsp finely grated Parmesan cheese
2 tbsp finely grated cheddar cheese
Salt and Pepper, to taste
½ cup fine bread crumbs
2 tsp finely grated Parmesan cheese
Pinch nutmeg
1½ tbsp melted butter
Instructions
Preheat oven to 350°F. Grease a 6”x8” baking pan.
In medium-sized saucepan, combine the mashed rutabaga, applesauce, grated onion, butter, and egg. Mix well.
In small bowl, combine the brown sugar, nutmeg, garlic salt, baking powder, flour, Parmesan and cheddar cheese, and salt and pepper, to taste. Stir well into the rutabaga mixture. Transfer to prepared baking pan.
In small bowl, combine the bread crumbs, Parmesan cheese, and nutmeg with the melted butter. Sprinkle crumbs over rutabaga mixture. Bake, uncovered, for approximately 30-35 minutes, until lightly browned. Serve hot as a side dish to any hot meal in which turnip/rutabaga would typically be served.
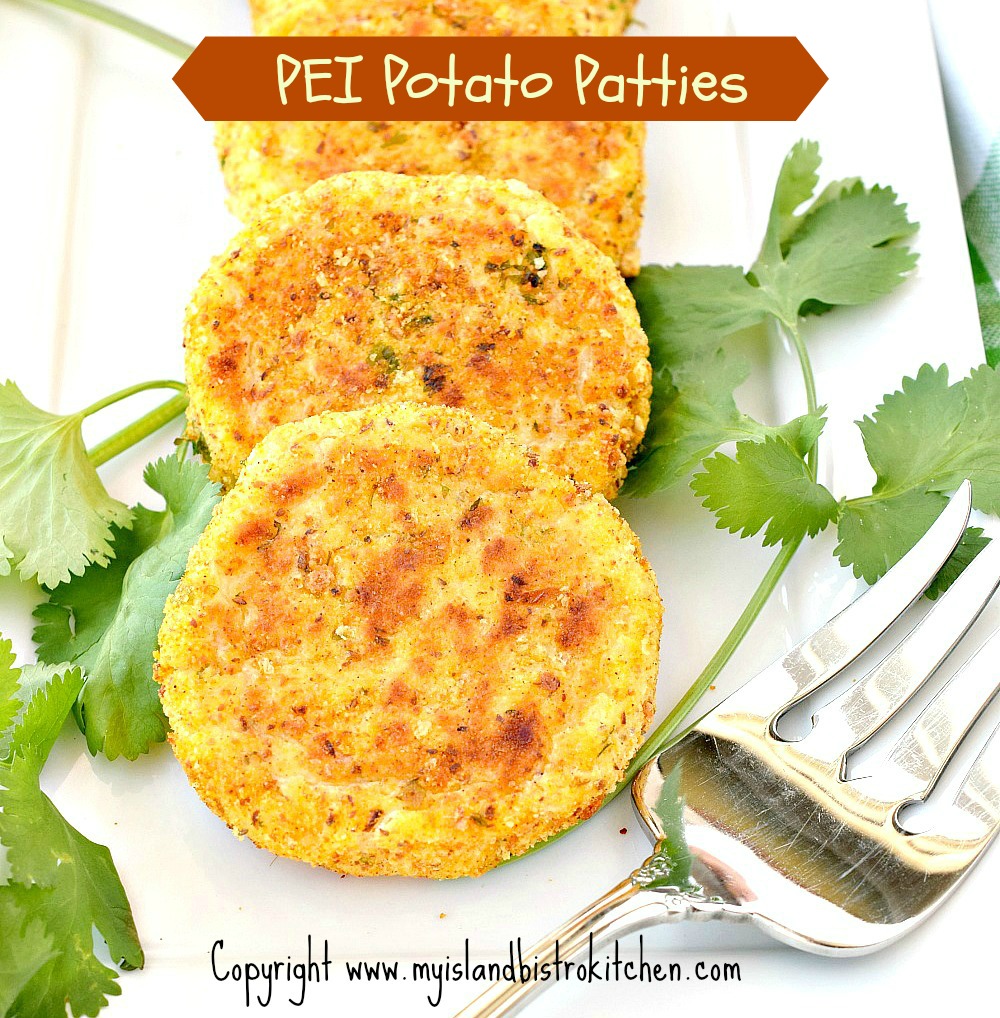
It’s inevitable, when you live in Prince Edward Island, that you’ll eat a lot of potatoes and find creative ways in which to serve them, including these PEI Potato Patties. That’s because there are lots and lots of spuds grown on our little Island with the rich red soil on Canada’s east coast. Continue reading Bistro Style Potato Patties→
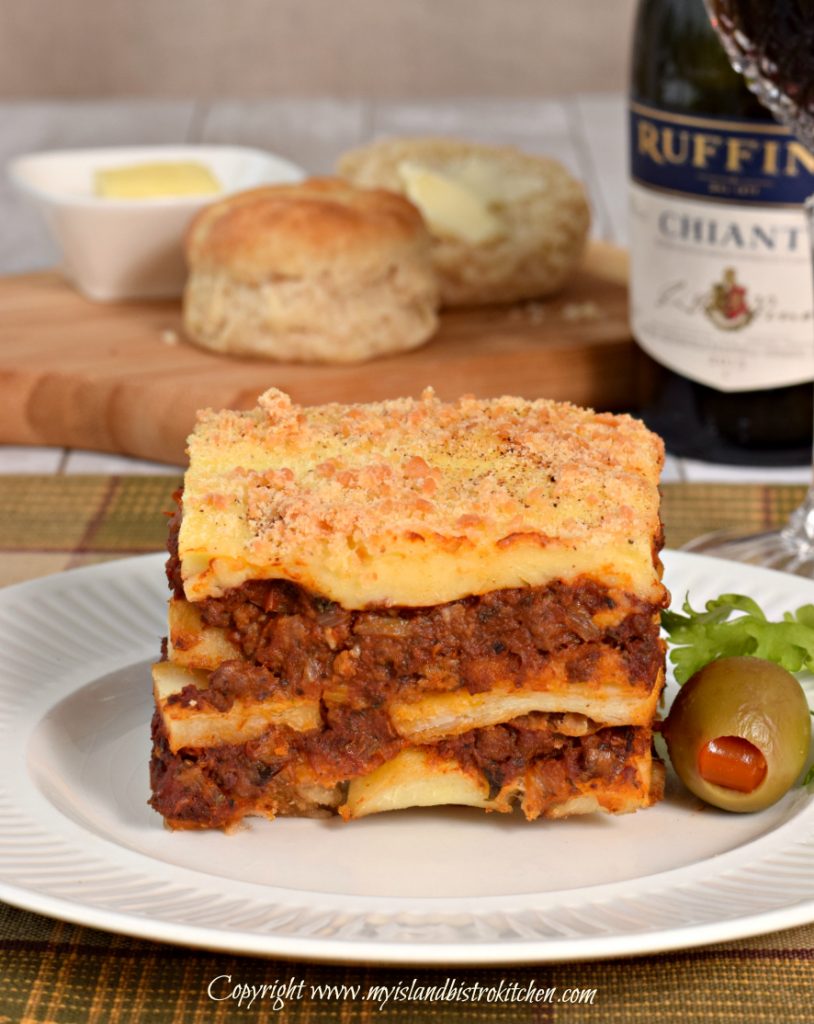
I have been invited by www.thinkbeef.ca to participate, as one of ten food bloggers from across Canada, in the Rethink Beef Global Recipe Swap Campaign to promote recipes using ground beef. Each blogger was asked to develop a recipe (using ground beef) that is inspired by his or her cultural background or a culinary adventure experienced. Each blogger was paired with another and the two exchanged their own recipe for the other to try. This posting involves showcasing my own recipe as well as a recipe from my swap partner, Jason Lee, who writes the blog, “Shut Up and Eat”.
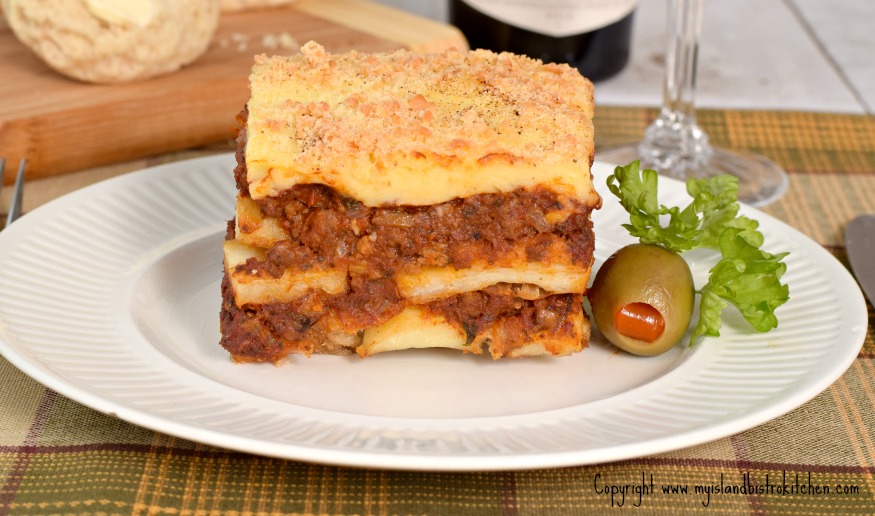
Moussaka
I frequently use ground beef in recipes and am never at a loss to come up with meal ideas to use this versatile meat. The recipe I have chosen is Moussaka. This is a one-dish meal typically characterized by ground meat, eggplant, and tomato sauce with a white sauce on top. So, I will begin with a discussion on why I chose Moussaka to feature ground beef, followed by some hints and tips on making this Greek-inspired dish, and will end with my experience cooking my recipe swap partner’s Beef and Coriander Dumplings inspired by his Chinese heritage. This posting has two recipes from two different cultures but both use ground beef as the main ingredient. Continue reading Rethink Beef Global Recipe Swap Campaign: Moussaka→
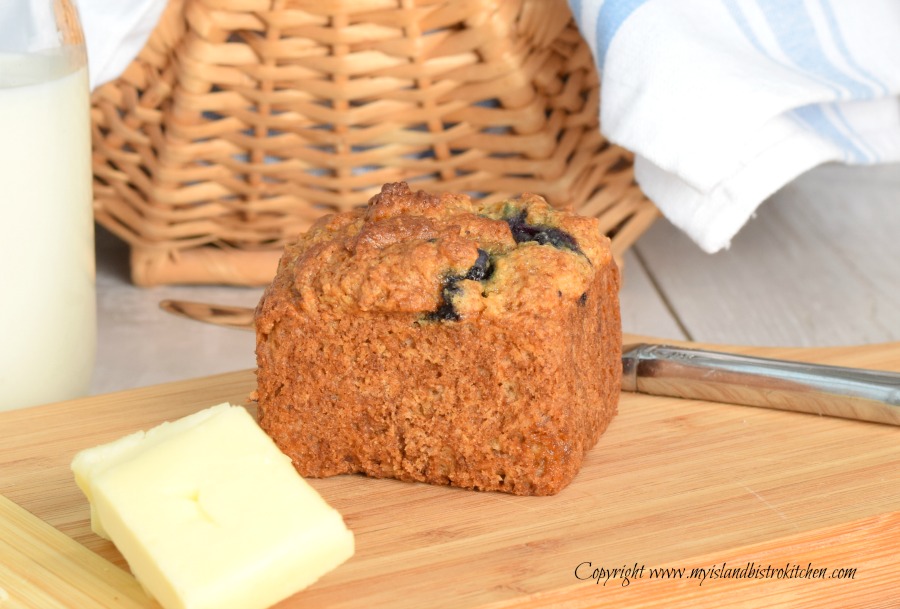
Blueberry muffins are a favorite and, while I have a “go-to” recipe for blueberry muffins that calls for regular gluten flour, I did not have a recipe for Gluten-free Blueberry Muffins. So, I set about developing one of my own and this is the result. My aim was to create a bistro, or deli-style, muffin and I am pleased with the end result. Continue reading Gluten-free Blueberry Muffins→
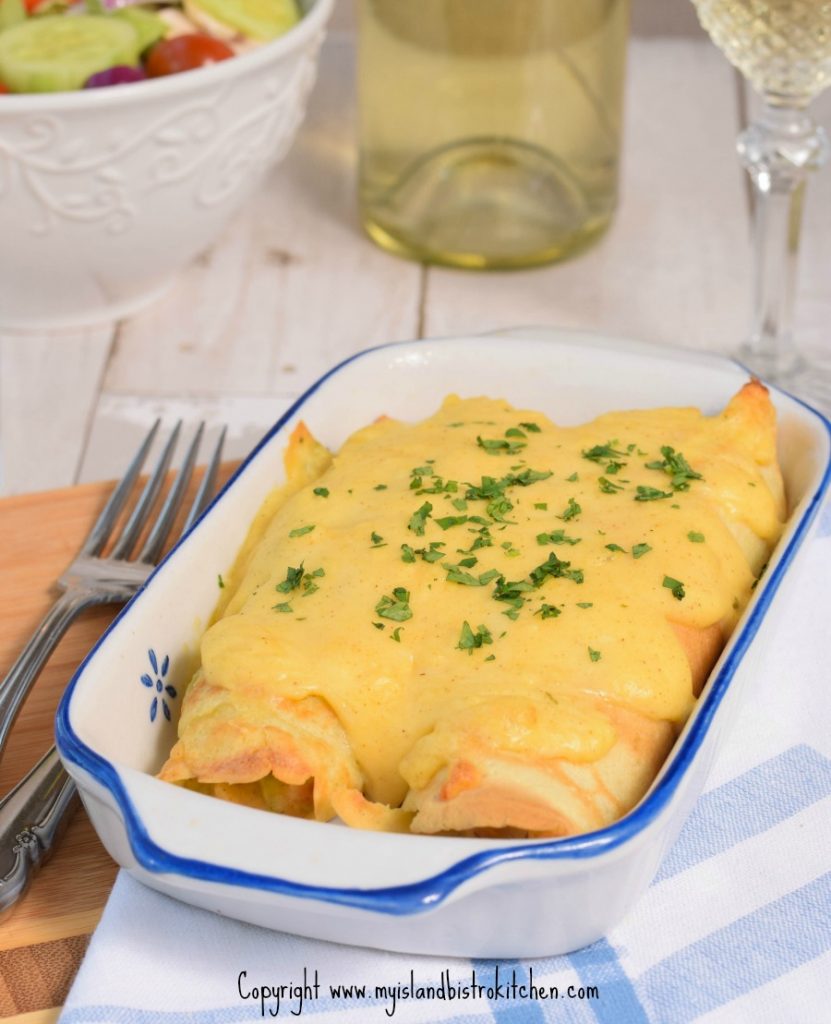
Crepes filled with delectable fillings are one of my favorite meals. Chicken and Mushroom Crepes with Cheese Sauce are a real treat and a lot easier to make than one might think. At one time considered the fare of stylish restaurants and bistros, they can actually be very easily made at home. Continue reading Chicken and Mushroom Crepes→
(Mostly) PEI and Maritime Food – Good Food for a Good Life!