
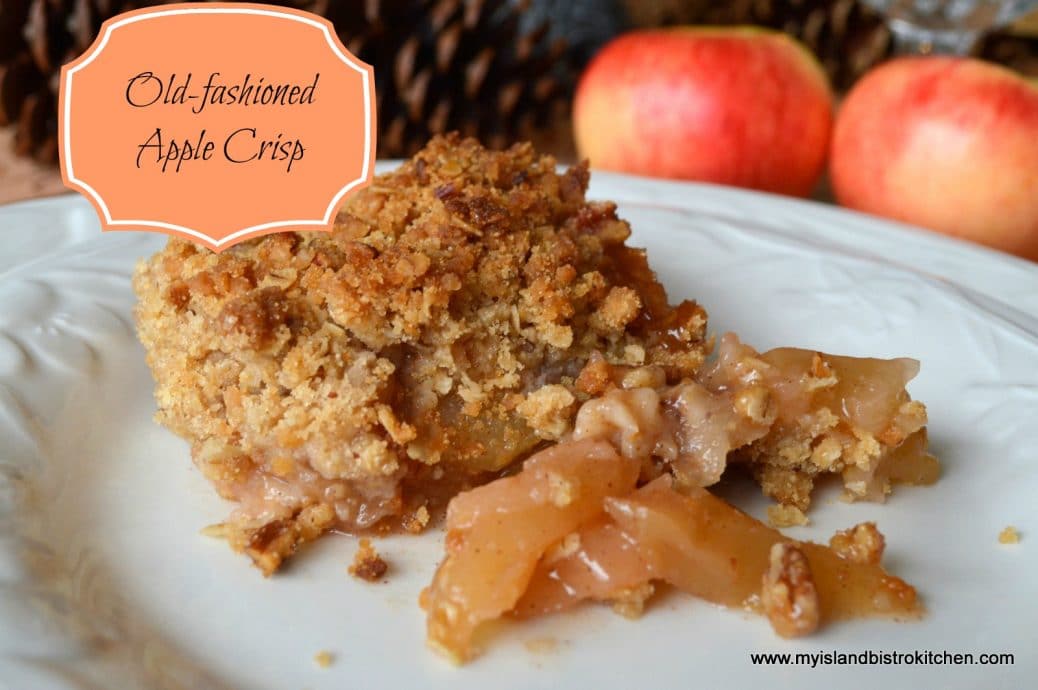
 One of my all-time favorites is the traditional old-fashioned Apple Crisp dessert — the sweet apple flavour filling topped with a crisp, crunchy streusel. And, oh, the heavenly scent in the house when the apple crisp is baking! Continue reading Old-fashioned Apple Crisp
Category Archives: Recipes
Green Tomato Chow
Do you have an abundance of green tomatoes you’re wondering what to do with? Today, I am sharing my recipe for Green Tomato Chow (printable recipe follows at end of posting), a tasty condiment that makes good use of green tomatoes.
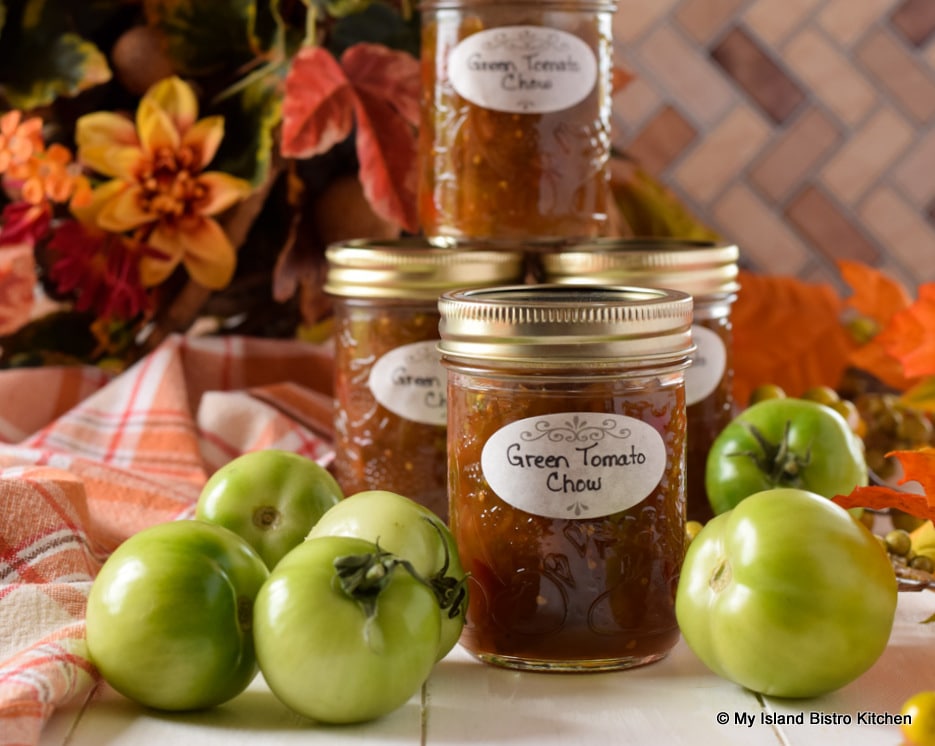 Green Tomato Chow is a great condiment to serve with cold meats, baked beans, stews, casseroles, chicken and meat pies, hot chicken/beef/turkey dinners and, of course, if you are a Maritimer, with fish cakes. Continue reading Green Tomato Chow
Crabapple Jelly
As I write this post, it’s apple season in Prince Edward Island and orchards are filled with trees bearing wonderful apples of so many varieties. There’s nothing like heading to a u-pick orchard to pick your own apples. I typically pick several pecks each fall — in fact, sometimes it’s easy to get carried away and pick too many! However, they do get processed into pies, crisps, sauces, and jellies like this Crabapple Jelly.
Continue reading Crabapple Jelly
Blueberry Bread Pudding
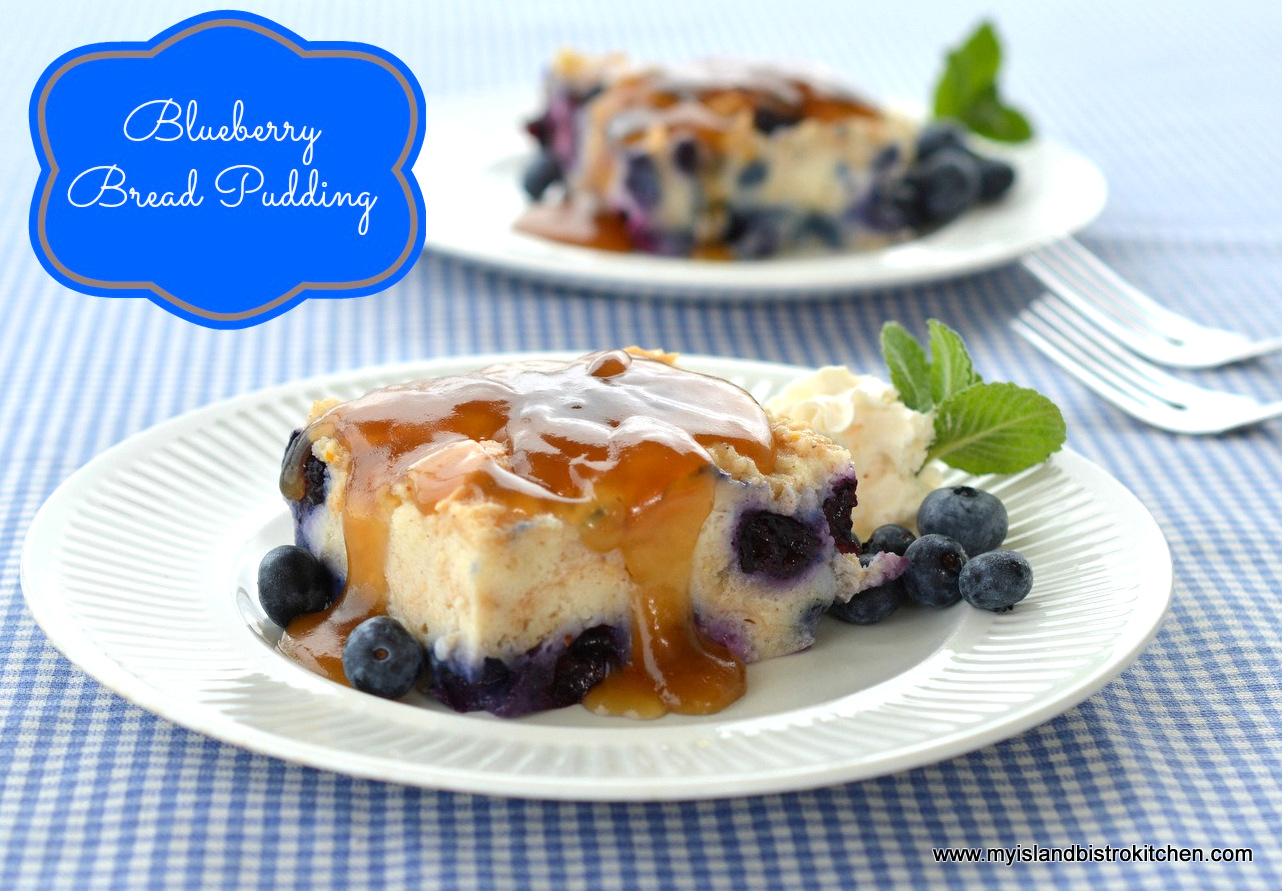 Oh, those gorgeous big highbush Blueberries! They just beg to be made into Blueberry Bread Pudding! Continue reading Blueberry Bread Pudding
Summer Garden Vegetable Dip

I love late August because there is an abundance of fresh garden produce available. Vegetable and dip platters make a great snack for any occasion. Vegetables are so colorful that they make any platter look outstanding plus raw vegetables are healthy food. Today, I am sharing my recipe for a Summer Garden Vegetable Dip. Continue reading Summer Garden Vegetable Dip
Basil Pesto

Fresh basil is plentiful in many gardens and at farmers’ markets right now. It’s a good time to make a batch or two of Basil Pesto. Continue reading Basil Pesto
Quick Cinnamon Rolls Recipe

I don’t think I have ever met anyone who did not like cinnamon rolls. Just the scent of them baking in the oven makes the house smell sooooo divine! Continue reading Quick Cinnamon Rolls Recipe
Blueberry Muffins
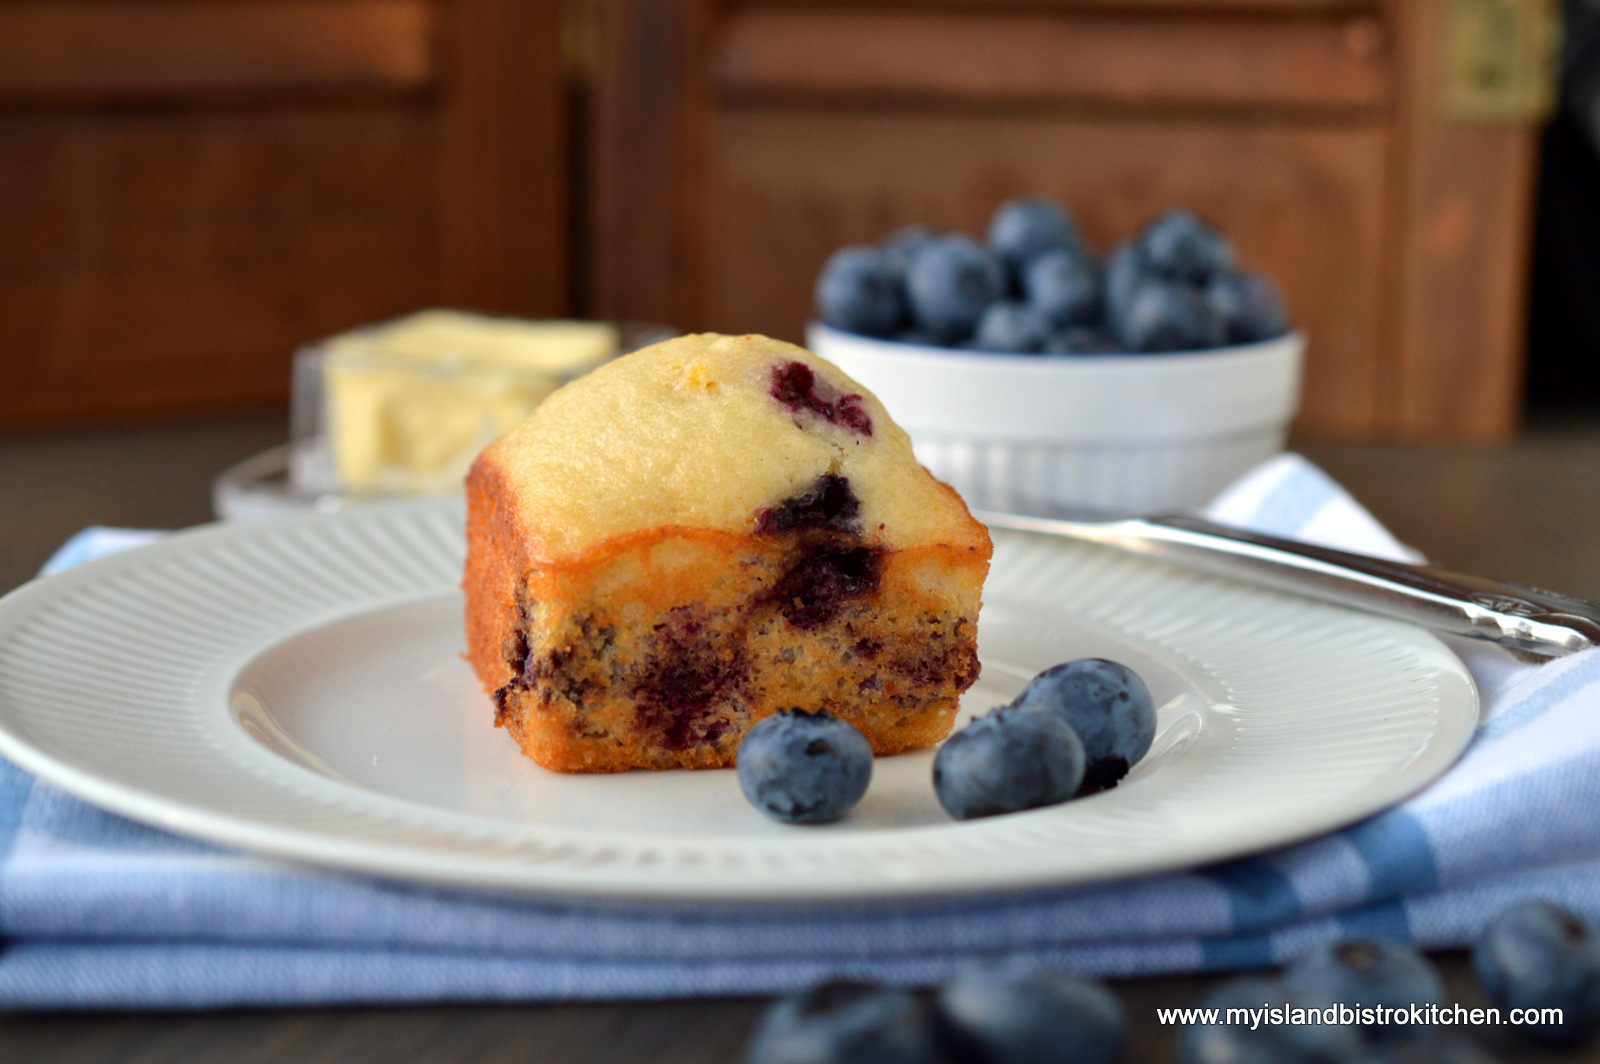
These Blueberry Muffins are made with the big plump highbush blueberries.
Continue reading Blueberry Muffins
A Prince Edward Island-Inspired Menu for Food Day Canada 2014
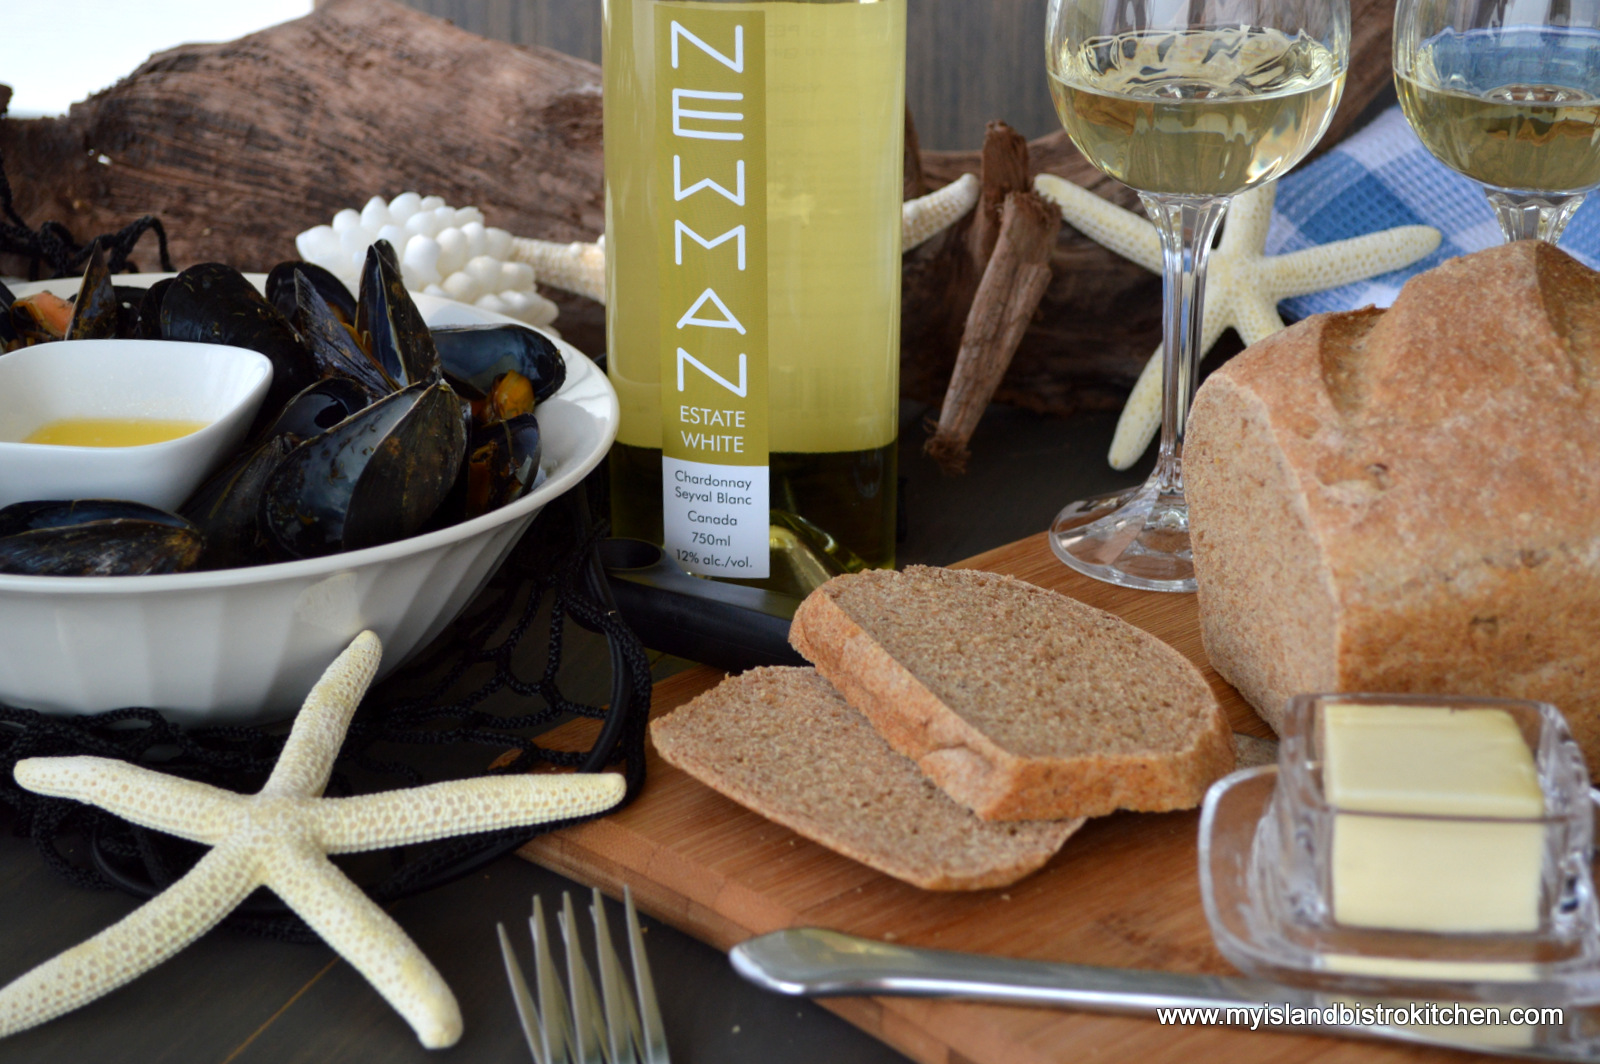
It’s Food Day Canada today (August 2, 2014). This is a day to celebrate and enjoy all the great food that is grown, fished, or otherwise produced in Canada. Coming from Prince Edward Island, we are truly blessed with the abundance and variety of fresh food at our disposal. Continue reading A Prince Edward Island-Inspired Menu for Food Day Canada 2014
Lemonade
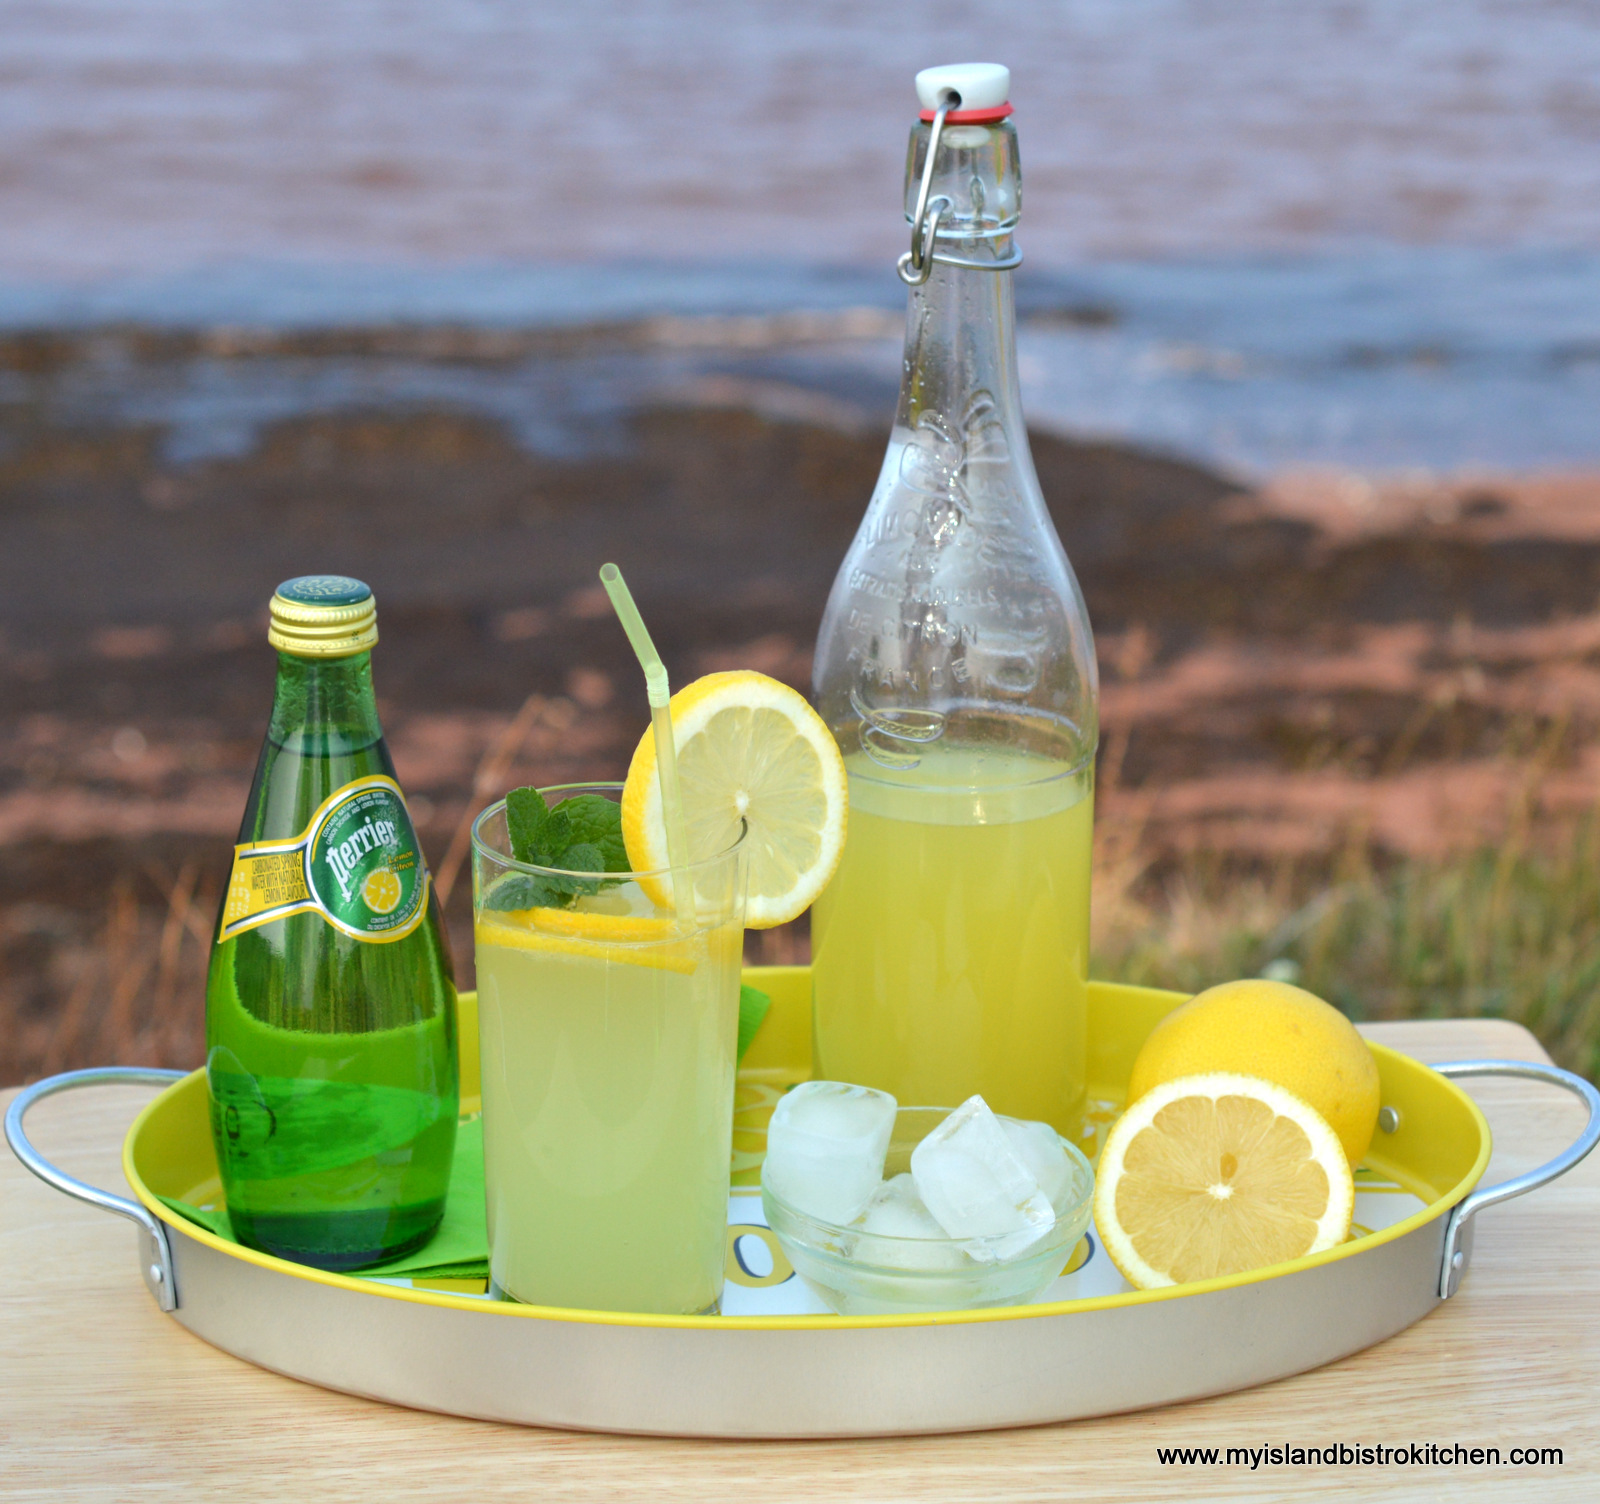
Hot, lazy days of summer always send me off looking for thirst-quenching cold drinks.

One of my favorites is old-fashioned homemade lemonade. It’s cool and refreshing. Continue reading Lemonade
Caps off to Haskaps – A Trendy New Berry on PEI
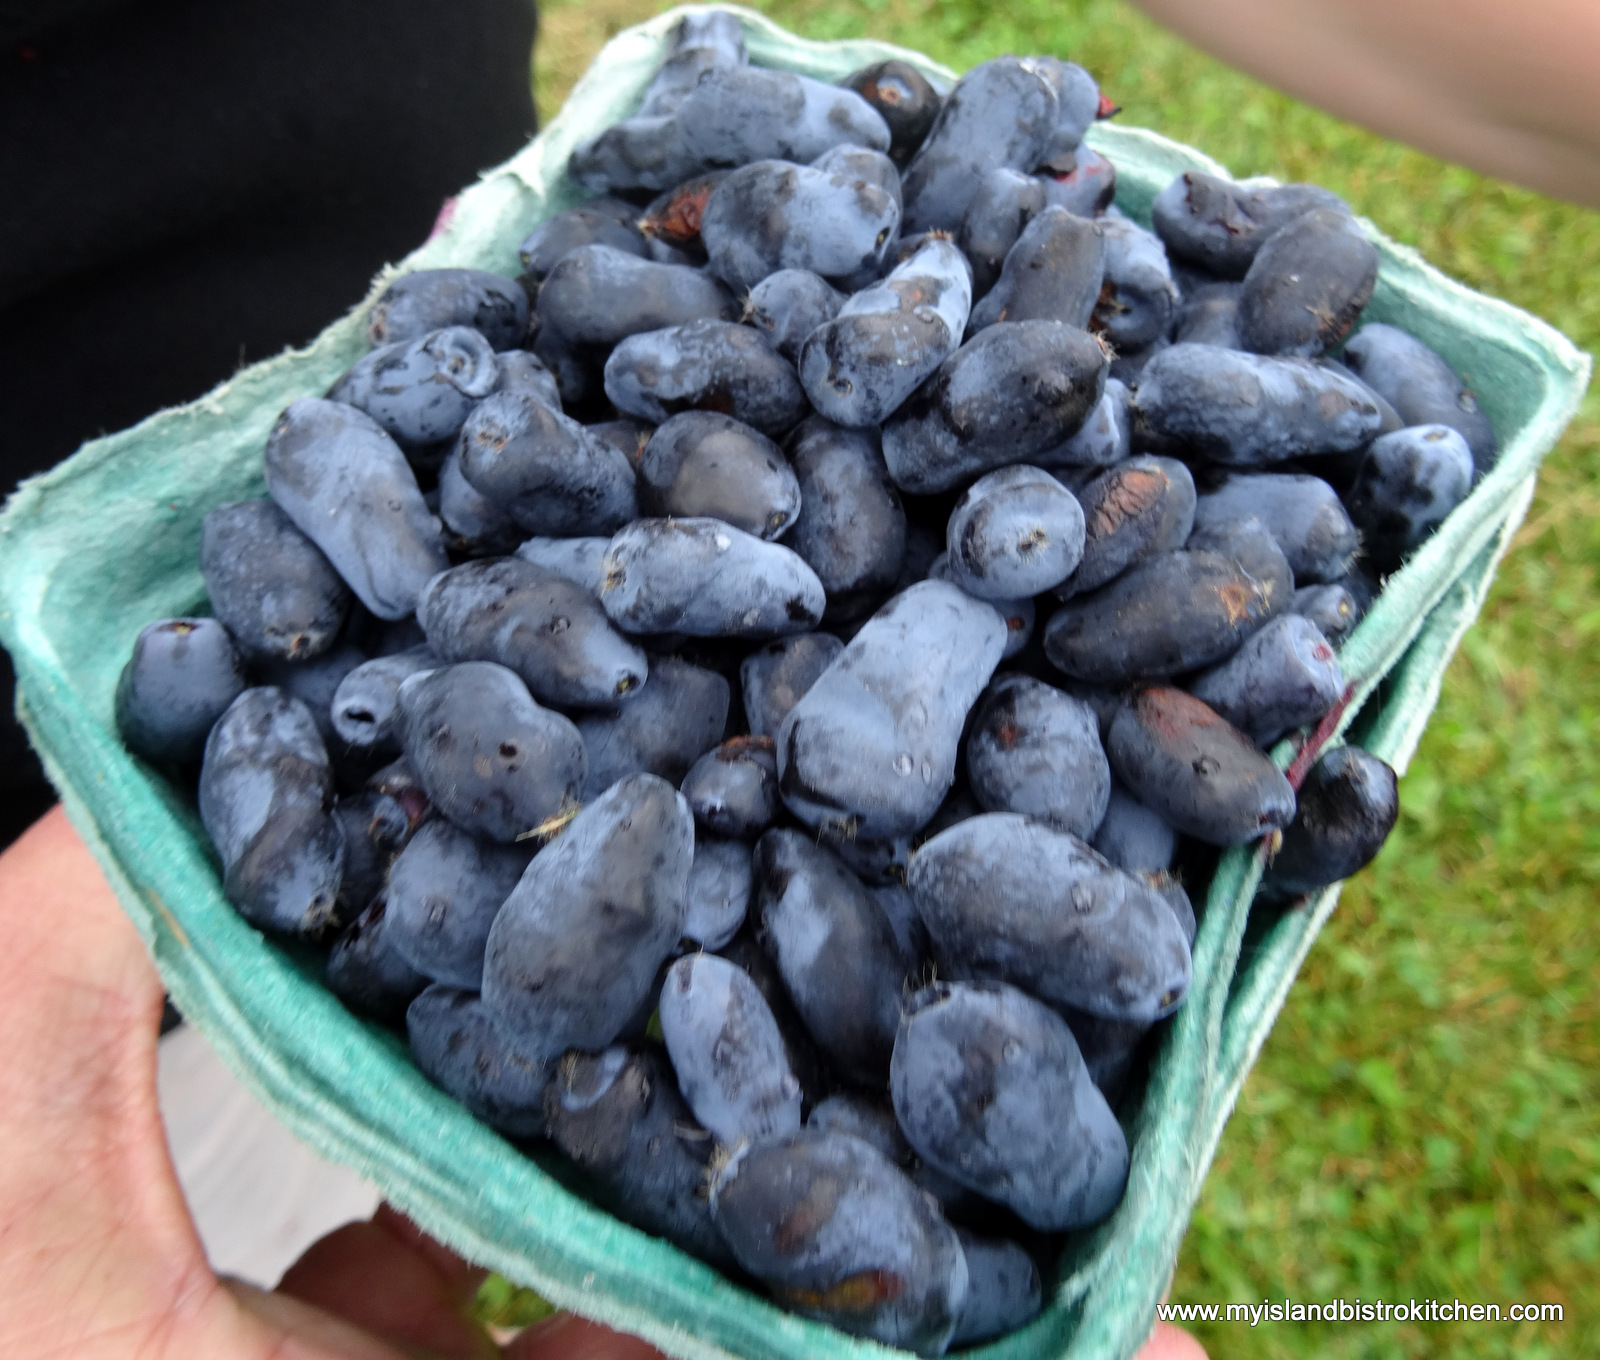
It’s not often that I discover a new food on Prince Edward Island. Until recently, I had never heard of haskap berries and did not know that they were grown on PEI. Earlier this month, I travelled to Rollo Bay in the Eastern end of the Island to view a five-acre field of haskap bushes and to have a chat with the growers. This posting will also contain a recipe for Hascap Sauce.
Continue reading Caps off to Haskaps – A Trendy New Berry on PEI
Old-fashioned Brownies – A Perennial Favorite

There is nothing more plain yet more tasty, in my opinion, than a good old-fashioned brownie. One of the best things about brownies is that they don’t take any ingredients that most bakers are unlikely to have in their cupboards. That means they can be whipped up fairly quickly without a lot of advance planning and a trip to the supermarket. They can also be eaten plain or dolled up with a dob of icing and a piece of maraschino cherry or they can be iced all over. Continue reading Old-fashioned Brownies – A Perennial Favorite
Rhubarb Relish

There is nothing like homemade relish, all natural and no preservatives. Today, I am sharing my recipe for Rhubarb Relish which makes good use of the fresh rhubarb when it is in season. Continue reading Rhubarb Relish
Rhubarb Vinaigrette

Summertime means lots of fresh salads. I like to make my own vinaigrettes, like this Rhubarb Vinaigrette, because they are not full of preservatives and they are easy to make. Continue reading Rhubarb Vinaigrette
Rhubarb and Orange Muffins
We are blessed with well-producing rhubarb in our backyard garden. The photo below is of two crowns of German Wine Rhubarb I started several years ago so it is quite a mature patch now. It has very deep ruby-red stalks. The patch graces us with a steady supply of rhubarb for fresh usage and for freezing. It also allows me to create all kinds of recipes featuring rhubarb like today’s for Rhubarb and Orange Muffins. Continue reading Rhubarb and Orange Muffins
Rhubarb Custard Torte

Rhubarb Custard Torte is one of my all-time favorite desserts and it is simply sublime! It makes a lovely springtime treat when the fresh rhubarb is available but can also be made with frozen rhubarb and enjoyed year-round.
Continue reading Rhubarb Custard Torte
Cream of Roasted Asparagus Soup
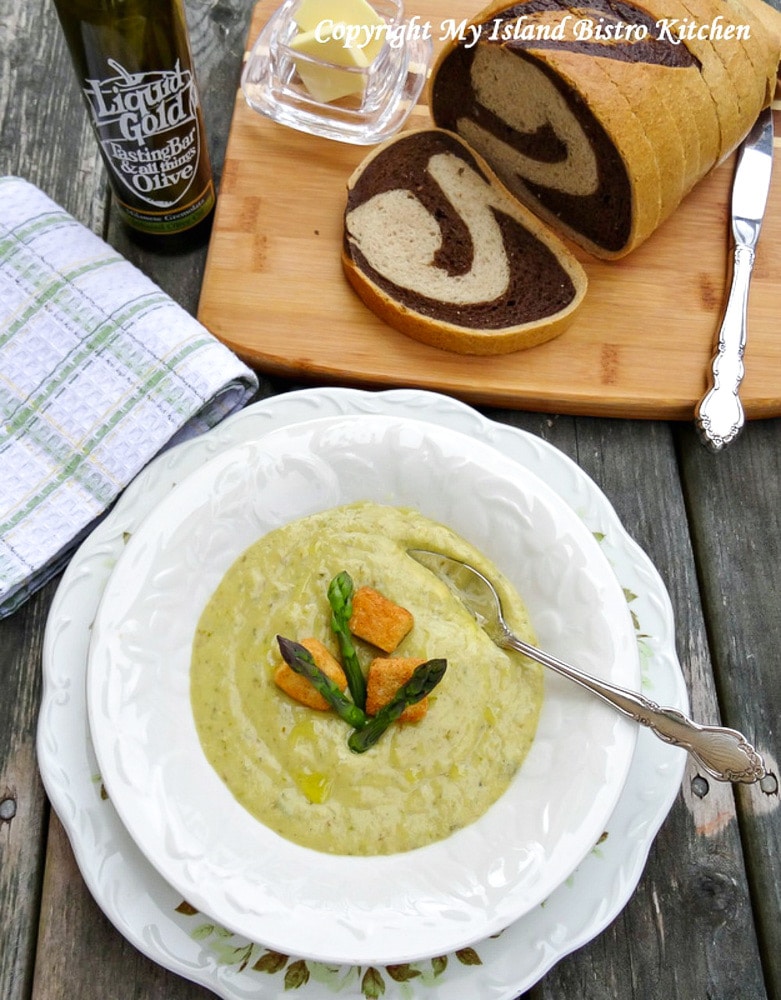
Do you have certain foods you like to have in the different seasons? One of the springtime treats in my house is asparagus.
Asparagus is a very versatile vegetable and one of the first available in spring in our Maritime climate. Asparagus is lovely served with a Hollandaise sauce, in a quiche, wrapped with goat cheese in proscuitto and roasted, or in a myriad of other ways. One of my favorite ways to serve asparagus is as a Roasted Cream of Asparagus Soup. I like to roast the asparagus first as I find the roasting brings out the nutty, earthy flavors in the asparagus. Continue reading Cream of Roasted Asparagus Soup
Cranberry and Ginger Sauced Pork Chops
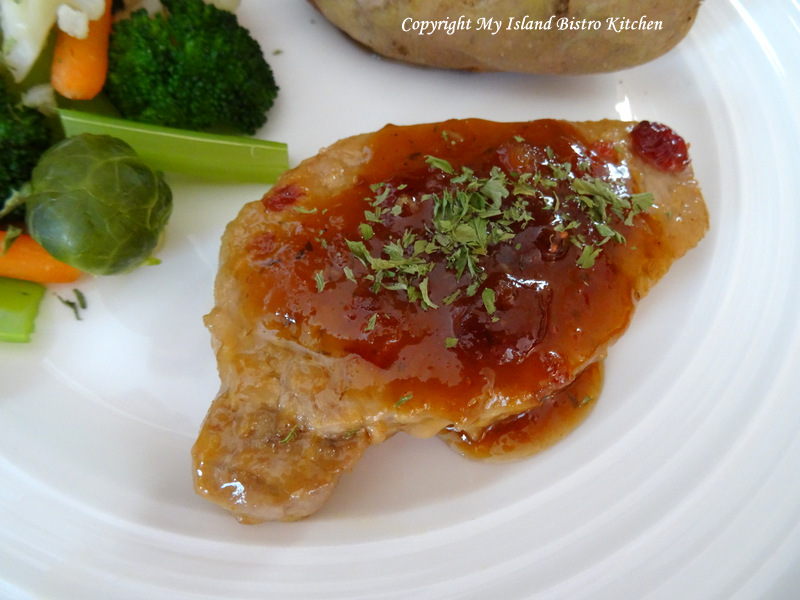
Today, I am sharing a new recipe for pork chops. In addition to PEI pork, I am also featuring two other PEI products, both from J.J. Stewart Foods and Soda Company, in Stratford. The first is a new preserve flavor — Cranberry Champagne with Crystallized Ginger — and the second is from their maple mustard line.
This is a very easy recipe to make and does not take a lot of time to prepare. It is essentially pan-fried pork chops with a pan reduction sauce made with chicken stock, orange juice, mustard, and the preserves. This recipe is easily doubled.
Cranberry and Ginger Sauced Pork Chops
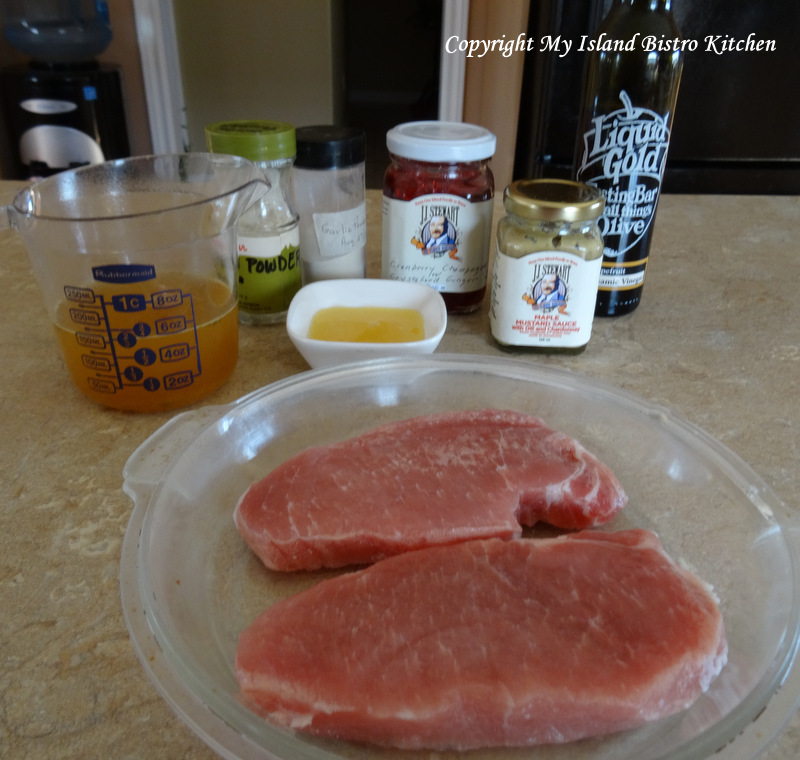
Ingredients:
2 pork chops, fat removed
2 tsp olive oil
½ cup chicken broth
2 tbsp orange juice
1½ tsp balsamic vinegar (I used Liquid Gold’s Grapefruit Balsamic Vinegar)
3 tbsp J. J. Stewart’s Cranberry Champagne with Crystallized Ginger Preserve
1 tbsp J.J. Stewart’s Dill and Chardonnay Maple Mustard
¼ tsp onion
⅛ tsp garlic powder
Method:
Assemble ingredients.
Over medium heat, add 2 tsp olive oil to small frypan. Add pork chops and cook, turning once until cooked to desired doneness. Remove chops from pan and transfer to oven-proof covered dish. Place pork chops in oven set at very low temperature, just enough to keep them warm while preparing sauce.

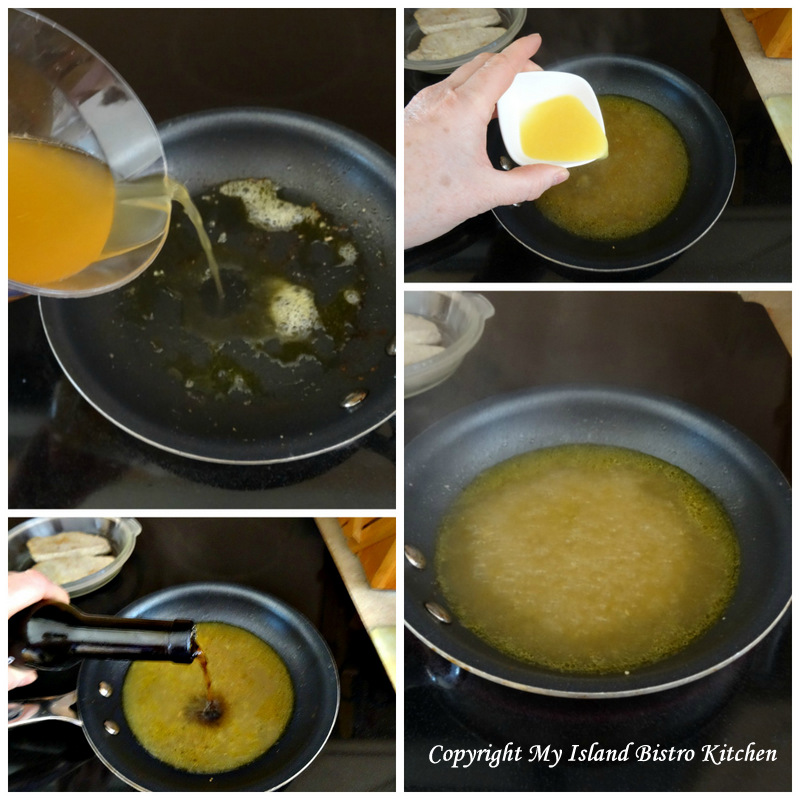
Add the chicken broth, orange juice, and balsamic vinegar to frypan. Over medium heat, cook liquid (uncovered) until it reduces to about half.
Whisk in the mustard along with the garlic and onion powders until mixture is smooth.
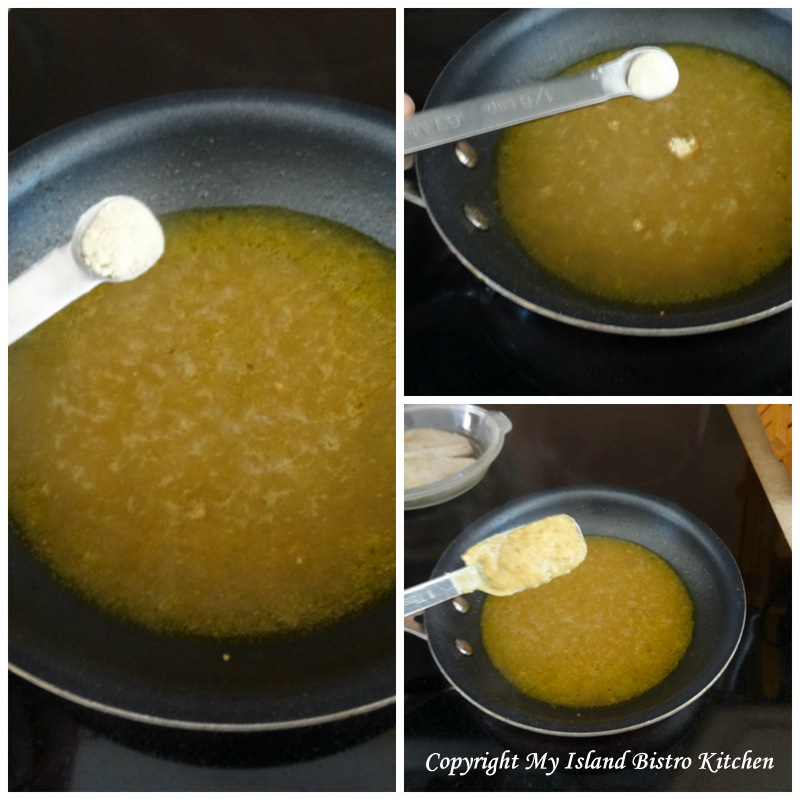
Whisk in the preserves. Cook until mixture becomes the consistency of syrup.
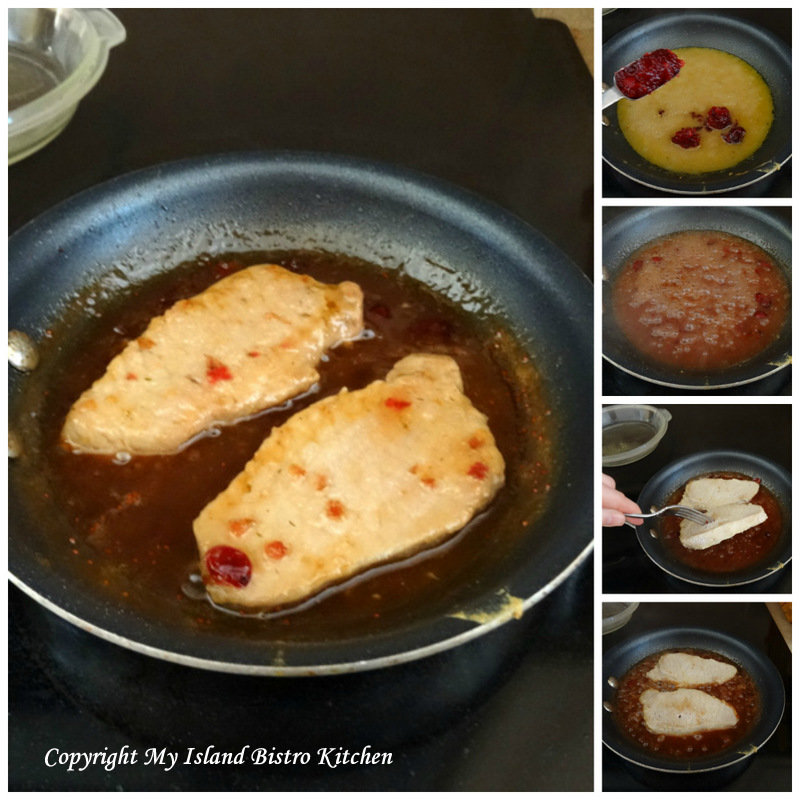
Return the pork chops to the frypan and heat for about 1 minute, turning the chops at half-time to glaze both sides.
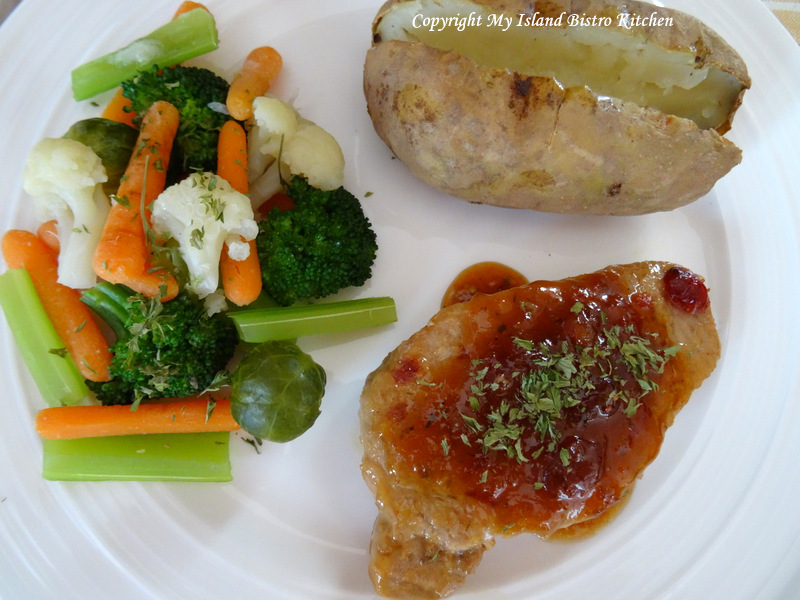
Serve hot with the cranberry-ginger sauce mixture drizzled over top of each pork chop. Serve with potato or rice and your favorite vegetable(s).
Serves: 2
Note: Other brands of preserves, mustard, and balsamic vinegar may be used in this recipe; however, flavor will differ.
You may also like this pork chop recipe from My Island Bistro Kitchen:
Pork Chops with Bread Stuffing and Creamy Mushroom Sauce
Pin Me To Pinterest!

Thank you for visiting “the Bistro” today.
There are lots of ways to connect with “the Bistro” through social media:
Join My Island Bistro Kitchen on Facebook
Follow the Bistro’s tweets on twitter @PEIBistro
Find the Bistro on Pinterest at “Island Bistro Kitchen”
Follow along on Instagram at “peibistro”
Mother’s Day Breakfast in Bed: The Bistro’s Lobster Egg Benedict
A very happy Mother’s Day to all Moms out there! I hope you are having a wonderful day and are getting thoroughly spoiled.
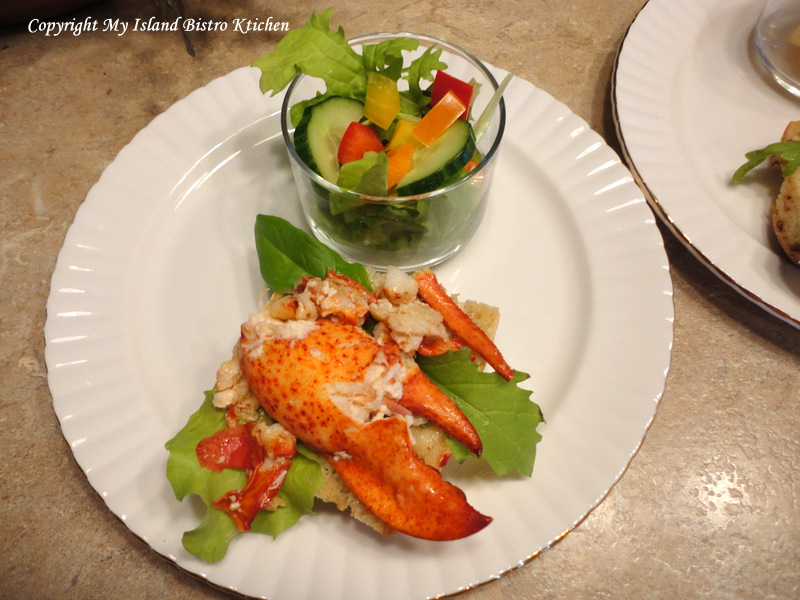
Today, I am sharing my recipe for Lobster Eggs Benedict with a delicious Béarnise sauce. This makes a wonderful brunch entrée and is also perfect for a Mother’s Day breakfast in bed tray although it does take some time and organization to prepare.
Here, on Canada’s East Coast, we are extremely blessed to have ready access to fresh lobster this time of the year. In fact, in many Island families today, they will be celebrating with lobster (many having their first “feed” of the season), whether it be lobster at home or at one of the Island’s famous lobster suppers that open early just for the occasion today. They will then close and re-open for the season in a few weeks time.

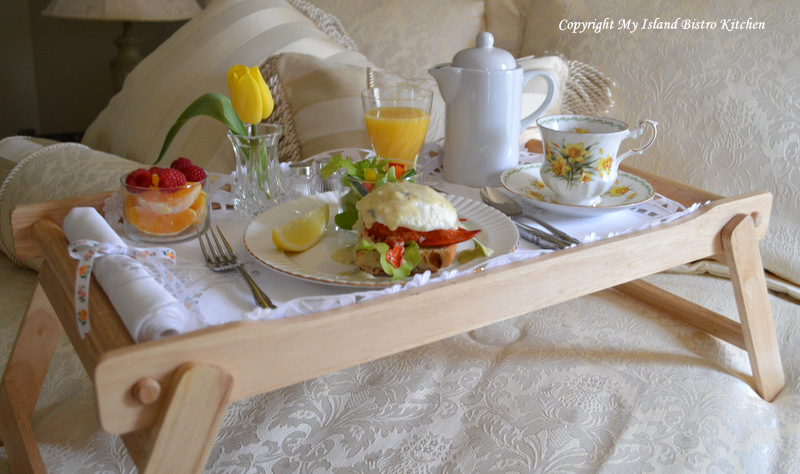
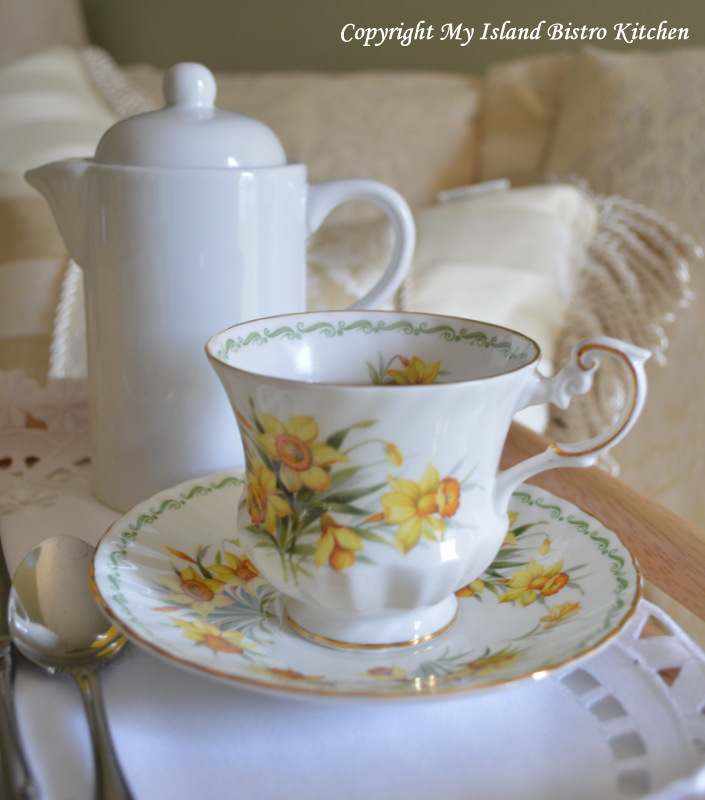
I have gone with a yellow theme for the breakfast in bed tray using, as my inspiration, a single yellow tulip and my favorite spring-time china cup and saucer featuring daffodils.
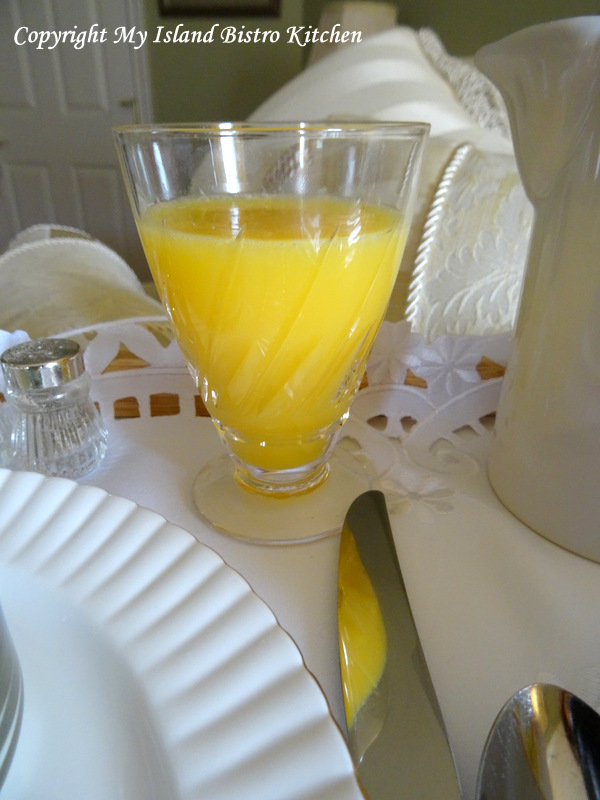
I chose a dainty crystal glass for the freshly-squeezed orange juice.
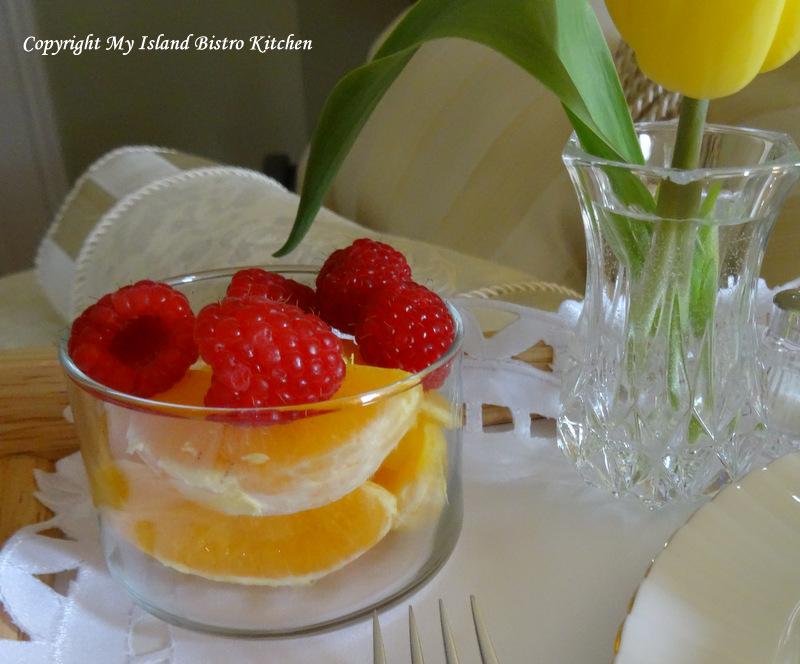
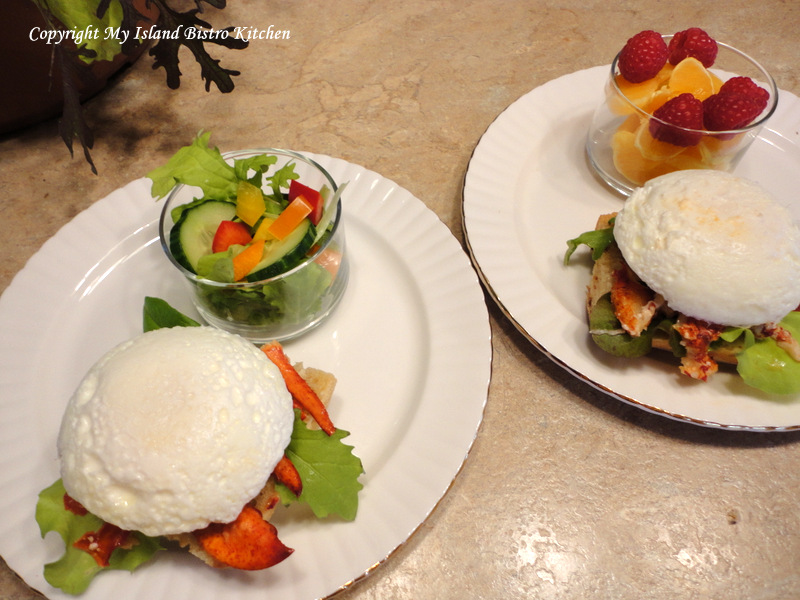
A refreshing fruit cup with orange sections and raspberries adds both color and flavor.
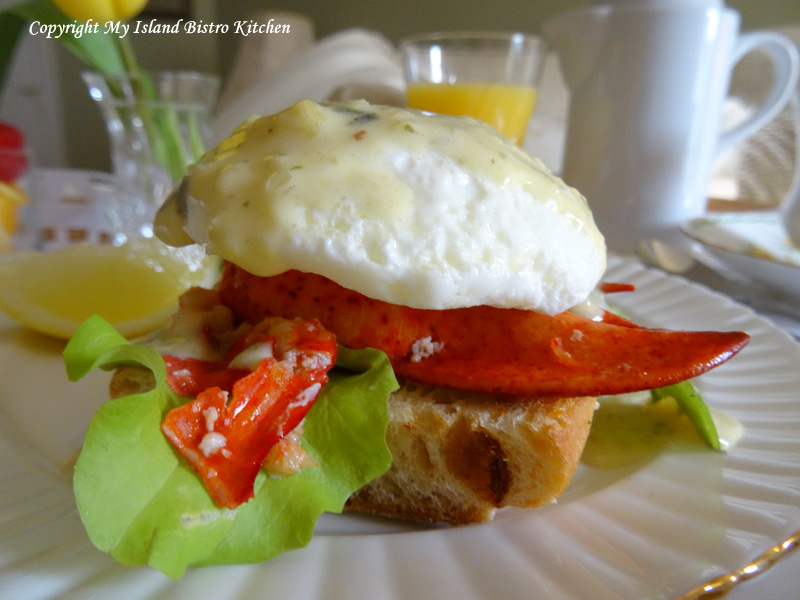
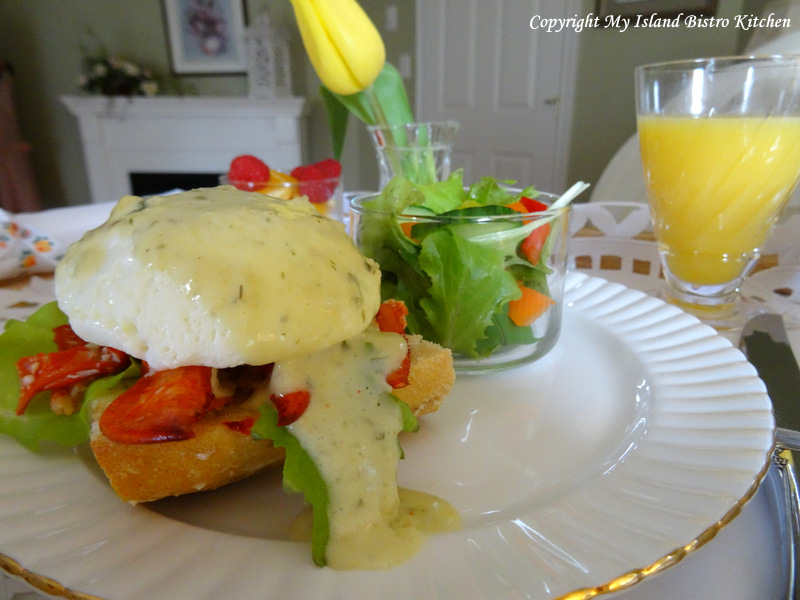
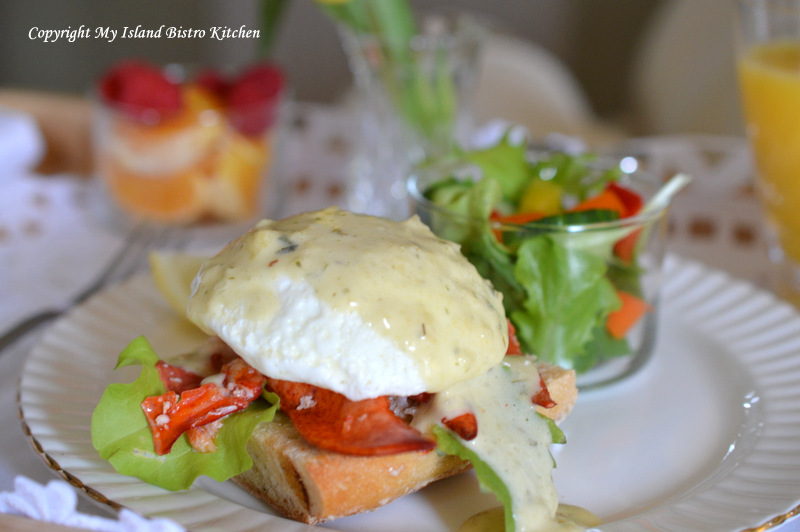
And, of course, the star of the tray – the Lobster Eggs Benedict served on Ciabatta.

Can you taste that succulent lobster? The Béarnise Sauce is rich so you don’t need a lot of it on each serving and using less is more in this case because you don’t want to “drown” or mask the wonderful color of the red lobster claws!
The Bistro’s Lobster Eggs Benedict
Ingredients:
1 tbsp water
½ tbsp balsamic vinegar (I used Liquid Gold’s pomegranate-quince)
½ tbsp white wine
½ tbsp minced onion
⅛ tsp puréed garlic
1 extra-large egg yolk
½ tbsp lemon juice
½ tsp prepared mustard (I used J.J. Stewart’s Maple Mustard with Dill and Chardonnay)
2 tbsp butter, melted
Salt and pepper, to taste
Sprinkle of chopped chives, parsley, and tarragon
1-2 lobster claws and meat from the lobster’s knuckles for each serving
English muffins or artisan bread, such as Ciabatta, sliced for each serving
Method:
Assemble ingredients.
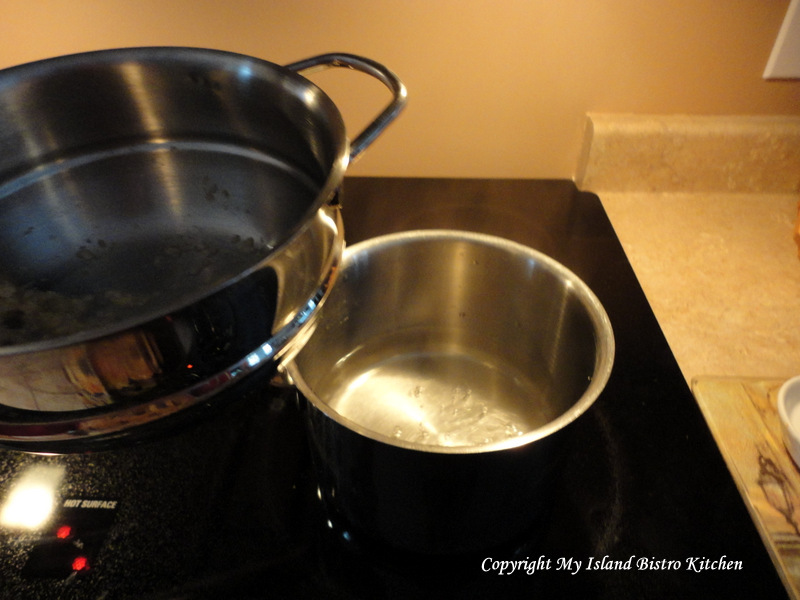
In bottom of double boiler, heat about 2” water to boiling point. Reduce heat to keep the water at a very gentle simmer.
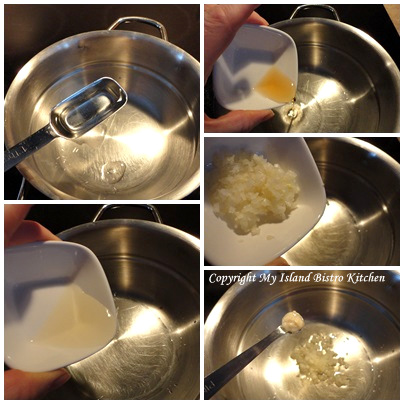
In top of double boiler and over direct heat (not on top of the boiling water), combine first five ingredients. Simmer over medium heat until mixture is reduced by half, about 3 minutes.
Place top of double boiler over saucepan of gently simmering hot water.
Quickly whisk in the egg yolk and whisk vigorously and continuously till smooth. Whisk in lemon juice and mustard. Add salt and pepper, to taste. Whisk until mixture is just thick enough to coat the back of a spoon (you want it of pouring consistency). Remove from heat and add a sprinkle of chopped chives, parsley, and tarragon.
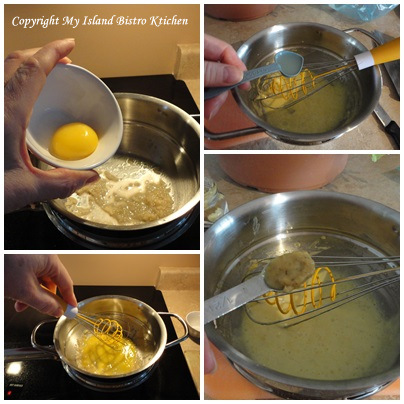
Note: If mixture thickens too much, whisk in small amount of boiling water, 1 tbsp at a time, to get to pouring sauce consistency.
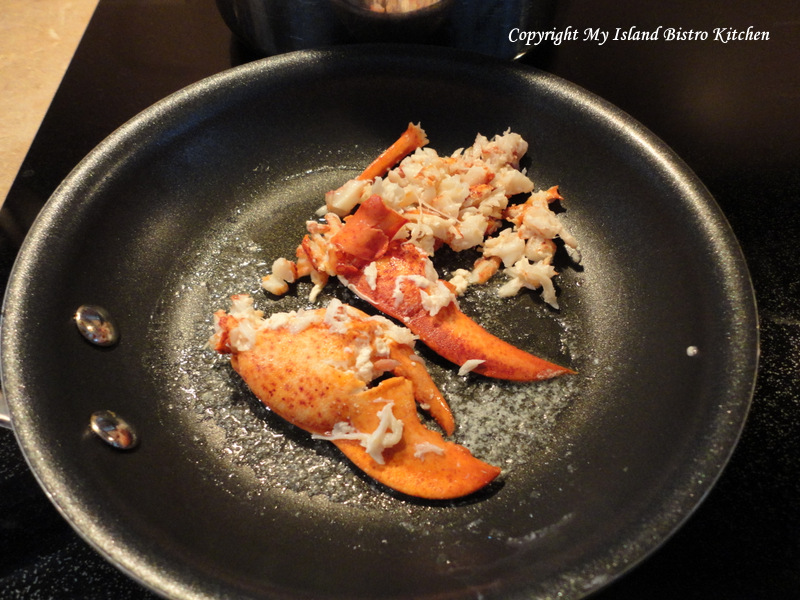
In small saucepan or frypan, heat ½ – 1 tbsp butter and heat lobster over low heat.
Using your favourite method, poach 1 egg to desired doneness for each serving.
To assemble:
Slice English muffin, or if using an artisan bread like Ciabatta, cut loaf into desired lengths (e.g., 3”- 4” per serving) and slice in half horizontally, using one-half for each serving. Butter each piece. Lay a layer of lettuce on each piece of bread or muffin. Add the warmed sautéed lobster.
Top with the poached egg.
Drizzle Bérnaise Sauce over each serving. Serve with a side of green salad or fresh fruit.
Serves: 2
Thank you for visiting “the Bistro” today.
There are lots of ways to connect with “the Bistro” through social media:
Join My Island Bistro Kitchen on Facebook
Follow the Bistro’s tweets on twitter @PEIBistro
Find the Bistro on Pinterest at “Island Bistro Kitchen”
Follow along on Instagram at “peibistro”
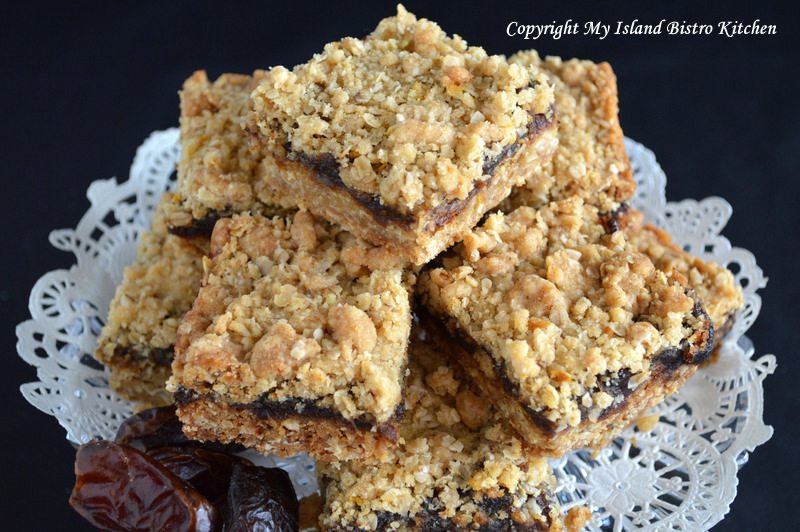
Date Squares
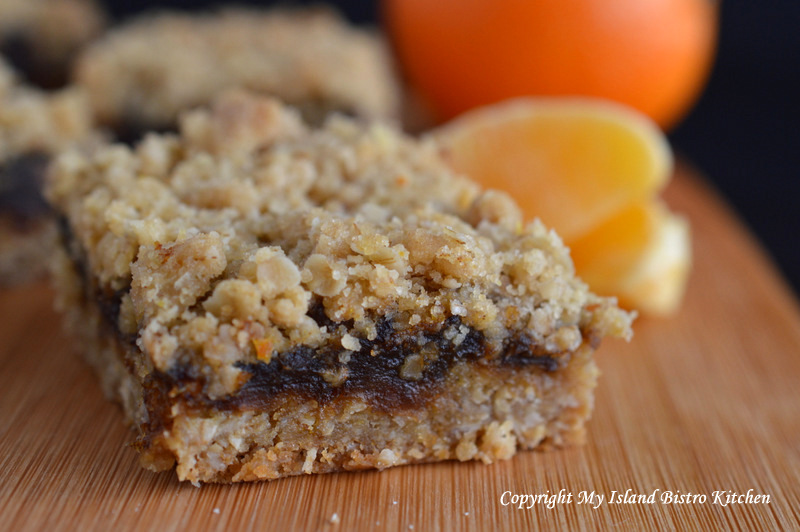
You may know these as Matrimonial Squares. I have always known them as Date Squares. Regardless what they are called, they are tasty. Growing up, Date Squares were pretty much a staple in our household. They are a good, wholesome square made with a tasty date mixture sandwiched between two layers of a rolled oats, flour, and butter mixture. While these squares can be made with margarine, they are ever so much better when made with butter! I add a touch of orange rind to my recipe as it gives them a nice tangy taste.
Date Squares
Ingredients:
12 oz dates, chopped
1 cup boiling water
3 tbsp boiling orange juice
3 tbsp brown sugar
1½ tsp vanilla
3/4 tsp almond flavouring
1⅔ cups rolled oats (not instant)
1 cup + 2 tbsp flour
1 cup brown sugar, packed
1 tsp baking soda
¼ tsp salt
Scant 1 tbsp grated orange rind
1 cup cold butter
Method:
Assemble ingredients.
Preheat oven to 350°F.
Line 9” square pan with parchment paper.
In saucepan, combine dates, boiling water and orange juice, and brown sugar. Let stand 15 minutes.
Over medium-low heat, bring date mixture to a boil and boil gently, stirring frequently, until mixture thickens, about 3-5 minutes. If mixture thickens too fast, add a couple of tablespoons of water, one tablespoon at a time.
Remove from heat and add vanilla and almond flavouring. Let cool for about 10 minutes.
Meanwhile, in large bowl, combine rolled oats, flour, brown sugar, soda, salt, and grated orange rind.
Cut, or grate, in the cold butter until mixture becomes coarse crumbs.
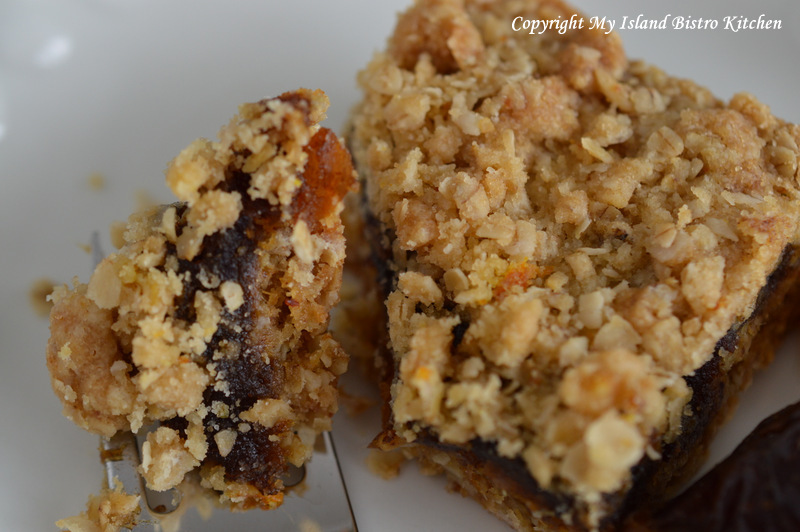
Press between a scant ⅔ of the crumb mixture into the bottom of the prepared pan. Spread the slightly cooled date mixture over crumb base. Sprinkle remaining crumb mixture over date filling.
Bake until crumbs are golden, about 25 – 30 minutes.
Let cool completely in pan on wire rack. Remove from pan and cut into squares.
Connect with My Island Bistro Kitchen by:
Joining the Facebook page for My Island Bistro Kitchen: https://www.facebook.com/MyIslandBistroKitchen/
Following “the Bistro” on “X” (formerly Twitter): https://twitter.com/PEIBistro/
Seeing the drool-worthy gallery of mouth-watering food photos from My Island Bistro Kitchen on Instagram: https://www.instagram.com/peibistro/
Following “the Bistro” on Pinterest at https://www.pinterest.ca/peibistro/
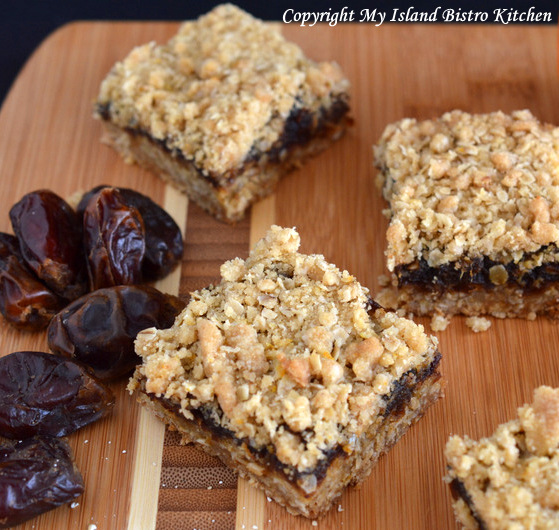
Date Squares
Date Squares are a wholesome dessert with a date filling sandwiched between a sweet and buttery oatmeal crumb base and topping
Ingredients
- 12 oz dates, chopped
- 1 cup boiling water
- 3 tbsp boiling orange juice
- 3 tbsp brown sugar
- 1½ tsp vanilla
- ¾ tsp almond flavouring
- 1⅔ cups rolled oats (not instant)
- 1 cup + 2 tbsp flour
- 1 cup brown sugar, packed
- 1 tsp baking soda
- ¼ tsp salt
- Scant 1 tbsp grated orange rind
- 1 cup cold butter
Instructions
-
Assemble ingredients.
-
Preheat oven to 350°F.
-
Line 9” square pan with parchment paper.
-
In saucepan, combine dates, boiling water and orange juice, and brown sugar. Let stand 15 minutes. Over medium-low heat, bring date mixture to a boil and boil gently, stirring frequently, until mixture thickens, about 3-5 minutes. If mixture thickens too fast, add a couple of tablespoons of water, one at a time. Remove from heat and add vanilla and almond flavouring. Let cool for 10-15 minutes.
-
Meanwhile, in large bowl, combine rolled oats, flour, brown sugar, soda, salt, and grated orange rind. Cut, or grate, in the cold butter until mixture becomes coarse crumbs.
-
Press a scant ⅔ of the crumb mixture into the bottom of the prepared pan. Spread the cooled date mixture over crumb base. Sprinkle remaining crumb mixture over date filling.
-
Bake until crumbs are golden, about 25-30 minutes.
-
Let cool completely in pan on wire rack. Remove from pan and cut into squares.
Recipe Notes
Yield: One 9x9 pan of squares
[Copyright My Island Bistro Kitchen]
If you have made this recipe and enjoyed it and/or wish to share it with your friends and family, please do so on social media but be sure to share the direct link to this posting from my website.
Pin Me To Pinterest!

